
 100% Security Verified | No Subscription Required | No Malware


 ChatGPT
 Perplexity
 Gemini
 Claude
 Grok
Grok
Screen recording with audio on a Mac has become a must for so many reasons. You might need to make tutorials, record a presentation, capture a meeting, or even show off some gameplay. Having both the visuals and sound makes a huge difference, especially when you need to share or explain things clearly.
And we heard your needs! In this guide, we'll cover some easy, free methods that anyone can use, as well as dive into advanced software for those who want more control and features. By the end, you'll know exactly how to pick the right option for what you need.
In this article
How to Screen Record with Audio for Free on Mac
Before we explore more advanced tools, it's worth checking out a couple of free options that come preinstalled on your Mac. Both QuickTime Player and the Screenshot Toolbar provide easy and convenient ways to record your screen in Mac with audio, without the need to spend a dime or install extra software. Below, we'll walk you through how to use both of these tools for screen recording with audio, step by step.
1. QuickTime Player
QuickTime Player isn't just a media player—it's also a handy screen recorder that comes preinstalled on all Macs. While it doesn't have editing features, it's great for basic screen recording with a mic or system audio, and the interface is super easy to navigate.
How to Screen Record with Audio on Mac Using QuickTime Player
Step1Open QuickTime Player
Find and open QuickTime Player on your Mac from the Applications folder.
Step2Start a New Screen Recording
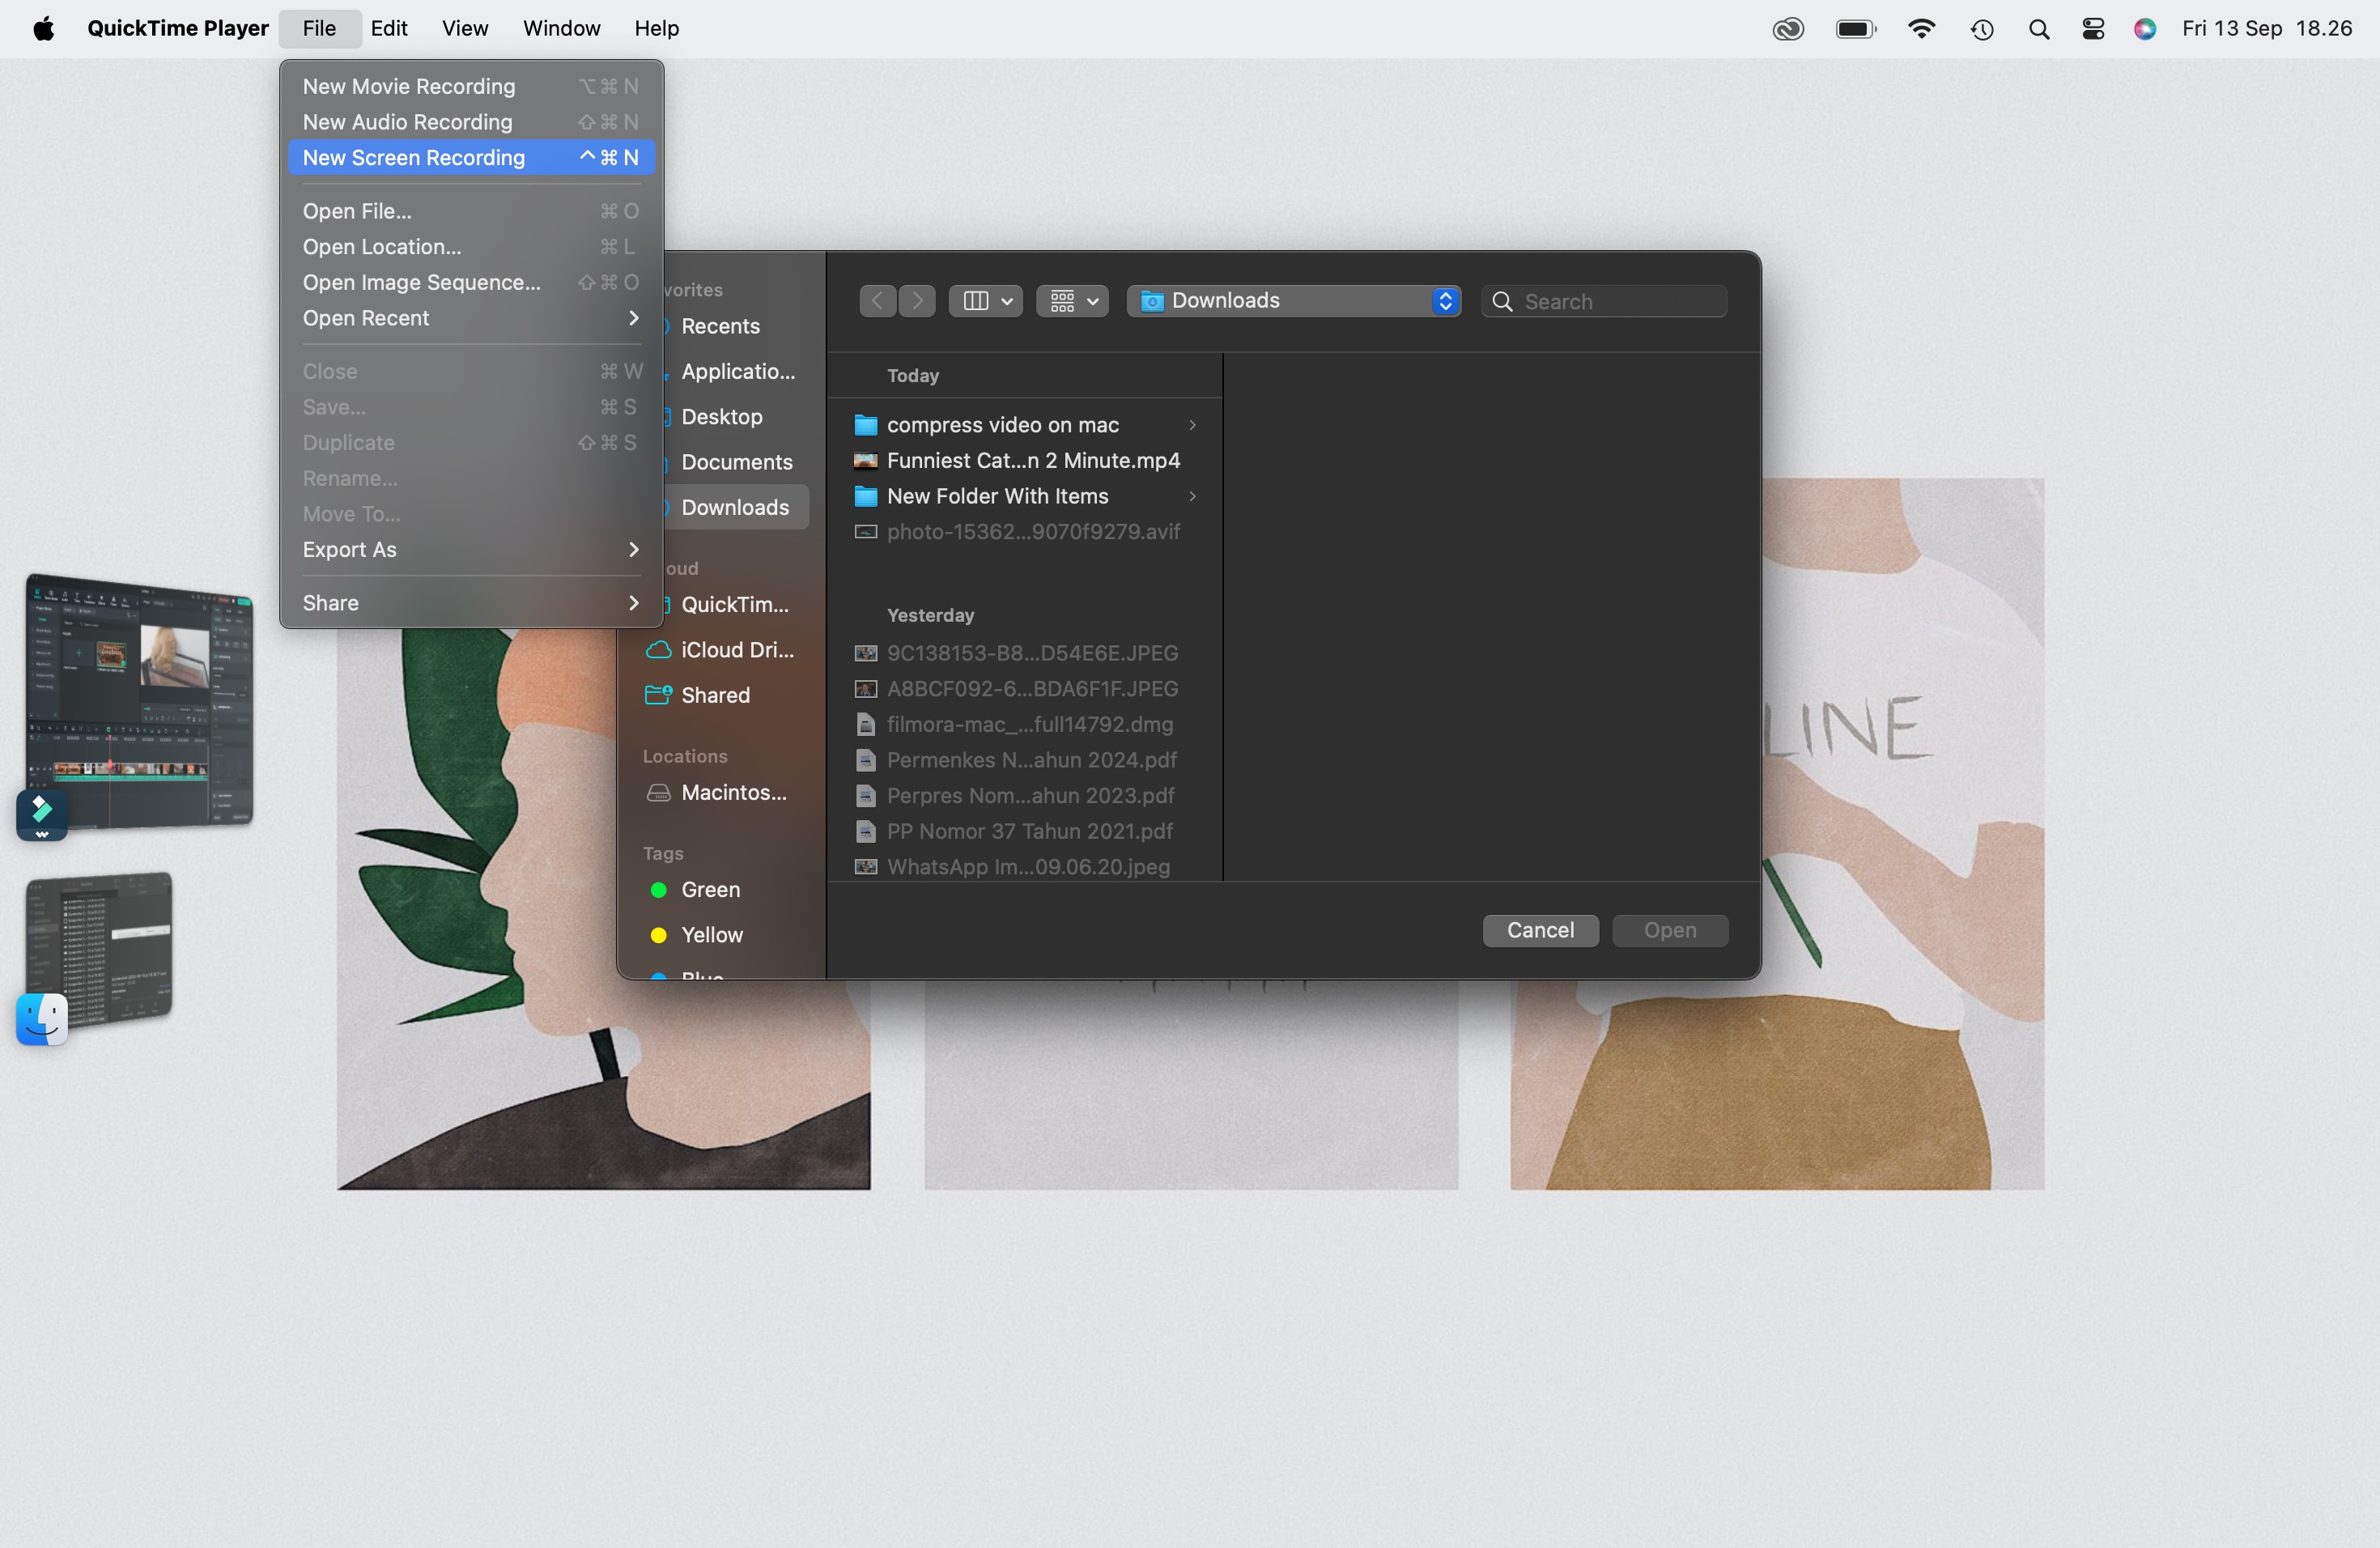
Once the app is open, click File in the top menu and select New Screen Recording.
Step3Adjust Recording Settings
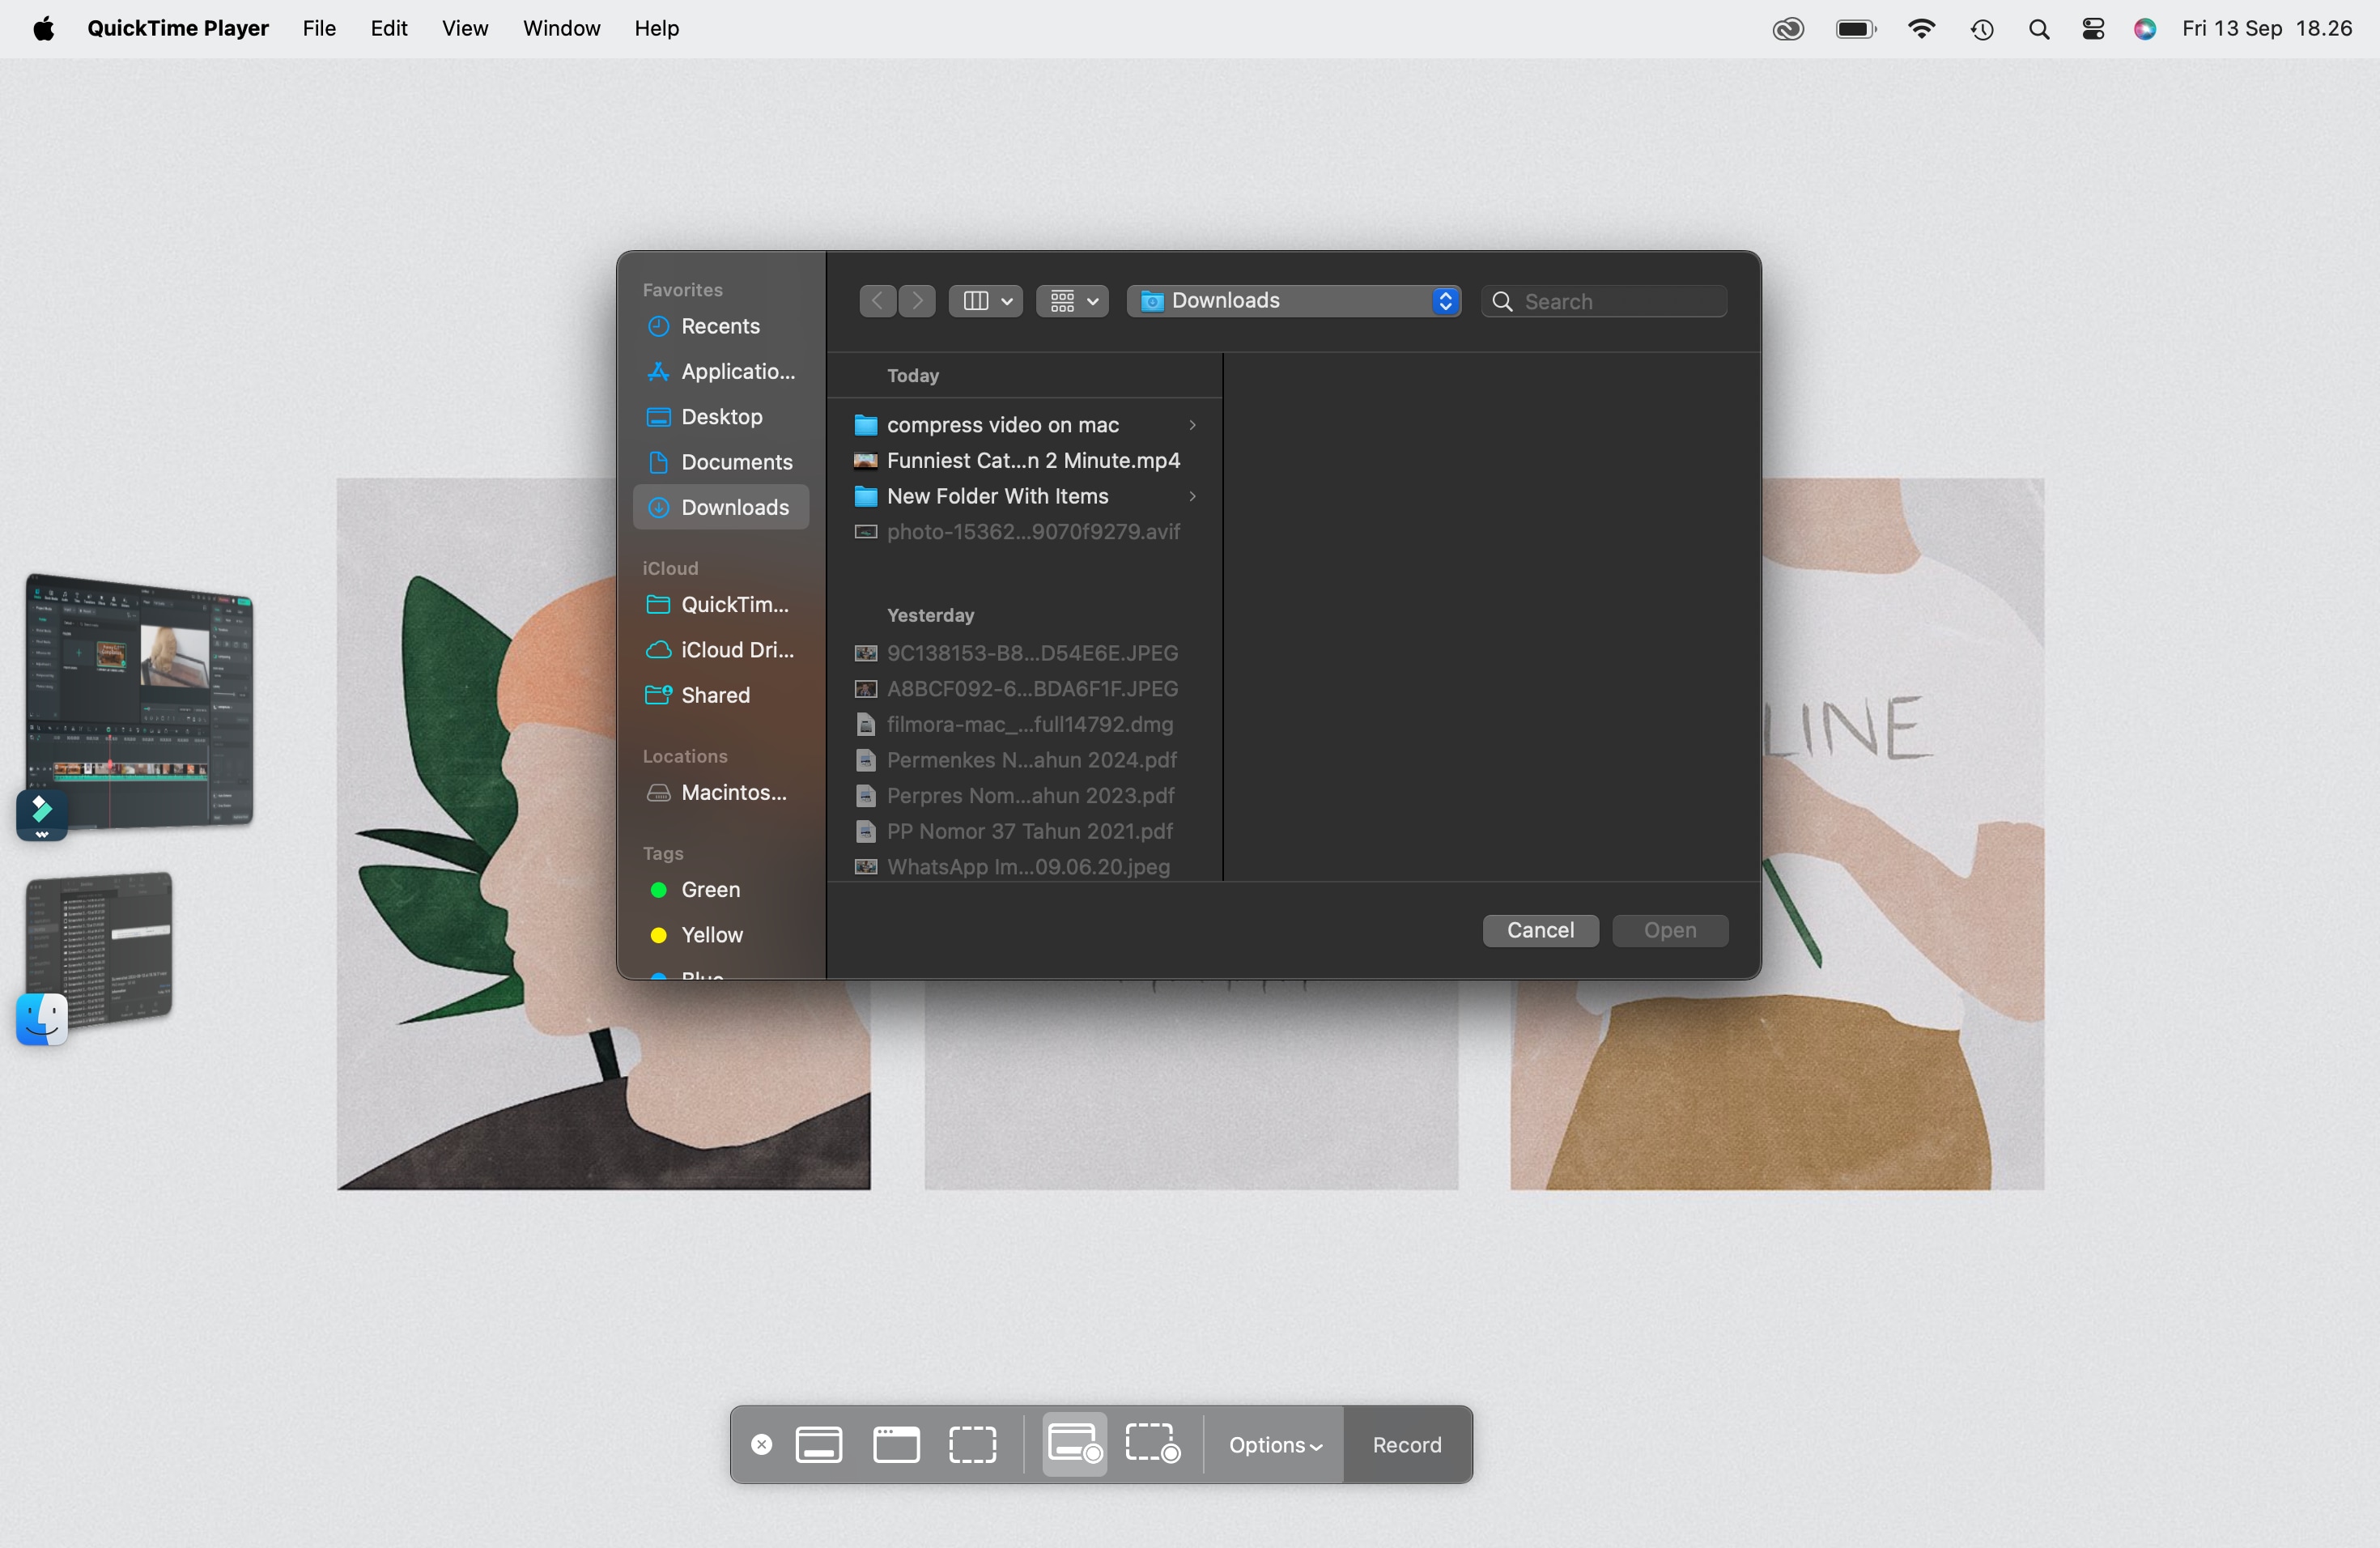
A small recording toolbar will appear with a Record button. Click the small arrow next to the record button to choose your microphone for audio input. If you need to record system audio, you might need additional software like Soundflower.
You can also enable Show Mouse Clicks in the recording to highlight where you click, which is useful for tutorials.
Step4Choose Recording Area
You can record the entire screen by clicking anywhere or dragging to select a specific area if you only want to capture part of your screen.
Step5Start Recording
Once you're ready, hit the Record button. To stop the recording, click the Stop button in the menu bar or press Cmd + Ctrl + Esc.
2. Screenshot Toolbar
For those using macOS Mojave and later, the Screenshot Toolbar is another great built-in tool. It offers more flexibility, allowing you to record your entire screen, a specific window, or a custom area. You can also enable audio recording directly from the toolbar, making it a versatile option for both screenshots and screen recordings.
How to Screen Record with Audio on MacBook Using the Screenshot Toolbar
Step1Open the Screenshot Toolbar
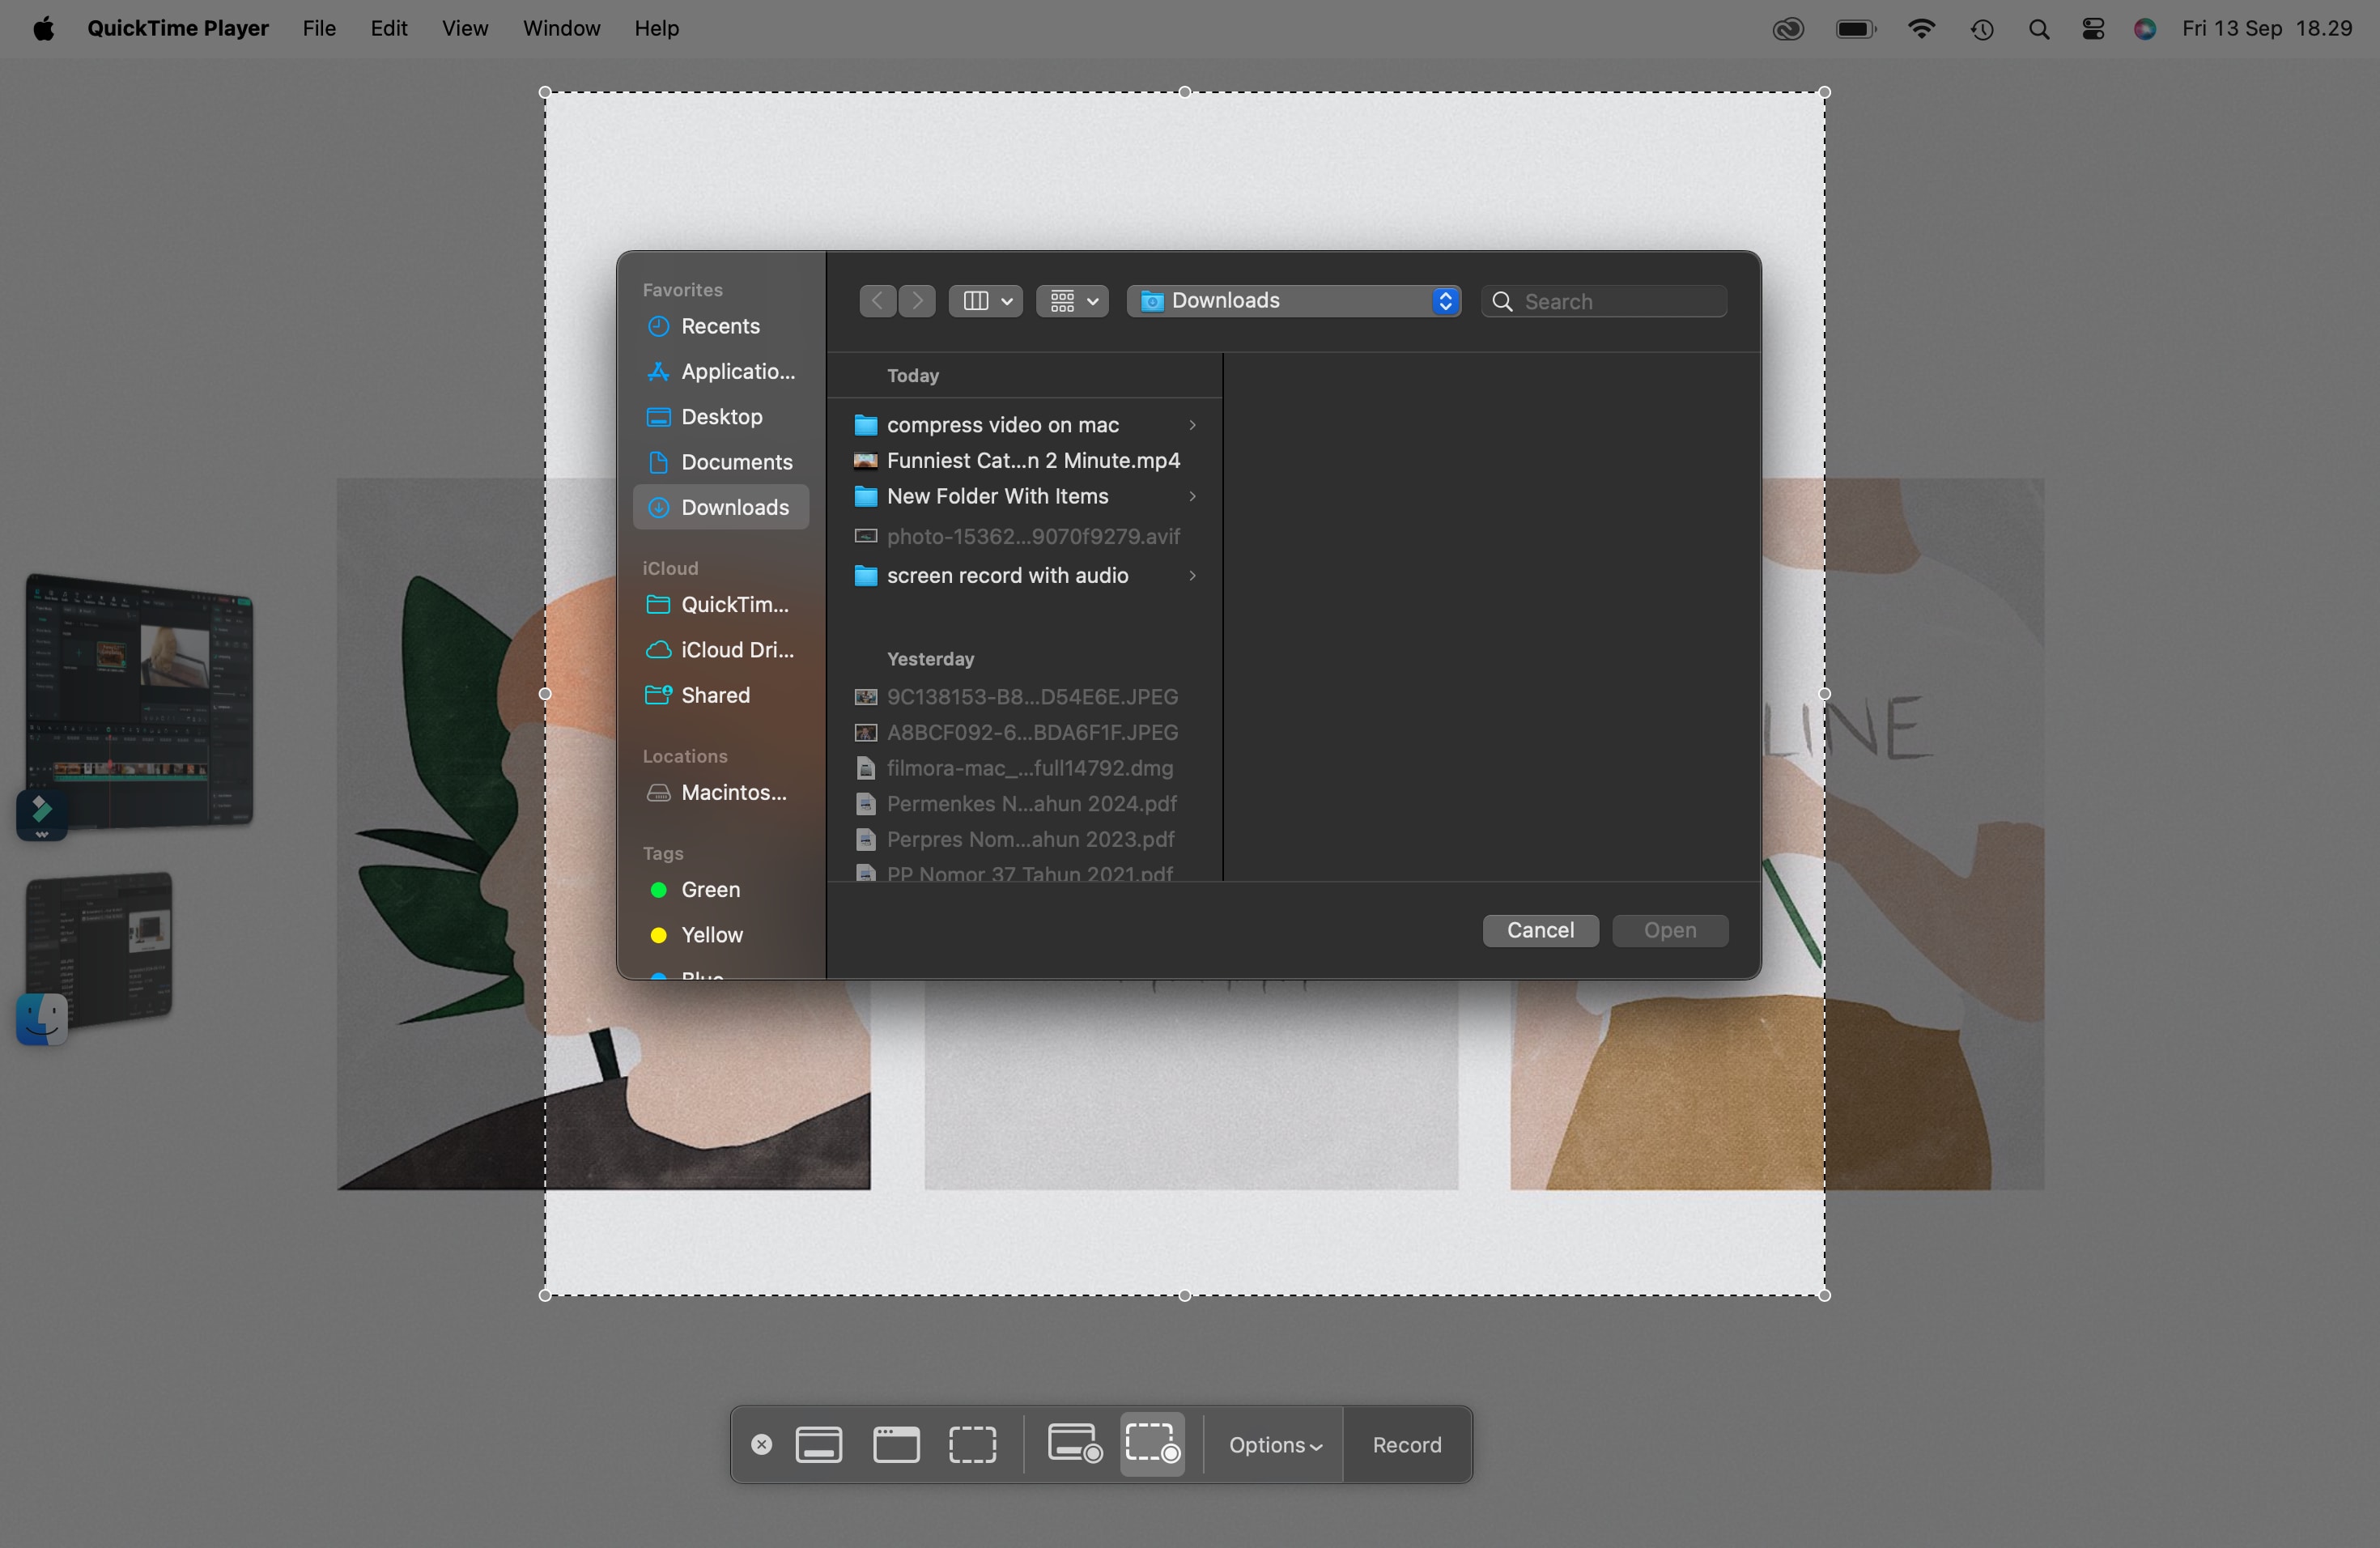
Press Cmd + Shift + 5 to launch the toolbar. A small menu with several options will pop up at the bottom of your screen.
Step2Choose Recording Options
The left side of the toolbar has options for taking screenshots. For recording, focus on the two options in the middle:
- Record the Entire Screen (to capture everything on your display)
- Record Selected Portion (to drag and select a specific area to record)
Step3Access Advanced Settings
Click the Options button in the toolbar to bring up more settings. Here, you can choose where to save your recording, set a timer, and most importantly, enable or disable Microphone Input to record with audio.
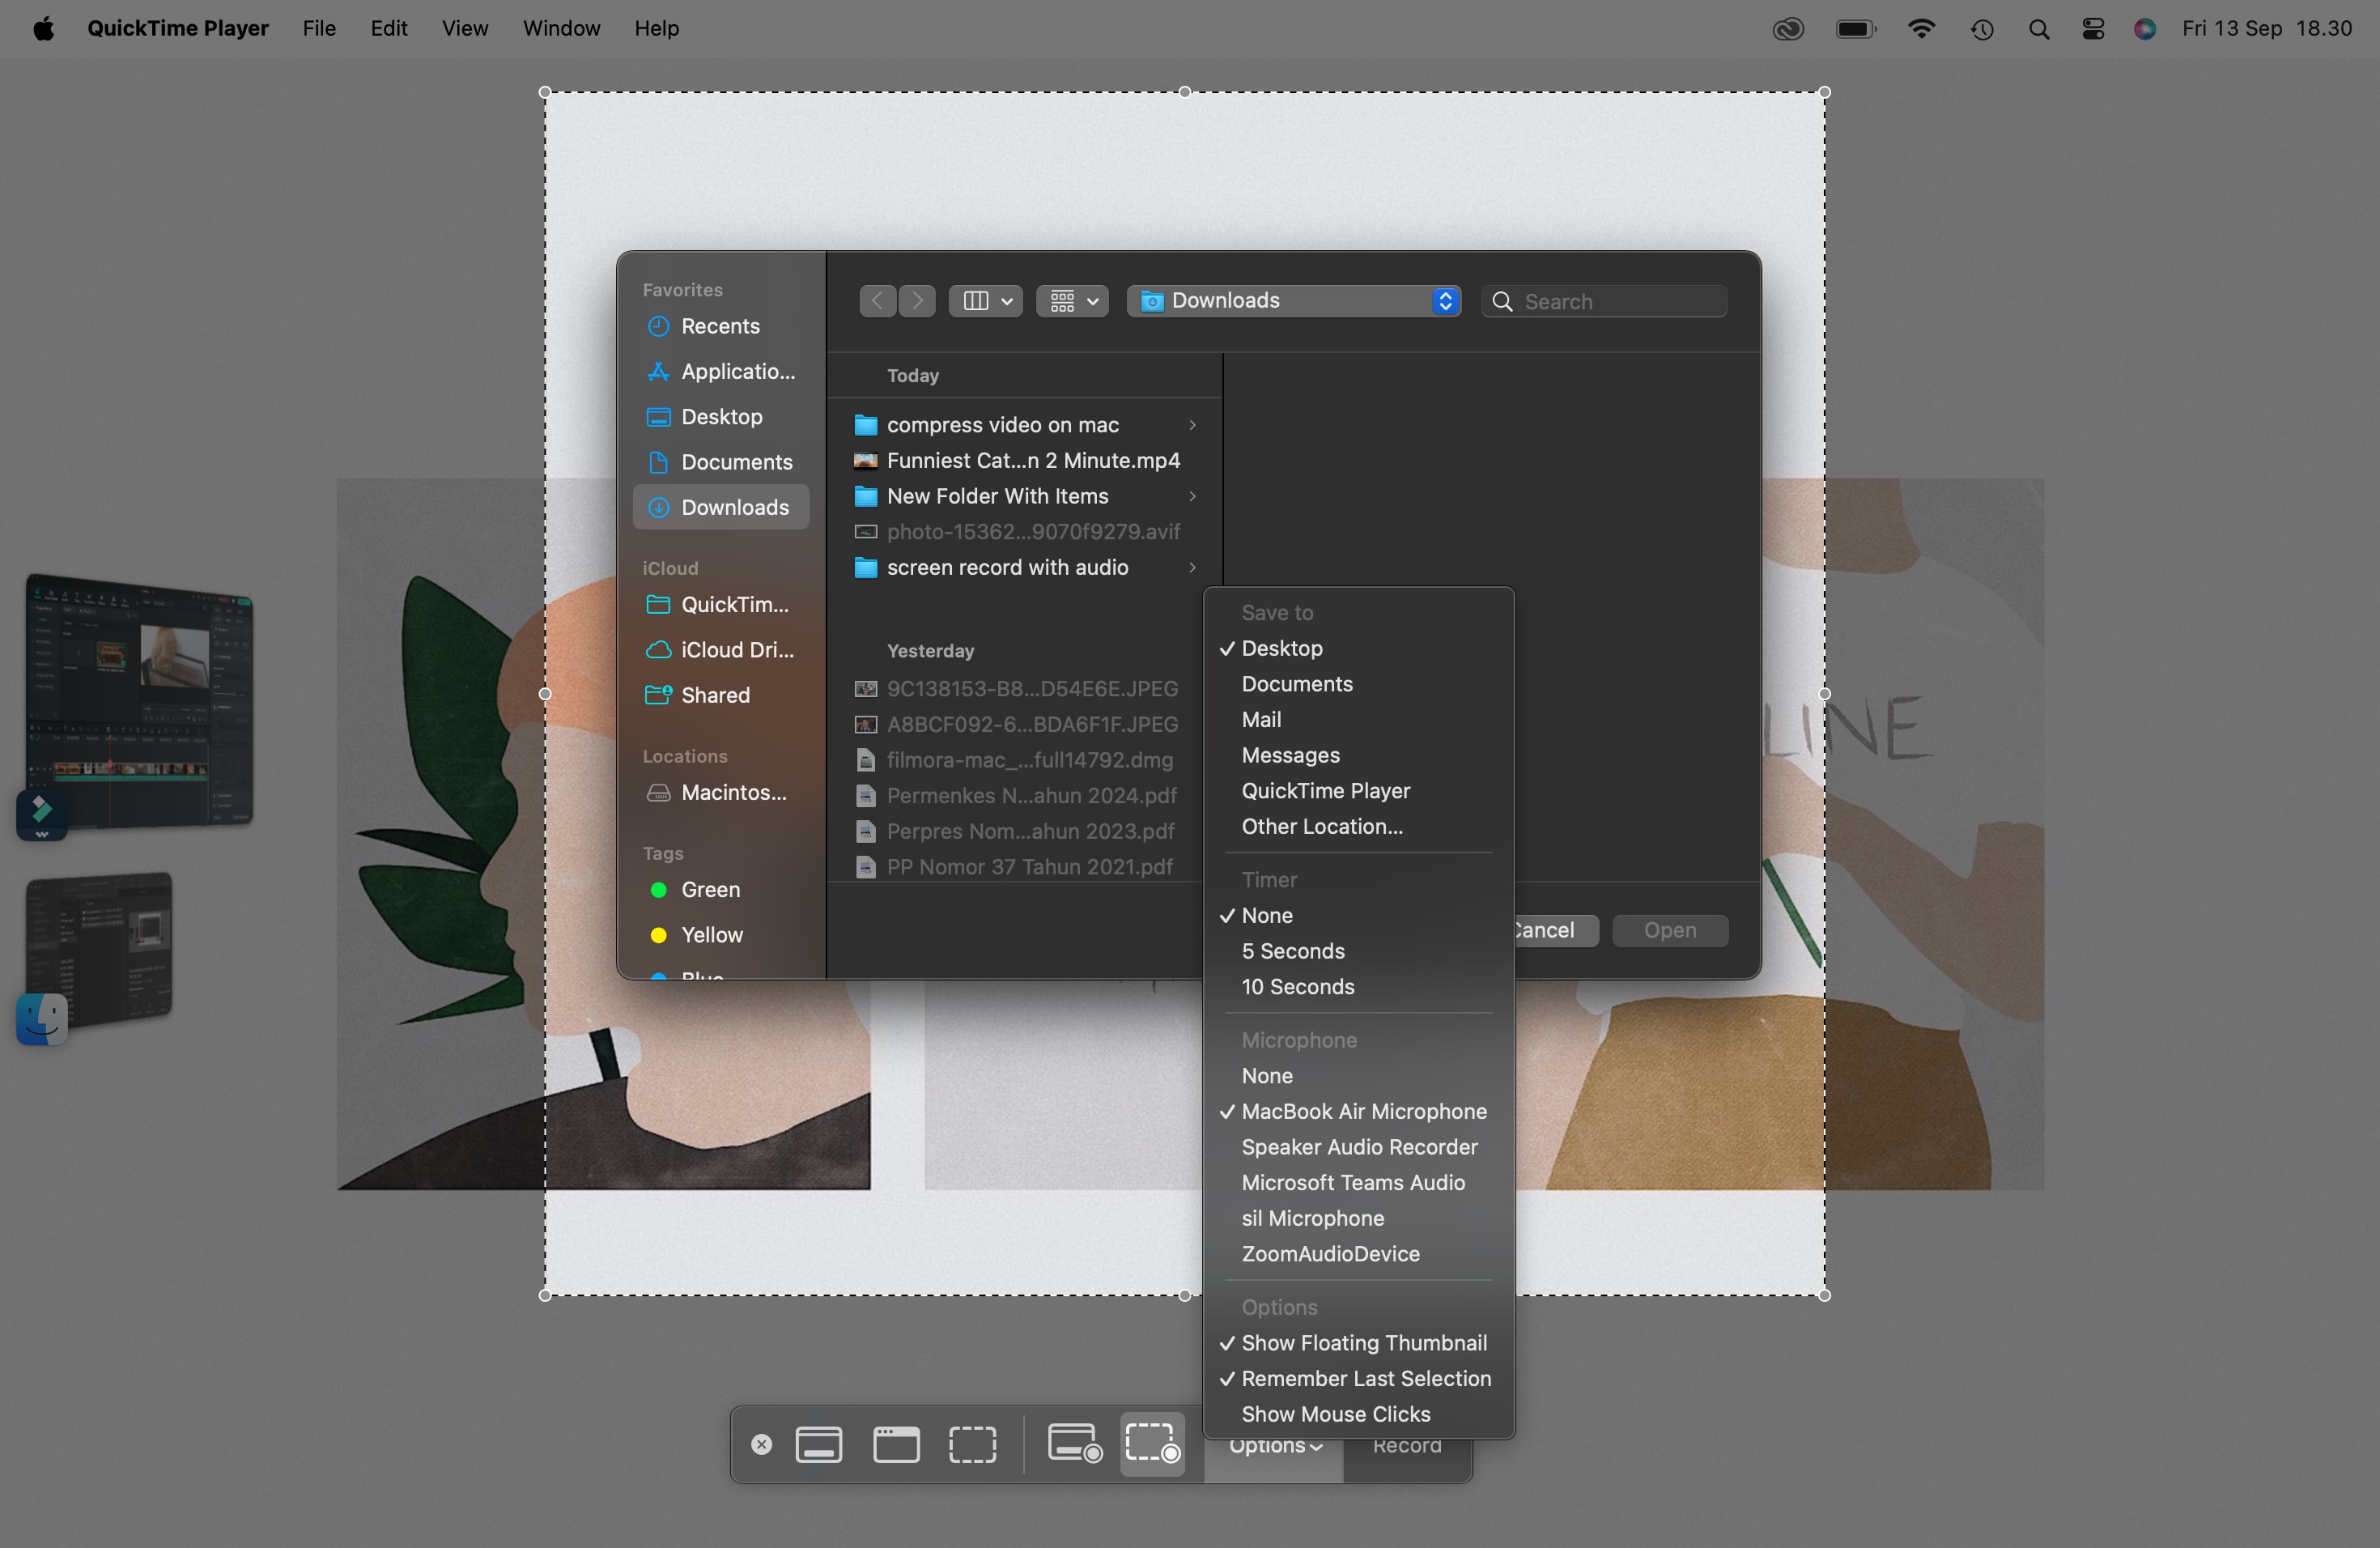
You can also choose to show or hide the floating thumbnail that appears after recording, which is helpful if you want to preview or quickly share your capture.
Step4Start Recording
Once your settings are good to go, hit the Record button to begin. When you're done, click the Stop button in the menu bar or press Cmd + Ctrl + Esc to end the recording.
Step5Save Your Recording
Your recorded video will automatically save to the selected location, but you can click the floating thumbnail to preview and make adjustments before finalizing.
Both QuickTime Player and the Screenshot Toolbar are solid choices for anyone looking to record their Mac screen with audio. While they’re simple to use, they each have a few limitations, especially if you need advanced editing tools or system audio capture.
Best Alternative Recorder to Record Screen and Audio on Mac
While free tools like QuickTime Player and the Screenshot Toolbar are great for basic screen recordings, they come with limitations. They lack advanced features such as editing capabilities, system audio capture without additional plugins, and customization options for professional-grade recordings.
If you're someone who needs more control over your recordings or plans to edit your content, it's worth considering more advanced tools that offer a range of customizations to fit your needs. Below, we'll introduce two powerful alternatives that are perfect for recording screen and audio on Mac: Wondershare Filmora, VLC Screen Recorder, and Movavi Screen Recorder.
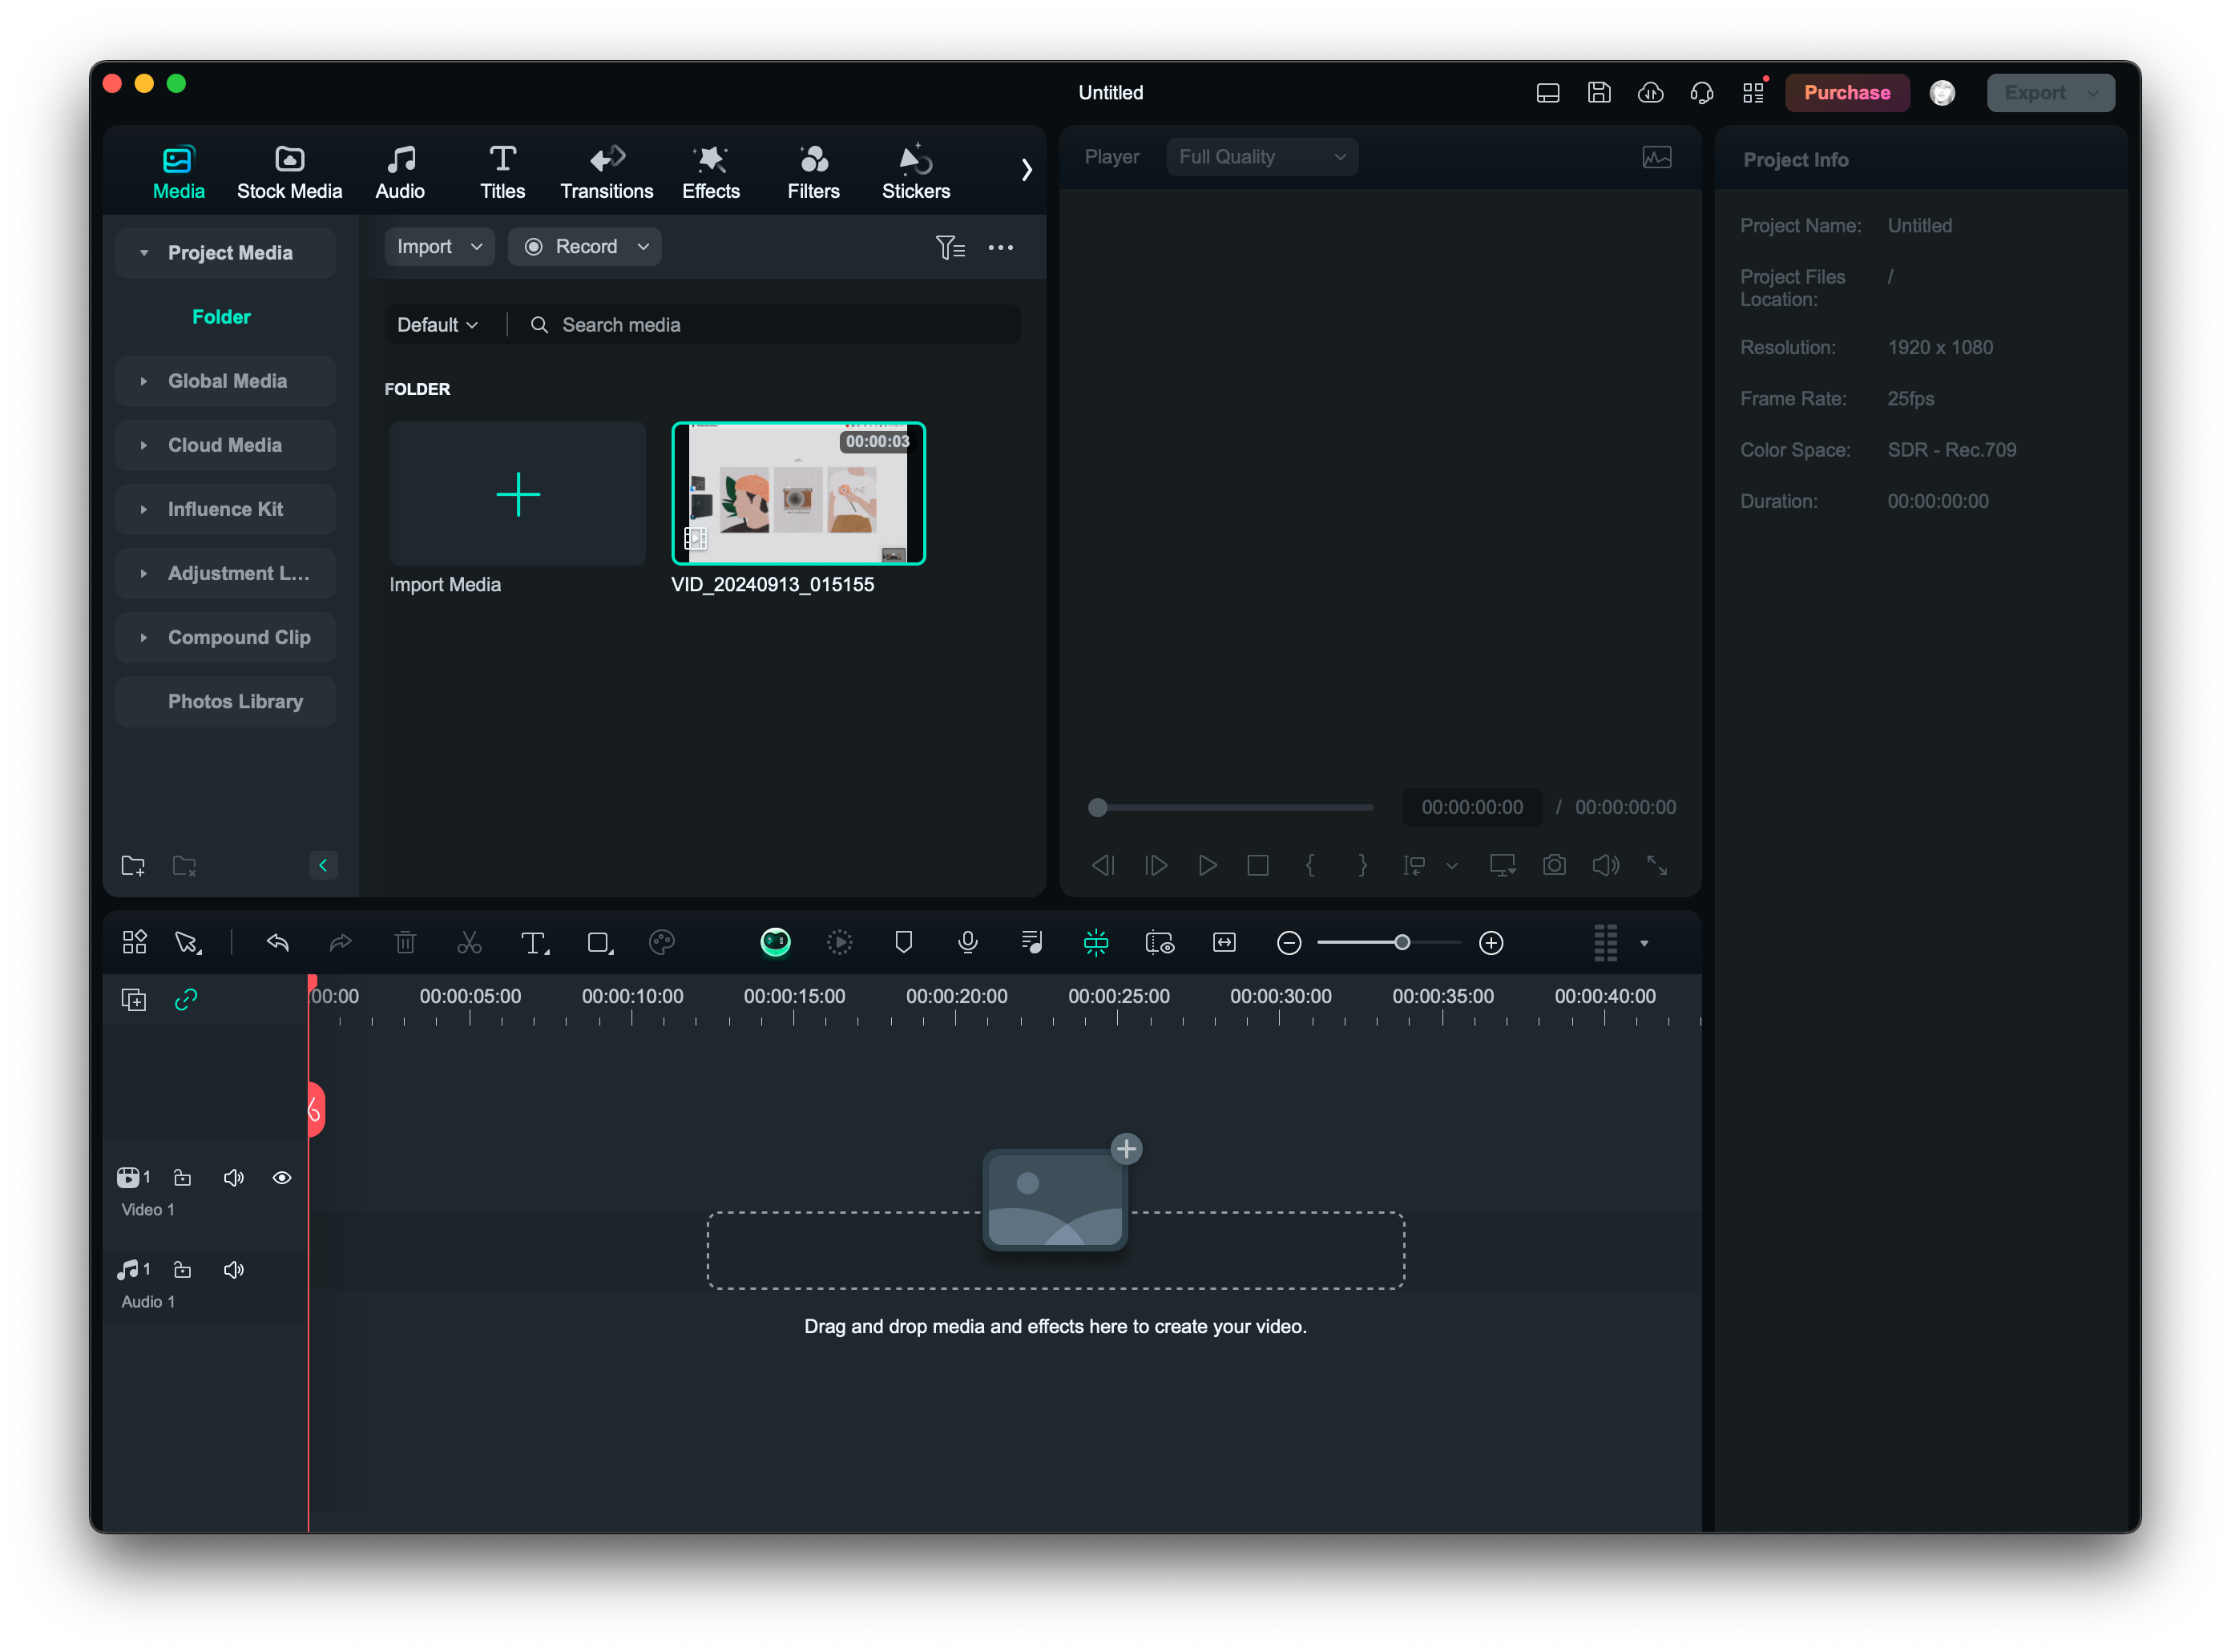
1. Wondershare Filmora
Wondershare Filmora is a popular Screen Recorderscreen recording and video editing tool designed for creators who need more advanced functionalities. It combines a powerful screen recorder with a comprehensive video editor, making it easy to create polished, professional content. Whether you're making tutorials, presentations, or YouTube videos, Filmora is a go-to tool for seamless recording and editing.
Best Use:
Filmora is best for users who need an all-in-one solution for recording and editing videos. With its intuitive interface and wide array of editing tools, it's perfect for both beginners and advanced creators.
Screen Recording Features:
- Record full screen or selected areas
- Capture system audio and microphone input simultaneously
- Recorder Timer to schedule your screen recording
- Customizable frame rate and resolution
- Highlight mouse clicks for tutorials
- Built-in video editing features for trimming, transitions, and effects
- Superb video stabilization with low distortion.
- Vast video/audio effects and creative assets.
- Powerful AI for effortless content creation.
- Intuitive, professional yet beginner-friendly.
- Works on Mac, Windows, iOS, and Android.


How to Screen Record with Audio on Mac with Wondershare Filmora:
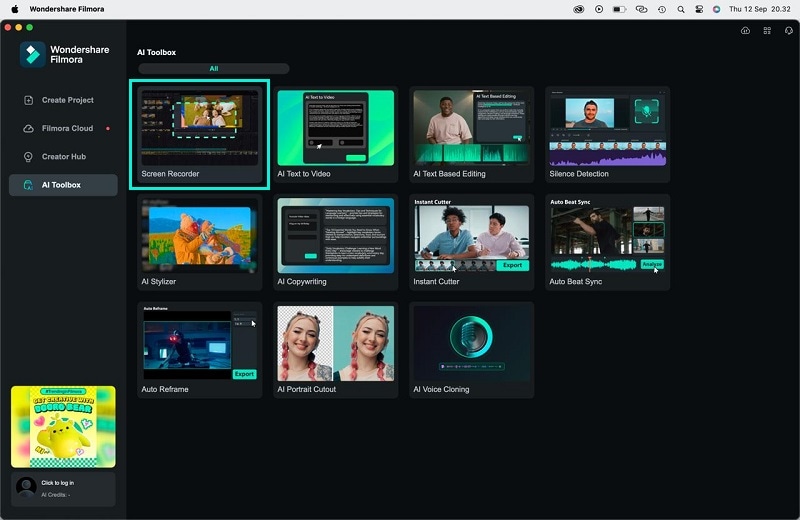
Step1Launch Filmora and Select Screen Recorder
Open Filmora and click on the Screen Recorder menu from the startup window.
Step2Configure Recording Settings
A new dialog box will appear with options to adjust the screen recording settings. You can choose between recording the Full Screen or a Custom Area by inputting dimensions or using the drag-and-drop tool to highlight the area to record.
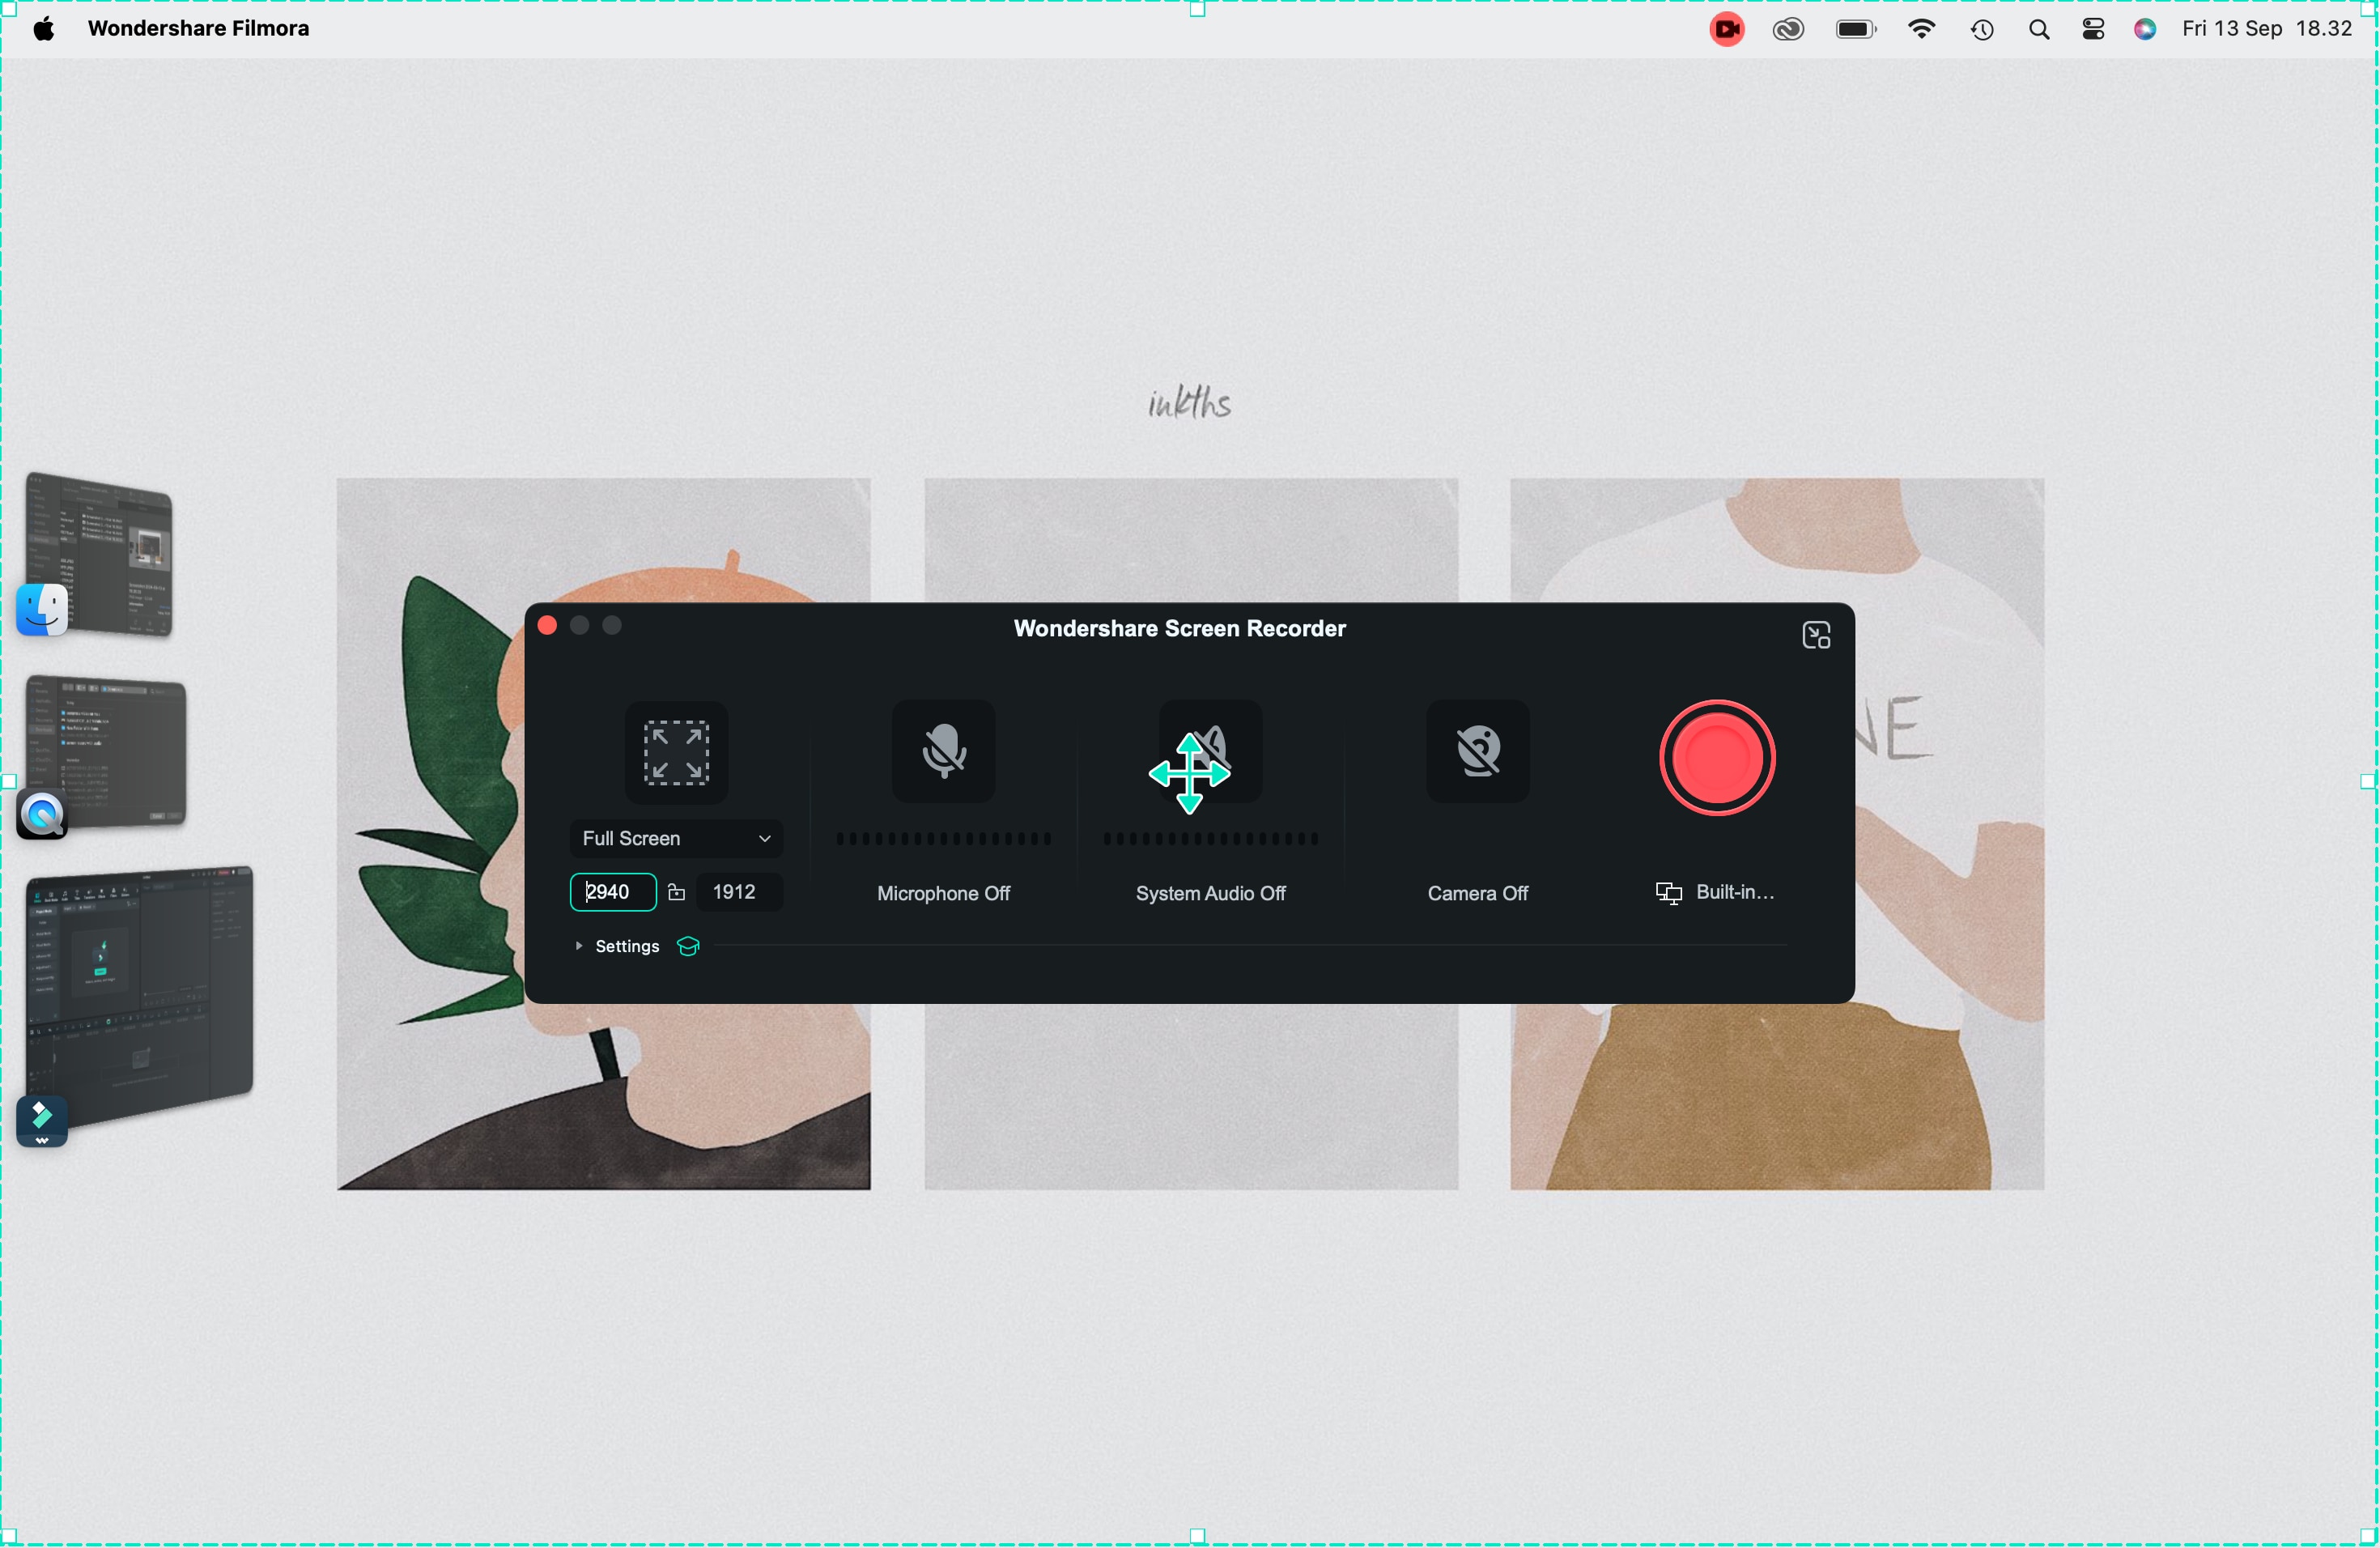
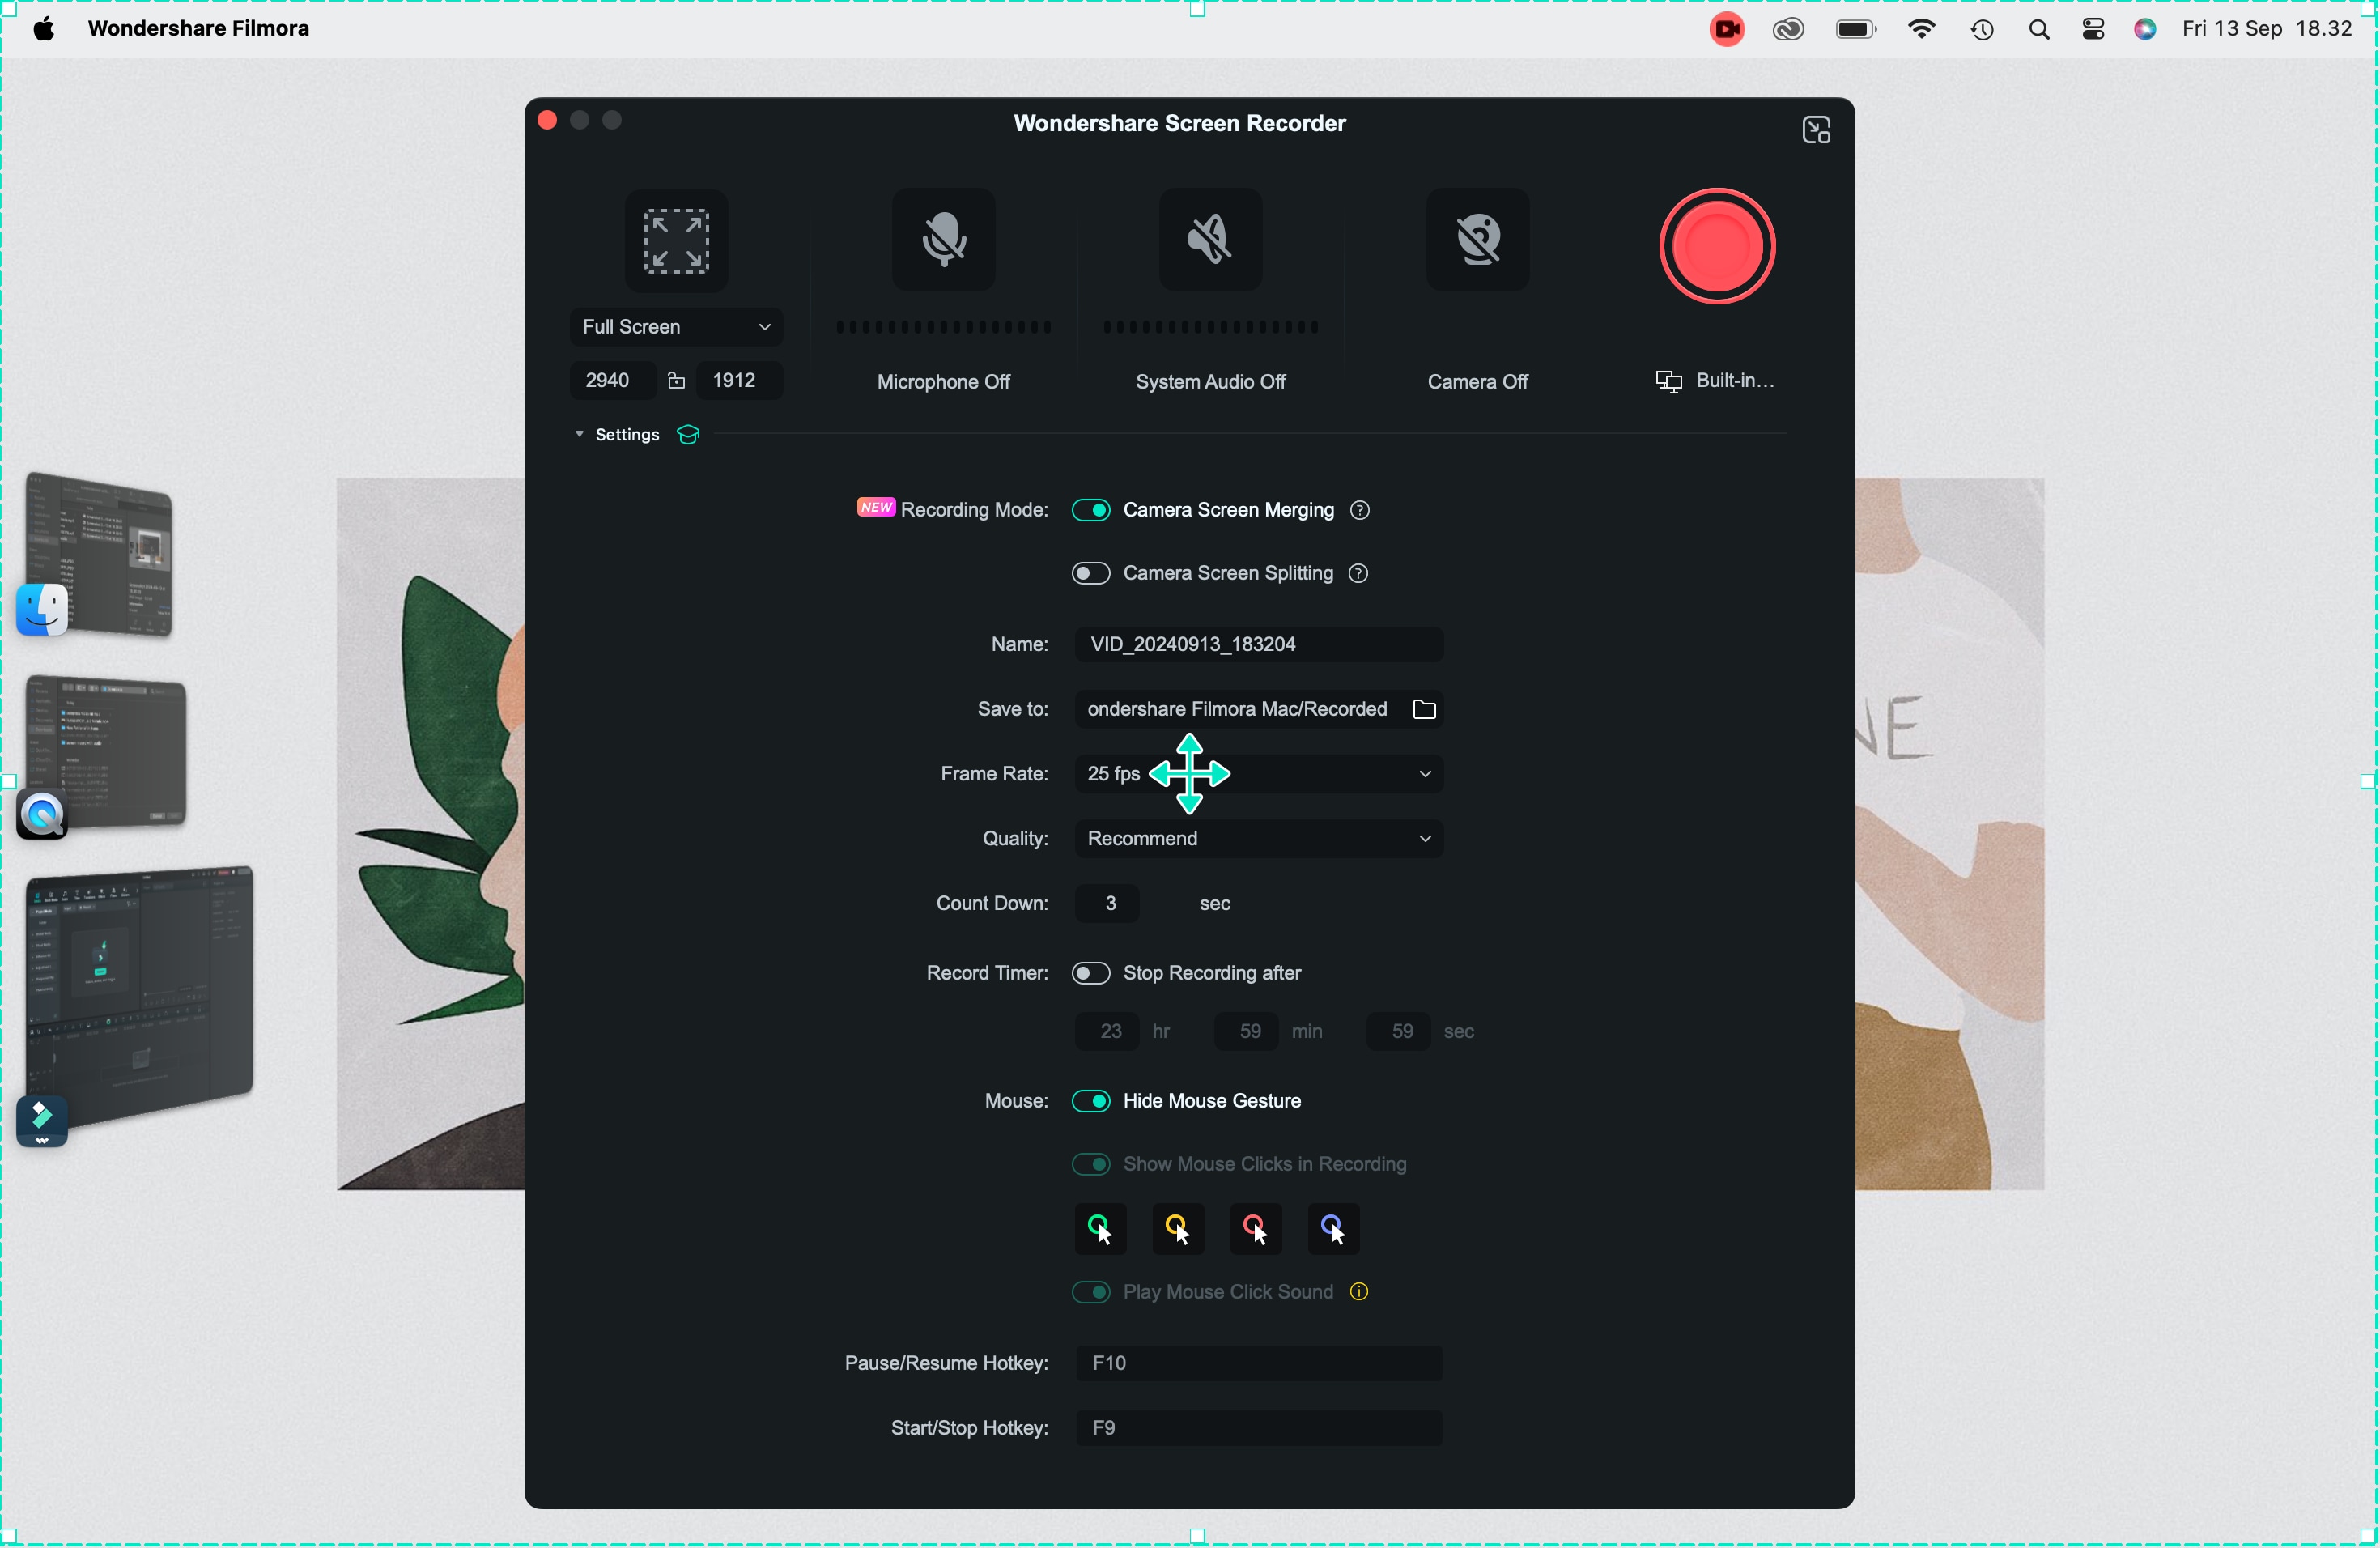
Enable the Microphone and System Audio options if you want to capture external sound (e.g., voiceovers) or internal system sounds (e.g., game audio or video sounds). For advanced options, click the Settings (gear) icon to access more features, such as enabling Mouse Clicks during recording.
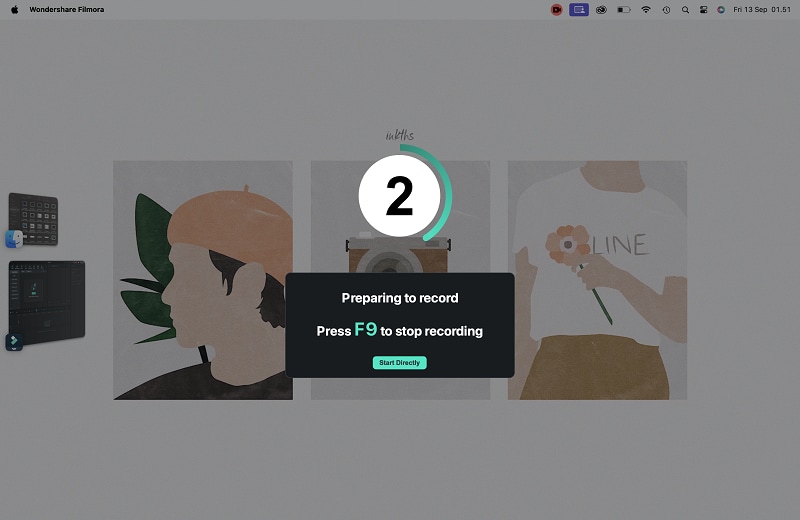
Step3Start Recording
Press the Record button, and Filmora will give you a few seconds of countdown before the recording begins. You can stop recording by pressing the Stop button in the taskbar.
Step4Edit and Save Your Recording
Once the recording is complete, it will automatically direct the result to the Filmora editing interface. You can add it to the timeline and begin editing, trimming, adding transitions, and more. You can refer to the next section for tips on editing your recording.
2. VLC Screen Recorder
VLC is widely known as a media player, but it also has powerful screen recording capabilities. Being an open-source, free tool, it offers various customization options. Advanced users will appreciate its flexibility, though it lacks built-in editing features like Filmora.
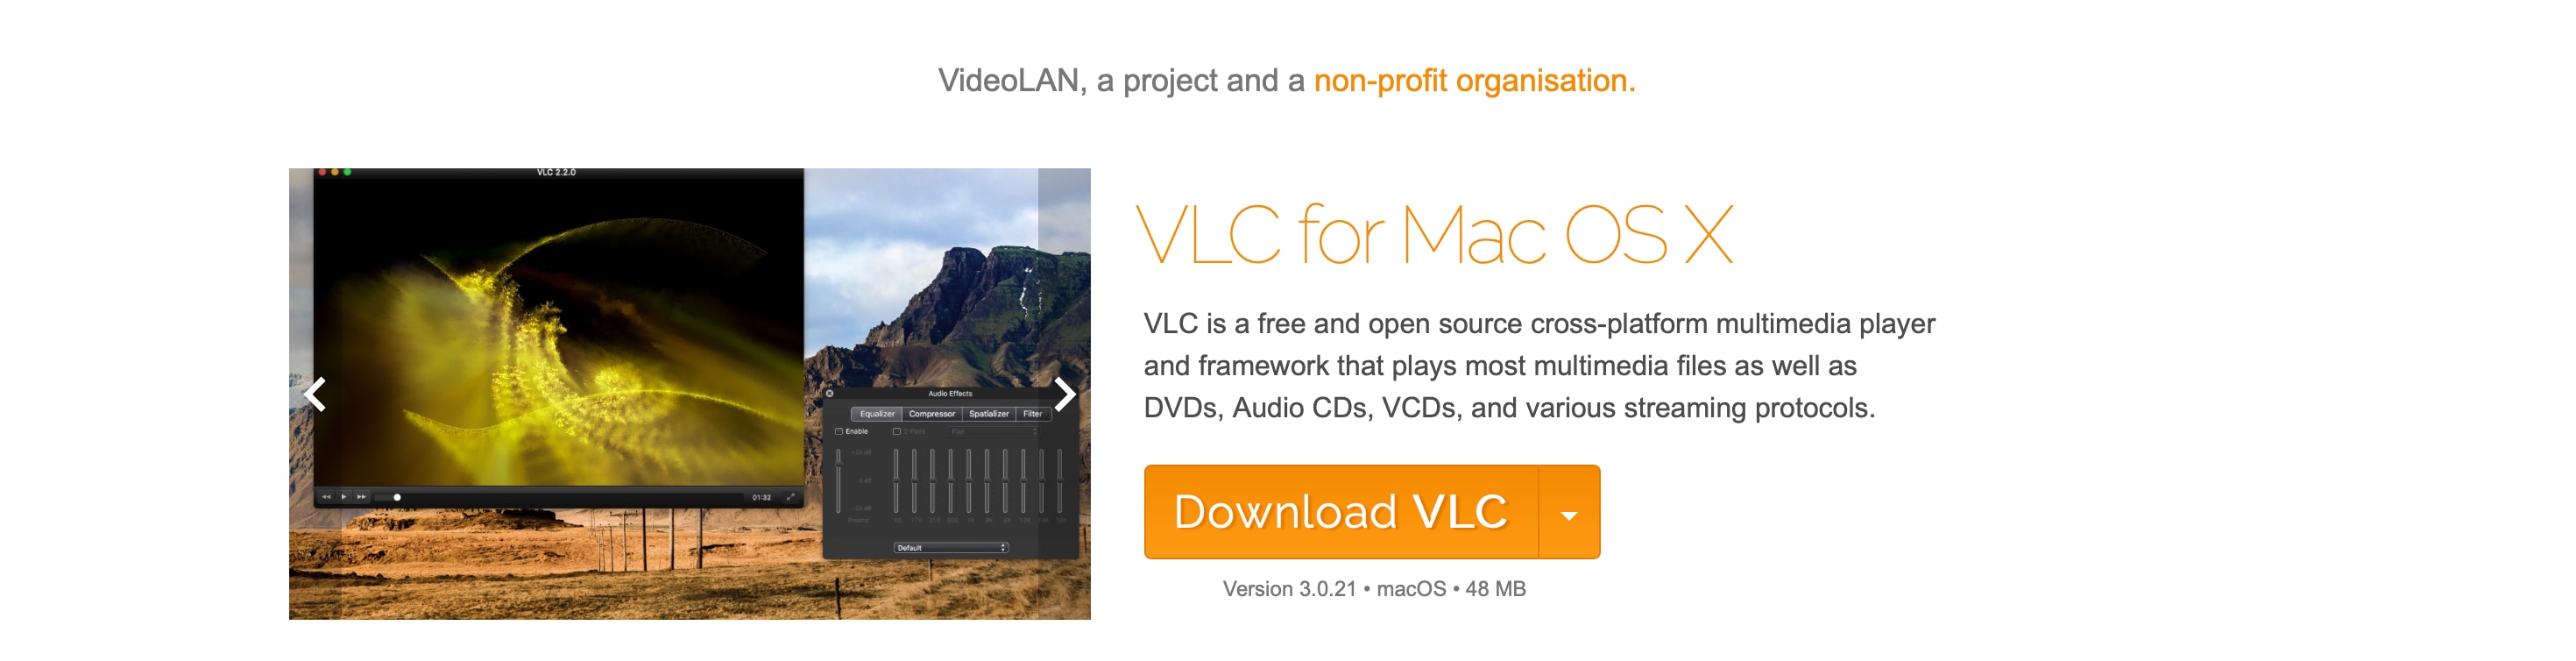
Best Use:
VLC is ideal for users who want a free tool with flexible screen recording options. It's great for those who are familiar with customizing technical settings and don't need post-recording editing features.
3. Movavi Screen Recorder
Movavi Screen Recorder is a robust and beginner-friendly tool built specifically for screen recording. It offers advanced features like scheduled recordings, annotations, and basic editing options. It's an excellent choice for anyone looking for a straightforward, hassle-free screen recording experience with some post-recording editing features.
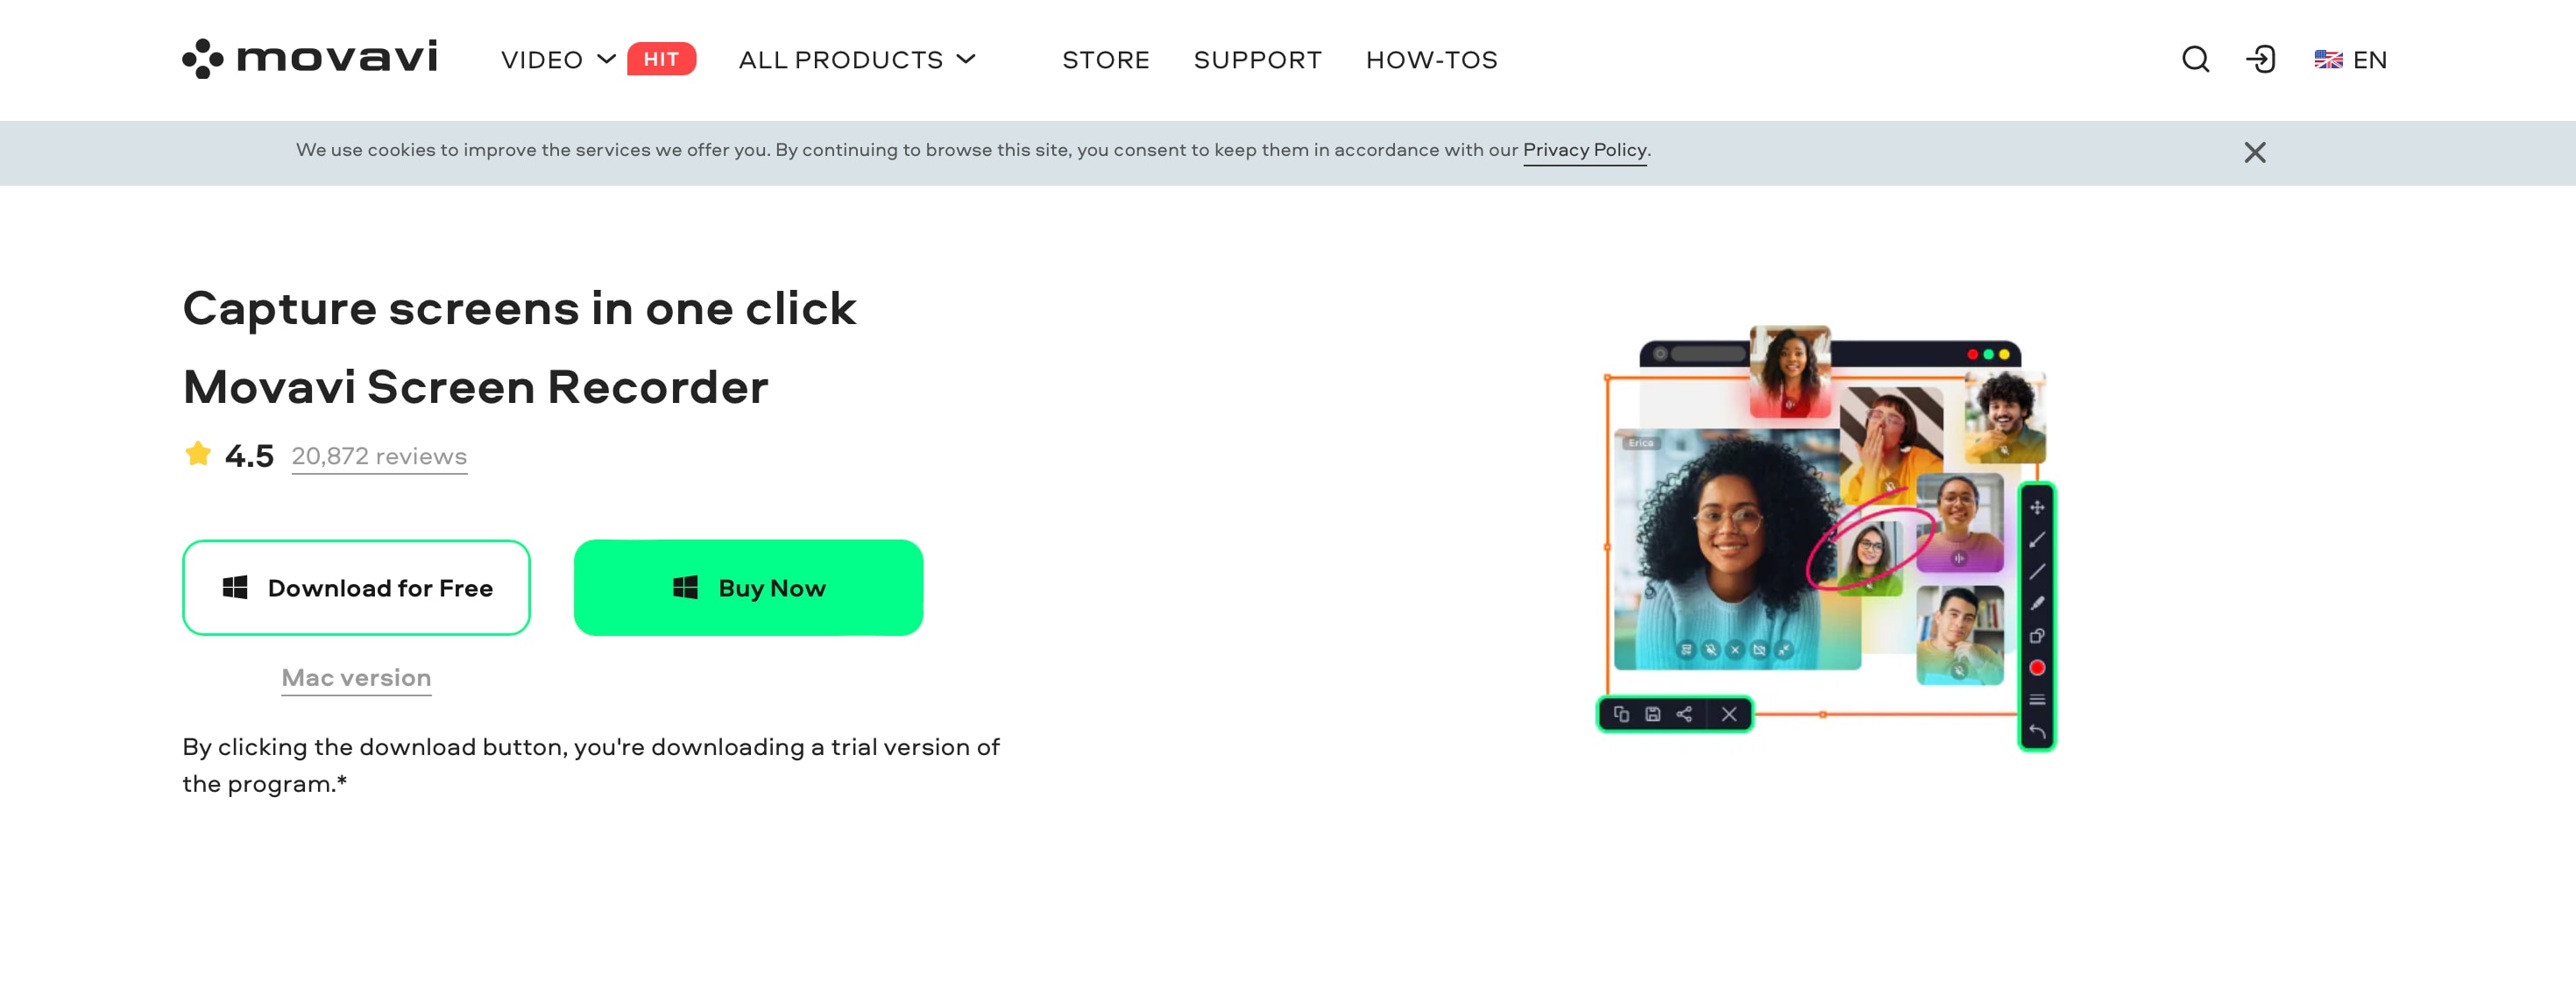
Best Use:
Movavi Screen Recorder is perfect for users who want a simple interface with powerful features for capturing webinars, tutorials, or streaming content. It also offers light editing features, making it great for creators who need to polish their recordings without using a separate video editor.
Part 3. Edit and Enhance Your Screen Recordings
Once you've finished recording your screen with audio on Macbook, it's time to polish the footage and make it more engaging for your audience. This is where Filmora truly shines, offering a range of advanced enhancements that let you elevate your content beyond simple screen captures.
Here are some key editing features you can explore to enhance your recordings:
- Adjusting Audio Levels
To ensure that your audio is clear and well-balanced, Filmora provides a feature called Audio DuckingAudio Ducking. This tool automatically lowers the volume of background music or other audio tracks when it detects voiceover or narration. This is particularly useful for making sure that your speech or any important audio content stands out without being drowned out by background sounds.
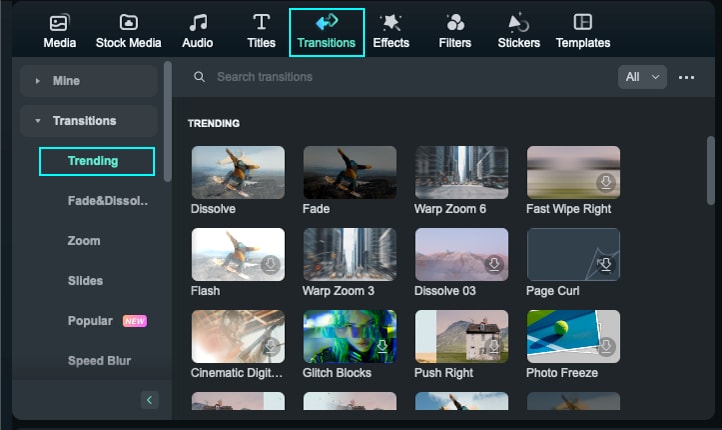
- Incorporating Transitions
Filmora also excels in adding visual polish to your videos. With the 500+ Transition library, you can seamlessly integrate smooth transitions like fades, wipes, or slides between different sections of your recording. This helps in creating a professional and fluid viewing experience.
- Using Motion Tracking and Keyframing
For more advanced enhancements, Filmora's Motion Tracking and KeyframingKeyframing features are incredibly useful. Motion Tracking allows you to follow and highlight moving objects in your video, making your content more interactive. Keyframing lets you animate elements by adjusting their position, scale, or rotation over time, which is perfect for tutorials and presentations.
By utilizing these tools, you can turn your raw screen recordings into polished, high-quality videos that are not only informative but also visually engaging.
Conclusion
Recording your screen with audio on a Mac is easier than ever with the right tools. For quick, basic tasks, free options like QuickTime Player and the Screenshot Toolbar get the job done. As for more professional results, you can use Wondershare Filmora, VLC, or Movavi.
However, for more advanced needs, Filmora stands out as the best all-in-one solution. Not only does it offer seamless screen recording, but it also provides powerful editing features like audio adjustments, transitions, and motion tracking. Filmora makes it easy to capture, enhance, and share high-quality videos.
