

 TL;DR:
Z-Image Turbo is a high-speed AI model optimized for rapid text-to-image generation, making it ideal for users who need quick concept visualization without configuring complex parameters.
● Structure prompts using clear, everyday language with the main subject first followed by lighting or style descriptors, because the model does not respond well to long strings of technical weighted parameters.
● The tool natively lacks image-to-image capabilities for composition control or style transfer, requiring users to utilize external ControlNet-based models or Stable Diffusion for precise structural refinement.
● Choose Z-Image Turbo for standalone, lightning-fast image creation, but use Wondershare Filmora with its nano banana pro model if you need to upload reference images or transform static generations into dynamic video content within an integrated workspace.
Ask AI for a summary
 ChatGPT
 Perplexity
 Gemini
 Claude
 Grok
Grok
Z-Image Turbo has recently gained attention as a fast and lightweight AI image generation model. Many users are searching for clear answers to a few core questions: what Z-Image Turbo actually is, how to use it, and whether it supports image-to-image generation.
This article explains how Z-Image Turbo works, how to use it effectively, and what to expect from its prompt and image-to-image capabilities. It also looks beyond image generation to explore what users typically need after creating AI images—and how to streamline your entire creative workflow.
Part 1. What Is Z-Image Turbo AI?
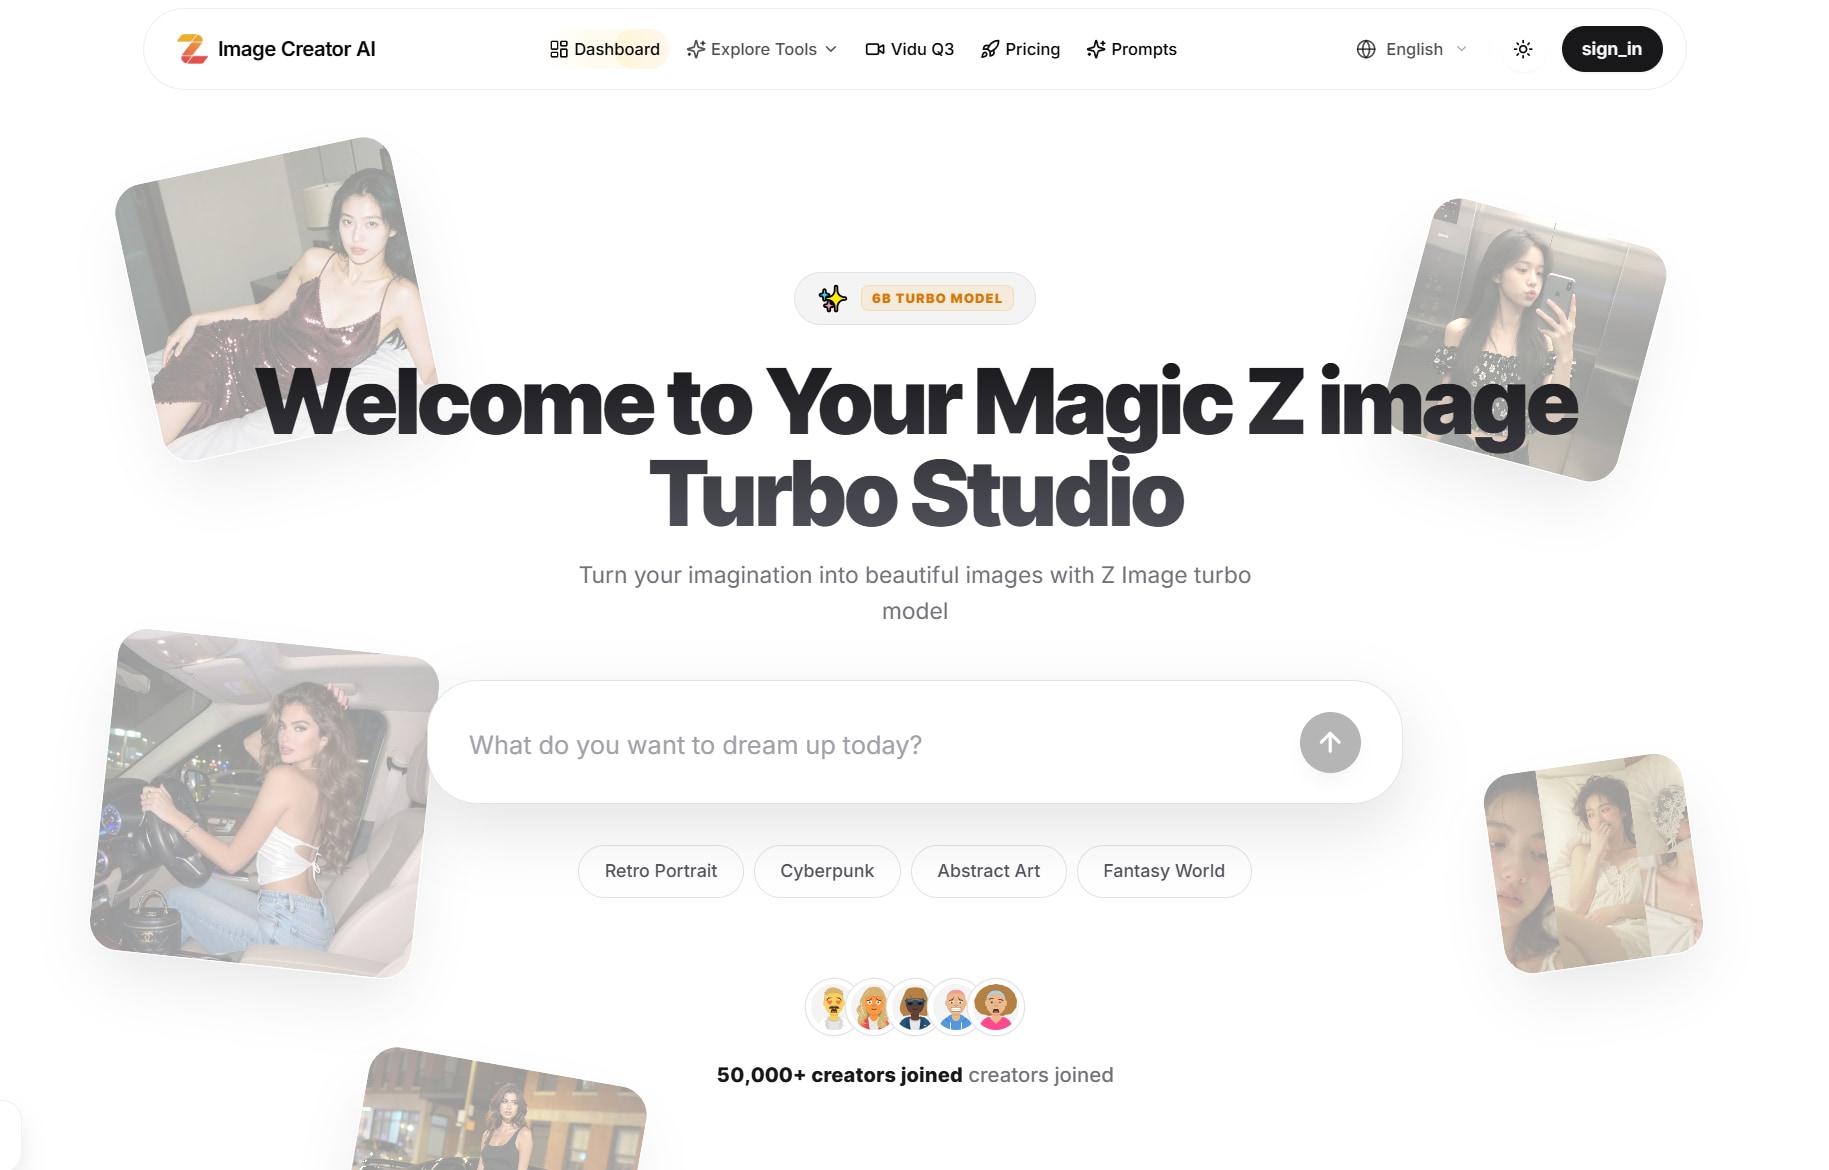
Z-Image Turbo is an AI image generation model designed with a strong focus on speed and efficiency. Unlike traditional diffusion models that prioritize high step counts and fine-grained control, Z-Image Turbo is optimized for rapid text-to-image generation with minimal setup.
The model is part of the broader Z-Image family. While Z-Image focuses on general image generation and Z-Image Edit targets image editing tasks, Z-Image Turbo is built specifically for fast generation scenarios where speed matters more than deep customization.
- Lightning-Fast Generation: Creates images in seconds, not minutes
- Text-to-Image: Converts written descriptions into visual content
- Minimal Configuration: Works well with simple prompts without advanced settings
- Cost-Effective: Designed for high-volume, quick-turnaround projects
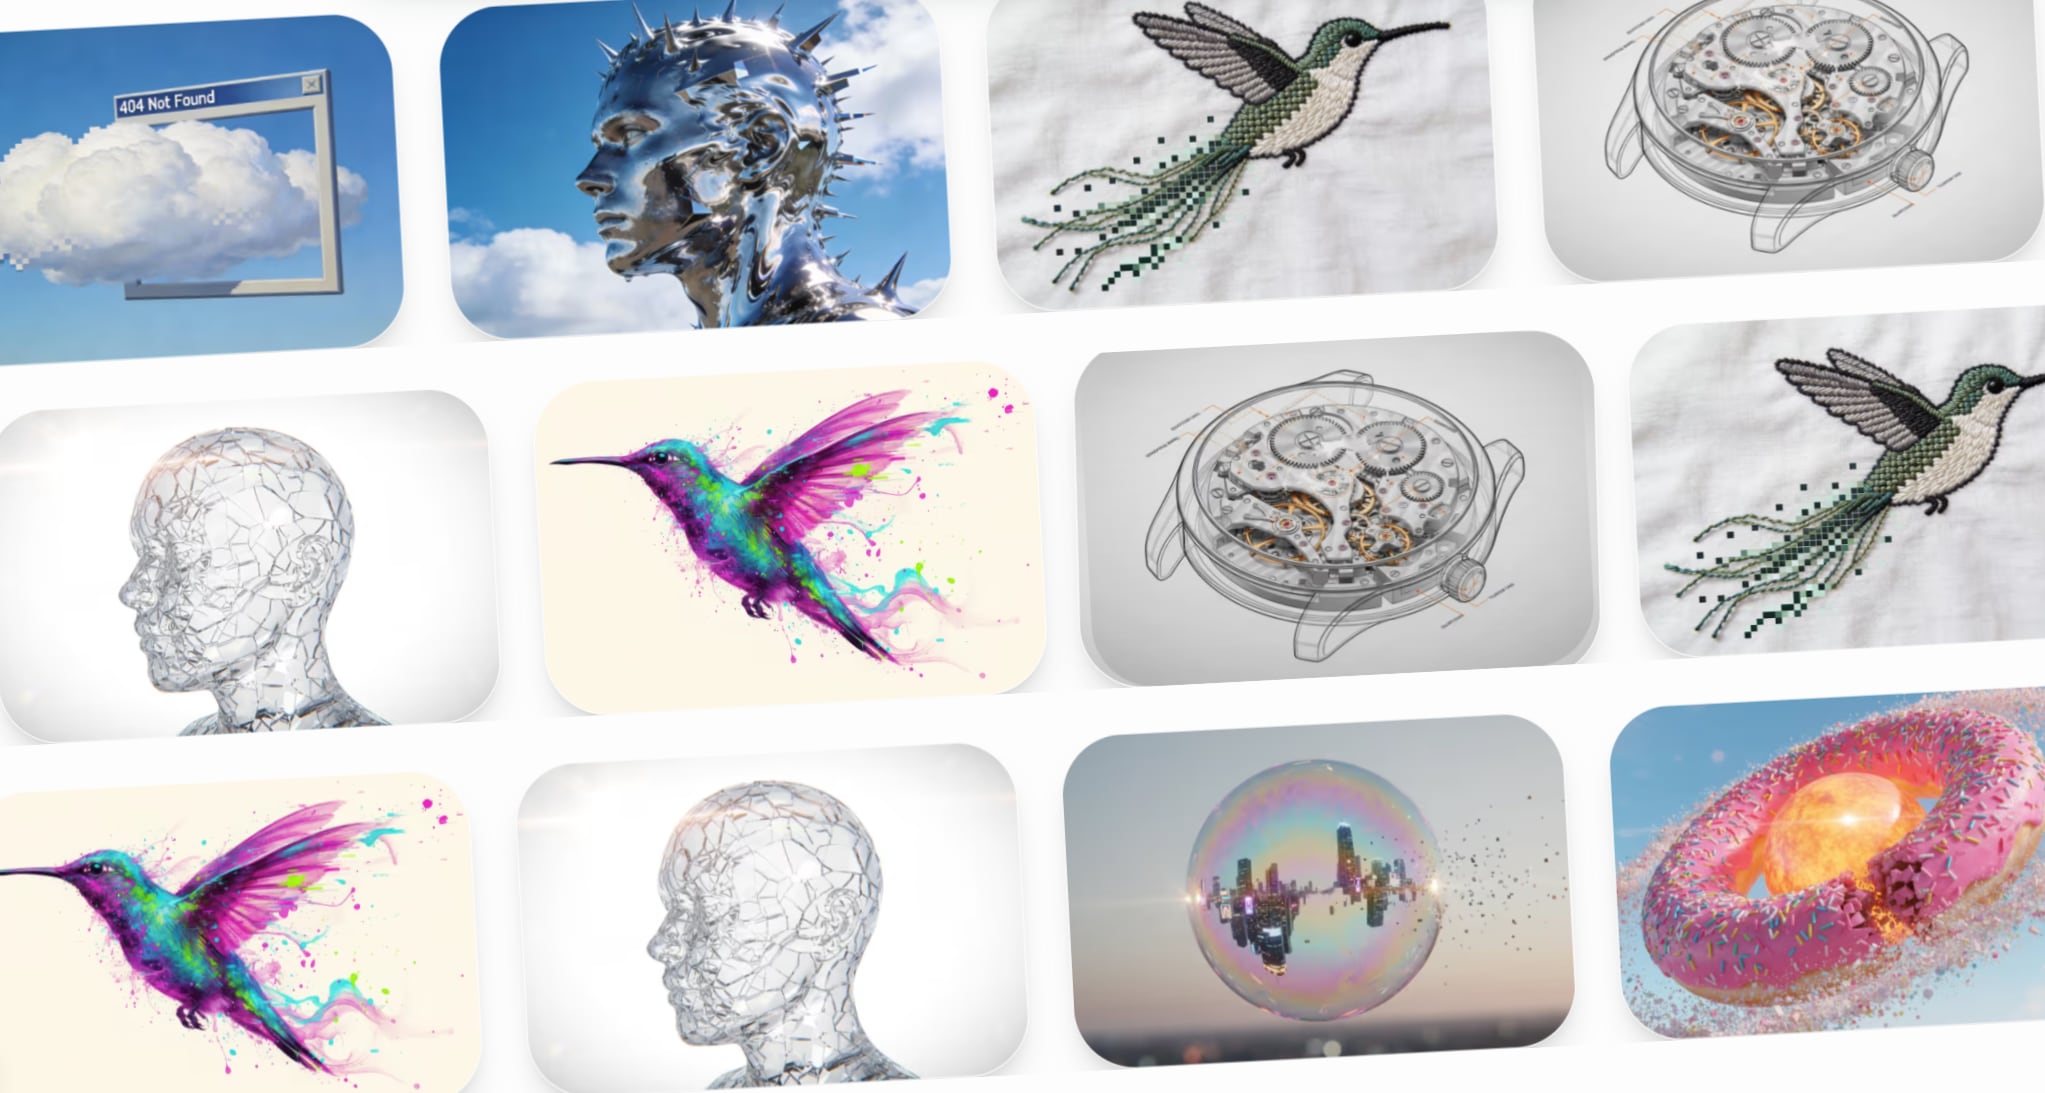
- Style Versatility: Supports various artistic styles from realistic photography to illustration
Content creators, marketers, social media managers, and anyone who needs to quickly generate visual ideas, concept images, or illustrative assets without spending time on complex parameter tuning.
- Social Media Content: Quickly generate eye-catching visuals for posts, stories, and ads
- Concept Visualization: Turn ideas into images during brainstorming sessions
- Content Marketing: Create illustrative assets for blog posts, articles, and newsletters
- Rapid Prototyping: Generate multiple visual concepts for client presentations
- Educational Materials: Produce simple diagrams and illustrative content for learning resources
Part 2. How to Use Z-Image Turbo
Using Z-Image Turbo follows a simple and straightforward workflow, making it accessible even for beginners who have never worked with AI image generation tools.
Basic Workflow
The typical process looks like this:
What to Expect from the Results
Since Z-Image Turbo is optimized for speed, most results are generated quickly with minimal configuration. The generated images are suitable for:
- Concept visuals and creative inspiration
- Lightweight content needs and placeholder images
- Quick iterations during the design process
- Social media graphics and promotional content
The results work best for projects that value speed over pixel-perfect precision. For highly detailed final artwork or complex editing requirements, you may need to use additional tools.
Part 3. Z-Image Turbo Prompt Guide
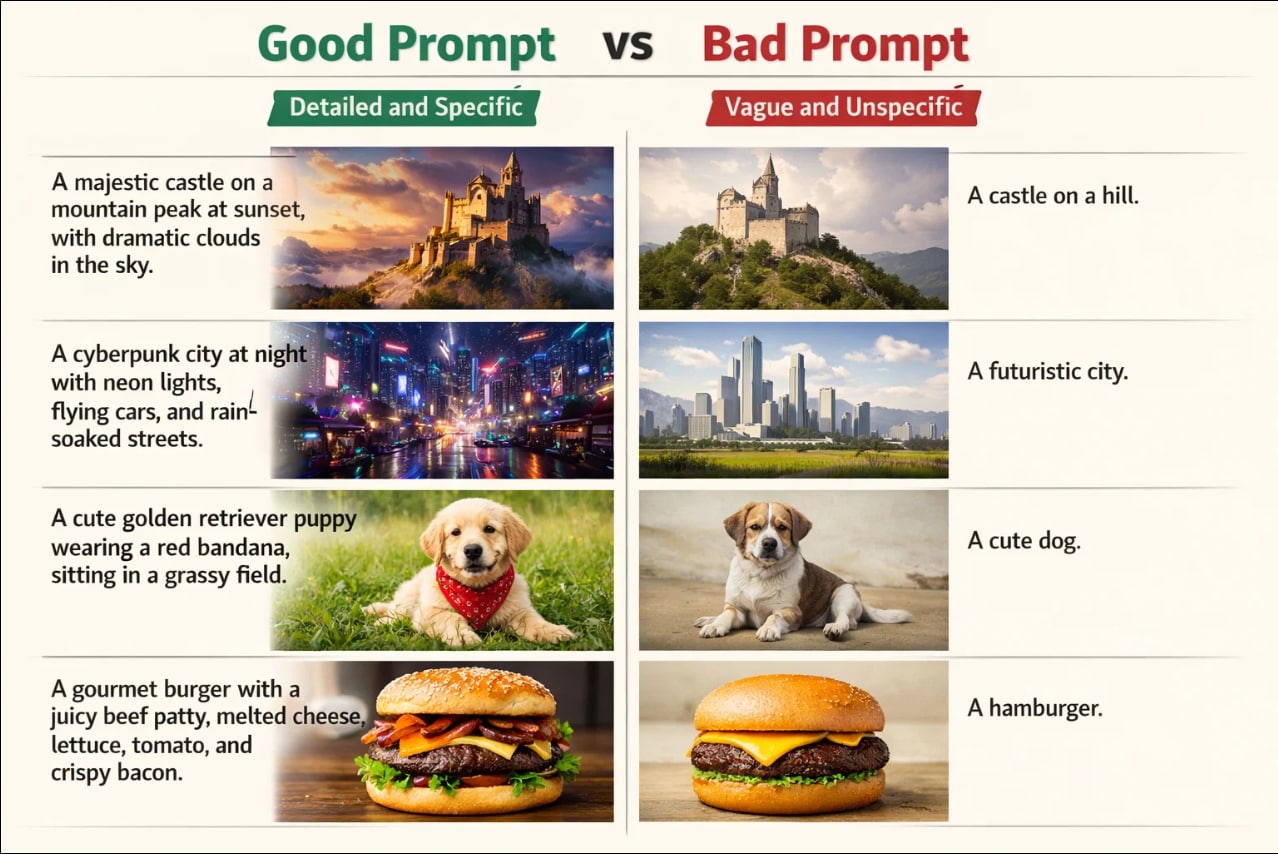
Writing effective prompts is key to getting good results from Z-Image Turbo. Because the model prioritizes speed, prompts work best when they are concise and focused.
How to Write Effective Prompts for Z-Image Turbo
A few general prompt guidelines include:
- Start with the Main Subject First: Lead with the primary focus of your image.
- Add Style or Mood Descriptors: Include visual style, lighting, or atmosphere after the subject.
- Keep It Simple and Direct: Avoid overly long or conflicting descriptions.
- Avoid Excessive Technical Jargon: Unlike advanced models, Z-Image Turbo responds better to clear, everyday language.
Z-Image Turbo Prompt Examples
Here are some practical examples to get you started:
| Use Case | Effective Prompt Example |
| Social Media Post | "a colorful smoothie bowl with fresh berries, overhead view, bright natural lighting" |
| Marketing Visual | "professional business team meeting in modern conference room, warm lighting" |
| Concept Art | "futuristic city skyline at sunset, neon lights, cyberpunk aesthetic" |
| Product Mockup | "minimalist smartphone mockup on wooden desk, soft shadows, clean background" |
| Educational Graphic | "simple diagram showing water cycle, clean illustration style, labeled elements" |
|
Show More
Show Less
|
|
Tips for Better Z-Image Turbo Prompts
- Be specific about the viewpoint: "overhead view," "close-up," "wide angle"
- Mention lighting conditions: "natural light," "dramatic shadows," "soft lighting"
- Include style keywords: "realistic," "illustration," "minimalist," "vintage"
- State the mood or atmosphere: "peaceful," "energetic," "professional," "playful"
Compared to more advanced diffusion models, Z-Image Turbo responds better to simple, well-structured prompts rather than long, highly technical ones with multiple weighted parameters.
Part 4. Z-Image Turbo Image-to-Image Explained
Does Z-Image Turbo Support Image-to-Image?
This is one of the most frequently asked questions about Z-Image Turbo. The short answer: Z-Image Turbo is primarily designed for text-to-image generation.
While some image-to-image functionality may exist through related models in the Z-Image family or external workflows, image-to-image is not the core strength of Z-Image Turbo itself.
What This Means for Users
Users looking for precise image transformations, localized edits, or strong control over how an existing image changes may find Turbo's capabilities limited compared to models built specifically for image editing, such as:
- ControlNet-based models for precise structural control
- Stable Diffusion img2img for iterative refinement
- Specialized editing tools like Photoshop AI or dedicated image-to-image platforms
When Image-to-Image Matters
If your workflow requires:
- Reference-based generation: Using existing images to guide new creations
- Style transfer: Applying one image's style to another
- Image refinement: Making specific edits to AI-generated or existing images
- Composition control: Maintaining exact layouts while changing content
…then you'll need to look beyond Z-Image Turbo's native capabilities.
Part 5. What Users Often Need After Image Generation
After generating images, many users quickly realize that their needs go beyond a single static output. This is where the limitations of standalone image generation tools become apparent.
Common Post-Generation Requirements
Typical follow-up needs include:
1. Creating Variations Based on References: Uploading a reference image allows creators to guide new generations toward a similar composition, visual style, or subject matter, making it easier to maintain consistency across multiple images.
2. Making Adjustments and Refinements: After an image is generated, creators often need to refine it by adjusting the composition, colors, text overlays, or overall visual style to better match their creative intent or branding needs.
3. Repurposing Images for Video Content: Static AI-generated images are often just the starting frame. In many workflows, creators want to transform these images into short video clips for social media, animated promotional visuals, dynamic presentations, or video ads enhanced with transitions and visual effects.
4. Adding Context and Narrative: To make visuals more engaging and purposeful, creators frequently combine images with text overlays, captions, voiceovers, background music, motion effects, and brand elements such as logos to build context and tell a clearer story.
When Image Generation Is Only the First Step
For many creators, AI-generated images are not the final product but the starting point. Single-purpose image generation tools are not always designed to handle these next steps, which can lead users to:
- Switch between multiple disconnected tools
- Manually transfer files across platforms
- Lose creative momentum during transitions
- Face compatibility issues with different file formats
- Spend extra time on repetitive tasks
This is where integrated creative solutions become valuable.
Part 6. A Better Alternative: AI Image Generation Inside Filmora
As workflows extend beyond a single generated image, some users prefer to keep image generation and follow-up editing in one place. Instead of switching between multiple tools, an integrated solution can simplify the process. Wondershare Filmora follows this approach by combining AI image generation with editing and video creation features in a single environment.
AI Image Generation Built Into Your Video Editor
Filmora includes built-in AI Image features powered by the nano banana pro model. This means you can:
- Generate Images from Text Prompts: Create custom visuals directly inside your video editing workspace without switching apps.
- Upload Reference Images: Guide the generation process by providing reference images along with text prompts for more controlled results.
- Seamless Integration: Generated images instantly appear in your media library, ready to be added to your video timeline.
Why This Matters for Your Workflow
Unlike standalone image generation tools, Filmora's integrated approach means:
- No file transfers between separate applications
- Instant availability of generated images in your project
- Context preservation - your images and video edits stay in one workspace
- Faster iteration - generate, test, and refine without breaking your creative flow
Part 7. From AI Images to Video Content (When You Need More Than Images)
Filmora's main advantage becomes clear when users want to go beyond static images. For those with video needs, Filmora provides comprehensive tools within the same environment:
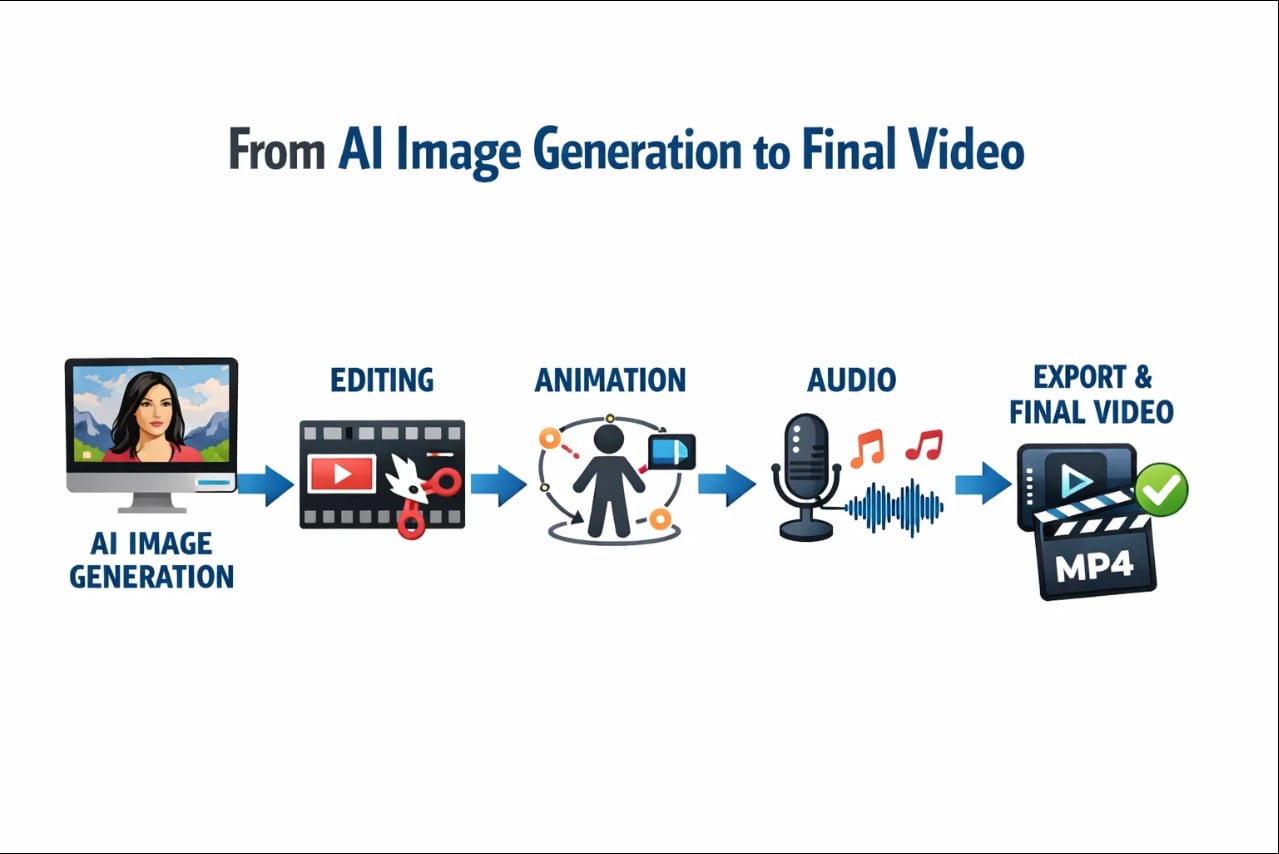
Turn Images Into Dynamic Video Content
Once you've generated your AI images, Filmora lets you expand your creations into full-fledged videos without switching tools. Key ways to do this include:
- Instant Image-to-Video Transformation: Turn static images into animated clips quickly, giving life and motion to your visuals in seconds.
- Text-to-Video Creation: Convert written prompts or scripts directly into videos, streamlining content generation from text to finished footage.
- Dynamic Animation & Motion Effects: Apply camera movements, smart crop & zoom, or motion presets to add cinematic flair to your visuals.
- Text, Graphics, and Titles: Add animated captions, lower thirds, and visual overlays to convey context and narrative effectively.
- Audio & Voice Integration: Use background music from a large royalty-free library or generate AI voiceovers in multiple languages to enhance storytelling.
- Platform-Specific Export: One-click optimization ensures your videos are ready for Instagram, TikTok, YouTube, or other social media platforms.
This structure emphasizes Filmora as a seamless, end-to-end solution for creators who want to take AI-generated images beyond static outputs into dynamic, shareable content.
Part 8. Z-Image Turbo vs Integrated Creative Solutions
To help you decide which approach fits your needs, here's a direct comparison:
| Feature | Z-Image Turbo (Standalone) | Filmora (Integrated Solution) |
| Image Generation Speed | Very Fast | Fast |
| Text-to-Image Quality | Good for quick concepts | Professional-grade with nano banana pro |
| Image-to-Image Support | Limited | Reference image support |
| Image Editing Tools | Not included | Full editing suite included |
| Video Creation | Not supported | Professional video editing with AI features |
| Animation & Motion | Not supported | Keyframe animation, effects, transitions |
| Audio Integration | Not supported | Music library, voiceover, sound effects |
| Workflow Integration | Requires external tools | All-in-one workspace |
| Learning Curve | Very simple | Easy for beginners |
| Best For | Quick image generation only | Complete content creation workflow |
|
Show More
Show Less
|
||
- Choose Z-Image Turbo if: you only need fast text-to-image generation, you already use separate tools for editing and video work, speed is your top priority, and your prompts are simple and straightforward.
- Choose Filmora if: you want both image generation and video editing in one platform, need reference image support for more control, your workflow includes animation, audio, and effects, and you prefer an all-in-one solution to save time and reduce tool-switching.
Conclusion
Z-Image Turbo is a fast and lightweight option for AI image generation, ideal for quick visual results without complex setup. For workflows that go beyond a single image—such as creating variations, refinements, or turning images into videos—integrated solutions like Filmora can help streamline the process. Choosing the right tool for both generation and post-production ensures a more efficient and seamless creative workflow.
FAQ
-
What is Z-Image Turbo AI?
Z-Image Turbo is a fast AI image generation model designed for quick text-to-image creation. It prioritizes speed and simplicity over advanced customization, making it ideal for rapid concept visualization and high-volume content creation.
-
Does Z-Image Turbo support image-to-image generation?
Z-Image Turbo is primarily designed for text-to-image generation. While some limited image-to-image functionality may exist through related models, it is not the core strength of Z-Image Turbo. Users needing robust image-to-image capabilities should consider specialized editing tools.
-
What are the best prompts for Z-Image Turbo?
Effective Z-Image Turbo prompts are concise and well-structured. Start with the main subject, add style descriptors, and keep descriptions simple. Example: “a modern workspace with natural light, minimalist style, realistic photography.”
