- • How to edit audio
- 1.Basic video editing tips
- 1.1 How to Split Audio Files
- 1.2 How to Slow Down A Song without Changing Pitch
- 1.3 How to Add Audio Fade in Effect
- 1.4 How to Add Video to Audio
- 1.5 How to Add Photos to Audio
- 1.6 How to Add Picture to Music (MP3)
- 2.How to adjust volume
- See more
- 3.How to dit audio in video
- See more
How to Add Pictures to Music Songs (MP3): an Ultimate Guide
Nov 18, 2025• Proven solutions
Have you ever thought about changing the cover photo of your precious albums?
We have to admit that customization has become trendy among youngsters. Custom a unique album is really a cool thing, too. To do this, a professional editing tool would be a great helper (hence, the reason you’re here). While a great selection of video editors and music management software support adding pictures to music, Wondershare Filmora stands out for its simplicity, efficiency, and powerful capability.

With this program, you can add images/photos to all popular music files, including MP3, M4A, OGG, WMA, WAV, FLAC, and more. Then, you can see your favorite image when playing the songs by any media player. What an unforgettable experience!
Let's keep on reading the guide and know how to add a picture to an mp3 file in high quality with both desktop software and online tools.
- Part 1: How to Add Picture to Music with Filmora on Windows PC & Mac
- Part 2: How to Add Picture to Music with Melobytes Online
Part 1: How to Add Picture to Music with Filmora
To begin with, get a free trial copy of Wondershare Filmora
1. Import your files
Click “Import” to load your songs from ripped CD or downloaded from the internet. Then drag and drop your desired photo in a format like JPG, JPEG, JPE, GIF, BMP, PNG, DIB, JFIF, TIF, TIFF to the media library window. Now you’ll see all imported files displayed as thumbnails in the Media library.
2. Drag and Drop to add pictures to music
Drag songs and pictures from the Media library to the separate Timeline accordingly. Filmora allows you to add several images to the music in the timeline. Highlight the picture in the Video Timeline, and move your mouse to the ending part. When the “set duration” icon on the toolbar appears, click it and set the duration to fit for the length of your music file.
Tips: You can zoom in or zoom out the timeline by dragging the timeline slider on the top right corner to find the exact position conveniently.
After that, check the effect in the preview window. If necessary, you can do more to touch up your creation, e.g. add captions, apply special effects, transitions, and even create a picture-in-picture effect.

3. Save Music with Photos
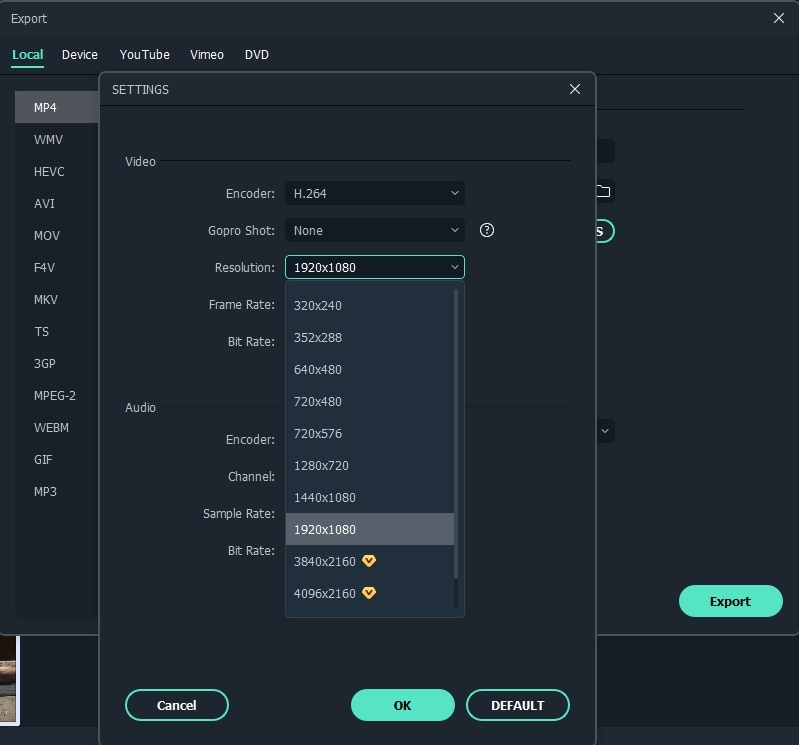
When you're satisfied with the result, simply click the Export menu to export your creation. In the output window that appears, select MP4 under the format tab or if you want to play the media on phone, you can switch to the device option at Export window and select target devices like iPhone, iPad, or Apple TV, etc., Filmora will create a proper setting for mobile device saving.

Bonus tips:
Rip audio from video: If you want to extract audio from a film, movie trainer, comedy, TV show, etc., just highlight the video file in the Timeline, right-click it and select “Audio Detach”, then you can delete the original video stream to save in a new MP3 file, and now you can freely add your photos to the ripped music. Or, you can delete the original audio file and add a new one. Watch the video below to check out how to detach the audio from video and how to edit audio files.
Part 2: How to Add Picture to Music with Melobytes Online
In fact, if you don't want to add audio to picture online, we could also offer you an online solution without downloading software. Melobytes' website is an online solution. It is so easy to add pictures to music with just a few steps. The interface is user friendly that even a beginner can add a photo cover with music easily.
1. Upload Picture
Click Melobytes to open the online page. At the top, you can see the Upload picture button. Click it to import images. Depending on the size of the picture, it may take a few minutes to finish uploading.
2. Ready to Download
After the image is uploaded, it will be displayed below. You have three options to download the file: MP3, mid, and video.
3. Ready to Download
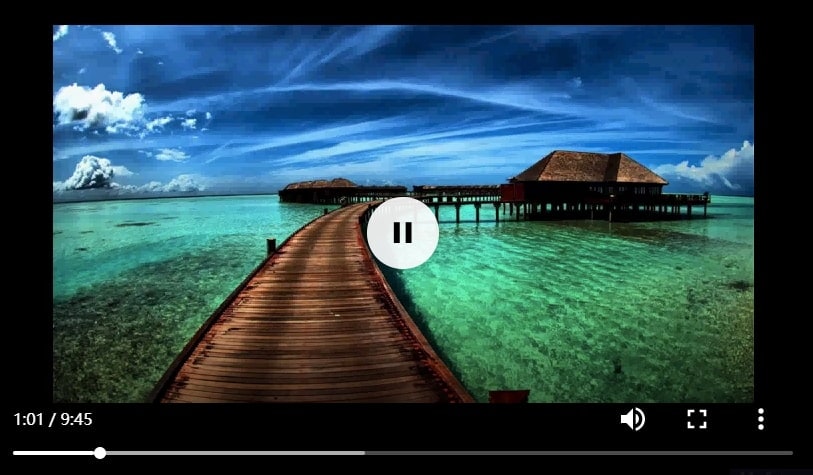
If you choose Download video, another page will show up. Here you can preview the video. Click the three vertical dots to export the video, Or you can choose PIP mode to preview the video.

Conclusion
As the uploading speed is slow, we highly recommend you using Filmora to add photos to music. Besides, Filmora offers more than 50 sounds that you can use. Download it now!


