

 TL;DR:
When editing audio, Premiere Pro offers granular manual control over effects and dynamic mixing for complex sound design, whereas Wondershare Filmora provides an automated, AI-driven toolkit to achieve clean sound without manual track setups.
● Premiere Pro workflows require matching clip sample rates and bitrates to sequence settings to prevent sync issues, and rely on the Essential Sound Panel to manually categorize tracks for EQ, reverb, and keyframe automation.
● Filmora eliminates the need for manual keyframing and track mixing by substituting them with automated tools like Auto Ducking to balance music under speech and AI Audio Stretch to conform audio length to video duration.
● Choose Premiere Pro for professional multi-track mixing and third-party VST plug-in integration, but opt for Filmora if you are a vlogger, educator, or podcaster needing to bypass steep learning curves and higher costs for instant vocal isolation and noise reduction.
Ask AI for a summary
 ChatGPT
 Perplexity
 Gemini
 Claude
 Grok
Grok
Audio can make or break your video. The stunning visuals of your video would be a waste if it had poor sound quality. It can pull viewers out of the story and make the project feel unpolished.
This is why many editors turn to Adobe Premiere Pro, which offers powerful tools to apply effects, like EQ or reverb, and build complex mixes across multiple tracks. Such features are excellent for professionals, but they can also feel overwhelming if you
For those who value speed and ease, an alternative with built-in AI tools offers a more efficient path to clean and professional sound. Here, we will learn how to edit audio in Premiere Pro and explore other tools that can serve as a practical alternative.
Part 1. Get to Know Premiere Pro's Audio Editing Environment
Before you start editing, you need to understand how to edit audio in Premiere Pro and set up the basics correctly. A well-prepared environment makes the process faster and keeps your project organized.
1. Audio Tracks, Formats, and Preparation
- Premiere Pro supports mono, stereo, adaptive, and surround tracks.
- Match the sample rate and bitrate of your clips with the sequence settings.
- Keep imported clips clean and labeled to avoid confusion later.
👉 Why it matters: correct setup ensures your audio plays back accurately and avoids sync issues.
2. Timeline and Waveform Display
- Enable waveforms to visually identify dialogue, beats, or silence.
- Zoom in for precise edits.
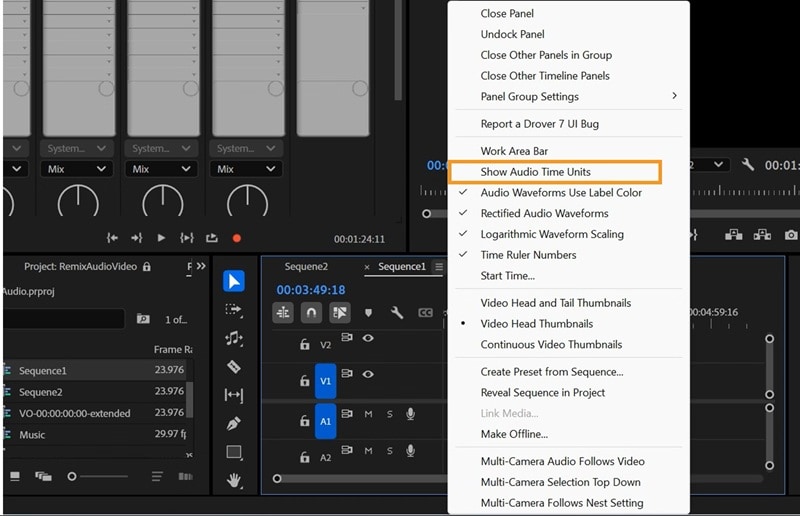
- Switch to audio sample units for frame-level accuracy.
👉 Why it matters: visual cues help you edit faster and more accurately.
3. Organizing Your Workspace
- Place dialogue, music, and SFX on separate tracks.
- Rename tracks and apply color labels.
👉 Why it matters: good organization keeps large projects manageable.
Part 2. Basic Editing: Trimming, Cutting, and Volume
Once your audio is in place, the first step is to make simple adjustments that improve clarity and flow. Here are the brief steps:

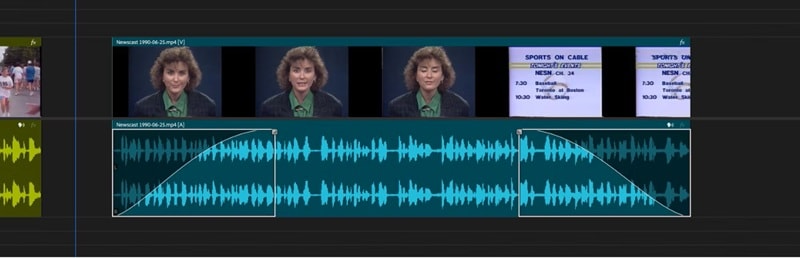
You can also use the volume line in the timeline to raise or lower levels directly. Keep an eye on audio meters to avoid clipping or distortion.
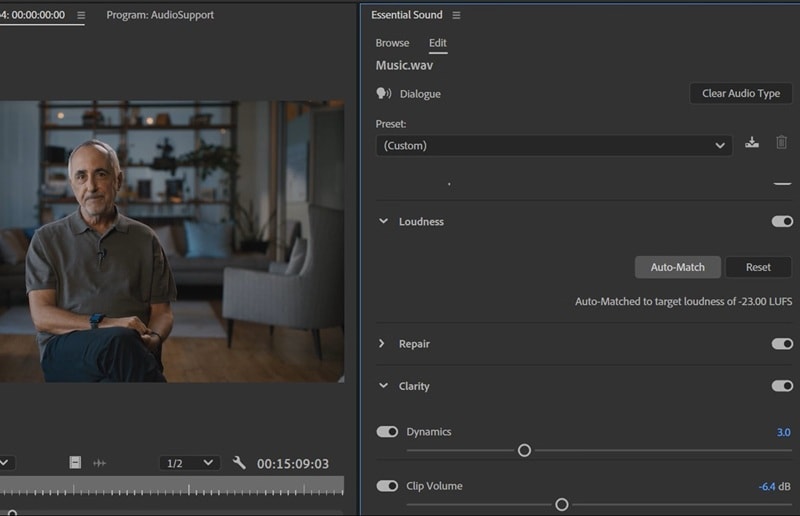
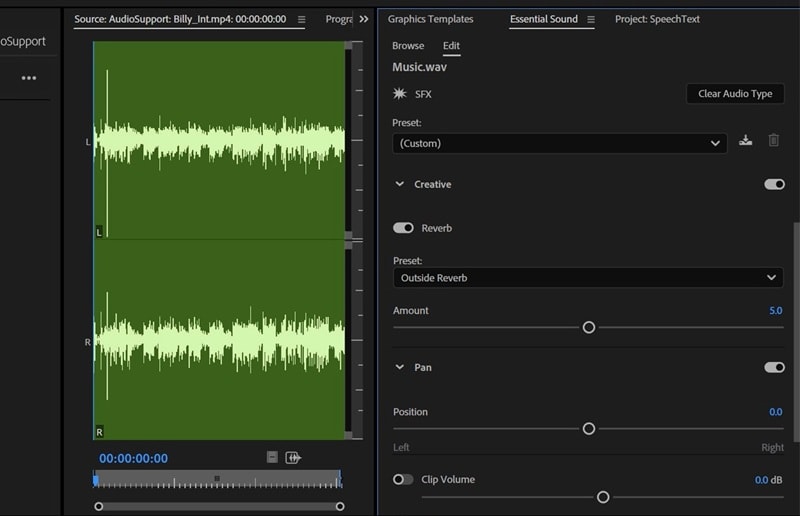
Part 3. Using the Essential Sound Panel & Presets
The Essential Sound Panel makes Adobe Premiere Pro audio editing more efficient. Instead of stacking multiple effects manually, you can categorize clips and apply ready-made presets. This helps you edit audio in Premiere Pro with less effort while still achieving a polished result.
Quick Workflow
First, assign your audio clips to the correct category, such as Dialogue, Music, SFX, or Ambience. From there, you can apply presets to remove background noise, adjust loudness, or improve vocal clarity.
If needed, you can also add reverb or EQ adjustments to fine-tune the sound. The panel is designed for efficiency, helping you polish audio with only a few clicks.
Part 4. Advanced Effects, Mixing, Repair, and Export
Once you have completed the basic edits, you can take your project further with more advanced Premiere Pro audio editing. You can apply detailed effects, mix tracks dynamically, repair unwanted noise, and prepare your audio for final export.
| Function | How to Use in Premiere Pro | Why It Matters / Effect |
|---|---|---|
| Effects & Enhancements | Apply EQ, compressor, reverb, and DeEsser to individual clips or full tracks. Adjust parameters to match dialogue, music, or SFX. | Improves clarity, balances frequencies, controls dynamics, and gives audio a polished, professional quality. |
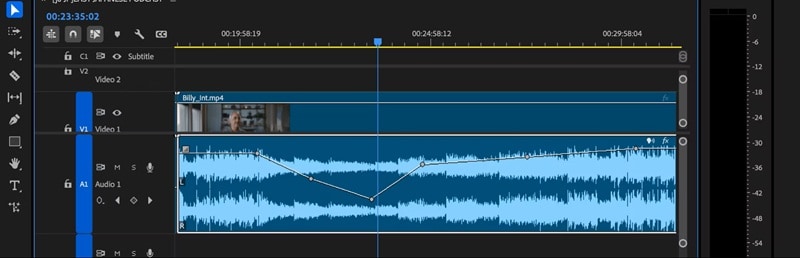
| Dynamic Mixing with Keyframes | Use keyframes to automate volume changes, duck music under dialogue, or pan audio across channels. | Adds natural movement and cinematic feel; avoids flat, static mixes. |
| Noise Reduction & Repair | Apply DeNoise for hum, hiss, and background ambience. For tough problems like plosives or clicks, integrate third-party VST plug-ins. | Cleans up recordings, making dialogue intelligible and sound effects clearer. |
| Final Checks & Export | Monitor audio meters to avoid clipping. Set sequence and export settings (sample rate, bit depth, format). Test playback on headphones, speakers, and mobile devices. | Ensures consistent, high-quality audio across all playback systems and platforms. |
Part 5. When Premiere Pro Might Be Overkill & How Filmora Helps
Advanced tools in Premiere Pro audio editing are powerful, but they can also slow you down when the project only needs simple fixes. In these moments, a streamlined solution is the real advantage.
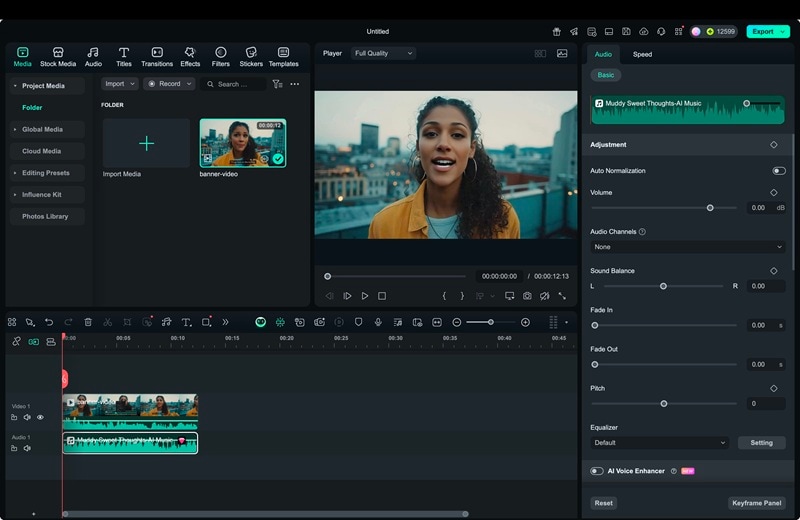
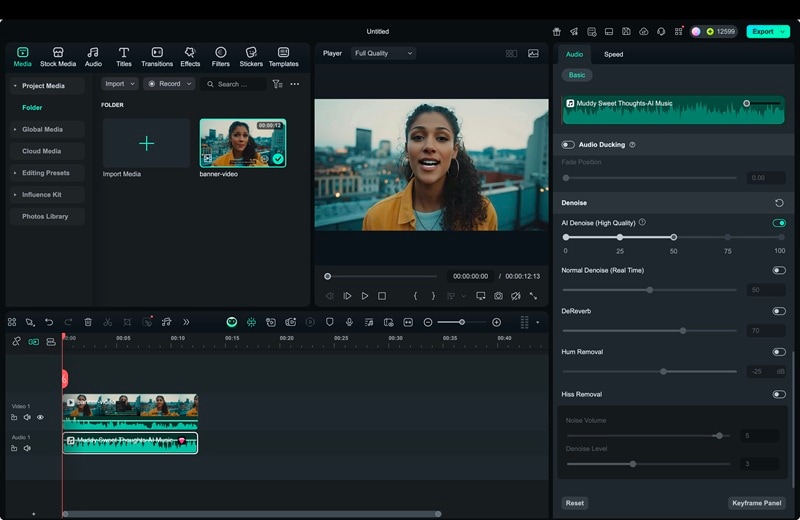
For these situations, Wondershare Filmora audio editing provides an AI-powered toolkit designed for speed. By handling noise reduction,vocal enhancement, and automatic audio stretching, it allows you to focus on storytelling and creativity instead of managing technical details. Its clean interface and AI-assisted features make it possible to produce polished audio in less time. So, vloggers, educators, and podcasters have a practical way to maintain quality without complexity.

Premiere Pro vs. Filmora: Which Tool Fits You?
Here's a comparison table focusing on Filmora's features and what advantages they bring, especially in contrast to a full Premiere Pro workflow:
| Features | Filmora | Advantages |
|---|---|---|
| Noise Reduction | AI Audio Denoise | Instantly reduces background noise with one click, no manual tweaking required |
| Vocal Tools | AI Vocal Remover & AI Voice Enhancer | Separates or cleans voice tracks automatically, useful for podcasts or narration |
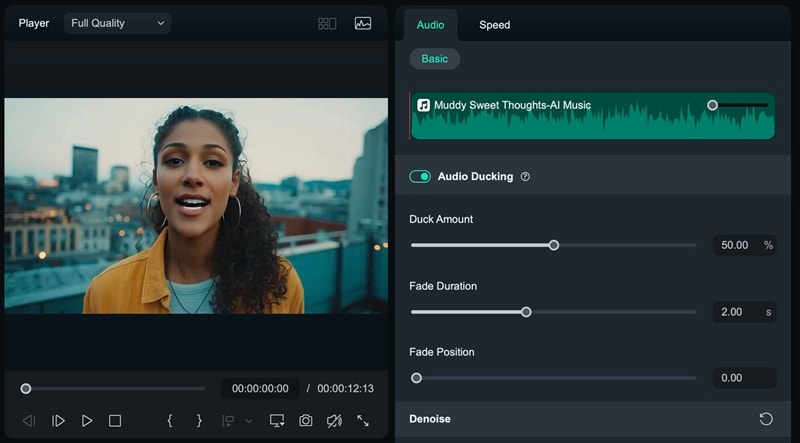
| Music Adjustments | Auto Ducking & AI Audio Stretch | Automatically lowers music under speech and adjusts music length to fit video duration |
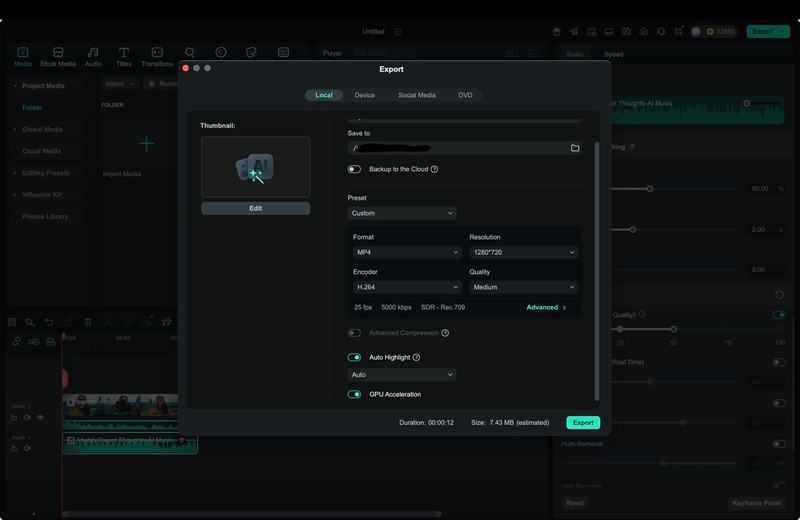
| Export Options | Supports video formats with adjustable sample rate and bitrate | Lets you export clean audio or combined video and audio quickly, with fewer technical settings compared to Premiere Pro |
| Interface & Workflow | Simple layout with guided controls and intuitive navigation | Reduces learning time, allows beginners and casual creators to edit efficiently |
Takeaway
- Premiere Pro: Best for projects needing advanced control, multi-track mixing, and detailed sound design. Requires skill, time, and higher cost.
- Filmora: Designed for speed and simplicity. Its AI tools (denoise, vocal enhancement, auto ducking, audio stretch) cover the full audio editing chain. The interface is intuitive, export is straightforward, and pricing is more accessible.
- Who should choose Filmora: Vloggers, educators, podcasters, and creators who want professional-sounding audio without managing complex workflows.
How to Edit Audio in Filmora (Quick Workflow)
Filmora's AI-powered tools let you clean, enhance, and balance audio in just a few clicks. Follow these steps to see how effortless professional-sounding audio can be—no complex track setups or manual adjustments required.
Note: One click replaces the manual noise filter process in Premiere Pro.
Note: Provides clean vocals or instrumentals without manual EQ or compression.

Note: Eliminates the need for manual keyframing and remixing.
Note: Simplified export avoids the complexity of Premiere Pro's advanced settings.
Conclusion
Audio quality has a direct impact on how viewers experience your content. Learning how to edit audio in Premiere Pro gives you access to precise tools for trimming, adjusting volume, applying effects, and building complex mixes. Although it tool is powerful and reliable, it requires time and knowledge to get the best results.
For users that looking for speed and simplicity, Filmora is the best alternative. It offers AI-assisted features that are more approachable. With Filmora, you can edit sound in Premiere Pro-style workflows, but with faster setup and one-click adjustments that keep projects moving.
