
 100% Security Verified | No Subscription Required | No Malware

Making eye-catching images used to take a lot of time and skill, but now AI image generators have changed the game. With these tools, you can skip hours spent tweaking little details and just type out your idea, and the AI handles the rest.
One tool that’s currently making waves is the Seedream AI image generator. Whether you’re a content creator, a marketer, or just someone who enjoys messing around with visuals, Seedream AI makes everything easy for you.
In this blog, we’ll walk you through what makes Seedream AI stand out, highlight its best features, and show you exactly how to use it. Furthermore, we’ll compare it with another top tool and share how you can use it for even better results.
Part 1: Seedream AI Image Generator at a Glance
Seedream AI is an advanced image generator that lets you convert text prompts into high-quality images within a short time. Developed by ByteDance, the same company behind TikTok and CapCut, Seedream is built on a very powerful 12-billion-parameter architecture.
This architecture allows it to interpret text prompts in a lot more depth, by capturing tone, context, and details in a way that a lot of other AI tools can only dream of.
Furthermore, unlike older models that separate image generation and editing, Seedream 4.0 combines them all together in one nice, seamless system. This tool is built for both newbies and pros who want to get quick, top-notch results without having to spend ages tweaking things.

Below are the core features that make Seedream AI Image Generator stand out:
- Unified Creation and Editing: You can create new images or tweak existing ones without switching tools.
- Multi-Modal Inputs: Mix text prompts with up to 6 reference images to give the AI more context.
- Advanced Reasoning: The AI understands logical relationships, making images more accurate and cohesive.
- Fast Generation: Images can be ready in as little as 1.8 seconds, so you can test ideas quickly.
- Style Controls and Presets: Easily switch between photorealism, anime, or 3D styles to match your project.
Despite its strengths, Seedream AI has some limitations. These limitations include:
- Text and Labels: Very small or printed text may appear blurry or distorted.
- Facial and Body Consistency: Complex edits or multiple angles can sometimes result in inconsistent features.
- Multi-Person Scenes: Group images may duplicate people instead of creating unique individuals.
- Stylistic Accuracy: Some styles can look filtered rather than authentically rendered.
Part 2: How to Use Seedream AI Image Generator
Using Seedream AI to generate images is easy. Below is a guide on how to create images with Seedream AI Image Generator for free.
Step 1: Visit the Seedream AI website using your device and click on “Text-to-Image” to access the creation page.
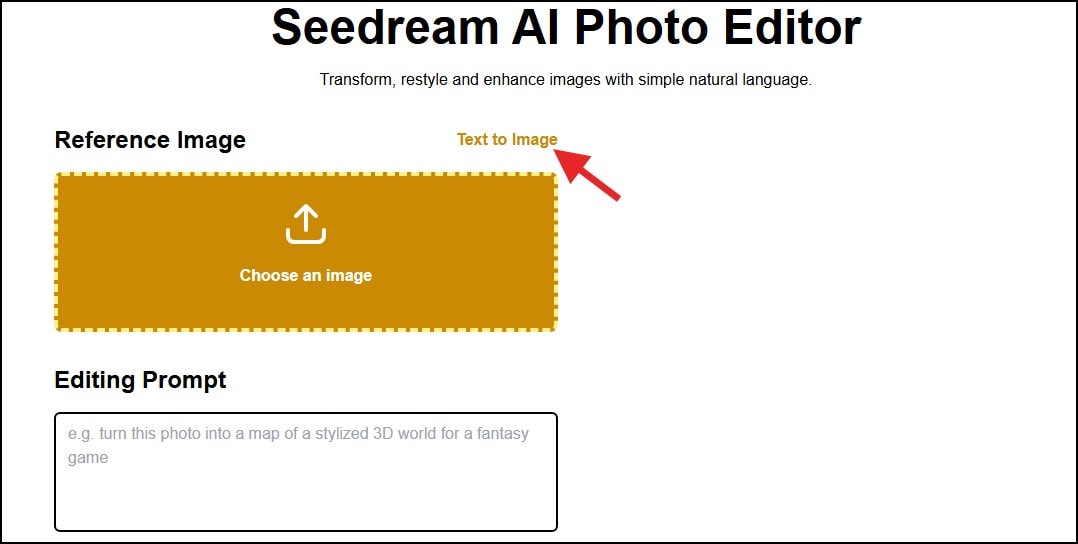
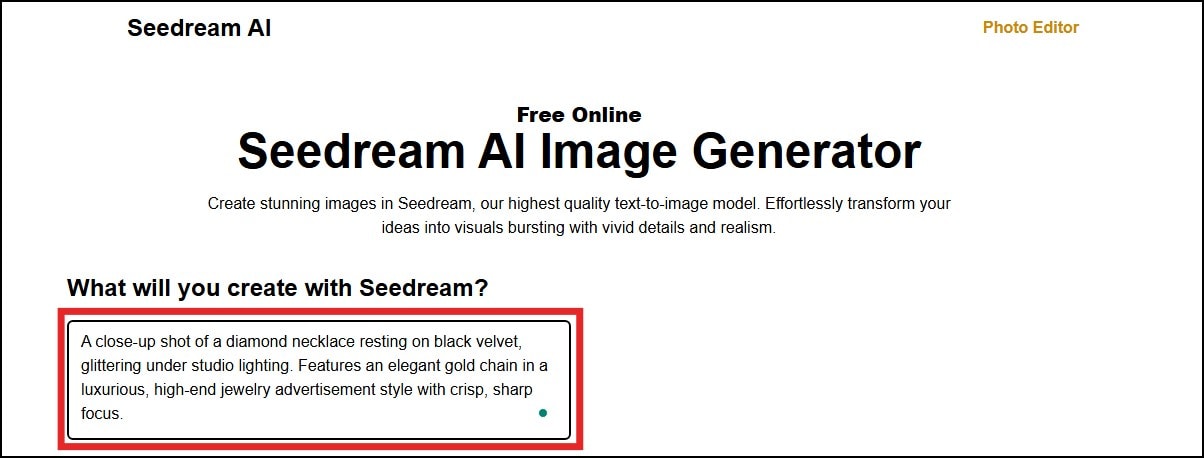
Step 2: Once you click Text-to-Image, a textbox will be provided for you to type a clear and specific description of your image idea into the prompt box. This is to help the AI knows exactly what to generate.
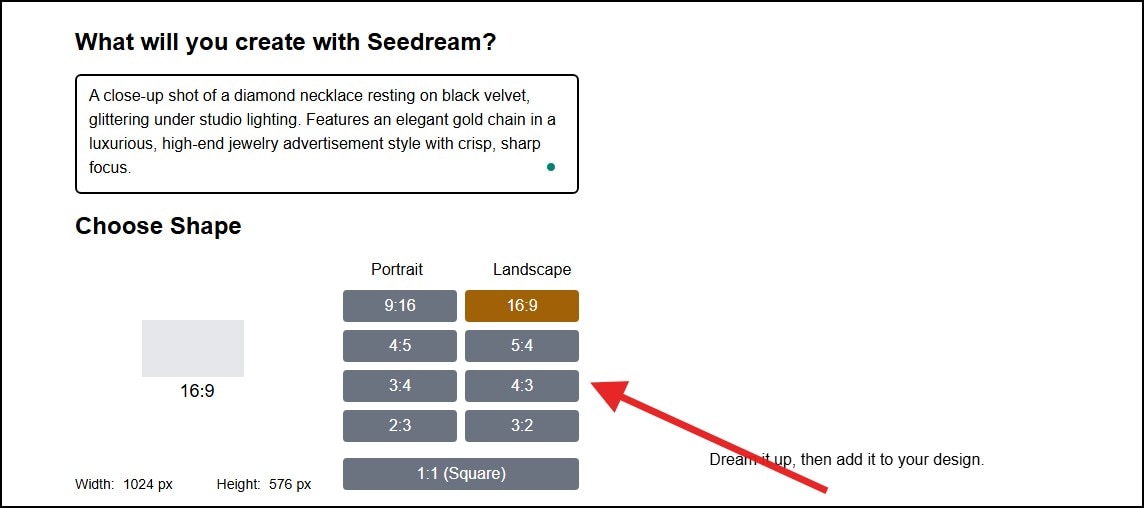
Step 3: Then, select your preferred aspect ratio or resolution. You can pick 1:1 for social media or 16:9 for a widescreen layout. Whichever you choose, make sure the image fits your needs.
Step 4: After that, click “Generate” and wait a few seconds while Seedream AI produces the image based on your prompt.

Step 5: After the AI finishes generating the image, select the image you like best and on the “Download” to save it to your device.
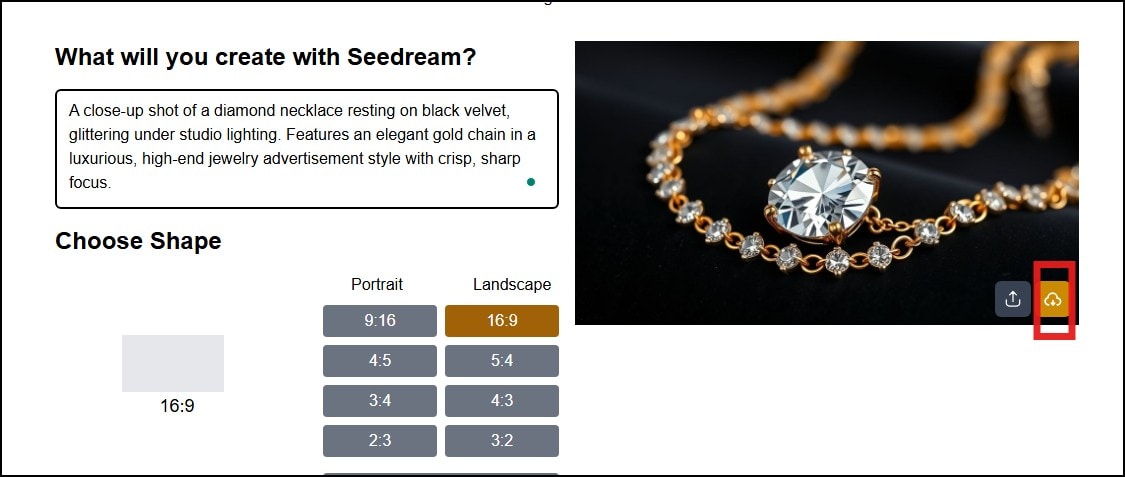
Below is a sample of an image generated using Seedream AI:

Part 3: Is There an Alternative Seedream AI Image Generator?
Yes, there are! While Seedream AI is great for generating high-quality images, another AI image generation model that’s been getting attention lately is Nano Banana. This AI model has been trending because of its speed and ability to create realistic images with minimal effort.
Its key features include:
- Multi-Image Fusion: You can combine different images or elements into one picture easily and naturally.
- Character Consistency: It keeps the same character or object looking the same across multiple images.
- Precise Local Edits: You can change small parts of an image, like the background or objects, very accurately.
- Advanced Reasoning: The AI can understand tricky instructions or sketches and create images from them.
The Nano Banana AI image generator model, when compared to Seedream AI, is faster for generating realistic images. However, while Nano Banana is built on Google’s Gemini technology offers all these features, users can’t fully customize every detail inside the tool.
Fortunately, several creative platforms have started integrating the Nano Banana AI model into their systems, and Wondershare Filmora stands out as one of the best. It not only brings the Nano Banana AI’s speed and realism, but also gives you full control to manually edit and personalize their images with ease
 secure download

Part 4: How to Use Nano Banana for Image Generation on Filmora
Before going into the steps, it is very important for you to know what Filmora is. It is a user-friendly video and image editing software that lets you create professional-quality visuals without complicated tools.
Beyond manual editing, this tool is packed with several AI features that make video and photo creation/editing very easy, one of which is the AI Image feature. And to better your experience of the tool, the new Filmora AI Image comes with the Nano Banana model. With this integration, you can create advanced, stylized images effortlessly.
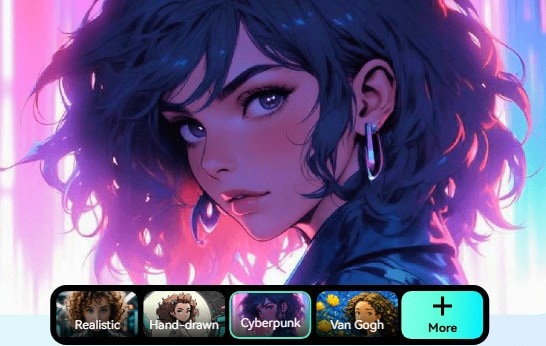
Also, you can take advantage of built-in presets inspired by popular styles, including 3D figurines, fashion magazine looks, and custom color palettes. This makes it easy to craft the perfect image in seconds.
Here is a step-by-step guide on how you can use the Nano Banana AI model for image generation on Filmora:
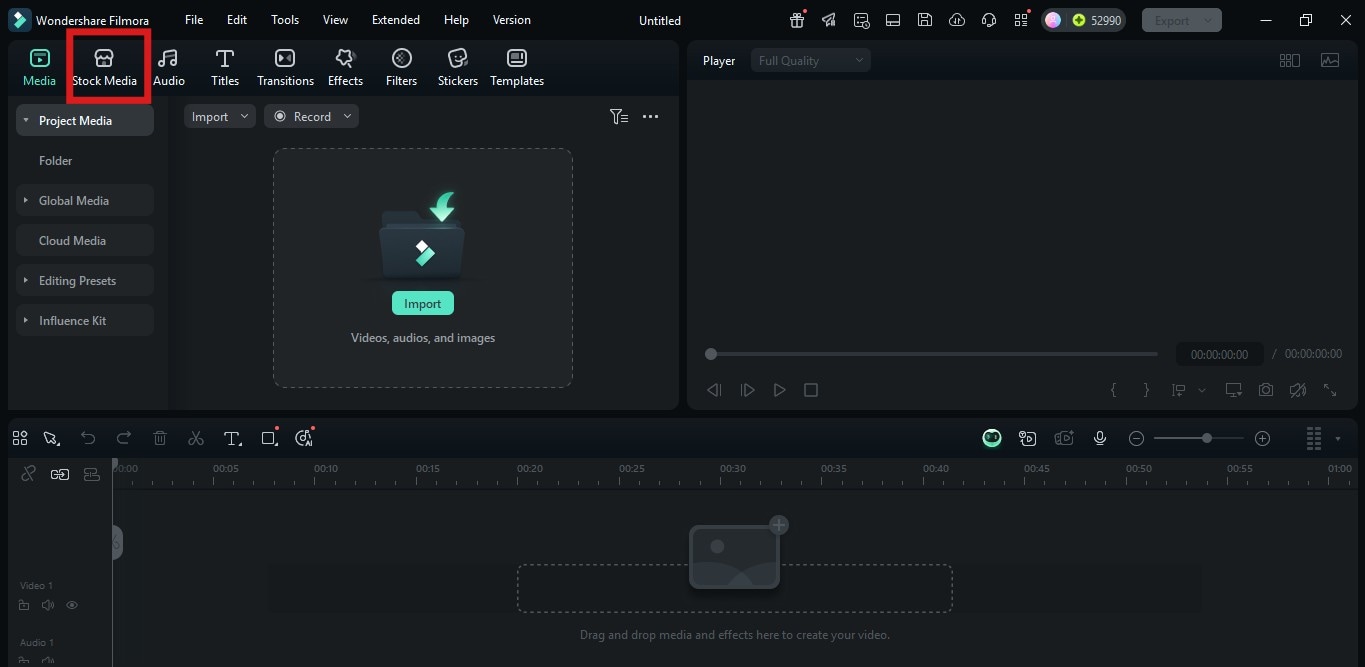
Step 1: Launch Filmora and Open Stock Media
- Launch Filmora on your device and wait for the software to load.
- Once it finishes loading, click on “New Project” to access the editing dashboard
- On the top-left access panel and locate “Stock Media” and click on it.
 secure download
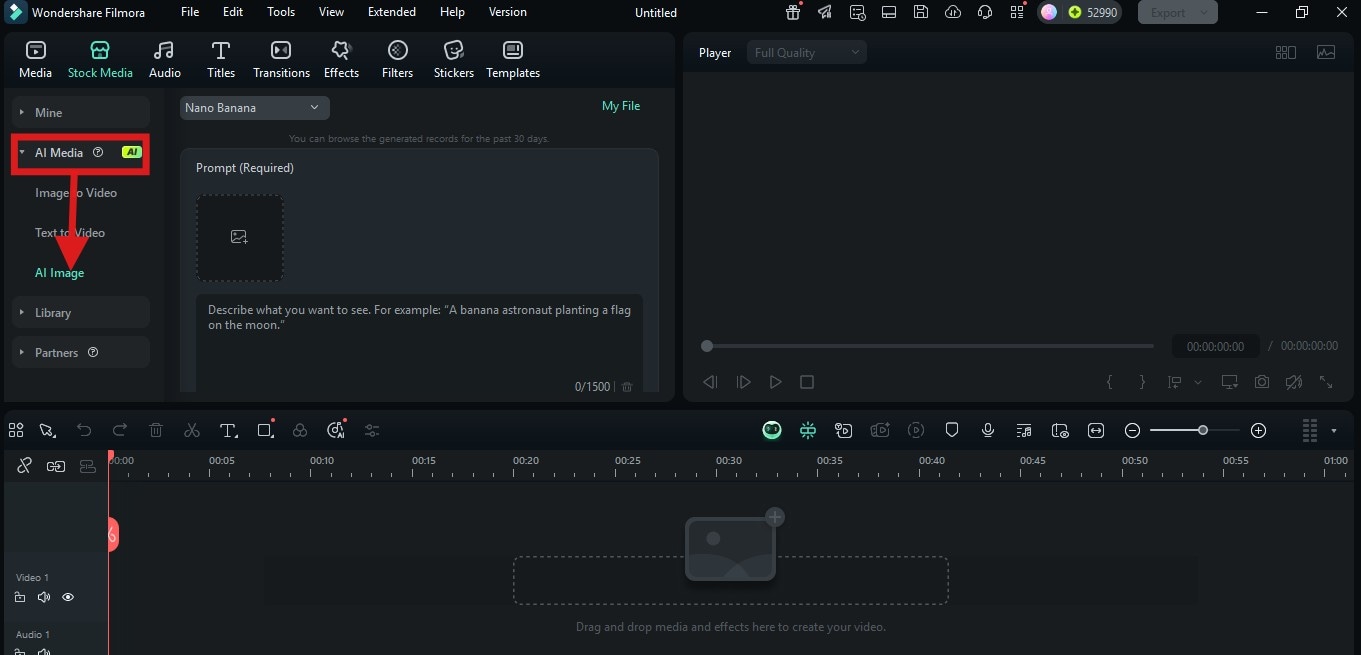
 Step 2: Access the AI Image Feature
- Once you click on the Stock Media button, a Menu Button will appear on the left-hand side of the screen
- Locate the AI Media button and click on it
- Then, select AI Image from the drop-down menu
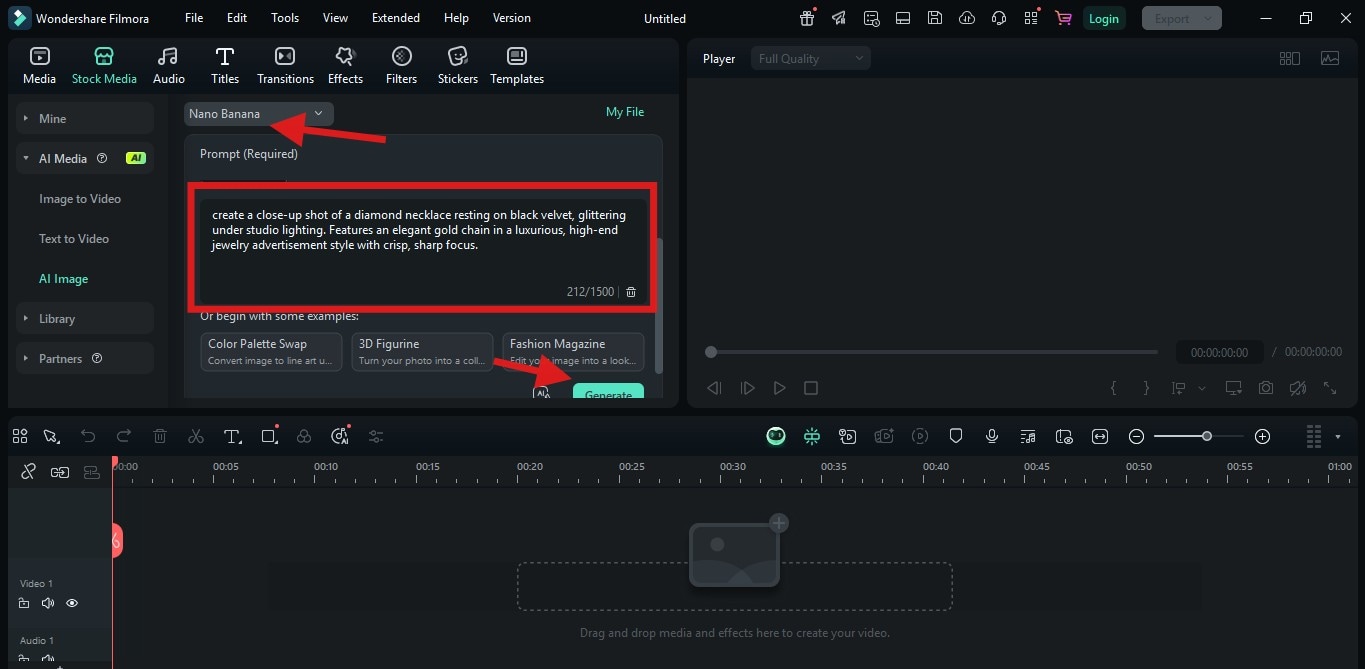
Step 3: Input Prompt and Generate Image
- Type your image idea in the “Prompt box.” For better results, your prompt should be clear and concise.
- On the top right of the Text box, you will find a menu to select your image generations model. Click on it and select Nano Banana.
- After setting it, hit the Generate button
Step 5: Customize and Export the Image
- Click on the generated image and drag it to the editing timeline below the screen
- From here, you can further edit the image by adding text, watermark, or any other change you would want to make using Filmora’s editing tools
- Once you are okay with your edits, hit the Export button at the top-right corner of the editing screen and save the image with the file format of your choice (preferably JPEG or PNG)
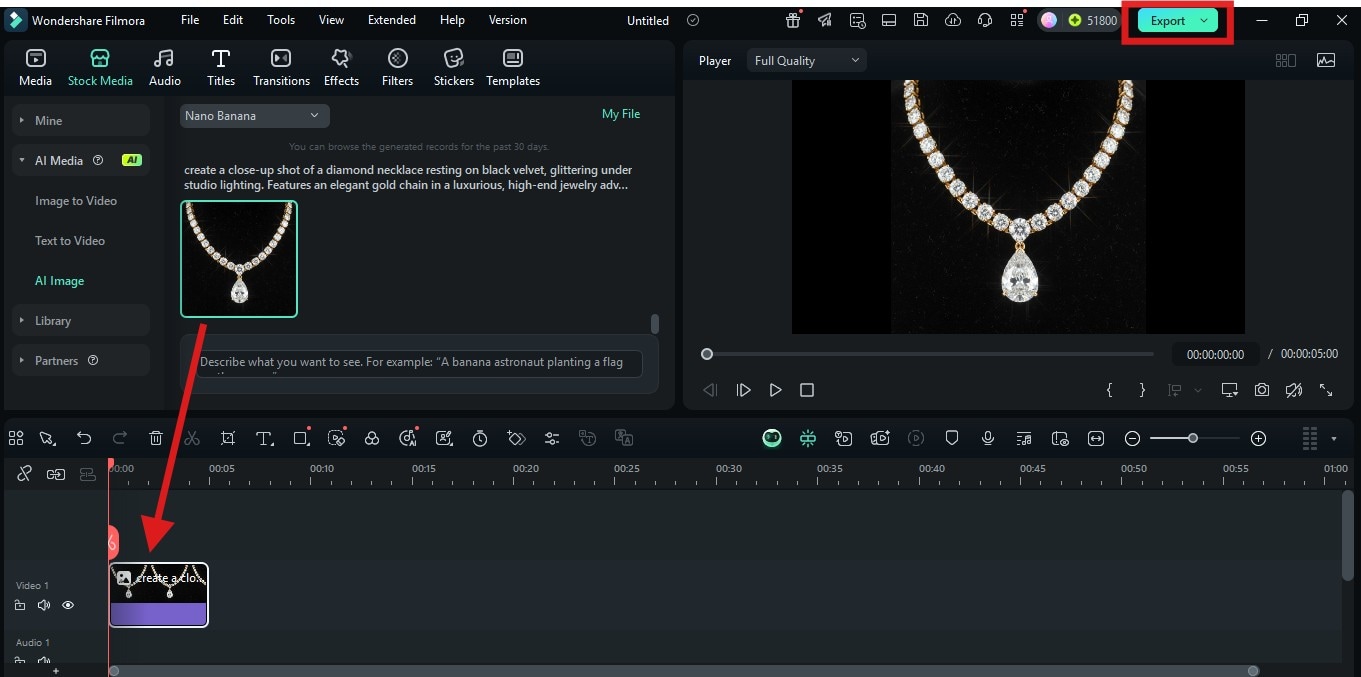
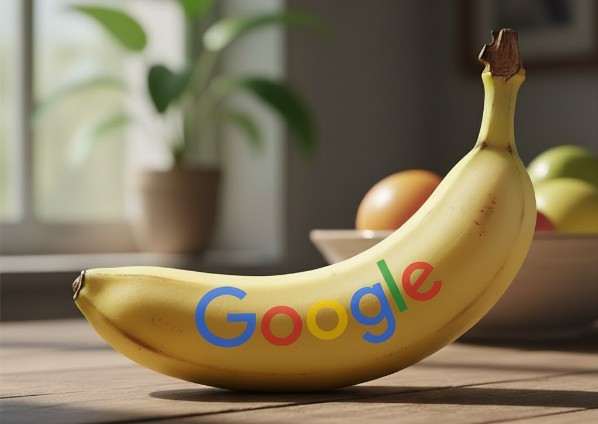
Here is a sample of an image generated using the Nano Banana AI on Filmora:

Conclusion
Seedream AI makes generating high-quality images fast and easy. But if you want full creative flexibility, Filmora’s AI Image tool takes things further with its integration of the Nano Banana model. On Filmora, you can transform text prompts into professional-looking visuals, tweak the detail, and try out exciting presets like 3D figurines or fashion magazine styles.
