
 100% Security Verified | No Subscription Required | No Malware

Shadows can spoil an otherwise great picture, making important details hard to see or throwing off the vibe you were going for. While retaking the photo might not be an option, thankfully, there's a way to remove shadows from a picture.
Thanks to AI technology, you don’t have to stress about fixing it by hand when dealing with a shadow across someone's face in a group photo or an odd shape that pops up in the background of a perfect landscape. Our guide will walk you through the steps to remove shadows from your pictures effortlessly, so you can save those shots without fuss.
In this article
Part 1. How to Get Rid of Shadow from a Photo Background
When you've got a stunning scenic landscape, the last thing you want is a distracting shadow that takes away from the natural beauty of the scene. Removing these silhouettes can make your composition cleaner and more focused. Plus, once you remove shadows from a photo, you have the freedom to get creative, perhaps even making surrealist artwork from your photo.
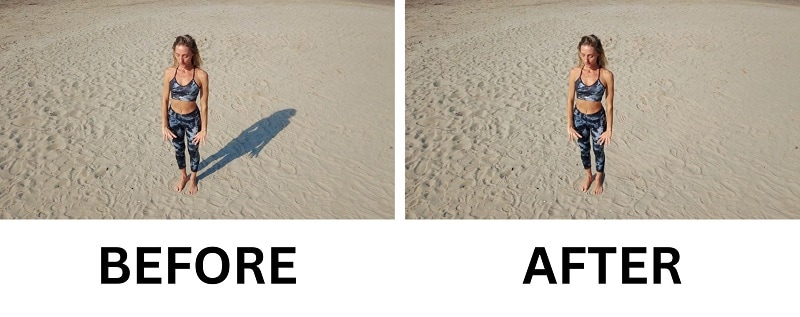
For this task, Wondershare Filmora AI Object Remover is the perfect tool. It’s designed to easily eliminate shadows and other distractions from your photos with excellent results. All you need to do is select the shadow area in your photo, and the tool will seamlessly erase the shadow from your photo.
- Remove unwanted objects from videos & images in seconds.
- No manual masking—AI does the hard work for you.
- Preserve background quality with smart auto-fill.
- Works seamlessly on Windows, Mac, iOS & Android.


Other than shadows, you can also use AI Object Remover to remove various other elements from your photos, including:
- People or animals from the background
- Texts, logos, and watermarks
- Unwanted objects and other distracting elements

Filmora supports a wide range of picture formats and is compatible with both Windows and Mac systems. To get started, download and install the app on your computer, then follow the steps below to begin editing.
How to remove a shadow from a photo
Open Filmora and select New Project to start. Drag and drop your photo into the project area or use the 'Import' option to load your photo into the editor.

 secure download
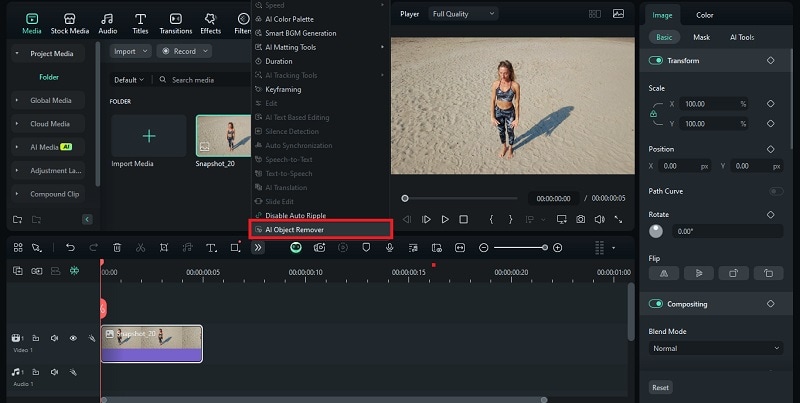
Once your photo is imported, drag it to the timeline and look for the 'AI Object Remover' tool in the toolbar. Click on it, and a new editing window will open where you can start removing shadows from your image.
In the AI Object Remover window, use the brush or selection tool to outline the shadow you want to remove. Make sure to cover the shadow completely to ensure the best results.
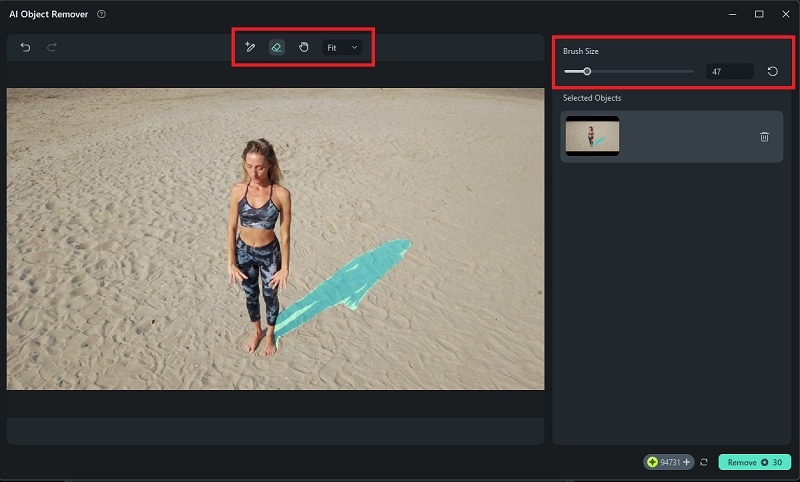
After selecting the shadow, click the Remove button. Filmora's AI will process the image and attempt to erase the shadow while preserving the surrounding area of the photo.
After a few moments, you’ll see the result. If it needs more tweaking, just select the tool again from the timeline. It will open the AI Object Remover tool again, where you can make further adjustments.
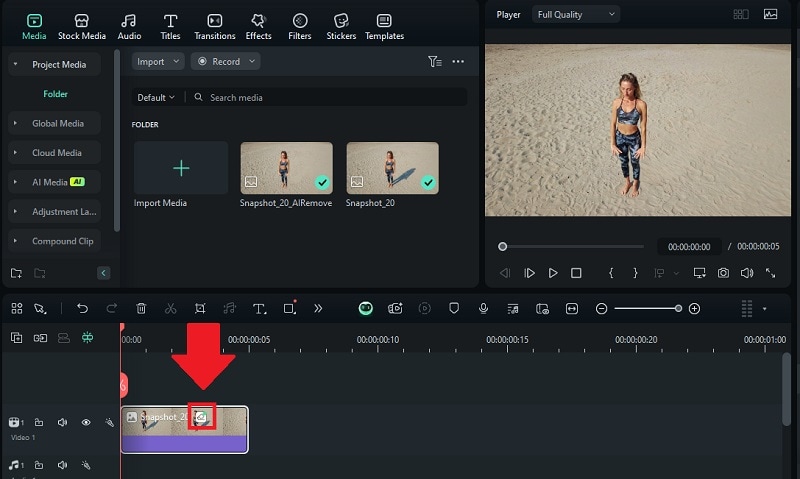
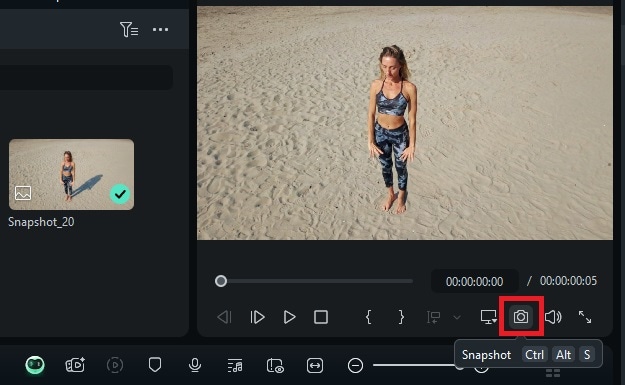
To save your edited photo, click the Snapshot button. You can download it as an image in JPG or PNG format.
Note: Filmora AI Object Remover isn't just for photos—it also works on videos. This feature is part of a suite of AI tools available in Filmora that simplifies both photo and video editing.
Part 2. How to Remove Shadow on a Face from a Photo
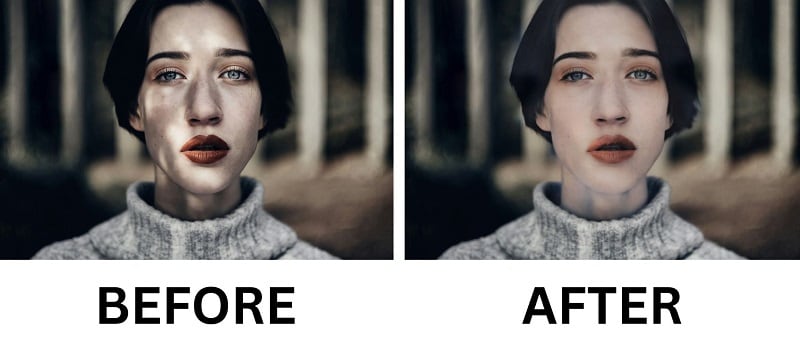
If you want to remove the shadow on a face from a photo, you can use PhotoAid. This free online tool does a pretty good job at editing and enhancing portraits, including removing shadows that might be obscuring important facial features.
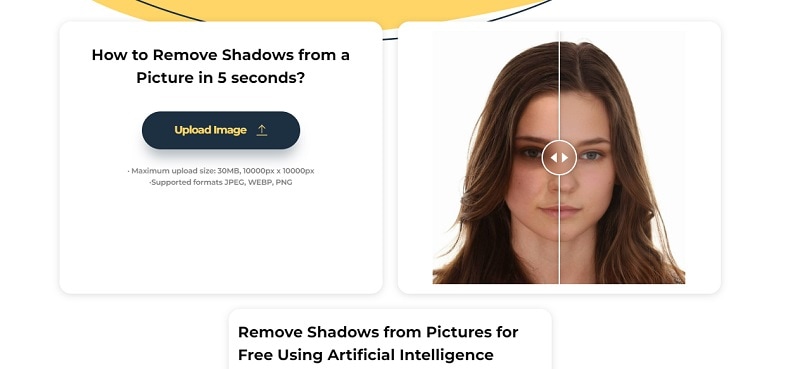
But before you begin, please note that the maximum upload size is 30MB (up to 10,000 x 10,000 pixels), and the tool only supports images in JPEG, WEBP, or PNG format.
How to remove shadows from a picture online
Open your browser and go to PhotoAid's AI Shadow Remover tool.
Click the Upload Image button and select the image you want to edit. Make sure your file is in a supported format and size.
Once uploaded, PhotoAid will automatically detect and remove shadows from the face. Then, after the tool finishes processing, you’ll see a preview of the edited image. Compare it with the original.
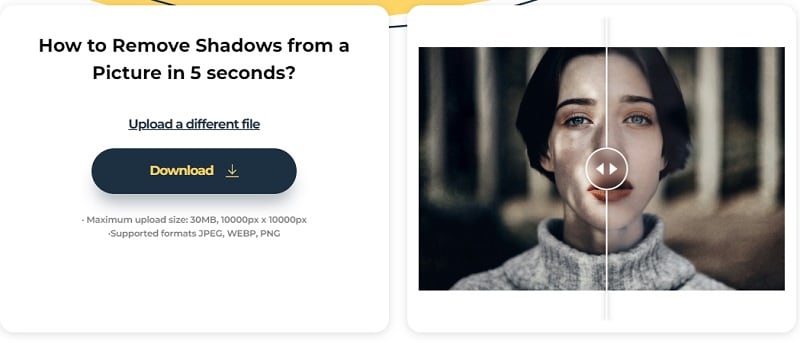
If you’re happy with the result, click the Download button to save the shadow-free image to your device.
Part 3. How to Eliminate Shadows While Taking Pictures
So far, we’ve looked at how to remove shadows from a picture after it was taken—but what if you could avoid them in the first place?
In photography and videography, shadows usually appear when your subject blocks a light source. As a result, it creates dark patches on or around them. This can make your images look unbalanced, overly dramatic, or even hide important details.

To help you remove shadows while taking pictures, there are a few tips that you can try to implement:
- Use Soft, Even Lighting
Harsh lighting (like direct sunlight or a bright lamp) can create strong, unwanted shadows. Try using soft lighting instead to spread the light evenly. For example, you can use natural light through a window, a lamp with a diffuser, or a softbox if you have one.
- Position Your Light Source Correctly
Where your light is coming from matters! Try placing it at a 45-degree angle from your subject. This setup usually gives you nice, balanced lighting without casting deep shadows on the face or background.
- Use Reflectors to Fill in Shadows
A reflector helps fill in any shadows by bouncing light back onto your subject. You can use a professional one or just grab a white poster board, a piece of aluminum foil, or even a white wall as a quick DIY reflector.
- Avoid Cluttered Backgrounds and Direct Sunlight
Busy backgrounds and direct sunlight can create strange or distracting shadows. If possible, shoot in open shade or during golden hour (right after sunrise or before sunset) for more even lighting. Keeping your background simple can also help reduce unwanted shadow effects.
Bonus: How to Add Shadow Overlay to Your Photo
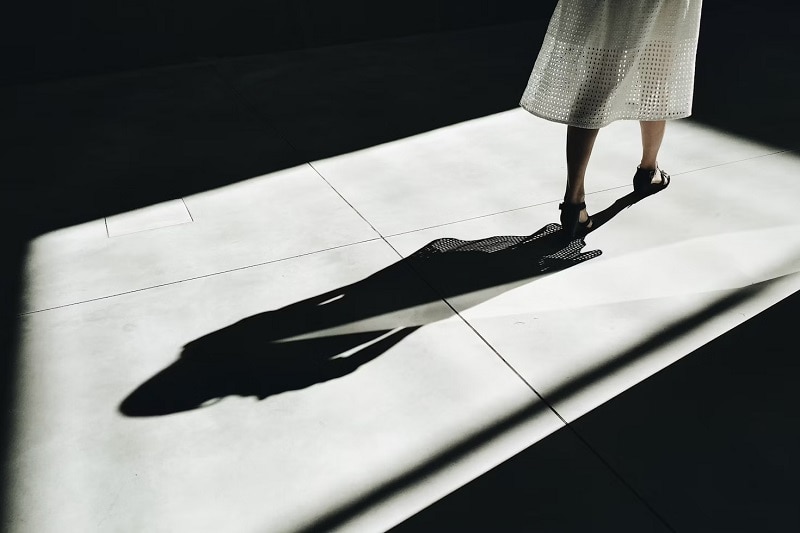
Shadows don’t always make a photo look bad. In fact, they can help highlight your subject, create a dramatic effect, add depth, or give your image a more artistic vibe when used intentionally.

Look at the example above, doesn’t it look cool? If you want to add a shadow overlay to your photo, you can use Filmora to do it easily. While it's a great app to get rid of shadows in pictures, Filmora also comes with various artistic shadow effects that can instantly enhance your images.
How to add a shadow overlay to your image
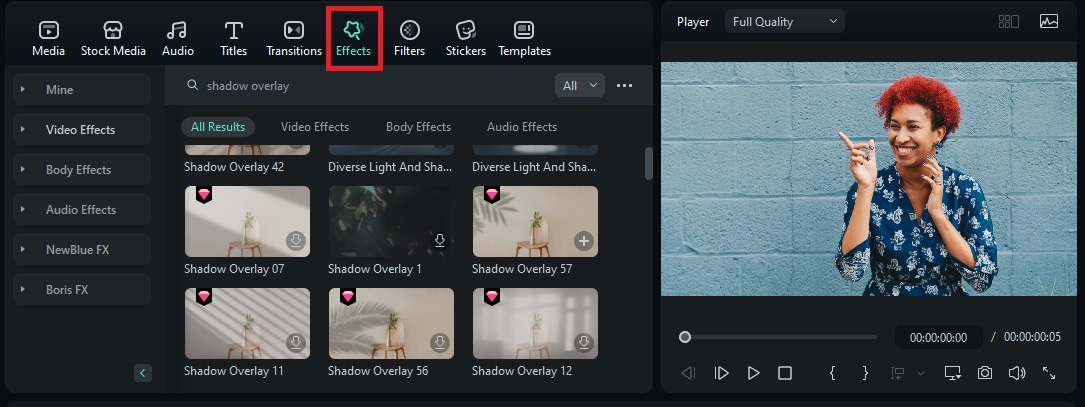
With your image imported into Filmora, go to the Effects menu and type “shadow” into the search bar. Browse through the options, then select and download the shadow effect you like.
 secure download
Once downloaded, drag it onto the timeline above your photo layer. You’ll instantly see it applied to your image. Adjust the opacity on the property panel.
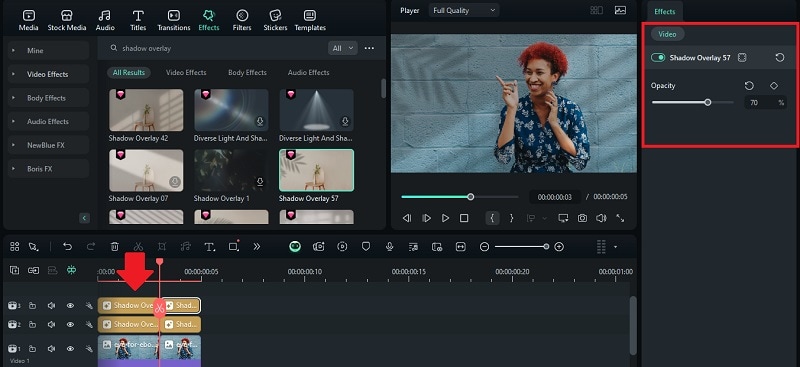
If everything looks good, click Export to save your edited photo as a video or GIF. But if you’d prefer to save it as a still image (JPG or PNG), just click the Snapshot button.
Conclusion
Shadows can sometimes get in the way of the perfect photo, but they don’t have to be permanent! With AI-powered tools like Filmora and PhotoAid, removing shadows from a picture is quick, easy, and surprisingly effective.
And if you want to get creative with your photo, don’t forget that shadows can also be used to add a dramatic and artistic effect. Try adding shadow overlays with Filmora and watch as your photo transforms with a whole new vibe and personality.
