
 100% Security Verified | No Subscription Required | No Malware


 ChatGPT
 Perplexity
 Gemini
 Claude
 Grok
Grok
In this article
Editing connects moments into meaning. Avidemux keeps that job simple: it’s open-source, fast, and focused on the basics that matter. It won’t chase every flashy trick, but it handles the essentials with confidence.
You can blend scenes using smooth Avidemux transitions and refine every shot through precise Avidemux filters. The result is clean, steady, and visually balanced footage without extra weight on your system.
This article aims to guide you through using Avidemux transition effects and filters step by step, then points you to a few advanced options if you later want more complex transitions or creative control.

Part 1. What Can You Do With Avidemux Video Editor?
Avidemux is a free, open-source video and audio editor that keeps things reliable and easy to manage. Here’s what you can do with it:
- Trim and cut clips to remove unwanted parts.
- Merge scenes to create continuous playback.
- Rotate or flip footage to correct orientation.
- Apply Avidemux filters for color correction, brightness adjustment, sharpening, or noise reduction.
- Work with multiple formats, since Avidemux supports a wide range of video and audio types for importing, editing, and exporting without compatibility issues.
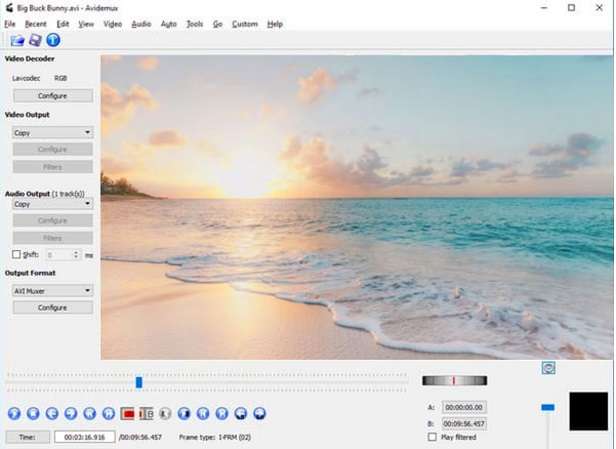
Not to mention, it's smooth-running on Windows, macOS, Linux and BSD meaning the app is cross-platform. With multithreading support, Avidemux processes tasks faster than most tools in its range. The built-in “Recent Projects” list keeps your edits easy to access, while the real-time Video Filter Manager lets you preview and tweak every adjustment on the spot.
Part 2. How to Apply Avidemux Transitions to Your Video
Creating smooth Avidemux transition effects requires a few simple steps. Although the program doesn’t include an extensive transition library like most video editors, you can manually blend clips for soft fades or use filters to simulate transitions.
Step 1: Import Your Video
Launch Avidemux. Click File > Open and select your first clip. To add another clip, go to File > Append and choose the next video segment. This joins the two clips on the same timeline.
Step 2: Select Overlapping Frames
Move the playhead near the point where the first clip ends. Use the A/B markers to define the transition zone between the two clips. This section will become your fade or cross transition area.
Step 3: Apply a Fade or Dissolve Transition effect.
Head to Video > Filters > Transitions and choose from the available choices:
Fade In/Out- a slow addition or “attenuation” of a clip.
Dissolve – (two scenes dissolve) a smooth transition that overlaps scenes.
Add the transition you selected and preview it in the playback window.
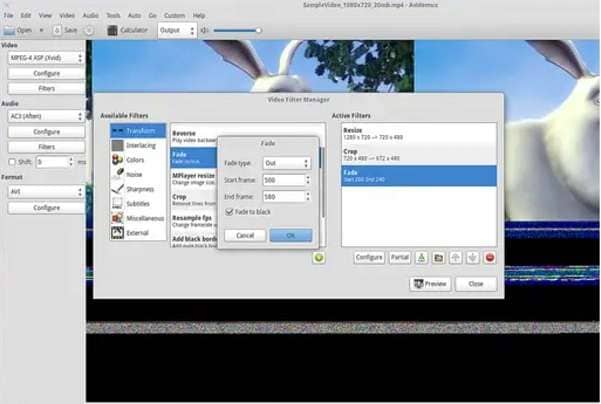
Step 4: Fine-Tune the Transitions Take Duration
Change the count of frames or duration of each transitioning effect. The shorter it is, the sharper the cut; the longer, the fade.
Step 5: Preview and Export
Hit File > Save and save your final video. You may choose MP4 or MKV as output formats for your projects. Your Avidemux transitions are now successfully applied.Your Avidemux transitions are now successfully applied.
Part 3. How to Apply Avidemux Filters to Your Video
Avidemux filters are also needed to improve the picture quality aside from transitions. These filters are for colour correction, make your footage more natural and real, and ultimately control the contrast of the image.
Step 1: Import Your Video
Get your desired video ready for editing by importing it in Avidemux. Click File > Open, and select your file.
Step 2: Select the Output Format
After loading the clip, choose the output format in which you want the final result.
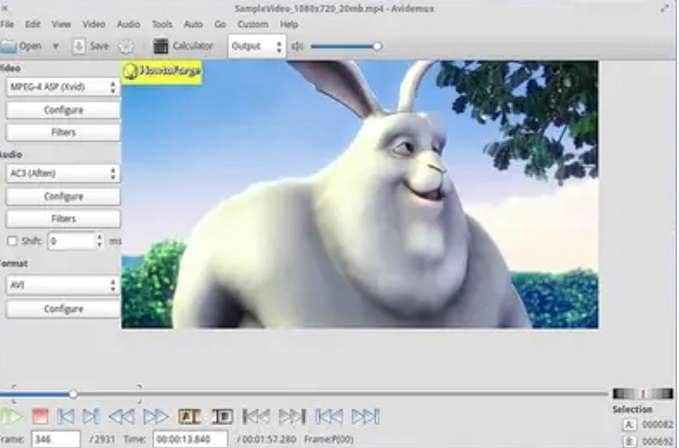
Step 3: Open the Filter Manager
From the left-side toolbar, click Filters. A new Video Filter Manager window will open.
Step 4: Choose a Filter
The manager displays all available Avidemux filters. Select the one that fits your editing need.
Step 5: Add New Filters if Needed
You can also download and install more Avidemux filters from the internet to expand your editing options.
Part 4. Find More Transition Effects and Filters to Add to Your Video
Avidemux provides reliable tools for modest editing, but its collection of transitions and filters is small. For creators who are looking to add more effects, have smoother movements from one edit to another and updated templates, a pro-editor like Filmora would be richer in content. It comes with a wide range of transition effects, from classic fades and slides to 3D, light-aware, smoke and social-media inspired animations. New transitions are added regularly, which keeps the creative options fresh.
 secure download

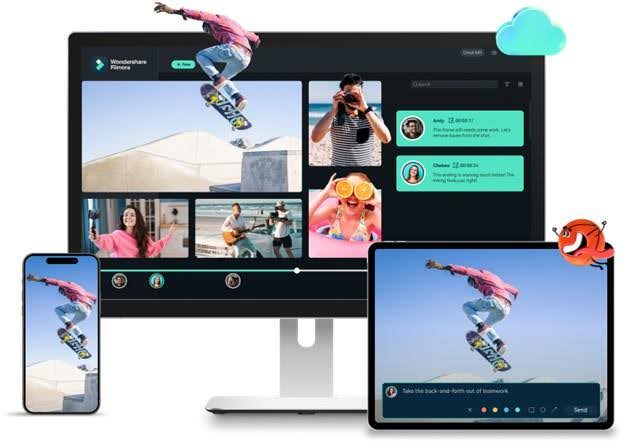
There are also over 1000 filters, hundreds of motion elements and 10,000 text animation templates and a growing library of over 1,000 high-quality instant mode templates, to polish off every project. Special effects, including picture-in-picture, tilt screen, and face-off, are also available. It works just as well on Windows as it does macOS, and it’s compatible with all of the most popular formats. Beginners can learn fast with its clear interface and friendly tutorials, and you will get professional-quality results.

How to Edit Your Video in Filmora
Step 1: Install and Launch
Download Filmora, install it on your computer, and open a new project.
Step 2: Import Media
Drag your video files to the Project Media panel, and then drag them into the timeline. Divide an extra large file into even smaller video segments where you can attach some special effects onto the video.
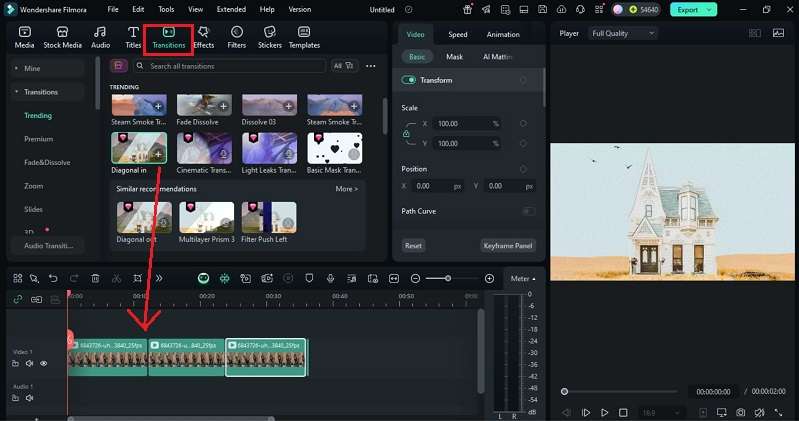
Step 3: Add Transitions
Open the Transitions tab at the top. A list of categories appears on the left. Choose the one you like and drag it between two clips on the timeline. You can add multiple transitions throughout the project.
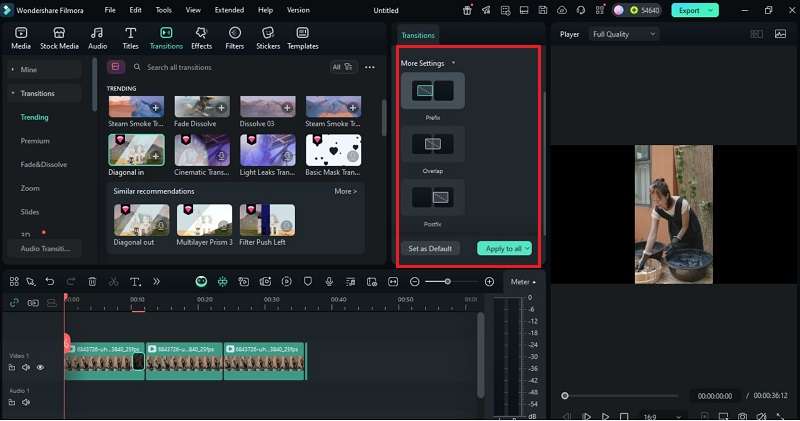
Step 4: Adjust Transitions
Double-click a transition to modify its duration or switch between modes.
- Overlap starts in one clip and ends in the next.
- Prefix adds it before the cut.
- Postfix places it after the cut.
You can also change the duration by dragging the transition’s edge or setting the same timing for all clips with “Apply to All.”
How to Apply Filters
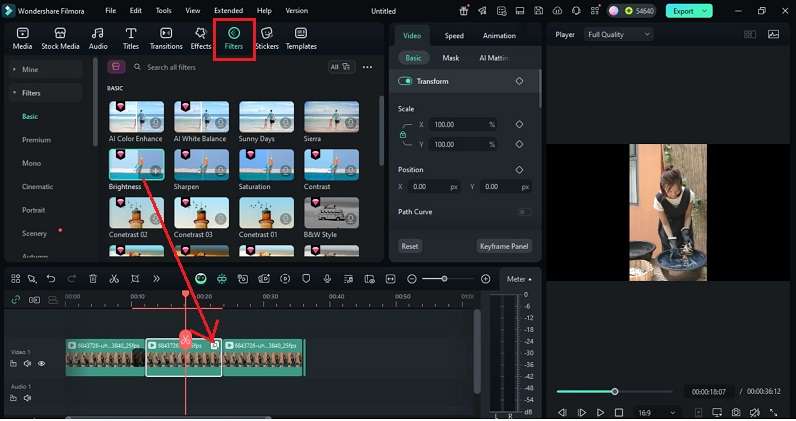
Step 1: Choose a Filter
Go to the Filters tab and select the effect you want. Drag it onto a clip in the timeline to apply it to the entire segment.
Step 2: Adjust Duration
The default filter length is five seconds. Drag the edges of the effect on the timeline to make it longer or shorter.
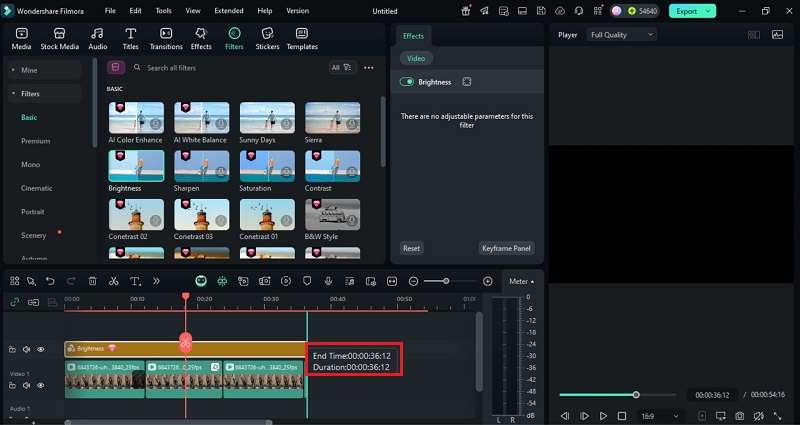
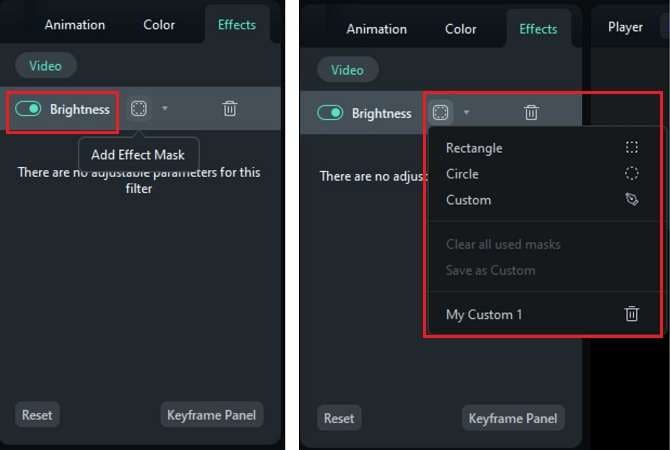
Step 3: Adjust Brightness and Use Masking
Double-click the applied filter to fine-tune brightness settings. You can control where the effect appears by adding an effect mask. Choose from rectangle, circle, or custom shapes. This lets you highlight or limit brightness to specific areas of your frame, giving you more precise control over how the filter enhances your video.
Step 5: Export your Completed Video
After you have applied your transition effects and filters, click on Export to save your work in the way you like.


Conclusion
Editing is where visuals find rhythm, and Avidemux transitions make that rhythm simple to build. Its precise Avidemux filters help polish clips and balance tone without demanding complex tools. Yet, when creative goals grow, when projects call for smoother motion, dynamic layers, and cinematic energy, many editors move toward a more advanced solution.
Wondershare Filmora stands out for that next step. It expands beyond basic Avidemux transition effects, offering a richer library, smarter automation, and professional-grade control in an interface that still feels effortless. For creators ready to evolve, Filmora bridges simplicity with power, turning skill into visual storytelling mastery.
