Every editor eventually faces the same moment—finishing a project and needing to export video from Premiere Pro (or any editor) for platforms like YouTube, Instagram, or TikTok. Exporting decides whether your video looks sharp, plays smoothly, and fits platform requirements.
Adobe Premiere Pro is considered the professional’s tool, offering deep export customization. But for small businesses, influencers, or casual creators, its export process often feels like overkill—too many settings, no built-in publishing, and single-format limitations.
That’s why this guide compares Adobe Premiere Pro export video workflows with Filmora V15’s alternative. We’ll cover Premiere’s settings, highlight its pain points, and show how Filmora makes exporting and publishing faster and easier.
In this article
Background
Exporting isn’t just pressing “save.” It’s configuring the right codec, resolution, bitrate, and aspect ratio for where the video will be published. Premiere Pro excels at customization: you can export in 4K, adjust frame rates, or even export transparent video with alpha channels for graphics.
But here’s the catch: once you’ve exported, you’re still not done. You need to upload manually to each platform—or rely on third-party scheduling tools.
Filmora V15 steps in with ready-made export presets, batch export, and publishing inside the editor, turning a 5-step Premiere Pro workflow into a 1-step Filmora workflow.
How Premiere Pro Works for Video Export
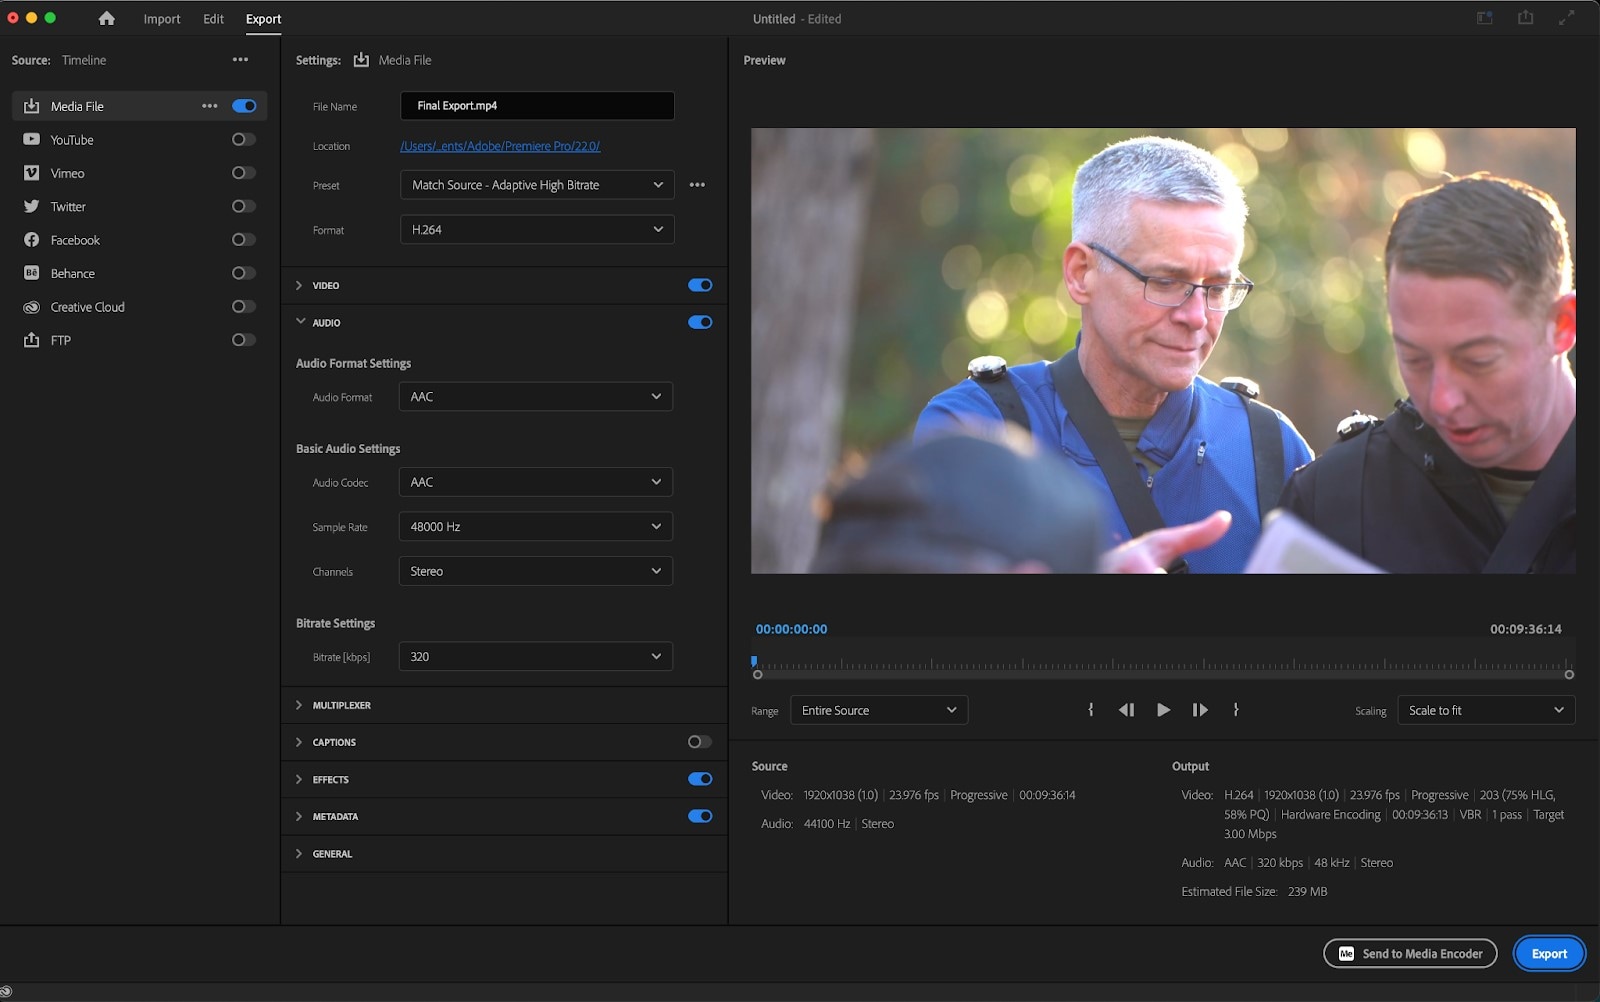
Adobe Premiere Pro is a timeline-based video editor with one of the most advanced export systems in the industry. It’s designed to give editors complete control over every detail of the final output, but that flexibility comes at the cost of complexity.
To export video in Premiere Pro, users typically follow a detailed process:
- Open the Export Menu: Go to File > Export > Media. This brings up the Export Settings panel, which contains dozens of technical options.
- Select Format: The most common choice is H.264, which produces MP4 files optimized for online platforms like YouTube or Instagram.
- Set Resolution: Premiere allows exporting in various resolutions. Standard is 1920x1080 (Full HD), while 3840x2160 (4K) is popular for higher-quality content.
- Adjust Frame Rate: Editors can match the source footage (24fps, 30fps, or 60fps) or choose a custom setting. This ensures smooth playback across platforms.
- Configure Bitrate: Premiere Pro gives control over variable and constant bitrate, allowing fine-tuning of quality vs. file size.
- Set Audio Options: Most creators stick to AAC audio at 320 kbps for clear sound.
- Export Transparent Video (Optional): For overlays or animations with transparency, choose QuickTime + GoPro CineForm codec with alpha channel enabled.
Once the video is exported, creators still need to transfer the file to a mobile device, log into each platform, and manually upload. Scheduling tools like Buffer or Later are required for automation.
In short, Adobe Premiere Pro gives unmatched control, but exporting can feel like a technical hurdle—especially for beginners or creators working across multiple platforms.
Advantages of Premiere Pro Video Export
- Professional-grade quality: Delivers broadcast-level exports suitable for film, TV, and online.
- Full customization: Users can tweak resolution, aspect ratio, bitrate, codecs, and more.
- Industry standard: Trusted by professionals worldwide for precision and flexibility.
- Custom presets: Save your export settings for future projects to speed up workflows.
- Transparent video export: Essential for motion graphics, overlays, and advanced editing.
Drawbacks of Premiere Pro Export
- No direct publishing: Finished files must still be uploaded manually.
- Steep learning curve: The sheer number of export settings can overwhelm new users.
- Time-consuming workflow: Each platform version (YouTube, Instagram, TikTok) requires separate export.
- Expensive subscription: Adobe Creative Cloud’s cost can be a barrier for small creators and hobbyists.
In short: Premiere Pro is powerful but clunky for everyday exporting and publishing needs.
Filmora V15 as a PR Alternative
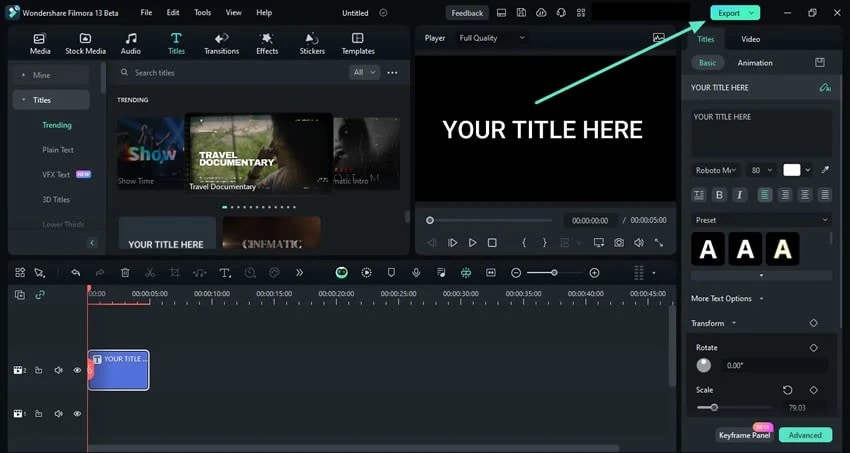
For creators who value speed, simplicity, and efficiency, Filmora V15 offers a smoother and more practical workflow compared to Adobe Premiere Pro. Instead of juggling multiple settings, apps, and file transfers, Filmora combines editing, exporting, and publishing in a single streamlined platform.
This means you can edit your video, prepare multiple versions for different platforms, and schedule uploads—all without leaving Filmora. Whether you’re managing a YouTube channel, posting TikTok clips, or keeping your Instagram feed fresh, Filmora is designed to remove repetitive technical steps and let you focus on creating.
Key Features Filmora Offers Instead of Premiere Pro
Social Media Planner
03. Use the Social Media Planner for Direct Publishing
The new Social Media Planner turns Filmora V15 into a complete publishing hub — allowing you to upload or schedule posts directly without third-party tools.
Step1Open Social Media Planner.
After exporting your video, click Planner on the top toolbar or select Social Media Planner from the export window.
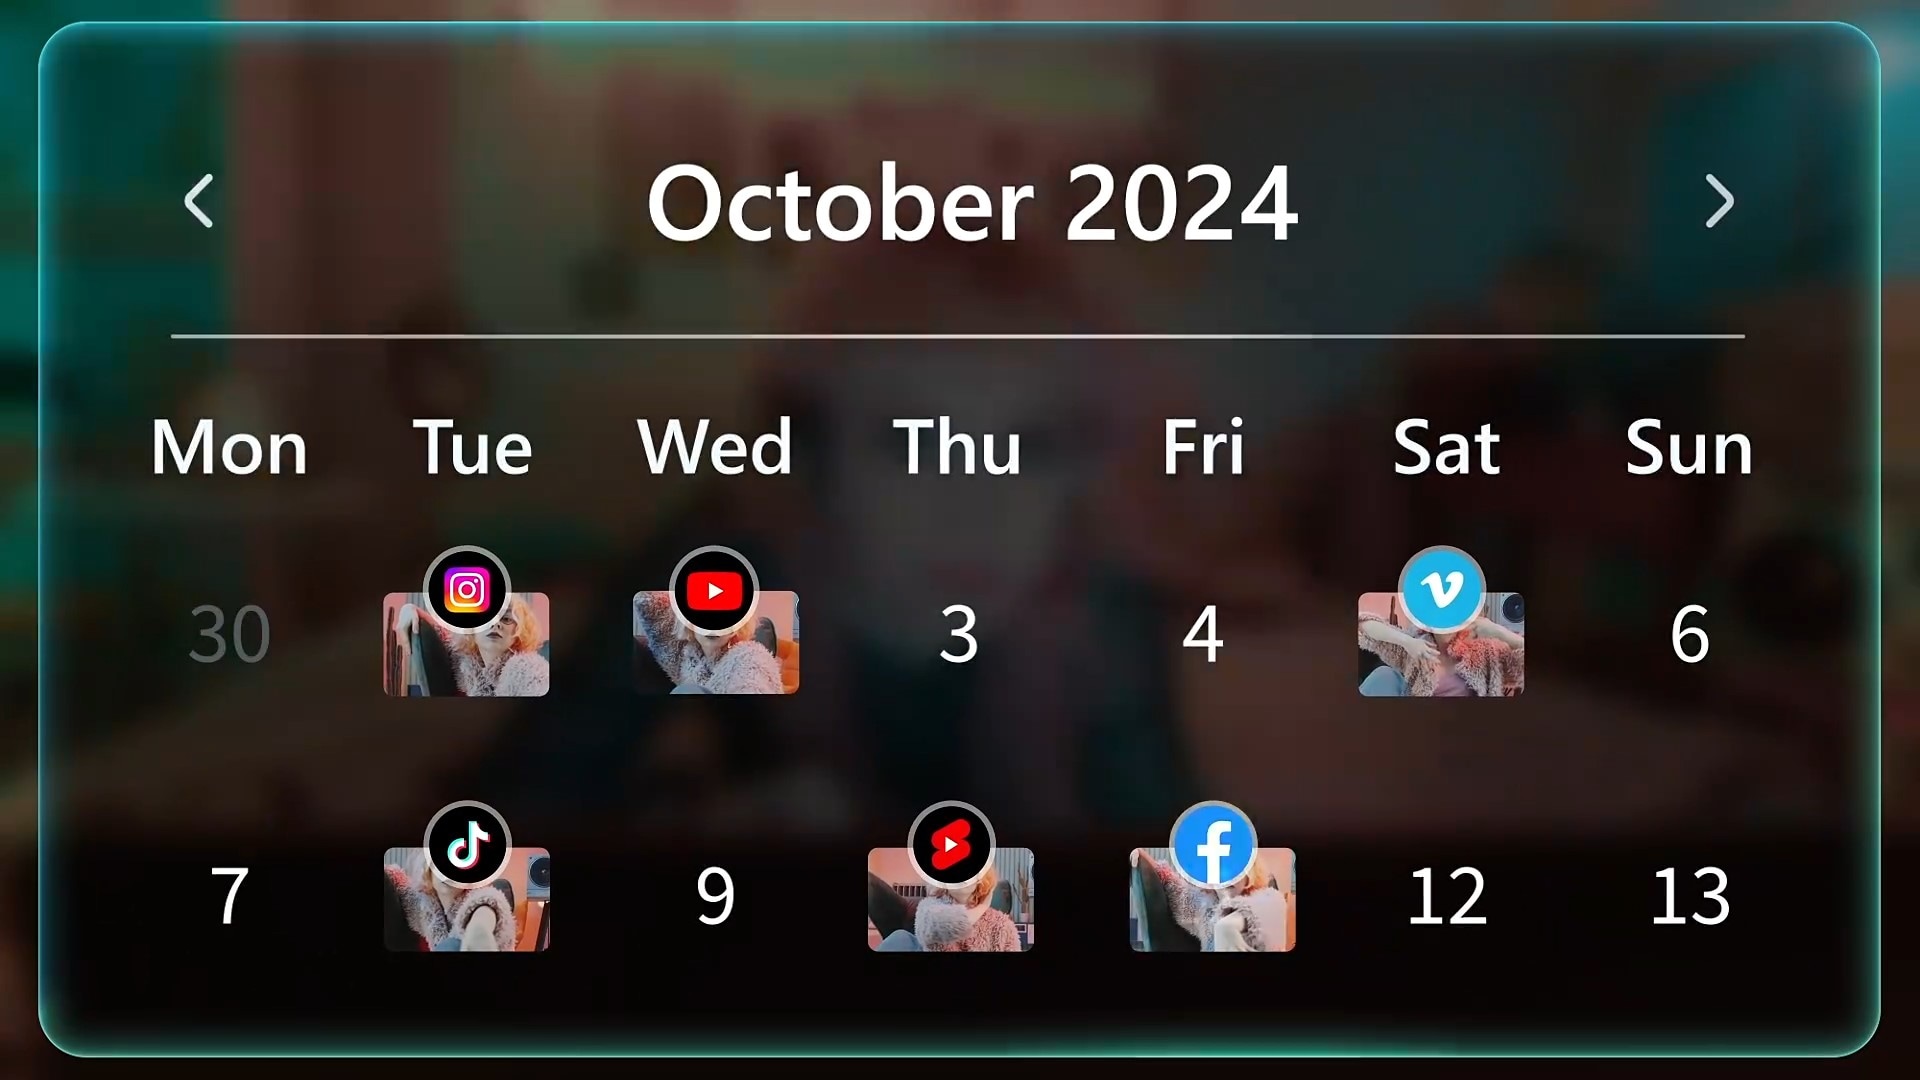
Step2Connect Your Accounts.
Link your YouTube, Instagram, or TikTok accounts by clicking Connect Account. Grant Filmora permission to publish or schedule your videos directly.
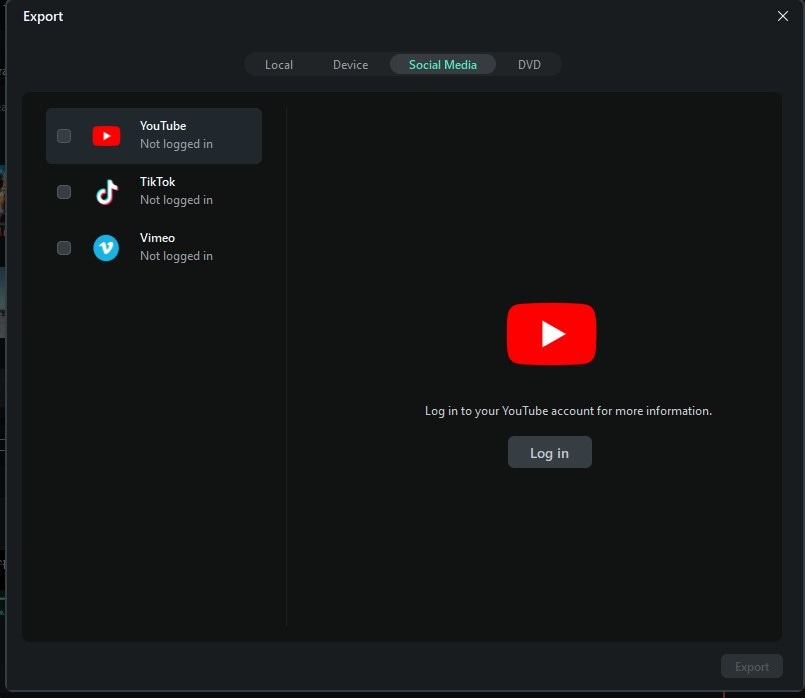
Step3Schedule or Publish.
Choose whether to Post Now or Schedule for Later. Set the exact date and time, add video captions, hashtags, and thumbnails — all from within Filmora.
Step4Track Scheduled Posts.
Monitor upcoming uploads in your Planner Dashboard. Filmora V15 automatically publishes videos on schedule — eliminating manual uploads and external tools.
Batch Export
Filmora V15 introduces Batch Export, allowing you to render multiple video versions simultaneously for different social media platforms. Here’s how to use it effectively:
Step1Access the Export Panel.
Once your project is complete, click the Export button in the top toolbar. The Export Panel will open, displaying available formats and destination settings.
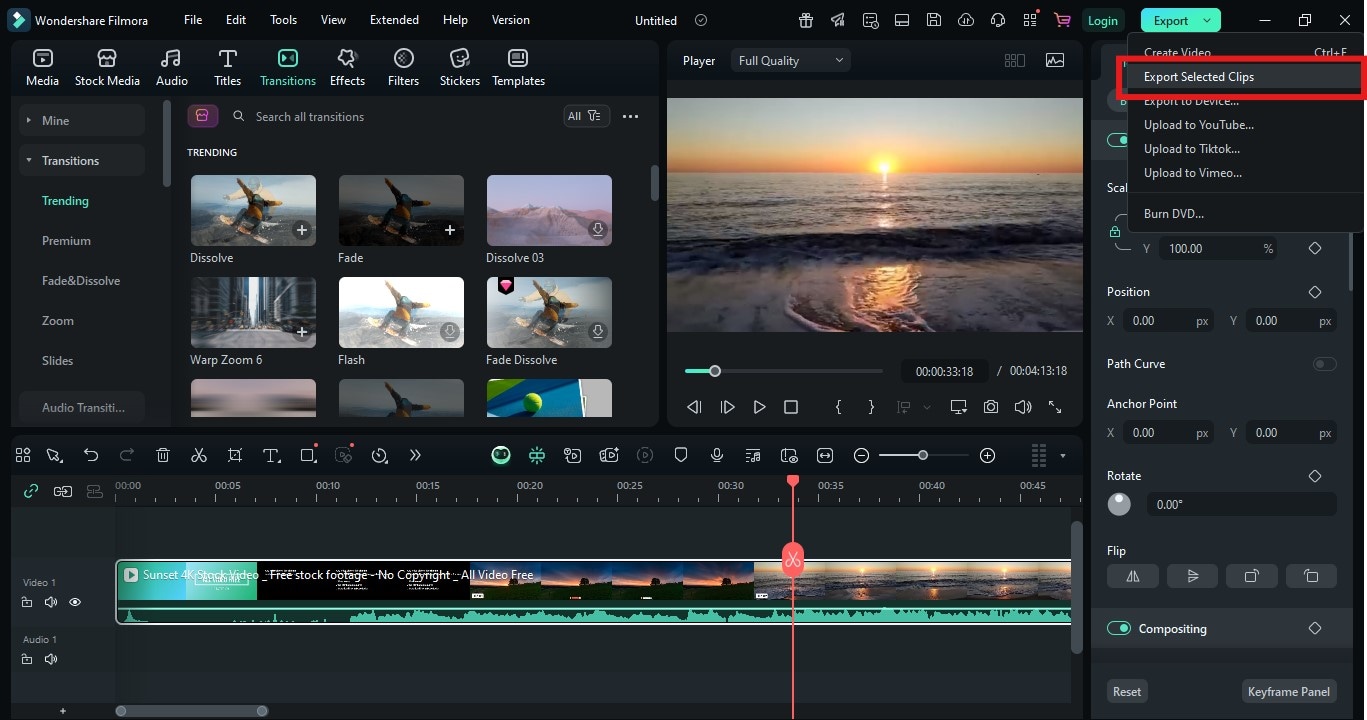
Step2Select Batch Export.
In the export window, click the Batch Export tab on the left sidebar. This Filmora V15 feature allows you to export multiple versions of a single project at once — saving significant time compared to manual exports.
Step3Add Aspect Ratios or Formats.
Click Add Export Task and choose aspect ratios such as 16:9 (YouTube), 9:16 (TikTok/Reels), and 1:1 (Instagram Feed). Each task can have its own resolution, file name, and output folder.
Step4Start Batch Export.
After setting up your tasks, click Export All. Filmora V15 will process all tasks simultaneously — saving hours compared to exporting each version separately in traditional editors like Premiere Pro.
Export Presets for Platforms
Filmora V15 simplifies exporting by including platform-specific presets — removing the need to manually set codecs, bitrates, and resolutions.
Step1Choose Preset Category.
From the Export Panel, click Platform Presets. Then select your preferred platform — YouTube, Instagram, or TikTok — to reveal ready-made configurations.
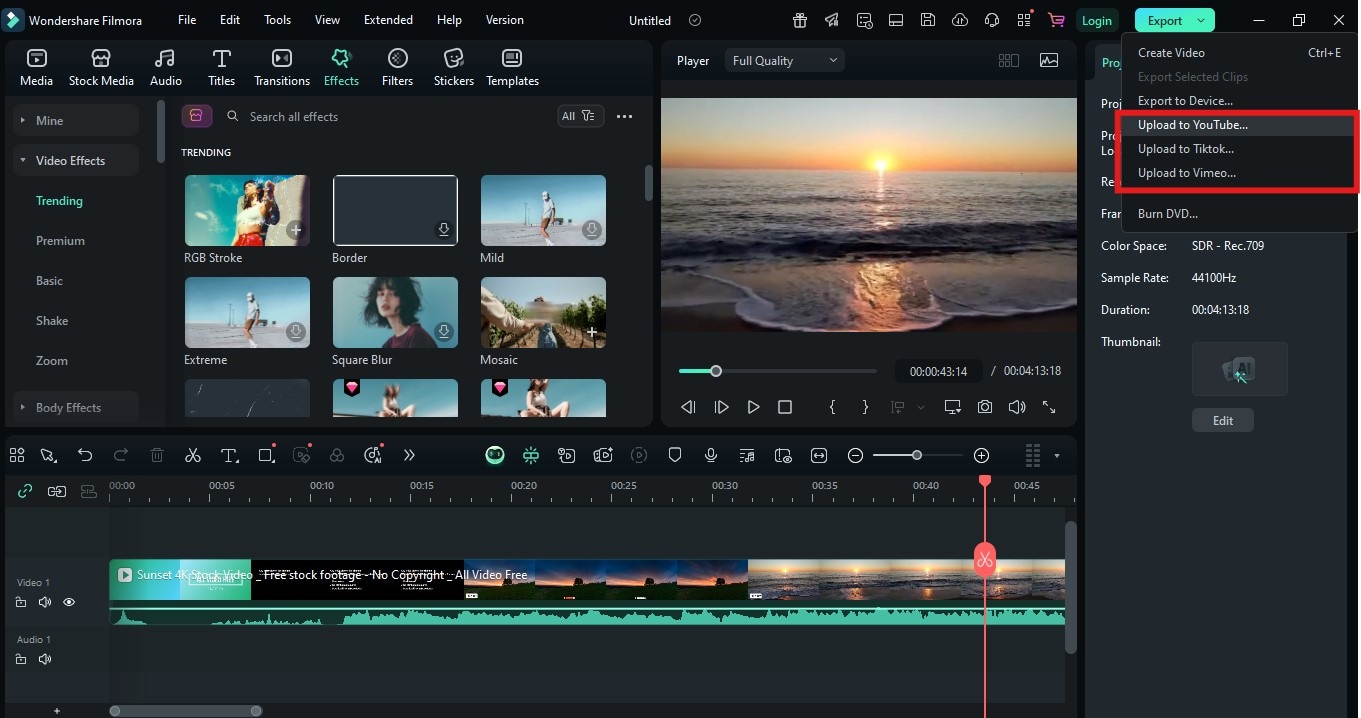
Step2Customize Export Details.
Enter a custom file name, choose a save location, and modify settings such as Resolution (1080p or 4K) and Frame Rate (24, 30, or 60 fps). Filmora automatically adjusts bitrate and codec for the best results with minimal effort.
Step3Preview and Export.
Click Preview Settings to confirm your choices, then hit Export to render your video. Filmora V15 ensures your output meets each platform’s technical standards without manual setup.
Templates & AI Tools
Filmora also includes smart tools designed to save time and boost engagement:
- Drag-and-drop templates for fast editing.
- AI background removal for clean overlays without green screens.
- Motion tracking for text or object following.
- Auto music sync to match cuts with beats.
Performance-Friendly
Unlike Premiere Pro, which demands high-end machines, Filmora is optimized for mid-range laptops and PCs. It’s perfect for students, small creators, and businesses who need smooth editing and exporting without crashes or lag.
Conclusion
Adobe Premiere Pro remains excellent for editing and precision export settings. But its export process is slow, complex, and disconnected from publishing.
Filmora V15 solves these issues with batch export, platform presets, and built-in publishing tools—making it the smarter choice for creators who need speed without sacrificing quality.
Try Wondershare Filmora V15 and simplify your video export and publishing workflow today.
FAQs
-
Q1. How do I export video in Premiere Pro?
Go to File > Export > Media, select H.264, set your resolution (1080p/4K), bitrate, and audio options, then export. -
Q2. Can Premiere Pro export transparent video?
Yes. Use QuickTime format with GoPro CineForm codec and enable the Alpha Channel option. -
Q3. Is Filmora’s export quality as good as Premiere Pro?
Yes. Filmora’s export presets are optimized for YouTube, TikTok, and Instagram, delivering professional-grade results without manual configuration. -
Q4. Can Premiere Pro batch export videos?
Not natively. Each format must be exported separately. In contrast, Filmora supports batch export in one click. -
Q5. Can Filmora publish videos directly to platforms?
Yes. Filmora’s Social Media Planner connects to YouTube, Instagram, and TikTok for direct publishing or scheduling without external tools.


 100% Security Verified | No Subscription Required | No Malware


