Key Steps of This Video Tutorial To Follow
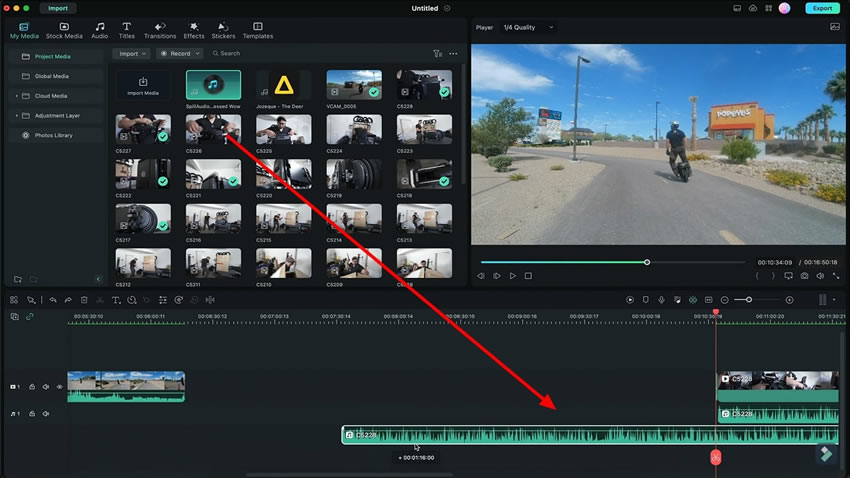
Place the video on the timeline and select the video clip, after which you need to choose the “Detach Audio” option from the pop-up list. Copy the audio and paste it below the original audio on the timeline.
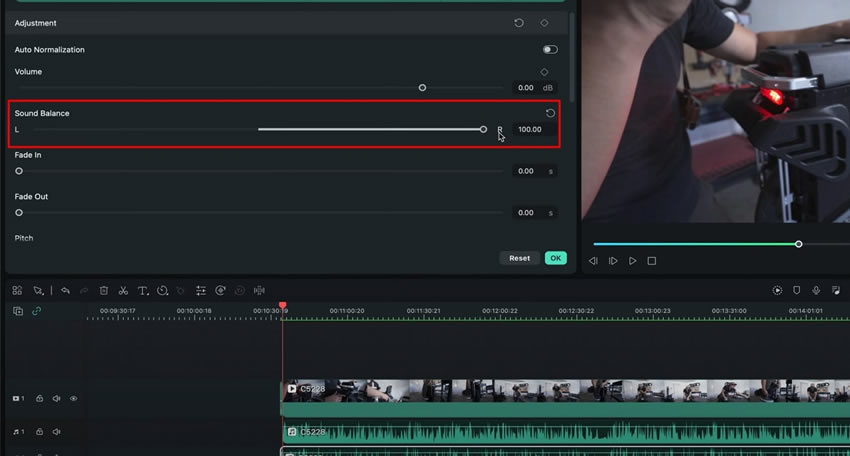
As you double-click on one of the audio clips, another window will appear on the screen. From the "Audio" tab, you can adjust it as the left channel from the "Sound Balance" by moving the slider towards the left. Similarly, switch the other audio clip by moving the slider towards the right. Playback to observe the audio settings you've incorporated.
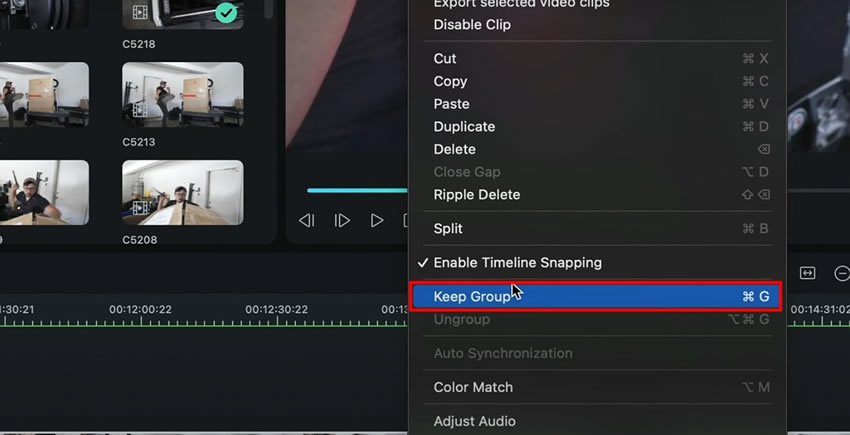
Seal everything to avoid every possible inconvenience in the future. Select all the tracks, including both the audio tracks and video, and right-click; you'll get a list of options there. Choose the "Keep Group" option from the list, and now this will not go out of order in any way.
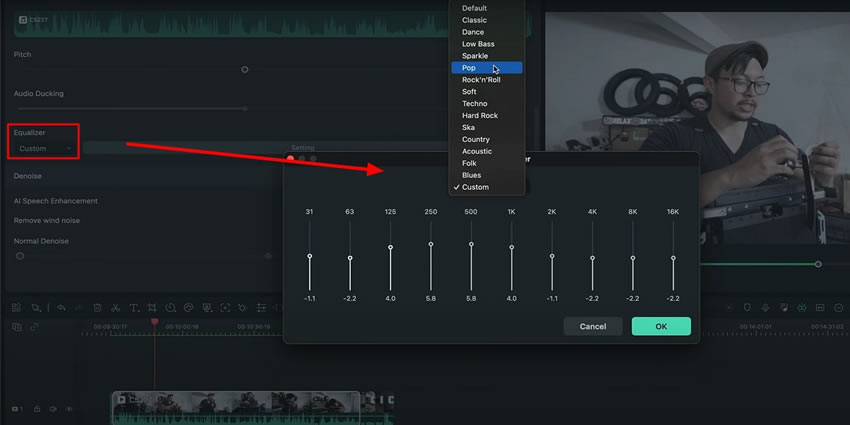
The audio equalizer is another feature offered at Wondershare Filmora. Select the video track and navigate to the “Equalizer” option from the upcoming window. Select the “Equalizer” to apply different effects to the audio by choosing from the drop-down list. You can also “Customize Equalizer” from the settings by adjusting the parameters.
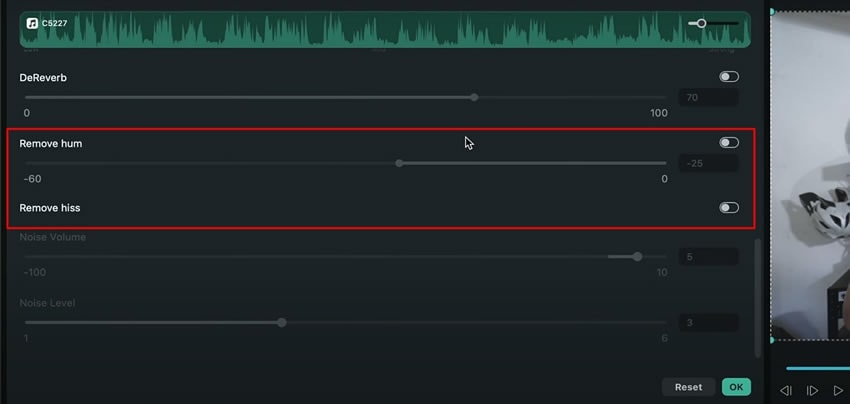
Similarly, by scrolling down the same window, you can eliminate the hissing and humming noises from the "Remove Hiss” and “Remove Hum" options, respectively.
Audio holds great importance when it comes to the viewer's experience. If the video does not have clear and good-quality audio, it will not be able to grasp the attention of the audience even for a few seconds. In this article, we have learned how to improve the audio quality of the videos using the tools of Wondershare Filmora.
Josh's Other Filmora Master Lessons


