Guide to Add Transparency Effect and Cloak Effect to the Video

In this video, learn the basic technique of applying the transparency and cloak effect to your videos using Wondershare Filmora.
Key Steps of This Video Tutorial To Follow
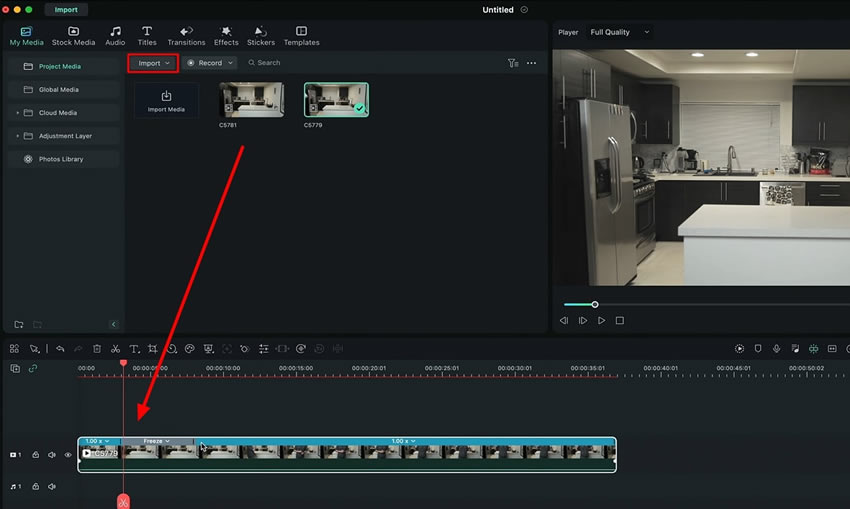
Start by shooting clips, including one clean play and two videos with your reactions. To add transparency effect, bring the clean play and video clip containing the reaction in Filmora and add them to the timeline.
The reaction video will be placed above the clean play. Double-click the clean play clip and navigate to the top-most toolbar of Filmora, where you need to look for the "Tools" tab. Choose the "Add Freeze Frame" option from the expanded list, and a freeze frame will be created for the clean play.
Proceed forward to add the transparency effect to the video clip by double-clicking the video clip. This will take you to the settings window, where you need to look for the “Opacity” option in the “Basic” section. Here you can adjust the different levels of "Opacity" at various points in the video by adding keyframes at those points. Observe the final results in the preview panel by playing the video clip.

Start the process by bringing the video clip and clean play to the timeline in a similar order and add a freeze frame to the clean play by repeating the abovementioned process.
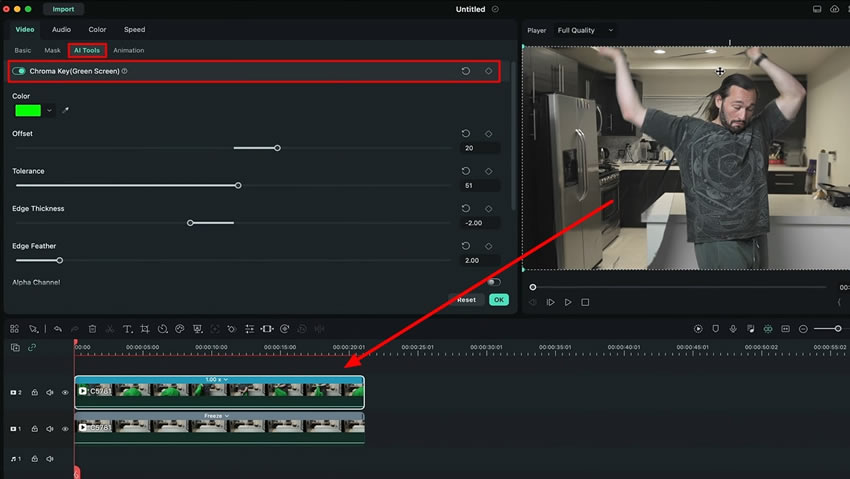
Double-click the reaction video, and you'll end up having a settings window on the screen. Under the "Video" tab, select the "AI tools" option; you'll see the "Chroma Key" button on the screen that you need to turn on. Playback the video to observe the final results and avoid worrying about the inconsistencies like shadows in the video.
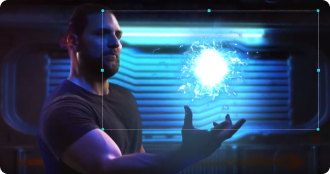
Creating fantasy-themed videos and adding magical effects is not a problem anymore. The main focus of creating such videos is to grab the viewers' attention. Such effects make the videos more fascinating, and this guide has explained the most accessible and convenient methods to add the transparency effect and invisible cloak effect to the video using Filmora.
Josh's Other Filmora Master Lessons