Guide to Creating Levitation Effect in Filmora

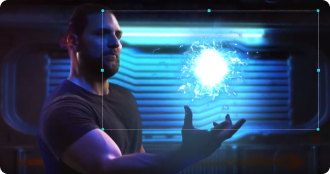
In this video, you will learn how to create the levitation effect in your videos with the help of masking and keyframing in Wondershare Filmora.
Key Steps of This Video Tutorial To Follow
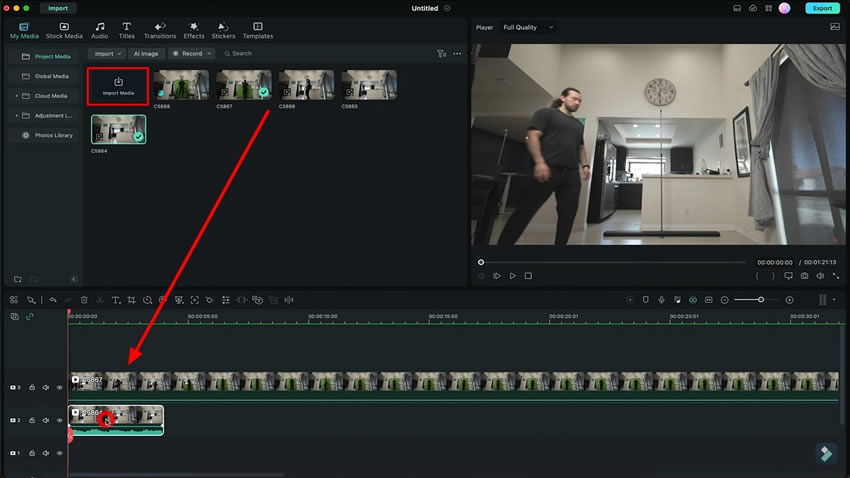
Shoot two different videos to do this type of editing and open Filmora. Hit the “New Project” button to enter the editing interface and import the videos into the media panel. To begin the editing process, drag and drop the videos on different tracks of the timeline. Place the video with an empty background below the reaction video containing the object on the timeline.
Select the reaction video and drag it towards the left. Go to the background video and access "Tools" from the main toolbar of Filmora. As this opens a drop-down menu, choose "Add Freeze Frame," and a freeze frame will be added to the selected video. You can adjust its duration by simply dragging it towards the right. Now, trim the unwanted parts of this video to remove all the abscess that is not required.

Now, select the video of the object and bring it over to the background video at the start of the timeline. To add the mask on it, double-click the video on the timeline and access the "Mask" section under the "Video" tab.
Choose the "Draw Mask" option and simply draw the mask around the desired area. It is recommended that the mask should cover the surrounding areas of the moving object, and it should also have a green background. Trim this video until you have applied the mask. Furthermore, you might need to set the scale and position of the objects masked out from the clips together.
You'll get the object video on a black background. Now, hit the “Export” button from the top right corner to export this video.
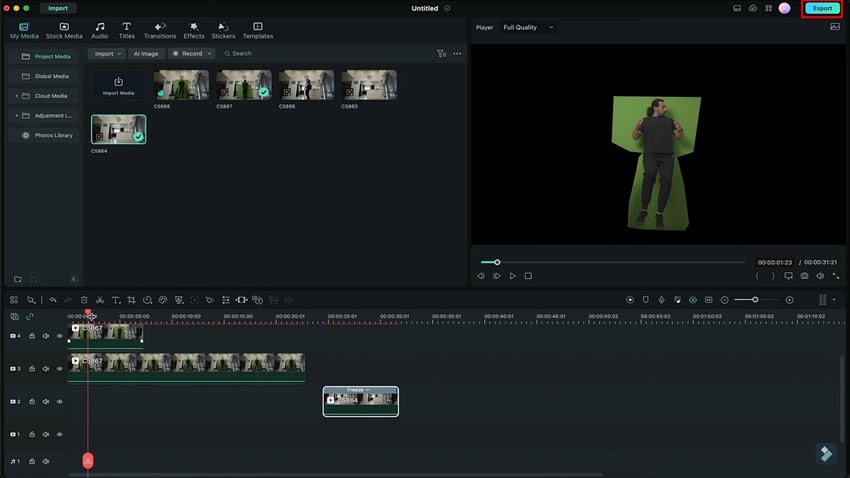
Import this video again in the media panel. Now, select the reaction videos and move them toward the right. Bring the imported video and freeze frame at the start of the timeline above each other. Adjust the duration of the freeze frame according to the duration of the imported video.
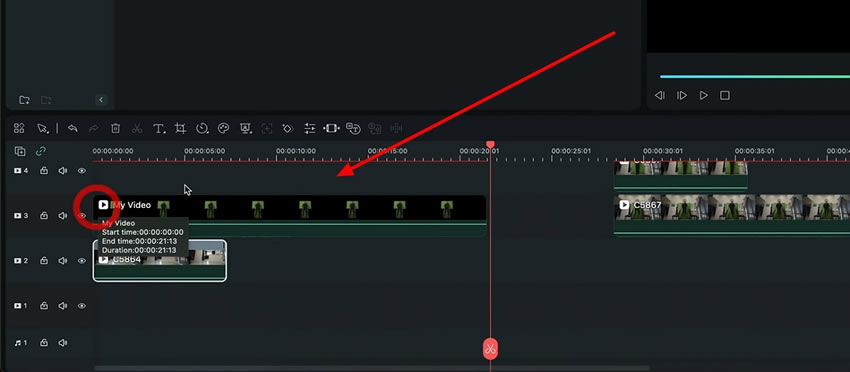
Furthermore, select the imported video and head to the "Mask" section to mark the points of the green screen. Use the "Draw Mask" tool to achieve this feat so that you can continue to make the green disappear.

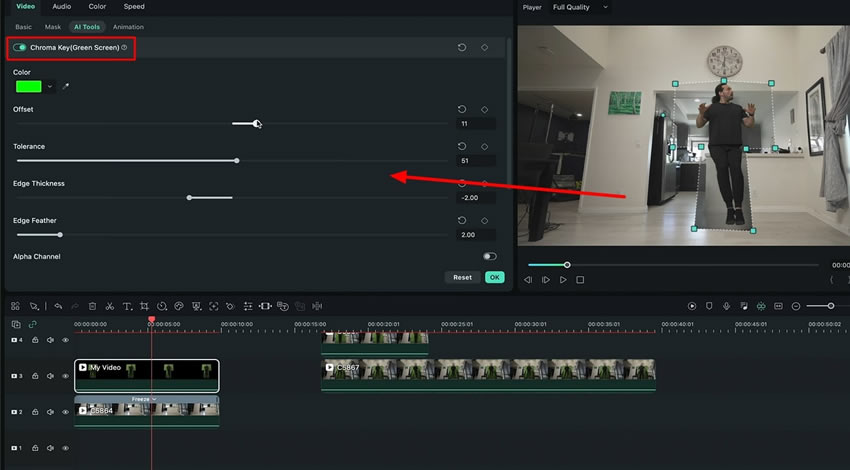
Head to the “AI Tool” section under the “Video” tab and find the "Chroma Key" button, and enable it. The green screen will disappear, and you'll get the object and the background.
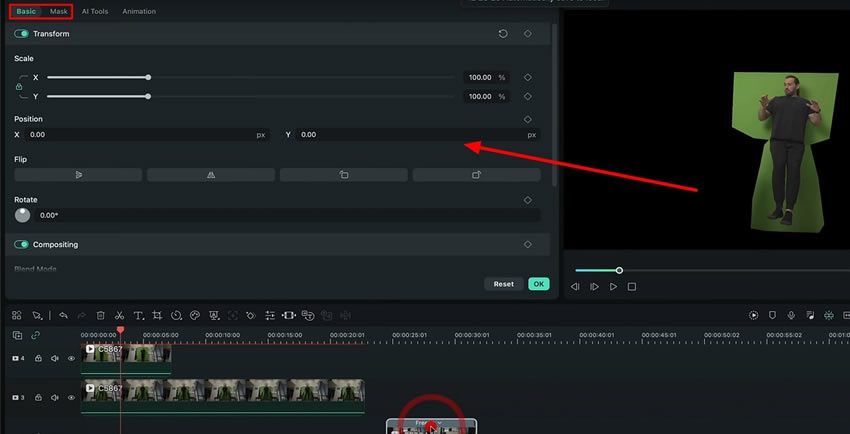
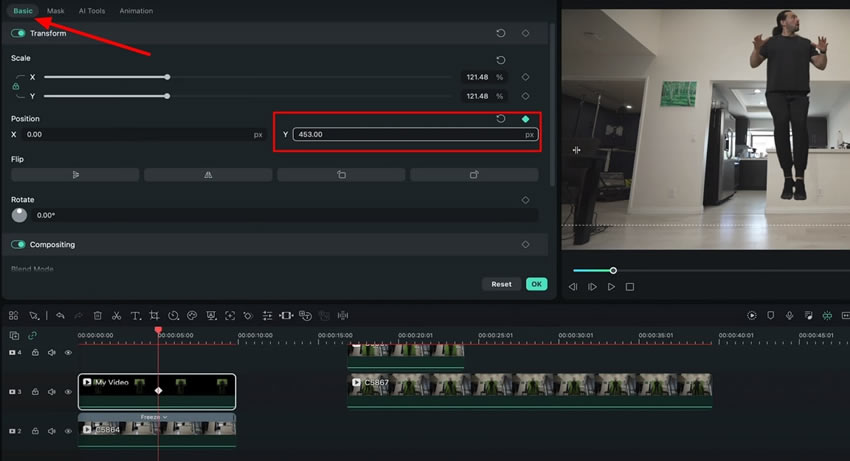
To make it look better, you can also adjust its settings by moving the other slider from this window. Here, to increase the size of the object, you need to go to the "Basic" section and change the "Scale" as per your choice.
Now comes the turn to create the levitation effect in Wondershare Filmora. For this, scroll down the "Basic" section to find the "Position." You can also see the keyframe icon here, from where you can add a keyframe by changing the position on “Y” to get this effect.
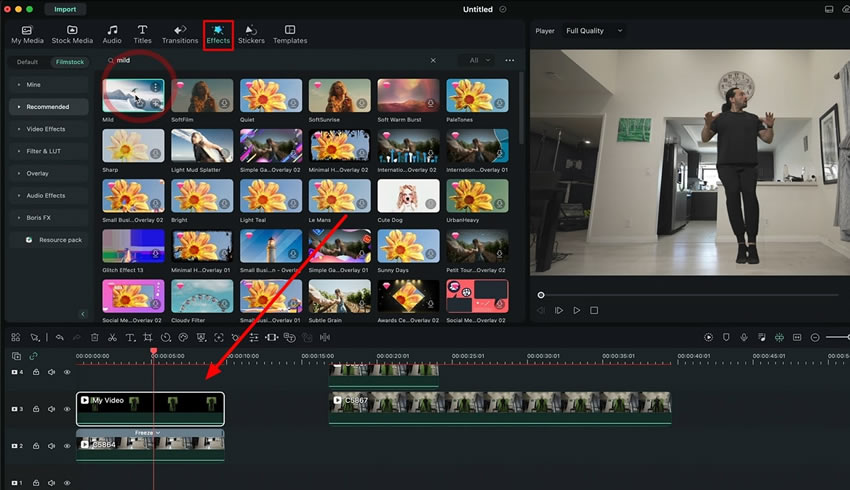
To make the video look as if it is captured by hand, you can go to the “Effects” menu to add some effects relevant to the camera movements. You can add some shadows and sound effects as well into this video to make it more realistic.
Videos are the most effective way to express your interest, and editing plays an important role in enhancing the engagement of the videos. The effects in which the objects are moving against gravity seem paranormal yet attractive. Adding levitation effect in the videos is no more a mystery; you can follow this guide to achieve this effect in no time.
Josh's Other Filmora Master Lessons