


 100% Security Verified | No Subscription Required | No Malware


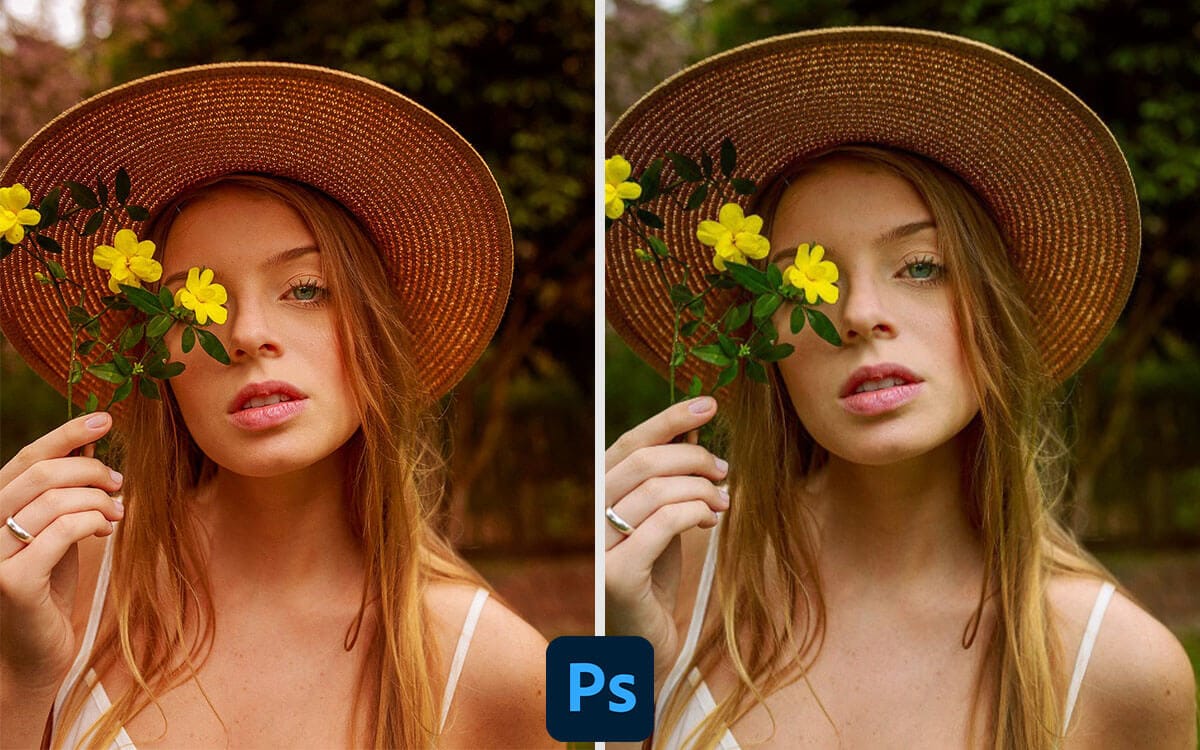
Photoshop is one of the most used editors on the market since it has limitless capabilities. You can edit your content to perfection and share it with your audience. One of the things that might interest you the most is color correction in Photoshop since it can truly take your content to the next level and provide professional results.
If so, we’re here to help you navigate the journey. We’ll present everything Photoshop offers regarding color grading and correction so you can start making your dreams come true. If the process seems overwhelming, or if you don’t have the time to deal with manual color corrections, stay tuned for an alternative solution.
In this article
What Is Color Correction in Photoshop?
Color correction in Photoshop is a crucial aspect of photo editing. Photoshop’s version comes with all the essential tools you need to make your photos pop, such as adjusting the white balance, hues, saturation, and more.
It’s a separate section in the Photoshop platform you can easily access on your desktop device and make your visions come to life. However, all of the tools available are manual, so you may need time to master your skills and get the desired results. If you’re a color-correcting beginner, the process may initially be overwhelming.
Different Color Correction Tools in Photoshop and Their Functions
Now, let’s check out which color-correcting capabilities Photoshop possesses for your experience. We’ll explain each of the functions to help you navigate the journey and start making professional content.
Levels
The level functionality can come in handy if you’re looking for quick and easy color edits. This feature offers basic editing solutions, like highlights, shadows, and mid-tones, that you can use to enhance the quality of your image in just a few seconds. All you have to do is slide the bar until you like what you see on the screen.

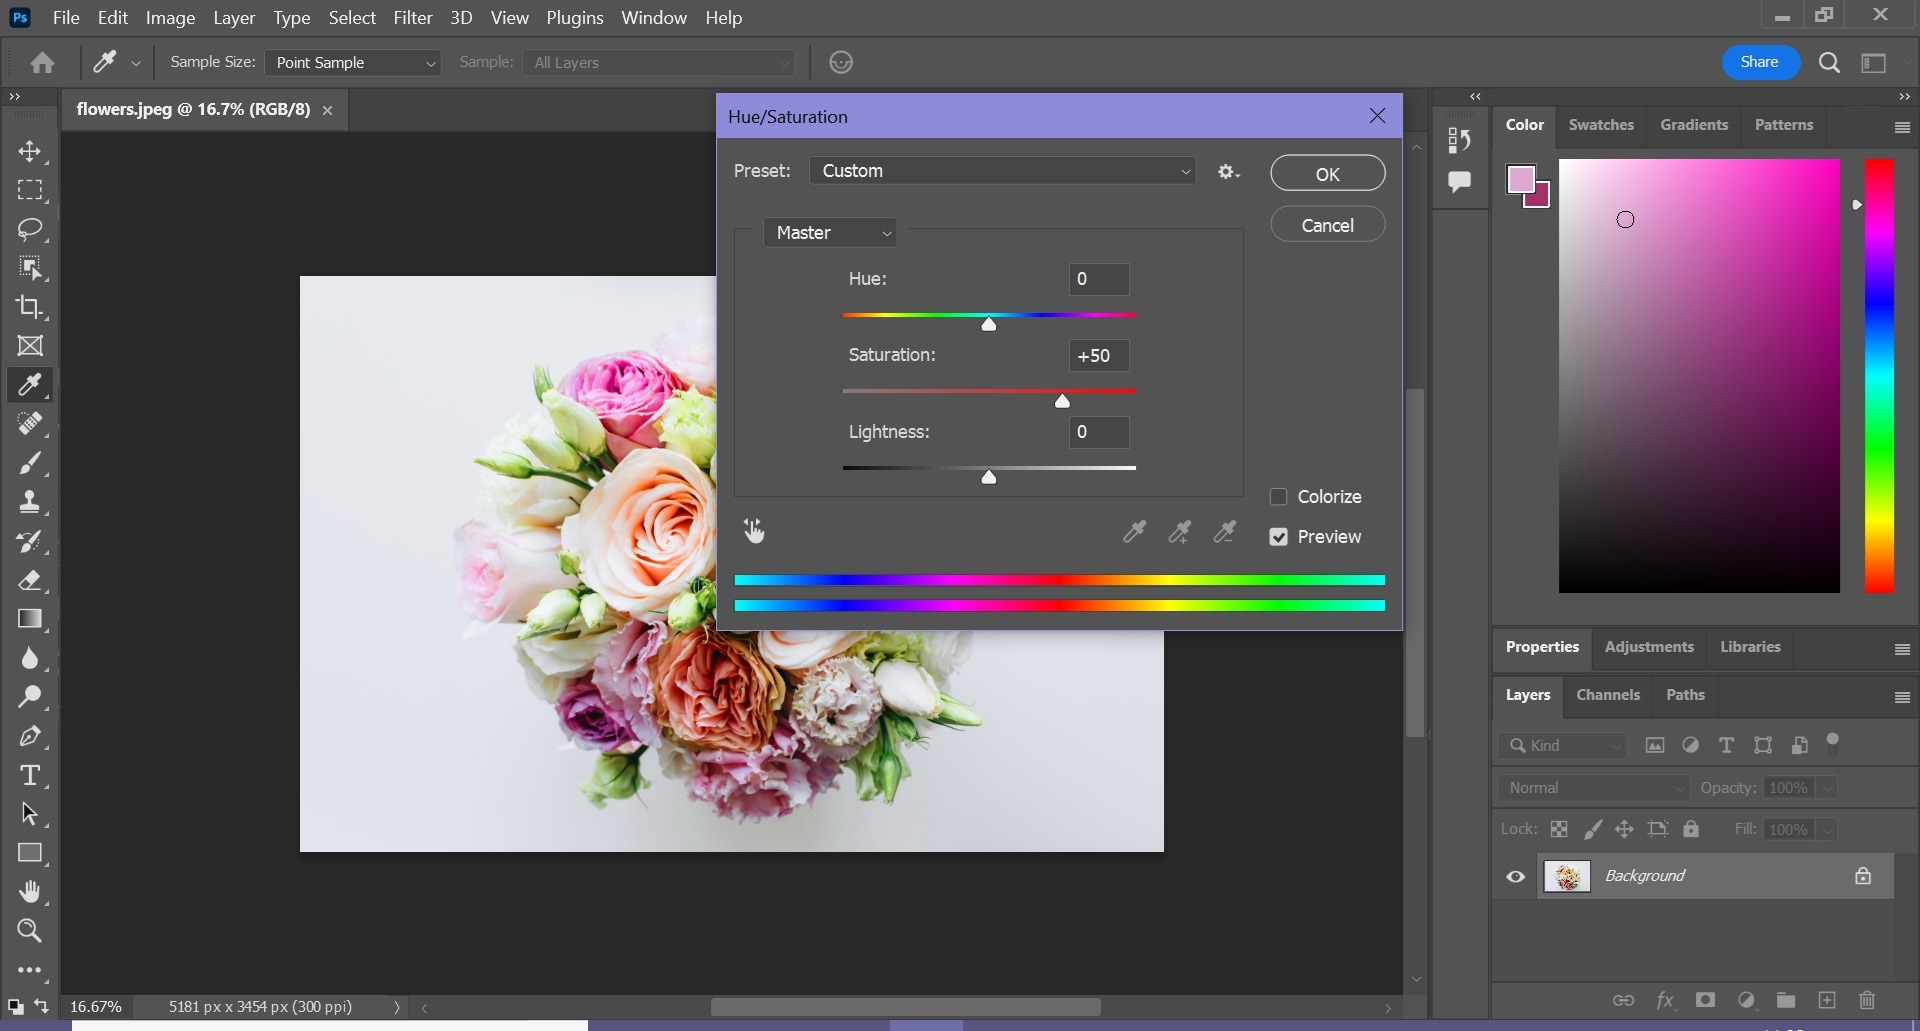
Hue/Saturation
Adjusting the hue and saturation will significantly impact the color experience. Depending on your preferences and editing needs, you can make the colors in your photos more vibrant and bright or more muted. This feature in Photoshop is easy to use; you only need to slide the bar until you get the desired hue and saturation results in your project. You can also pre-set your preferences and apply them to all future projects.
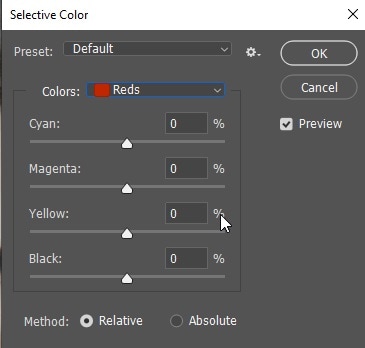
Selective Color
As the name suggests, the selective color tool allows you to manipulate specific colors within your images to get the desired results. The function is based on the CMYK model, so you can get the most customization out of your experience and truly enhance the color aspect. Using this solution will require you to select a specific color and adjust the levels until you’re satisfied with what you see on the screen. This tool won’t affect other colors in the image, hence the selective part.
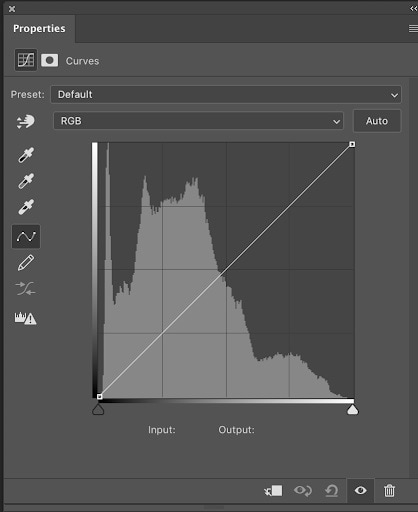
Curves
The curves tool is similar to the first solution mentioned on this list. However, this section allows you to gain more control over the outcome. Instead of dragging the slider to get the results, you’ll be able to manipulate the curve of a specific element and watch your visions come to life. The tool is highly customizable, so it’s a part of the professional editing experience.
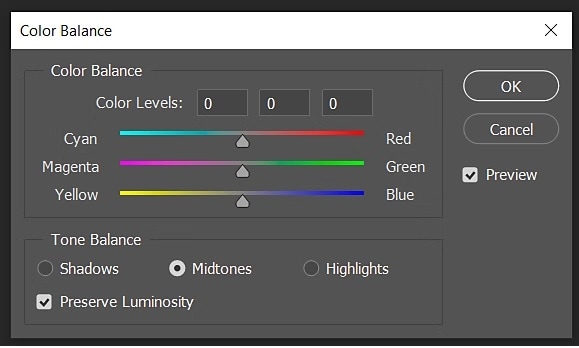
Color Balance
The color balance tool can help you modify the colors in your images. Unlike the selective tool, this will affect other colors, so use it cautiously. You can turn one color into another if needed, which is excellent for advanced editing solutions. Moreover, you can set the tone balance for each of the colors to enhance the quality of your content.
Color Lookup
If you don’t want to edit the colors in your images manually, use the color lookup tool. It consists of premade templates you can apply to your projects and go on with your day. Depending on the atmosphere you're trying to create, you can discover dozens of templates on the Photoshop platform. The best part is that you can adjust the templates according to your needs and get the best results in minutes.

Color Correction Alternative to Photoshop: Filmora
Although Photoshop is loved by many photography professionals around the globe, it may not be the best solution for color correcting. It provides all the tools you need for professional results, but you may need hours or days to get the desired results and create the content you want.
Thus, if you’re searching for a way to save time and access even more color correction tools, Wondershare Filmora may be your ideal solution. This universal, all-in-one editing software solution provides numerous AI-powered and precise features that will surely make your visions come to life.
The best part about Wondershare Filmora is the fact that you don’t need previous skills to become a photography professional. All you need to do is download the tool to your desktop device and start making the magic happen.
Another reason Filmora is intuitive is its co-pilot, which will guide you through the entire editing process and make the journey as efficient as possible.

Filmora’s Color Correction Functions and Tools
You may wonder what Wondershare Filmora offers that may beat Photoshop’s color-correcting functions, and we’re here to tell you all about it. Check out some of the main features and functions below to see what you can expect from your Wondershare Filmora journey.
- Basic controls — This function consists of basic color editing solutions, such as adjusting the vibrance, exposure, white balance, highlights, and more. It’s used for quick edits.
- Color wheels — Wondershare Filmora currently offers three color wheels you can adjust to make your photos pop. You can customize the highlights, midtones, and shadows for the ultimate results.
- Sharpen — As the name suggests, this tool allows you to sharpen the image and make the subject/objects more visible and enhanced.
- Color match — Use color settings from a specific clip and apply them to your project. This will save you hours during the color editing process, and you’ll quickly get professional images.
- YRGB curves — Adjust the colors in your content to make it pop. This feature allows you to create a unique atmosphere and convey the desired message.
- LUT — Wondershare Filmora has an extensive LUT library you can use to make instant edits. Instead of spending hours on the color correcting journey, choose this option and watch your experience transform.
These are just some of the functions you’ll access when you download the Wondershare Filmora platform. The best part is that it provides additional editing solutions, such as AI Portrait, Smart Cutout, and more, to help you edit your content further.
How to Use Filmora to Correct Colors
Using Wondershare Filmora for your color-correcting journey is easy. All you have to do is follow the steps below, and you’ll successfully complete the process. Without further ado, let’s jump into the guide.
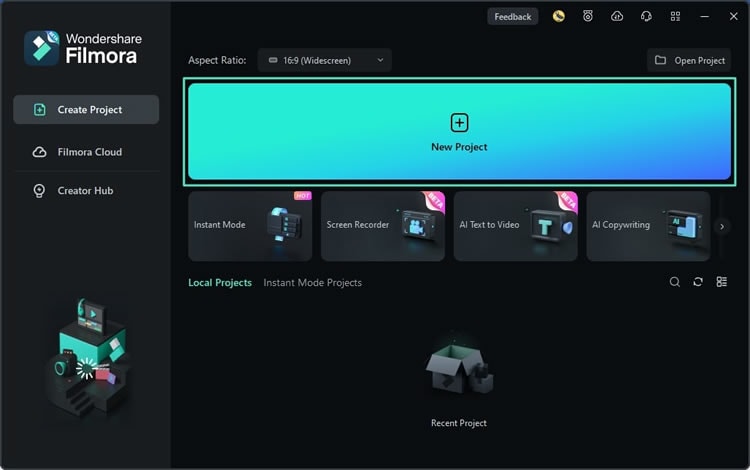
Step 1: Open Wondershare Filmora and click on the New Project option from the main menu.
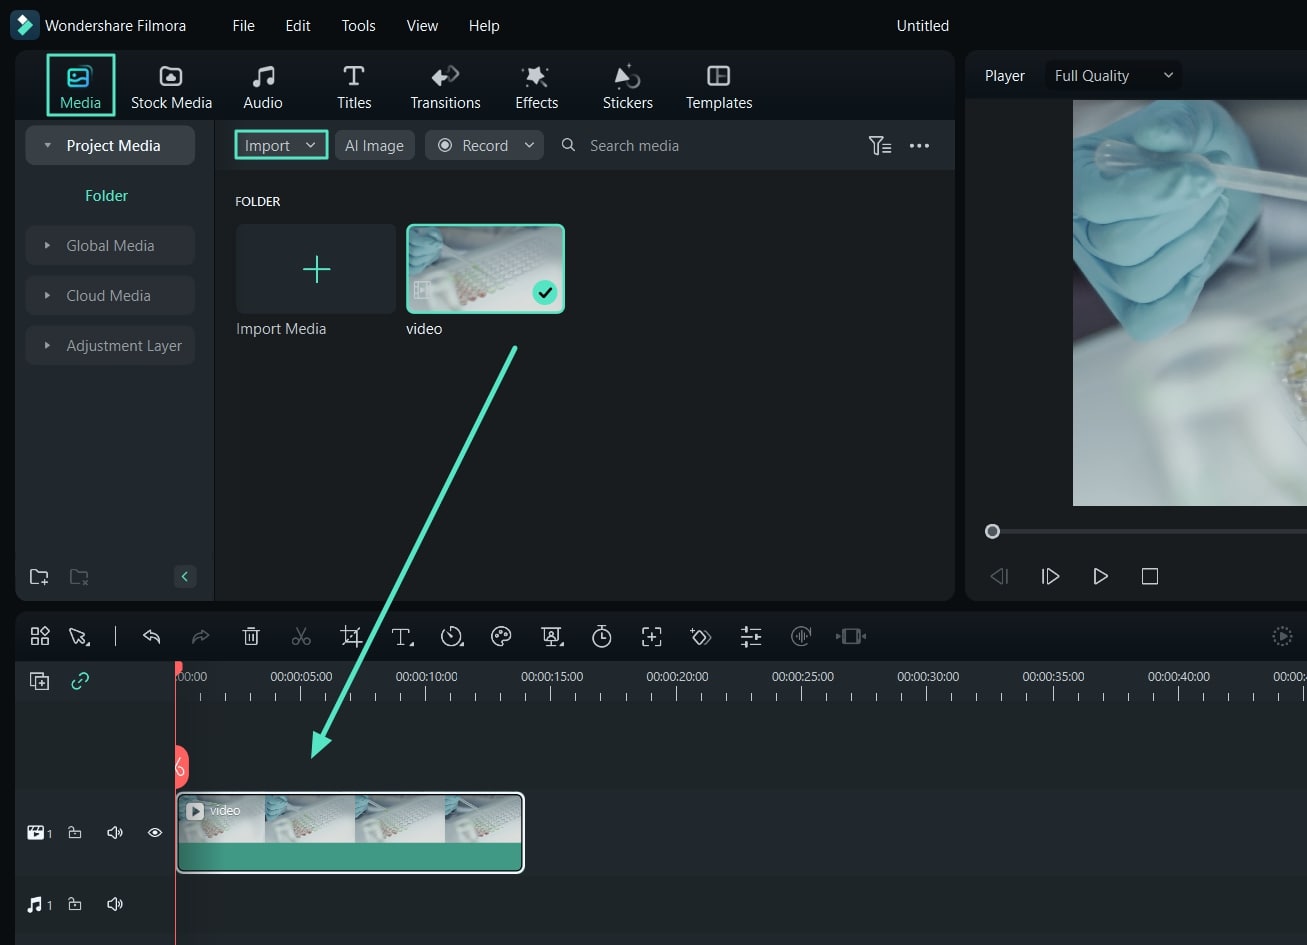
Step 2: Next, import your media by dragging and dropping the file into the platform.
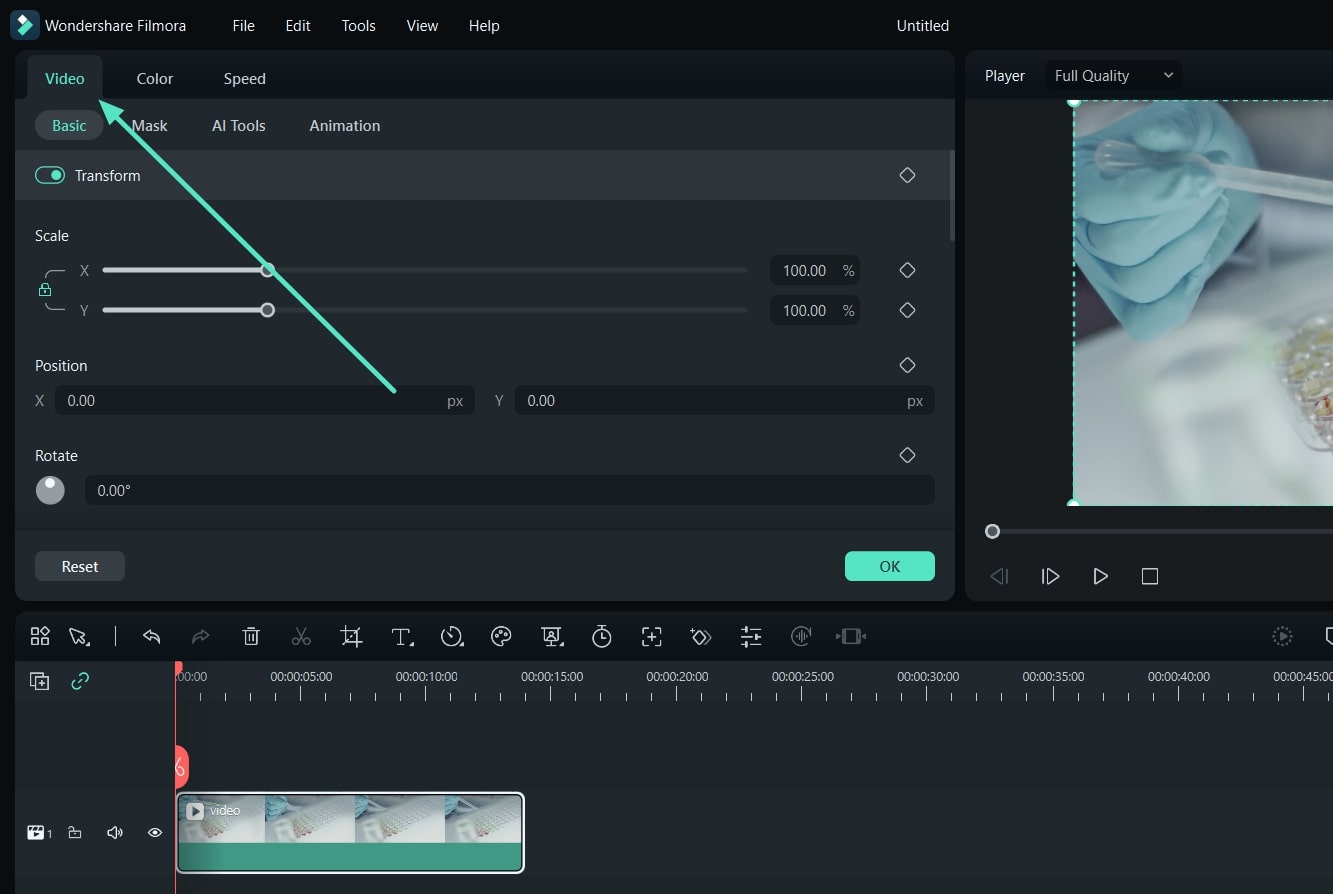
Step 3: Once you’ve imported the file, make sure to drag it to the timeline and double-click on it to enable editing features.
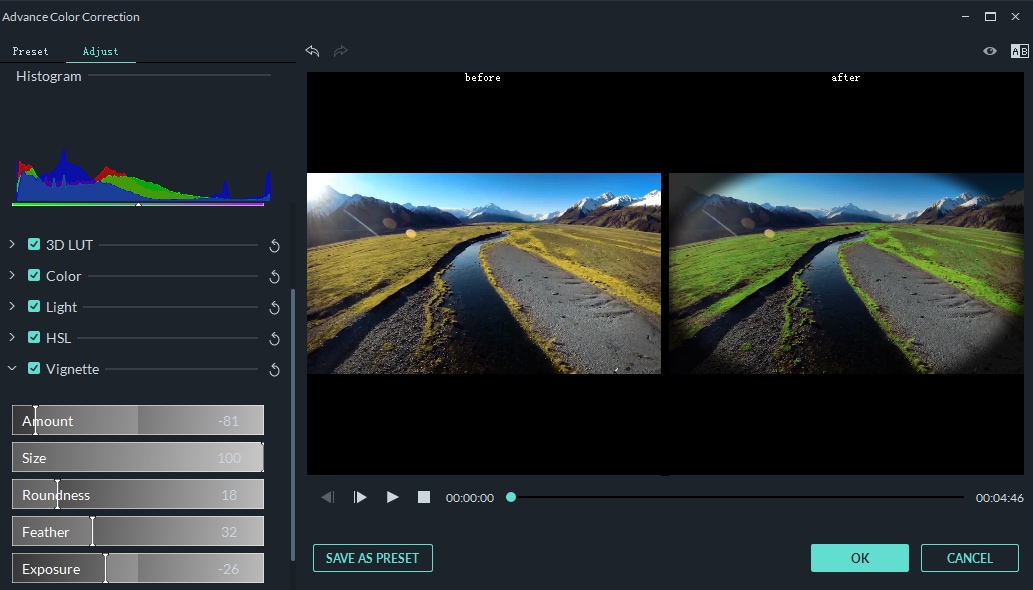
Step 4: Click on the Advanced Color Tools icon from the bar, as presented in the image below.
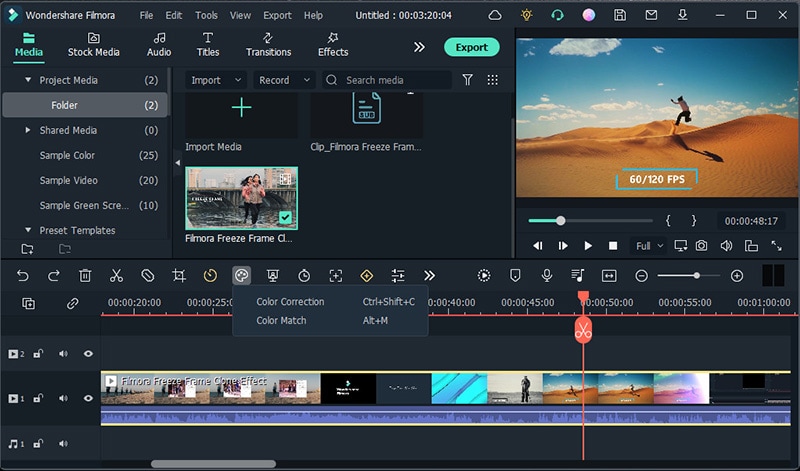
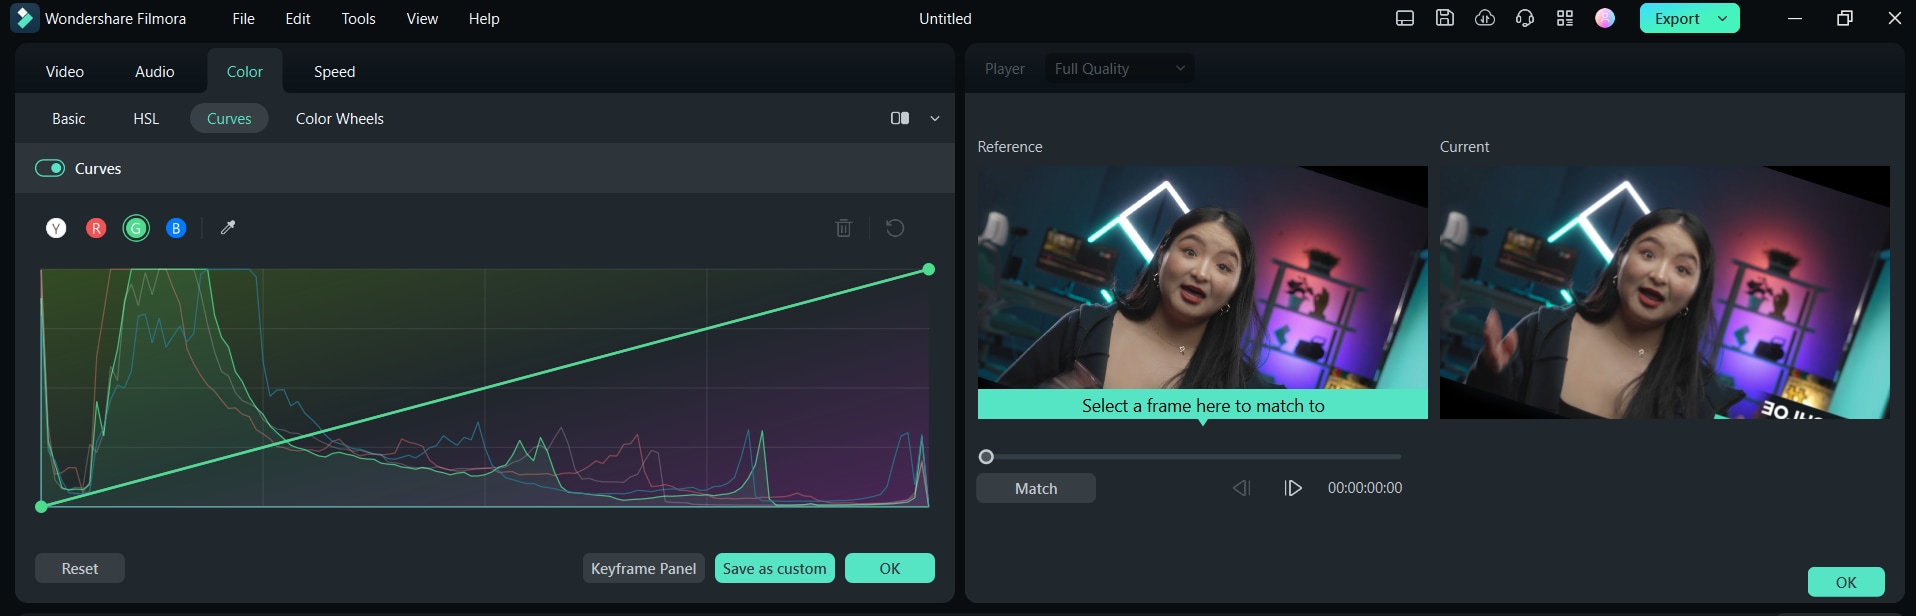
Step 5: Select Color Match, and head to the Curve tab from the new window.
Step 6: Adjust the curves to your preferences and preview the changes you’ve made.
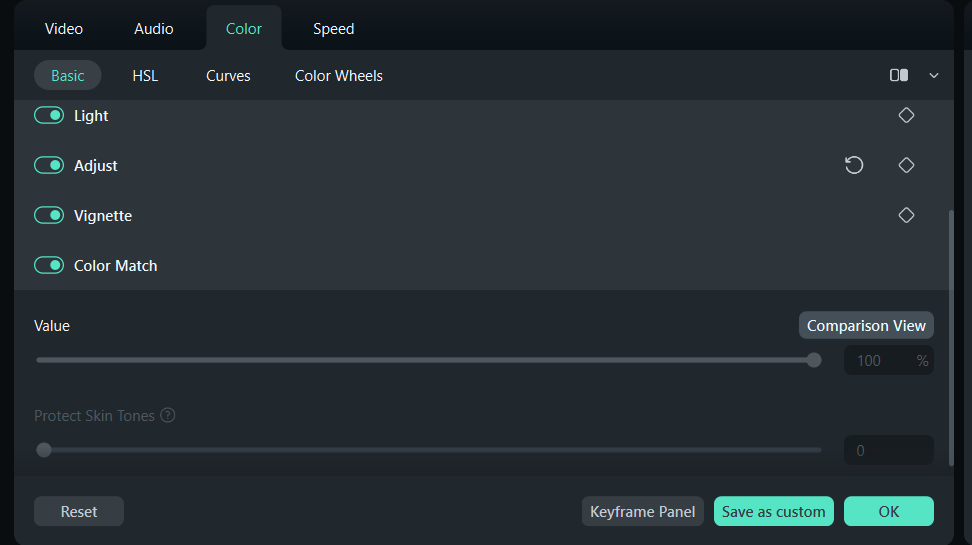
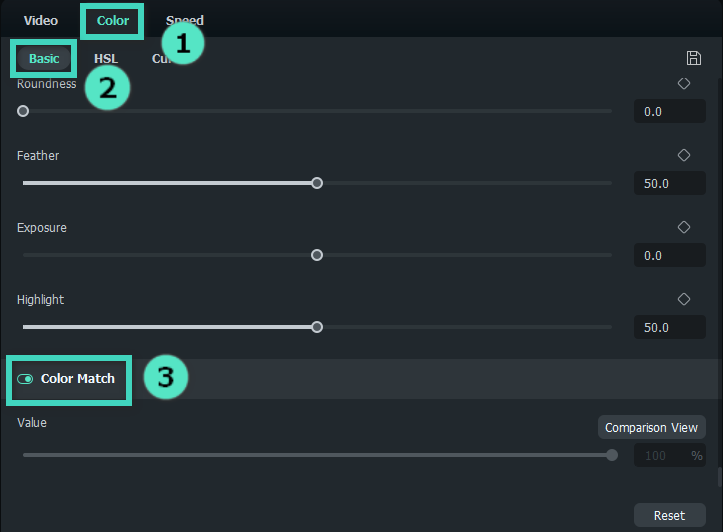
Step 7: Next, head to the Color section from the right side and toggle the Color Match option to apply the changes to all frames in just a few seconds.
Step 8: Head to Effects > Filters and LUT.

Step 9: Click the Download icon next to the LUT you want to add to the media.
Step 10: Drag the LUT to the timeline and customize your preferences.
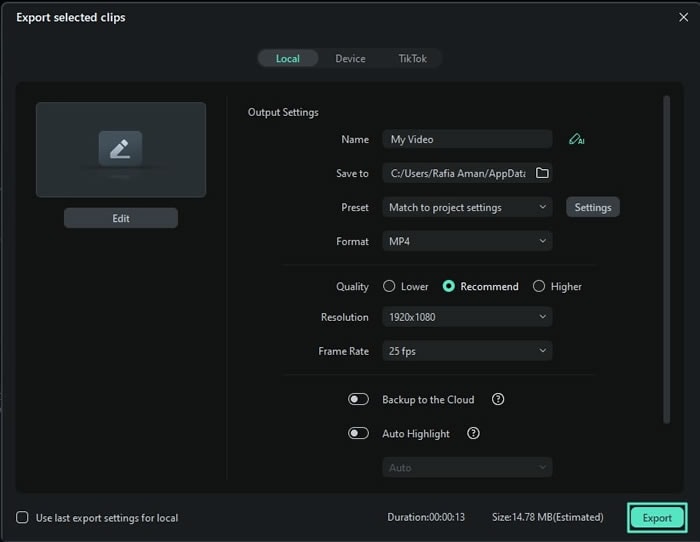
Step 11: Once you complete all the steps, click the Export button and choose where to save your new file.
As you can see, Wondershare Filmora has limitless color editing capabilities, so you should try it out and reach your goals in no time.
Conclusion
Color correcting and editing is important for all people who want to become videographers and photographers. Thus, you may be looking for the most efficient ways to make your dreams come to life and create a unique atmosphere. Today, we’ve discussed all the color-correcting features Adobe Photoshop has to help you navigate the experience and determine whether it’s the right tool for you.
If you don’t want to spend hours editing your content, Wondershare Filmora may be a better option. This all-in-one tool comes with all the features you need to get the desired color results, including AI tools and mechanisms. Once you start using Wondershare Filmora, you’ll become unstoppable.
