- Green Screen Tutorial
- 1.1 How to make and use a green screen
- 1.2 How to shoot a green screen video
- 1.3 Watch youtube green screen videos and inspire your own green screen ideas
- 1.4 Resources for green screen effects
- 1.5 Best green screen editors
- 1.6 Which green screen software for mac to choose?
- 1.7 Top 5 Free Green Screen Software


How to Make and Use a Green Screen Easily

Nov 24, 2025• Proven solutions
Matrix and Lord of the Rings trilogies or the latest sequel of the Avengers have something in common. None of these movies could have been filmed thirty years ago because the Green Screen technique wasn't as advanced as it is today.
The phantasmagorical landscapes, dragons spitting fire, or wizards casting spells are just a glimpse of what can be accomplished by using a Green Screen in a movie studio. The advancement of digital technology has made this cinematic technique much more accessible to filmmakers and using it in your own video doesn't mean that you have to have multimillion production budget.
All you need to create mind-boggling visual effects that will leave viewers speechless is a piece of green cloth and a camera that can capture high-quality video.
Let's dive deeper into the magical world of green-screen filmmaking and discover how you can use it in your own videos, even if you are working on a low-budget film.
- Part 1: What is Green Screen?
- Part 2: How to Make a Green Screen Effect Footage? [2 Ways]
- Part 3: How to Use a Green Screen Video to Composite?
Check one of our creative green screen video in the video below [Don’t be Scared]


Part 1: What is Green Screen?
The term Green Screen or Chroma Key is self-descriptive because the technique features an actor against a green or blue background.
Naturally, you may wonder why does the screen have to be green or blue?
The reason is that these two colors are considered to be the furthest away from the natural skin color, which enables the editors to replace the background without the danger of damaging the human figure on the screen.
1. What's the History behind Green Screen?
The Blue Screen technique originates from the early 1930's and since then it has been used in countless films that have won Oscars for special effects, including George Lucas' 'The Empire Strikes Back'.
Watch the video below to get a more detailed understanding of the evolution of green screen compositing.
Green Screen is a technique much more recent that has become popular in the age of films shot on digital cameras. The basic concept of the technique is rather simple, place an actor against a monochrome background and film all the on-screen movement, dialogues, or any other scenic action and then replace the background with landscapes, digitally generated cityscapes or futuristic interiors by using visual effects that every professional video editing software features.
2. What's the Best Equipment to Shoot Green Screen Videos?
To make the green screen work well, using a good quality camera that shoots HD quality video is advised. However, any camera that shoots videos in MP4 and MOV formats will work, including phone cameras. You will also need a good quality Chroma key software, many are available on the market and some can even be downloaded for free. Some software include Windows Movie Maker 2.0, iMovie, and Final Cut Pro X.
However, consumer grade software have lower grade Chroma key effects. For still photographs, Adobe Photoshop has a built in Chroma key feature that allows users to manipulate photographs taken with a green background by changing it to whatever they would like. Many software comes with Chroma key backgrounds, others can be downloaded separately.
Part 2: How to Make a Green Screen Effect Footage?
Method 1: How to DIY A Green Screen Effect Video
Despite what you may think, you don't have to be Peter Jackson or one of the Harry Potter directors to be able to use the Green Screen technique in your film.
As a matter of fact, all you need is a camera that can shoot high-quality video, a tripod and a piece of green sheet you will be using as a background.
Step 1: Setup
Setting up the location for filming the Green Screen scenes is not very difficult, but before you start arranging your equipment, you must first decide whether you want to shoot the scene in a studio or on an exterior location in broad daylight.
Shooting outside can be an excellent choice if you don't have spotlights because the sunlight can be used to light the scene perfectly. However, using spotlights in a controlled environment will probably give you more creative freedom, because you won't have to worry about shadows or sudden light changes.
Step 2: Positioning the Green Screen
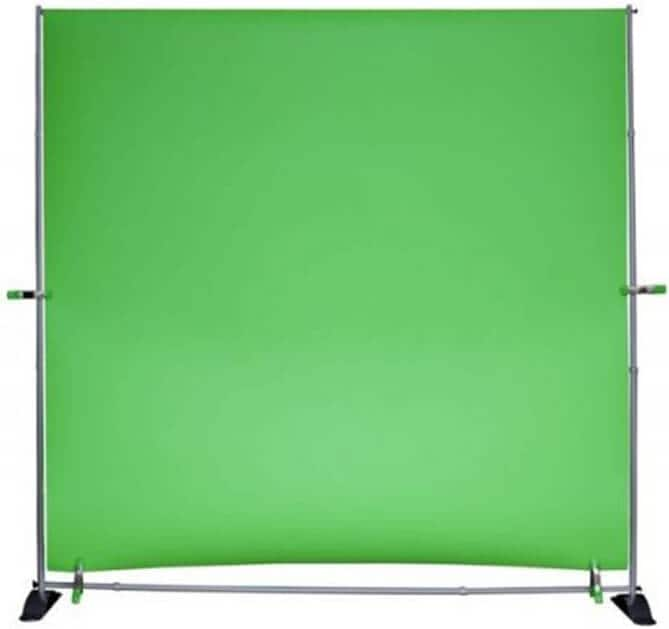
This may seem like an easy step, but failing to clear the green sheet of wrinkles may cause a fair amount of trouble in the post-production. Make sure that the piece of sheet you are using as your background is perfectly smooth because even the tiniest wrinkle will be visible once you remove the background in a video editing software.
Step 3: Clothes
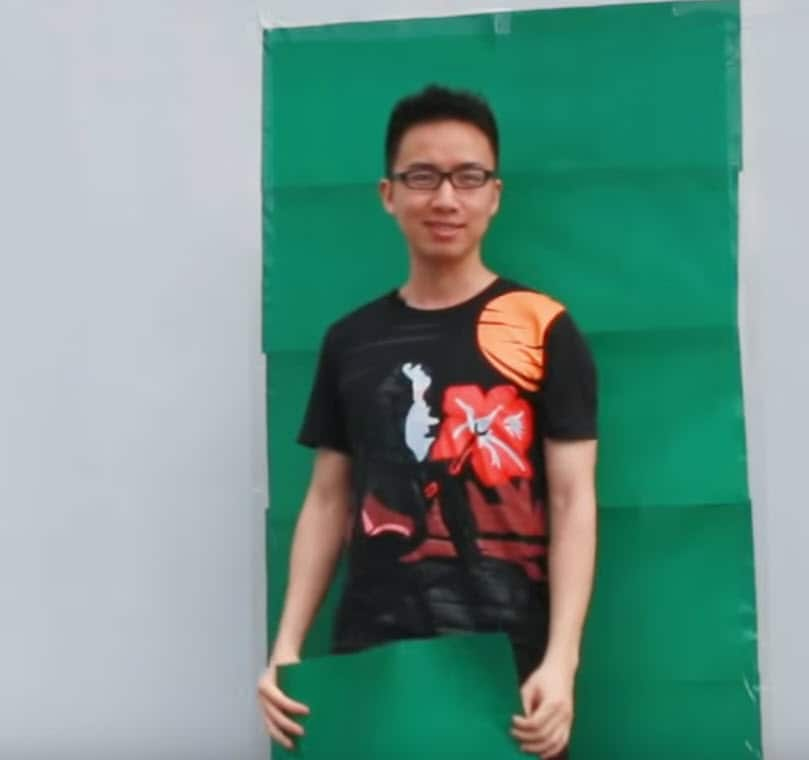
The costume your actors will be wearing in front of a Green Screen shouldn't be green, because the editing software will remove all green parts of the shot including the green parts of the costume.
In order to avoid dealing with these problems, choose the colors that are in contrast with the green or blue background so you don't have to reshoot the scenes. If you would like to make your actor transparent using clothes that have similar tones as the background is completely justified.
Step 4: Shooting the Green Screen scene
Once you've chosen the location, adjusted the lights, selected the right colors for the costume you are ready to begin filming. Make sure that your camera is perfectly still by placing it on a tripod to avoid camera shakes. Let the actors perform the scene and try to pay close attention to each and every detail in the shot because it will allow you to achieve better results.
Learn more details about How to Shoot a Green Screen Video
Method 2: Download green screen backgrounds from the website
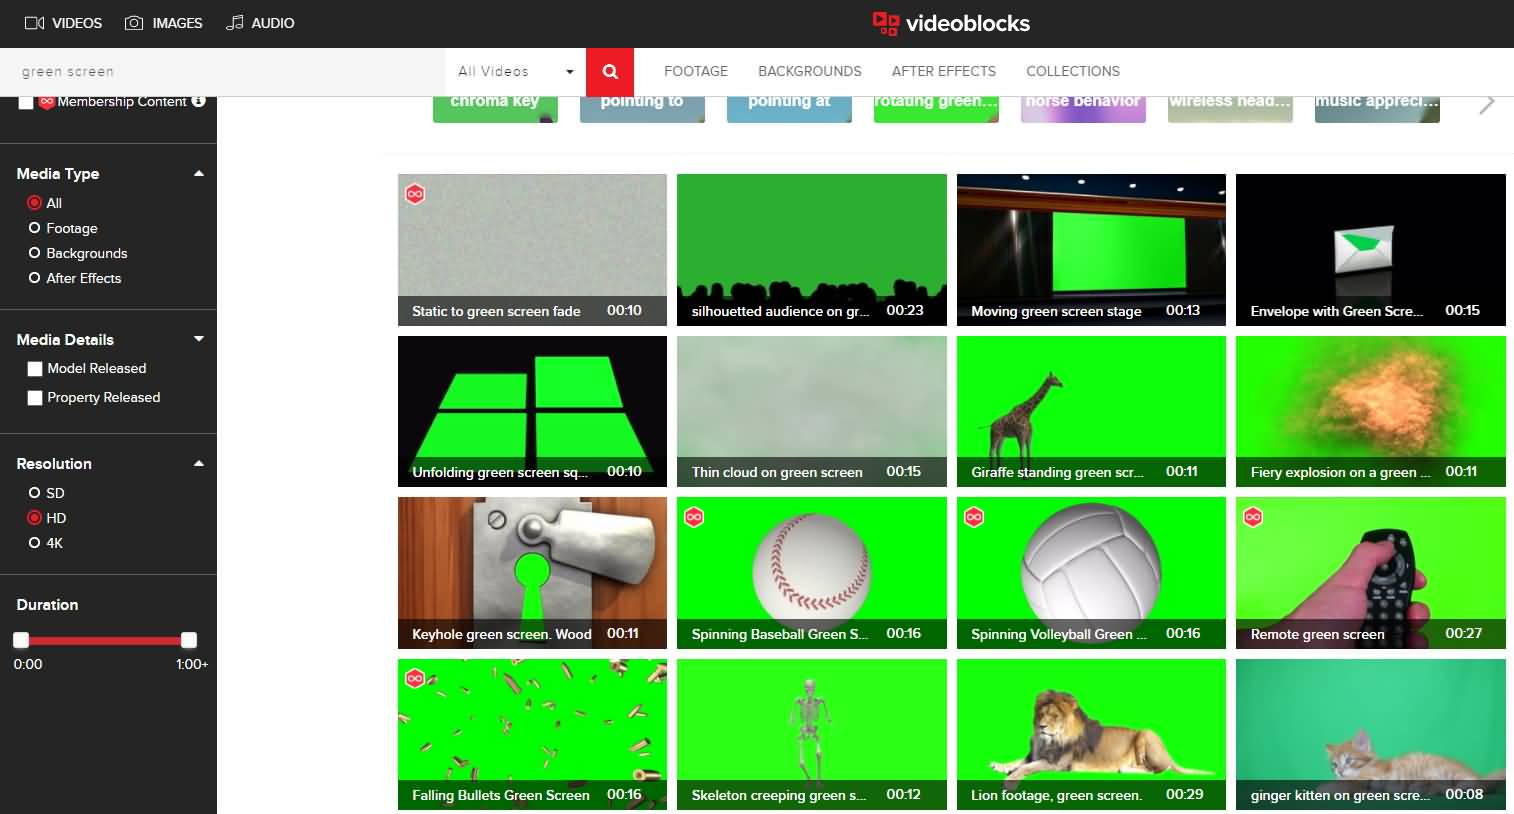
The fastest way to get a Green Screen you can use in your video is to download it from a website, such as VideoBlocks or Shutterstock, or you can get some free green screen footage such as skeleton breaking screen and scary sadako ghost in Filmstock effects store. You can now also buy a single green screen footage in a one-time fee in Filmstock.
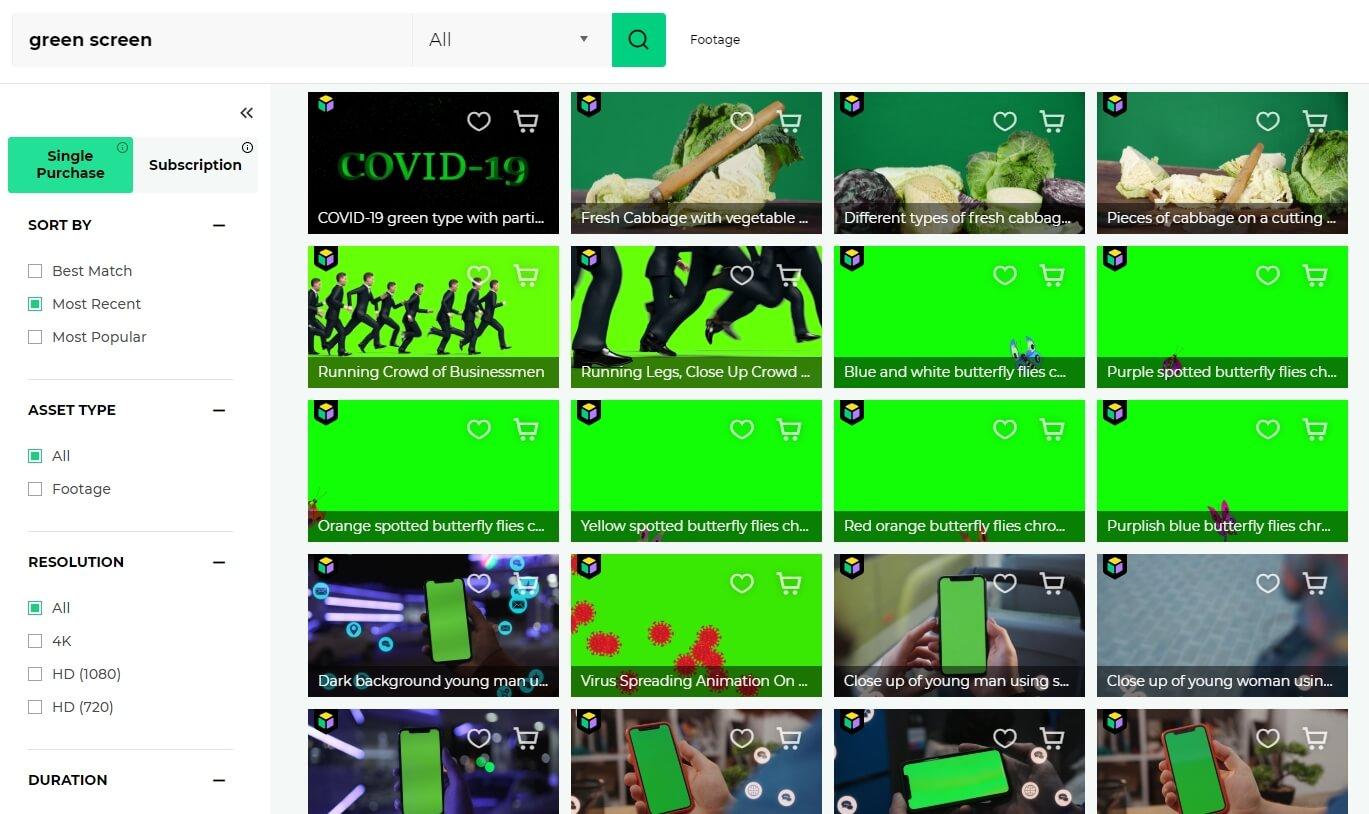
You can obtain hundreds of different video files that feature many different kinds of movement and elements that can be used for the creation of your videos. The advantage of using pre-existing Chroma Key footage is that you don't have to go through the trouble of filming the footage yourself, which can be a daunting task if you don't complete all the steps of creating the Green Screen footage correctly.
However, downloading the footage from of the photo or video stock websites isn't free and it can prove to be quite expensive. Furthermore, the duration of the videos you can download is often limited to just five or ten seconds.
Green Screen videos that are available for download will help you save time in the post-production, but they aren't a reliable option for filmmakers who would like to create unique visual material or if the Green Screen scenes last more than just a few seconds.
Learn more: Resources for green screen footage and green screen backgrounds
As we can see from the above video, apart from downloading green screen footage from website or shooting green screen footage by yourself, you can also use the specially designed video effects in Filmstock, which allows you to make a big movie within few minutes.
Get more Effects at Filmstock
You can now download not only video effects for the Filmora video editor but also After Effects templates as well. Besides the video effects, Filmstock also provides video footage, music and audio effects, and high-quality images and photos.

Part 3: How to Use a Green Screen Video to Composite?
Once the filming is over, you can start thinking about which video editing software you should use to edit your video.
How To Use a Green Screen Using Filmora [For Computer]
There are many green screen video editing software available on the market nowadays, but I'm fond of Filmora Green Screen Editor because it is a reliable video editor that can be used to create a video that features Green Screen scenes easily. Layering scenes in Filmora is an easy process that can be completed in just a few simple steps. Click the Try It Free button and install Filmora on your computer.
And I'll use Filmora to demonstrate how to use a green screen footage to composite Chroma key video in Filmora green screen software.
Step 1: Import the footage into the Filmora video editor

If you already have Filmora installed on your computer, start the program and create a new project. Then, import the background videos and Green Screen footage to the media library. Drag and drop your background footage on the first track, and then place the Green Screen video clip on the track above. Double click the green screen footage in the timeline to enter the Edit panel.
Step 2: Adjusting the Green Screen Settings

After the Edit settings window is displayed on the screen, click on the Video tab, AI tools and scroll down to Chroma key green screen feature and choose it. Make sure it is green if you are looking to create the Green Screen effect, and Filmora will select the green screen color in the green screen footage and make the green color transparent automatically.
Offset, tolerance and alpha channel will allow you to adjust the clarity of your background, and edge thickness and edge feather will fix the edges of the subjects. adjust the levels of transparency, shadows, and borders. The flip option that enables you to rotate the clip is also available.
Step 3: Positioning the background clip
The final step of the process is to position the background video clip on the video track on the timeline. The background footage will fill the transparent part of the Green Screen clip, and the two videos will appear as one coherent video. Resize the Green Screen clip to adjust the size of the figure to the background by scaling it down on the preview window.
Your Green Screen video is now ready to be exported.
Step 4: Export the video

Once you've completed all of the above-mentioned steps, you are ready to export the footage you created. Click on the Export button and select some of the supported formats such as WMW, MP4 or MOV or select a video sharing platform you'd like to upload your video on and proceed with the process.
Once the video is exported, you can share it with your friends or upload it to a video sharing platform of your choosing.
How To Use a Green Screen Using Filmora [For Mobile Device]
Green screen technology is a powerful tool for reimagining your videos, dropping your subjects in magical virtual environments, such as breathtaking landscapes or virtual realities in a futuristic age. Are you wondering how a green screen works on a mobile? Here’s a step-by-step green screen tutorial to help you use the green screen effect on Filmora Mobile effectively:
Step 1: Create a new project
Open Filmora Mobile and tap “New Project” or press the “+” icon to begin.

Step 2: Import green screen footage
Select your green screen video from your phone’s gallery or browse Filmora’s Stock Media collection for available clips. Tap “Import” to add the selected video or image to the editing workspace.

Step 3: Apply the Chroma Key effect
Tap on “Trim” from the bottom toolbar of Filmora Mobile.

Go to “Smart Cutout” in the editing toolbar and tap “Chroma Key.”

Step 4: Fine-tune the effect
Use the “Color Picker” tool to tap on the green background in the preview window. Filmora will instantly detect and remove the selected color from the scene.

Use the Strength and Shadow sliders beneath the Color Picker to refine the effect, ensuring a smooth and seamless background removal. Play with these settings until the subject appears crisp and free from green edges. Tap the Checkmark twice to save the edits.

Step 5: Add the new background
Tap “Background” from the toolbar to insert a custom backdrop.

You can choose solid colors, or creative images to complement the scene behind your subject.

By following these straightforward steps, Filmora Mobile makes green screen editing more accessible than ever, helping you bring your creative ideas to life.
We recommend using Wondershare Filmora for green screen video compositing for the following reasons.
- Supports virtually any video formats you shoot.
- Easily chroma key the background of your video.
- Seamlessly blend your video with new backgrounds.
- Different methods to share your video with the world.
Download Filmora and make your own green screen video now.
This article gives you a collection of green screen editors that works on all different platforms.
by Liza Brown Nov 24, 2025 14:47 PM
Liza Brown
chief Editor
