Subtitle editors are always required to make your videos engaging and understandable. With special software, you can instantly add subtitles to your videos without complications. Nowadays, many video subtitle creators can automatically add subtitles to your videos flawlessly. Moreover, they also provide customizable options to enhance the visual appearance of subtitles.
There is various subtitle software in the market, but not every tool creates professional results. To clear your confusion, this article will act as a complete guide through which you can add subtitles to your videos. We will address desktop and online subtitle creators in this article for your convenience.
In this article
Part 1: The Best 9 Subtitle Editor Software for Desktop
In this section, you can learn about professional subtitle editors that you can efficiently utilize on your desktop platforms. To understand more, let's dive into the details:
1. Wondershare Filmora
Do you want to add subtitles to your videos professionally? Wondershare Filmora is an all-rounder tool that allows you to easily add subtitles to multiple videos. This tool does not impose restrictions regarding file size. Thus, you can import high-quality videos on this software and add subtitles to them efficiently. Through this subtitle creator, add subtitles by choosing a preferred style, font, opacity, and color.
OS
- Windows & Mac
Price
- Monthly Plan: $19.99
- Annual Plan: $49.99
- Perpetual Plan: $79.99
How to Add Subtitles Using Filmora [PC & Mobile]
In this section, we will explore the steps to effectively use Filmora as a subtitle editor on both desktop and mobile platforms. Whether you're working on a computer or on the go, Filmora provides powerful tools to add and edit subtitles with ease. Let's dive into the detailed process for each platform.
How to Use Filmora as a Subtitle Editor on Desktop: Three Methods
Method1 Use Speech To Text Conversion
- Step 1: Import the video and drag it to the timeline, then select "Speech to Text."

- Step 2: Customize the options on the "Speech to Text" page as needed.

Method 2 Generate Dynamic Captions
- Step 1: You can also select in the "Dynamic Captions" panel, which will generate dynamic subtitles.

- Step 2: After the subtitles are generated, the subtitle track will appear in the upper editing timeline. If you selected translation, subtitles in two languages will be displayed.

Method 3 Use AI Translation Feature
- Step 1: Right-click on the video in the timeline and select "AI Translation."

- Step 2: Select the language you want to translate to. If you want to translate the video, it is recommended to try the "Lip Sync" feature.

Enhance Your Videos with Subtitles│Filmora Tutorial
Ready to make your videos more engaging and accessible? With Filmora’s easy-to-use subtitle editor, you can quickly add, customize, and enhance subtitles. Follow our tutorial and unlock the power of subtitles with Filmora today!
How to Use Filmora as a Subtitle Editor on Mobile
- Step 1: After creating a new project, select "Text," and then you will see "AI Captions." Click to enter.

- Step 2: After entering the "AI Captions" page, you can customize your options, such as selecting "AI Emoji," which helps you generate suitable emojis based on the subtitle content.

- Step 3: After the subtitles are generated, you can export the video and customize the video format and resolution.

Filmora for Mobile Filmora for Mobile Filmora for Mobile Filmora for Mobile Filmora for Mobile
Boost Your Video Editing for Viral Success
- • Powerful Brand New AI Features.
- • User-friendly video editing for beginners.
- • Full-featured video editing for professional.
2. Subtitle Edit
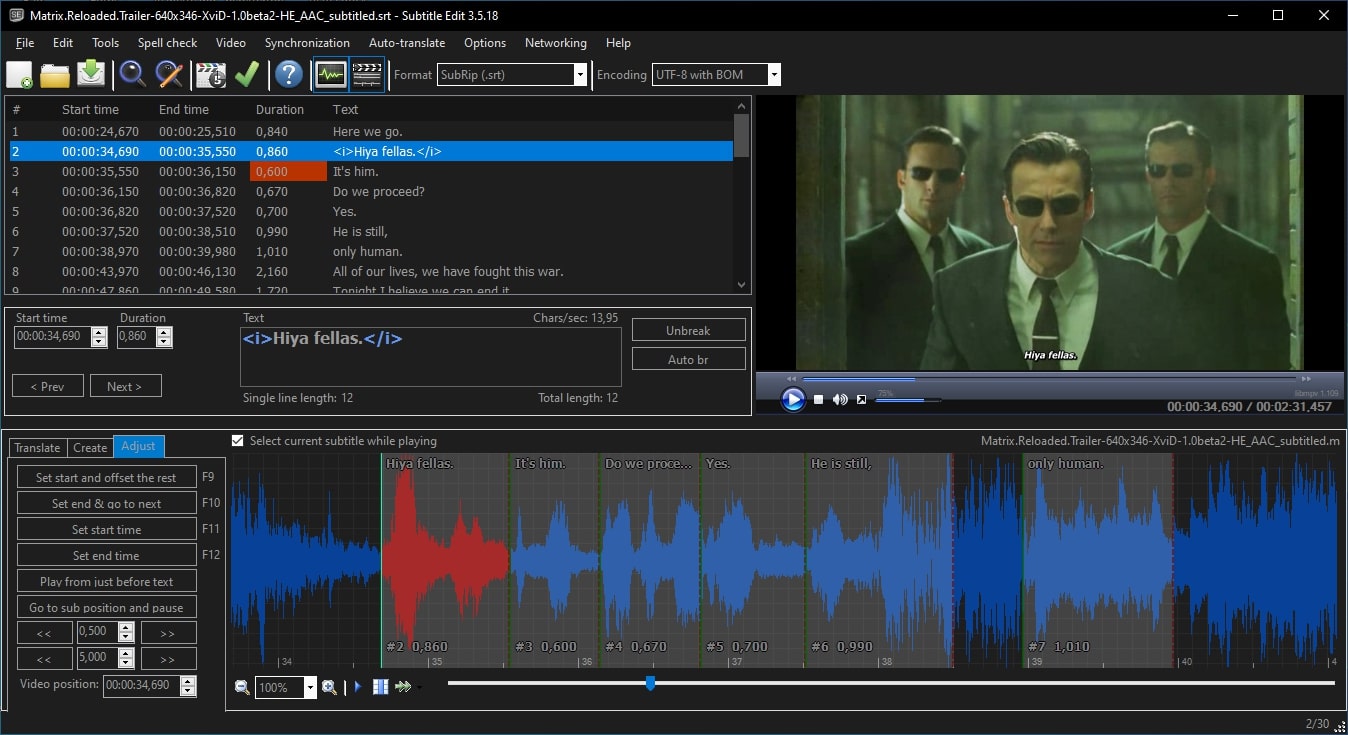
Subtitle Edit is an open-source subtitle creator that can help you to add subtitles to your videos quickly. Along with creating subtitles, this tool can help you in modifying and adjust subtitles according to the time duration. This tool supports more than 300 subtitle file formats, such as Sub Station Alpha, SubRip, MicroDVD, etc.
OS
- Windows
Price
- Free
3. VideoProc Converter
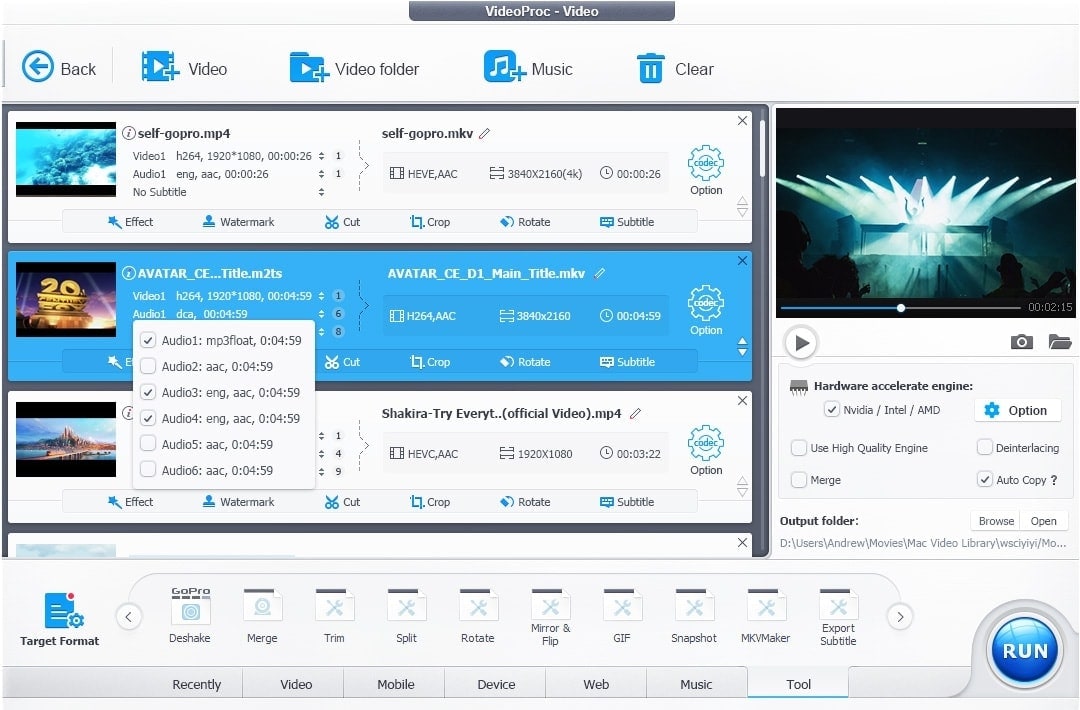
VideoProc Converter is a professional software that is capable of performing various operations on your videos. With this software, you can easily upload your 4K and HD videos without any restrictions. Besides being a great editor, it also functions as a subtitle creator. You can add both hardcode and softcode subtitles using this platform.
OS
- Windows & Mac
Price
- Lifetime License 1 PC: $78.90 (Lifetime)
- Family License 3-5 PCs: $119.90 (Lifetime)
- Premium 365 3 PCs: $38.90 (Per Year)
4. Jubler Subtitle Editor
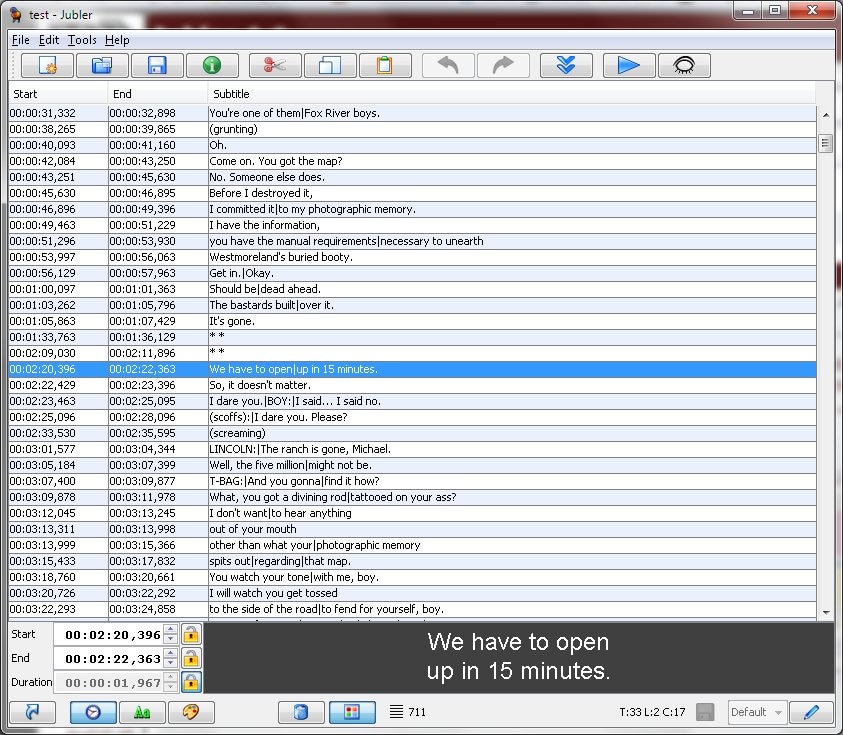
Do you want an easy-to-use subtitle editor? Jubler Subtitle Editor is a simple yet efficient tool with advanced ability to create subtitles. All major platforms, such as Windows, Mac, and Linux, support this tool. You can join and split subtitles according to your desire. Moreover, it can graphically display subtitles that can be easily removed or resized.
OS
- Windows, Mac, and Linux
Price
- Free
5. Movavi Video Editor
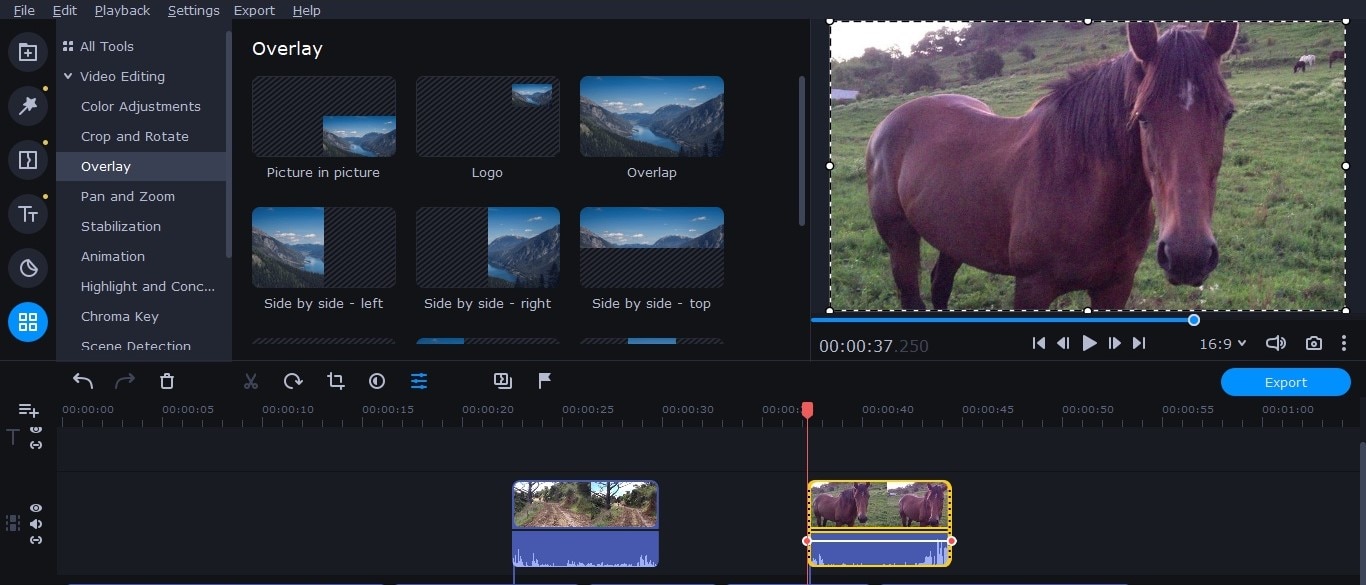
Movavi is an intuitive subtitle creator and editor offering various advanced features. It has a simple interface that allows you to navigate through the software easily. When it comes to its Subtitle feature, it allows you to quickly add subtitles with the freedom to adjust and synchronize them. You can also use the Subtitle Encoding option for a clearer look at your added subtitles.
OS
- Windows & Mac
Price
- Video Editor 1-Year License: $49.95
- Video Editor Lifetime: $69.95
- Video Suite: $89.95
6. Wondershare UniConverter
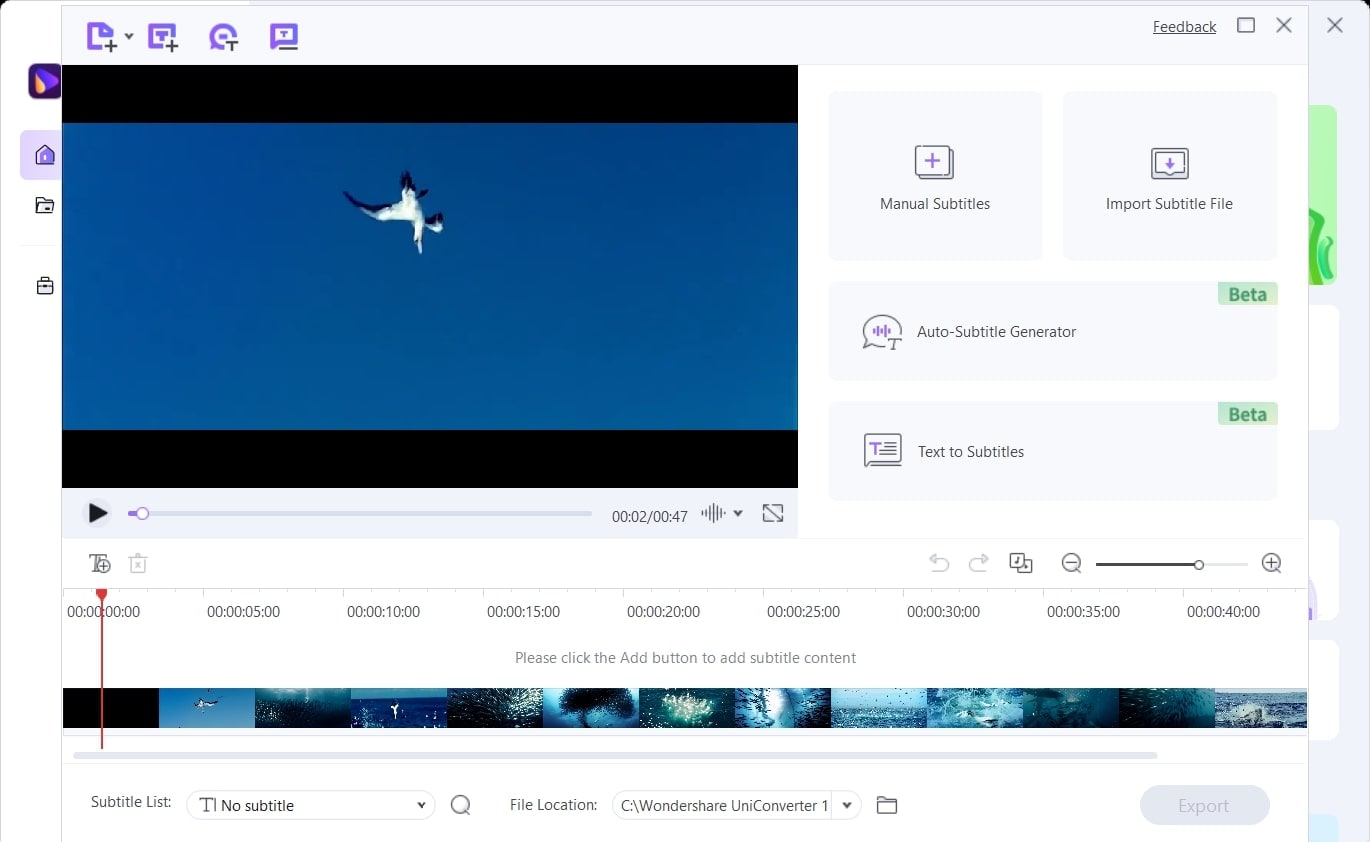
Have you ever used UniConverter before? Wondershare UniConverter got massive recognition due to its powerful features and friendly user interface. In its interface, you can get various editing options to alter your videos. Moreover, you can use its “Subtitle Editor” to generate subtitles for your selected video. In this tool, you can upload a subtitle file with a single tap. Also, you can use its “Text to Subtitles” features to create subtitles.
OS
- Windows & Mac
Price
- Quarterly Plan: $29.99
- Annual Plan: $39.99
- Perpetual Plan: $55.99
7. Subtitle Processor
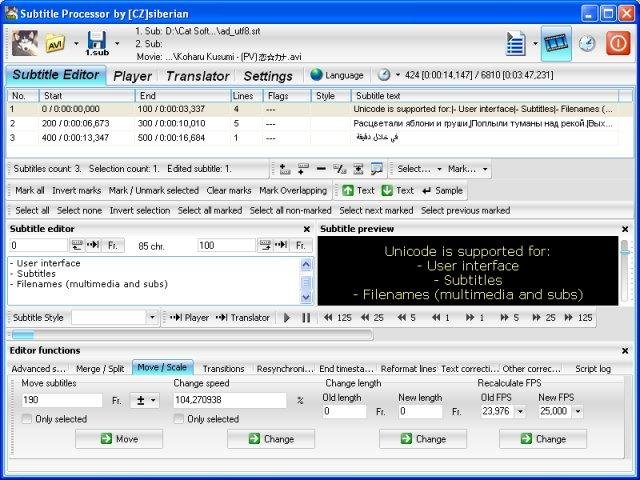
Subtitle Processor is a highly compatible tool that many people prefer to add subtitles to their videos. It has a built-in media player so you can easily synchronize your subtitles according to the time duration. While adding the subtitles manually on this tool, it allows you to check the results from the Preview window. Thus, you can rely on this subtitle editor to generate subtitles without complications.
OS
- Windows
Price
- Free
8. DivXLand Subtitler
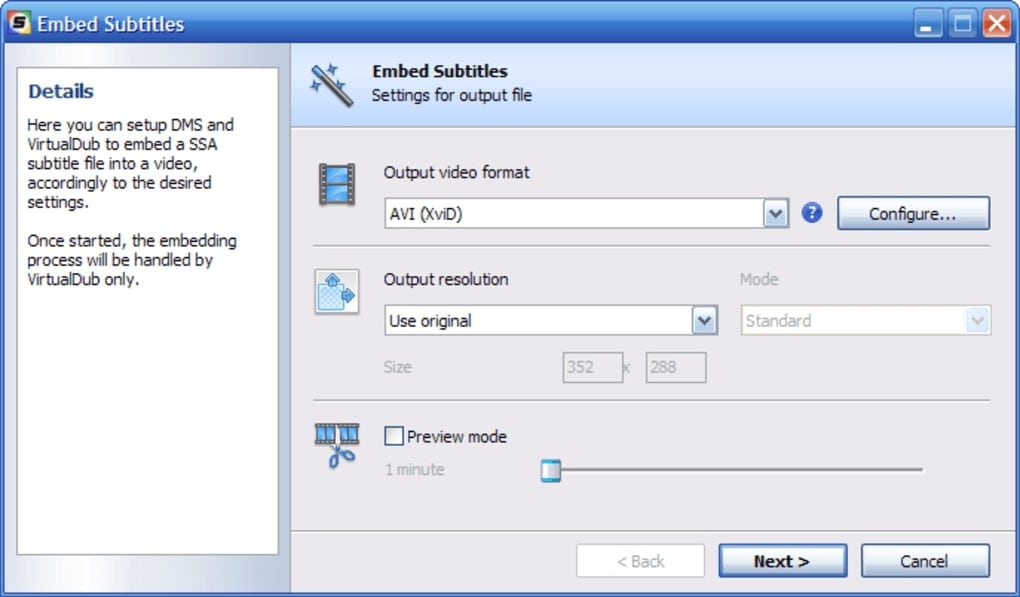
This subtitle creator is a compatible platform that can be run on Windows versions below 11 easily. This tool is also supported by various video file formats so that you easily upload any video on this tool. If you have an external file of subtitles, you can quickly import the text from that file to this tool. This will help you to create subtitles from an external file efficiently.
OS
- Windows
Price
- Free
9. Sears
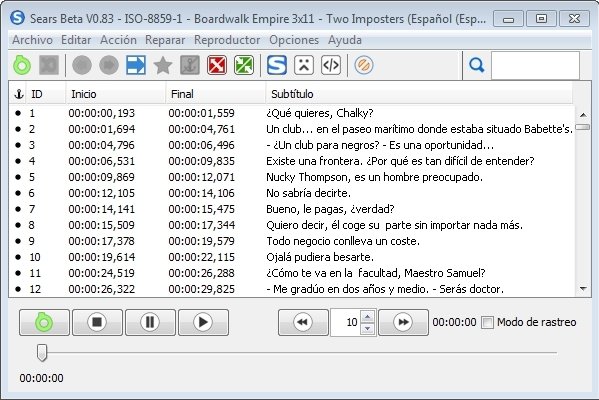
Are you looking for an advanced subtitle editor? Sears is a reliable platform that can not only help you resynchronize the subtitles but also allows you to edit them efficiently. Moreover, if you are facing any common glitches in your subtitles, this tool can easily repair the existing issue. Hence, you can use this tool to create subtitles for your favorite movies and TV dramas.
OS
- Windows
Price
- Free
Part 2: The Best 6 Subtitle Editor Online
If you don’t want to download any tools on your desktop, here are some of the best online subtitle editors. These online tools can be easily accessed from any web browser. To learn about them, check this section carefully:
1. Veed
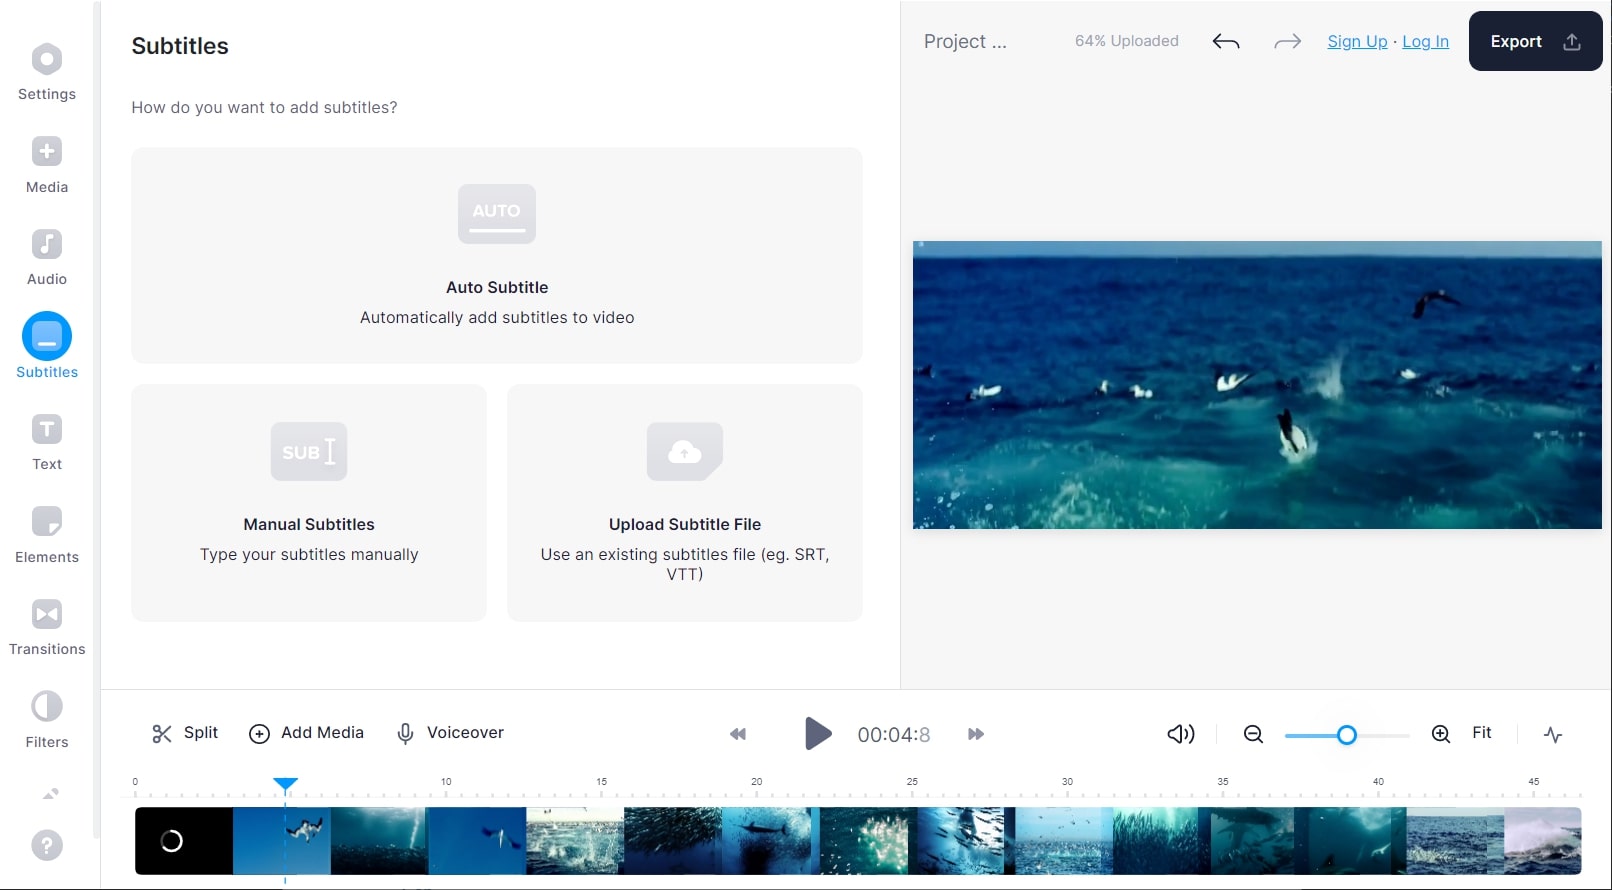
To increase your reach in your videos, you can use Veed to add subtitles to your videos easily. This tool gives three options for adding subtitles to your videos. You can upload a subtitle file or use an auto-transcribe feature to generate subtitles automatically. For further customizations, you can also manually add the subtitles using this tool.
Price
- Basic: $18/Month
- Professional: $30/Month
- Business: $70/Month
2. Kapwing
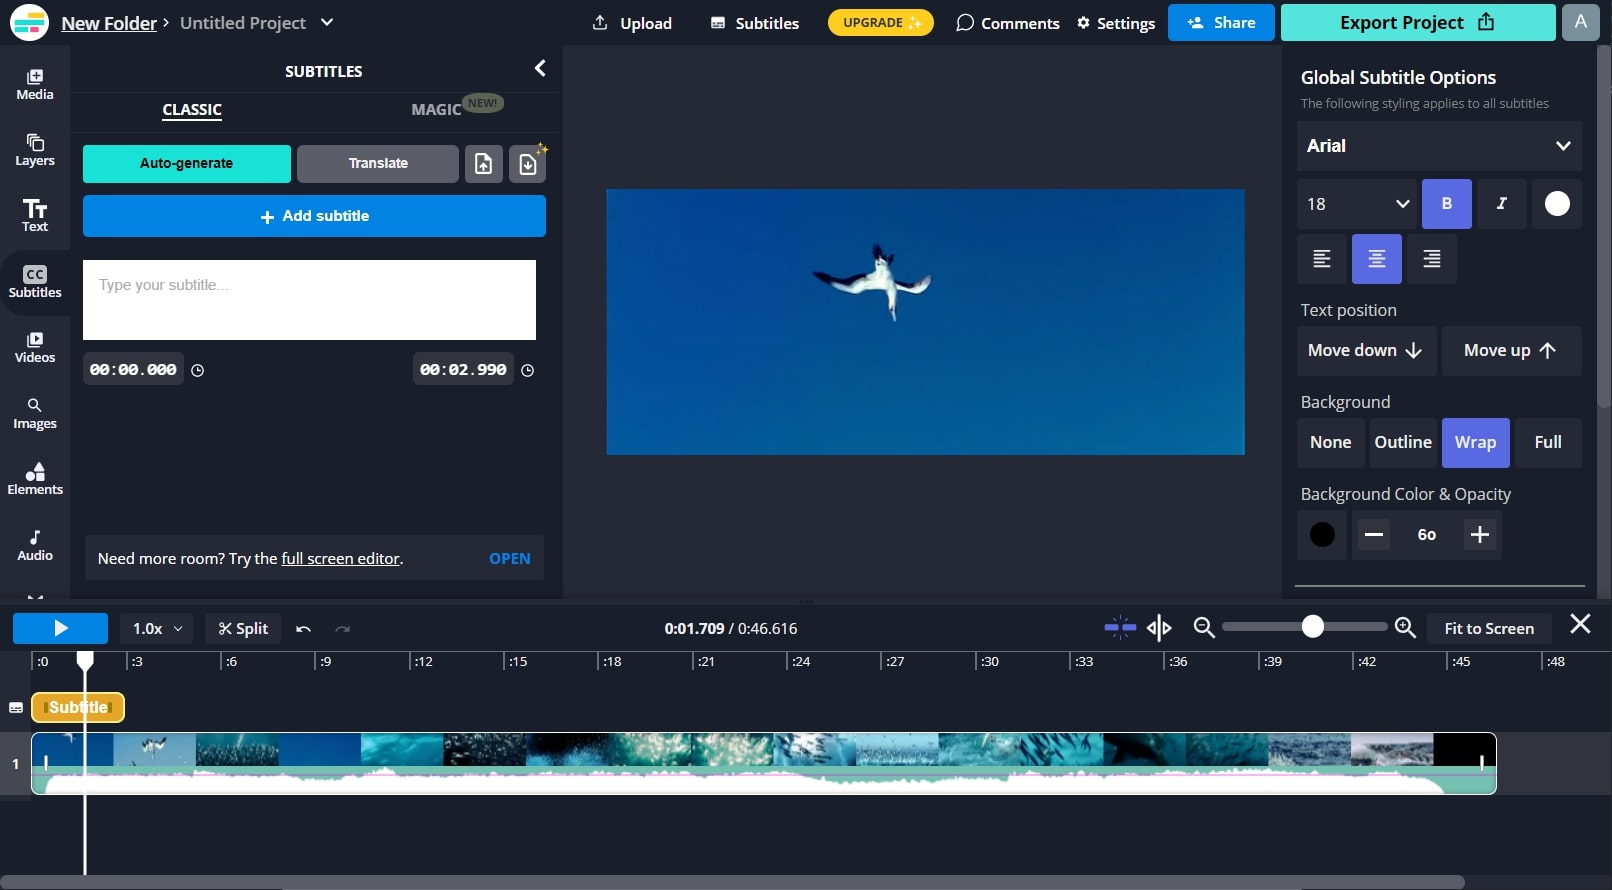
Kapwing is a complete tool through which you can add subtitles to your videos with various options. After adding subtitles to your video, you can change their background color, opacity, text position, and alignment. Furthermore, you can also translate your subtitles into your preferred language easily. This subtitle editor also offers various video templates that can help unleash your creativity.
Price
- Pro: $24/Month
- Teams: $24/Month
3. Happy Scribe
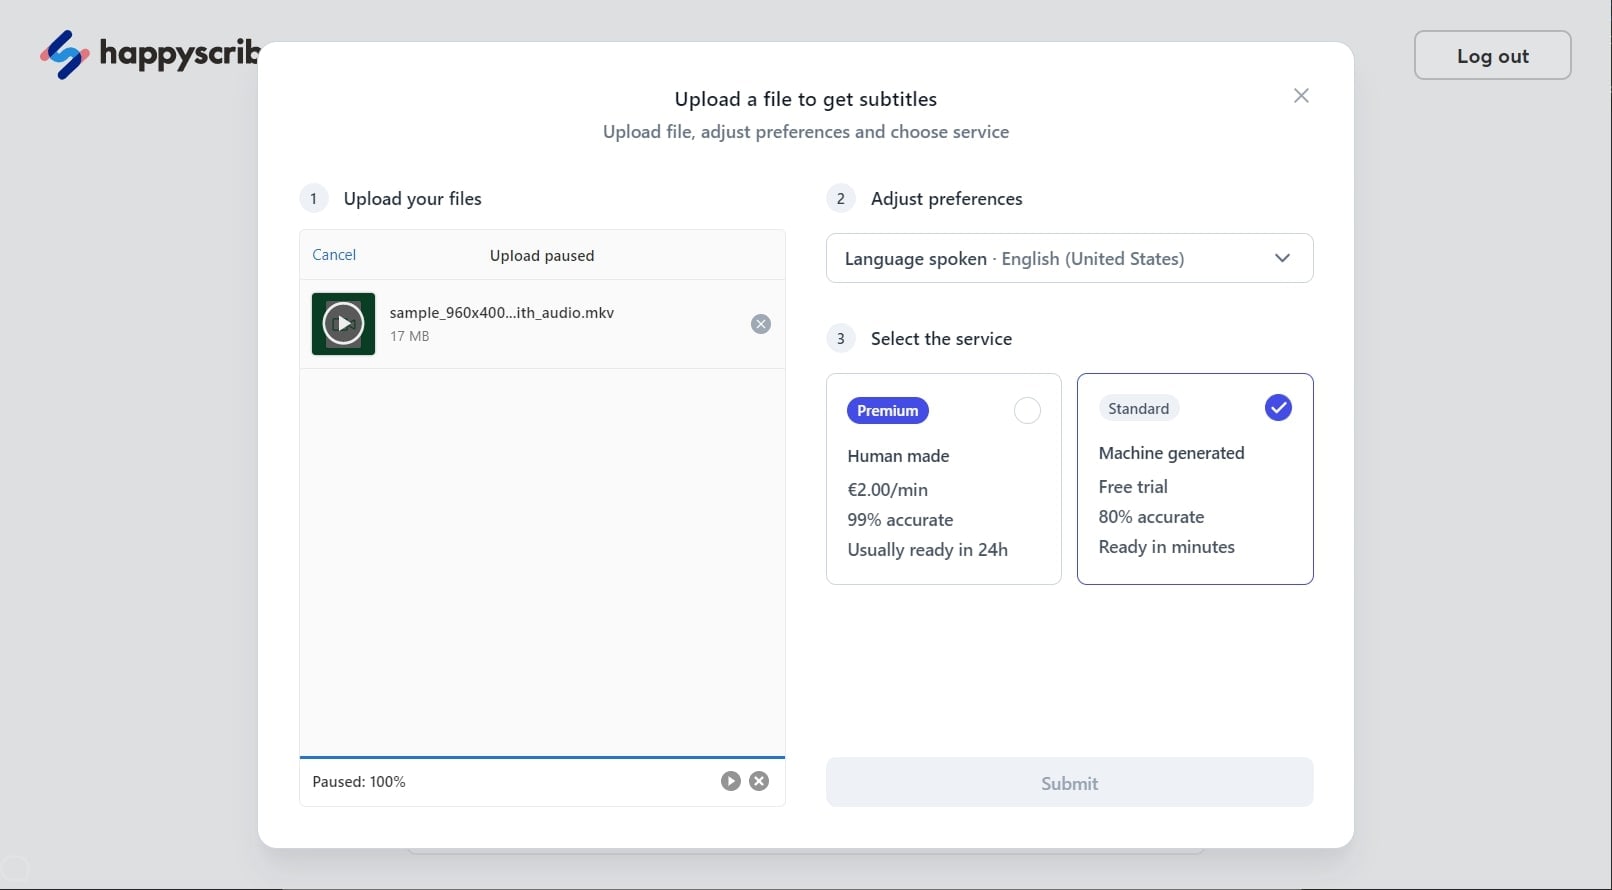
Happy Scribe is a professional video subtitle editor that can be accessed from any web browser. It supports two subtitle file formats: SRT, STL, and VTT. You can use this tool to convert your audio into text for creating subtitles instantly. Along with uploading a video from your device, you can also paste the URL link of any YouTube video.
Price
- Automatic: €0.20/minute
- Hand-made: €2.00/Minute
- Human Translation: €20.85/Minute
4. Flixier
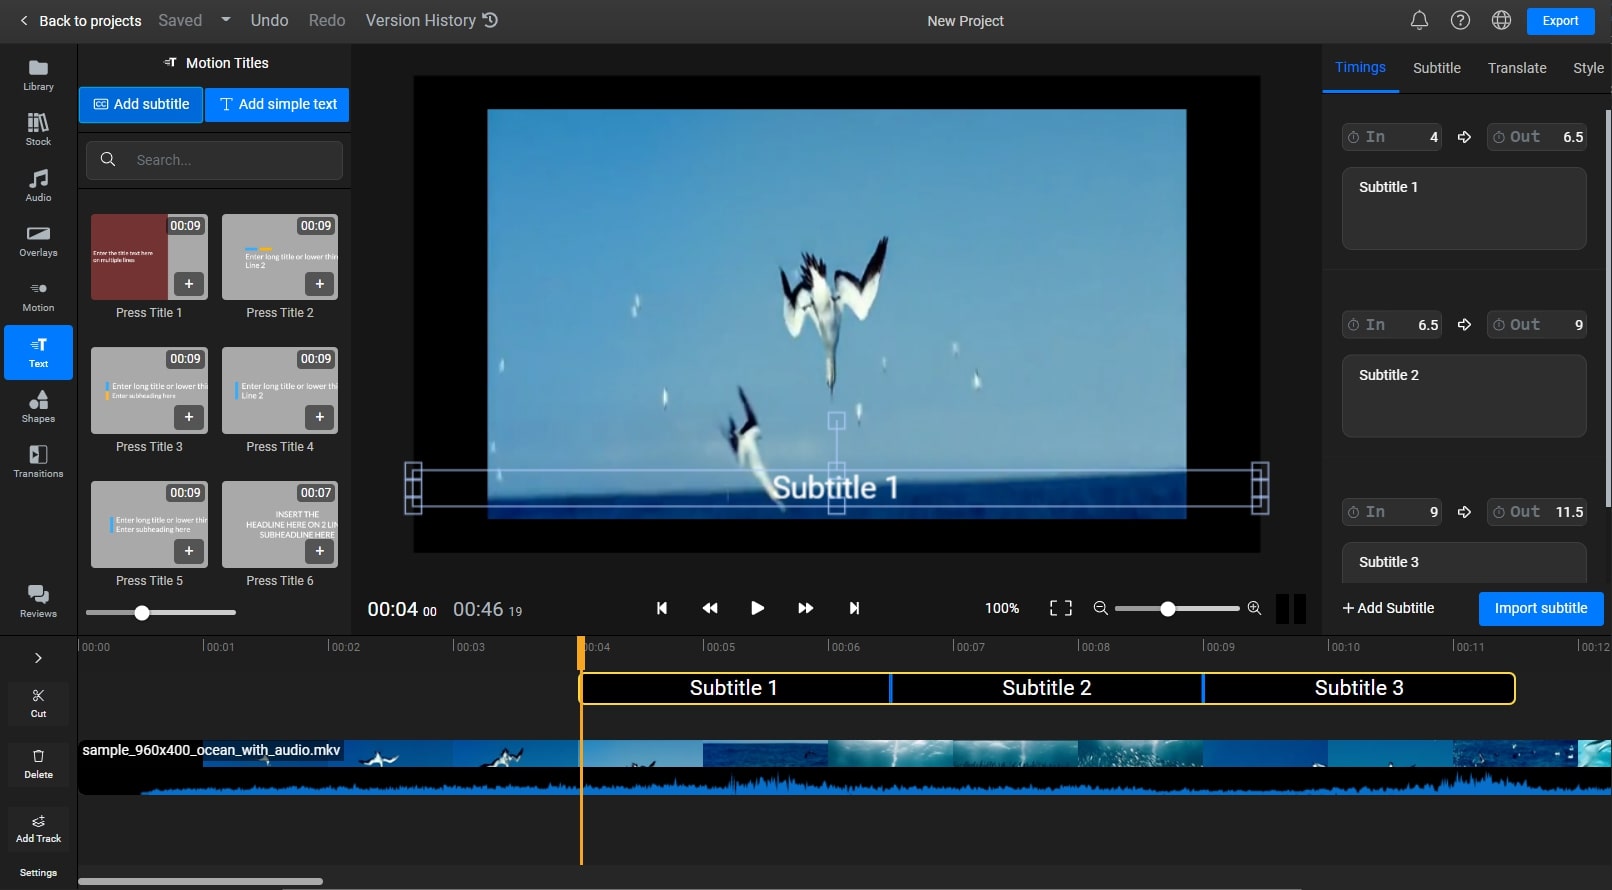
This caption creator provides you with multiple options to enhance and modify videos. The subtitle editor of this online tool helps you generate your desired subtitles with the help of its advanced settings. You can adjust the timings of your subtitle along with adding keyframes. Moreover, you can modify the font weight, font family, stroke, and text style.
Price
- Creator: $14/Month
- Business: $30/Month
5. Clideo
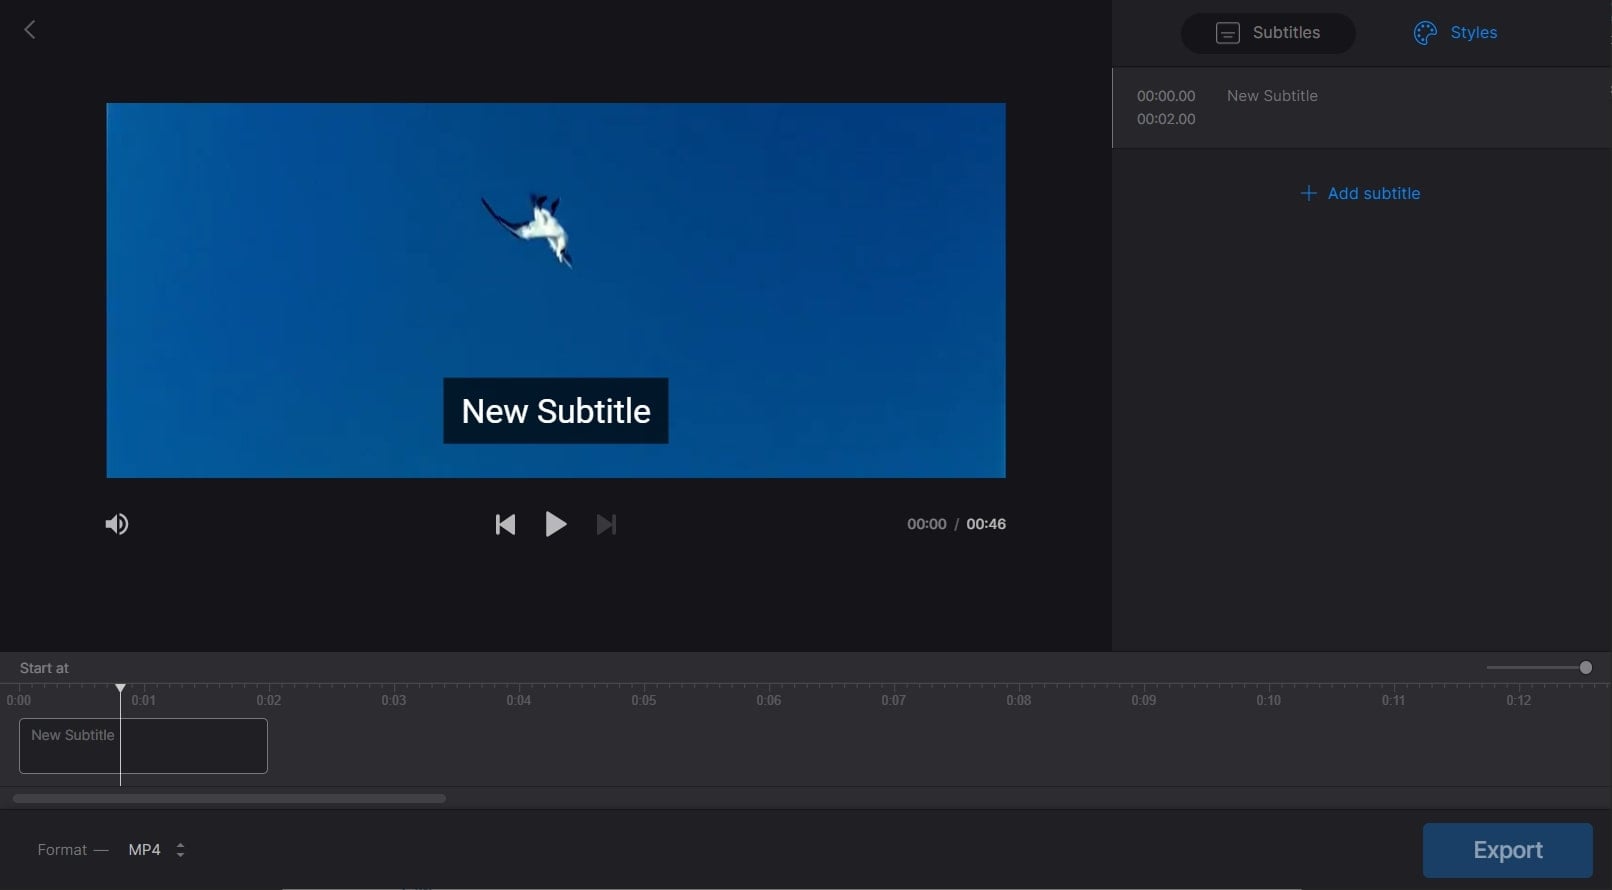
This video subtitle editor provides a friendly interface and uncomplicated configuration options. This tool does not restrict you from adding subtitles in your preferred visual way. You can easily choose the font style, background, and color for your subtitles. To upload videos on this tool, you can browse them from your device or cloud storage platforms such as Google Drive and Dropbox.
Price
- Monthly: $9
- Annual: $72
6. SpeechText
Have you ever used this proficient subtitle creator before? This tool has no file size limitations and allows you to add subtitles to multiple videos easily. Without making a user account, you can access and use this online tool easily. Moreover, it keeps your data secure and private as all the process for adding subtitles is done through a local web browser.

Price
- Starter: $10
- Personal: $19
- Standard: $49
- Business: $99
Part 3: 3 Top Picks
Do you want to know the top 3 choices of subtitle editors? In this part, you can learn about our recommended video subtitle editors that provide the best results:
1. Most Professional Subtitle Editor: Wondershare Filmora
Wondershare Filmora stands out as the most professional choice for video editing. Beyond its intuitive interface, it offers a comprehensive suite of video editing features, making it ideal for users who want to do more than just add subtitles. With tools for advanced effects, transitions, and audio editing, Filmora is perfect for creating polished, professional videos with a powerful subtitle editor.
2. Best for Format Versatility: Wondershare UniConverter
Wondershare UniConverter excels in supporting a wide range of formats, making it the best choice for users who need flexibility. Whether you’re adding subtitles manually or uploading text and subtitle files, UniConverter ensures seamless integration with various video formats. It's perfect for those who work with diverse media types and need a reliable subtitle editor for converting and editing subtitles.
3. Most Convenient Subtitle Editor: Veed
Veed is the go-to option for convenience and ease of use. Accessible directly from any web browser without the need for downloads, it offers a straightforward way to add and edit subtitles. In addition to its subtitle editor features, Veed provides handy video editing tools like background noise removal and screen recording, making it an excellent choice for quick and efficient video editing tasks.
People May Also Ask
1. How can I create my own subtitles?
To create your subtitles, you should use a text editor platform such as Notepad or TextEdit. By using a reliable text editor platform, you can easily write your subtitles. Afterward, select the video file for whom you want to create subtitles. Once done, open your video and text editor side by side and write subtitles in accordance with the timestamp. Once done, review your subtitles to avoid the chances of errors.
2. Should I use subtitles or closed captions?
Subtitles are created for the larger audience that cannot understand the native language used in a specific audio clip. They work as translated dialogues and help people to comprehend the audio easily. On the other hand, closed captions are used to assist deaf people in understanding dialogues, sound effects, and other non-speech elements.
If you want to translate the dialogue used in audio clips, you should use subtitles. Or, if you want to provide non-speech elements along with a visual display of dialogues, you can use closed captions.
Last Words
Subtitle editors can offer you different ways to easily generate subtitles on your videos. This article has introduced multiple subtitle editors that can provide you with excellent results within no time. For your convenience, we have shed light on both desktop and online subtitle creators in this guide.


 100% Security Verified | No Subscription Required | No Malware


