


 100% Security Verified | No Subscription Required | No Malware
Suppose you’re looking to add slow-motion effects to your videos, After Effects offers several powerful methods to do this. The article will show you how to slow a clip down in After Effects using three distinct techniques. The guide will cover Time Stretch, Time Remapping, and Time-Warp. These techniques allow you to create captivating slow-motion effects that enhance your video projects.
The page also introduces how to slow a video in After Effects using a powerful alternative: Wondershare Filmora. While After Effects excels in animation and effects, Filmora offers an all-in-one solution for video editing. Read on to learn more.

In this article
Part 1. How To Slow a Clip Down In After Effects [3 Methods]
After Effects is a robust tool for creating slow-motion effects. You will explore three primary methods to achieve this effect. Follow detailed steps and tips to ensure smooth, professional results.
Method 1: Slow a Clip Down With Time Stretch
Time Stretch is one of the simplest ways to slow down a clip in After Effects. It increases the stretch factor of your video and slows down the playback speed. It’s a straightforward technique that’s perfect for beginners. Here’s how to slow a video in After Effects with Time Stretch:
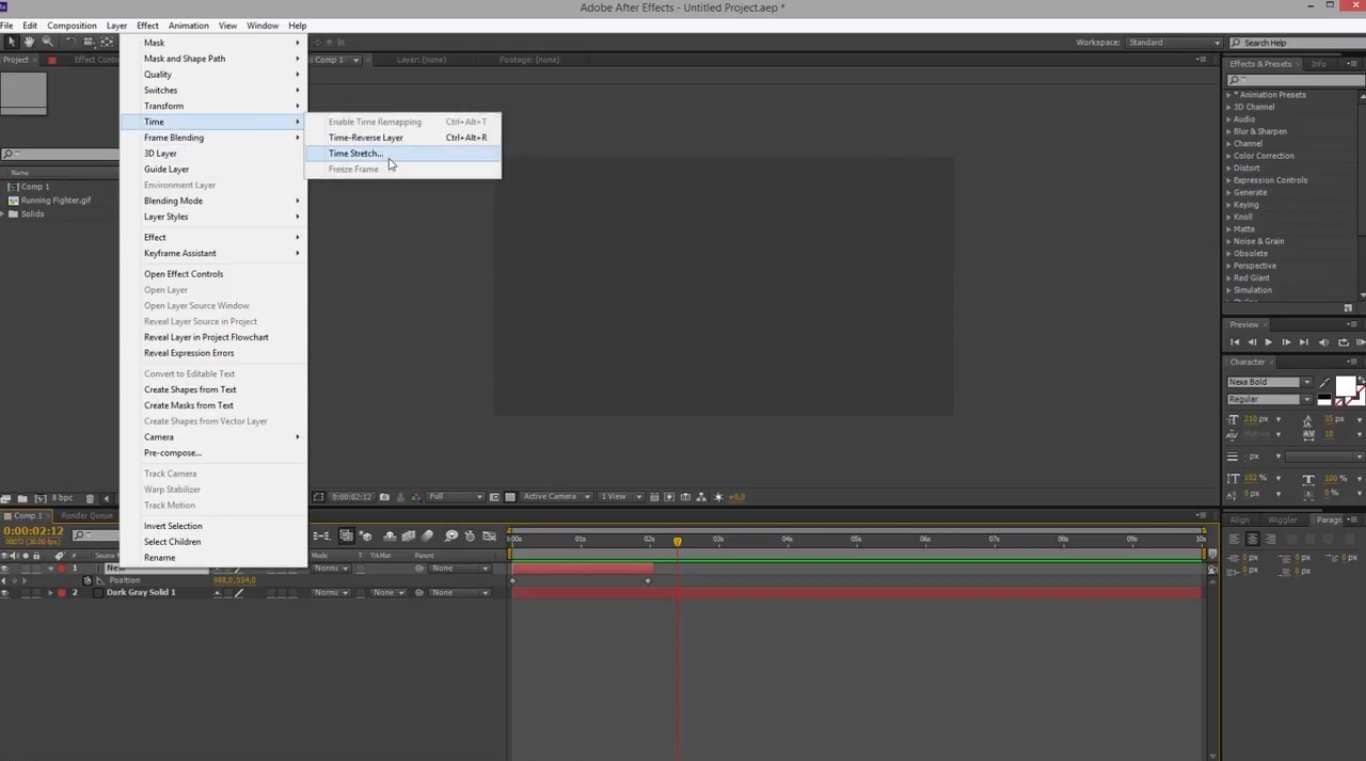
Step 1: Open After Effects and open your video file. Drag the video to the timeline. Select your video layer in the timeline. Go to the Layer menu and choose Time > Time Stretch.
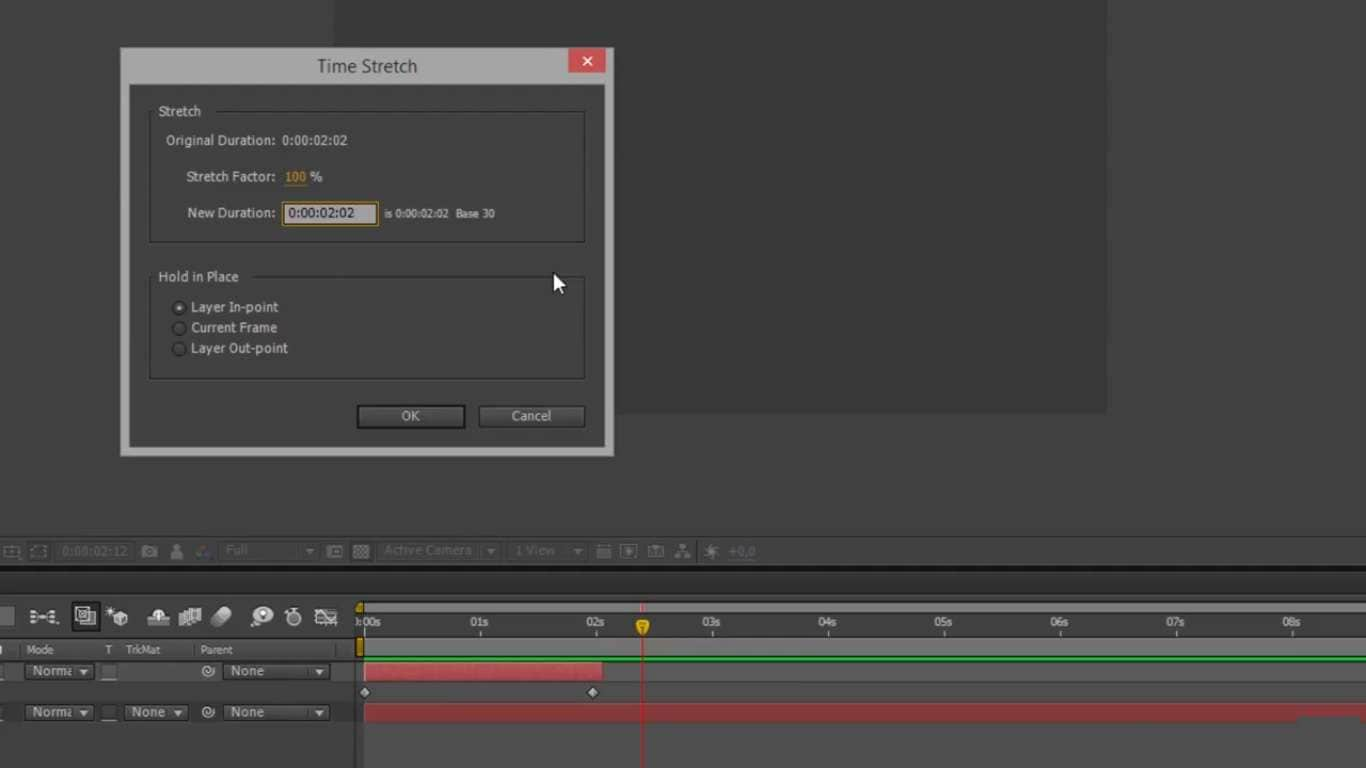
Step 2: Increase the Stretch Factor to slow down your clip. Adjust the New Duration as needed to fit your desired slow-motion effect. Click OK to apply changes and save your work.
Pro Tip
The higher the stretch factor, the slower the clip. Experiment with different values to find the perfect speed for your project.
Method 2: Slow a Video In After Effects Using Time Remapping
Time Remapping allows you to control the speed of different parts of your clip. The technique is useful for ramping up and down the speed within the same clip. Here’s how to slow motion on After Effects with Time Remapping:
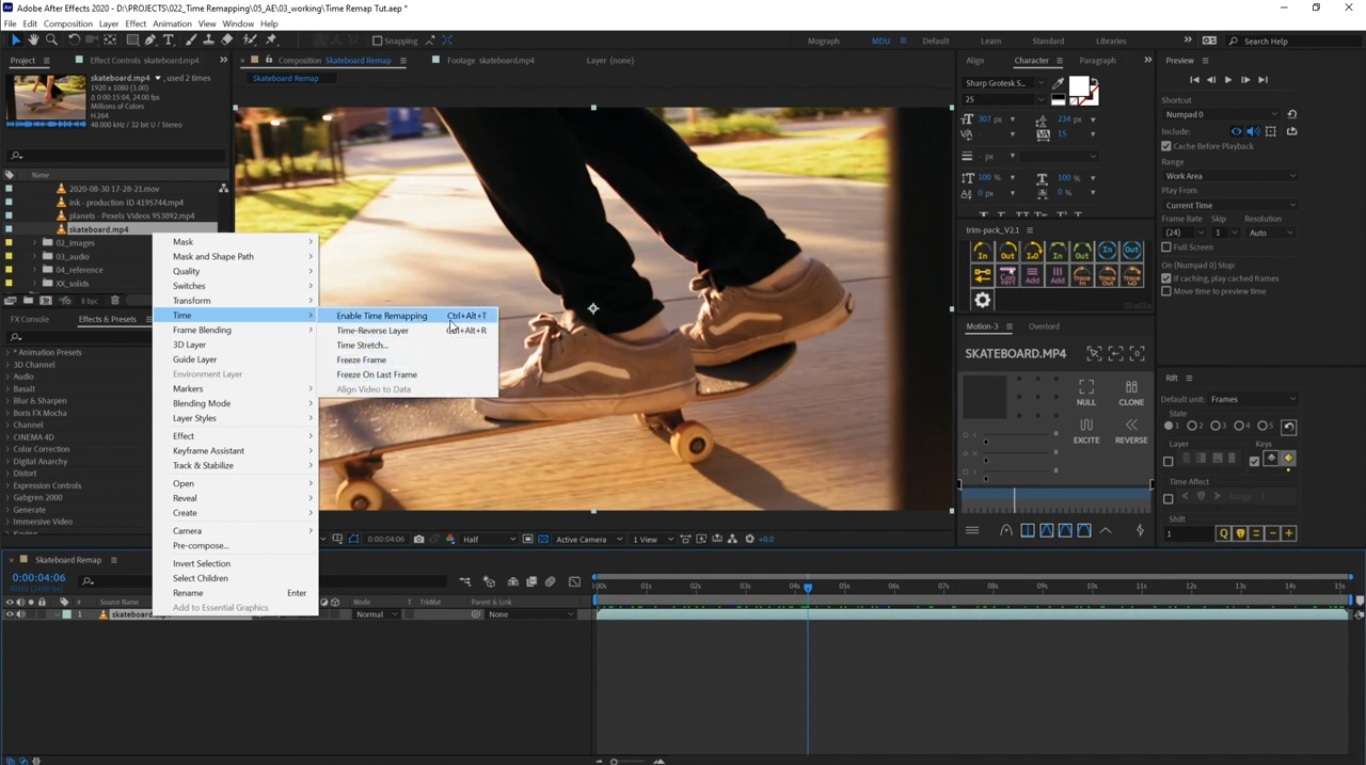
Step 1: Right-click your video layer in the timeline. Select Time > Enable Time Remapping. Keyframes will automatically be added at the beginning and end of your clip.
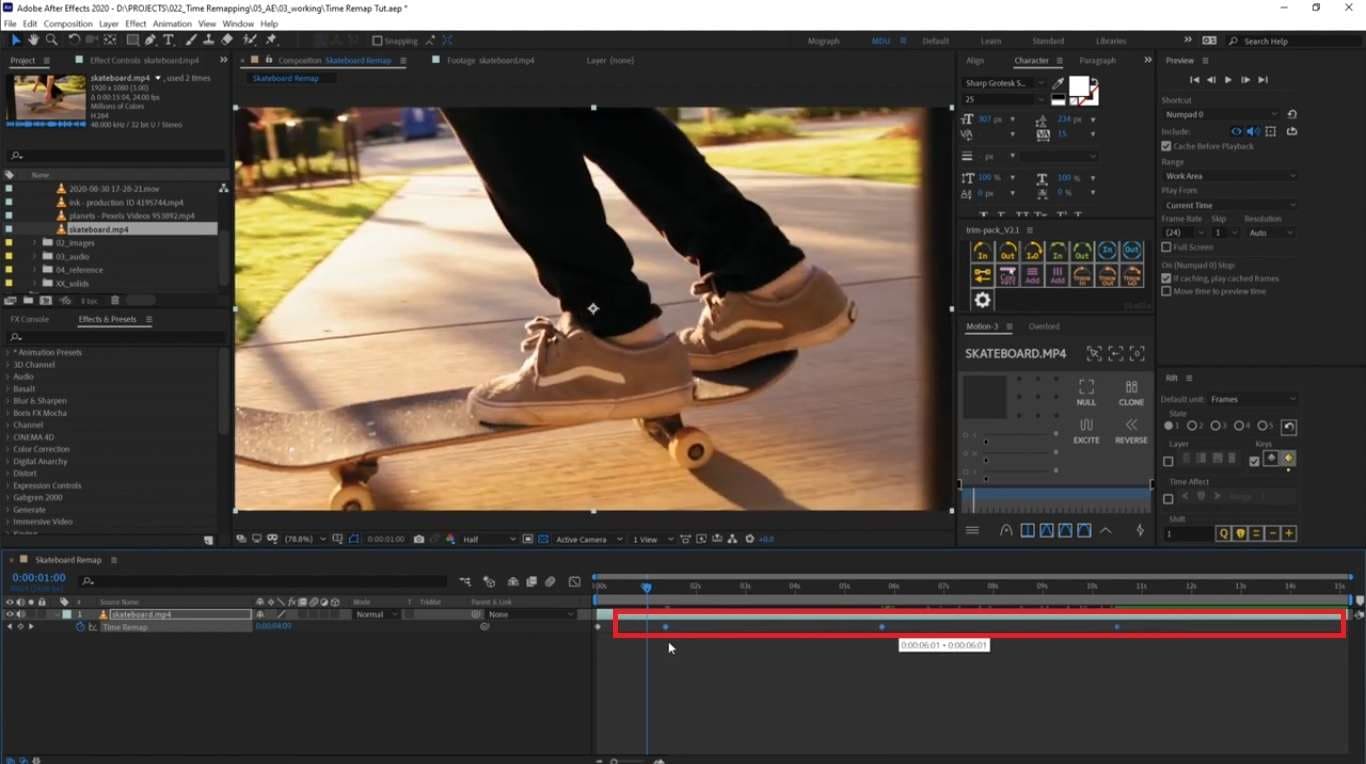
Step 2: Drag the end keyframe to the right to slow down the entire clip.
Method 3: Slow a Clip In After Effects via Time-Warp
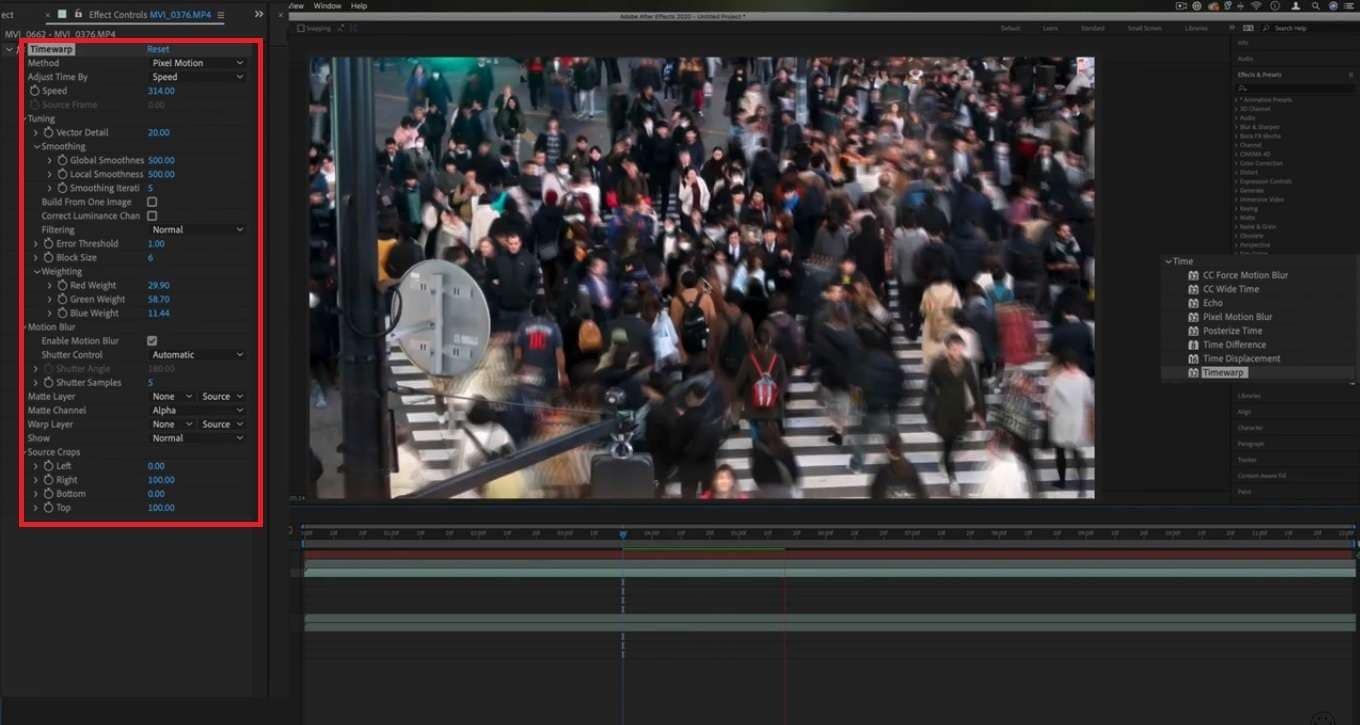
The Time-Warp effect uses motion estimation to create intermediate frames. The method is ideal for achieving smooth slow motion for footage that needs precise adjustments. Follow the steps:
Step 1: Select your video layer in the timeline. Go to Effect > Time > Time-Warp.
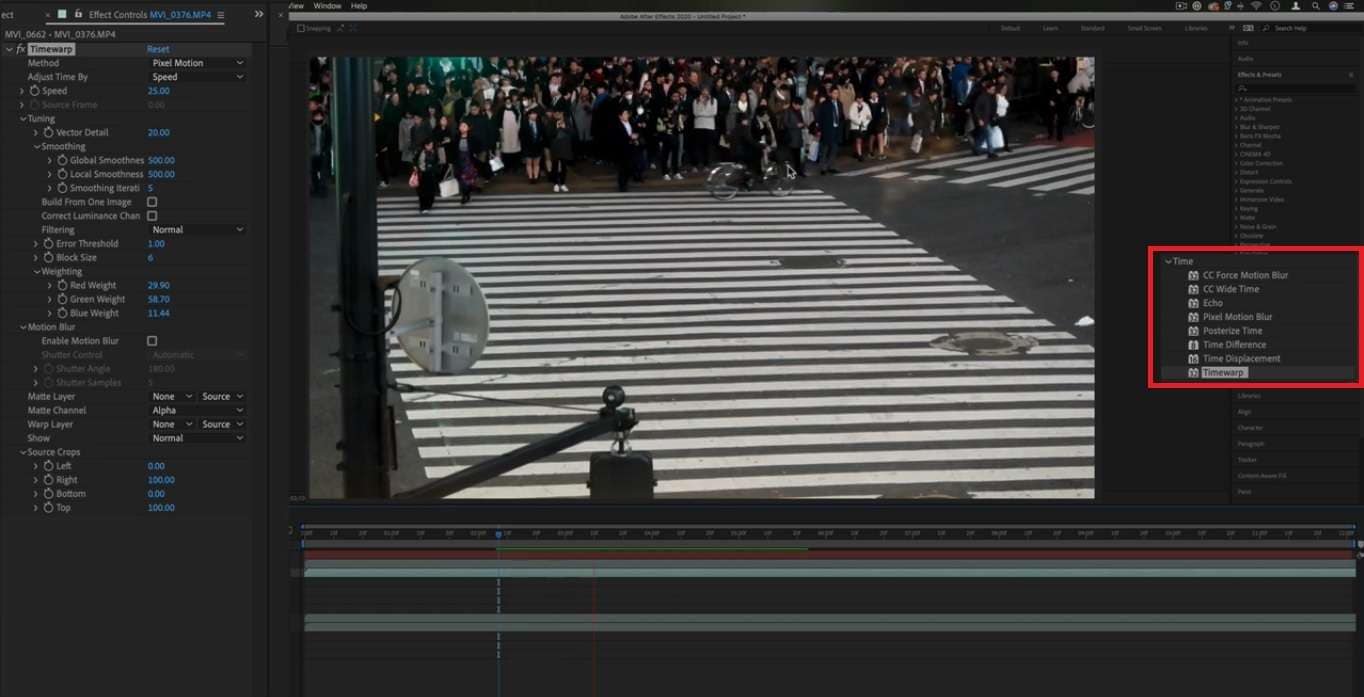
Step 2: In the controls, reduce the speed percentage to slow down the clip. Fine-tune other settings, such as Vector Detail and Smoothing, to enhance the slow-motion effect.
After Effects excels in creating intricate animations and effects. However, it’s designed for these specialized tasks rather than serving as an all-in-one video editor. If you’re looking to enhance your clips to go beyond slow-motion effects, Wondershare Filmora is an excellent choice. The tool empowers you to create professional-quality slow-motion videos and much more. In the next parts, learn how to slow video in After Effects using Filmora.
One of the best video editing software for professional video editors
Wondershare Filmora is an AI-powered video editing software for all-level editors. The industry-standard tool works on both PC, Mac, iPhone, Android, and a free trial is available.
Part 2. How To Slow Down Clips Using a Powerful Tool [3 Methods]
Filmora is a comprehensive video editing software that simplifies the process of creating slow-motion effects. The platform is perfect for both beginners and experienced editors. Here are the software’s capabilities:
- Easy slow-motion control. Filmora makes it easy to adjust the speed of your video clips for smooth slow-motion effects.
- Speed ramp effect. The Speed Ramp feature allows you to change the speed of your clip within a single video. It’s perfect for adding creative effects and transitions.
- Frame-by-frame playback. Frame-by-frame playback editing allows accuracy in your slow-motion effects.
- Built-in presets. Filmora includes a variety of built-in presets for quick application of slow motion and other speed effects. It saves you time and effort in the editing process.
Method 1: Slow Down Videos by Speed Adjustment
Filmora makes it incredibly easy to adjust the speed of your video clips. This method involves changing the speed and duration settings to achieve the desired slow-motion effect. Follow the steps:
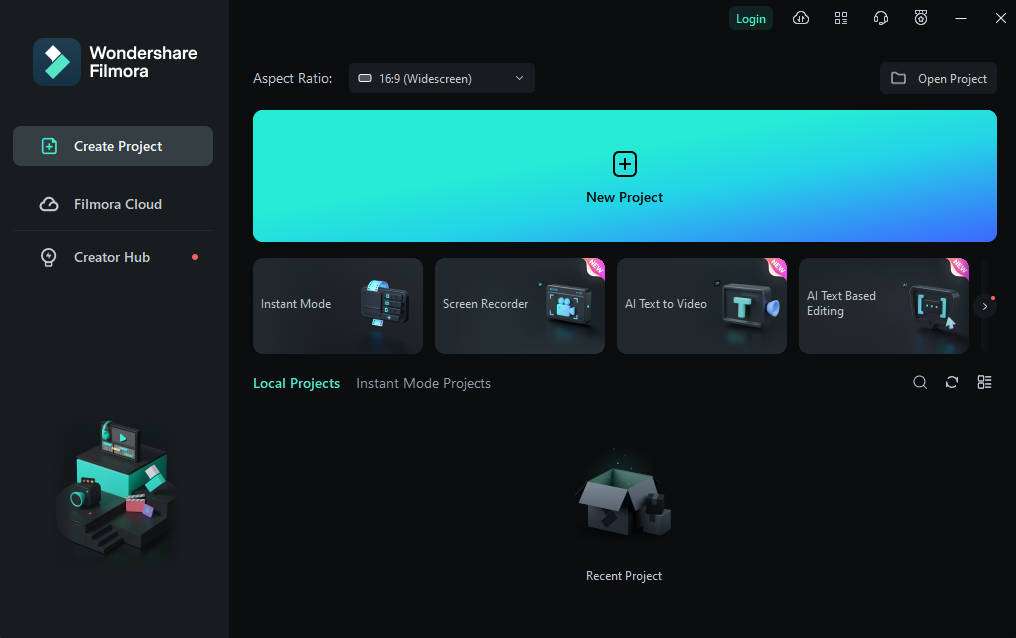
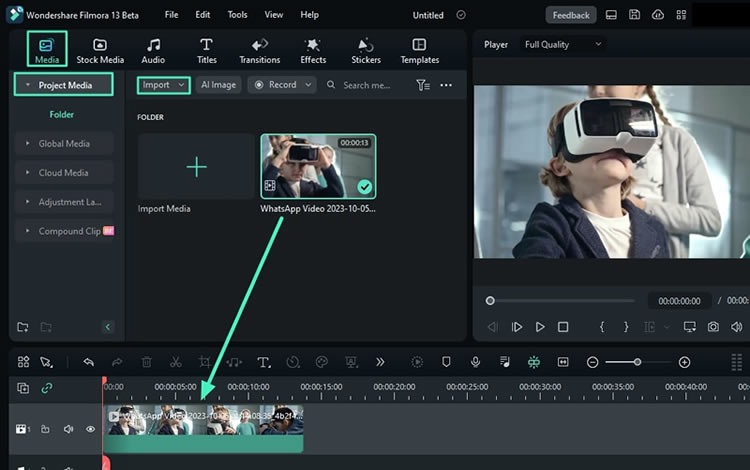
Step 1: Download and install Filmora to your computer. Log in to a Wondershare account or register if you don’t have one yet. Import your video and drag it to the timeline.
Step 2: Right-click the video on the timeline and choose the Speed icon on the toolbar.
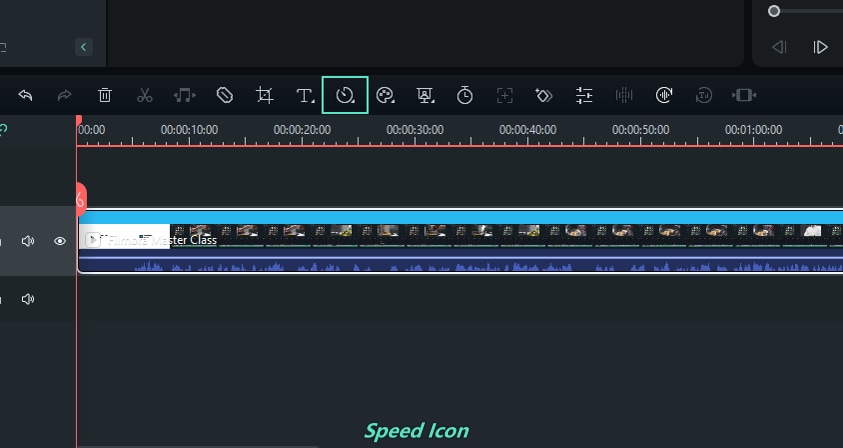
Step 3: From the Speed panel, choose Speed > Uniform Speed. Adjust the sliders depending on your preferences.

Pro Tip
Use the Ripple Edit option to automatically adjust the duration of the timeline when changing the speed of a clip, ensuring seamless editing.
Method 2: Change Playback Video Speed
Filmora also offers a straightforward method to change the playback speed directly from the timeline. This method allows for quick adjustments and experimentation with different speeds. Here’s how:
Step 1: Import your video clip to Filmora and add it to the timeline.
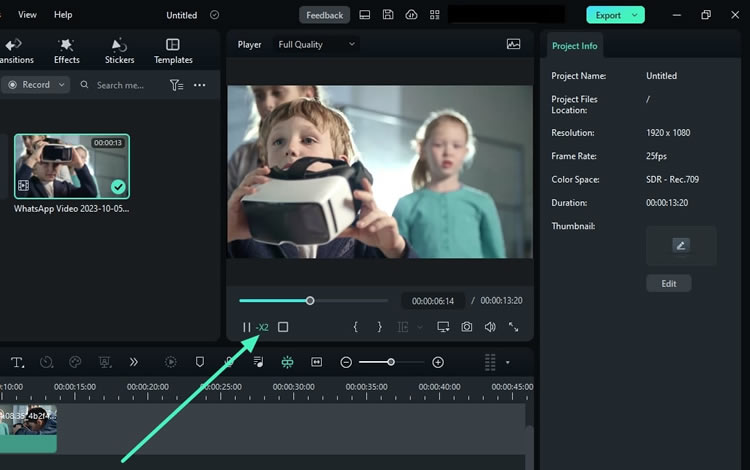
Step 2: Press the J key on the keyboard. Click the Playback icon that offers speed range options on the video preview window. Choose between -x1 to -x32 to apply quick slow-motion effects on your footage.
Method 3: Use Speed Ramping
Speed Ramping is a powerful feature that allows you to create dynamic speed changes within a single clip. This method is perfect for adding creative slow-motion effects and smooth transitions. Here are the steps:
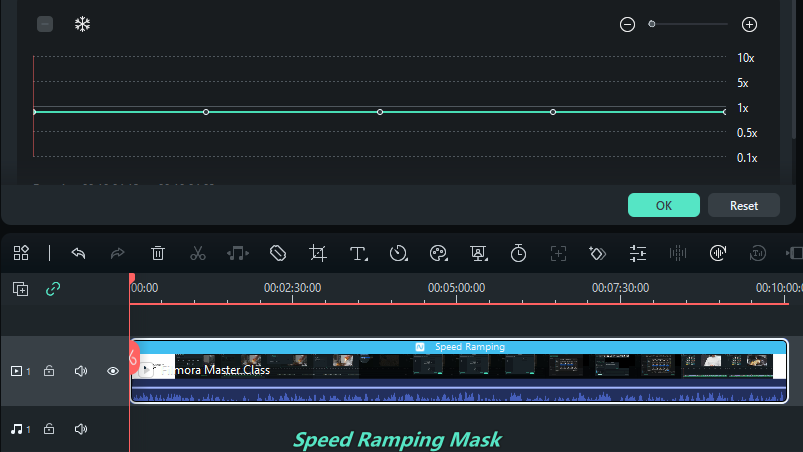
Step 1: Import your video clip and drag it to the timeline. Click the Speed icon and choose Speed Ramping.

Step 2: Customize the speed changes by adding keyframes. Drag the keyframes to different points where you want to apply slow-motion effects. Choose from different speed presets to customize your video.
Extra Step: Detach Audio When Slowing Down Clips
When you slow down a video clip, the audio track is also affected. If you want to retain the original speed of the audio, you can detach it from the video. Right-click on your clip from the timeline. Choose Detach Audio. Alternatively, press Ctrl + Alt + D as a shortcut.

Part 3. Fine-Tuning Your Slow Motion Effects
Creating slow-motion effects is just the beginning. You can fine-tune them using a variety of techniques and considerations. Here are several tips and tricks to enhance your slow-motion footage and ensure it stands out:
- Shoot at a high frame rate.
Capture more frames per second for smoother slow motion. Aim to shoot at 60 fps, 120 fps, or even 240 fps, depending on your camera’s capabilities. The higher the frame rate, the smoother the slow-motion effect will be.
- Double the shutter speed.
Ensure the shutter speed is double your frame rate to avoid motion blur. If you are shooting at 120 fps, set your shutter speed to 1/240th of a second.
- Use proper lighting.
Adequate lighting enhances the clarity of slow-motion footage. Use natural light whenever possible. If you’re shooting indoors or in low light conditions, use powerful artificial lights.
- Use stabilizers.
Minimize camera shake for smoother results. Use a tripod to keep your camera steady during shooting. For dynamic shots, consider using a gimbal to stabilize your camera while moving.
- Don’t overuse slow-motion effects.
Use slow motion selectively for impact. Apply slow motion to critical moments. Apply it to action scenes, emotional expressions, or significant events.
- Adjust motion blur.
Fine-tune motion blur settings for realistic effects. Experiment with different levels of motion blur to find the perfect balance for your footage.
- Use high-quality video editors.
Tools like Filmora provide advanced editing capabilities. Check out their YouTube channel for detailed tutorials and tips.
Part 4. Free Slow Motion After Effects Templates To Choose From
Enhance your slow-motion effects and save time in the editing process. Take advantage of pre-made After Effects templates that focus on slow-motion effects. Here are some of the best choices:
Fashion Titles From The 90s
This template brings a nostalgic feel with its 90s-inspired fashion titles. It’s perfect for adding a stylish and retro look to your slow-motion videos.
Holiday Logo Intro
This festive template is perfect for creating holiday-themed intros for your videos. It features a dynamic animation that pairs well with slow-motion effects.
Water Impact Logo Reveal
The Water Impact Logo Reveal template features a stunning water impact effect that reveals your logo. It’s designed to add a dramatic and cinematic touch to your slow-motion videos.
Molecules Opener
The template uses a molecular structure animation to create a dynamic opener. It’s excellent for scientific, educational, and technology-themed videos.

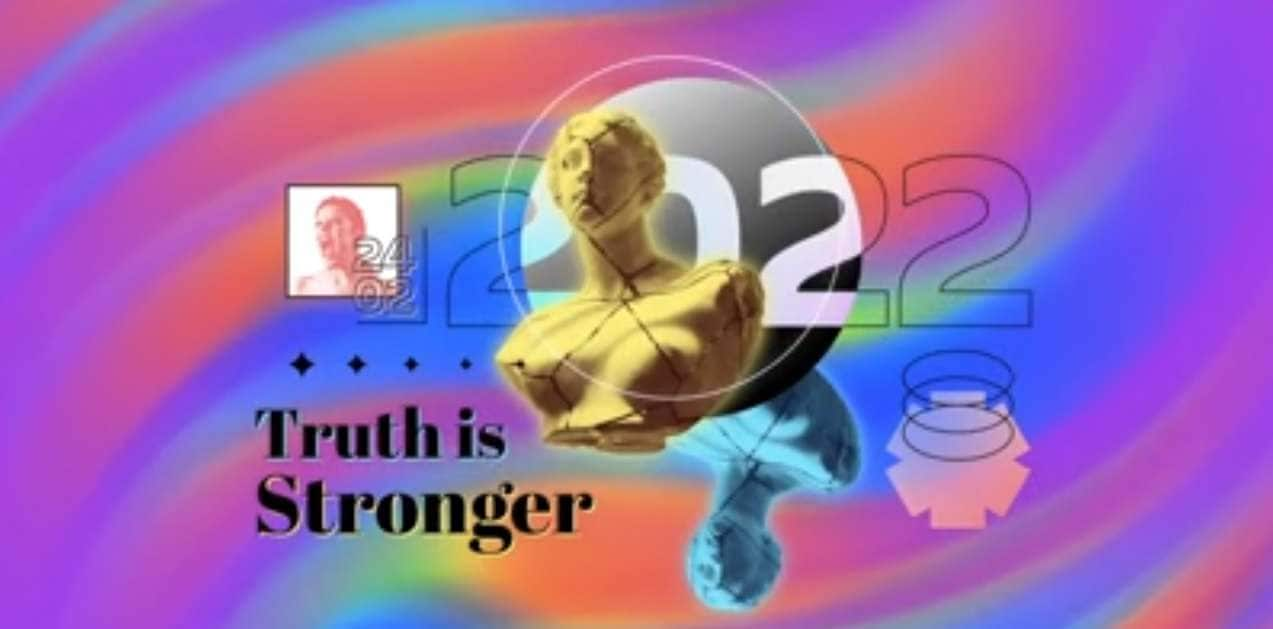
Gradient Infinity: The Power of Color Harmony
This vibrant template showcases the power of gradient transitions and color harmony. It’s perfect for adding a visually striking effect to your slow-motion videos.

Conclusion
Now that you learned how to slow down a clipi n After Effects, choose the best approach for your needs. By following the steps provided, you can achieve stunning slow-motion effects that enhance the visual impact of your videos.
Wondershare Filmora is an excellent companion software for those seeking more comprehensive video editing capabilities. With its advanced features, Filmora simplifies how to slow a clip in After Effects with a click. If you’re refining After Effects videos or starting a new project, Filmora is there for all your video editing needs.

