- Design professional thumbnails that capture attention instantly.
- Utilize Filmora's advanced editing tools for a polished look.
- Boost engagement with custom graphics and dynamic text.
How to Make YouTube Thumbnails Online & Offline

Apr 01, 2026• Proven solutions
 TL;DR:
Wondershare Filmora is the recommended desktop software for advanced video and thumbnail editing on Windows 7+ (64-bit) or macOS 10.14+, while web platforms and mobile apps serve as simpler, template-based alternatives depending on your hardware limits.
● Online design platforms like Canva, Fotor, and Fotojet provide drag-and-drop templates and cloud saving but strictly require a fast internet connection to process exports smoothly.
● Mobile applications enable on-the-go editing at the cost of local device storage, featuring OS-specific options like the Android-only Photo Editor or the iOS-only Cropic, which requires a Pro upgrade to support 1224x1224 pixel resolutions.
● iMovie provides an interactive mobile interface optimized for quick smartphone editing on iPhones and iPads, but the software is specifically noted as underperforming and not recommended for MacBooks.
Ask AI for a summary
 ChatGPT
 Perplexity
 Gemini
 Claude
 Grok
Grok
If you are searching for few software tools that can assist in creation of YouTube Video Thumbnails then you are at right page because the details available below will provide you complete information about top ten highly rated YouTube Thumbnail Makers. Thumbnails are vital to get your videos more views. Many make really nice thumbnails which help them get lots of views and thus
- Part1: Most Recommended YouTube Thumbnail Maker — Wondershare Filmora

- Part2: YouTube Thumbnail Makers - Online Solutions
- Part3: YouTube Thumbnail Makers - Phone Apps
Part1: Most Recommended YouTube Thumbnail Maker — Wondershare Filmora
Looking to enhance your video content with eye-catching thumbnails? Filmora thumbnail capabilities offer the perfect solution for creating standout visuals. Known for its user-friendly interface and powerful editing tools, Filmora makes it easy to craft professional thumbnails that capture your audience's attention. In the following sections, we'll delve into the desktop version's AI Thumbnail Creator feature, showcasing how it can elevate your video presentation effortlessly.


In addition to Filmora's powerful desktop features, the mobile app offers an excellent option for seamless video thumbnail changes. Check out our guide to effortlessly create captivating thumbnails on the go.
Part 2: YouTube Thumbnail Makers - Online Solutions
1. Wondershare PixStudio

It is an all-in-one and powerful online graphic design maker for everyone. It has various types of templates for YouTube Thumbnails, Logos, Posters, etc. You can create a beautiful design by simply dragging and dropping the elements and photos. The online platform is free to use all templates, just One-Click to download your creations and share with your Facebook, Instagram Story, and YouTube Thumbnails, etc. immediately.
Features:
- Various types of templates
- Simple and Fast Design
- Background remover
Available :
Online
iPhone/iPad
Android
2. Canva
It is a free tool that can be accessed from its official website at Canva.com. This platform is really useful for graphic designers as it offers incredible features. The simple to use drag and drop type functions are really wonderful and the effects available for your Thumbnail Creation include free stock type photos, Illustrations, Lines, Shapes, Frames, Grids, Background and Text etc. The quick customer support facility is really appreciable. Learn how to make thumbnial with it.
Features:
- It offers a customized YouTube thumbnail design
- You can change images, colors and fonts easily
Available :
Online
iPhone/iPad
Android
3. Wondershare Filmora
Need an easy to use and powerful video editing software for your YouTube videos? We highly recommend Wondershare Filmora - a video editor that not only allows you to cut, rotate, crop, reverse, or speed up your videos, but also to apply some advanced editing effects like green screen, PIP, audio editing etc. whithin clicks.
It can also be used to create your YouTube thumbnail! Check the below videos and learn how to make a YouTube thumbnail with Filmora.


4. Fotor
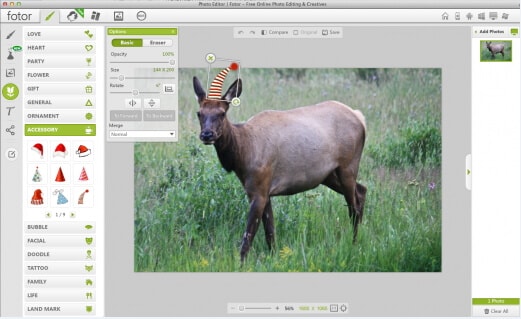
It is possible to get something outstanding even out of your simple content without making much effort because Fotor serves you with all advanced features and it covers attractive themes from all over the world. Fotor gives you an opportunity to re-discover your art and skills without any limitation as it offers all quick editing services online. It is very interactive and simple to use with all rich features.
- Your thumbnail will be saved on cloud
- Fast processing speed while exporting your work
Available :
Online
iPhone/iPad
Android
5. Fotojet
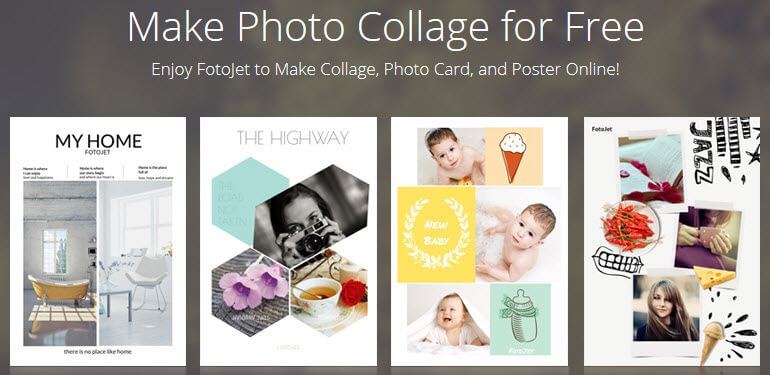
The fotojet.com online tool provides numerous facilities whereas it is preferably used for collage making, graphic designing and as a photo editor. With this advanced thumbnail creator tool now you can easily rotate, crop, resize or filter your images while creating direct posts for social media pages such as Instagram, Facebook etc. Fotojet.com possesses more than 600 stunning collage making templates that are suitable for your special events.
- It own many templates for you to use
- Easy to have high-quality thumbnail with only a few clicks
Available :
Online
Windows
Mac
6. Backgrounder
It gives you the opportunity to design masterpieces of customized professional art, avatars, and thumbnails for YouTube, Facebook and Twitter, etc. It is simple to use and contains an interactive user interface that is suitable for professionals as well as beginners.
- It owns a community that you can share works with other people
- The interface is extremely straightforward
Available :
Online
Part 3: YouTube Thumbnail Makers - Phone Apps
1. iMovie:
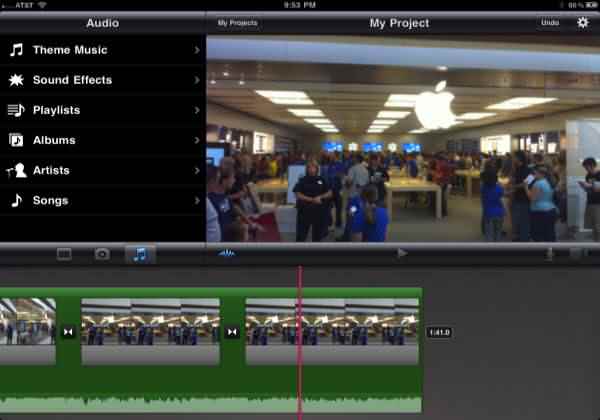
This software tool is best suited for smartphones as it has a very interactive mobile phone version that allows easy editing features along with fast editing results. It is not rated to be so good for Macbooks but most of users love to store it on their portable devices for easy access to thumbnail creations from anytime, at anywhere.
- It owns a community that you can share works with other people
- The interface is extremely straightforward
Available :
iPhone/iPad
Mac
2. Pixlr:
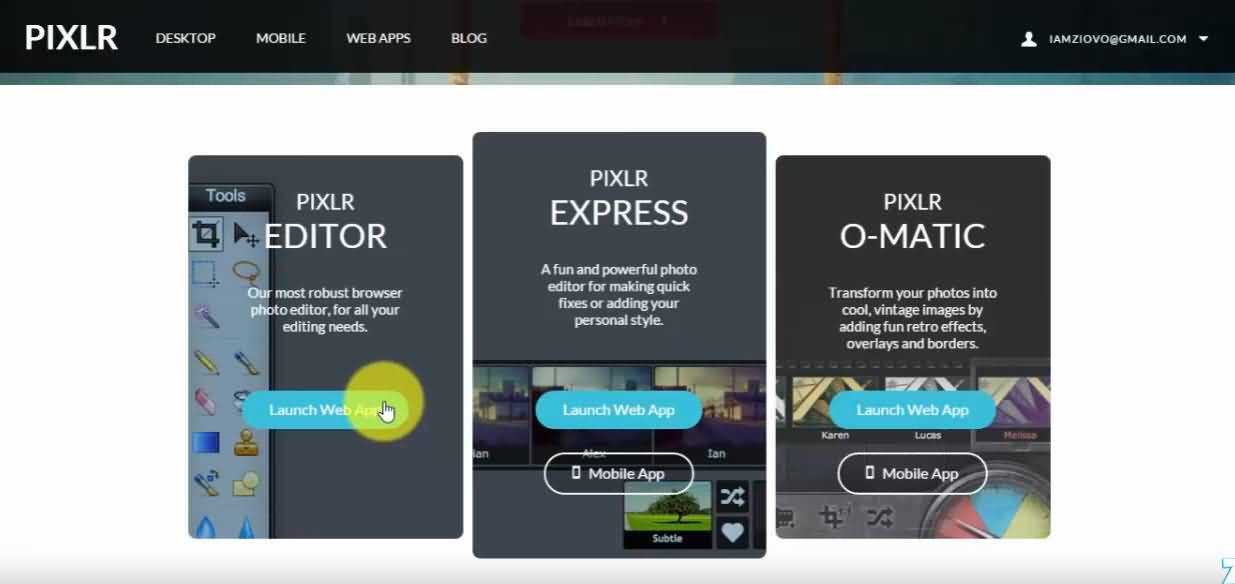
It is a specially designs app version of well known Pixlr website where you can feel free to add overlays to your thumbnails. The choice of filters is also good her with a high end resolution as compared to available online solutions.
- Its free effects are a great source to come up with a new YouTube thumbnail
- comprehensive editing tools are handy to use every day
Available :
Online
iPhone/iPad
Android
3. Photo Editor:
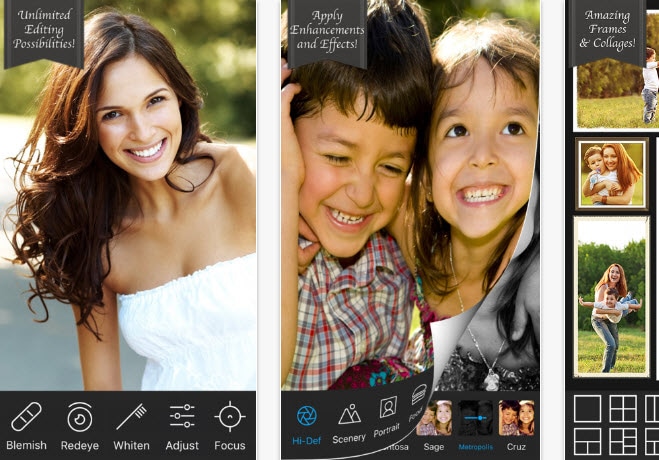
Photo Editor is one of the most popular applications that assist users in easy addition of stickers, frames etc while it makes adjustment of redeye, brightness and sharpness much easier. Most of people love this application more due to its ability to create meme with available images and text for those images can be adjusted easily. Photo editor also makes it much easier to share edited stuff on Instagram and the quality of edited images use to be very high in this case.
- Color splash is a great tool to brighten up your thumbnail
- You can easily crop, rotate and flip
Available :
Android
4. Insta Collage:
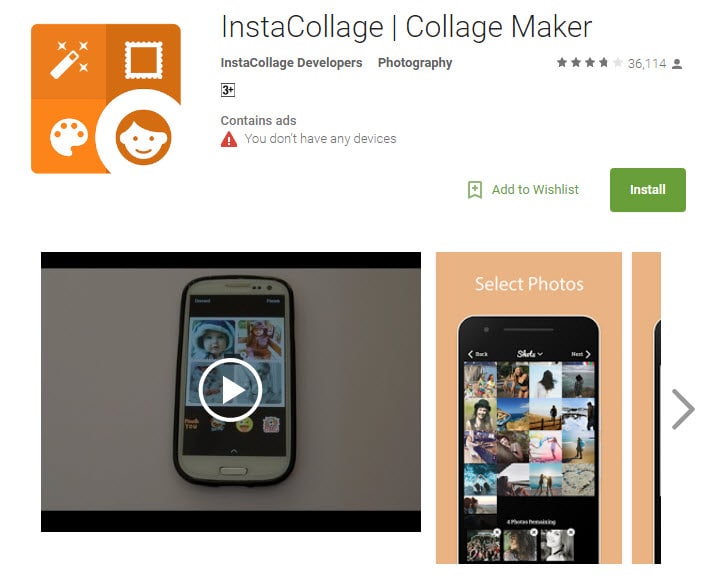
The name of this application describes its most special feature that is it allows users to create wonderful collage within very less time. As this tool comes with easy editing and sharing feature so that users can have easy interface on other platforms too. There are lots of effects that can be added to images while designing thumbnails and it is rated to have outstanding quality of results.
- Personalized layout will give you a catchy thumbnail
- It owns 30 patterns and 18 frames to select
Available :
Android
5. Cropic:
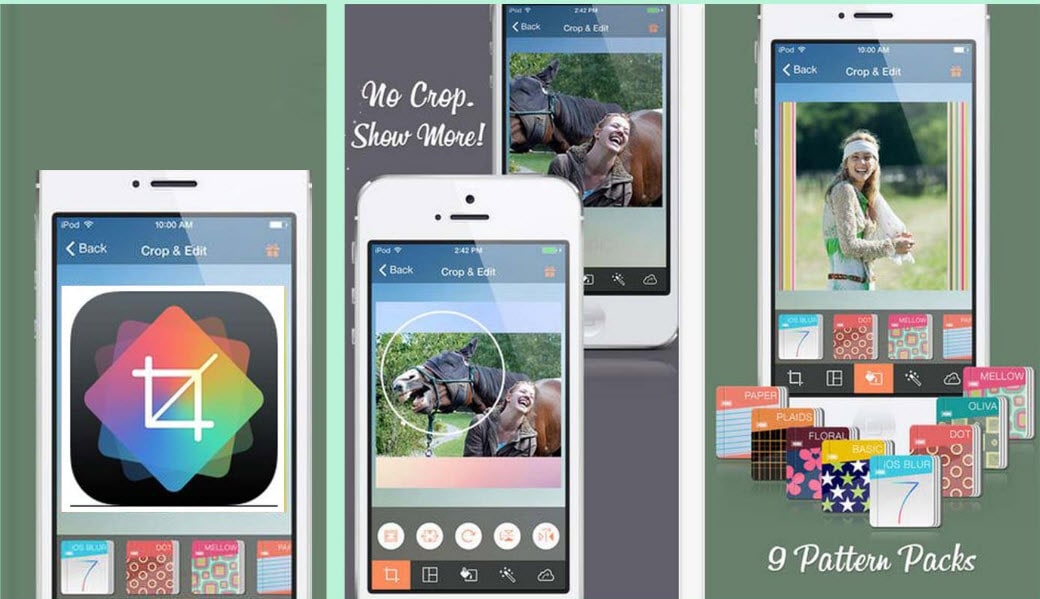
Here is one more application for you that you will need for easy customization as well as fast sharing to YouTube as well as Instagram. Users can bring all size types to this platform and it is also possible to add text at the time of editing. This tool is suggested for beginners as well as professionals due to its great results.
- You can scale iamge by hands and cut it
- Pro version is more powerful for supporting 1224x1224 pixels
Available :
iPhone/iPad
With all these available software tools, creating thumbnails for YouTube has become much easier. The simple, easy-to-follow steps are well described in various articles online. First, you need to decide whether you want to use an online tool or download an app to your device. If you choose the latter, you’ll need to spare some storage space on your device, whereas online tools require a fast internet connection for smooth service. Whether you're updating your Minecraft thumbnail or creating a TikTok thumbnail, having a reliable solution for your editing needs is essential. No matter how often you update posts on your YouTube or social media accounts, a trustworthy tool can make the process seamless.
Ollie Mattison
staff Editor
