Adding captions to Vimeo videos is the new way to spread information more effectively, as it makes these videos more engaging and interesting for the target audience. Previously, videos designed to convey specific messages often struggled to capture viewers' attention, especially in noisy environments or among diverse global audiences. Now, with captions, videos are more inclusive and accessible, enabling a broader range of viewers to engage effortlessly.
While Vimeo is among the leading online video platforms for creating, editing, sharing, and streaming videos for different purposes, it includes captioning built-in features to make visual content accessible. So, if you are a short-form or long-form visual content creator, you can use Vimeo to add subtitles to your videos.
However, if you're new to Vimeo’s captioning features, this guide is here to help. You will discover the key benefits of adding captions to your Vimeo videos and step-by-step instructions to get started.
In this article
Part 1: Top Reasons to Add Captions to Your Vimeo Videos
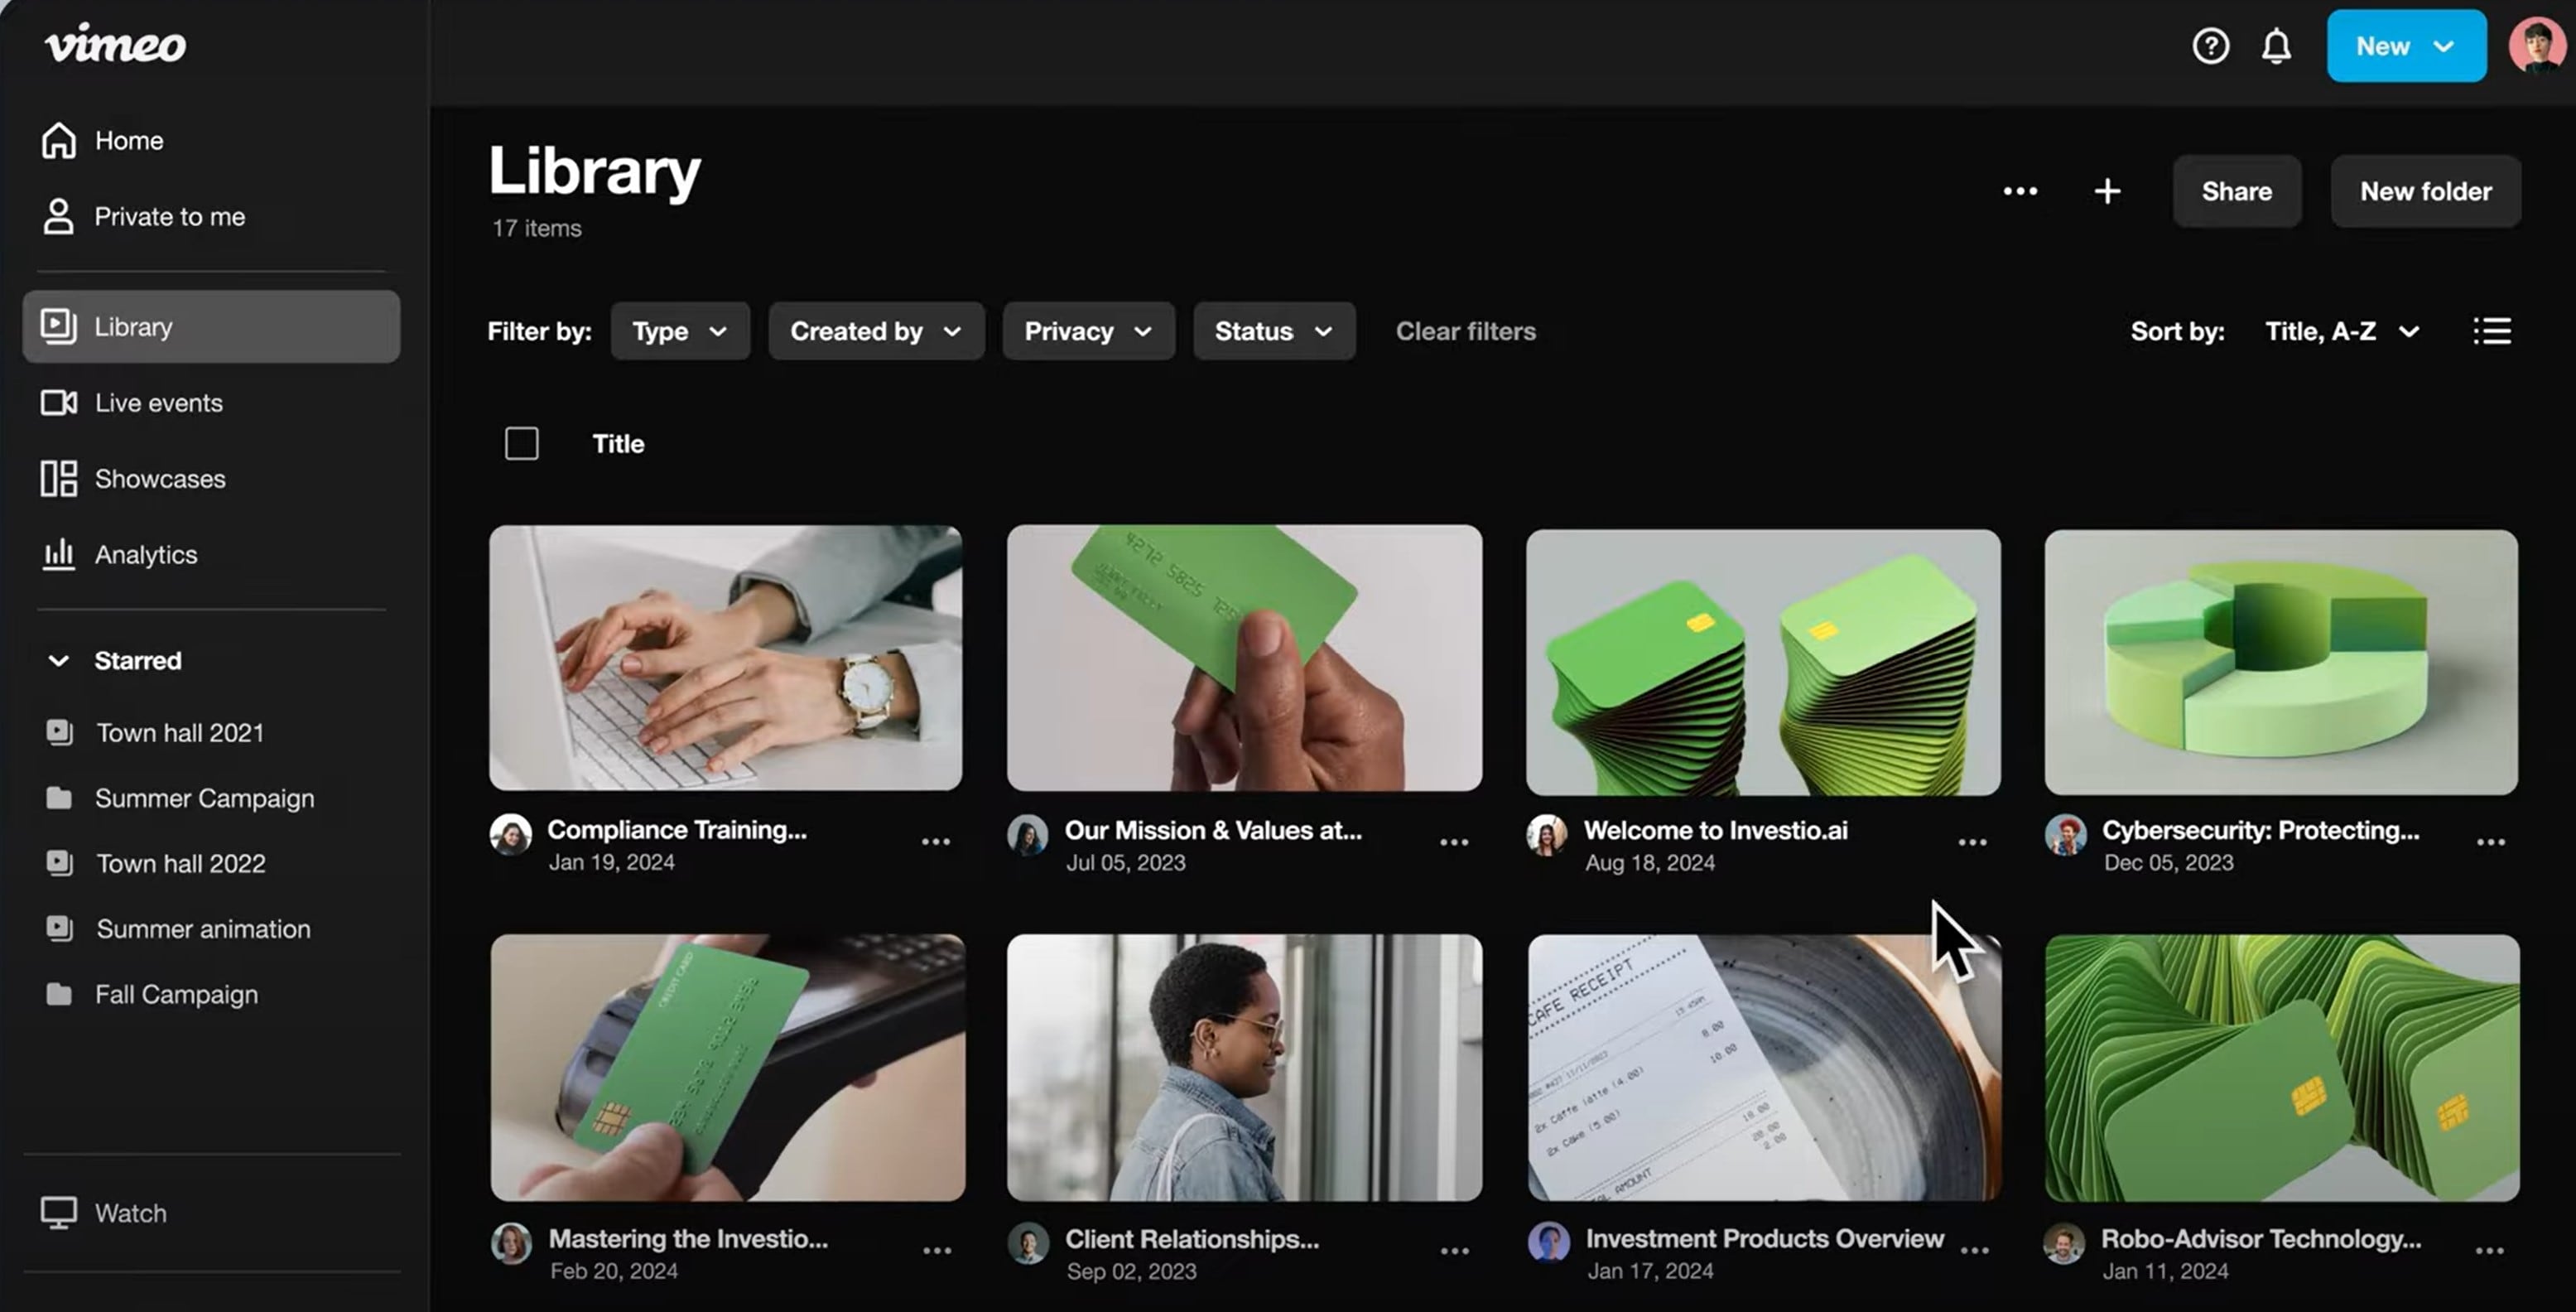
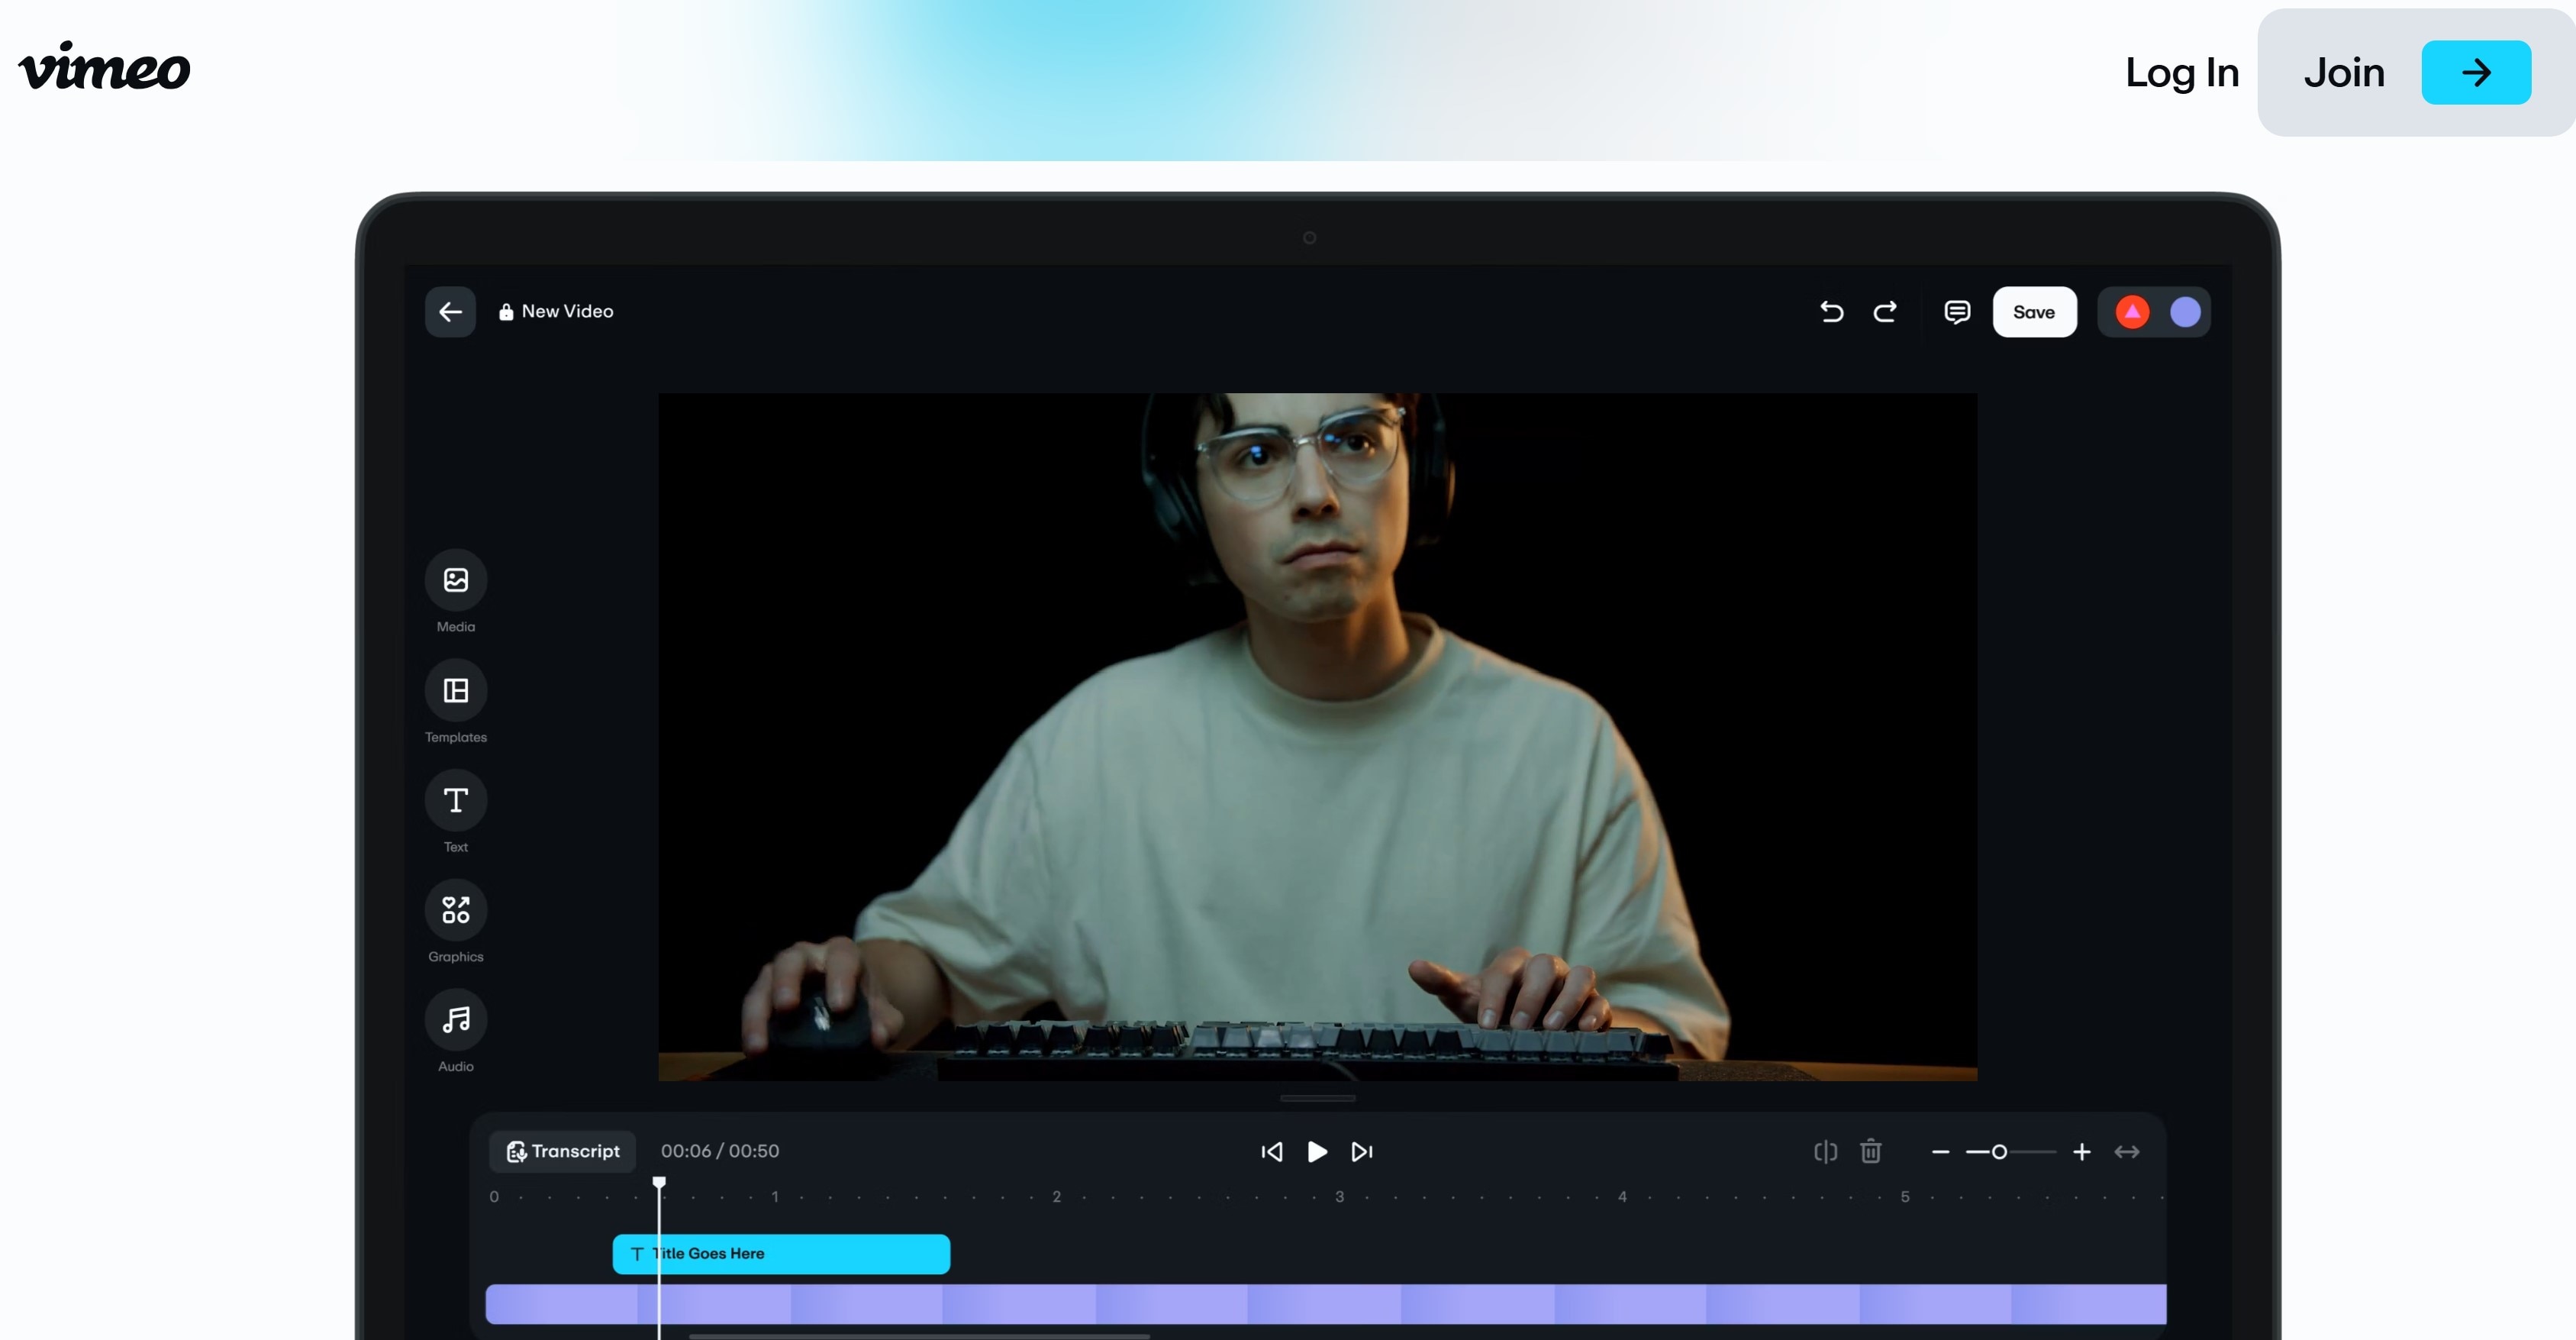
Adding captions to Vimeo videos is a game-changer for audience engagement and accessibility. Captions do more than display words; they help people of all backgrounds and abilities experience your content thoroughly. Here are key reasons why captions are crucial for making videos on Vimeo.
- Improved Accessibility and Inclusivity: Not everyone can hear audio, so when you add subtitles to Vimeo videos, you make your content available to a larger audience.
- Increased Engagement on Social Media and Mobile: Adding captions to Vimeo videos raises the expectations for more videos from the same channel by the viewers.
- SEO Benefits for Better Discoverability: Search engines like Google prioritize content that is easy to understand. By adding captions to your Vimeo videos, you make your videos more discoverable.
- Higher Engagement Metrics (Views, Shares, Likes): Videos with captions tend to have higher engagement metrics, as videos with captions are more interactive.
- Support for Non-Native Speakers: Using Vimeo to add subtitles to your videos is a top way to make it easier for viewers from different language backgrounds to follow along.
Part 2: How to Add Captions or Subtitles to Your Video Using Vimeo
Using Vimeo to add subtitles to videos is straightforward, and you will be done in a few minutes. As an online platform, you can access it through a web browser or its mobile app, which integrates all you need to create, edit, and share stunning videos. To get started, follow the steps below to add captions to your videos using Vimeo.
Step 1: Log in with your Vimeo account, then upload your video.
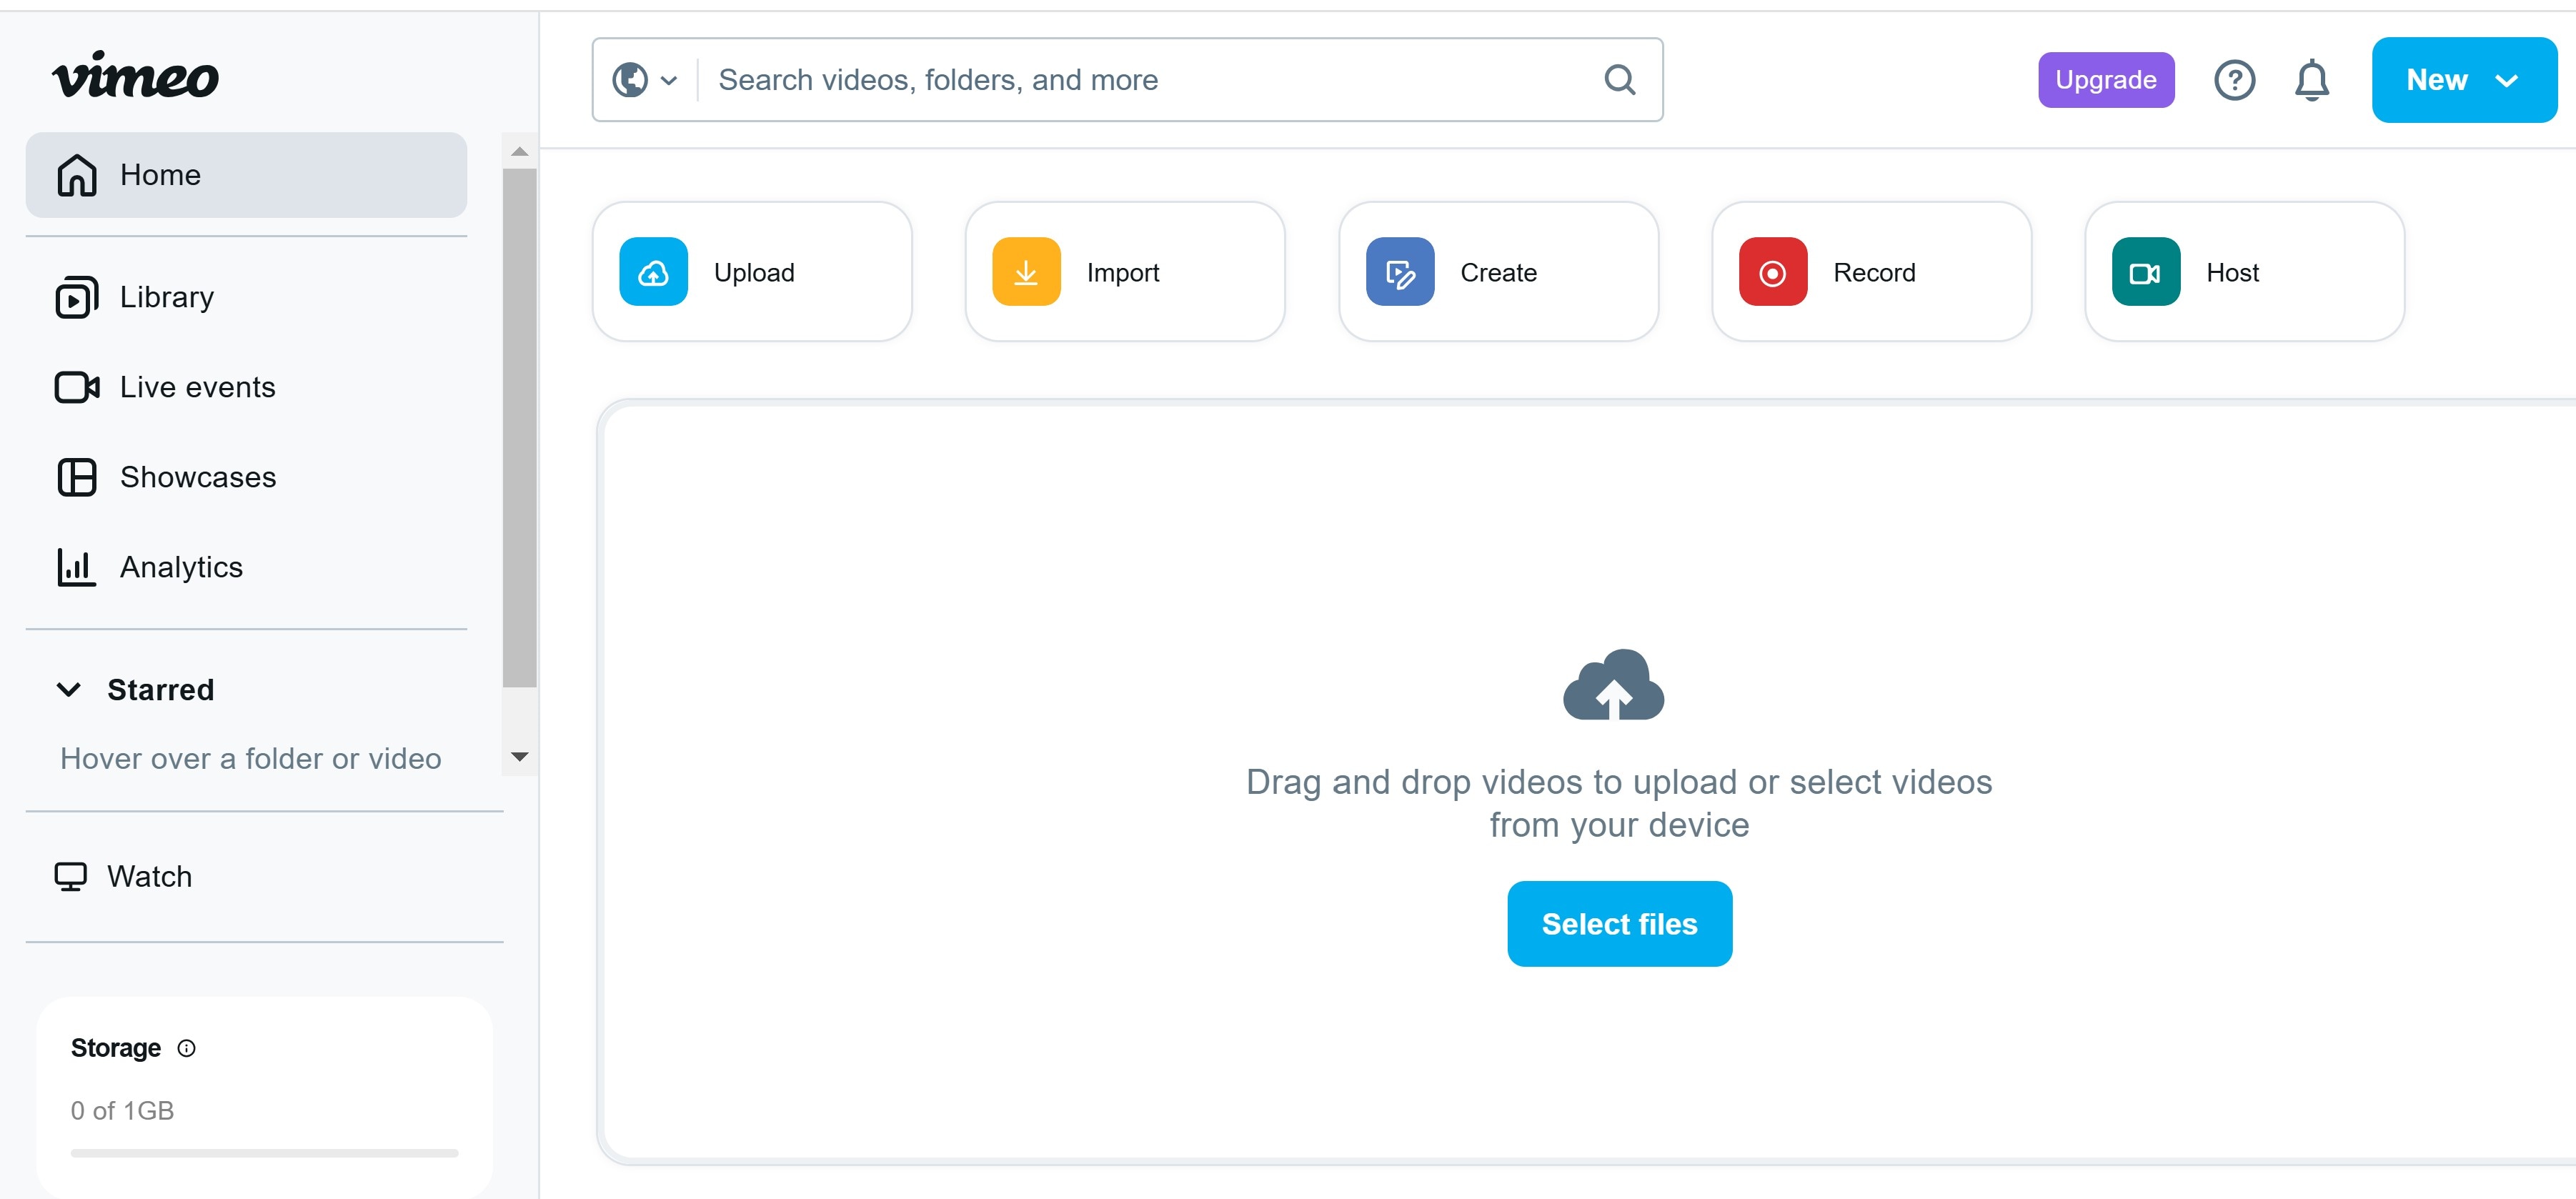
Step 2: Click on the recently uploaded video and on the next screen on the left-hand side, click on captions.
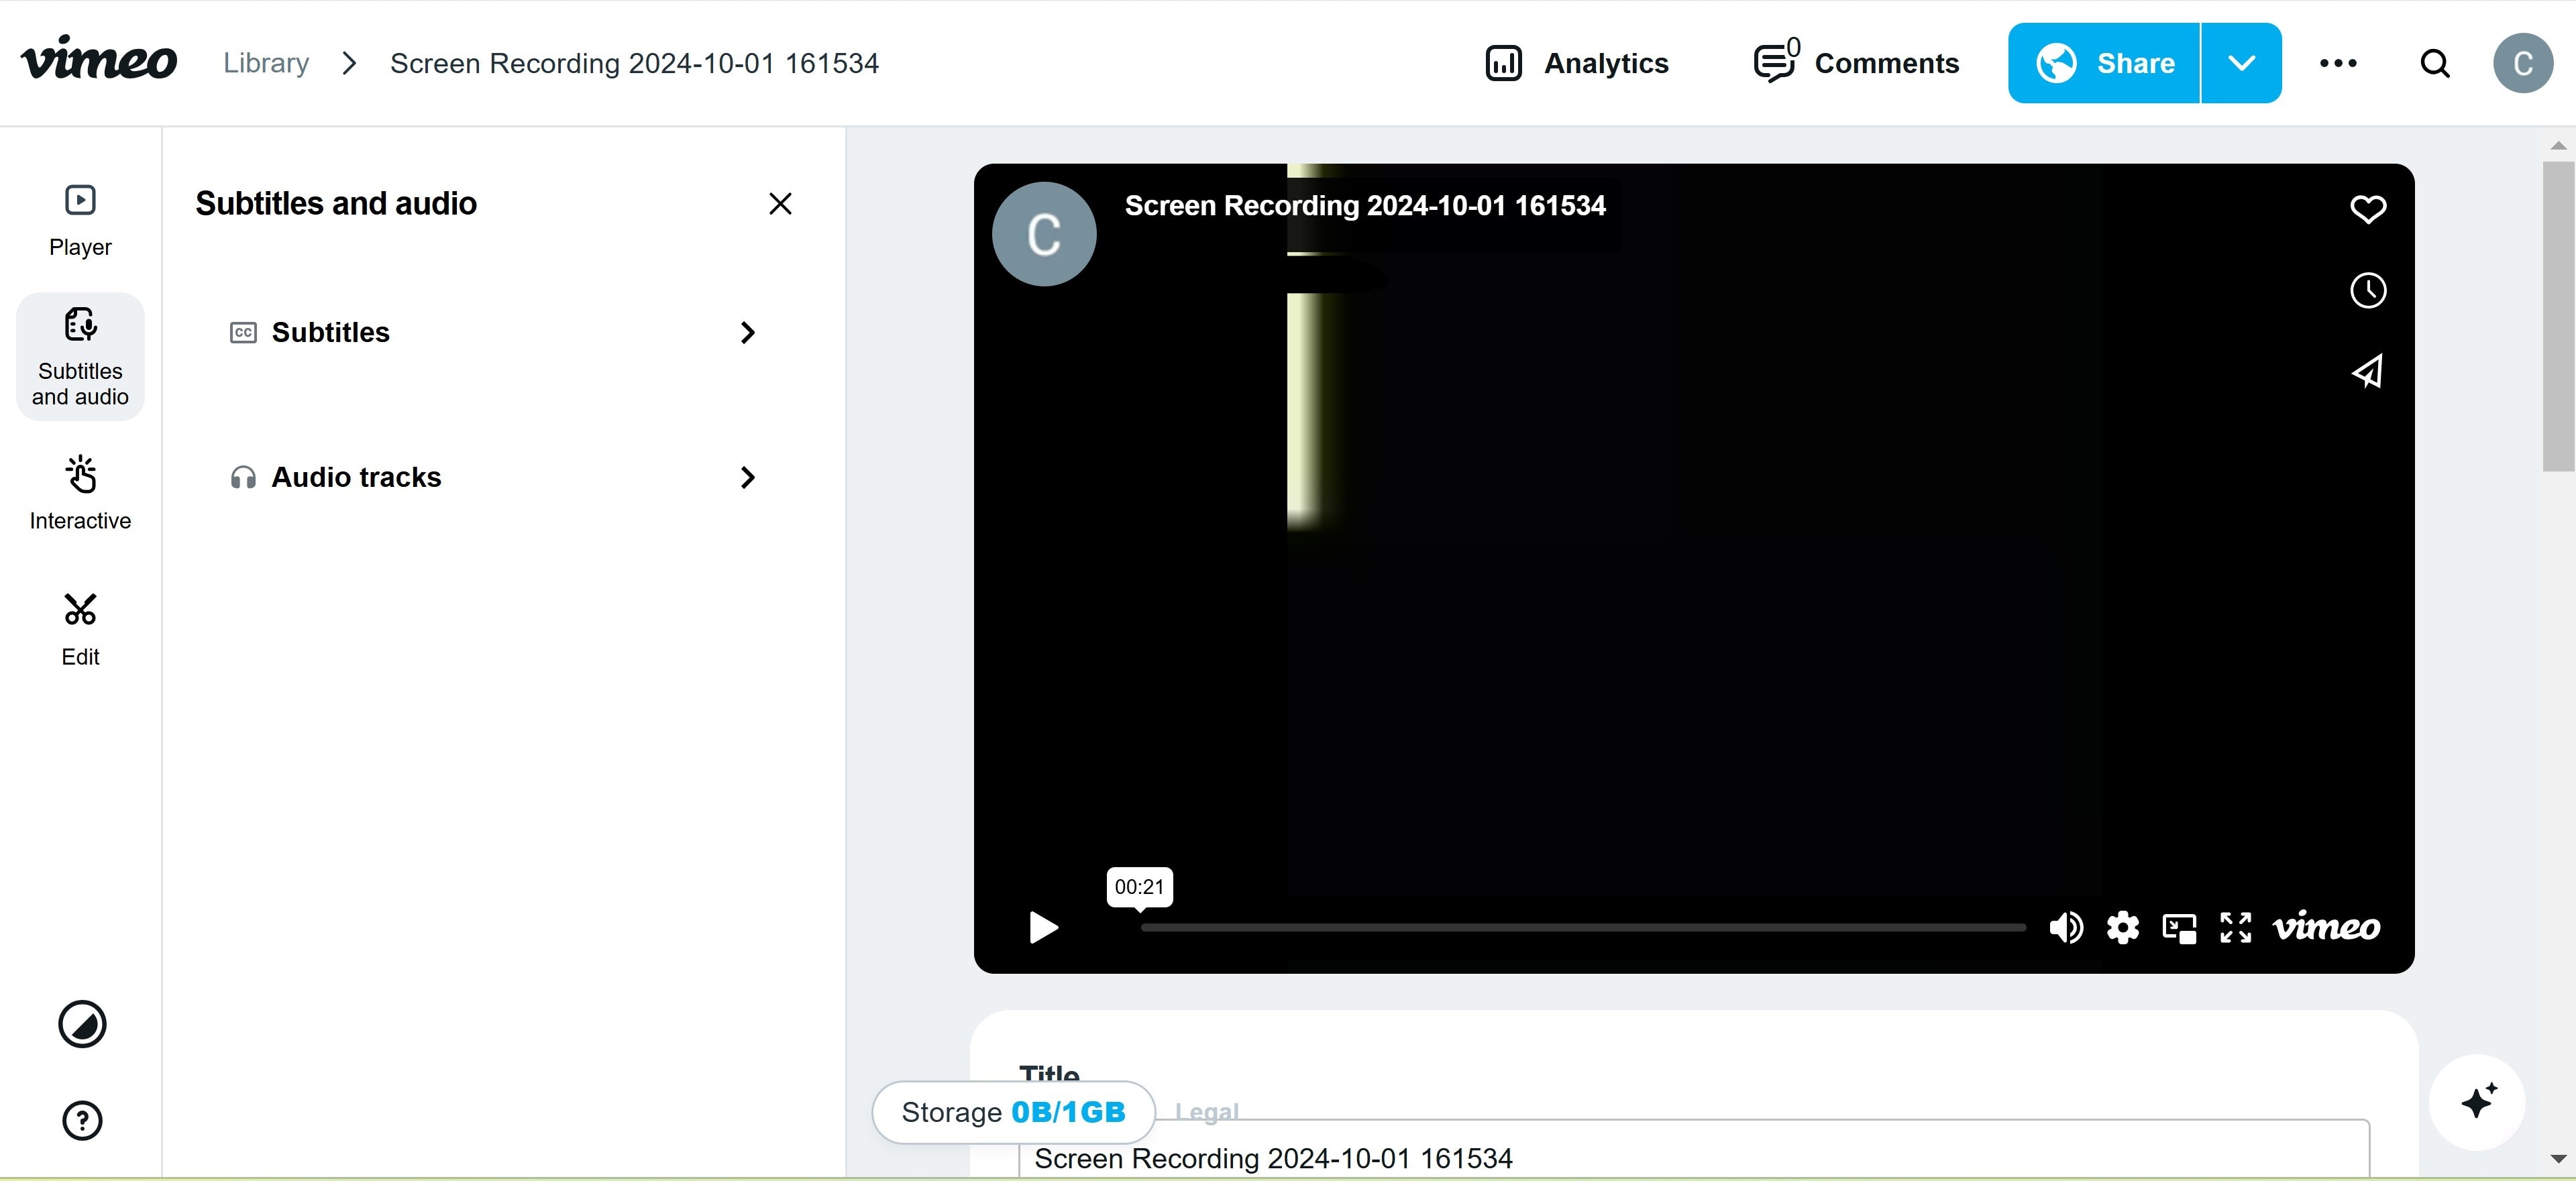
Step 3: On the next screen, select the closed captions and choose the option you prefer.
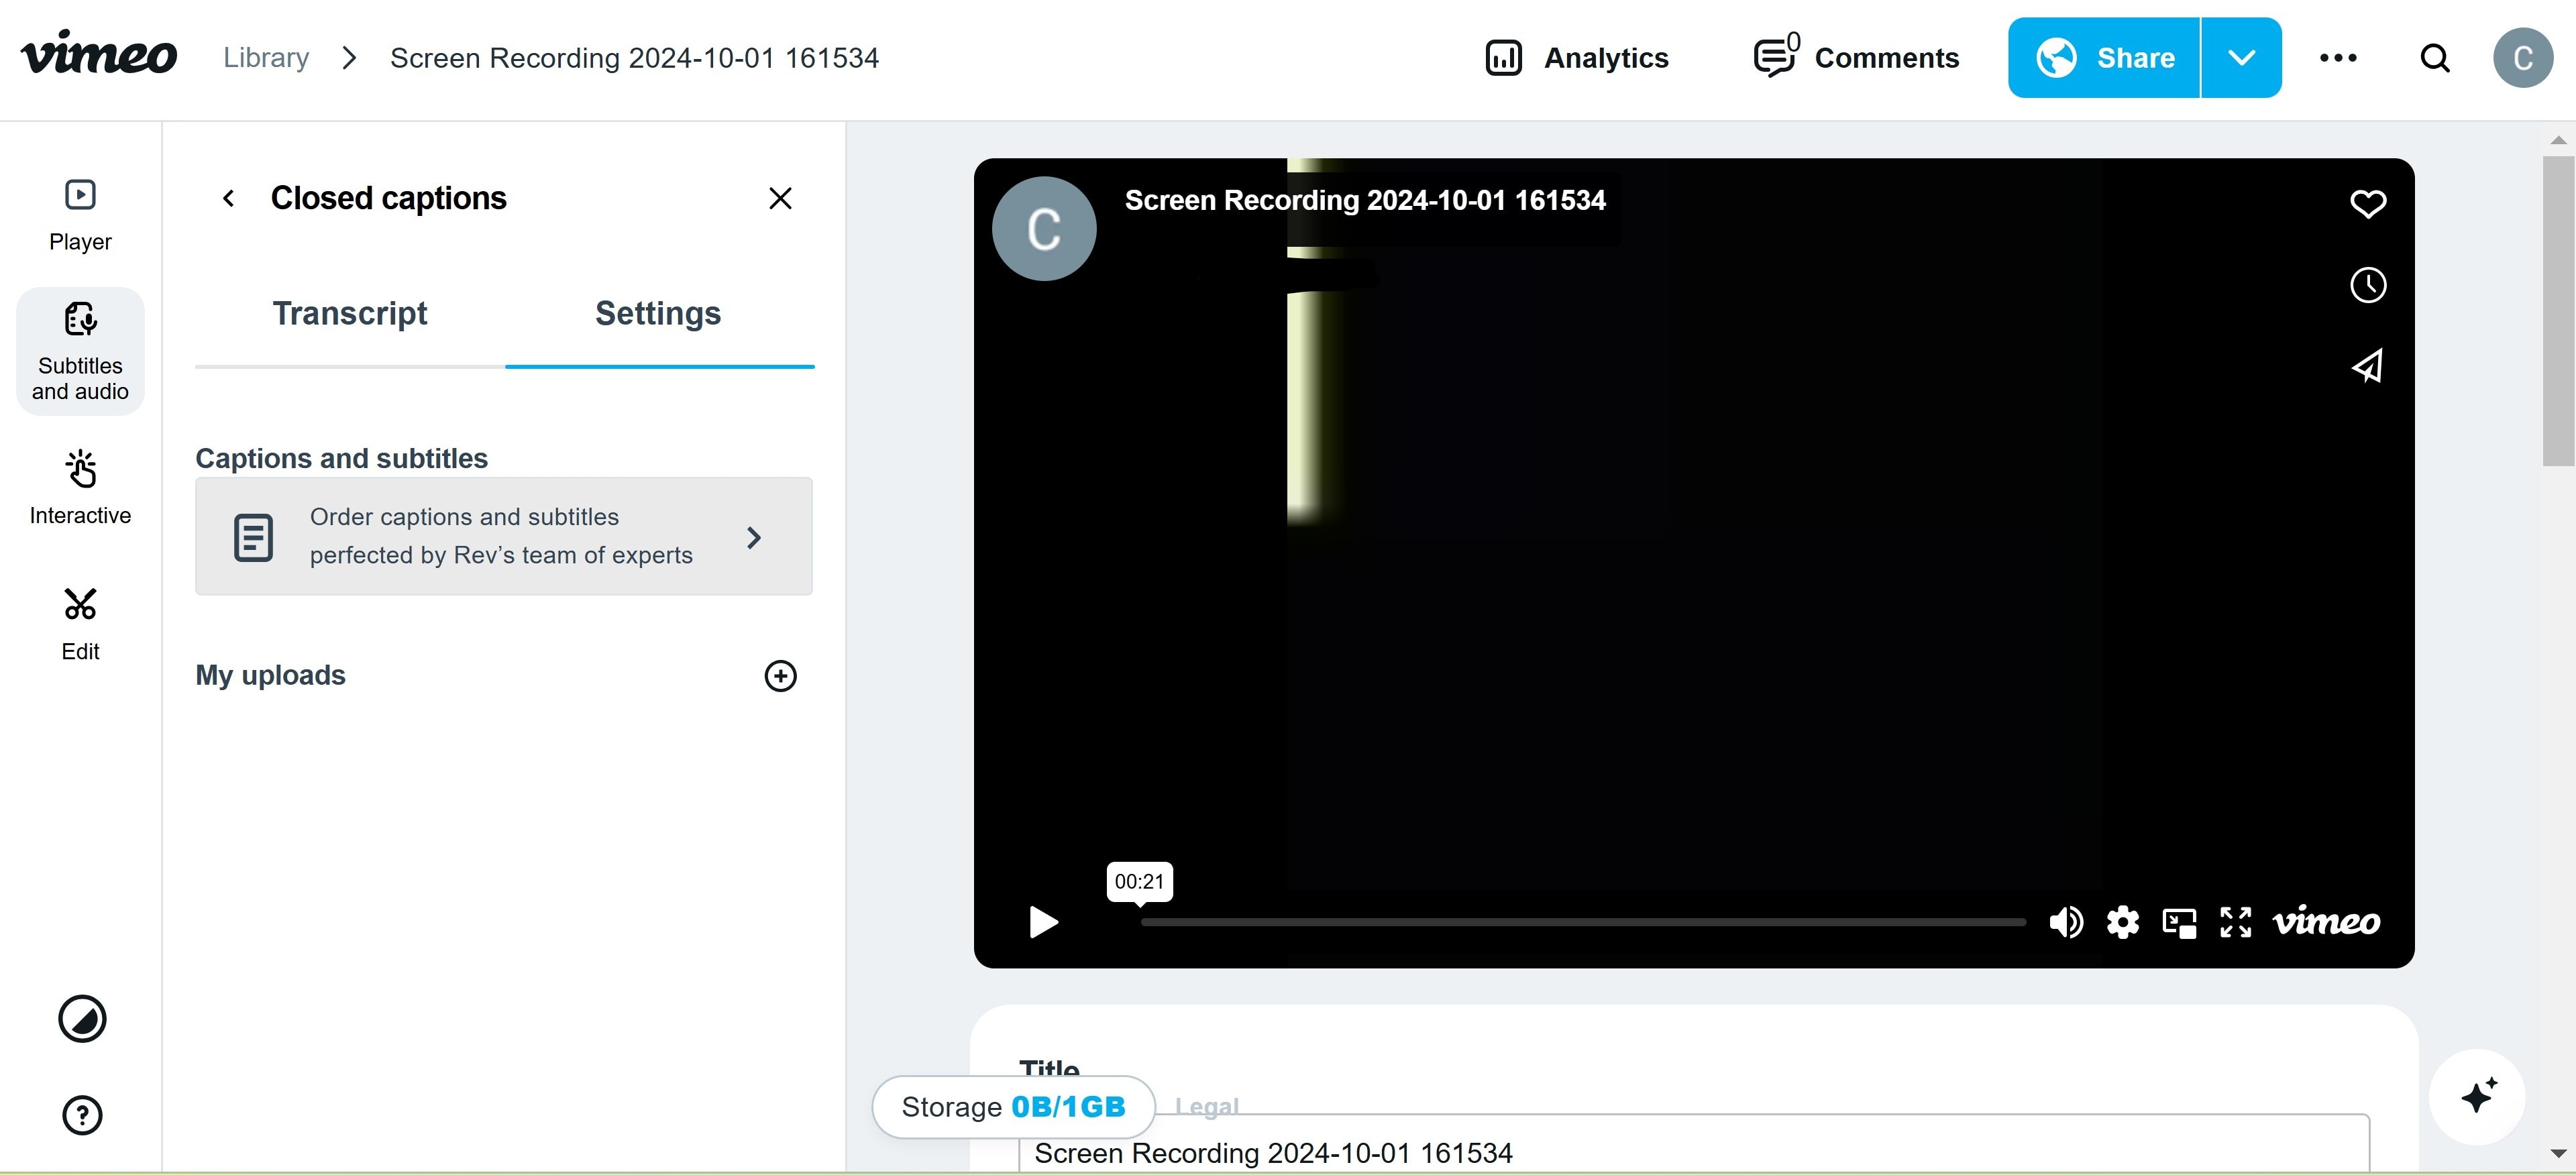
There is also an option to use the human-generated caption by the Revs team but this is not free. You have to pay an amount starting from 1.50 dollars per minute. You also have the option to upload your custom transcripts or captions by clicking on My Uploads.
Limitations of Vimeo Video Subtitling
Just like other captioning tools, Vimeo has its own share of shortcomings. These include:
- Limited file formats
- Character restrictions
- Language and style options
- No real-time editing
Despite these limitations, adding captions to Vimeo videos is still a powerful way to improve accessibility and engagement. Next, we’ll look at the specific file formats Vimeo supports and tips for compatibility.
Part 3: What Caption and Subtitle File Formats Does Vimeo Support?
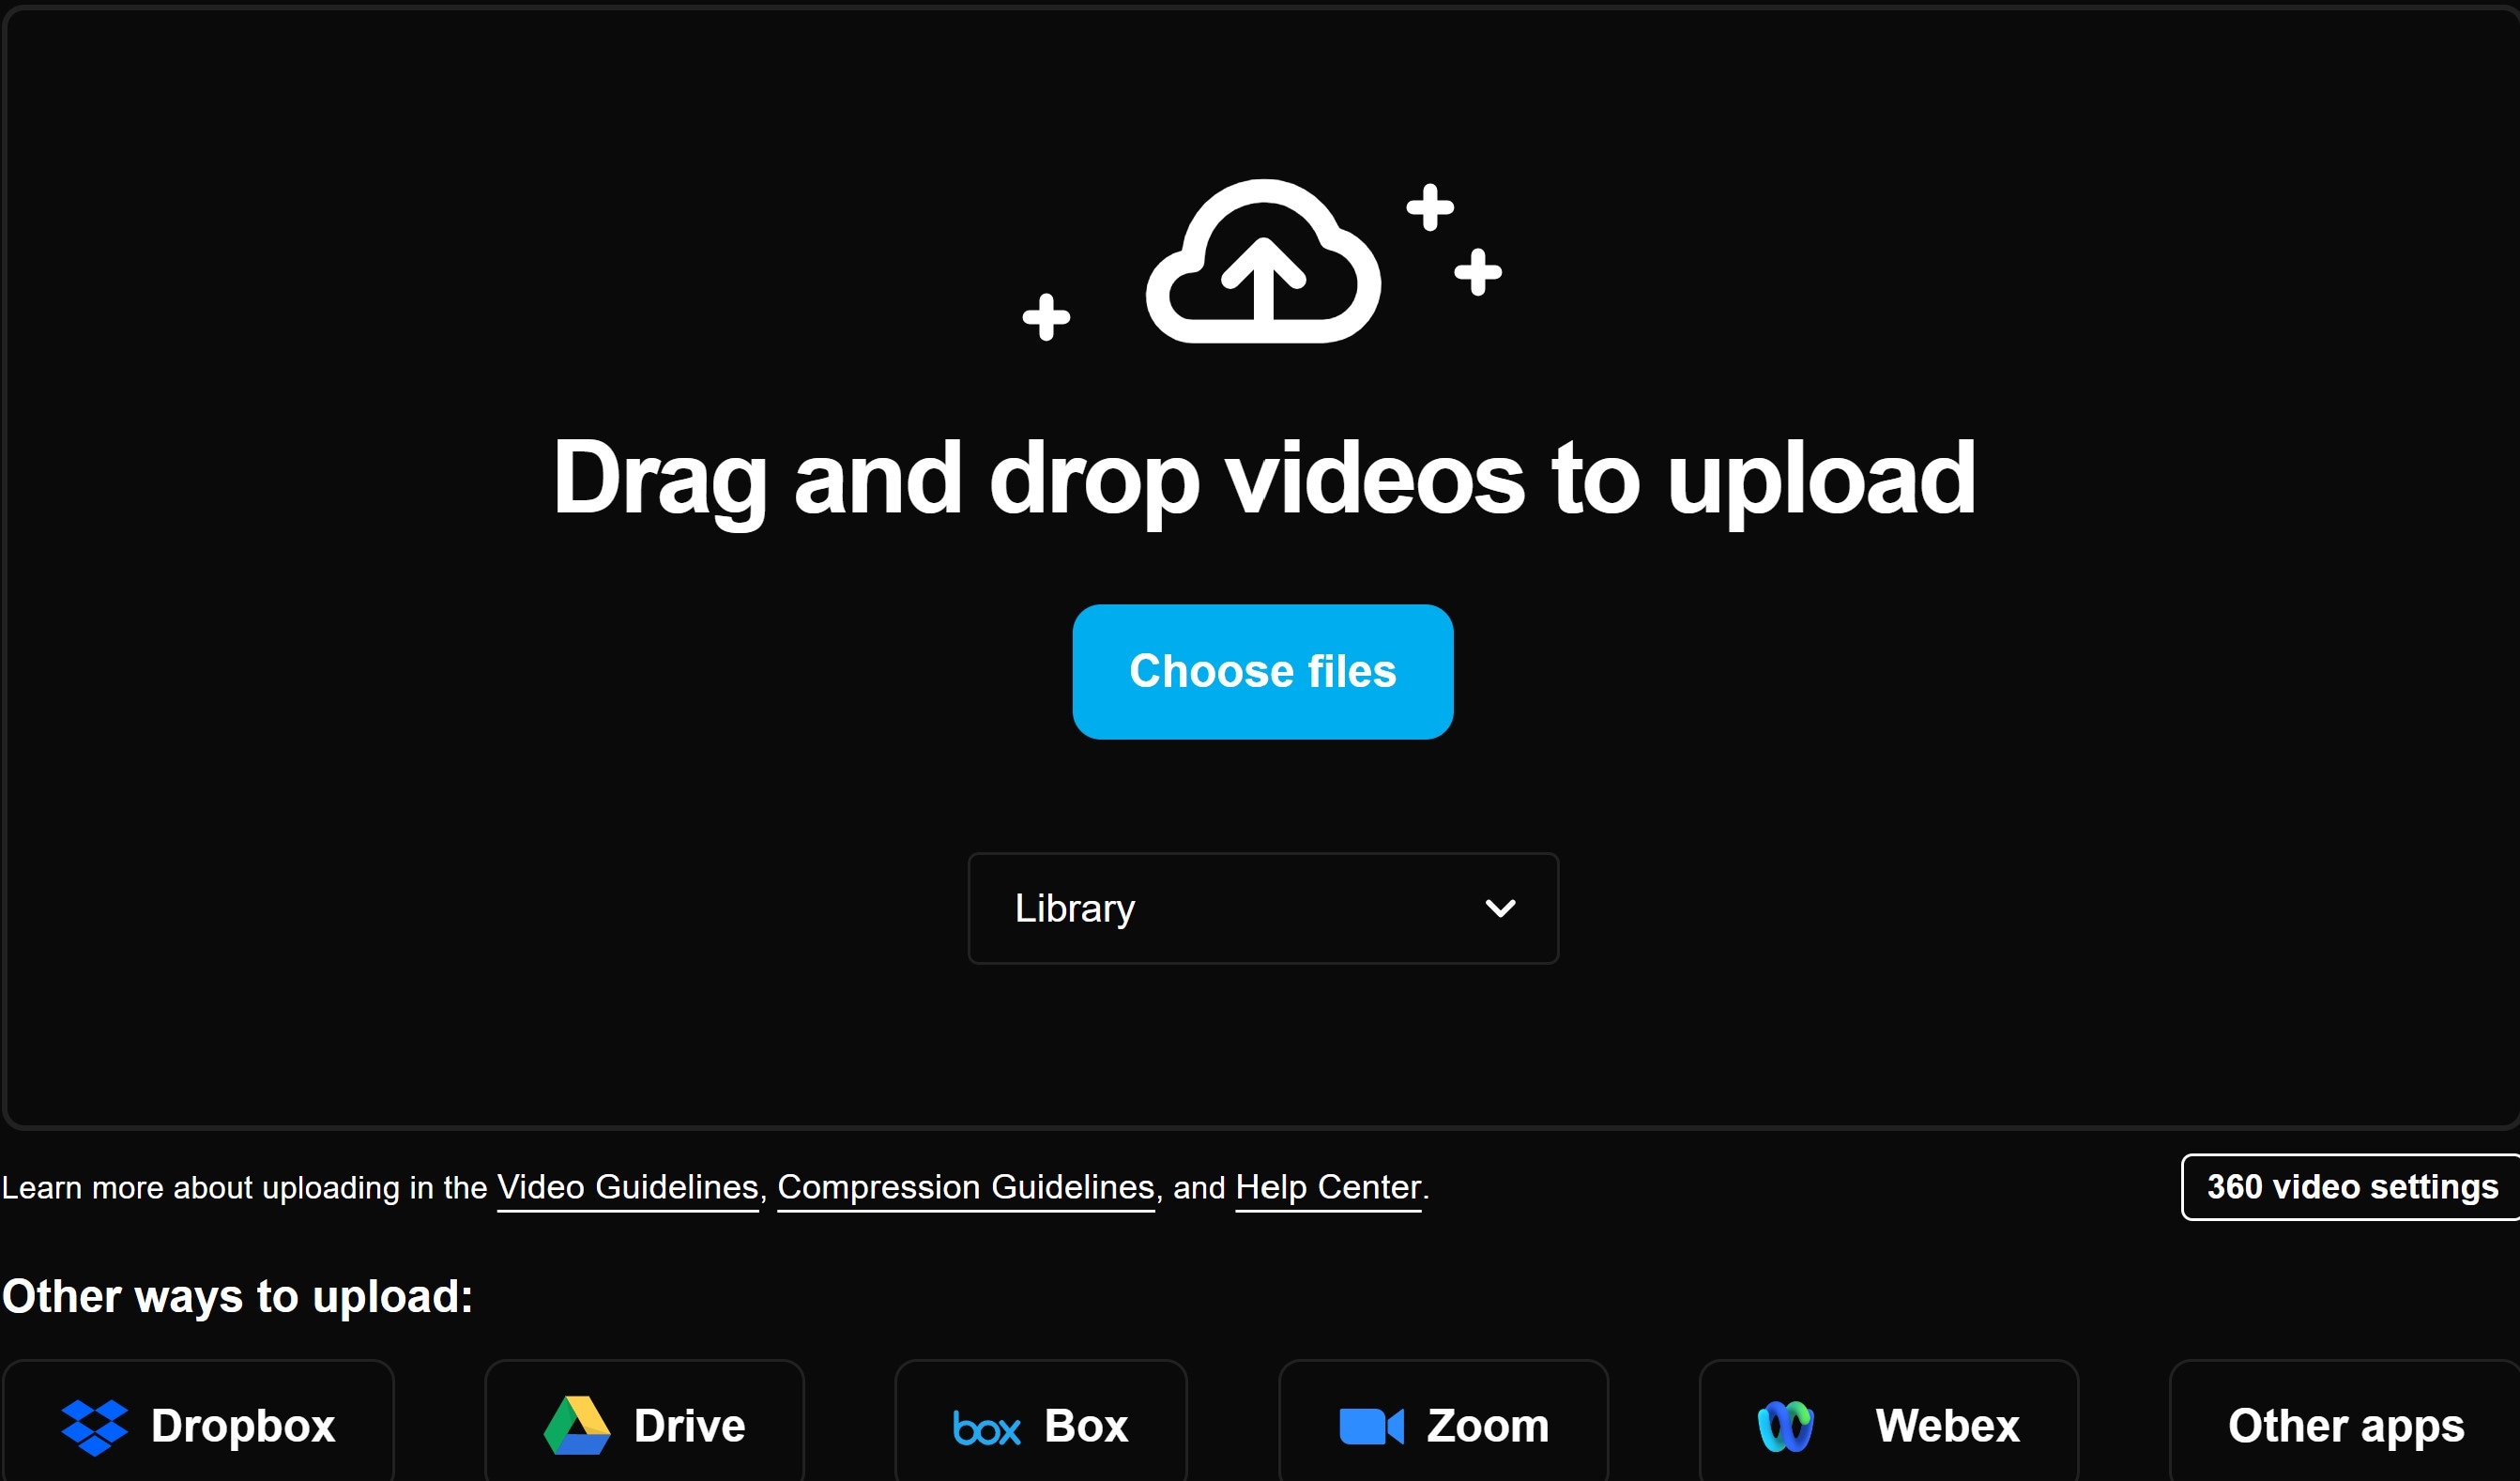
When adding captions to Vimeo videos manually, it’s essential to use the correct file format to ensure your captions display smoothly. Vimeo supports “.srt” and “.vtt” files but may not recognize other file types, although there are claims that it supports SCC, DFFXP, and SMI. The supported file formats are widely used for captions and subtitles, as they are compatible with most media players and contain essential timing and language information.
- SRT Files (SubRip Subtitle Format): “.srt” is one of the simplest and most popular formats for adding captions. Each caption segment in a “.srt” file contains a number, timecode, and text, making it easy for platforms like Vimeo to display the text in sync with video content.
- VTT Files (Web Video Text Tracks): “.vtt,” or web video text tracks, is another common format Vimeo supports. It offers more flexibility than “.srt,” including support for styling options such as bold or italicized text.
Converting Files to .srt or .vtt
When using Vimeo to add captions, it’s a good idea to convert your files to “.srt” or “.vtt” formats before uploading. Here’s how:
- Use a Conversion Tool: Online tools like Subtitle Edit and Aegisub can convert files to “.srt” or “.vtt.”
- Check Timing and Sync: After converting, review the timing of each caption to ensure it aligns with your video content.
- Save with the Correct Extension: Ensure you save the file with the “.srt” or “.vtt” extension so Vimeo recognizes it as a caption file.
Common Issues With Uploading or Playing Caption and Subtitle Files
Sometimes, you may encounter issues when uploading or displaying captions on Vimeo. Here are a few common problems and how to solve them:
- File Formatting Errors: If Vimeo doesn’t recognize the file, check that it’s saved with a “.srt or .vtt” extension. Reformat the file if needed to correct any formatting issues.
- Sync Issues: Captions may appear too early or too late if the timing is incorrect. Adjust the timecodes in the caption file or use an editing tool to ensure each caption syncs with the dialogue.
- Language Tag Errors: Ensure each language is tagged correctly in your caption file. Incorrect tags can prevent the file from displaying properly on Vimeo.
By using “.srt” or “.vtt” files and following these tips, you can prevent common errors and ensure captions display smoothly on Vimeo. In the next section, we’ll look at other tools that make adding subtitles as easy as Vimeo, with some added features.
Part 4: What Other Tool Simplifies Adding Subtitles Like Vimeo?
While you can use Vimeo to add subtitles to your videos, there are additional tools that simplify the process and provide extra customization options. So, if you’re looking for added features like advanced editing, more file format support, or customization, tools like Wondershare Filmora, Kapwing, etc. can complement Vimeo’s captioning capabilities.
Here’s an overview of Filmora, one of the best Vimeo alternatives that makes adding captions and subtitles straightforward.
Filmora
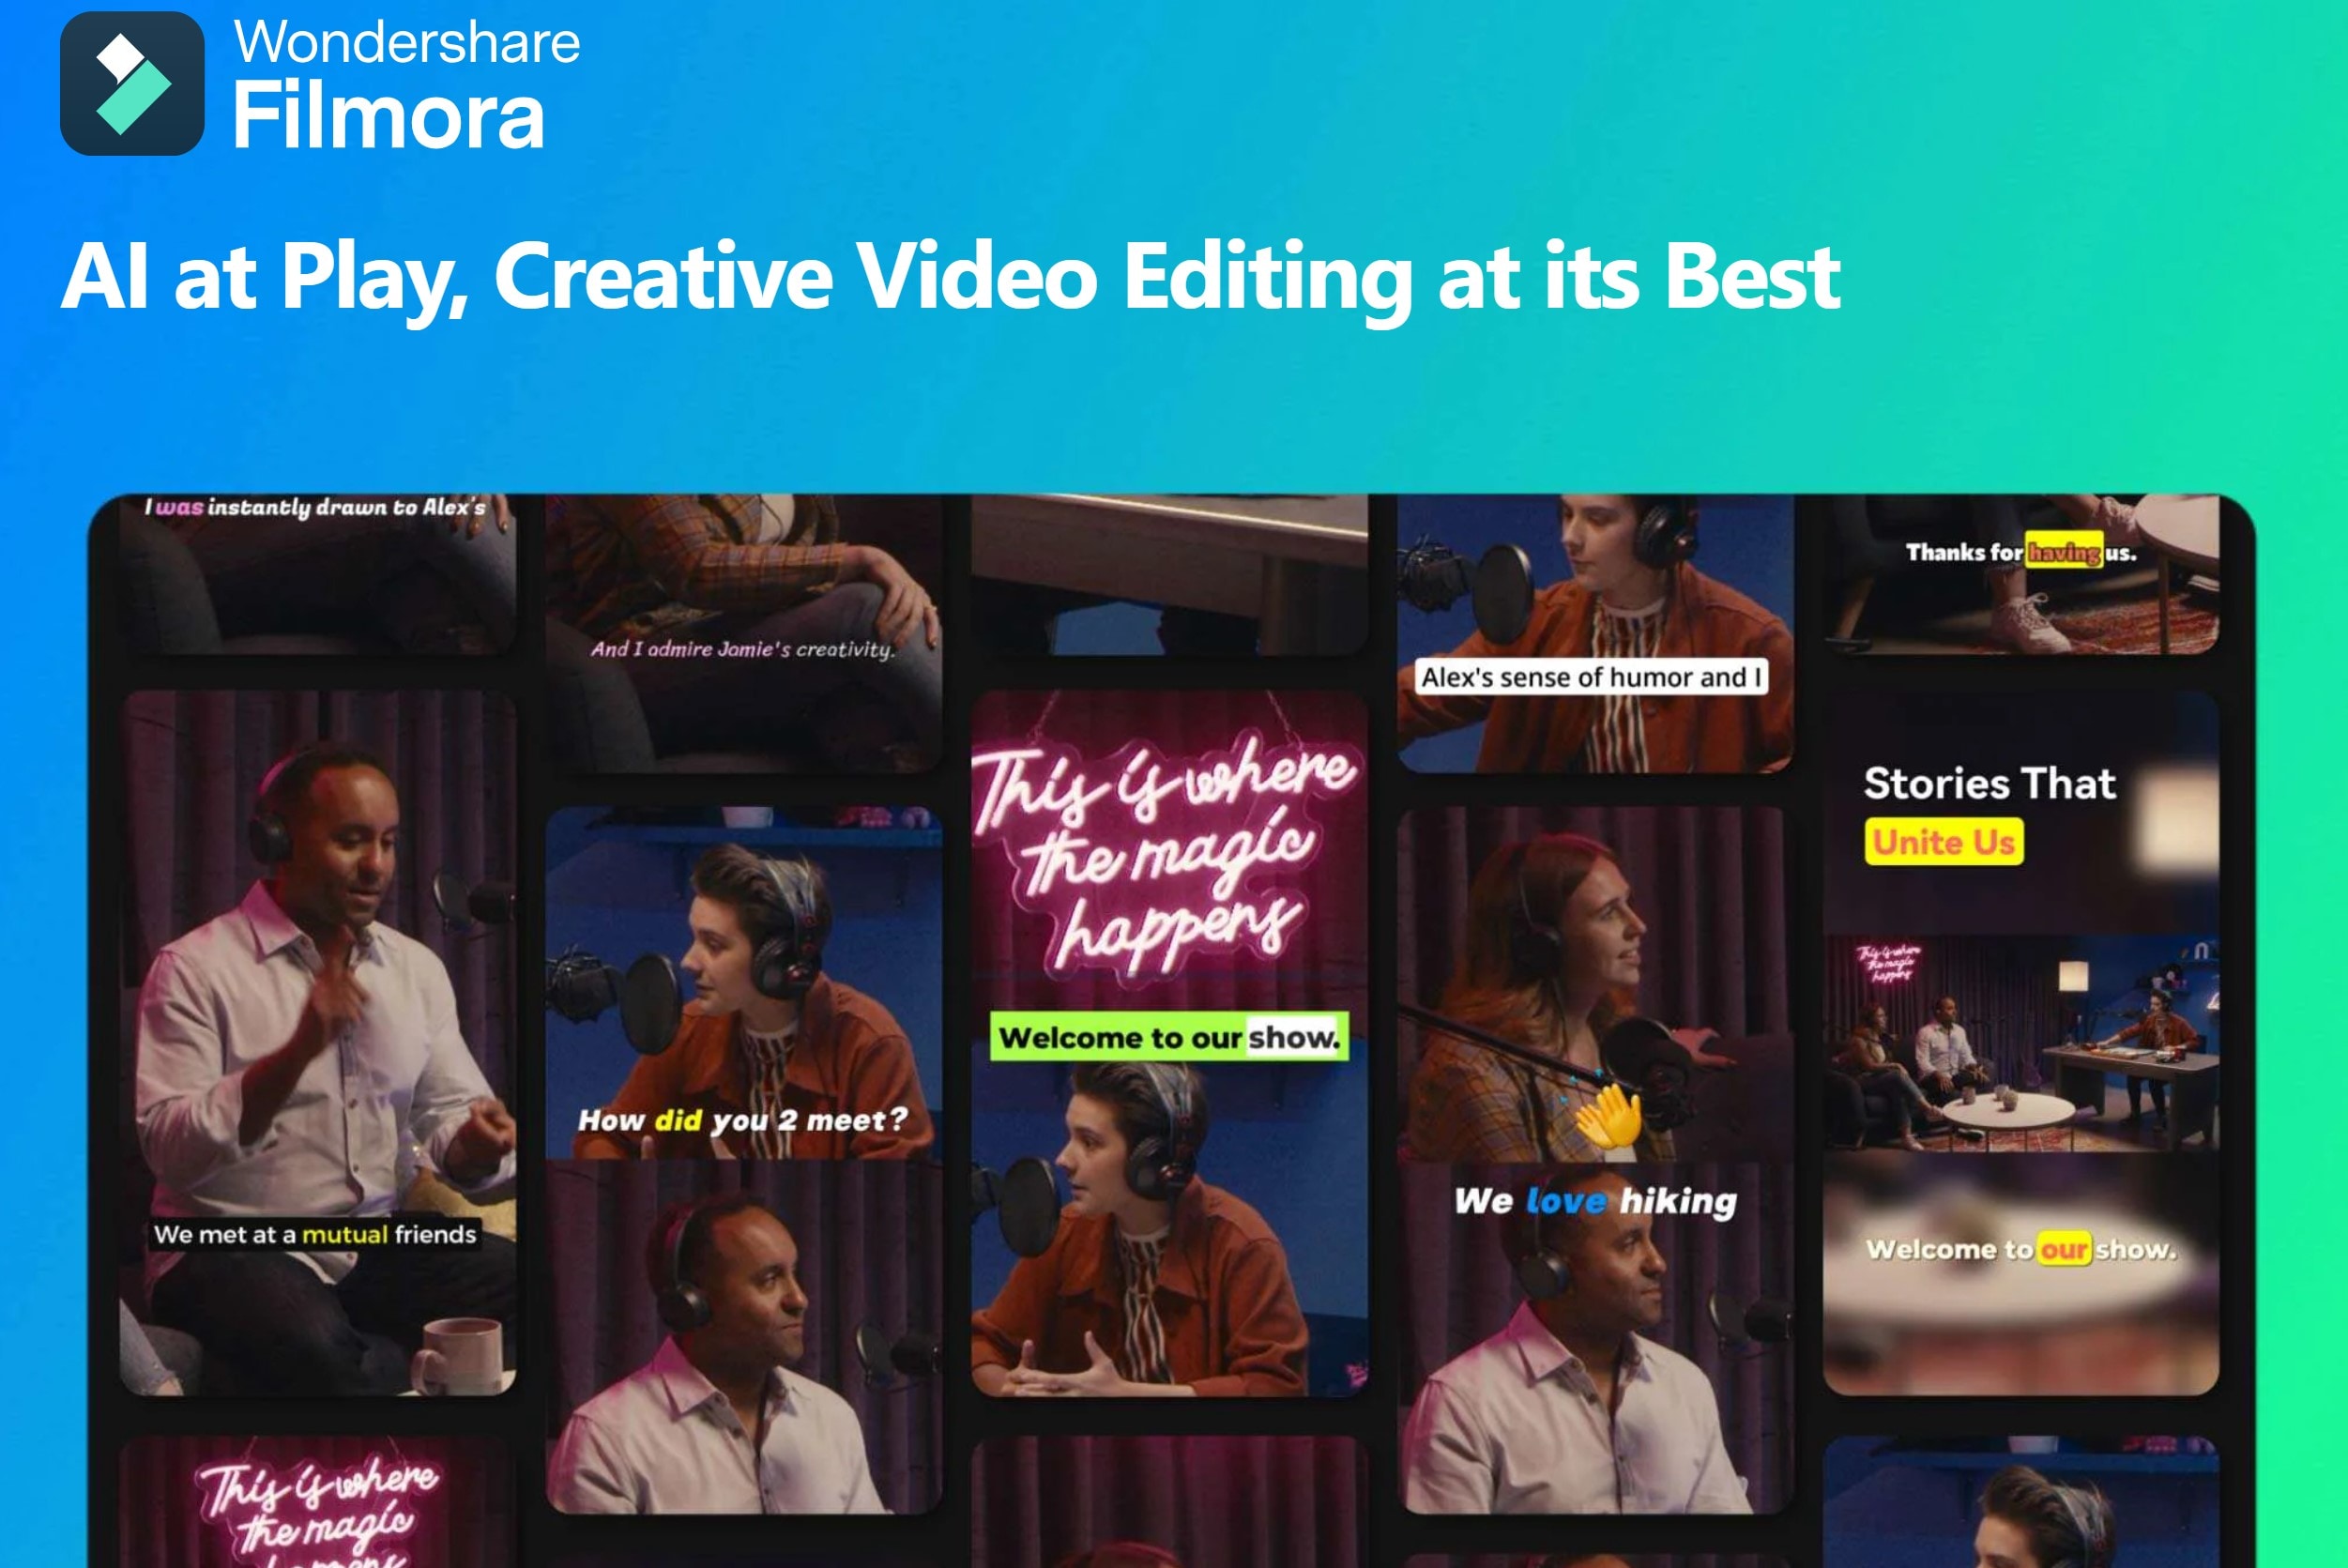
Filmora is a powerful video editor with a range of subtitle options that go beyond Vimeo’s standard captioning. Unlike Vimeo, Filmora is not online-based but has an official website where you can visit to download or find information about the tool.
Filmora is available for PCs and smartphones, and you can download the ‘.exe’ (for computers) file from the website or visit Google Play or the App Store if you want the mobile device versions.
Key Features
- Support for multiple subtitle formats
- Customizable font style, color, and size
- Drag-and-drop placement of captions on the video
- Auto-captioning feature with manual editing options
- Simple timeline editor for precise caption placement
- Support multiple subtitle formats (.srt, .vtt, etc.)
- Superb video stabilization with low distortion.
- Vast video/audio effects and creative assets.
- Powerful AI for effortless content creation.
- Intuitive, professional yet beginner-friendly.
- Works on Mac, Windows, iOS, and Android.

How to Add Captions or Subtitles to Your Video in Filmora: A Step-by-Step Guide
If you’re considering Filmora for adding captions, here’s a simple guide to help you get started.
Step 1: Download, install and launch Filmora
Step 2: Import the video into Filmora’s editing panel (timeline)
vimeo-add-captions-8
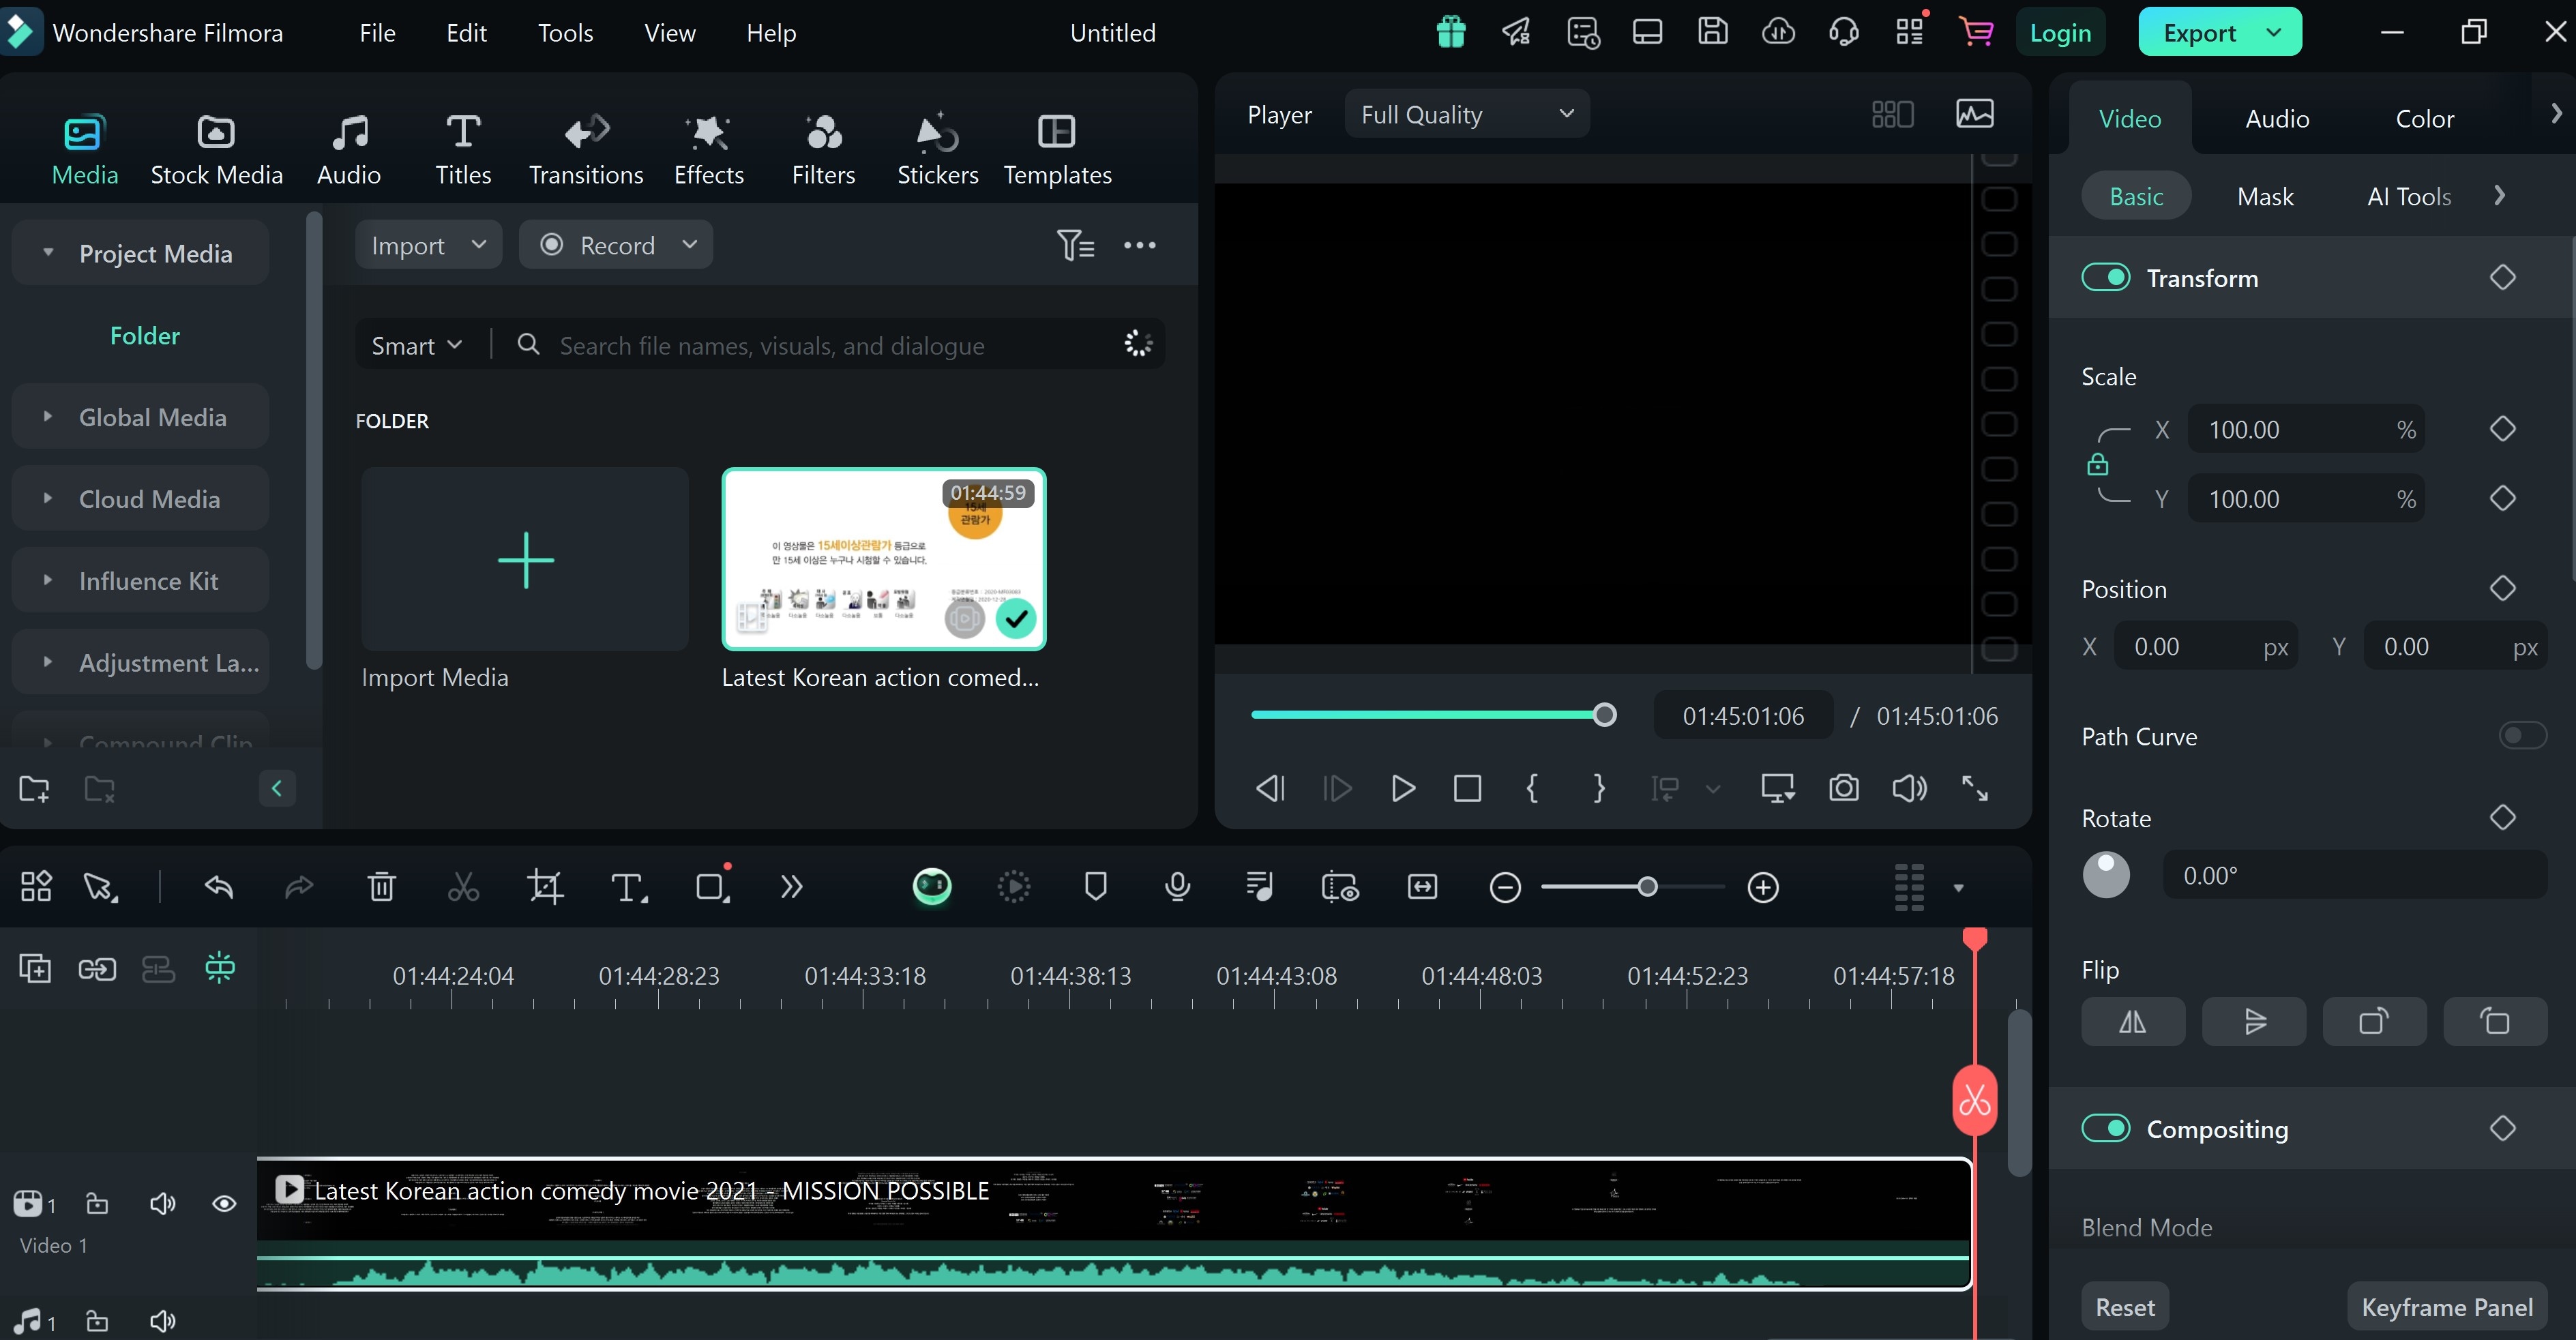
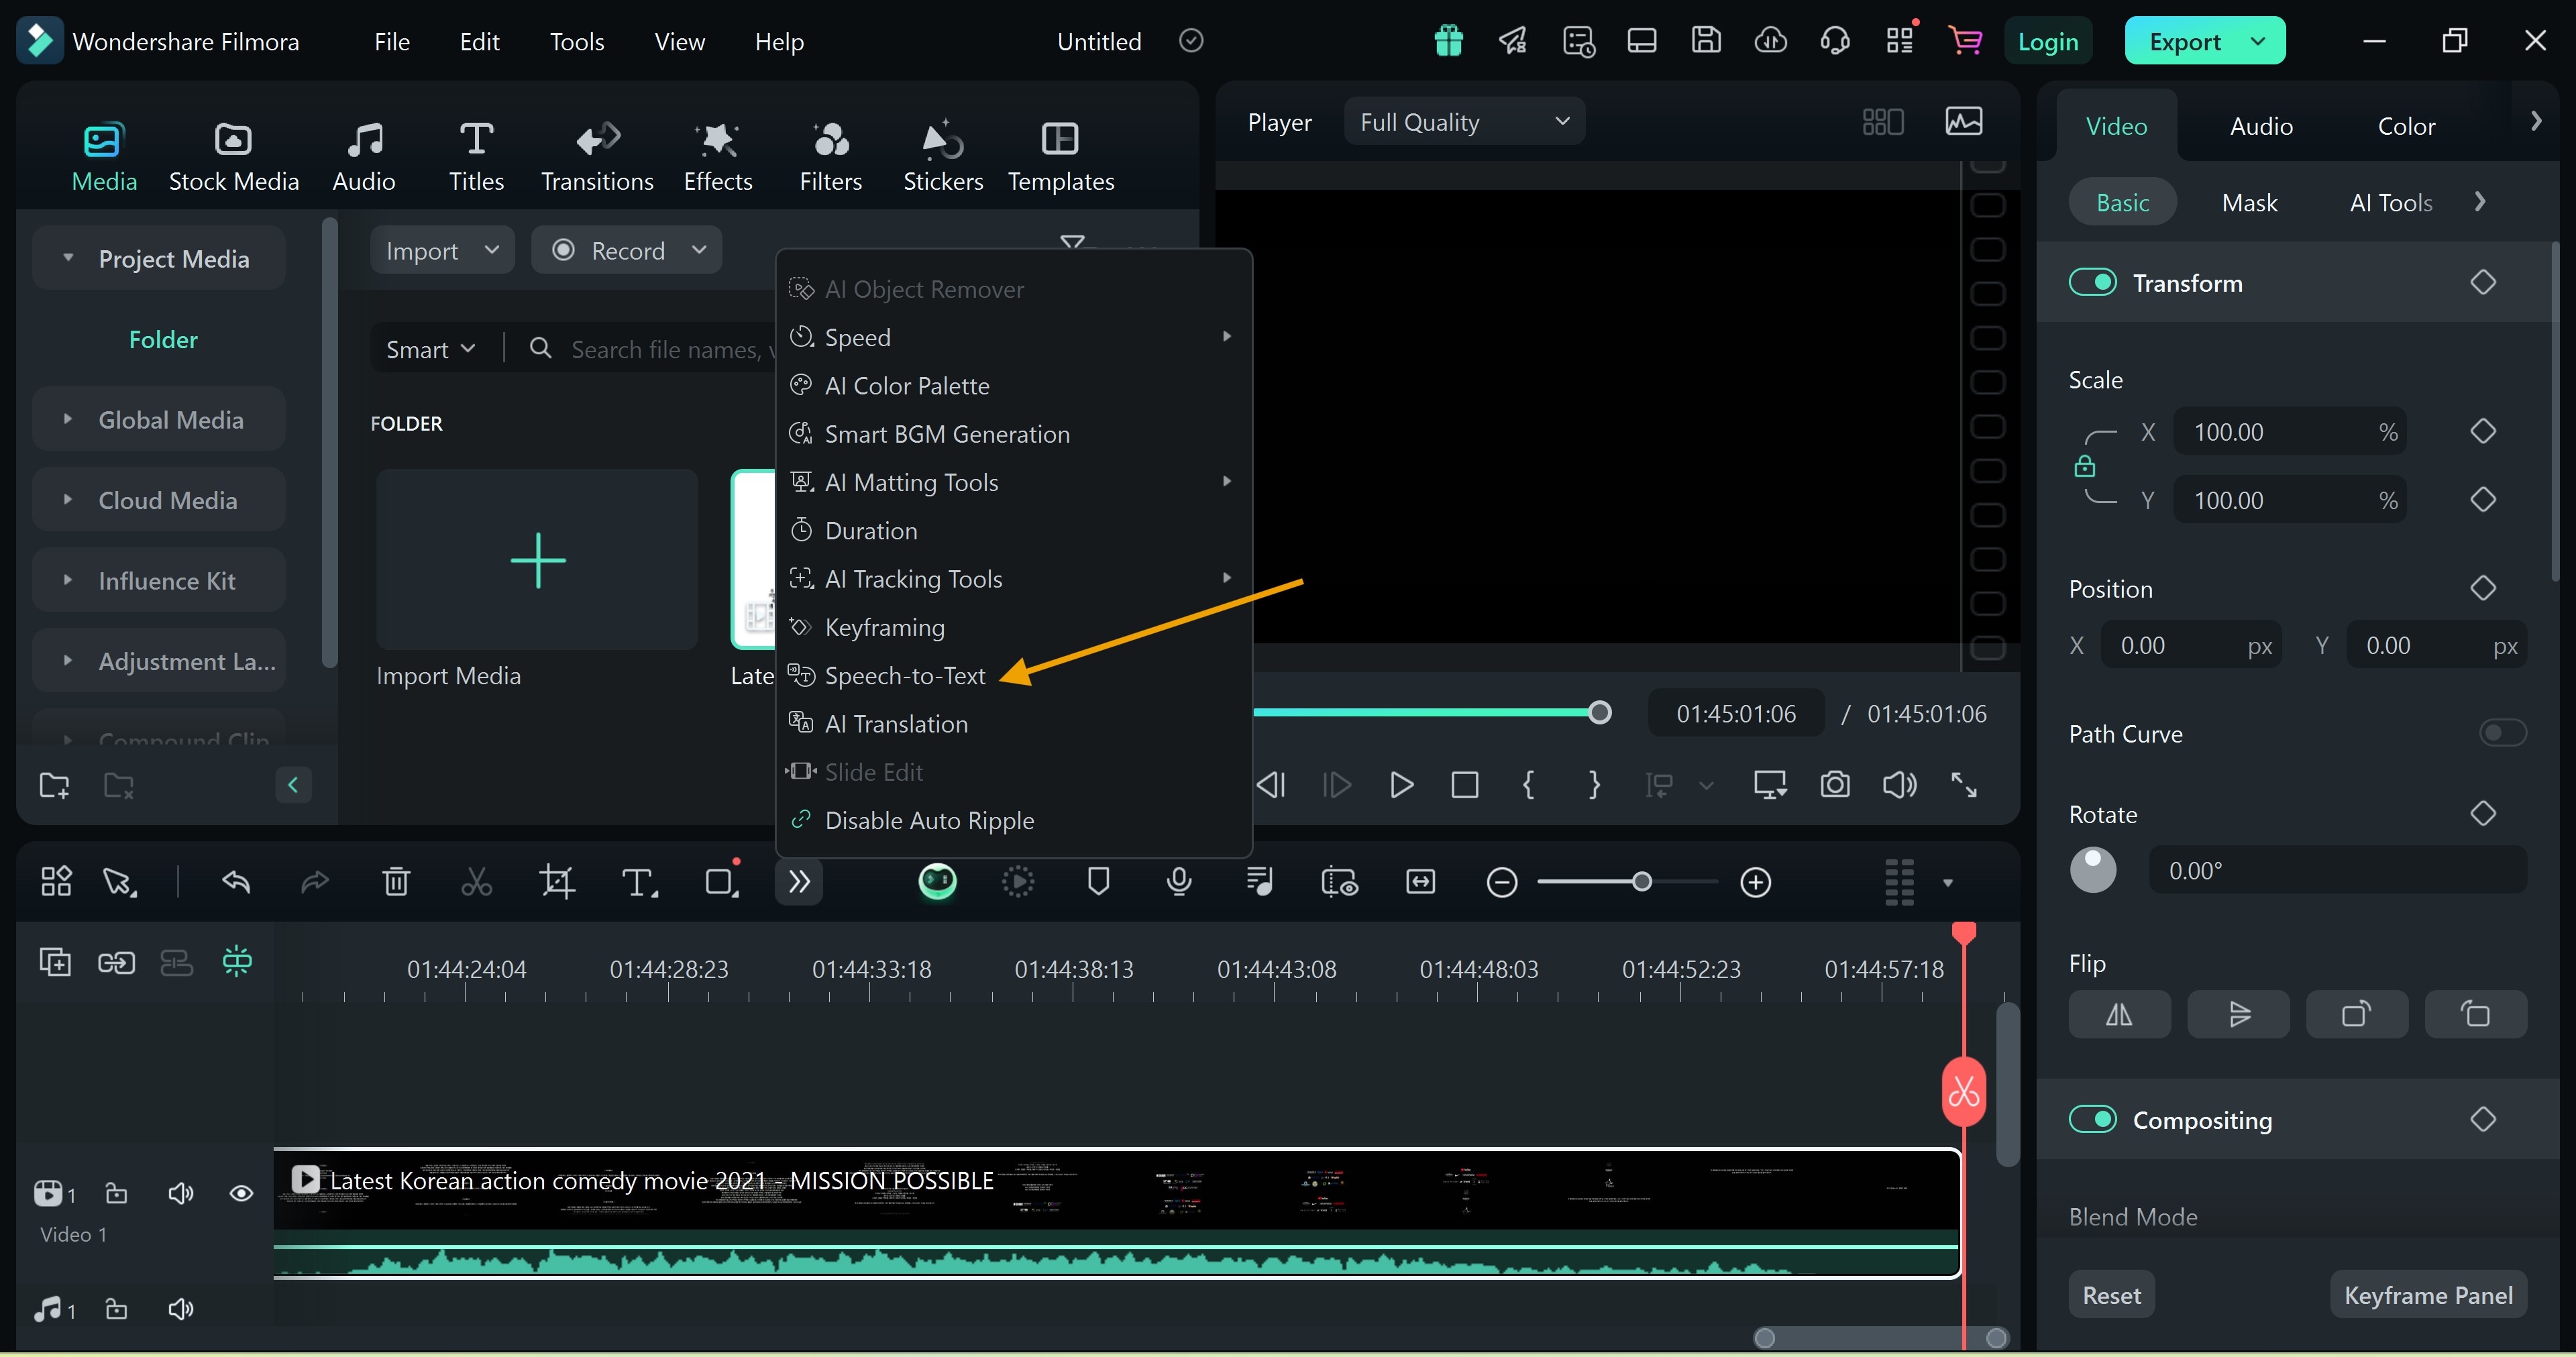
Step 3: Select the captioning feature by clicking on the Speech-to-text tool on the toolbar
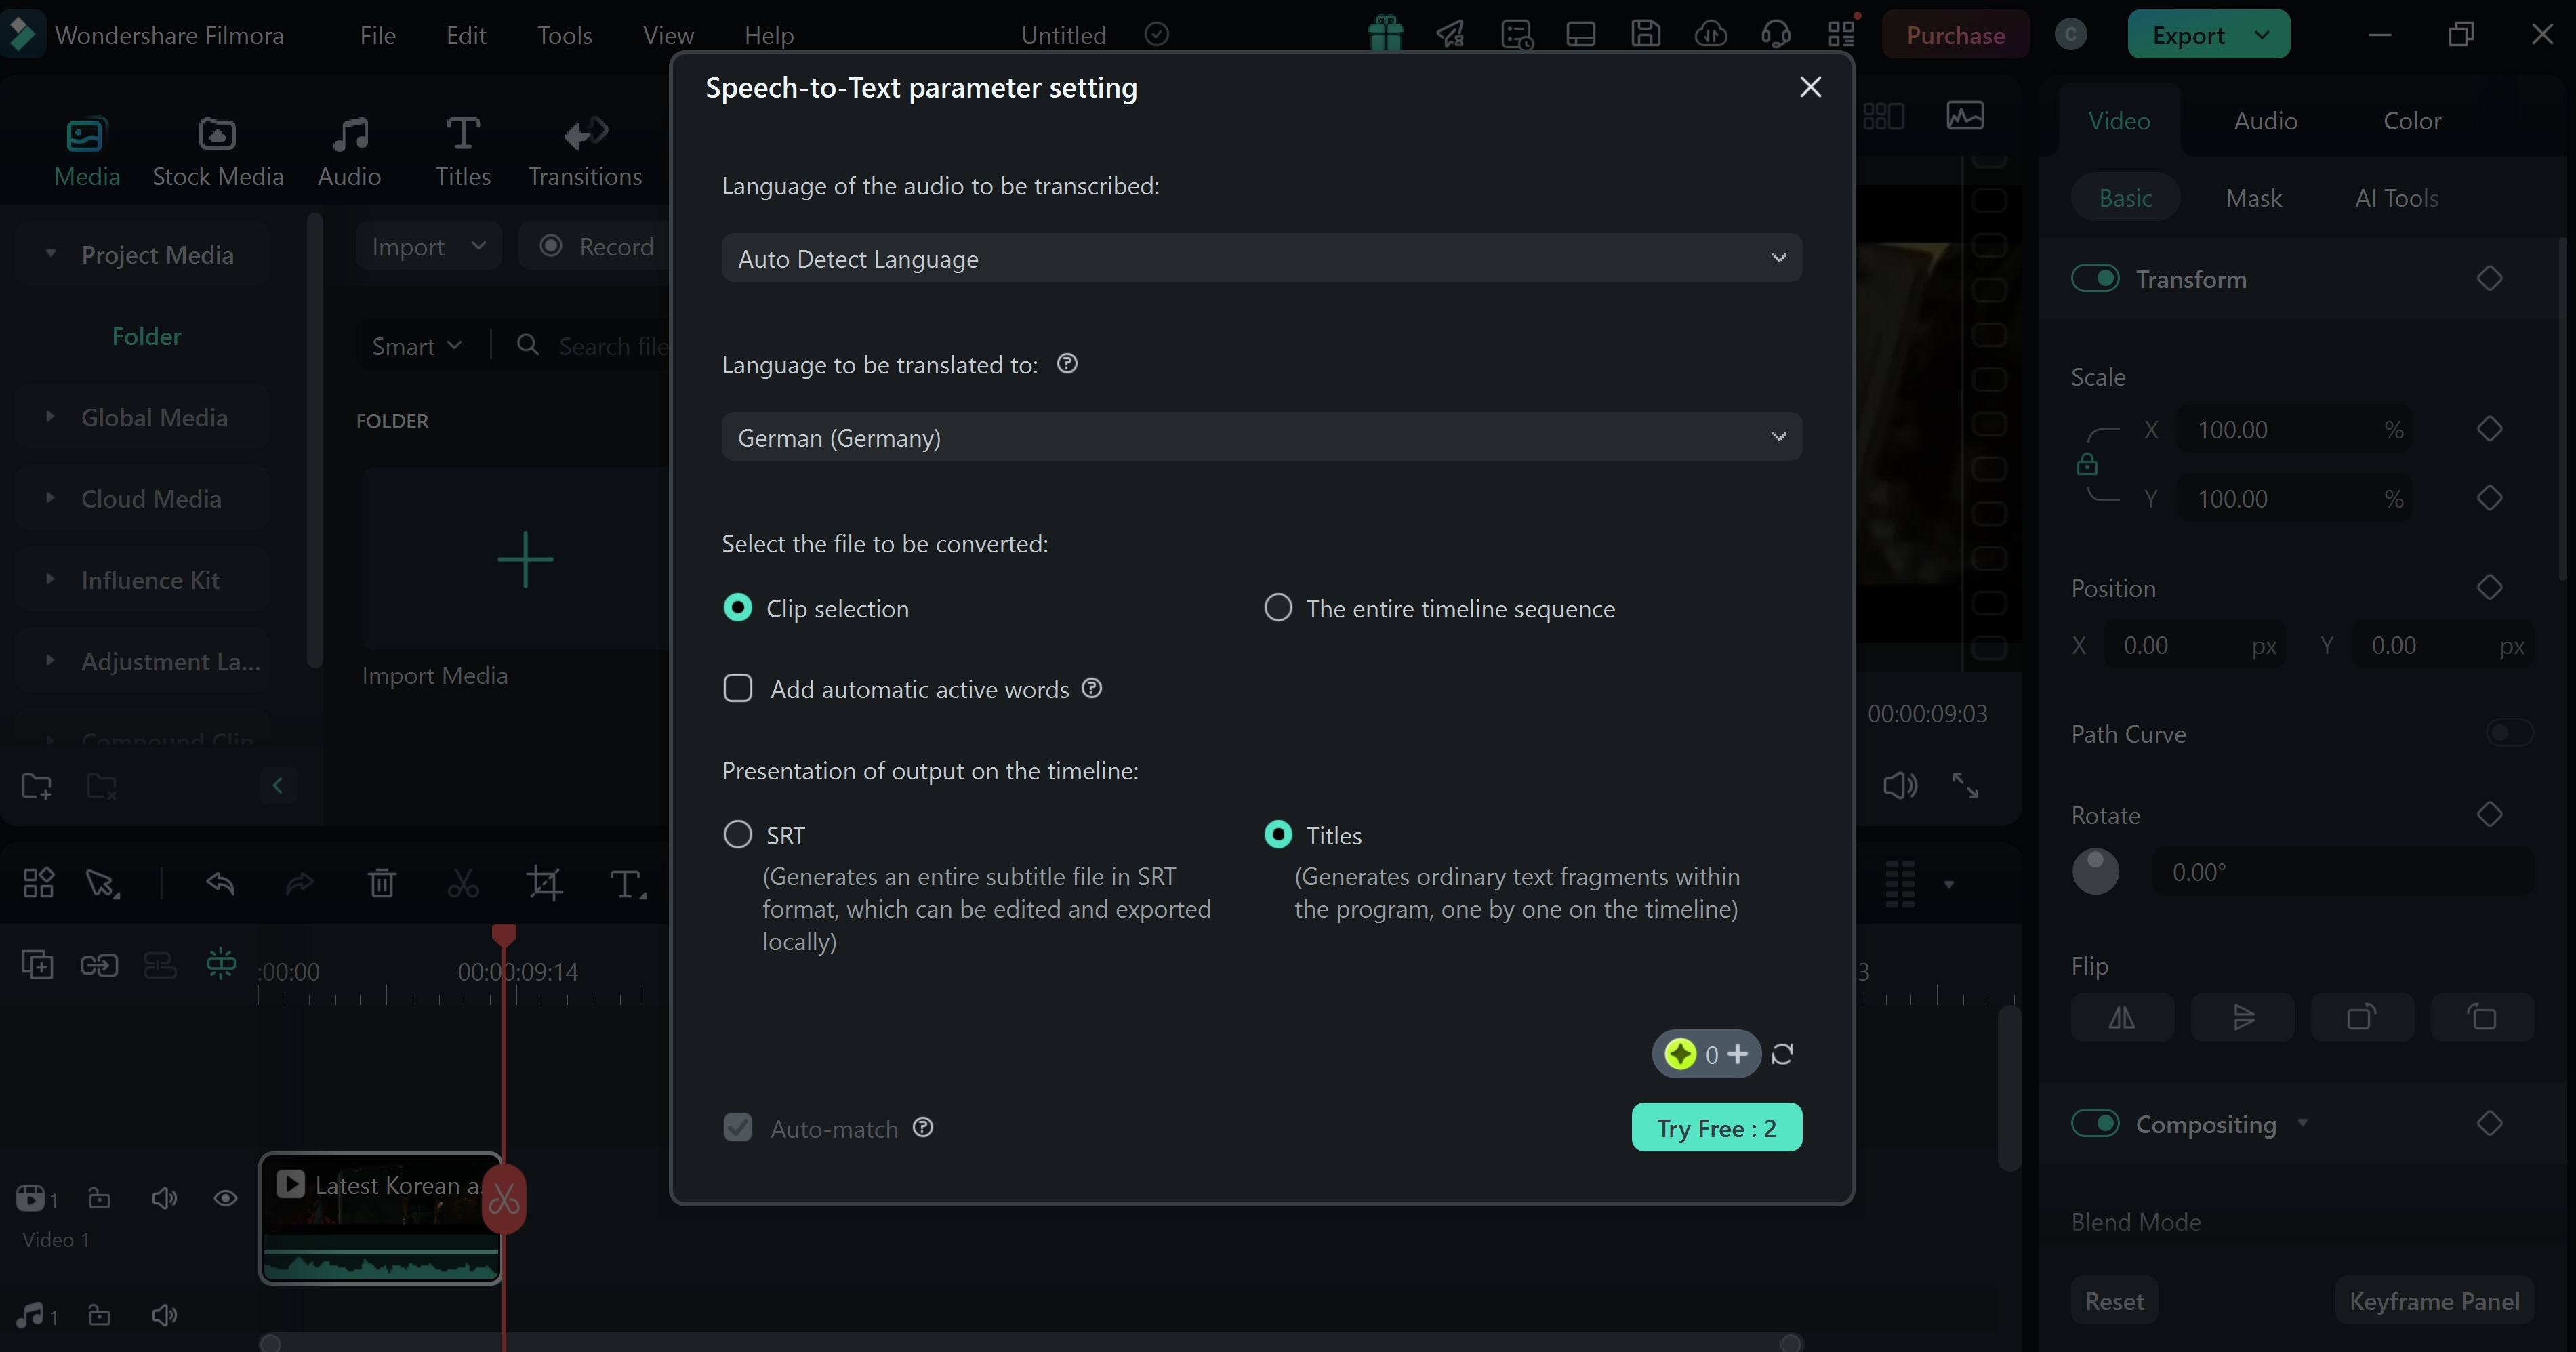
Step 4: On the new window that opens, choose your language, set the mode to clip selection, below you will see the Filmora auto caption feature
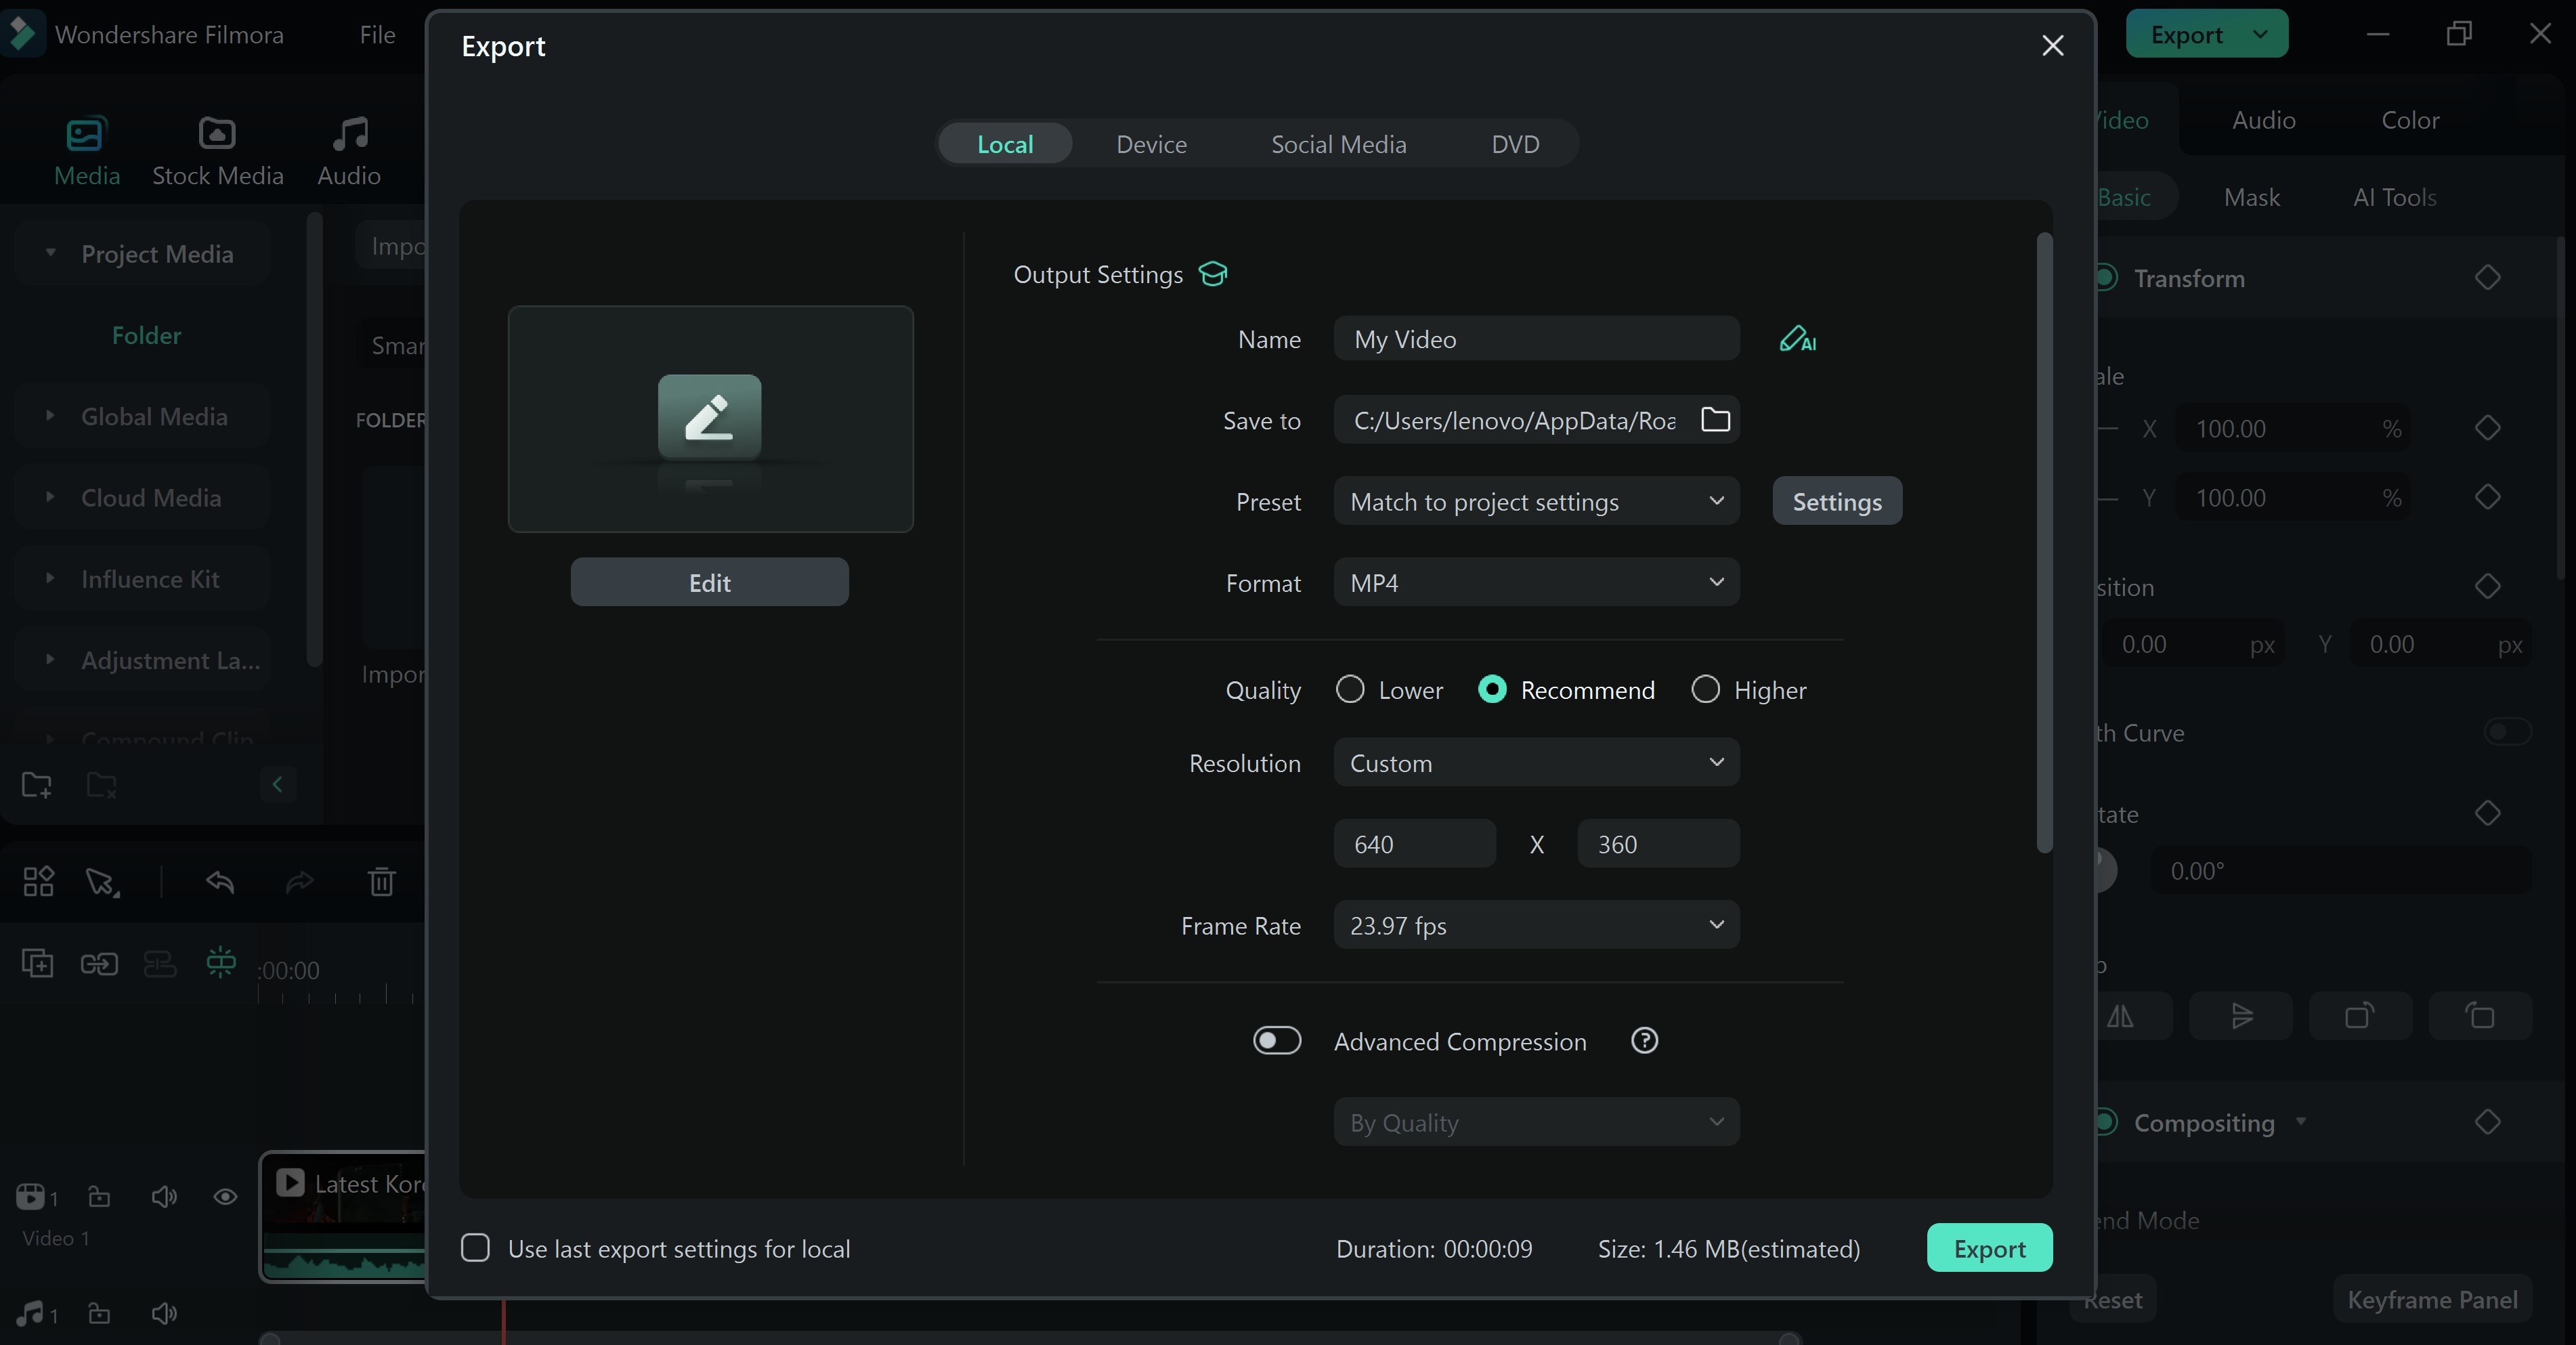
Step 5: Export video
Vimeo Limited File Formats: Can Filmora Make Up for Vimeo Shortcoming?
Filmora makes up for these limitations by supporting a broader range of formats and offering detailed style adjustments. These include:
- .SRT (SubRip Subtitle)
- .SUB (MicroDVD)
- .LRC (Lyric File)
- .VTT (Web Video Text Tracks)
- .STI ( Spruce Subtitle Format)
In short, Filmora gives you full control over caption style and placement, which Vimeo’s built-in tool cannot match. For creators looking to elevate their video captions, Filmora serves as a valuable companion tool.
Conclusion
Adding captions to Vimeo videos is a powerful technique to enhance accessibility, boost viewer engagement, and expand your reach. Whether you’re using Vimeo’s built-in tools or Filmora, adding captions makes your content accessible to a wider audience, including people with hearing impairments and non-native speakers.
Don’t wait—start adding captions to your videos today to improve accessibility, engagement, and discoverability! Now, it's time to make your videos more inclusive by integrating captions.
We’ve covered the importance of captions, how to add them to your videos, and the benefits of using tools like Filmora for enhanced flexibility.


