
 100% Security Verified | No Subscription Required | No Malware


 ChatGPT
 Perplexity
 Gemini
 Claude
 Grok
Grok
Managing multiple project timelines can quickly get chaotic, from syncing audio to trimming each clip just right. Luckily, Filmora is one of those reliable editors that just keeps getting better with every update.
And now, with its new dual-timeline editing setup, you can finally organize, edit, and control your footage more efficiently. That’s right, multiple timeline editing in Filmora lets you separate your edits, whether it’s your main video, alternate version, or social media cut, without losing track of your project.
So, let’s dive in and see how this feature changes the way you edit for good.
In this article
- Part 1. Why Creators Love Using Multiple Timelines
- Part 2. How to Use Filmora’s Dual-Timeline Editing
- Part 3. When to Use Dual-Timeline Editing in Filmora
- Part 4. Pro Tips for Smooth Dual-Timeline Editing
- Conclusion
- FAQs About Dual-Timeline Editing
Part 1. Why Creators Love Using Multiple Timelines
- Stay Focused On The Story: Multiple timelines help you manage ideas, switch between edits, and keep the story structure clear.
- Keep Everything Neat And Tidy: Use individual timelines for intros, transitions, outros, and alternative versions.
- Trim With Precision: Fine-tune details without disturbing the main arrangement.
- Switch Ideas Without Losing Progress: Test new cuts in separate timelines without overwriting the main timeline.
- Collaborate Easier With Others: Separate timelines let teammates handle different parts (audio, visuals, pacing) simultaneously.
How Other Editors Handle Multiple Timelines
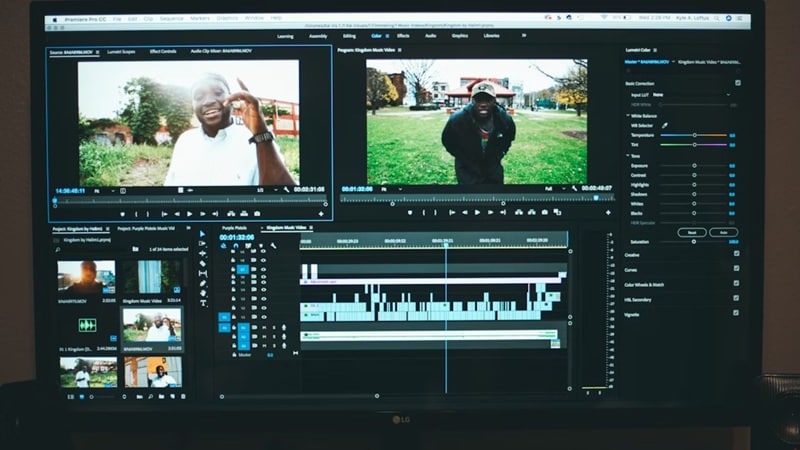
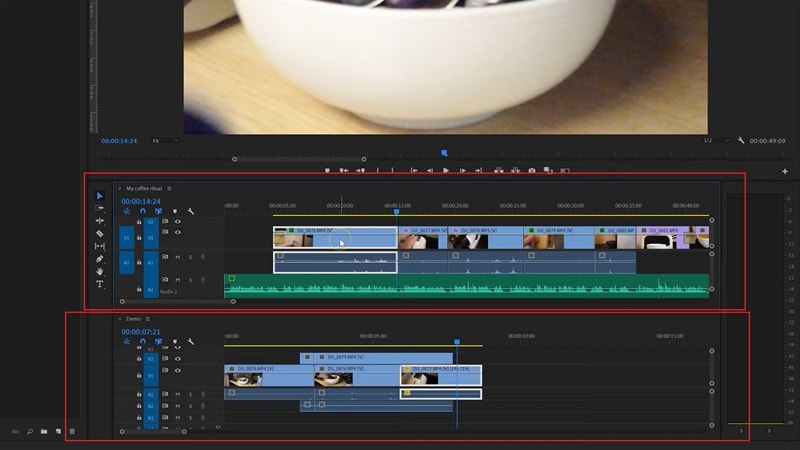
1. Premiere Pro
2. Final Cut Pro

3. DaVinci Resolve

Part 2. How to Use Filmora’s Dual-Timeline Editing
Filmora’s dual-timeline editing expands on compound clips, letting you open grouped clips in a separate timeline that stacks above your main edit. This brings more clarity and control when organizing complex scenes, intros, transitions, or alternate versions.

Step 1. Launch Filmora and Start a New Project

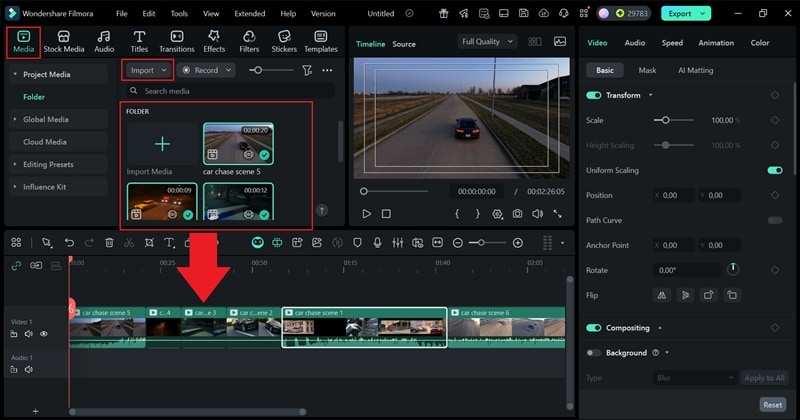
Step 2. Upload Multiple Clips to the Timeline
Step 3. Create a Compound Clip


Step 4. Make a New Timeline with the Compound Clip

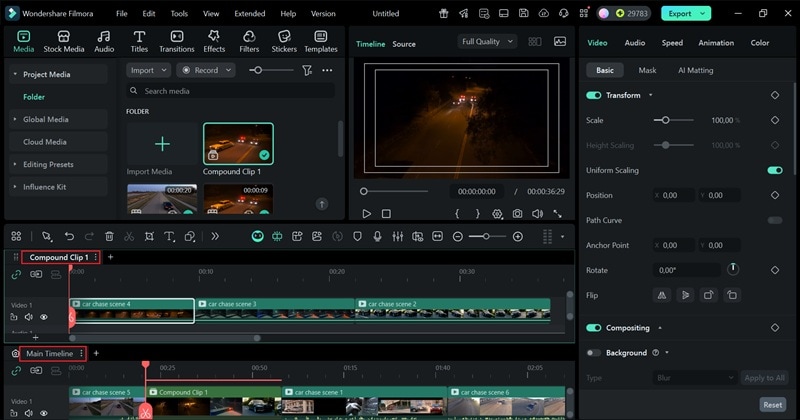
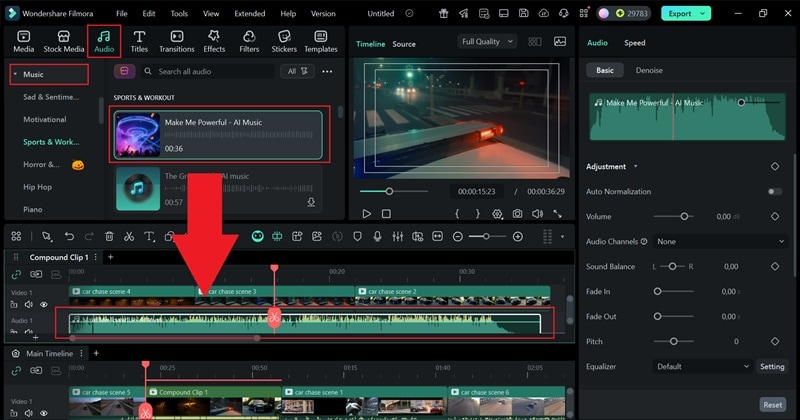
Step 5. Edit Your Clips in the Separate Timeline
You can create as many compound clips as needed using the plus icon. Filmora will still display two timelines at a time, and you can rearrange which one appears above or below by dragging timeline tabs.

Part 3. When to Use Dual-Timeline Editing in Filmora
 secure download

Filmora’s dual-timeline shines in many types of projects. Here’s when it makes the biggest difference:
1. Long Videos That Need Precision

2. Working with Multiple Cameras

3. Perfecting Audio Sync

4. Bring Creative Visual Ideas to Life
Part 4. Pro Tips for Smooth Dual-Timeline Editing

- Learn Shortcuts Early: Use Alt + G for compound clips and Ctrl + + / - for zooming.
- Lock Layers Before Trimming: Prevent accidental edits in other layers.
- Add Markers to Key Moments: Makes navigation easier across timelines.
- Group Related Clips: Keeps audio, visuals, and text aligned when moving segments.
Conclusion
Using multiple timelines speeds up editing, improves organization, and boosts creativity. Filmora’s dual-timeline editing brings pro-level workflow features into a beginner-friendly interface. With compound clips, AI tools, effects, and a massive built-in library, it proves that powerful editing can still feel simple.
secure download FAQs About Dual-Timeline Editing
- 1. Can I use multiple timelines for different projects in Filmora?
Yes. You can create separate compound clips or sequences for different sections and edit them independently. - 2. Can I copy edits between different timelines?
Absolutely. You can copy, paste, and drag clips, transitions, and effects between timelines. - 3. Is the feature available on both Windows and Mac?
Yes. Filmora’s dual-timeline works smoothly on both systems.
