
 100% Security Verified | No Subscription Required | No Malware


 ChatGPT
 Perplexity
 Gemini
 Claude
 Grok
Grok
Have you noticed that your Photoshop layer is red? Hold on. You're not alone. Many users out there often experience the same exact thing. But don't worry. It doesn't necessarily indicate that something bad happens. It could mean a lot of things. More often than not, a red layer in Photoshop is a creative output from a modified red channel. Therefore, sit tight and just go with the flow. In video editing, a red layer can also do more good than bad. If you wish to try one, Wondershare Filmora is the ideal app that can truly help you.
In this article, we will talk about the reasons why a Photoshop layer is highlighted red. We will also delve into its benefits as an artistic tool. Lastly, we will discuss how to apply the same effect when editing videos. Continue reading below to learn more.
In this article
Why is the Photoshop Layer Red?
Most people assume that something is wrong when a red layer in Photoshop appears. While it can be a potential reason, Photoshop's red layer doesn't always mean the same thing. There are lots of things that a Photoshop red layer might indicate. Do you want to know what those are? If that is so, check out the list below.
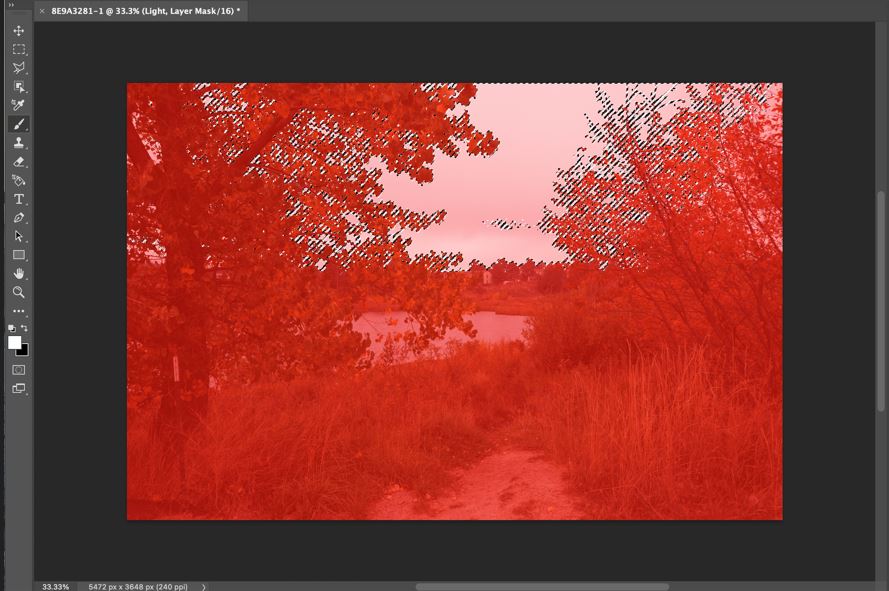
- The Quick Mask Mode is probably enabled. If so, Photoshop deliberately paints the selections in red to help you fine-tune certain parts of the image.
- It's possible that you're editing the red channel. The red overlay in the image often indicates that you're adjusting the red channel at the moment.
- You might apply a Layer Style by accident. It can be a red color overlay or other blending options that add a red layer to the photo.
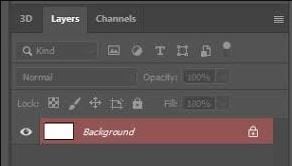
- The red layer in Photoshop could also mean the area is currently selected. It appears red, probably because of your Layer Color Tag settings.
- Or maybe the red layer in Photoshop is pretty intentional. It can be a creative technique you deliberately implement in your project. Many graphic designers calibrate the red channel to enhance the skin tones or add contrast. That could be the reason.
The Red Layer in Photoshop as an Artistic Tool
A red layer in Photoshop is not always a mistake. It can also be an artistic tool you can use to improve your image further. You just have to configure and blend it well to get the best results. To learn more about the creative application of the red layer in Photoshop, check out the list written below.
Skin Tone Adjustments
When editing images with a human subject, the red channel can help you a lot, indeed. Why so? Simply because it is connected with tons of skin tone data. You can adjust it if you wish to adjust the warmth, fix discoloration, and the like.
Creative Masking
The red layer in Photoshop is often used in Quick Mask Mode. This way, you can easily adjust light, shadow, or texture with adequate precision.
Black-And-White Conversion
If you want to improve the quality of your black-and-white image, the red layer in Photoshop can help you. Configuring the red channel in the workspace allows you to enhance the contrast settings of the image.
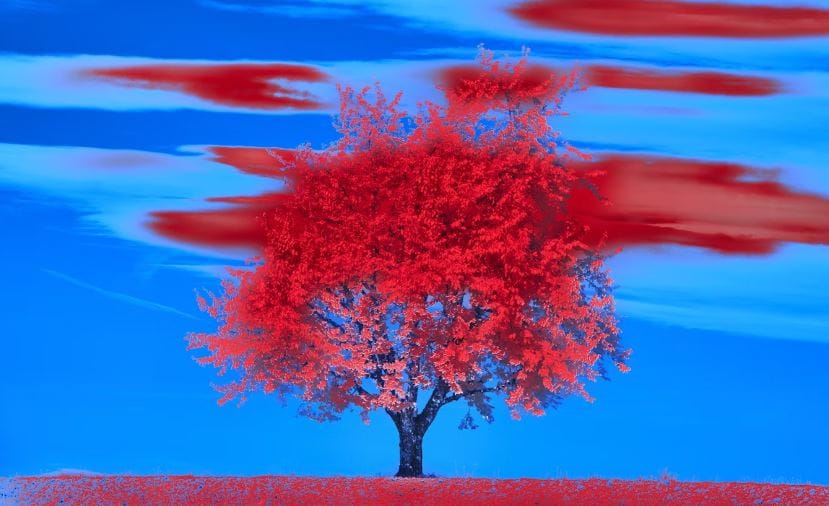
Visual Effects
The red layer in Photoshop can be used to recreate a specific visual effect. You can set the Blending Mode to Multiply or Overlay if you want to add a vintage tint or horror-themed aesthetics.
NOTE: The creative use of the red layer in Photoshop is only applicable for image files. But don't worry. If you want to use the same technique for your video content, you can do it with Wondershare Filmora. Its Color Layer feature is powerful enough to turn a Photoshop red layer into a creative asset for videos.
Exploring the Red Color Layer in Wondershare Filmora
Can you use Photoshop's red layer in video editing? Whether it's for a creative purpose or not, you cannot do it on the platform. Instead, you have to switch to Wondershare Filmora. This powerful video editing software is equipped with a Color Layer feature that lets you replicate such effects. Amazing, right? If you're planning to try it, read the discussions below to learn more and make the most of it.
Core Features
The Color Layer feature in Wondershare Filmora has a lot to offer to video editors. Some of them are listed below for your reference.
- Instant Creation: You can instantly add a red layer to your video with just the snap of a finger. No complicated procedure is required. Simply drag and drop it from the Elements Panel to the Editor Timeline.
- Adjustable Duration: Similar to a regular video asset, you can also set the duration of the red color layer accordingly.
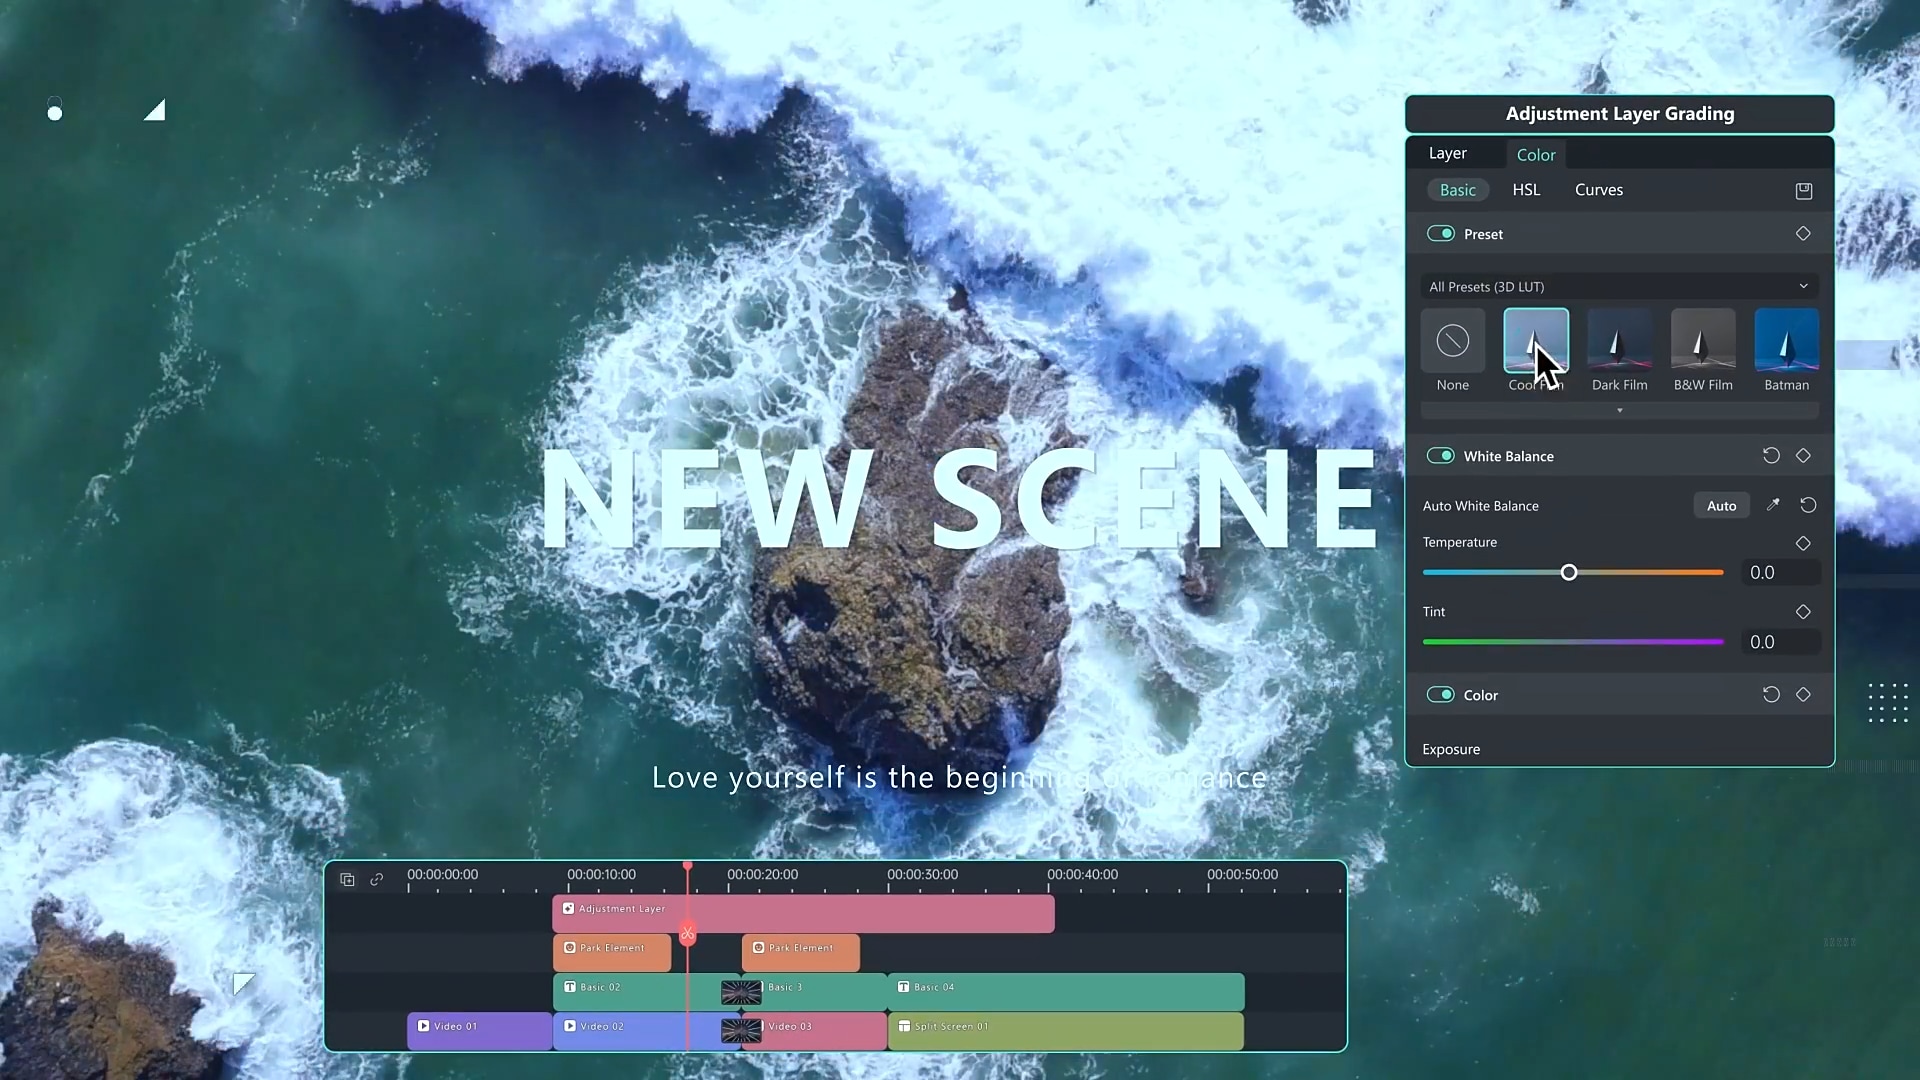
- Real-Time Editing and Preview: You can add and configure the red layer while monitoring the changes in real-time. Just head over to the Preview Panel for the details.
- Cloud Presets: If you want to use the same red layer in other projects, you can save the configuration as a preset. Simply access it from the cloud storage if you wish to reapply similar effects in the future.
- Simplified Workflow: Compared to Photoshop and After Effects, the process is way easier. Everything can be completed with a simple drag-and-drop operation.
Step-By-Step Guide
As indicated earlier, you don't have to worry that much about complexities and stuff. The process is relatively simple and convenient. Do you want to give it a try? If that is so, then check out the tutorial below. Read the instructions very well and follow the indicated steps accordingly.
 secure download

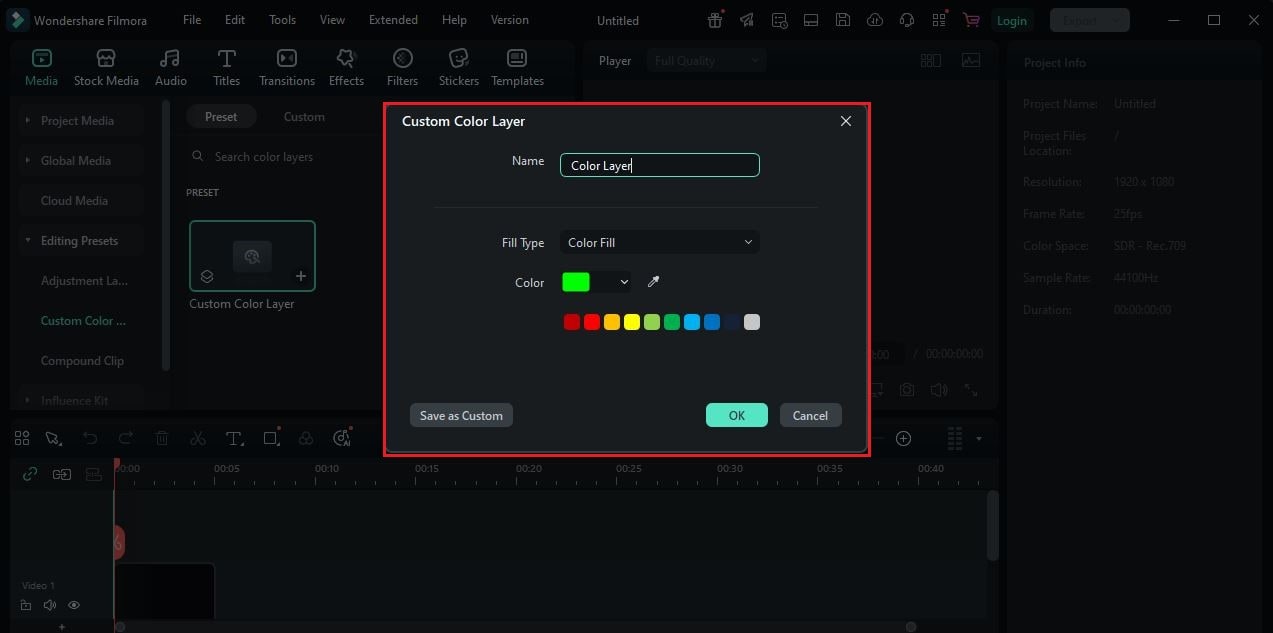
Step 1 On the main workspace of Wondershare Filmora, go to the Elements Panel. Under the Media tab, find the Editing Preset option and click Custom Layer. Drag the asset onto the Editor Timeline for further customization, then assign a unique Color Layer Name and specify your preferred Fill Type.

Step 2 For the solid color layer, use the Color Picker in the workspace and choose Red.
Step 3 You can also use a gradient color layer if you want to. To do that, choose your preferred gradient type and its corresponding direction. It can be radial, linear, right, or left. After that, select the two colors you want to use as the Start and End Colors. Aside from red, you can blend another color that fits the effect you wish to achieve.
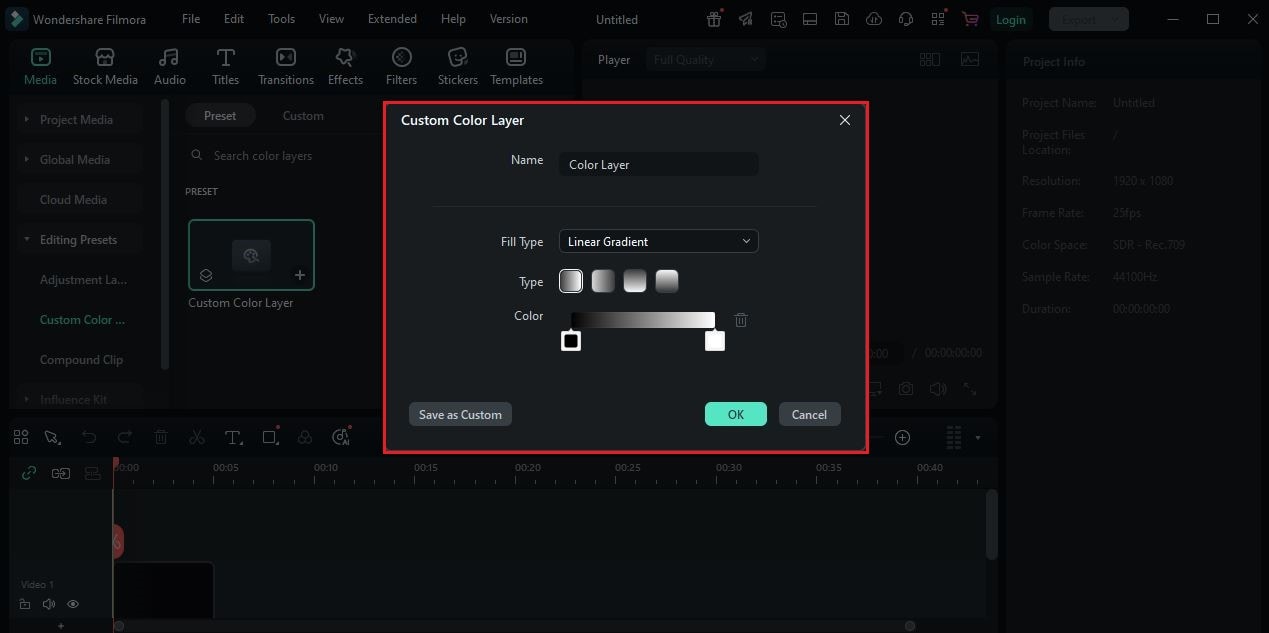
Step 4 Once done, click OK or Save As Custom. Continue editing the rest of the video project. As you go along, check if the newly added red layer fits perfectly before you render the output.
Top Reasons Why You Should Create a Red Layer in Wondershare Filmora
Let's say you wish to recreate the Photoshop red layer in your video project. In this case, try using Wondershare Filmora. Here are the main reasons why you should take it into consideration.
- It will only take you a few seconds to create the Photoshop red layer using Wondershare Filmora. As we all know, its Color Layer feature has a drag-and-drop function that makes everything very simple.
- The general interface of Wondershare Filmora is very intuitive and responsive. If you need to add a Photoshop red layer to your videos, you can do it instantly.
- Keep in mind that the Color Layer feature of Wondershare Filmora is integrated with its video editing tools. That means you can directly customize it from the timeline and incorporate it into your actual workflow. No need to switch from one app to another.
Conclusion
Truly, the red layer in Photoshop can do more good than bad. Most editors use this element as an artistic tool in the creation process. You, too, should explore this aspect as well. For images, the red layer in Photoshop can be easily created and applied to projects. While it's true that a Photoshop layer turns red when selected, that's not always the case. You can also add a red layer intentionally for the sake of the style and design. The same thing goes for video editing. You can add a Photoshop red layer using the Color Layer feature of Wondershare Filmora. Don't worry. As discussed earlier, it's indeed a walk in the park. You can easily insert one by dragging and dropping it onto the timeline. No complex procedures at all. Don't let this wonderful opportunity pass you by. Download Wondershare Filmora today and elevate your video editing workflow with the red color layer.
secure download 