
 100% Security Verified | No Subscription Required | No Malware


 ChatGPT
 Perplexity
 Gemini
 Claude
 Grok
Grok
AI-generated art is redefining creativity. Tools like DALL·E 3, MidJourney, and Stable Diffusion are opening the doors to a new visual era where anyone can create beautiful, surreal, or photo-realistic images from simple text prompts. What once took hours of design work now takes just seconds.
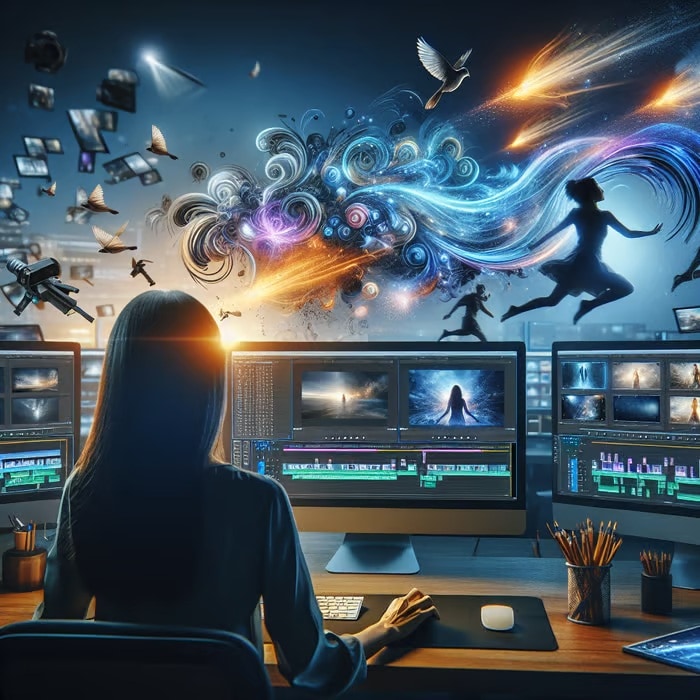
But what happens after the image is created? Static images alone aren't enough in a video-first world. That's why many creators are turning to video editors like Wondershare Filmora to breathe life into their AI visuals. Whether you're making content for TikTok, building an explainer video, creating futuristic slideshows, or crafting YouTube animations, Filmora provides an easy and powerful way to turn still images into cinematic videos.
With its drag-and-drop interface, AI-powered features, and pro-level controls, Filmora makes it easy for both beginners and advanced users to produce professional content without needing a background in editing or animation.
Step-by-Step AI Image to Video Workflow
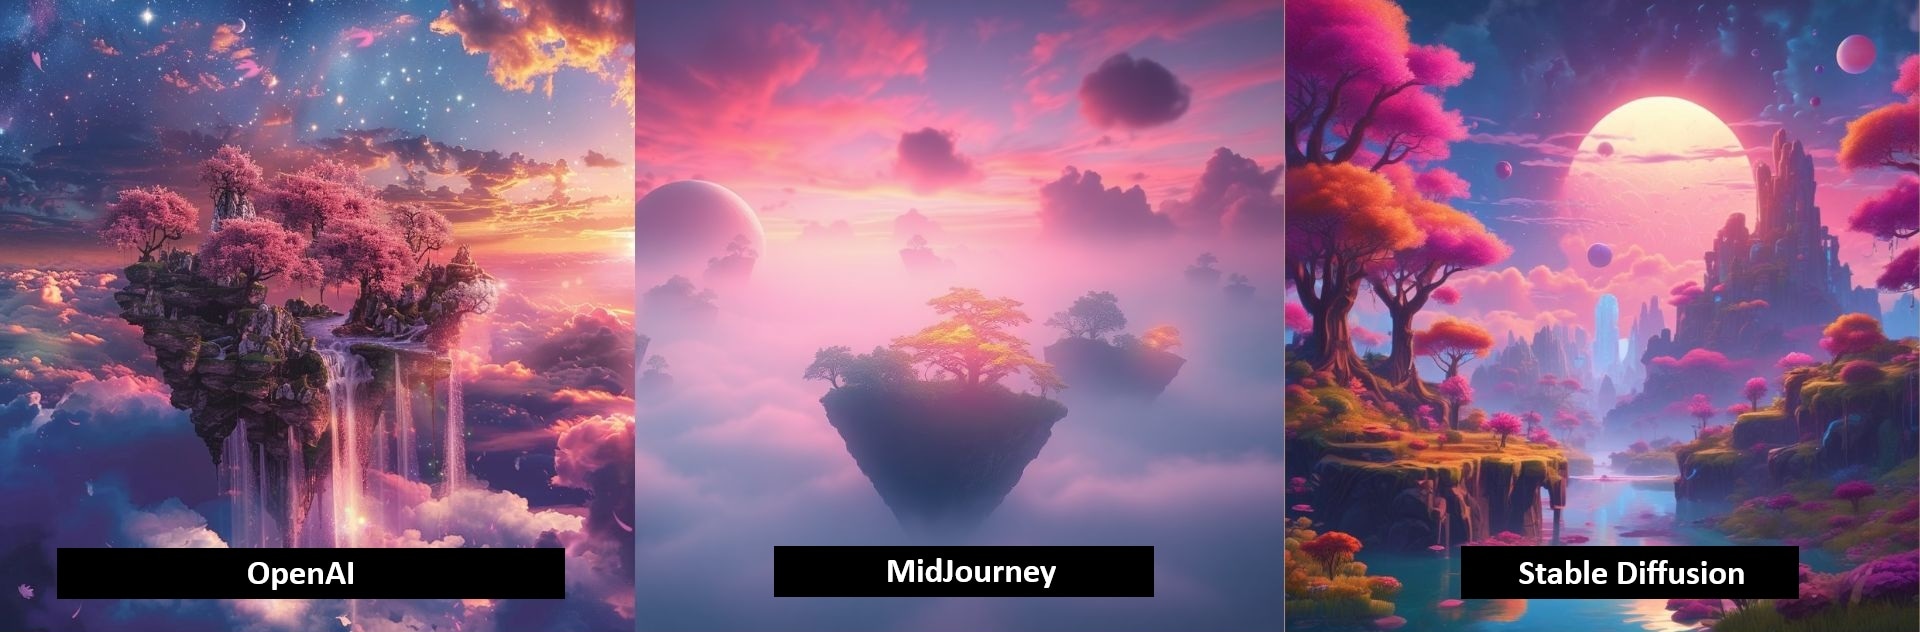
Step 1: Generate AI Images (DALL·E 3 & Alternatives)
Start your creative journey by generating a set of cohesive images using OpenAI's DALL·E 3. With over 246,000 searches per month, DALL·E 3 is currently one of the most trusted tools for generating vivid and highly detailed AI images from text prompts.
Here's what makes it stand out:
- Natural prompts: You don't need technical jargon or words—just describe and type what you want.
- High resolution: The image output is clean, with enhanced textures and lighting.
- Consistency: The tool remembers style cues, allowing you to create characters, settings, or moods that match across multiple images.
Pro Tip: Generate a series of images with consistent visual elements—like the same lighting, palette, or subject. This makes the final video feel cohesive and avoids the jarring look of randomly styled frames.
Other tools to try if you're experimenting:
- MidJourney for artistic and stylized results.
- Stable Diffusion if you prefer open-source, customizable AI image generation.
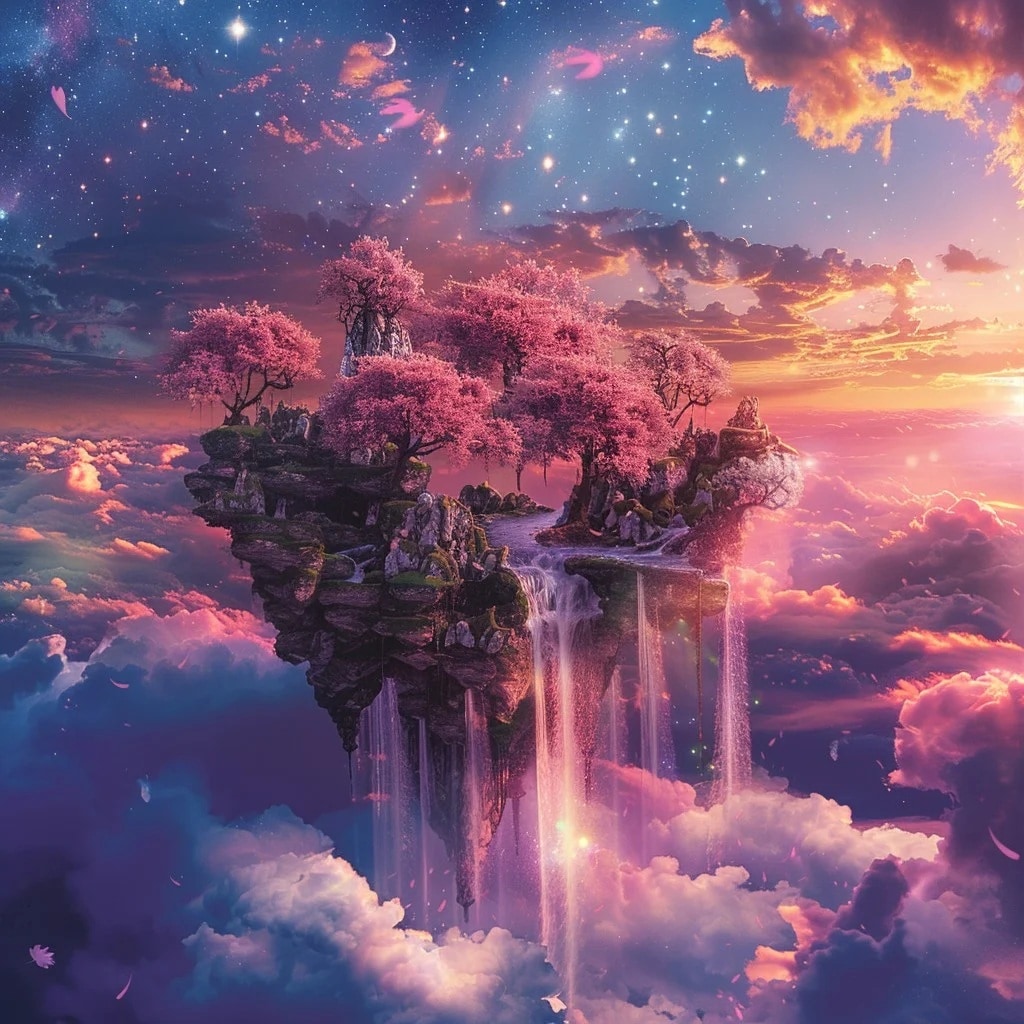
Prompt example: A dreamlike landscape with floating islands, glowing trees, and misty skies, AI-generated style, colorful, cinematic lighting, 8K.
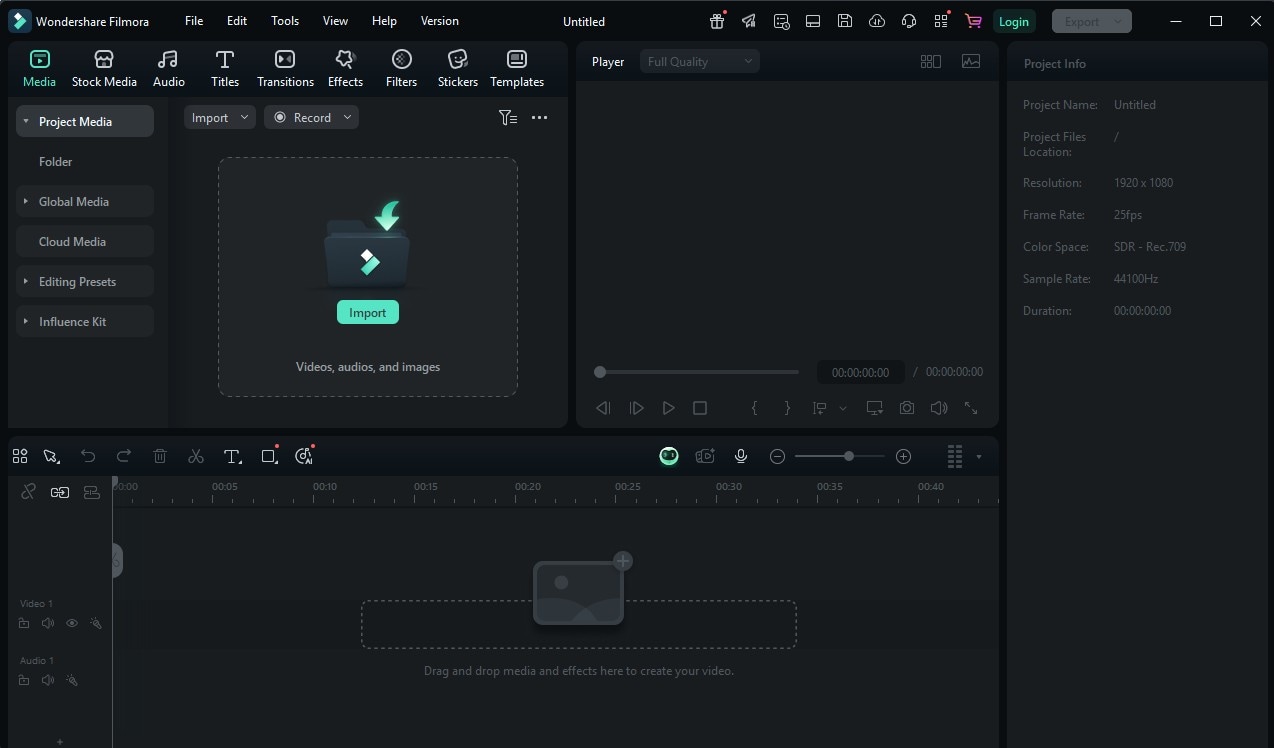
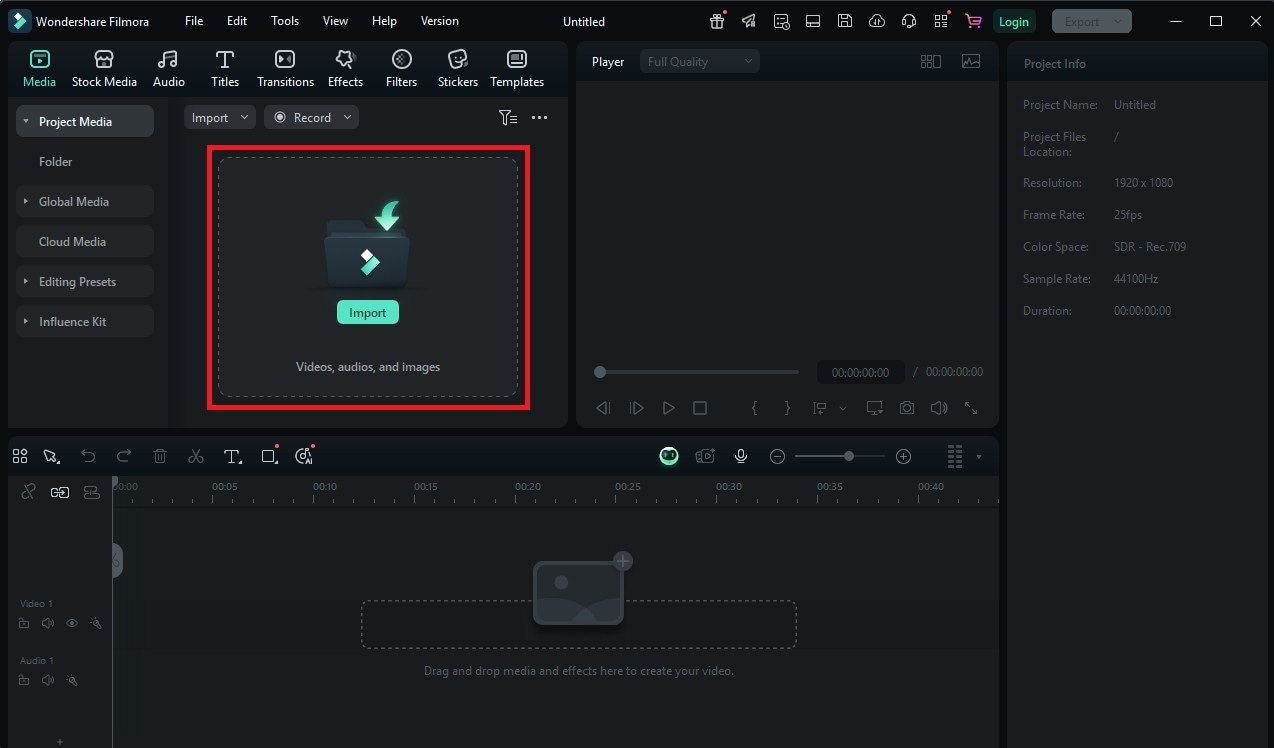
Step 2: Import into Filmora
Once you've gathered your AI images, the next step is importing them into Filmora. Here's how:
 secure download

01of 03Create new project
Launch Filmora and create a new project. Import your images by dragging them into the media bin.
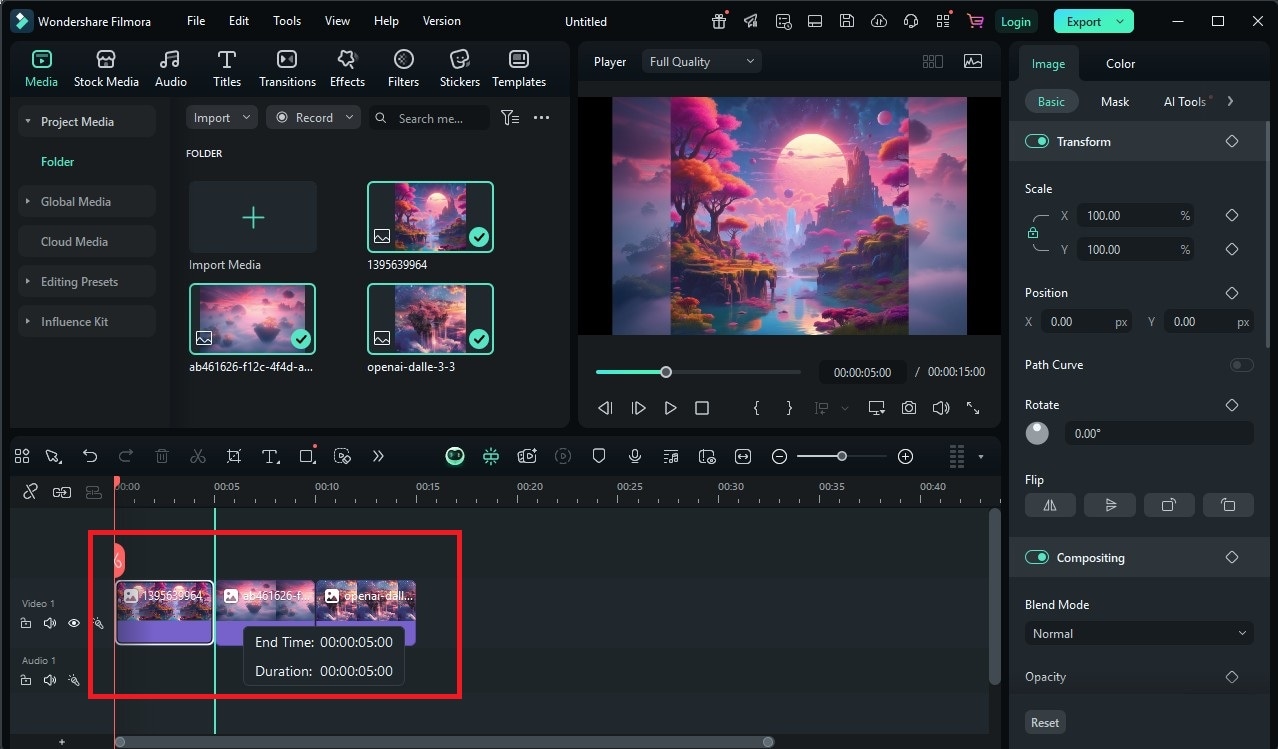
02of 03Arrange in timeline
Drag them into the timeline in the desired sequence. You can rearrange them anytime to adjust the visual flow.
03of 03Adjust clip duration
Adjust the duration for each image clip (e.g., 3–5 seconds for a quick video, or longer for cinematic pacing).
Planning on uploading your work to social media? Filmora has an AI Auto-Cropping feature to automatically adapt your visuals to formats like:
- 9:16 for TikTok and Reels
- 1:1 for Instagram feed posts
- 16:9 for YouTube
This saves time and ensures your images remain centered and polished across all platforms.
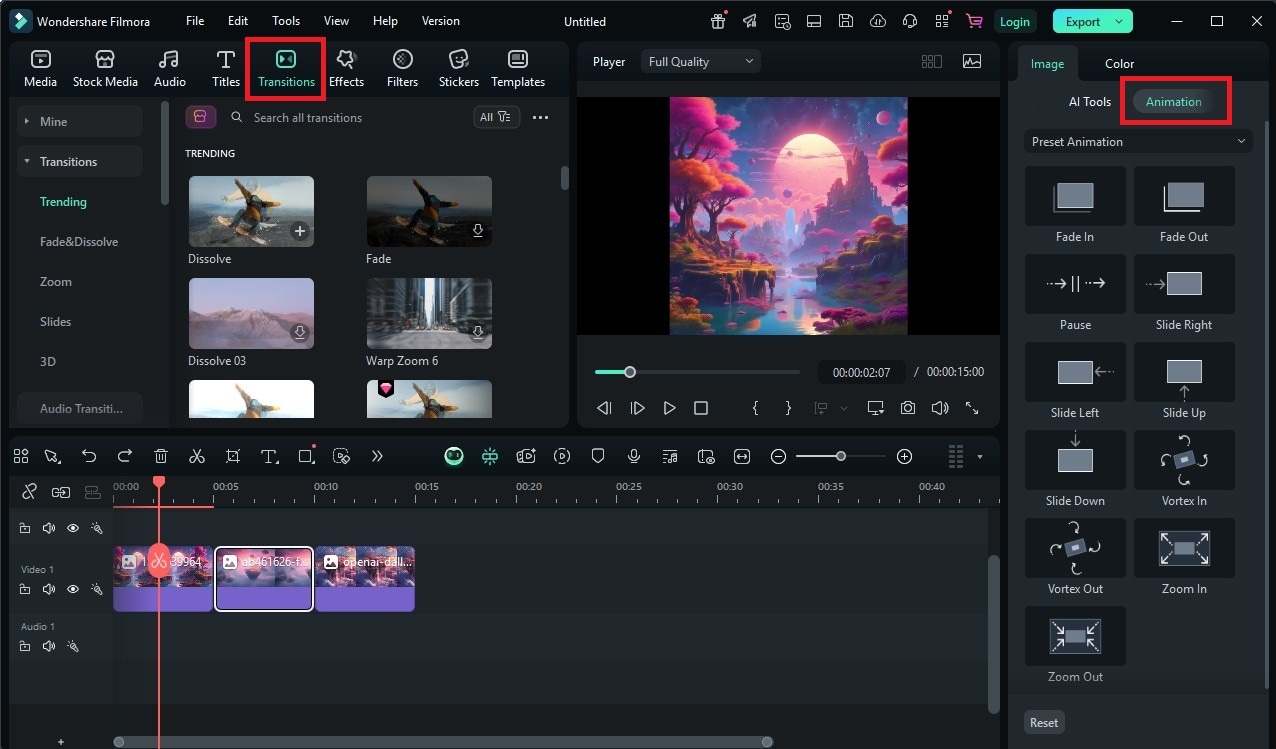
Step 3: Enhance with Filmora's Tools
Your visuals are in—now it's time to make them move using Filmora's tools.
For Beginners:
- Ken Burns Effect: This pan-and-zoom animation can help in adding depth and cinematic motion to your still images.
- One-Click Animations: Choose from Filmora's ready-made effects like slide-ins, zoom-outs, and fades to bring images to life.
- Pre-built Transitions: Apply transitions like glitch, flash, dissolve, or spin between clips for seamless storytelling.
These easy tools help you animate without needing to touch keyframes or advanced settings.
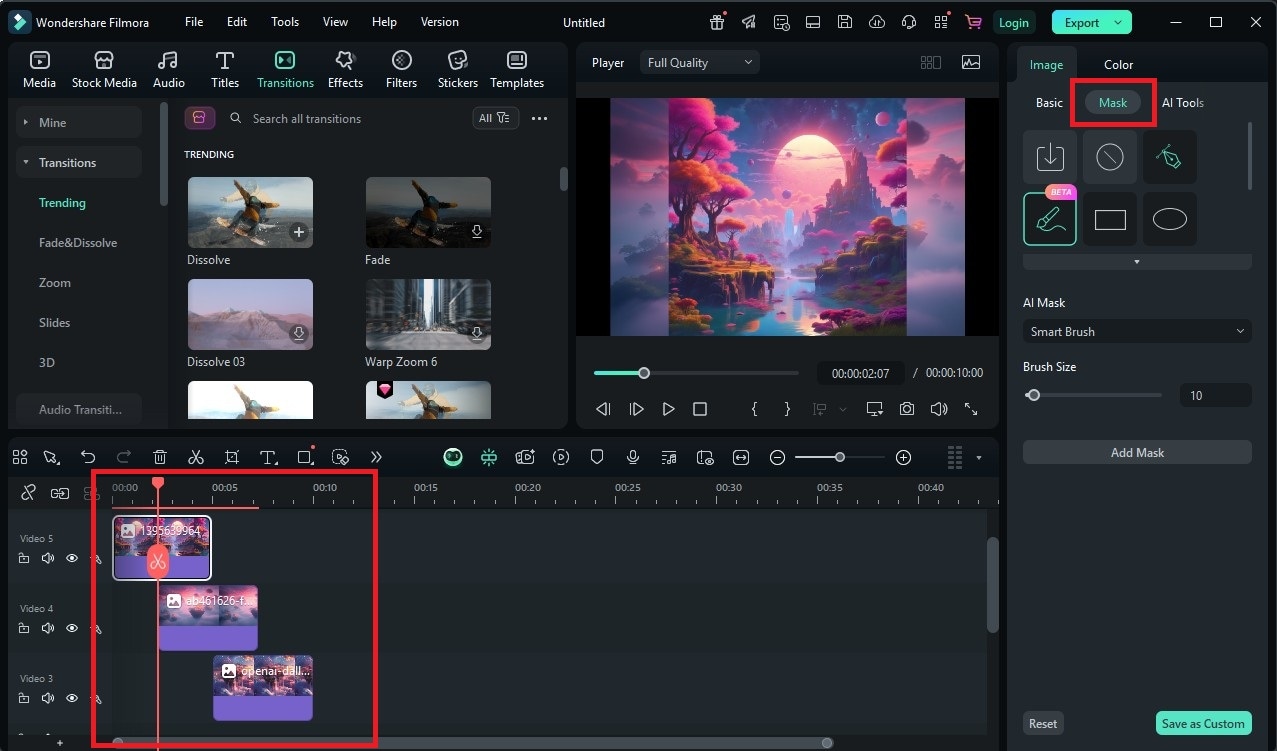
For Advanced Users:
- Keyframing: Take full control of image movement—scale, rotate, reposition, and time every motion exactly how you want.
- Masking: Apply animated masks to cut out parts of your AI image or reveal content in stages for a dramatic effect.
- Layering: Stack multiple AI images and animate them separately to create parallax effects, dynamic camera angles, or background depth.
These features can help in transforming your AI images into scenes that feel like part of a movie or digital animation.
Filmora's AI-Powered Editing Features
Filmora doesn't just make editing easier—it makes the process smarter. With plenty of its AI tools, Filmora streamlines your workflow, boosts quality, and reduces the need for manual editing.
For Beginners:
- Auto Beat Sync
This tool quickly matches your image transitions or effects with the beat/rhythm of your background music. Using this tool is perfect for reels, trailers, or lyrical videos. - Preset Templates
Filmora includes a library of themed templates for intros, lower thirds, and outros. Just drag and drop, update your text, and you're done. - Smart Cutout
Need to remove the background from an AI image? Use this tool to isolate characters, objects, or foregrounds—no green screen is needed.
These tools require little to no learning curve, making them ideal for non-editors who want pro results.
For Advanced Editors:
- Motion Tracking
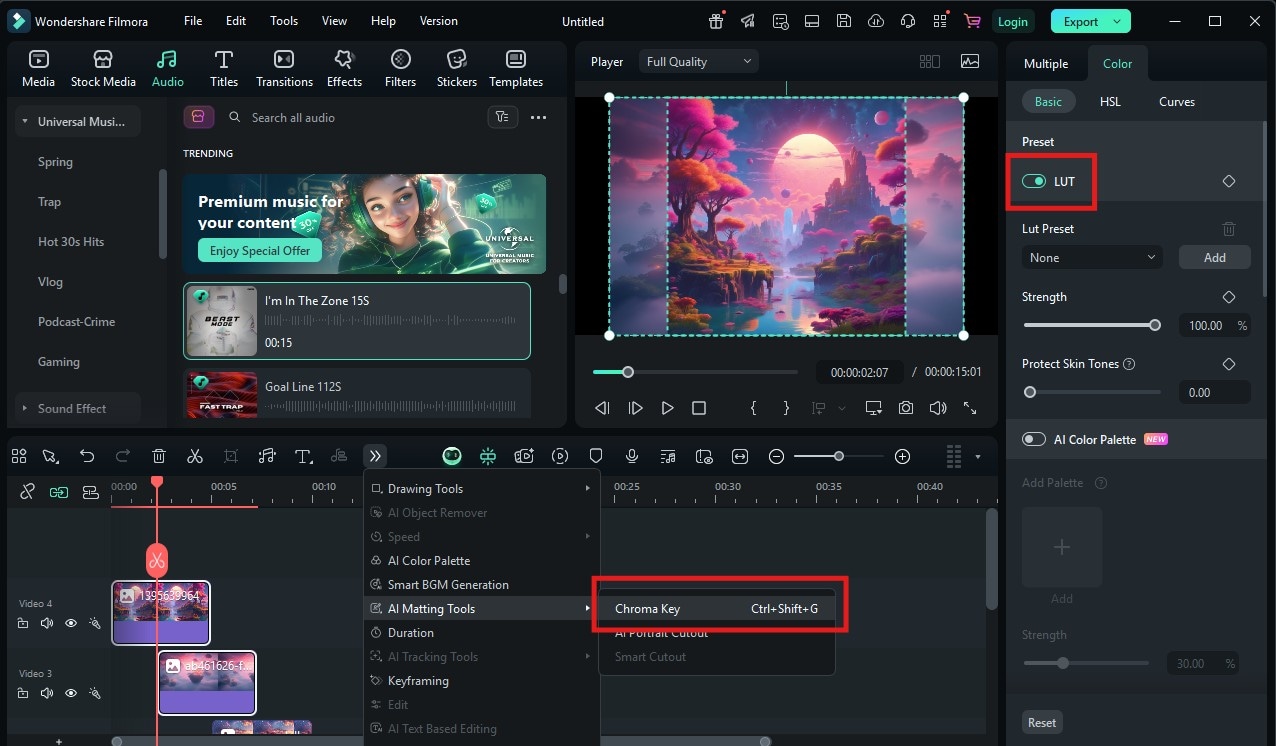
Make text, stickers, or other effects follow a moving object. This is excellent for giving AI-generated characters or elements more realism. - AI LUTs (Color Grading)
Filmora's smart color filters allow you to apply cinematic color grades in one click. Enhance tone, adjust warmth, or apply a unique film aesthetic to unify your visual style. - Green Screen (Chroma Key)
Combine AI art and real footage by keying out green backgrounds and layering your DALL·E images into live-action scenes—ideal for creative YouTube videos or music visuals.
These advanced options are deeply customizable while still being intuitive, so even intermediate editors can take full advantage of them.
Bonus: Non-Editing Tips for AI Video Workflow (Enhanced with Filmora Features)
AI-to-video creation doesn't end with just visuals and cuts—here's how to supercharge your workflow using Filmora's additional features.
Storyboarding with Filmora's AI Tools
- Before you edit, visualize your project using Filmora's AI Storyboard Tool.
- Drag your DALL·E 3 images onto the storyboard panel to plan the scene flow.
- Easily rearrange clips, plan pacing, and build narrative structure.
This pre-edit planning step helps you save time and keep creative focus.
AI Voiceovers & Sound Sync
- Use tools like Murf, ElevenLabs, or WellSaid Labs to generate high-quality AI voice narration.
- Import into Filmora and sync voice lines with Auto Beat Detection or manual alignment.
- Use Speech-to-Text to auto-generate subtitles for accessibility and SEO.
Sound Design Tips:
- Clean your audio with AI Audio Denoise to remove background hum.
- Browse Filmora's free SFX library for glitch sounds, retro tones, ambient sci-fi textures, and more.
Export Optimization
- Use AI Smart Render to export projects faster, especially when using high-res images or multiple animation layers.
- Filmora's export settings auto-optimize based on your target platform (e.g., YouTube 4K, Instagram 1080x1920).
These tools can help turn your creative ideas into a polished masterpiece. It also helps in saving time while boosting its quality.
Conclusion
DALL·E 3 is changing the norm on how we create visual content. As revolutionizing as it is, pairing it with a powerful editor like Wondershare Filmora can push your creativity to the next level.
From generating high-quality AI art to animating it with keyframes, music sync, cinematic effects, and voiceovers, Filmora turns static images into compelling video stories. It's the ideal solution for:
- Content creators building reels or shorts
- Educators making visual lessons
- Marketers enhancing presentations
- Artists telling AI-powered stories
Whether you're just starting or you're a seasoned video editor, Filmora helps you create videos that look professional, with less effort, more fun, and stunning results.
Ready to bring your DALL·E 3 creations to life?
Download Wondershare Filmora today and transform your AI art into scroll-stopping videos in just a few clicks.
secure download 