Creating a movie with pictures on your iPhone is a fantastic way to tell a story, commemorate special moments, or simply express your creativity. Whether it's a slideshow for a family event or a visually captivating project for social media, your iPhone offers versatile tools to help you achieve this effortlessly. While Apple's in-built apps like Photos and iMovie are great for quick edits, third-party apps provide advanced features for a more professional finish.
In this guide, you will learn everything you need to know about how to make a movie with pictures on iPhones. By the end, you'll be equipped with the tools, tips, and app recommendations to bring your vision to life.
In this article
Part 1: Different Ways to Use Pictures to Make Movies on iPhone
Making a movie from photos on iPhones opens up endless creative possibilities. Whether you're using live photos, AI-generated images, or regular snapshots, each option adds a unique flair to your project. Here's how you can leverage these features to make a movie on iPhone:
1. Live Photos: These photos include a few seconds of motion and sound, making your movie more lively and dynamic. Great for capturing moments like family events or trips.
2. AI-Generated Pictures: Use AI tools to turn regular photos into artistic or animated images, adding a creative and unique style to your movie.
3. Normal Pictures: Simple still photos work well for clean slideshows, ideal for birthdays, anniversaries, or storytelling by focusing on photo order, transitions, and music.
4. Portrait Pictures with Blurred Backgrounds: Portrait mode photos highlight the main subject with a blurred background, giving a professional look perfect for weddings or promotional videos.
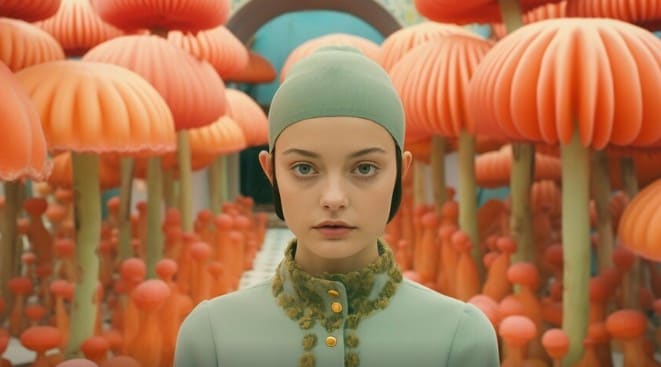
Be sure to explore these options and pick the style that best tells your story before you learn how to make a movie from photos on an iPhone.
Part 2: How to Make Special Effect Shots for Your Movie on iPhone
When it comes to creating captivating picture movies on an iPhone, special effects can make all the difference. These special effects can make your video fun, engaging, and more creative, depending on your preferences. Here are some AI-powered special effects you can use when learning how to make a movie with photos on iPhones:
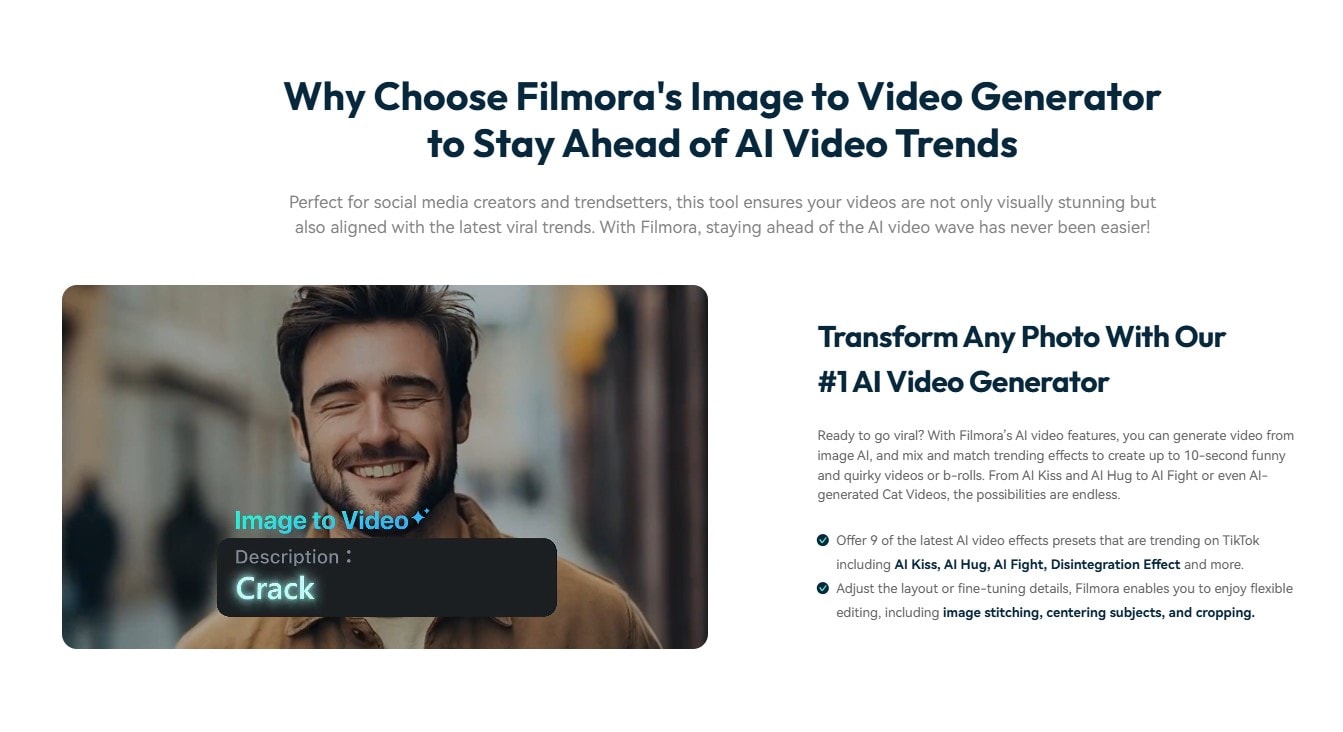
- AI Image Hugging: You can add an effect where an image appears to wrap itself around another, creating a playful or heartfelt visual.
- AI Kiss: If your image includes two people, you can use AI to move both of them into a position to share a kiss. This way, you can create a special moment.
- Image Running Away: Using AI tools, you can animate a photo to look as if it's playfully escaping the frame. This is perfect for adding humor or drama.
- Image Struck by Lightning: This is a bold, electrifying effect characterized by a flash of light that gives your photos an impactful, dynamic touch.
- Image Fighting: AI fight template lets your images come to life by animating them in a quirky fight sequence, adding a fun storytelling element to your video.
Wondershare Filmora provides you with a platform to access these AI-powered effects so you can make your movies even more fun and exciting. These effects are available on the Filmora[a] mobile app. However, if you want to access more features and a more seamless editing experience, it is recommended that you use the desktop version.
With that said, here is how to use these AI-powered special effects when learning how to make a video from photos on iPhones with Filmora:
Step 1: Launch Filmora on your iPhone and click on Image to Video.
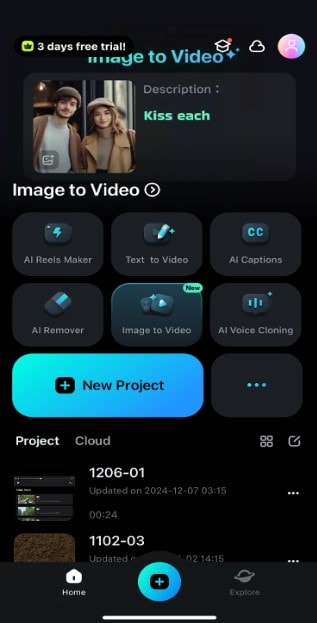
Step 2: Choose the effect you want and upload the pictures accordingly.
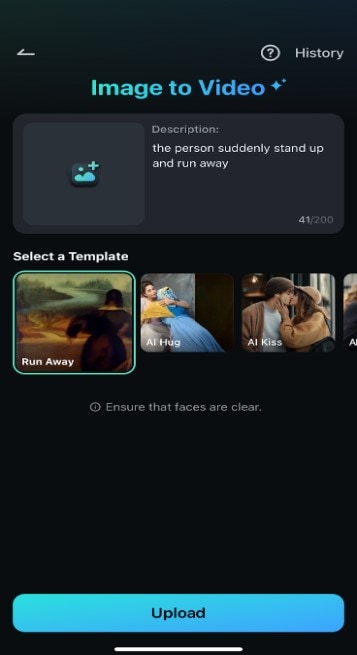
Step 3: Click on Generate to get your AI-powered special shot for your movie. Once it meets your taste, export the video and combine it with other shots to create your movie.

The effect of the mermaid template is as follows.
Part 3: How to Make a Movie from Pictures on iPhone for Beginners
If you don't want to create a complex movie, the iMovie mobile app makes it possible for beginners to make a movie from photos on iPhones. iMovie is a powerful, user-friendly tool that helps you create visually stunning slideshows and picture movies directly from your device.
With options to add music, transitions, and text, the Photos app is perfect for anyone looking to transform simple photo collections into compelling, shareable slideshows. Plus, with its seamless design, it's easy to turn your favorite images into professional-looking picture movies. Here's how to make a movie from photos on iPhone:
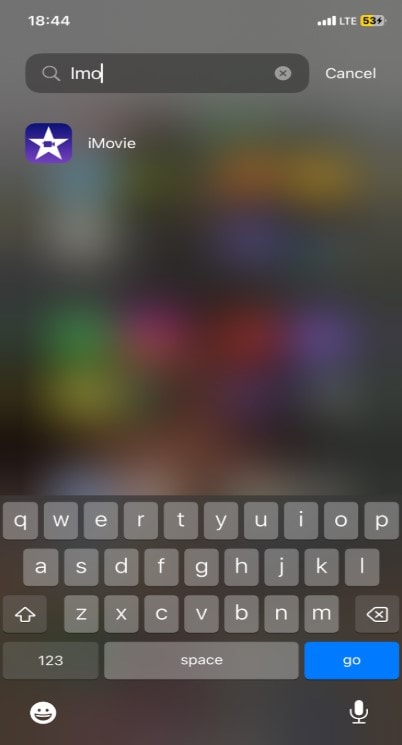
Step 1: Open the iMovie app on your iPhone. It typically comes in-built with the device, but if you can't find it, you can quickly download it from the App Store.
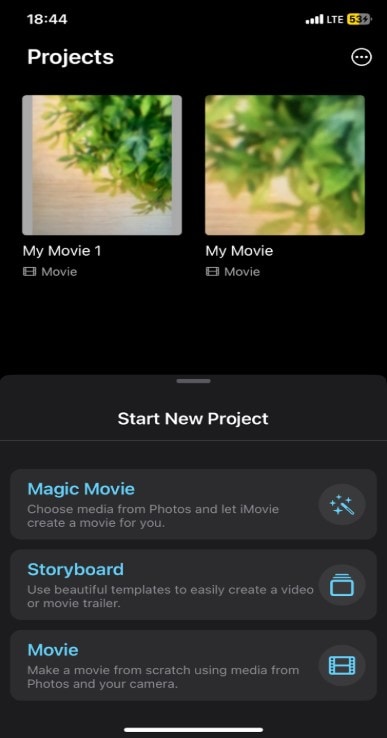
Step 2: Tap Start New Project and select Magic Movie.
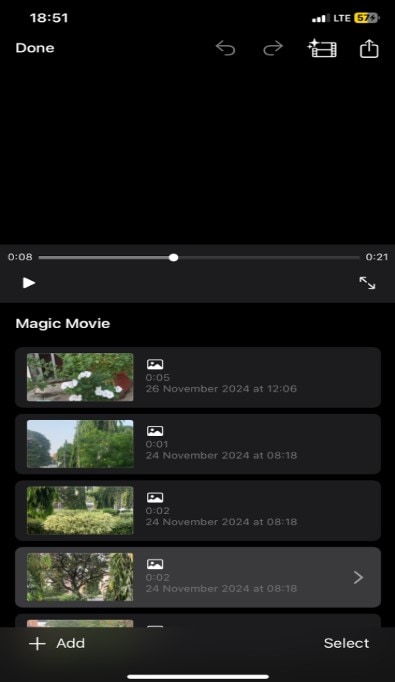
Step 3: Choose the images and clips you want to include in your movie. You can select them directly from your photo library or albums.
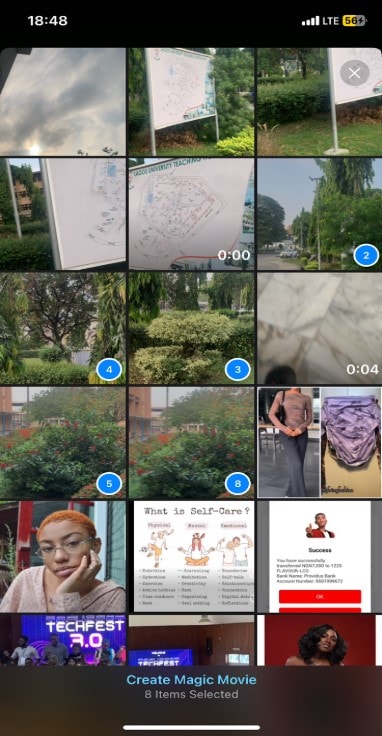
Step 4: Drag and drop the photos into your desired order. You can easily rearrange them to ensure the story flows smoothly.
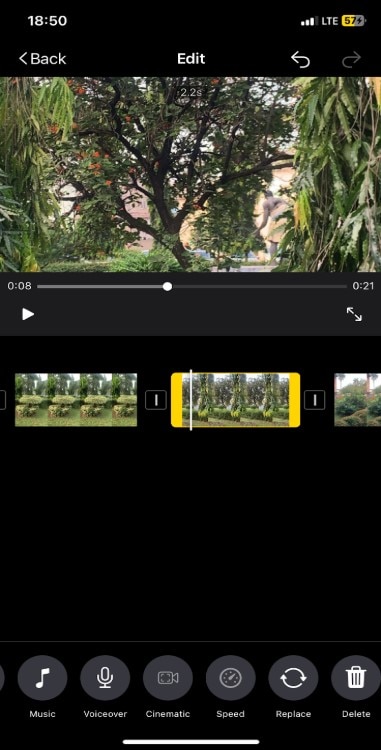
Step 5: Now, you can add transitions between your slides to make the movie more dynamic. You can make the videos fade, slide, or even zoom. At this point, you can also add text and captions to the video for better accessibility.
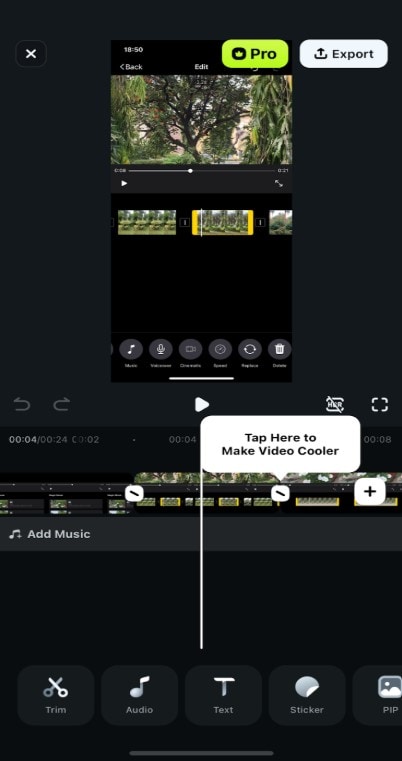
Step 6: Click on Done at the top of your screen to save it to your device.
Part 4: How to Make Picture Movies for Intermediate Editors and Experts
If you're an intermediate editor or an expert seeking more advanced tools to create picture movies, Wondershare Filmora is definitely a perfect option to start with. Filmora's desktop version offers a comprehensive suite of advanced features that give you greater control over your projects. Plus, it also has a mobile version with impressive capabilities, allowing you to craft stunning picture movies right from your smartphone.
- Vast video/audio effects and creative assets.
- Powerful AI for effortless content creation.
- Intuitive, professional yet beginner-friendly.
- Works on Mac, Windows, iOS, and Android.

For more sophisticated editing options, the desktop version of Filmora is ideal. It provides a richer set of features that cater to your advanced editing needs. Some of its top features include:
- Filmora's Image Sequence tool allows you to create motion pictures directly by simply uploading your images to the platform.
- Eye-catching transitions and effects make the switch between pictures seamless
- A plethora of music and audio options to step up your video and make it more engaging
Here's how to make a movie with photos on iPhone using Filmora for desktop:
Step 1: Open the latest version of Filmora on your computer and click New Project.
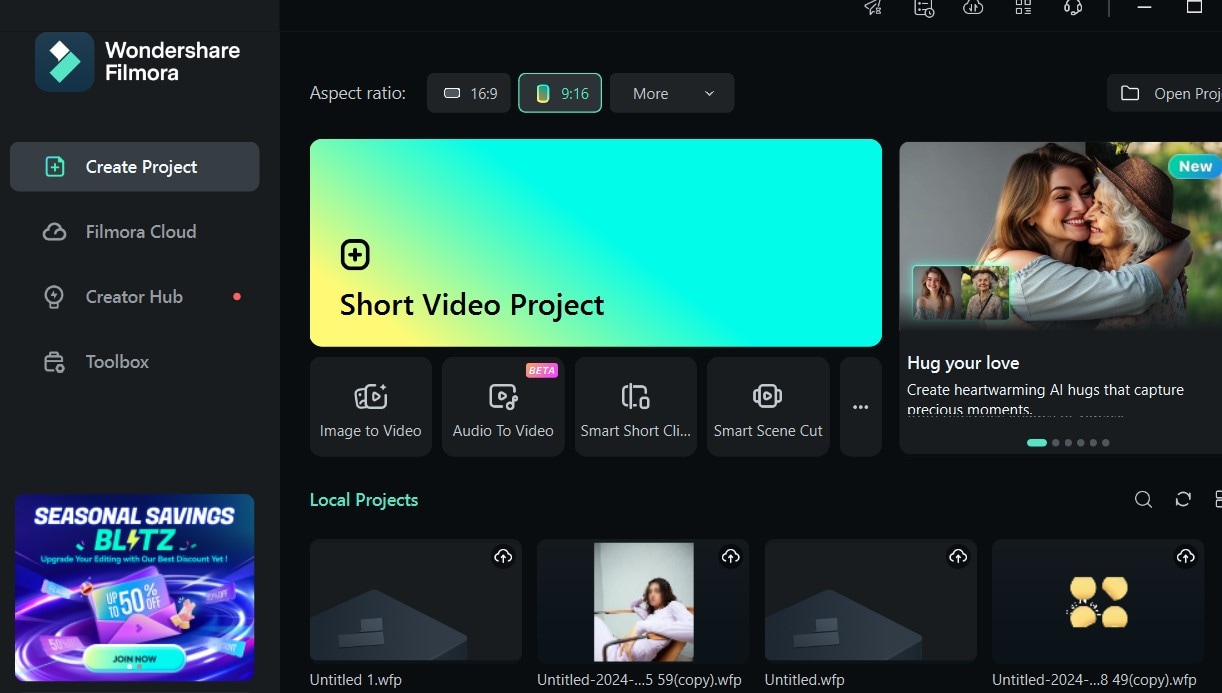
Step 2: Click on Import to add your photos to the media library. Drag and drop them onto the timeline in the order you want in your movie.
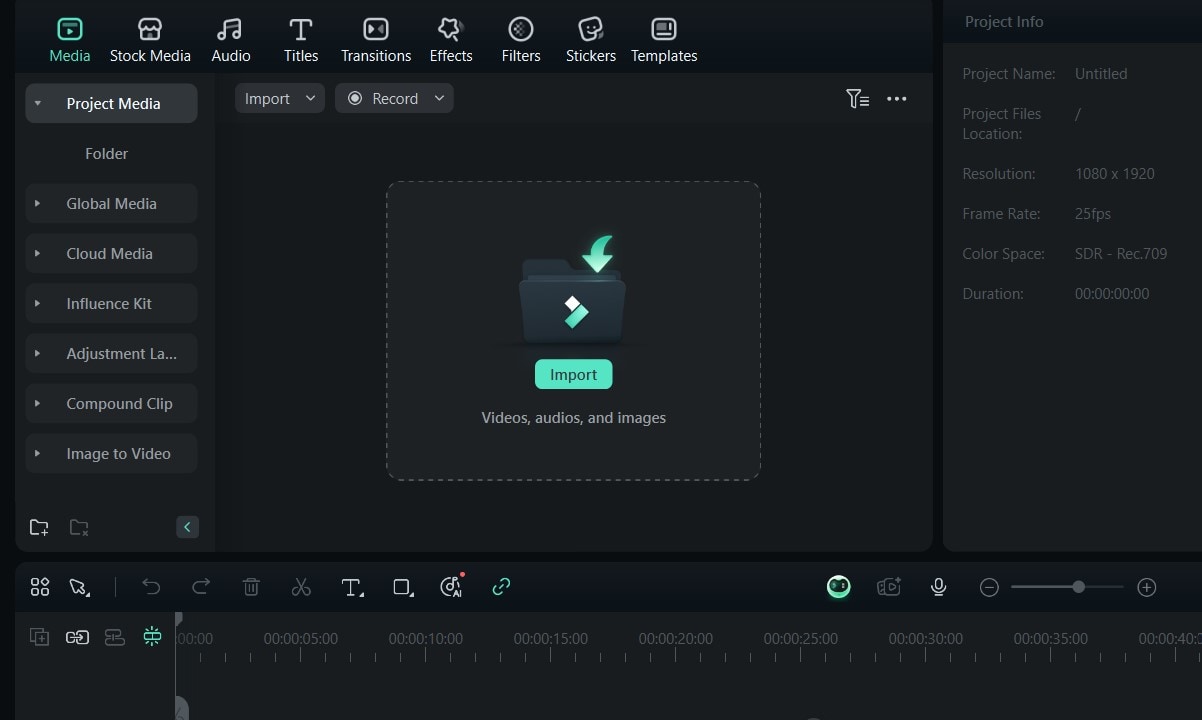
Step 3: Enhance your picture movie with Advanced Features like transitions and effects from the Effects button. You can use flicker effects, zoom, or even RGB effects to make it more dramatic.
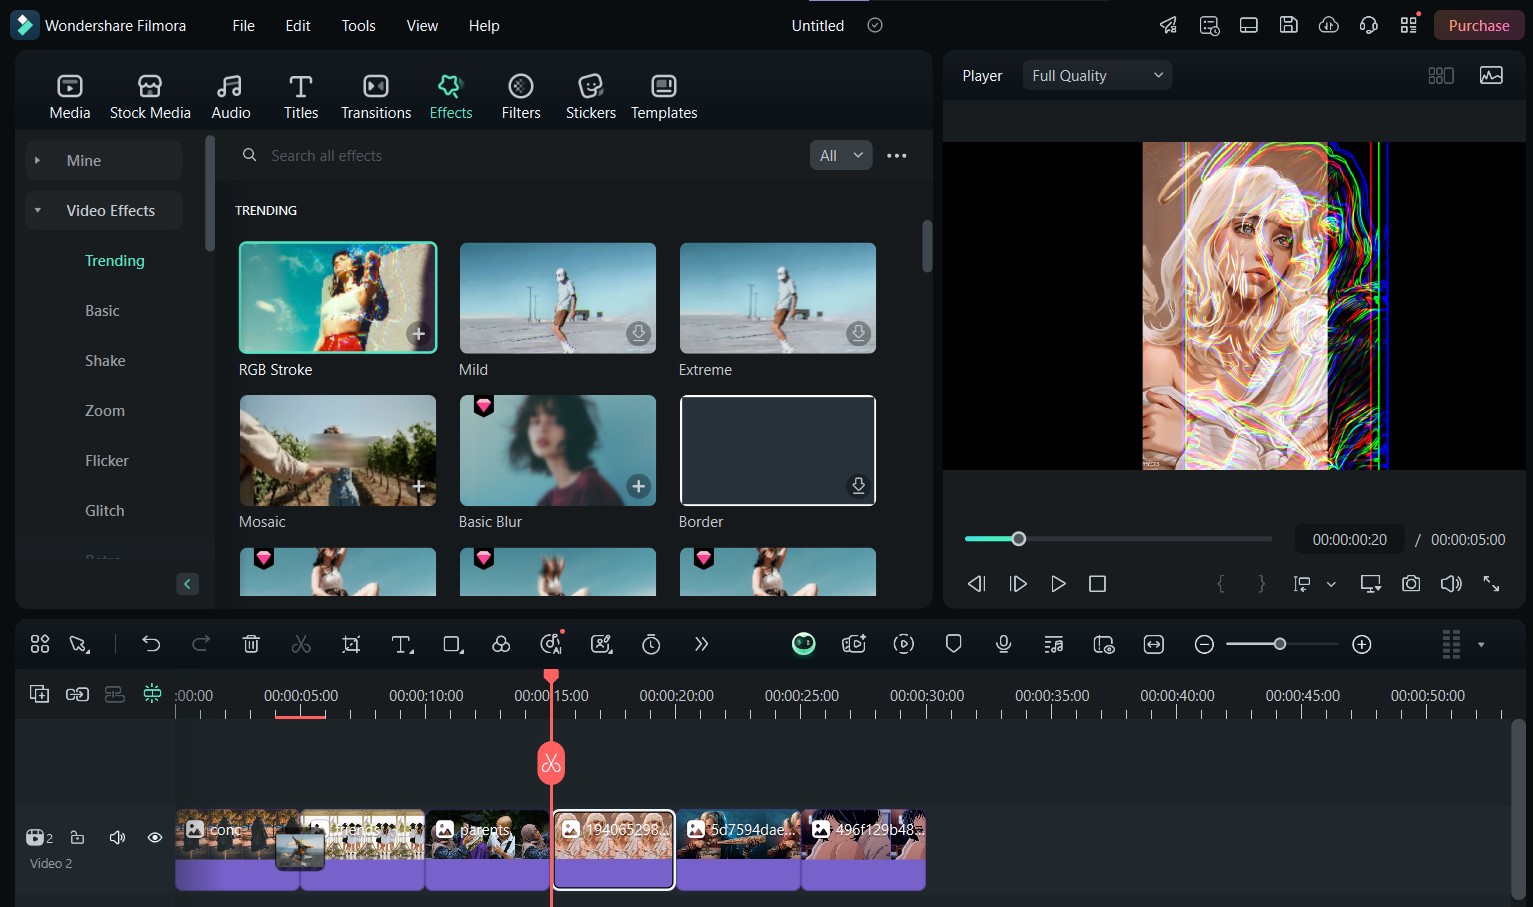
Step 4: To add transitions to each picture in your movie, click on Transitions at the top of the editing panel. Then, choose the type of transition you want and drag it to where you want it added. For this sample, we'll use the fade transition to make each picture smoothly flow into the next.
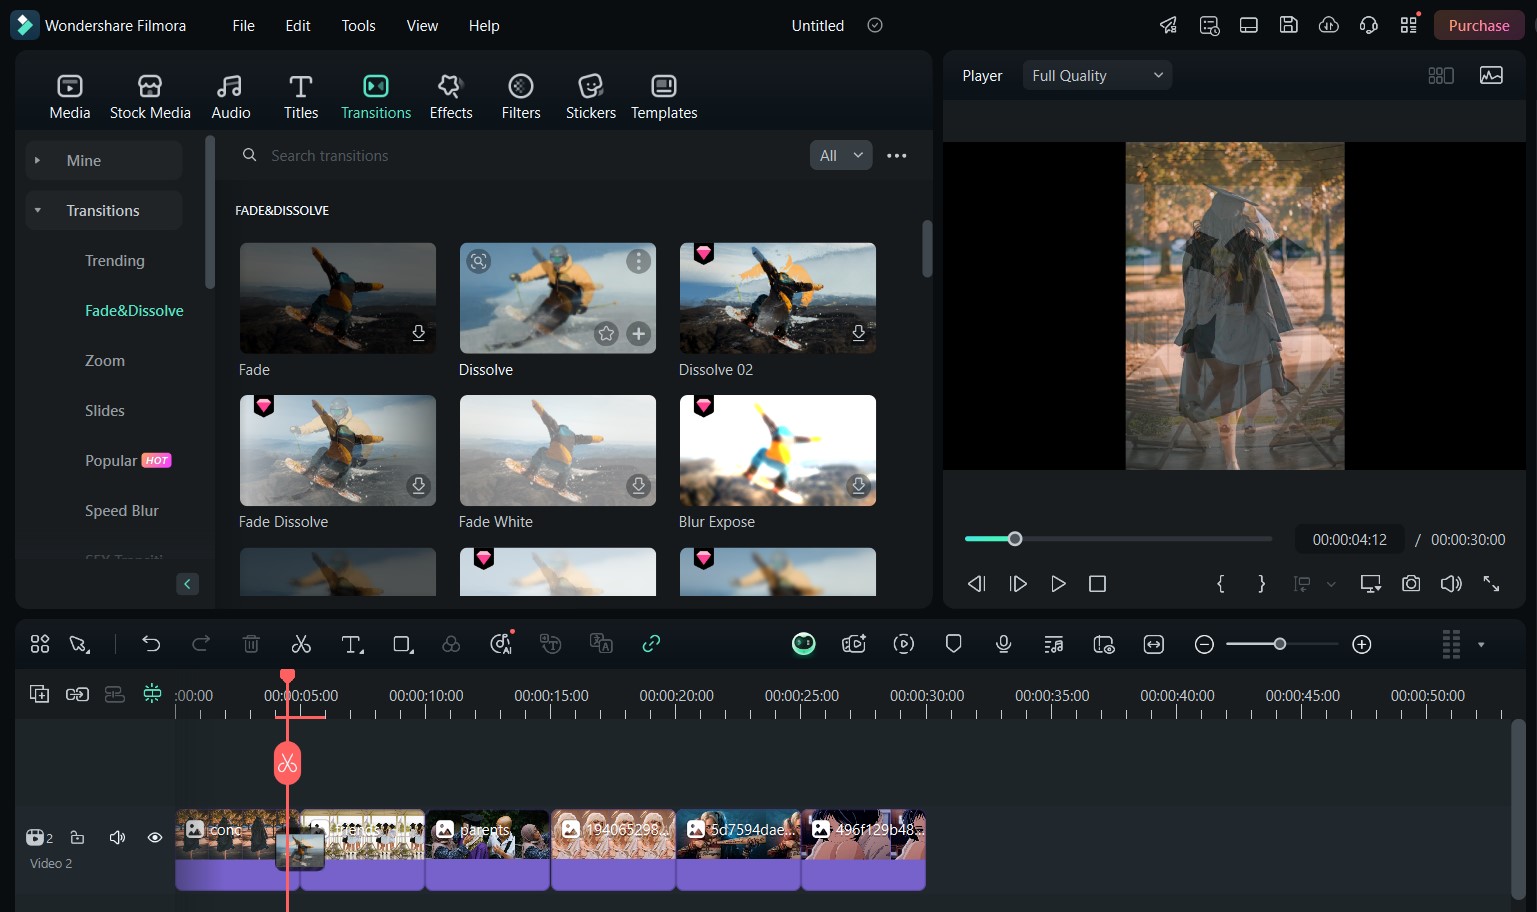
Step 5: Now, you can add sounds and music by clicking on Audio from the top panel. You can add uplifting sounds to make your movie more inspiring, for example. From the Audio panel, you can also add sound effects and universal music to your picture movie to make it more engaging. Or, you can record a voiceover to add to your movie.
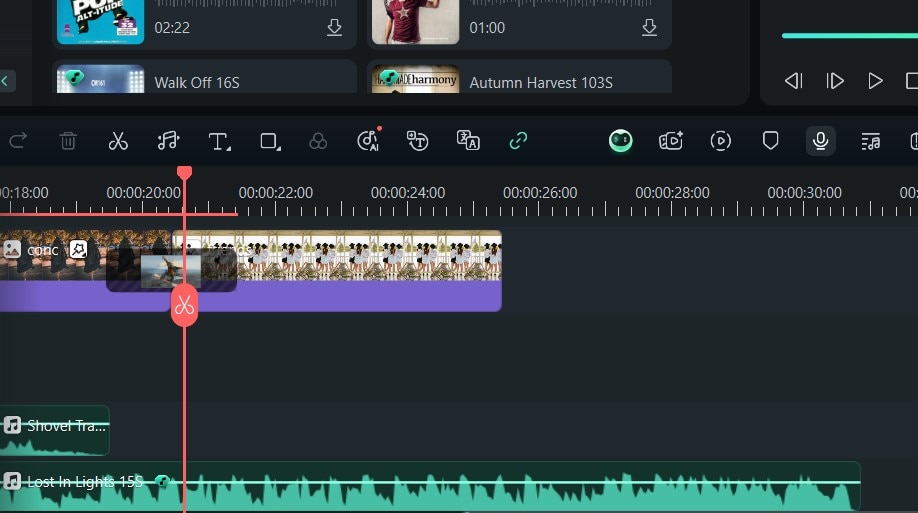
Step 6: Then, preview and fine-tune your video to meet your tastes before clicking Export and selecting the format you want—Preferably MP4—to save it to your device.
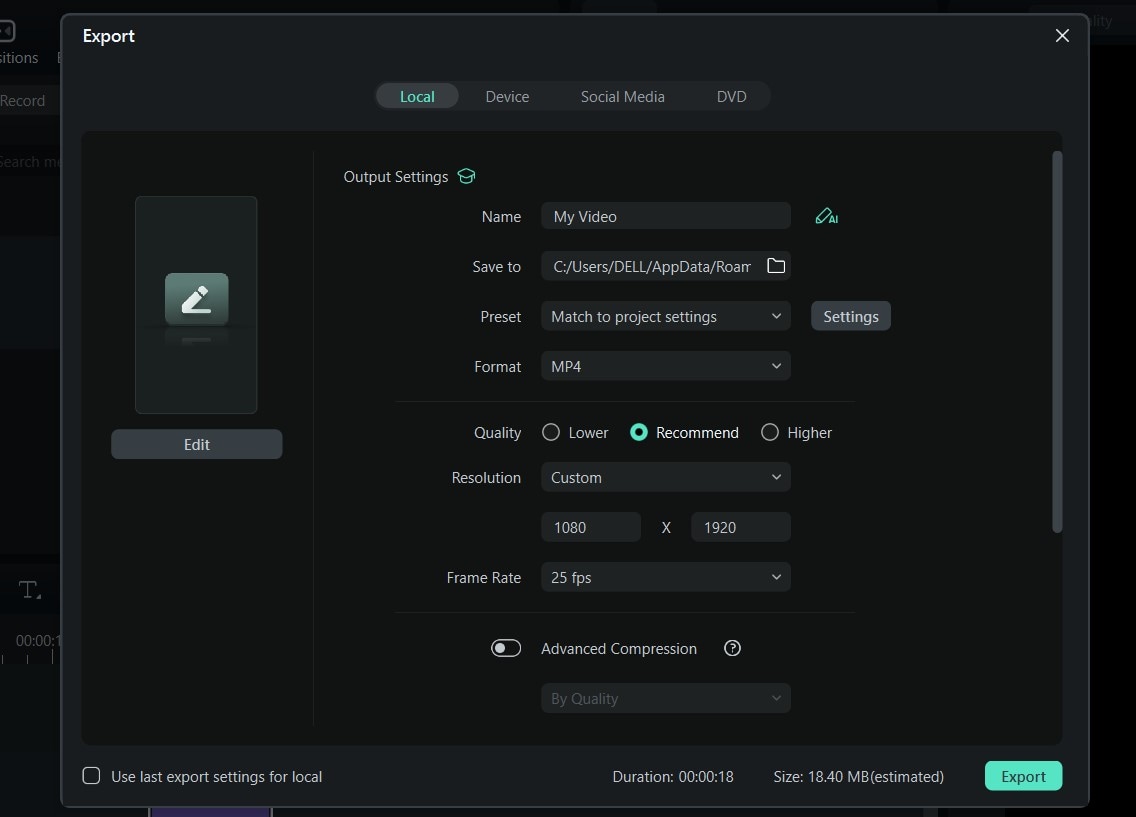
Here's a sample picture movie I created with Filmora using the steps above:

By using Filmora's desktop version, you unlock a professional-grade editing experience. The advanced features allow you to create picture movies that stand out on Instagram, showcasing your creativity and expertise. Whether you're adding intricate transitions, performing detailed color corrections, or layering multiple audio tracks, Filmora provides the tools you need to bring your vision to life.
Conclusion
Turning your pictures into a movie on your iPhone is a fun and creative way to tell a story or relive special moments. Whether you use iMovie to keep it simple or go all out with cool effects and transitions, there are plenty of ways to make your photo movie stand out.
If you're ready to take your understanding of how to make a movie from pictures on iPhones to the next level, you can use Filmora to edit your movies like a pro. With features like AI-powered effects, customizable transitions, and a seamless editing experience, it's designed to make your picture movies look professional and unique. You can start with the mobile app for quick edits or switch to the desktop version for more advanced options. Download Filmora today and turn your photos into something truly unforgettable!


