If you're looking for the best way to add a professional touch to your video content and make it more attractive across online streaming and social media platforms, the freeze-frame effect should be your first choice.
This effect is ideal for creating memorable scenes, emphasizing key moments, and drawing your viewers' attention to the highlights in your footage. It allows you to pause the narrative, capture your audience, and guide their attention using split-second moments to provide an unmatched viewer experience.
Today, we'll delve deeper into the importance of freeze frames in Capcut and the steps to create a stunning freeze-frame effect to make your content stand out in the digital sea of videos.
In this article
Main Features of Capcut's Freeze Frame Effect
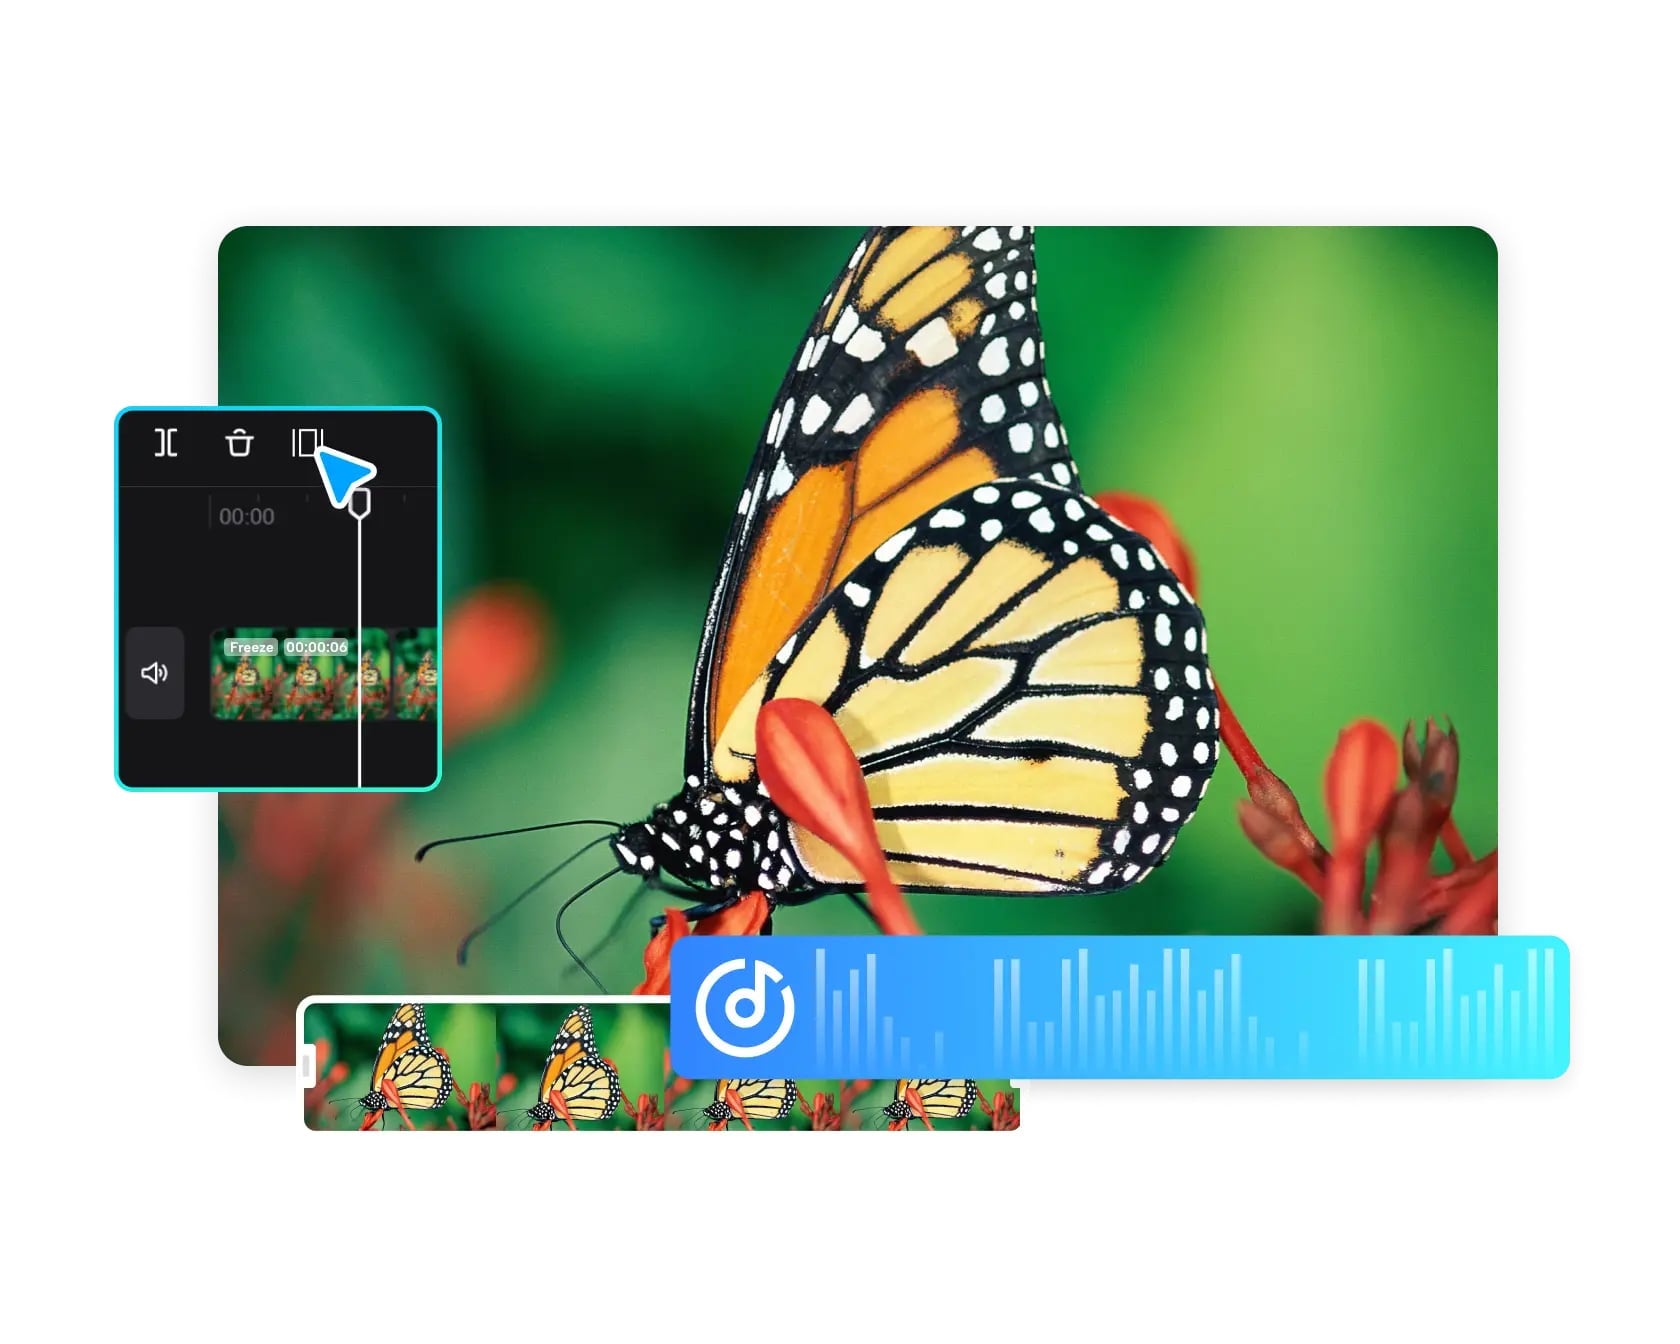
The Capcut video editor helps you tap into a user-friendly solution for achieving stunning freeze-frame effects on your Windows or Mac computer. Capcut empowers you to create smooth freeze-frame effects, allowing you to emphasize key moments in your footage. You can ensure your videos have a greater visual impact on your viewers. More importantly, you can use the Capcut freeze-frame effects across multiple video content scenarios, from marketing content, ads, and business presentations to educational tutorials, online how-to videos, gaming clips, etc.
In addition, Capcut offers a wide range of freeze frame customization options, including adjusting the appearance and duration of the freeze frame effect, adding smooth transitions, applying trending filters, professional color grading, and more. The Capcut's desktop version allows you to custom-tailor freeze frames according to your needs.
You can tap into extensive customization options such as:
- Adjust crop ratios for each freeze frame.
- Mirror or rotate freeze frames.
- Use mask, blend, and cutout features to add heart or star-shaped effects to your still frames.
- Adjust vertical and horizontal alignment to beautify freeze frames and enhance facial features.
- Export videos in 4K 60fps quality.
When to Use Freeze Frames in Capcut
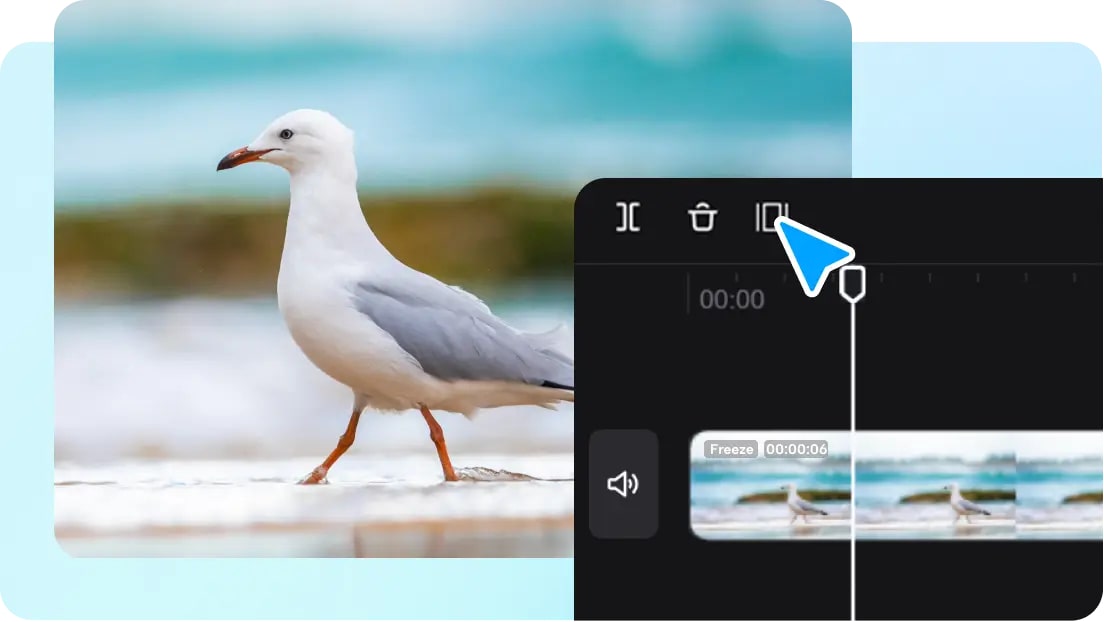
Modern internet users interact with digital content whenever they get online. Everywhere they go, there are images, clips, stories, shorts, reels, etc. Consuming all that content requires a lot of time and effort to pay attention to every detail.
Whether making product reviews, gaming videos, or online tutorials, attention-grabbing stills can help you capture your viewers, emphasize key moments, highlight specific details, and draw focus to the paramount elements of your content.
That's where freeze frames in Capcut come into the picture. The freeze frame effect in Capcut empowers you to create memorable visual pauses, keeping your viewers focused and allowing them to connect to your content. By strategically inserting frame stills throughout your content, you allow your viewers to immerse themselves in your story, guiding them through your narrative by providing additional context to complement the visuals.
You can use Capcut freeze frame effects in various situations:
- Emphasize key takeaways and highlights by pausing instructional videos.
- Allow viewers to focus on crucial concepts across your videos.
- Summarize business presentations by highlighting vital data points.
- Bring ads and marketing clips closer to your audience by strategically creating memorable content with engaging moments.
- Elevate your content and strengthen brand recognition with reinforced logos, storytelling, and messaging.
- Create visually stunning moments to improve viewer engagement by incorporating dynamic freeze-frame effects.
How to Add Freeze Frames in Capcut
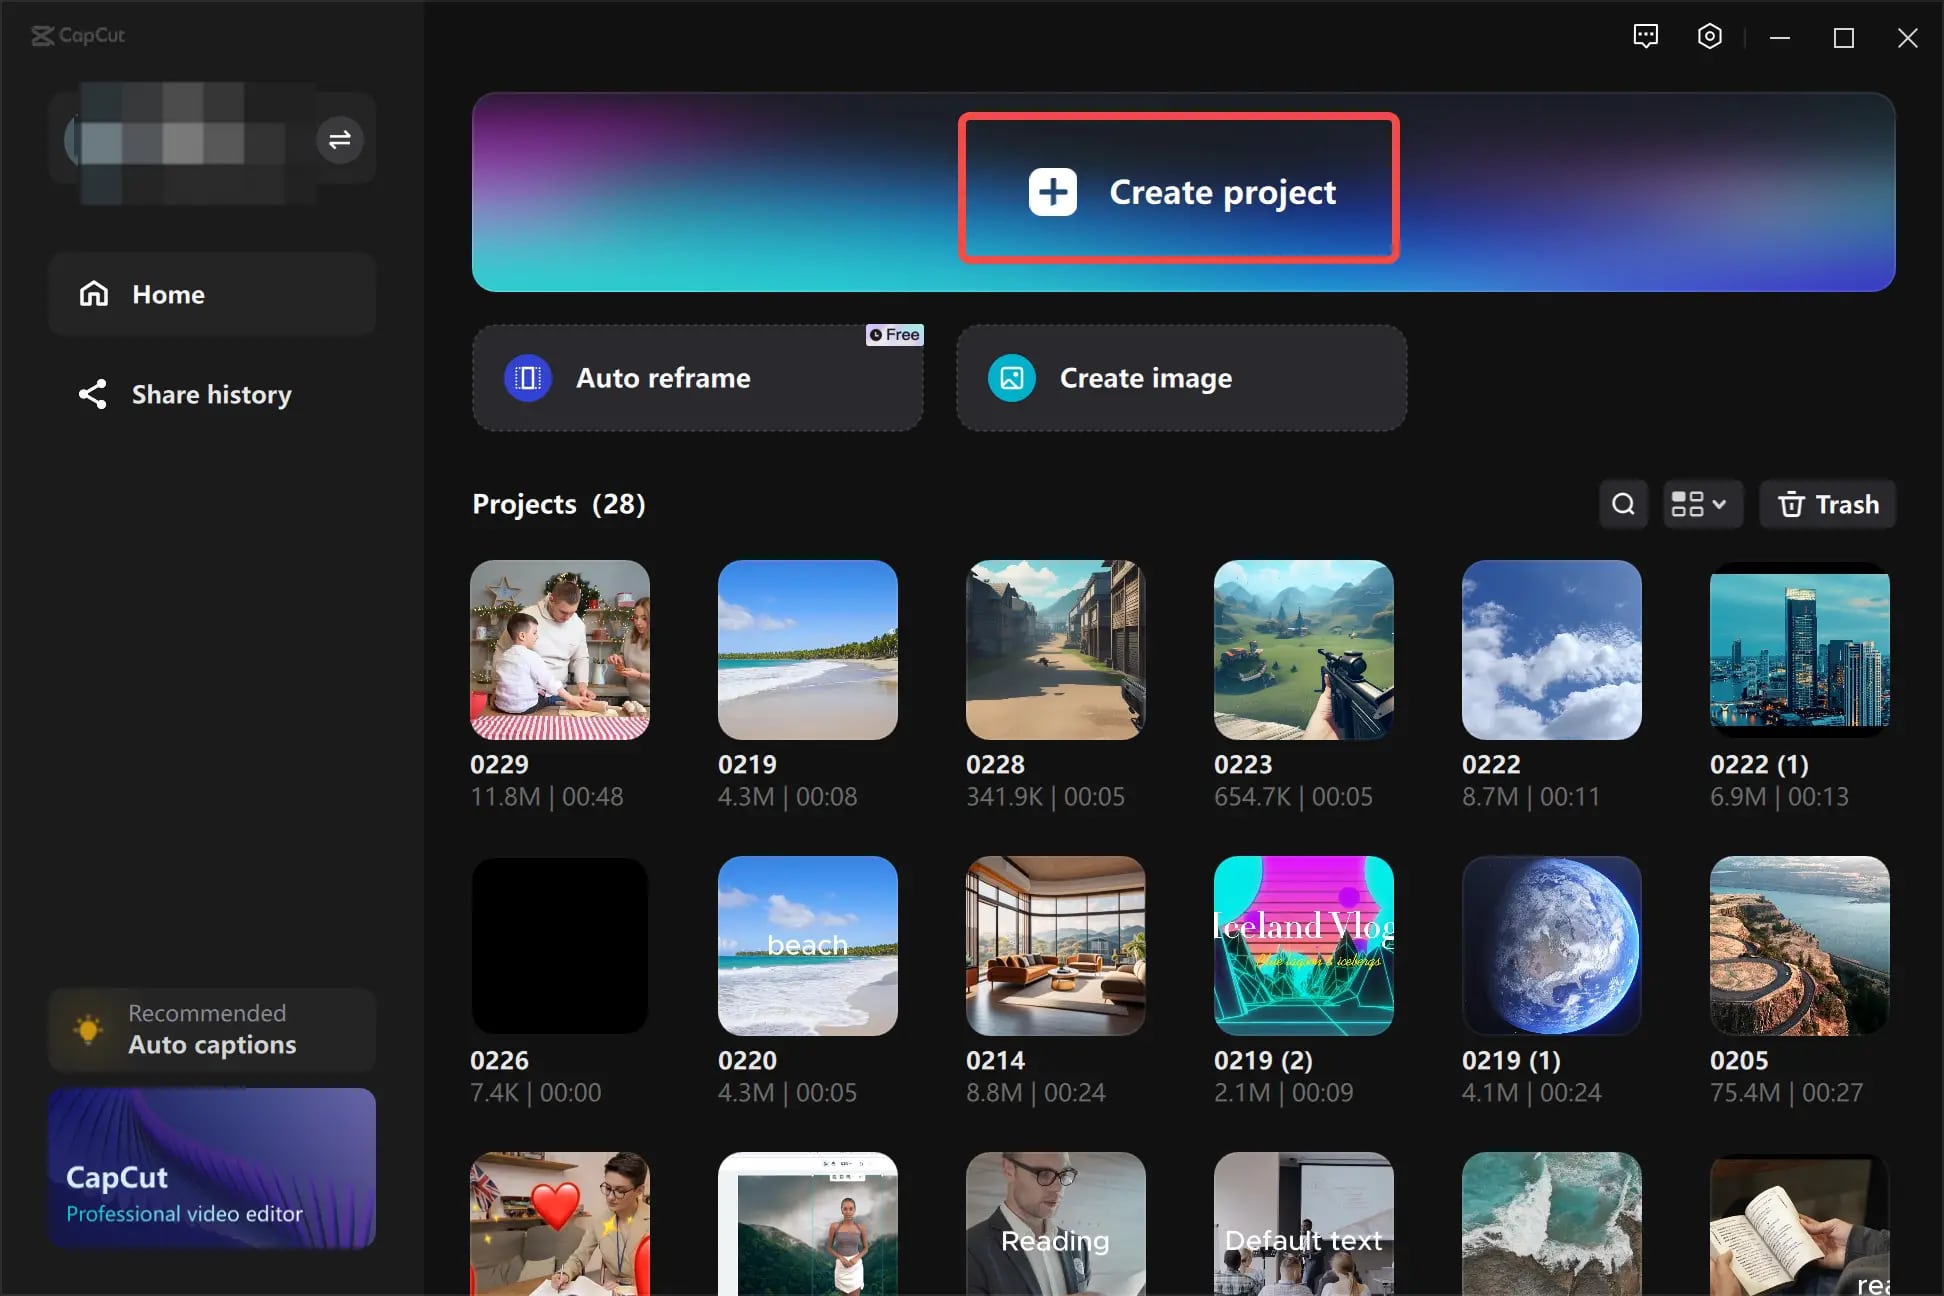
- Step 1: Launch Capcut and select Create Project.
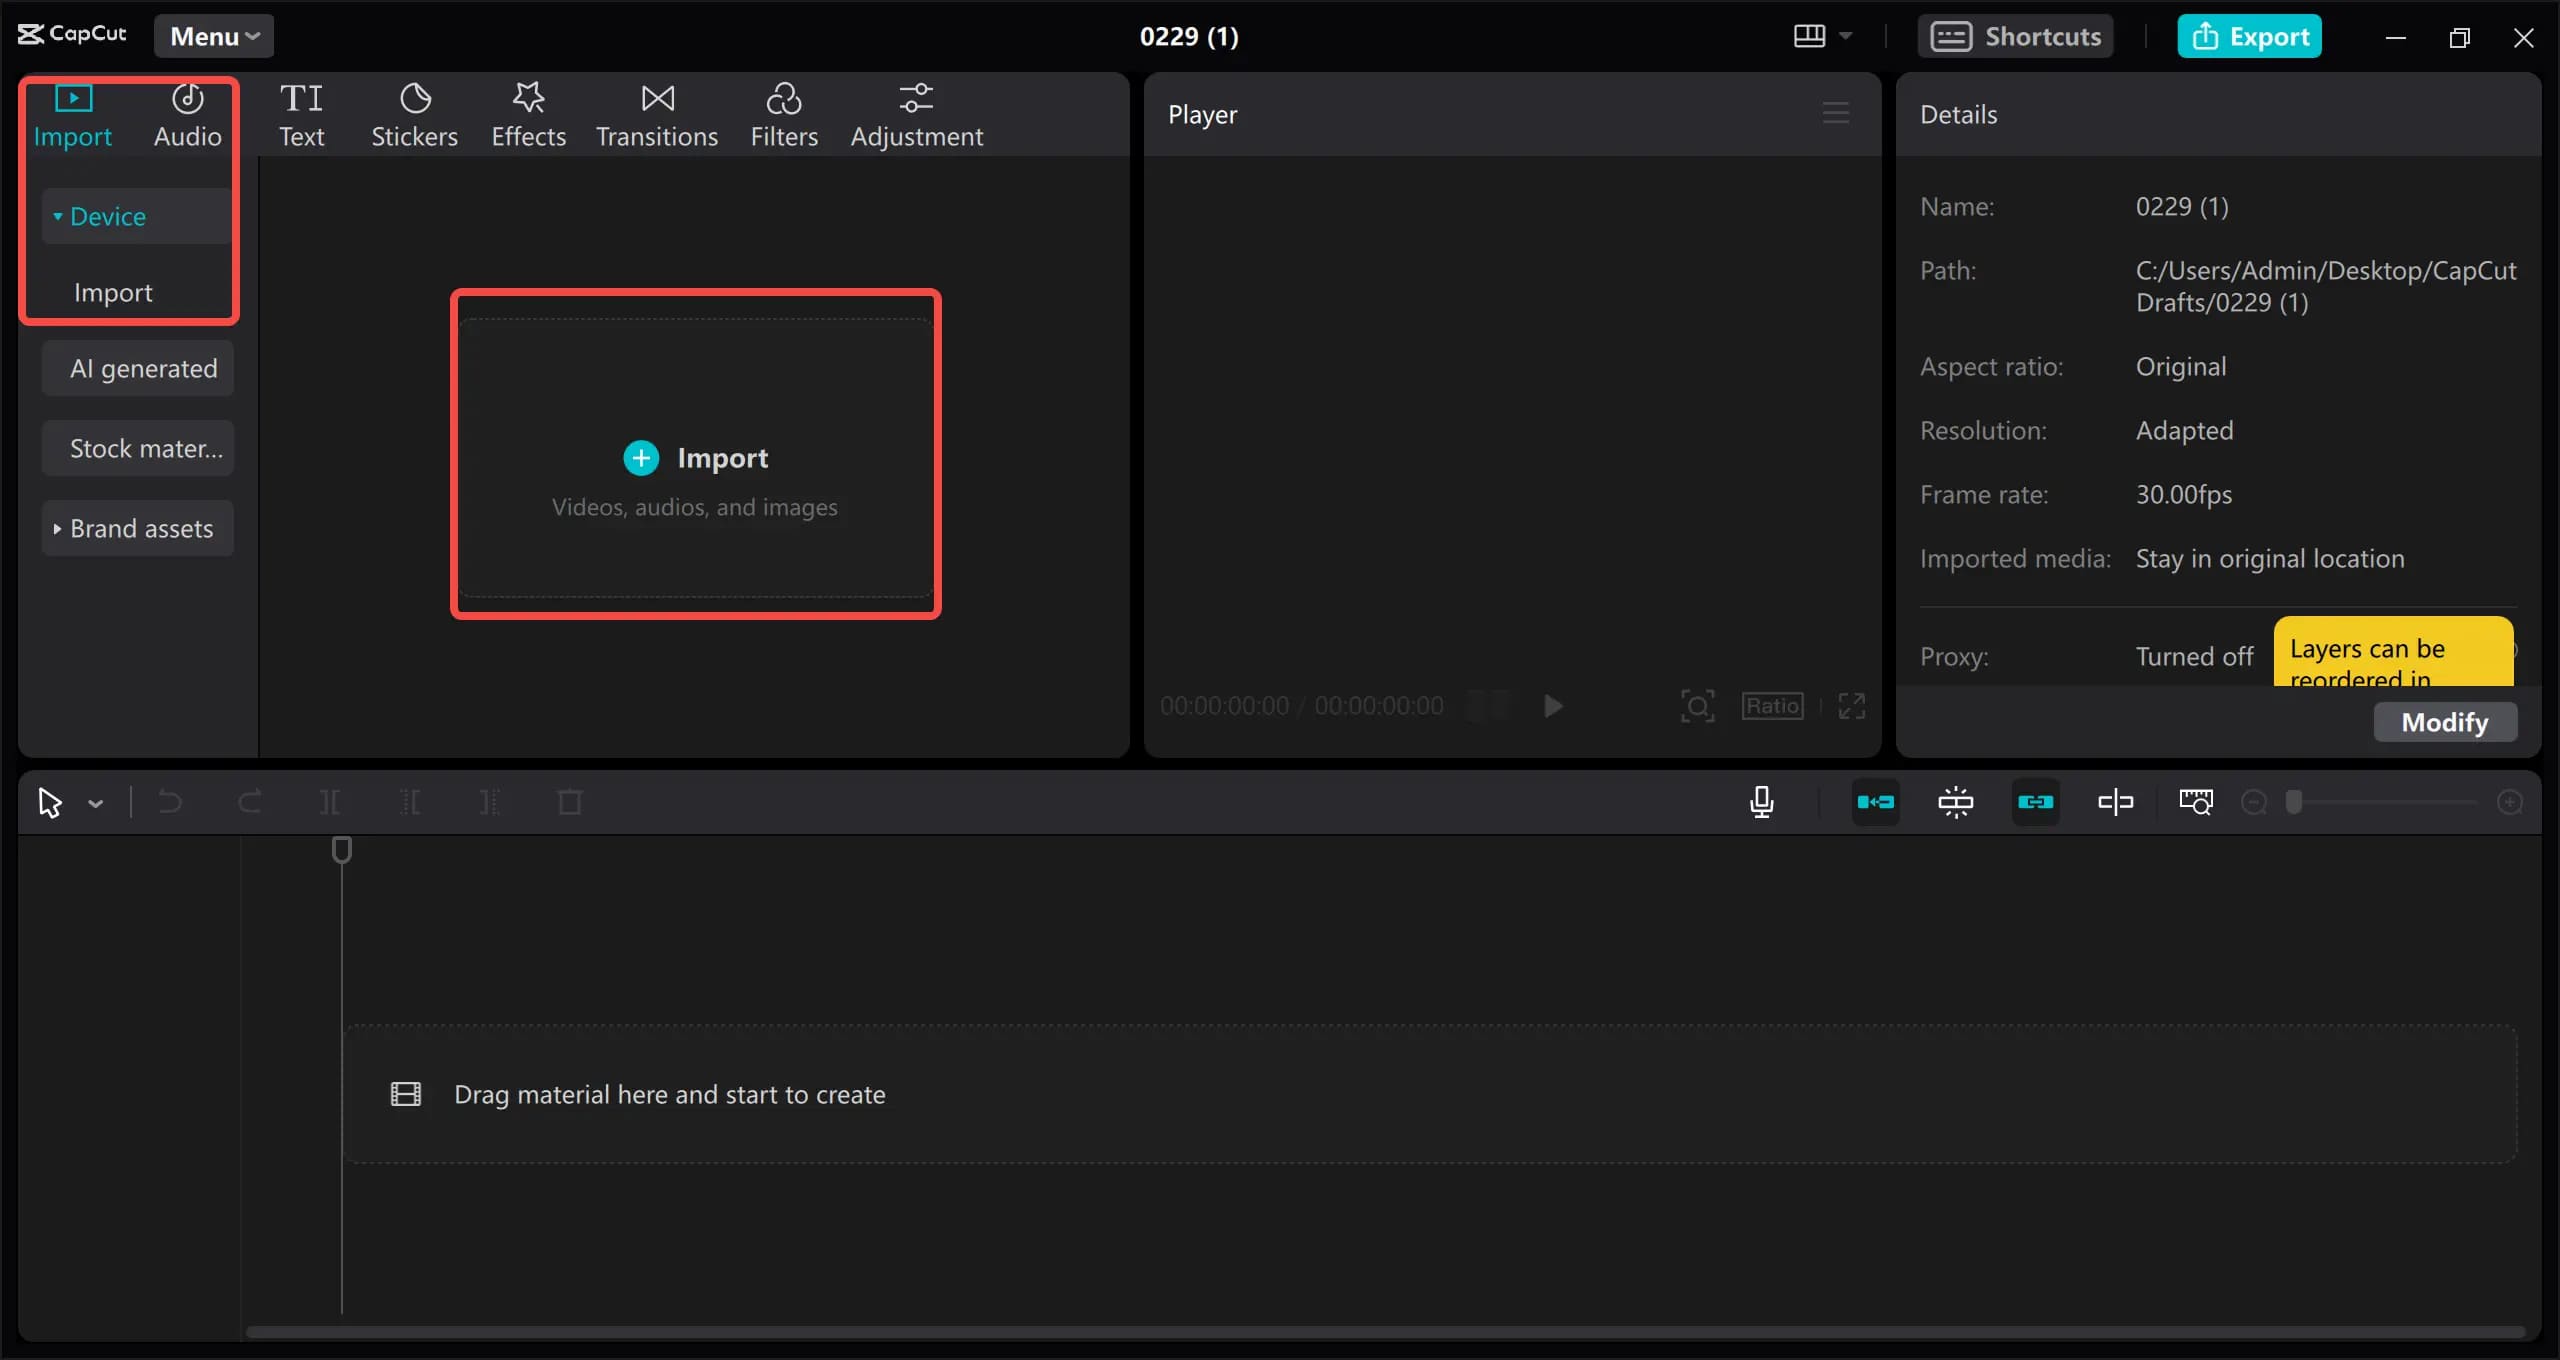
- Step 2: Navigate to the editing interface and click Import to upload your video clip. Drag the clip to the timeline editor.
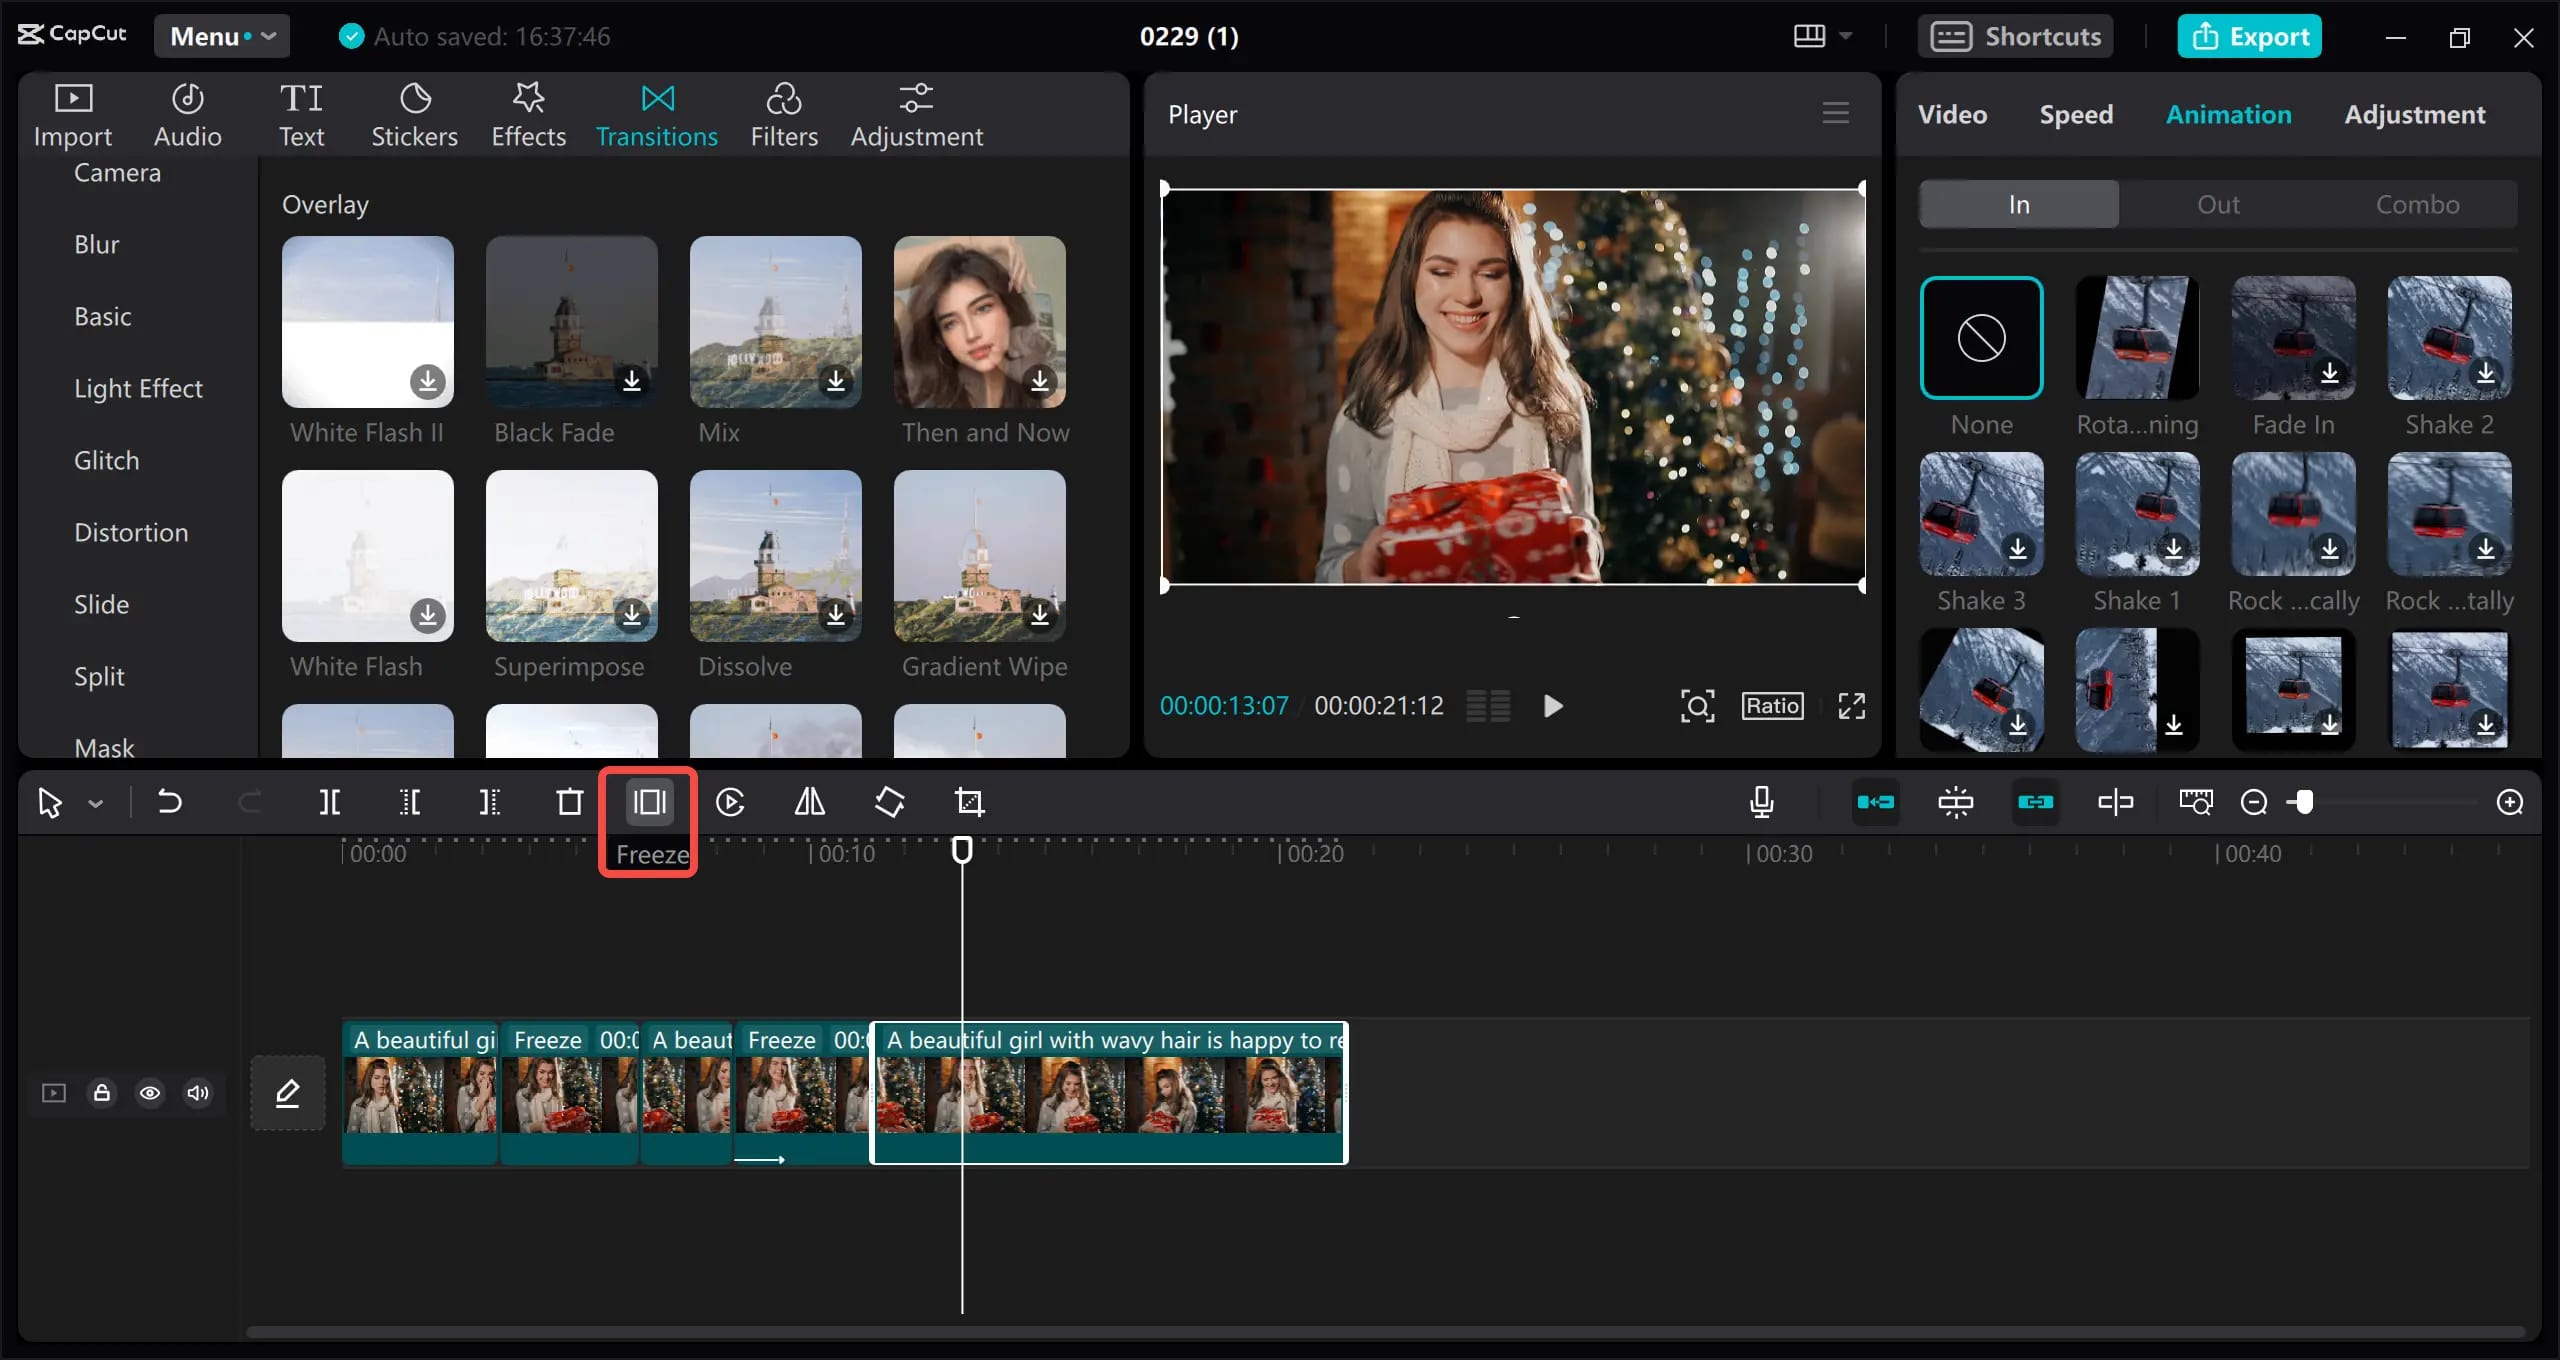
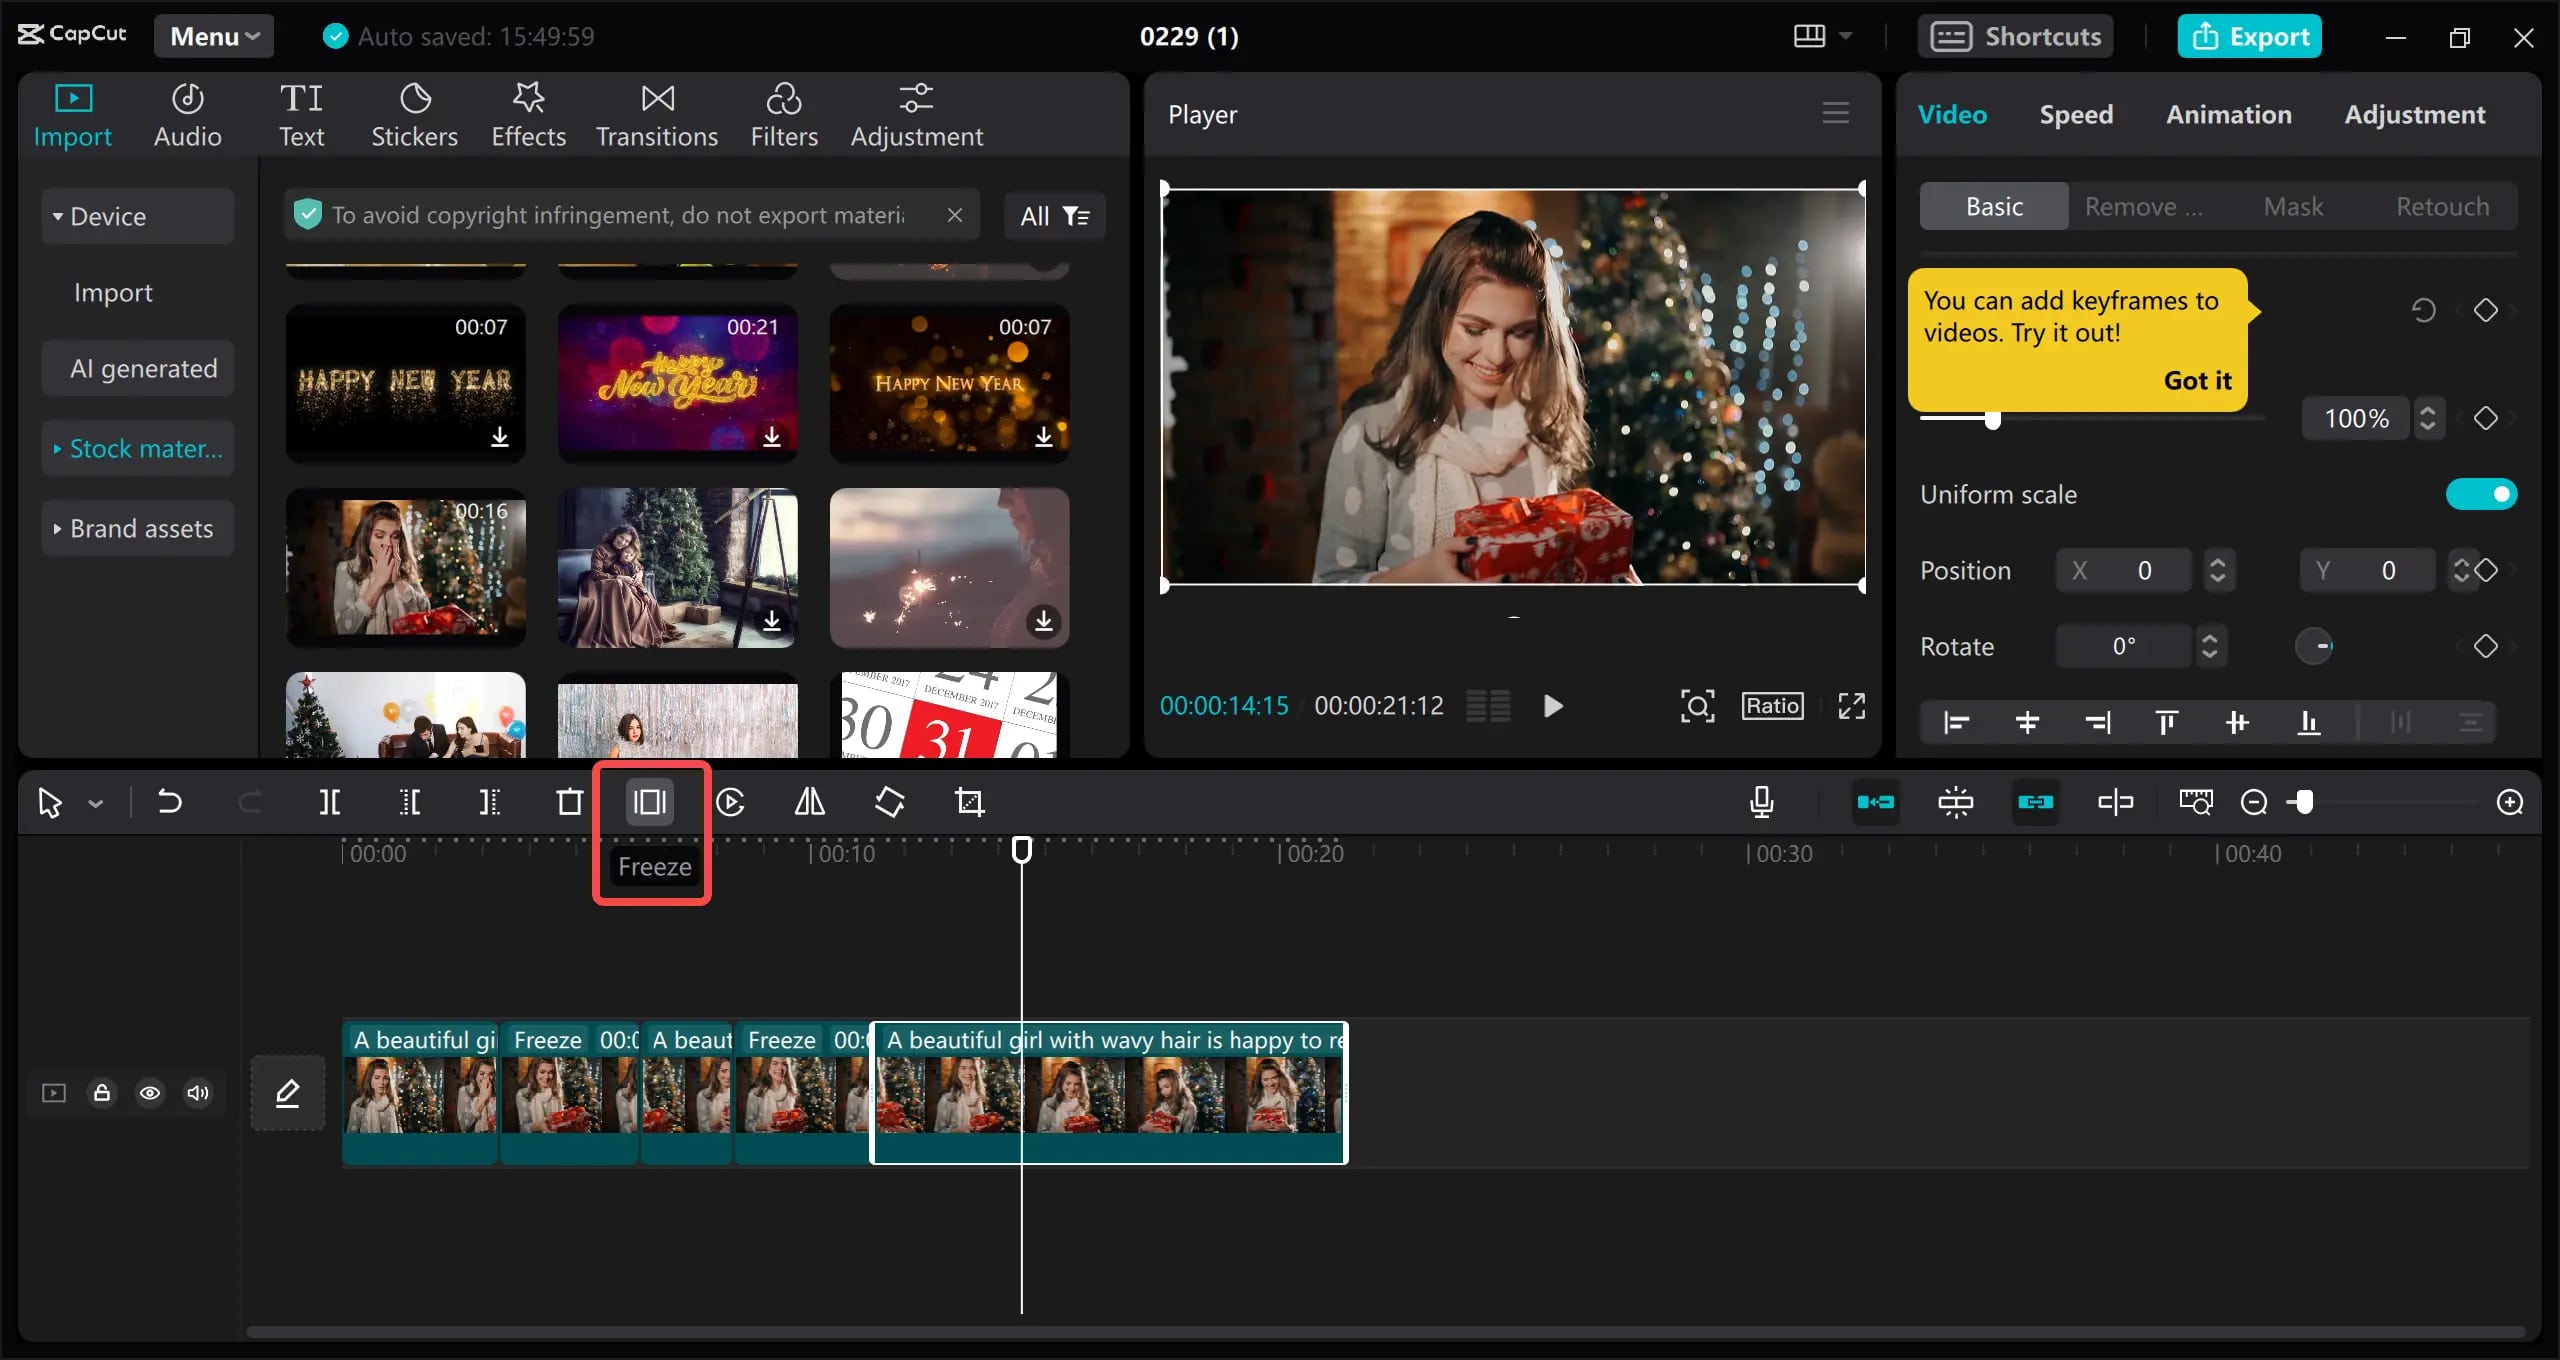
- Step 3: Select the clip in the timeline and pinpoint the specific portion of your footage where you wish to insert the freeze-frame effect. Find the Freeze Frame option in the toolbar and click it to apply the effect to your video clip. Access the available customization options to adjust settings such as animation, crop ratios, mirroring, rotation, etc.
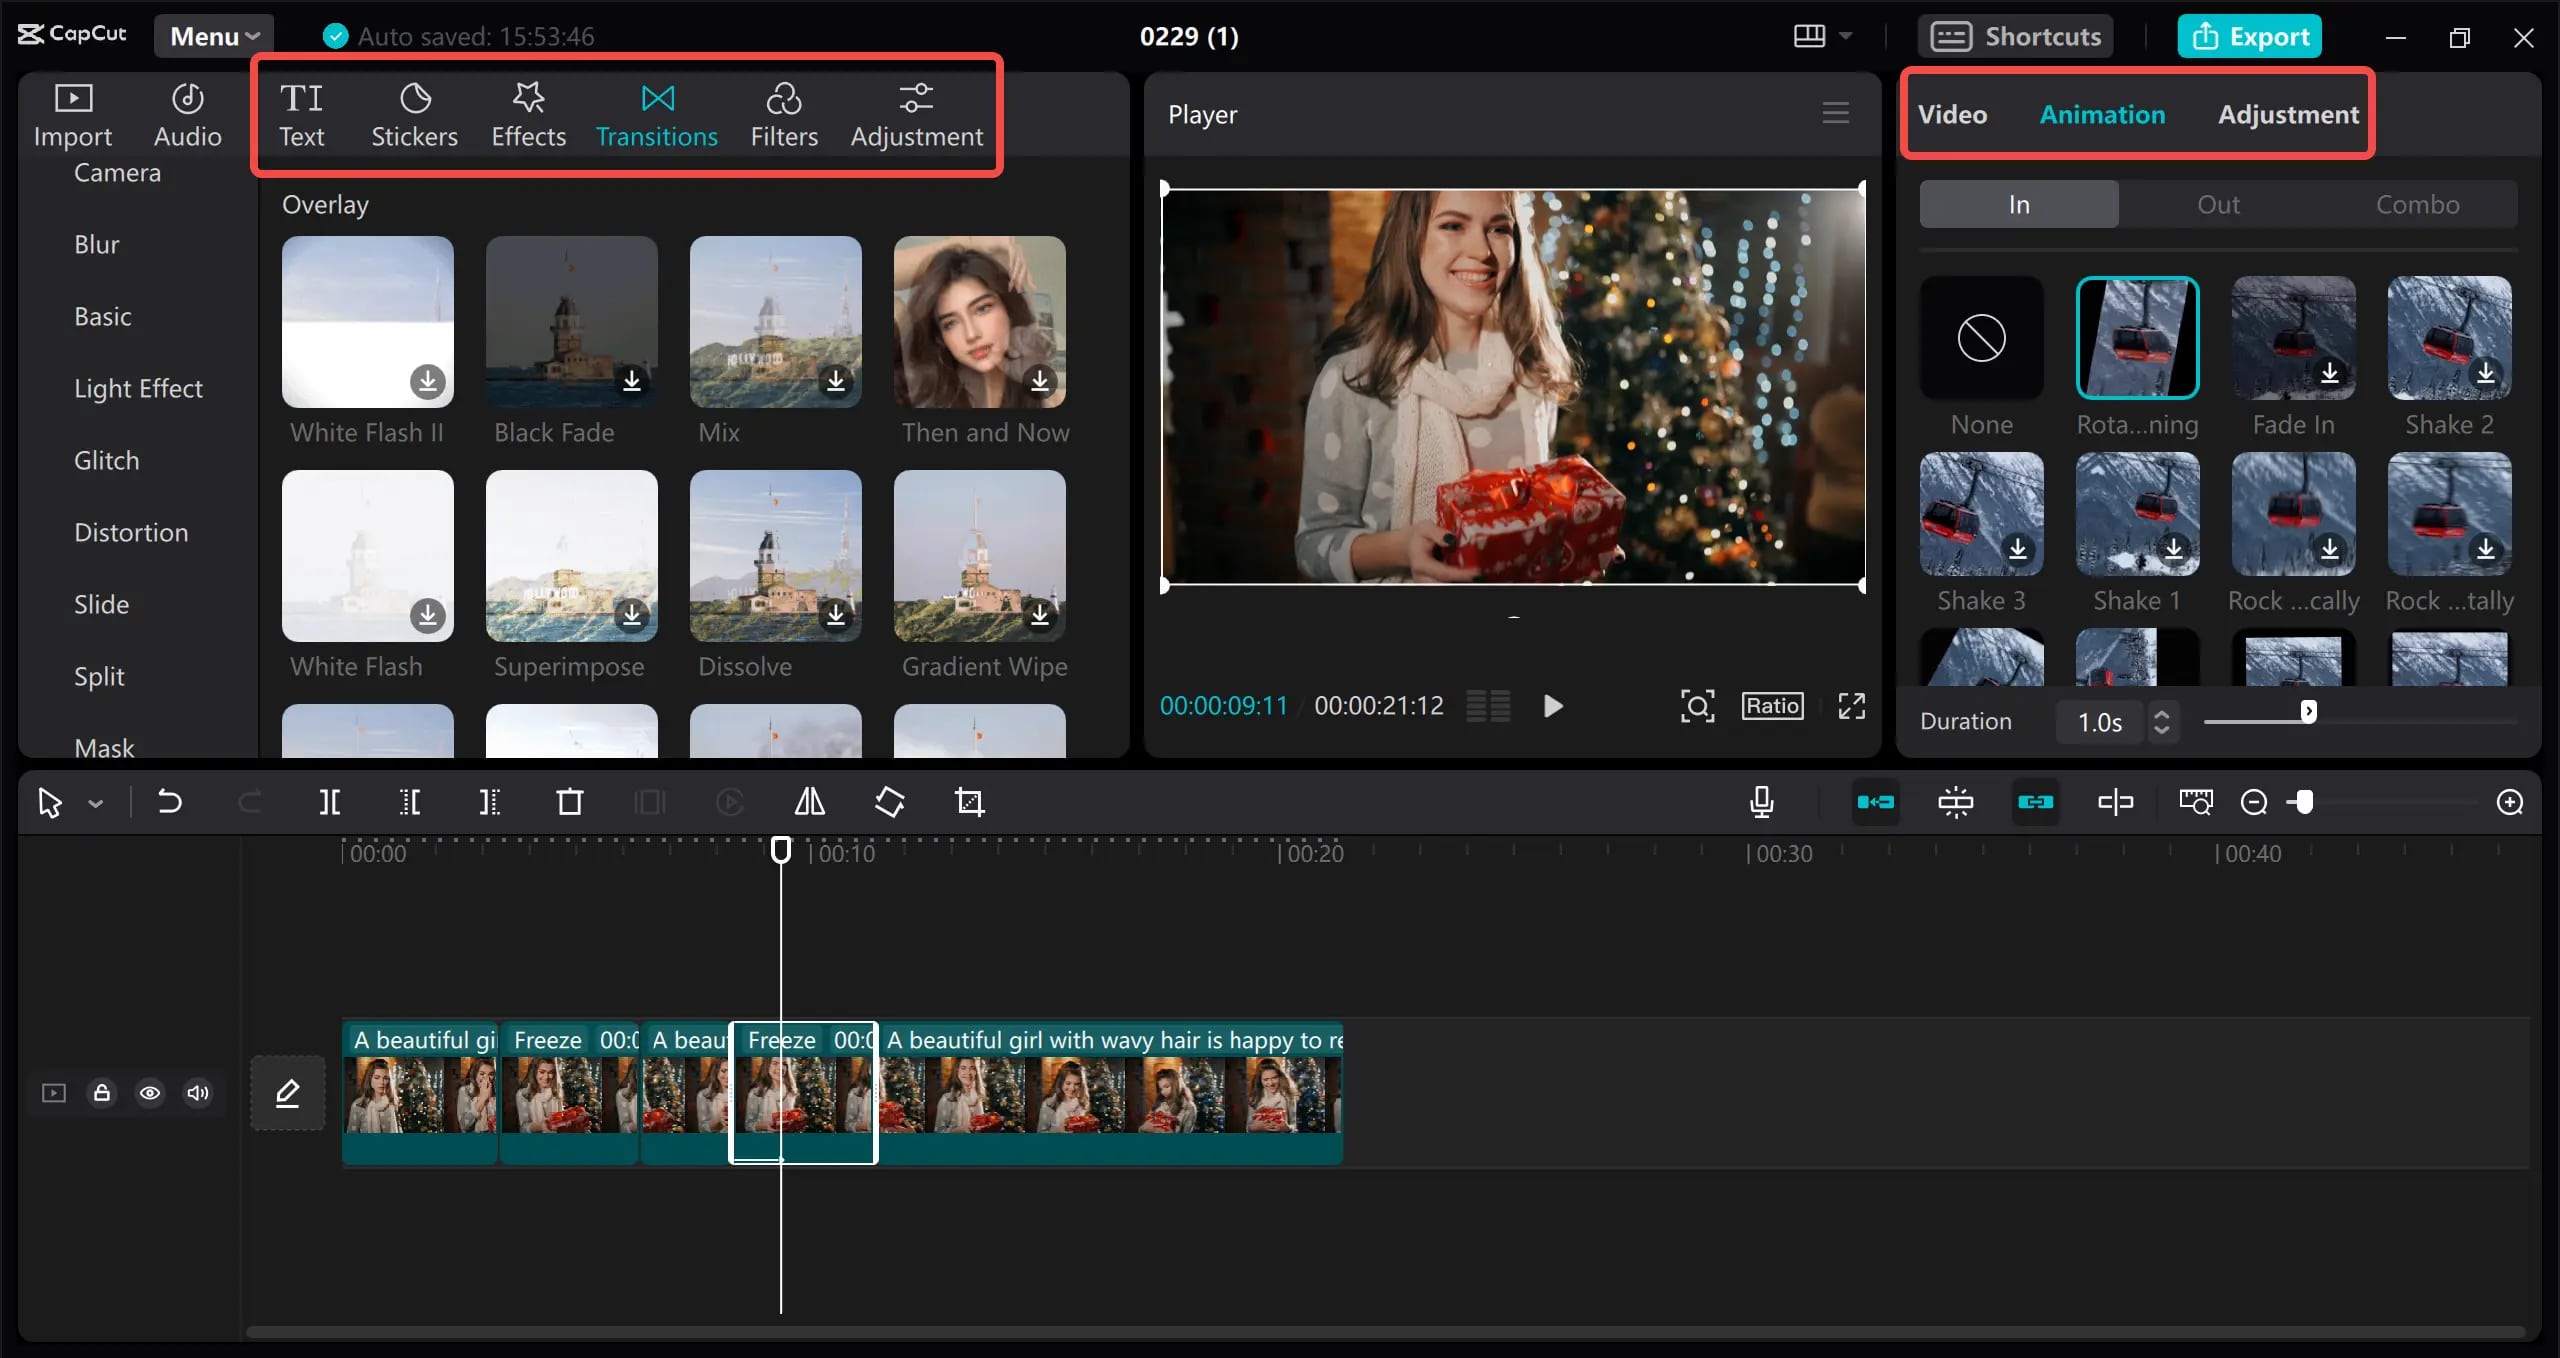
- Step 4: Fine-tune brightness and color parameters to seamlessly transition the freeze frame and ensure it blends perfectly with the rest of your footage.
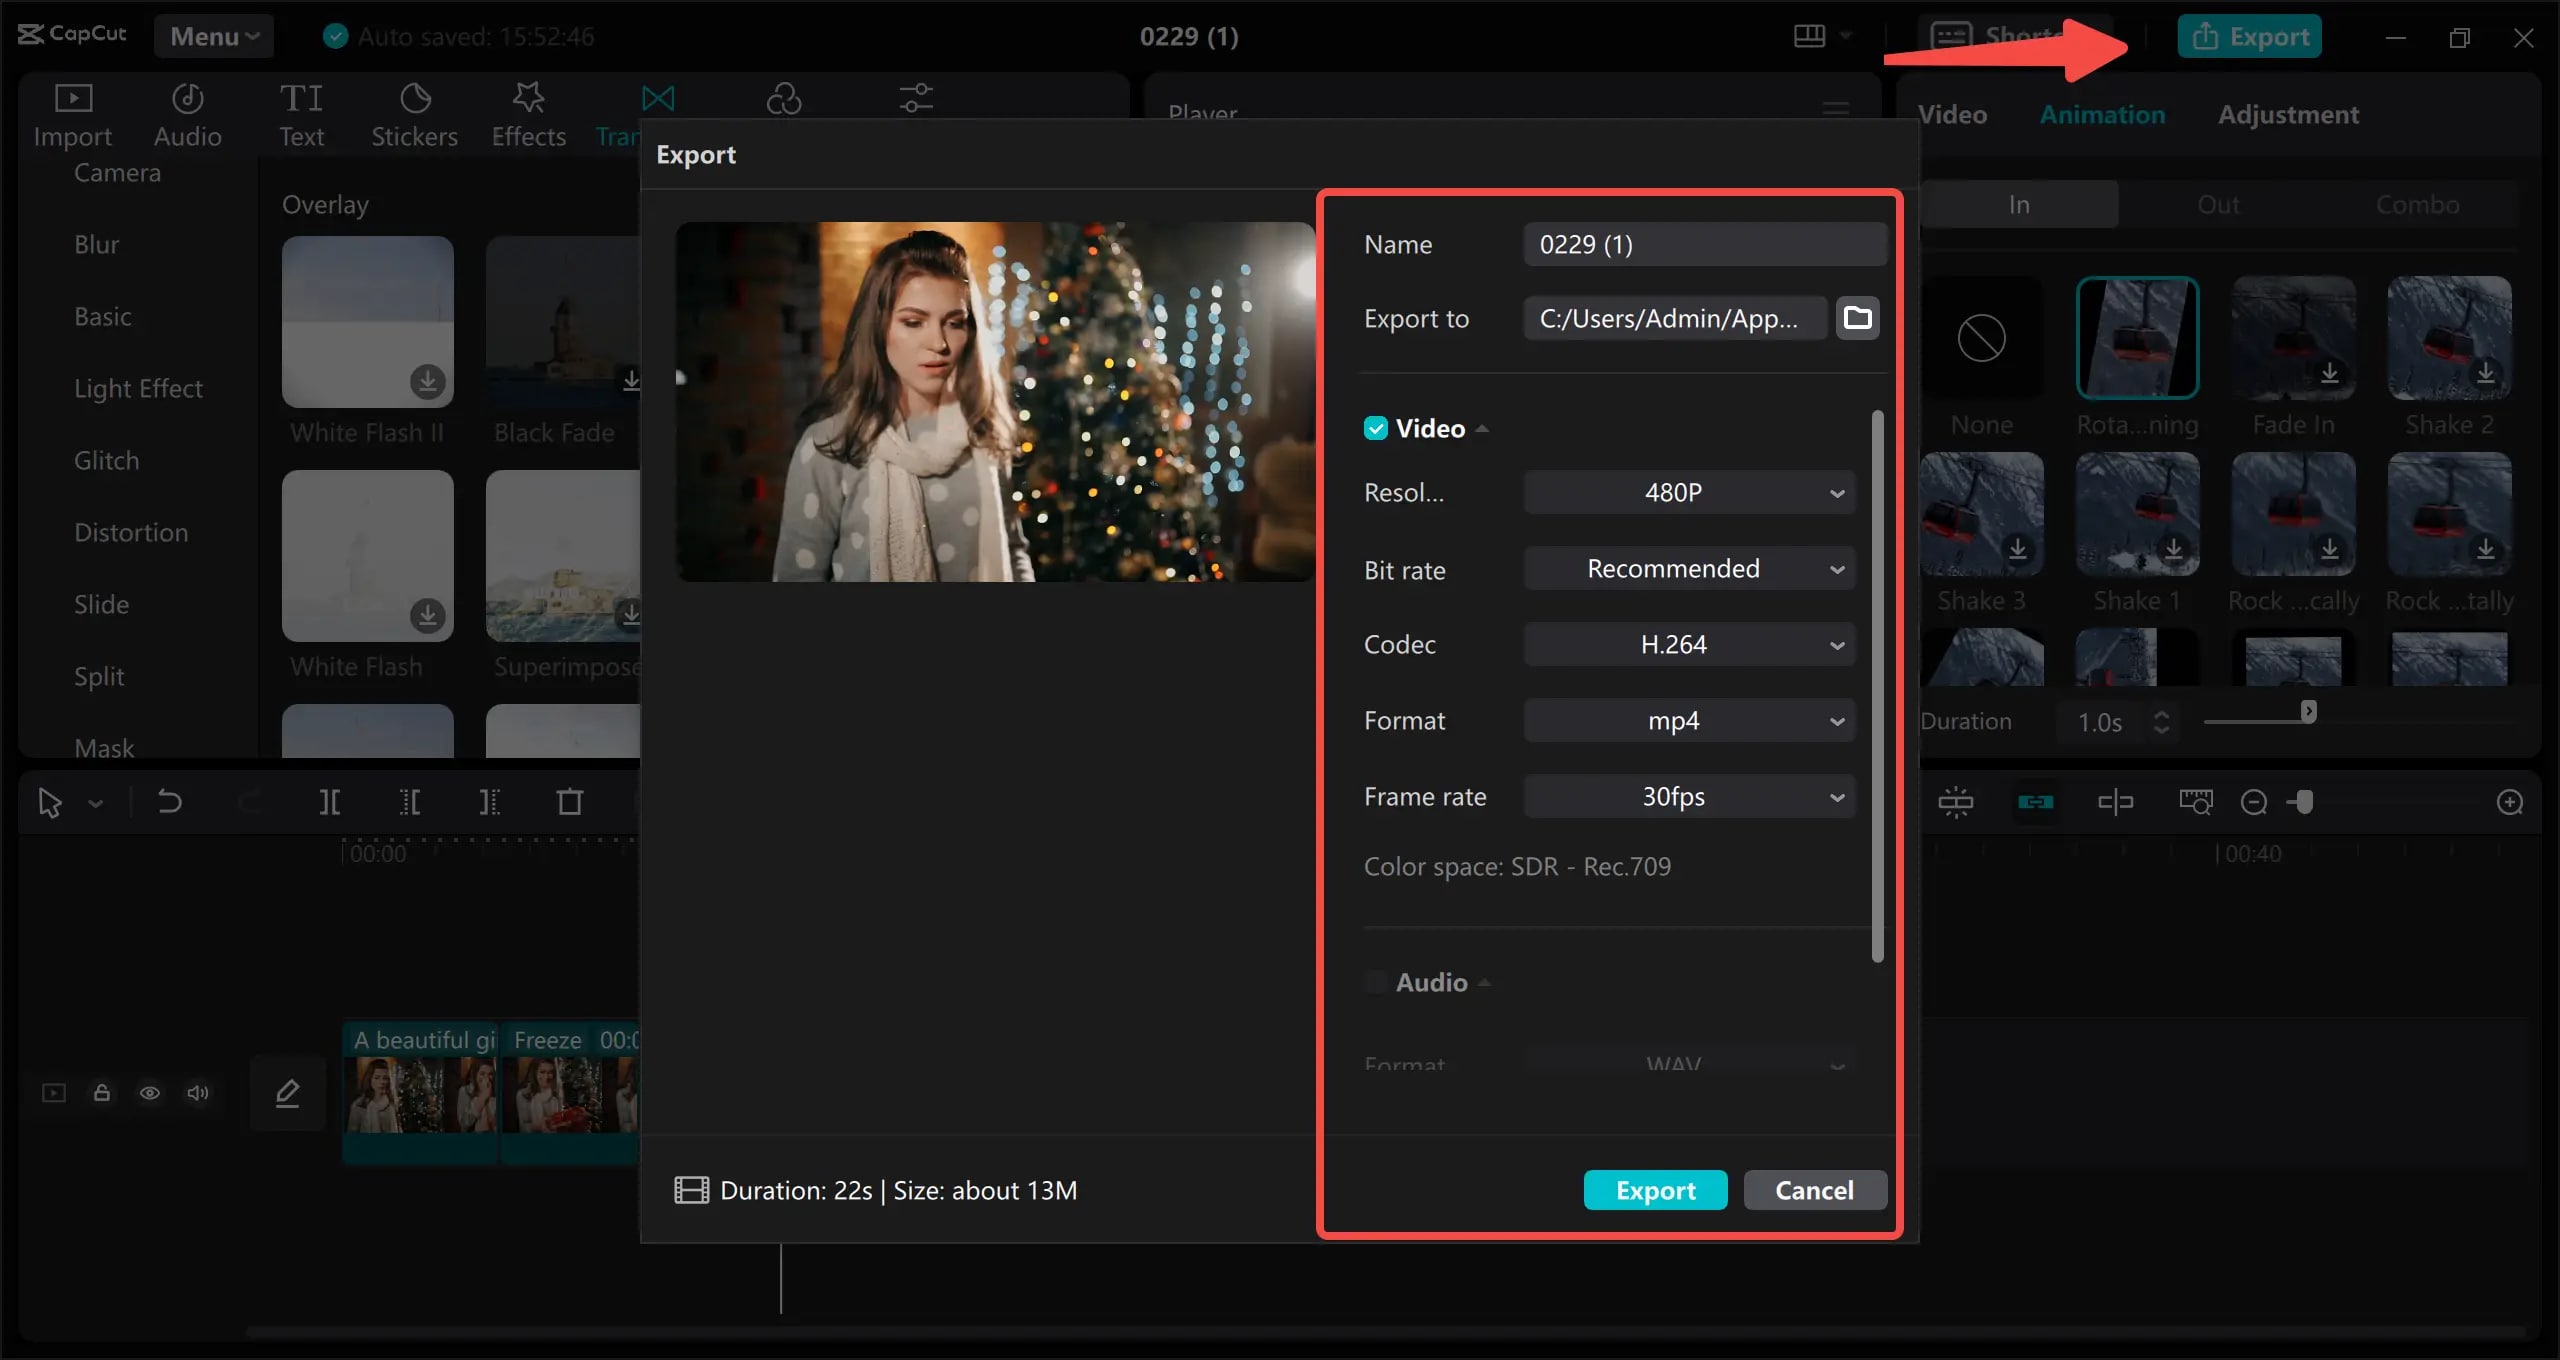
- Step 5: Export your video with the freeze frame effect.
Best Alternative to Capcut for Adding Freeze Frames - Filmora
Wondershare Filmora is the best Capcut alternative for adding freeze frames to your video footage. Filmora can do everything that Capcut does, but better. Aside from providing easy-to-use freeze frame options, Filmora gives you more control over the effect, allowing you to customize the freeze frames according to your specific needs.
In addition, Filmora supports a more extensive range of media files, giving you more import/export options. You can take snapshots to create frozen images using your video footage, adjust the duration and position of the freeze frames, and customize the freeze frames using 90-degree clockwise rotation, contrast modification, brightness adjustment, etc.
Filmora also lets you enhance your freeze-frame video by adding captions to the still frames to make them more immersive. Select the caption template that meets your preferences, add it to the freeze frame, and adjust it using available customizations and effects such as zoom in/out, caption size, time duration, etc.
With Filmora, you can create the reversed speed effect using freeze frames, edit the freeze frame video clips, and harness the power of Filmora's AI audio/video editing features to elevate your content and transform average footage into professional-grade shareable content.
- Superb video stabilization with low distortion.
- Vast video/audio effects and creative assets.
- Powerful AI for effortless content creation.
- Intuitive, professional yet beginner-friendly.
- Works on Mac, Windows, iOS, and Android.

How to Add Freeze Frames in Filmora
Adding freeze frames in Filmora is a breeze. Download and install Filmora on your computer, then follow the steps below to create the freeze frame effect in Filmora.
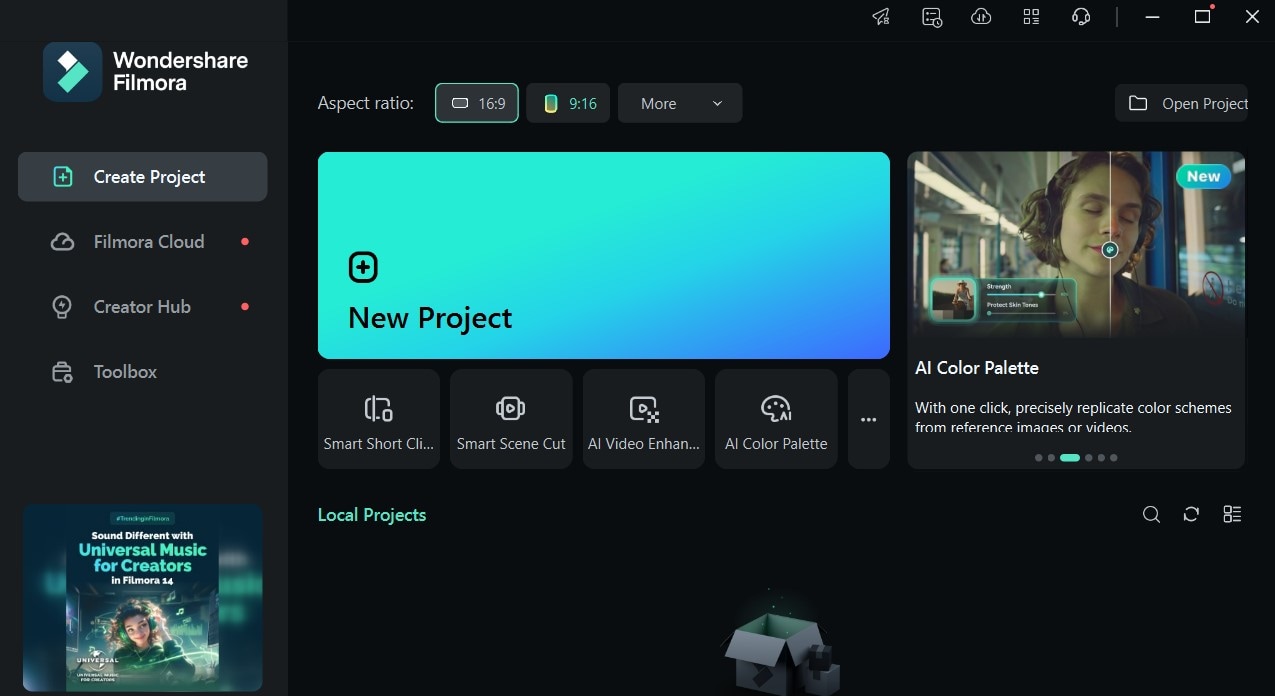
Step 1: Launch Filmora and navigate to the main menu. Select Create Project > New Project.
Step 2: Import your video and drag it to the editing timeline. Position the play head to the point in the video where you want to add a freeze frame, right-click the video in the timeline, and select Speed > Add Freeze Frame. You can also use the forward/backward options in the Preview window to navigate your clip frame by frame and find the specific scene faster.
Filmora will automatically split the video at the freeze frame and insert the selected frame as a still image into your clip. It will display the freeze frame scene for the duration you pinpoint.
Once you click the Add Freeze Frame option, Filmora will create a snapshot of the current video frame and insert the image into the specific position. Remember that the freeze frame portion doesn't contain voiceover, sound, or audio.

Step 3: You can adjust the duration of the snapshot frame by clicking the Speed icon in the toolbar and selecting Add Freeze Frame. Alternatively, you can drag the edges of the freeze frame in the timeline to adjust its duration.
Filmora allows you to change the duration of all freeze frames you add to your videos. Navigate to Preferences > Editing, select Default Duration, and adjust the duration according to your needs.

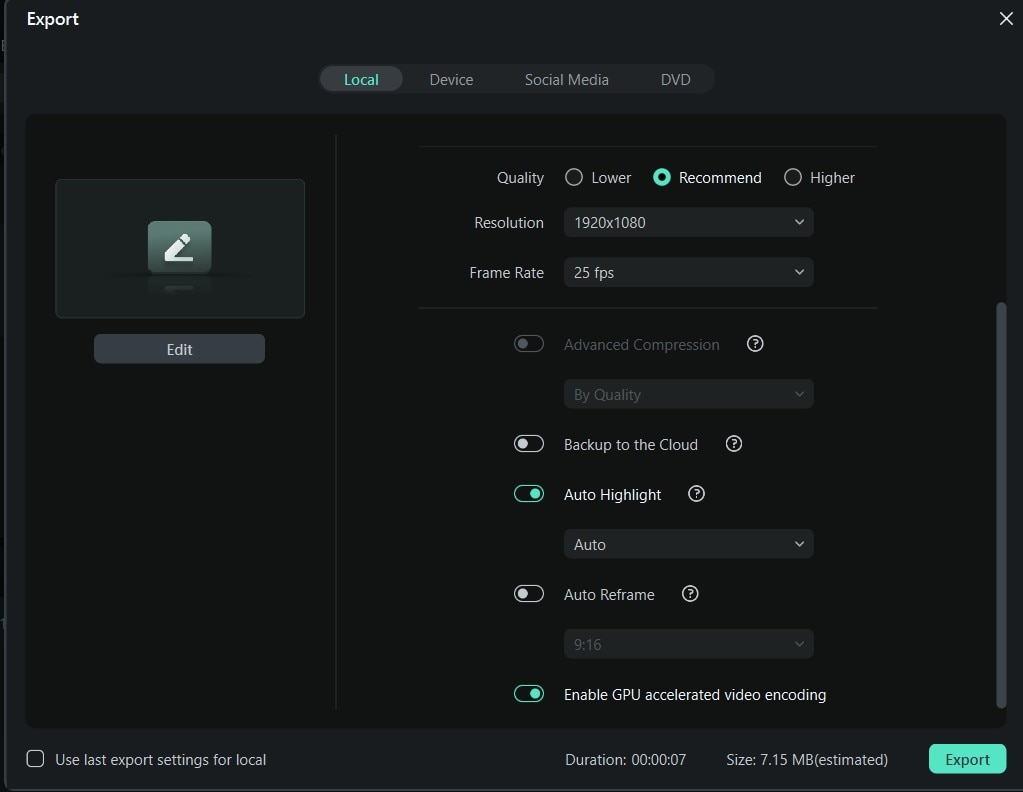
Step 4: Click Export, select the preferred video frame rate, bit rate, resolution, quality, and format, and click Export again to save your freeze frame video on your computer.
How to Get Creative When Creating Freeze Frame Videos
Creating freeze-frame videos can help you engage your viewers by highlighting vital moments in your footage. However, getting there takes time, effort, and careful attention to detail, from frame selection to audio integration.
With that in mind, here are some professional tips to help you create compelling videos with enhanced freeze-frame effects:
- Apply transitions to enhance the effect – add more consistency to your video narrative by adding seamless transitions into and out of the freeze-frame effect. Use various transition options such as dynamic wipes, crisp cuts, and subtle fades to ensure your original footage maintains coherence and fluidity.
- Experiment with different speed settings to create more dynamic effects– boost viewer engagement by adjusting the speed of the freeze-frame effect. That should help you make the effect more dynamic. Ramp up the pace for more energetic scenes and slow down the narrative to highlight crucial moments.
- Enrich your video content with video effects and filters – visual and sound effects and filters can do wonders for boosting the aesthetic appeal of your footage. From personalized stylizations to custom-made color adjustments, effects, and filters can help you enhance your narrative, strengthen storytelling, boost the visual impact of the freeze frames, and more.
- Add more context using graphics and text animation – adding annotations, graphics, and text overlays to the freeze frame effect is perfect for getting the viewers onboard with the narrative and ensuring they understand the conveyed context.
- Diversify your compositions using masks and overlays – layering techniques, masks, and overlays are fantastic tools for adding more depth to your freeze-frame videos. You can enrich your freeze frames with additional imagery, patterns, and textures to make your videos more visually stunning and immersive.
Conclusion
Mastering the art of freeze frame creation opens a world of opportunity for you as a video maker. In addition, the freeze-frame effect can help you elevate the quality of your videos, transforming them into professional-grade, editable, and shareable content.
Capcut offers surgical precision, versatility, and flexibility in creating professional freeze frame effects for your videos. Alternatively, you can tap into a professional-grade AI audio/video editor like Wondershare Filmora to go way beyond the mere creation of simple freeze frames. Filmora comes with an extensive range of AI audio and video editing features that can help you elevate your content beyond your wildest imagination.


 100% Security Verified | No Subscription Required | No Malware

