Adding strokes to text in Adobe After Effects can dramatically enhance your graphics. Strokes make text stand out, making it more engaging. If you’re wondering how to add stroke to text in After Effects, this tutorial is for you.
Strokes define the boundaries of text, making it more readable. They’re useful for adding contrast to text against complex backgrounds. This technique is great for YouTube videos, cinematic titles, and more. By the end of this guide, you’ll be able to apply strokes effectively.
After Effects offers endless possibilities for customization. You can change color, width, and animation styles. Let’s dive in and start enhancing your text with strokes.
In this article
Part 1. How to Add Stroke to Text in After Effects
Adobe After Effects is known for its robust text tools. Adding a stroke is a simple way to make text pop. Whether outlining text for legibility or creating animated strokes, After Effects has the tools you need.
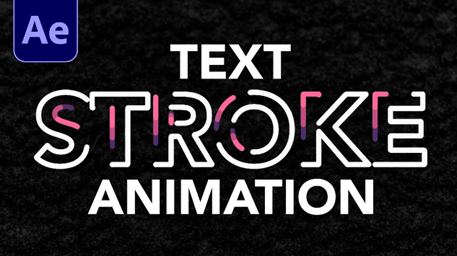
The process involves several steps, each offering customization options. You can choose colors, adjust thickness, and apply animations. After Effects' user-friendly interface and powerful capabilities make it perfect for designers and editors.
Now, let's walk through how to add and customize strokes in After Effects.
Step 1: Create Your Text Layer
- Open After Effects and start a new project.
- Use the Type Tool (T) to create a text layer in your composition.
- Type the text you want to apply the stroke to.
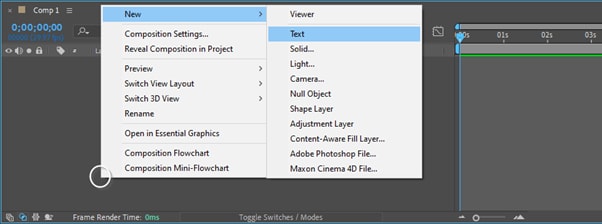
Creating a text layer is the first step in the process. This sets the stage for adding effects. Ensure your text is legible and placed correctly in the composition.
Step 2: Add the Stroke Effect
- Open the Character panel. If it’s not visible, go to Window > Character.
- In the Character panel, locate the Stroke Color option next to the Fill Color.
- Click on the Stroke Color box to activate it and choose your desired color.
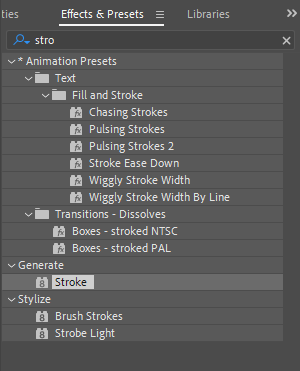
Adding a stroke is straightforward in After Effects. You have complete control over the stroke's appearance. Choose colors that complement your video’s theme.
Step 3: Customize the Stroke
- Adjust the stroke width using the stroke width setting in the Character panel.
- Experiment with different widths to find the right balance.
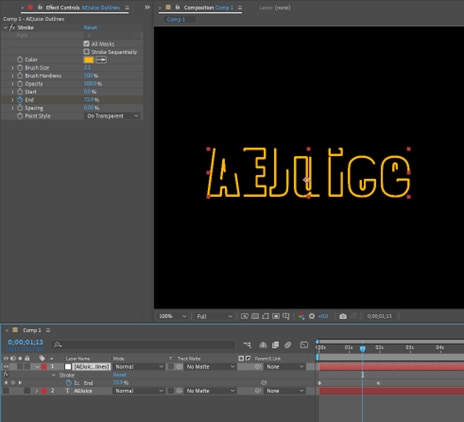
Customizing the stroke allows for further refinement. Adjust the thickness to ensure it’s visible but not overwhelming. This customization adds depth and emphasis to your text.
Step 4: Fine-Tune Your Text
- To create hollow text (stroke only), click the Fill Color in the Character panel and select "No Fill Color."
- Fine-tune the stroke settings to get the perfect look.
- Use the Align and Transform tools to position your text accurately.
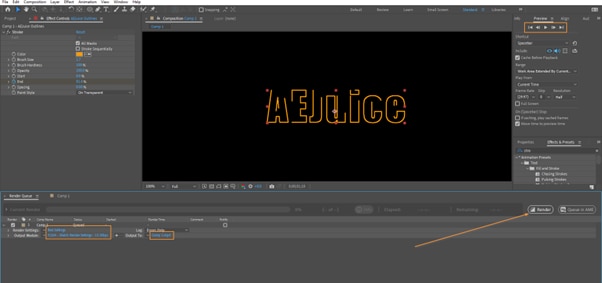
Fine-tuning is crucial for achieving the desired effect. Make sure your text aligns with your video’s overall style. Proper positioning and alignment enhance the final product.
Watch this helpful video for a visual guide on adding strokes to text in After Effects.
Advanced Techniques for Animating Text Strokes
Animating strokes can add a dynamic element to your text. Here are some advanced techniques to try:
- Animate Stroke Color: Use keyframes to change stroke color over time. Go to text layer properties, find "Animate," and choose "Stroke Color." Set keyframes for color changes.
- Convert Text to Shapes: Right-click on the text layer and select "Create Shapes from Text." This allows for more advanced stroke effects.
- Add Trim Paths Effect: Use Trim Paths to animate the stroke. This effect reveals or hides the stroke dynamically.
These techniques enhance your text animations. They allow for greater creativity and customization.
Consistency Across Versions
Adobe maintains consistency across After Effects versions. Basic features like adding strokes remain unchanged. Major updates or new features are highlighted in release notes. If there are significant changes, Adobe documents them explicitly.
This consistency ensures ease of use. You can follow these steps in the most recent After Effects versions. Experiment with different stroke styles to find what works best.
Next, let’s discuss why adding strokes to text is beneficial.
Part 2. Why Add Stroke to Text in After Effects?
Adding a stroke to text in After Effects serves multiple purposes. Strokes enhance text visibility and add visual appeal. Here’s why you should consider using them:
- Enhances Visibility: Strokes make text easier to read. They define text edges against complex backgrounds. This is especially useful in busy scenes.
- Increases Flexibility: Strokes add flexibility to text design. You can transform simple text into eye-catching visuals. This flexibility supports creative freedom.
- Supports Creativity: Strokes are versatile. You can animate them, modify their shapes, and use them to craft unique animations.
Additional Text Effects in After Effects
- Animation: Animate the stroke itself or the text’s movement. This adds dynamism and interest.
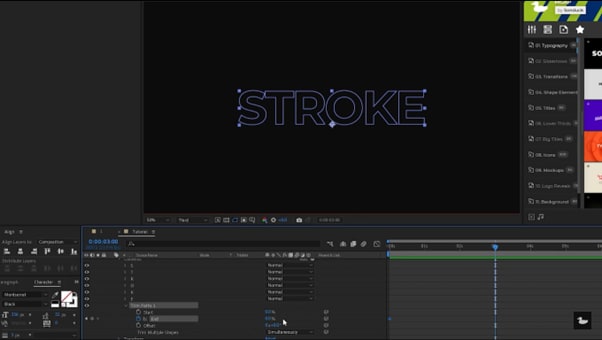
- Typewriter Effect: Create a typewriter-style reveal. This effect simulates classic typing animations.
- Text Presets: Use presets for quick and stylish effects. Presets save time and inspire.
- Creating Hollow Text: Use only strokes by setting the Fill to "No Fill" for a minimalist look.
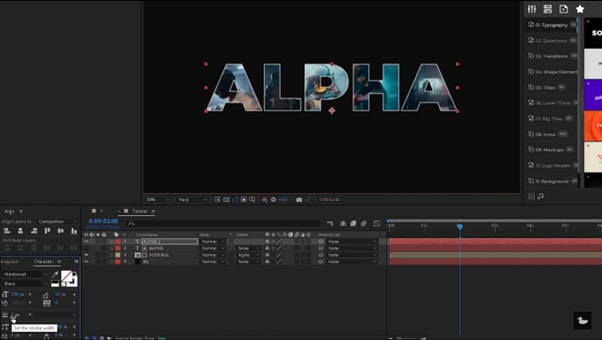
Adding strokes enhances these effects. They contribute to the text’s overall impact and readability.
How To Create Hollow Text by Adding a Stroke in After Effects
Hollow text features only the stroke, with no fill color. Here’s how to create it:
- Select the Text Layer: Use the Type Tool to create a text layer.
- Activate the Stroke: Open the Character panel and select a stroke color.
- Remove the Fill: Click on the Fill Color and choose "No Fill Color."
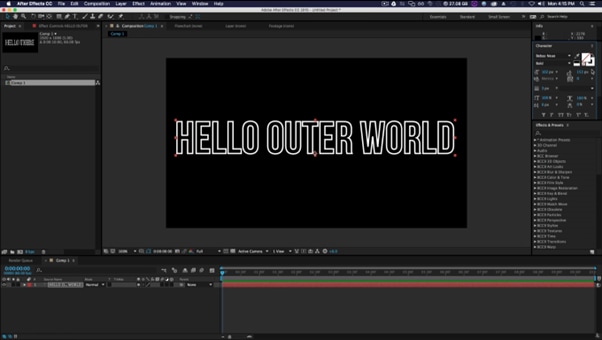
The hollow text is striking and modern. It’s perfect for minimalist designs.
Alternatives to Stroke in After Effects
Strokes aren’t the only way to enhance text. Consider these alternatives:
- Drop Shadow: Adds depth and dimension to the text. Shadows make text stand out.
- Glow: Creates a soft, luminous effect. Glow adds a mystical quality.
These alternatives offer unique stylistic options. They can be combined with strokes for added effect.
Now, let's explore how to add strokes to text using other software.
Part 3. How To Add a Stroke to Text in Other Video Editing Software
Wondershare Filmora is another excellent tool for video editing, renowned for its simplicity and powerful text editing capabilities. Filmora makes it easy for beginners and professionals to add creative text effects and animations to their videos.
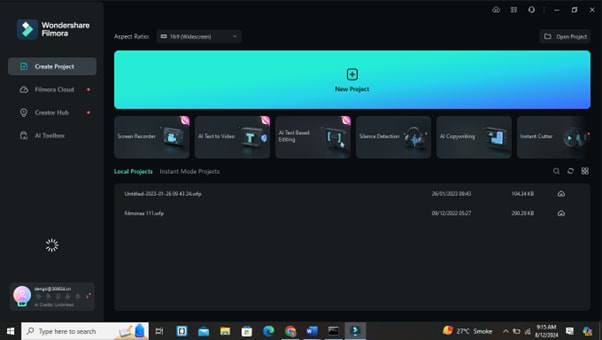
Filmora’s interface is intuitive, making it accessible for users who prefer straightforward software. It offers various text-related features, from basic adjustments to advanced animations. Here, you’ll find everything needed to make your text stand out:
- Curved Text: Easily curve your text for artistic layouts.
- Auto Captions: Automatically generate captions from audio.
- Preset Effects: Use presets to add quick text effects.
Filmora simplifies text editing. It’s perfect for users seeking an efficient workflow.
Steps to Add Stroke to Text in Filmora
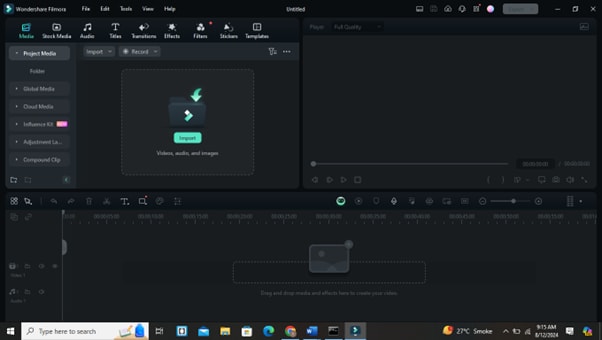
Step 1. Open Filmora
Start a new project and import your video clips.
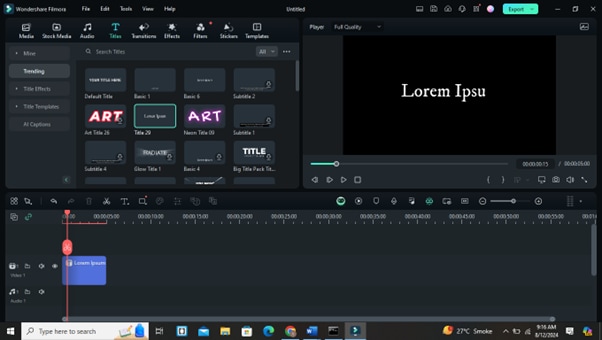
Step 2. Add Texts
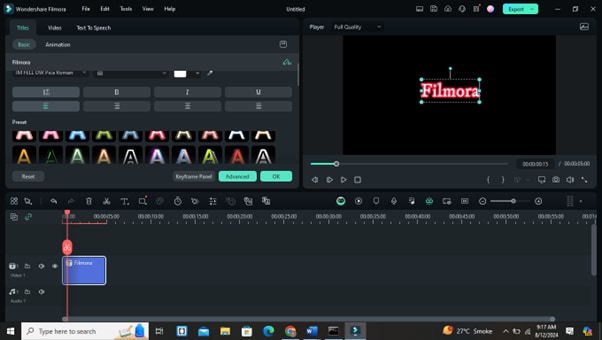
The Title menu will drag a text box onto your timeline.
Step 3. Customize Texts
Select the text box and navigate to text properties to add a stroke.
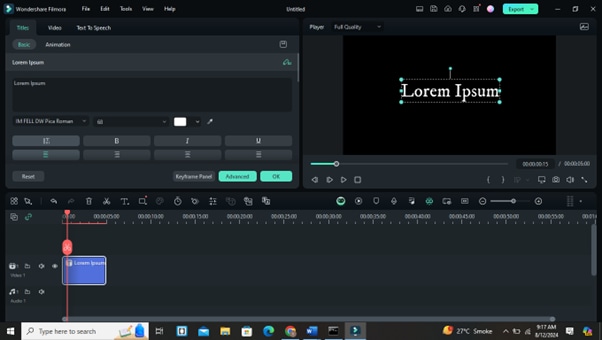
Step 4. Adjust the Stroke
Choose your stroke color, width, and style. Customize to fit your video’s theme.
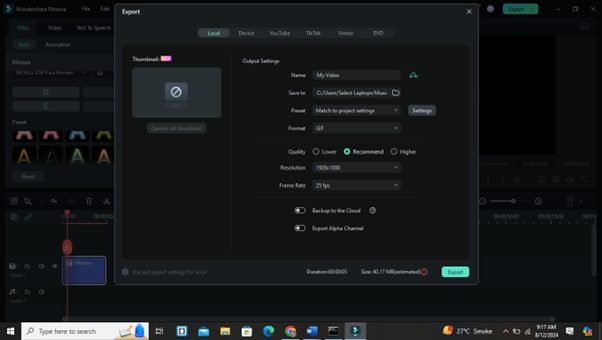
Step 5. Preview and Export
Preview your changes. Once satisfied, export your video.
Filmora’s simplicity makes text editing easy. Experiment with different effects for the best results.
Combining Text Editing Techniques for Better Video Results
Combine strokes with other effects for a professional look. Use color grading and transitions to enhance your text. Adding sound design can also elevate the overall impact.
Key Techniques for Combining Text Editing in Filmora
- AI Text-Based Editing: Utilize Filmora's AI Text-Based Editor to automatically transcribe audio into editable text, allowing for quick adjustments and seamless integration of subtitles and captions into your videos.
- Customizable Text Options: Take advantage of advanced text customization features, including font selection, color adjustments, and shadow effects, to create visually appealing text overlays that match your video's theme.
- Text Animations: Incorporate dynamic text animations to capture viewer attention and add flair to your videos. Experiment with various animation styles available in Filmora to enhance storytelling.
- Exportable Text for Repurposing: After editing, export the generated text for use in other projects, such as blogs or social media posts, maximizing the utility of your video content
Filmora has a lots of practical features for video editing that support creative combinations. Use its tools to craft compelling narratives and visuals. By combining these text editing techniques in Filmora, you can create more engaging, professional-looking videos that effectively communicate your message and resonate with your audience.
Conclusion
Mastering text strokes in After Effects enhances your video projects. Strokes add professionalism and creativity. They’re a quick way to improve text readability.
Experiment with different strokes and techniques. Use After Effects or Filmora to explore possibilities. Both platforms offer powerful tools for text enhancement. As you practice, adding strokes will become second nature. This skill boosts your editing capabilities. Keep experimenting and creating impactful visuals. Happy editing!


