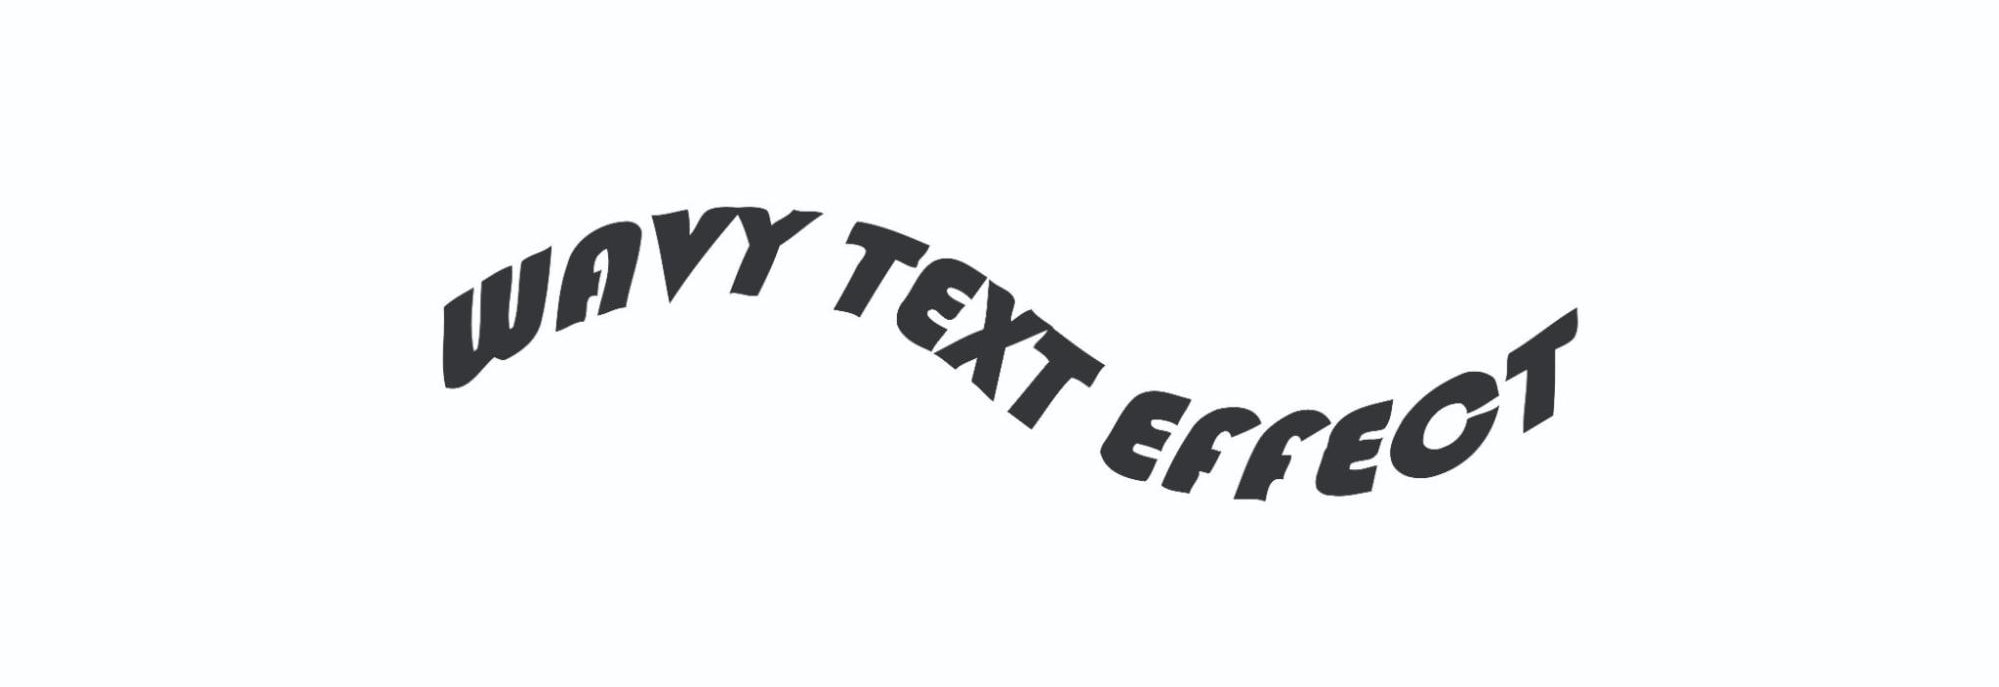
Adding text effects to your graphics can help you catch the viewer's attention. Text effects enhance your videos' visual appeal and engagement. The wavy text effect adds a dynamic and eye-catching element to your text. It gives a wiggly text effect to your text.
For example, you might add a wavy text effect to your video’s intro to grab the viewer's attention or make it more interesting. You can also add this effect to your video titles or headings.
This article will discuss a complete guide to creating wavy text effects using professional tools. By the end of this article, you can add interesting effects to your images and videos.
In this article
So let’s break down the video in detail in the following.
Easily Make a Wavy Text Effect on Video with an All-in-one Video Editor
There are many professional-quality video editing apps, but Wondershare Filmora is the best option. Filmora offers a wide range of text effects, including the wavy text effect. This feature allows you to add a dynamic and visually engaging element to your videos, making them more attractive.
What's more, Filmora allows you to create a wavy text effect as part of a larger video project, making it easy to integrate the multiple AI tools and effect with other video elements like transitions, audio, and special effects. This provides a more cohesive and polished final product.

Why use Filmora to create a wavy text effect for videos
- Built-in Text Effects: Filmora comes with built-in text effects, including wave animations, that can be applied with just a few clicks. You don't need to create the effect from scratch, saving time and effort.
- Customizable Animations: It allows you to fully customize the wavy effect by adjusting parameters such as speed, amplitude, and frequency. This flexibility lets you control how subtle or dramatic the wave looks on your text.
- Motion and Keyframing: For more advanced users, Filmora offers keyframing options that allow you to animate the wavy text over time. This means you can control the movement of the wave, making it more dynamic and synchronized with the rest of your video.
- Multiple Export Options: After creating your wavy text effect, Filmora provides multiple export formats, including MP4, MOV, and even GIF.
Video Tutorial: Create Wavy Text effect Like NUMBY and CLERKE
Steps to Create the Wavy Text Effect in Filmora
- Create a new project in Filmora.

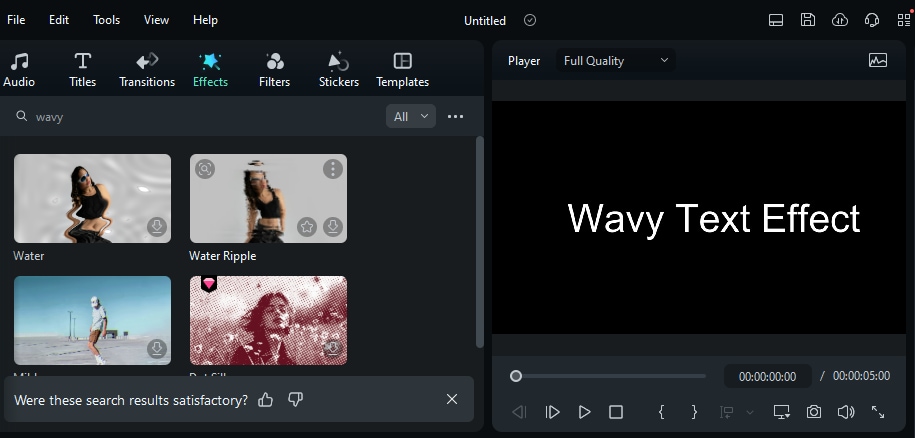
- Now, in Filmora Interface, click on the Text icon and add text using the font of your choice.

- You can edit your text on the right side of the Filmora Interface.

- Now click on the Camera icon and add a snapshot, as seen in the image below.

- After this, delete the text and keep the Snapshot.

- Click on the “Effects” icon on the top bar.

- Now type “wavy” in the search bar and add the “Water text effect.”

- After adding the water effect to the whole layer, set the “Steps” in the effect settings on the right side to 1.

- Now, click on the Export button. Choose the “Export to Device” option.

- Choose the location where you want to save the file and click on the Export button.

Pros and Cons of Adding Wave Text Effect using Filmora
Create a Wavy Text Effect for Polished and Scalable Designs
Using Illustrator to create a wavy text effect offers several advantages, especially for designers seeking precision, control, and flexibility in their creative projects. If you want to create polished and scalable designs, Illustrator will be a good choice offering unparalleled precision, customization, and ease of use for creating wavy text effects
Why Illustrator is a great tool for making wavy texts
- Vector-based Precision: Illustrator is a vector-based design software, which means that any text effect you create, including wavy text, can be scaled up or down without losing quality. This is crucial for print or web design where resolution matters.
- Advanced Typography Tools: You can adjust the curvature, spacing, and style of text with high precision, making it easy to achieve the exact wavy effect you want.
- Path and Warp Tools: Illustrator’s Envelope Distort and Warp Tools allow you to create a smooth, consistent wavy effect on text.
- Easy Path Manipulation: By using the Type on a Path tool, you can curve or wave text along a drawn line, allowing you to experiment with different wave styles and placements.
We are excited to show you some quick methods to achieve an excellent wavy text effect in Illustrator. Now, let’s dig in!
Option 1: Use the Warp Effect
Using the Warp Effect, you can easily edit your text into a waveform. These are some easy steps to achieve that smooth waveform:
- First, add a text with your desired font and adjust its letter spacing.
- Now, from the very top panel, click on Effect > Warp > Wave.

- A pop-up will appear here, check the “Preview” box and adjust the “bend” value.

- Adjust the values till you get your desired look.
- If you choose the “Horizontal” warp, your text will look like this:

- Similarly, selecting the “Vertical” warping will make your text look like this:

- For now, your text is editable. You can edit it by double-clicking it.

- After editing the text, on the Top bar, click on “Object” > “Expand” > “Appearance.”

Option 2: Using the Envelope Distort Feature
Using the envelope distortion feature, you can easily edit your text into a waveform. This engages viewers and makes your image more aesthetically pleasing.
Steps:
- Select the Type tool and type your text using your desired font and size.

- Right-click on the text and click on “Create Outline”.

- Select the Direct Selection tool and customize your text.

- Now select the text as usual, and from the top bar, click on “Object” > “Envelope Distort” > “Make with Mesh”. Set the value to 5 Rows and 1 column.

- Select the points in the Mesh with the Direct Selection tool, drag them, and customize them to create a perfect wave effect. Click on “Object” > “Expand”.

- Now click on “Object” > “Compound Path” > “Make.”

Option 3: Use the Pen Tool
You can also edit your text into wavy text using the Pen tool in Illustrator. Let’s discuss some easy steps to edit your text into a waveform.
Steps:
- Use the Pen tool to create a wave as you desire.

- Now, choose the “Type on a Path” tool and click on this wave.

- Type your text and adjust its spacing, font, etc.
- There you go, you have created a wavy text.

Option 4: Use the Twist Effect
Are you looking to add a dynamic and eye-catching element to your Illustrator designs?
You can easily create the wavy text effect using Illustrator’s Twist effect. Below, we will mention the steps to create and customize wavy text using the Twist effect in Illustrator.

Steps:
- Click on the Text icon and add a text as you like.

- On the top bar, click on “Effect” > “Distort and Transform” > “Twist.”

- Now, on the popup that appears, check the “Preview box” and adjust the values to get the best result.

- After you are done with editing, click on “File” > “Export” > “Export as.”

- Now choose your file format location, check the “Use artboards,” and click export.

- Now click on “Ok.”

Pros and Cons of Creating Wavy Text Effects Using Illustrator
Are There Any Online Tools for Creating Wavy Text?
Canva is a professional-quality tool that works online and on Android and iOS. It offers many wonderful templates that are ready to use, and you can also create wavy text in it.
Key Features of Making Wavy Texts in Canva
- Curved Text Tool: A built-in curved text tool that allows you to easily create wavy text effects.
- Customizable Wave Intensity: When applying the curved text tool, you can control the degree of curvature, allowing you to create gentle or dramatic waves.
- Alignment Options: Canva allows you to align your wavy text horizontally, vertically, or along any path, ensuring it fits perfectly within your design layout.
- Wide Range of Fonts: Canva offers a large selection of fonts that can be used in conjunction with the wavy text effect. You can choose from playful, modern, or classic fonts to match the tone of your project.
It allows users to create that wave effect simply by following a few simple steps:
Steps to Create a Wavy Text Effect in Canva:
- Click the Text icon and click “Add a heading” to insert text. You can add any text of your choice.

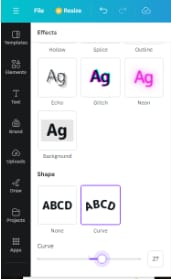
- Now, on the Top bar, click “Effects,” and the effects editor will open on the left side.

- Click on the “Curve” effect and set the desired curve amount here.

- Now, you will see that the text has been curved. After this, duplicate this curved text.

- Repeat the same process. Click on “Effects,” then set the curve amount the same as in the former text but negative.

- Here, we have kept the value of the curve to 27 and -27.
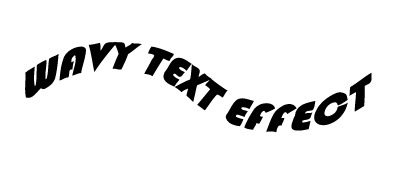
- Bring both texts side to side to form a wave effect, as shown in the image below. Group these.

- You can now export the text by clicking on “Share” > “Download”.

- Now, Choose the format you desire and click on the Download button.

Pros and Cons of Canva Wavy Text Effect
After discussing various methods and tools to create the wavy text effect, we have sorted out a comparison table of all three tools for your better understanding.
Verdict: Which Method is the Best for Making Wavy Text Effect
| Operating System | Presets & Templates | Final Results | |
| Filmora | Windows, MacOS, iOS, Android, iPad | Yes, Extensive | ⭐⭐⭐⭐⭐ |
| Canva | Online, iOS, Android | Limited | ⭐⭐⭐⭐ |
| Adobe Illustrator | Windows, MacOS, Linux, iOS, Andriod, Web version | No | ⭐⭐⭐⭐ |
- Filmora is best for making wavy text for video.
- Illustrator and Canva is best for making static wavy text. While, Canva is a web-based online tool, its more straightforward compared to Illustrator.
Conclusion
We have discussed various methods and tools for creating the wavy text effect. Now, we know how these wavy text effects can impact your graphics. This article discusses professional tools like Adobe Illustrator and Canva to create a wavy text effect. But if you are looking for a professional tool to animate the wavy text effect, Filmora is one of the best options.
We have mentioned the easiest and best methods for trying the wavy text effect using professional tools. Go ahead and explore these methods and tools.


