
 100% Security Verified | No Subscription Required | No Malware


 ChatGPT
 Perplexity
 Gemini
 Claude
 Grok
Grok
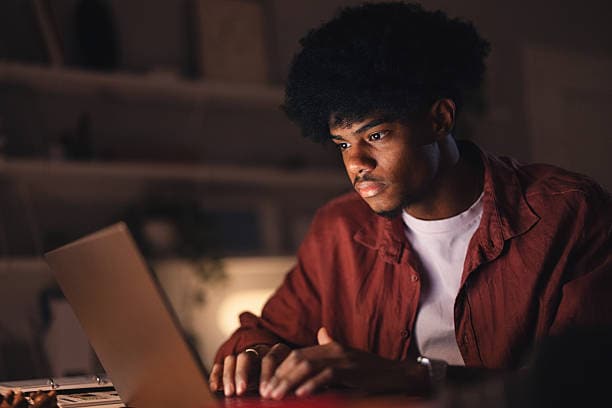
Capturing beauty at nighttime has a magical essence, but it also comes with challenges—low lighting, grain, and muted colors. This is where night filters come to the rescue. They help brighten shadows, reduce noise, and add cinematic flair to your footage.
In this guide, we’ll explore what night filters are, showcase Filmora’s best options, and share editing tips to make your night footage shine.
What Are Night Filters and Why Use Them?
Night filters are special effects that enhance low-light videos by brightening details, reducing noise, and adding style. There are two main types:
- Night Vision Filters – Green tint, high contrast, and infrared-style visuals. Perfect for gaming streams, security-style videos, or edgy music clips.
- Natural Night Filters – Enhance clarity and keep footage realistic. Ideal for street vlogs, travel diaries, or documentaries.
With Filmora, you can apply these filters easily for club footage, cinematic night scenes, urban explorations, and late-night vlogs—no fancy gear required.
 secure download

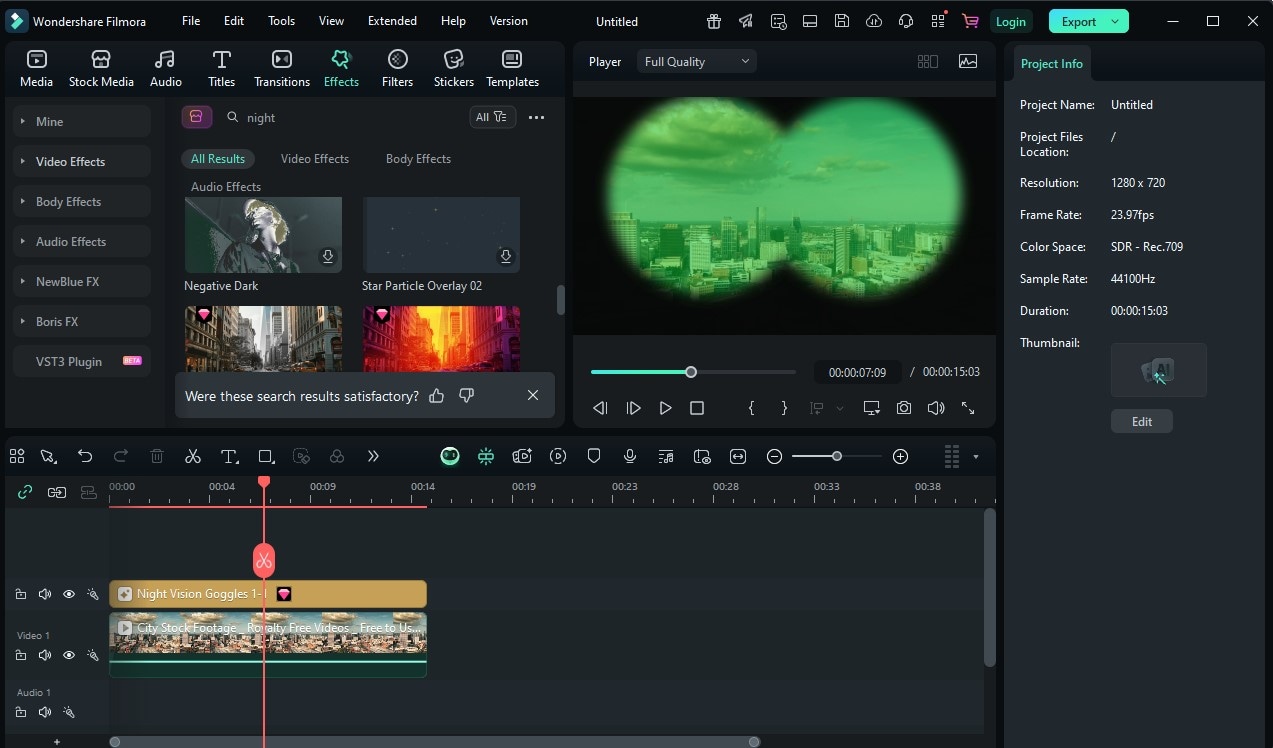
10 Night Filter Resources in Filmora
1. Night Vision
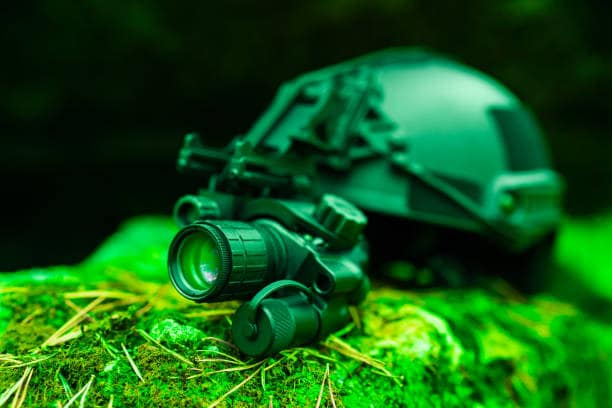
Classic green tint and sharp contrast—great for action scenes or “secret mission” vibes.
2. Dark Streets
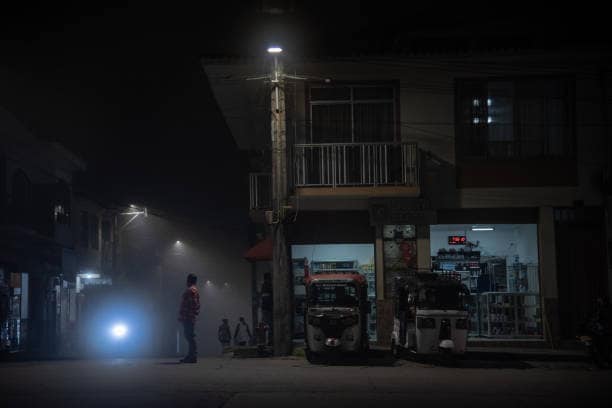
Deep shadows and gritty highlights, perfect for urban exploration or edgy street vlogs.
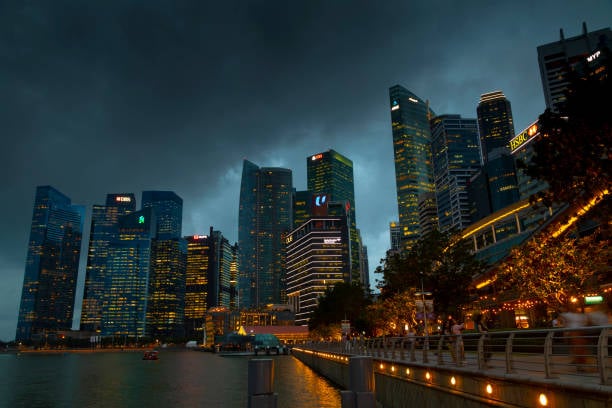
3. City Glow
Enhances streetlights and nightlife, giving downtown scenes a warm, cinematic glow.
4. Low Light Enhancer
Brightens and reduces grain, keeping detail sharp—ideal for general nighttime clarity.
5. Night Rain
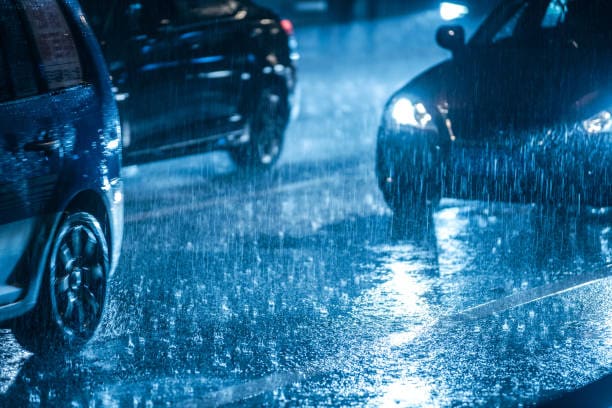
Adds rain and glowing reflections—perfect for romantic or dramatic night scenes.
6. Neon Nights
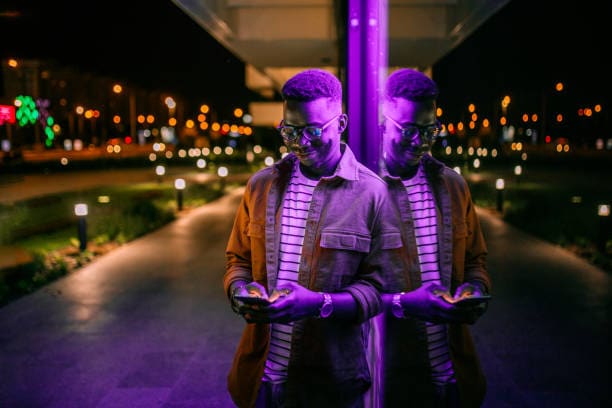
Makes neon lights pop for markets, festivals, or colorful nightlife footage.
7. Infrared Heat
Simulates thermal vision with glowing reds, oranges, and yellows for futuristic vibes.
8. Ambient Shadow
Adds soft, cinematic shadows—perfect for moody intros or storytelling shots.
9. Blue Noir

Cool blue tones with a noir aesthetic—great for detective-style edits or music videos.
10. Fog Layer
Adds mist and haze, creating mystery and depth in night scenes.
How to Apply Night Filters in Filmora
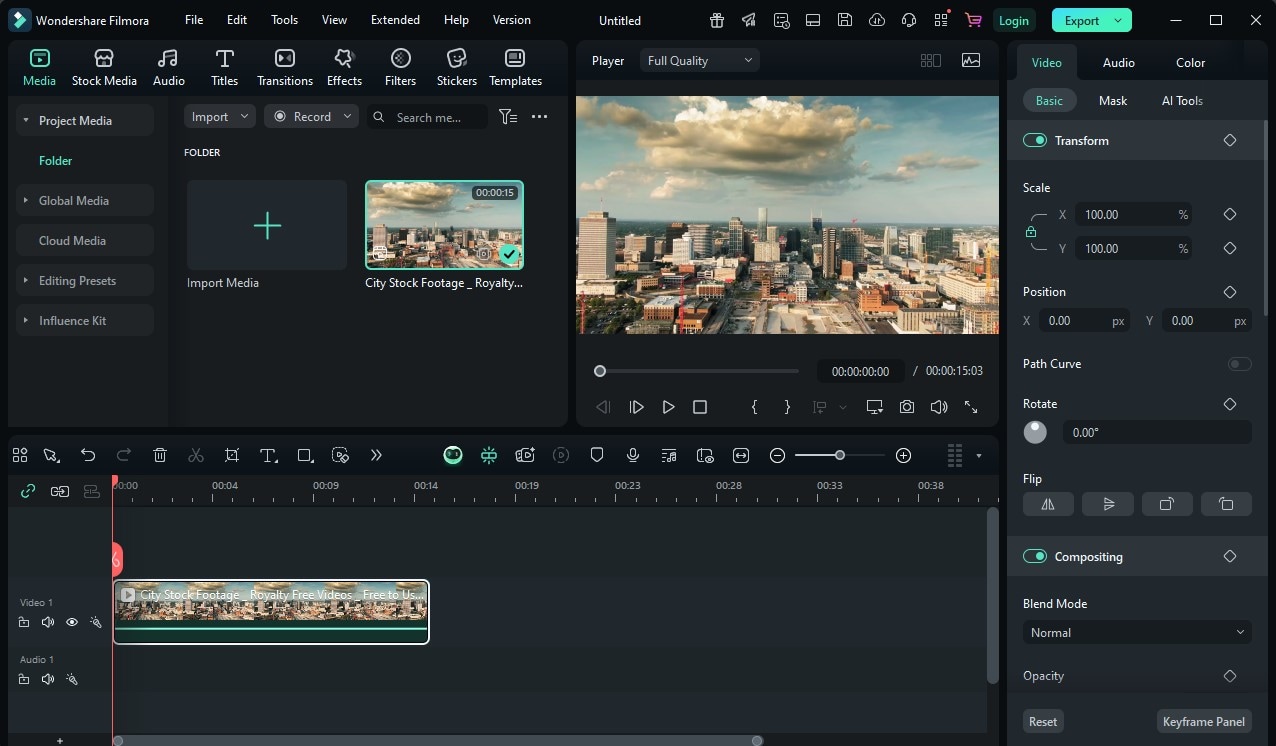
- Import Footage – Start a new project, import clips, and drag them to the timeline.
- Open Effects Tab – Go to Effects to browse filters.
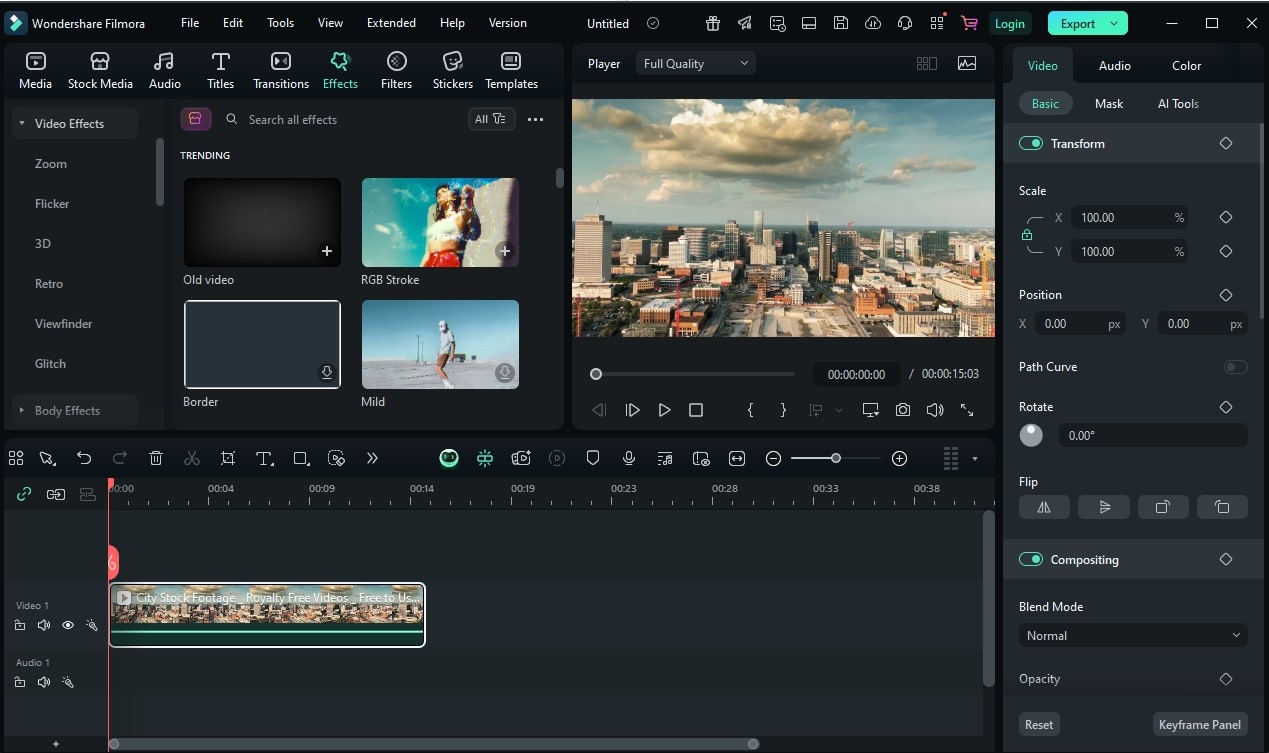
- Choose Filter – Search or scroll, then drag onto your clip.
- Adjust Look – Fine-tune brightness, contrast, and intensity.
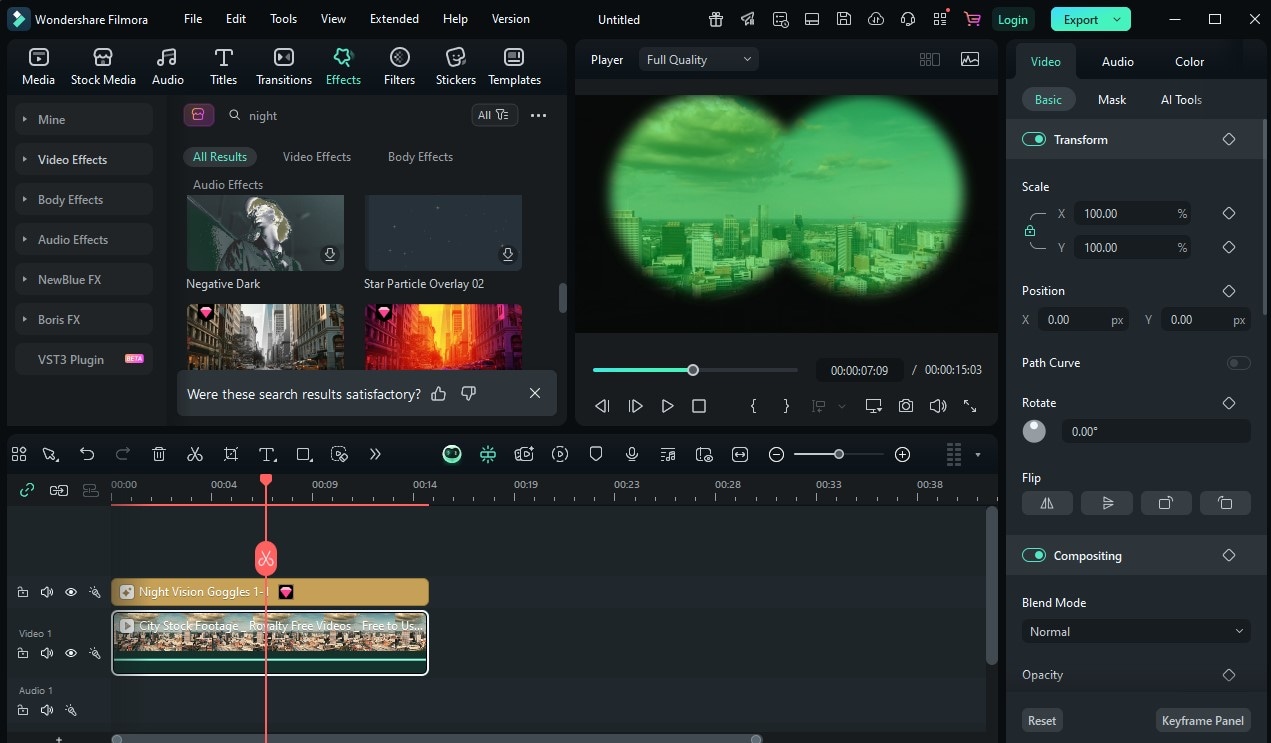
- Preview & Export – Check results and export in your desired format.
💡 Tip: Combine a filter with Filmora’s color correction tools for finer control.
Boosting Night Footage Quality
Night filters shine brightest when combined with Filmora’s other tools:
- Noise Reduction – Removes grain while preserving details.
- Color Correction – Fix unnatural tints from streetlights.
- Keyframing – Animate lighting changes dynamically.
- AI Smart Cutout – Apply effects selectively to subjects or backgrounds.
- Blend Modes – Control how filters mix with footage.
Other Apps for Night Enhancement:
- DeNoise AI – Advanced noise reduction for dark footage.

- NightCap (iOS) – Boosts iPhone night shooting.

- Adobe Lightroom Mobile – Fine-tunes shadows and highlights.

💡 Pro Tip: Combine Low Light Enhancer with Neon Nights for the perfect balance of clarity and cinematic style.
Final Thoughts: Shine in the Dark
With Filmora’s night filters, you can transform average low-light clips into cinematic visuals. Whether you want realistic clarity or dramatic style, all it takes is a few clicks and creative adjustments.
secure download FAQs
Q: Can I apply multiple night filters in Filmora?
Yes! You can layer them, but keep balance in mind to avoid over-processing.
Q: Will night filters work on daytime footage?
They can, but they’re designed for low-light scenes. Using them on bright clips may look unnatural.
Q: How can I brighten night footage without losing realism?
Start with Low Light Enhancer, then adjust shadows and contrast for a balanced result.
