
 100% Security Verified | No Subscription Required | No Malware


 ChatGPT
 Perplexity
 Gemini
 Claude
 Grok
Grok
Logos on photos do three big jobs. They protect ownership, build brand recognition, and signal a nifty dose of professionalism. If you are curious about how to add a logo to a photo, you've come to the right place. Below, you'll see how to add, customize, and position a logo effortlessly.
In this article
What Is the Best Tool to Add Logos to Photos
If you want to add a log to your photo professionally using a straightforward tool, Wondershare Filmora is a smart choice. It comes packed with all sorts of useful features that make image and video editing a breeze.
 secure download

- AI Image Background Remover — If your logo image file is a flat JPEG with a white, non-transparent background behind it, you can remove it with Filmora's smart cutout feature in a single click. You can also blur the background in your photo to increase legibility.
- Precise Color Adjustments — Match your brand colors with the photo's color palette using HSL sliders, and adjust the temperature, exposure, contrast, and so much more. You can even tint or duotone a single-color logo so that it harmonizes with warm sunsets, cool interiors, or monochrome product shots.
- AI Image Generator — If you are working on designing your logo, or you simply need a placeholder, or even if you need a campaign micro-badge like "Summer'25" or "Series Vol. 2," you can use Filmora's AI Image feature to generate icons, shapes, or monograms.
- AI Image to Video — Use specific image transformation presets for logos. Filmora's AI Image to Video tool features a specific Video Inspiration section where you can find several logo reveal animations. Just upload a photo of your logo and let Filmora create an awesome animation that you can use in your future videos.
- Layered Overlays and Blend Modes — Add your primary logo, a partner logo, and even a limited-time action badge to one photo. You can use the Compositing feature to reduce the opacity of the added images and improve the overall visual appeal of the photo while keeping your branding intact.
When you are finished editing, you can export using presets for 1:1, 4:5, 16:9, and 9:16 so that your logo lands in the same safe area across different platforms. You can also save your logo placement, size, opacity, and effects as a preset and apply them in future projects.
How to Add a Logo to a Photo Using Filmora (Step-by-Step Guide)
Filmora is available on Android, iOS, Windows, and Mac. Here are the steps to add a logo to a photo on a PC. Before you follow the steps, make sure you have downloaded and installed Wondershare Filmora on your computer.
secure download Add a Logo to a Photo on a PC
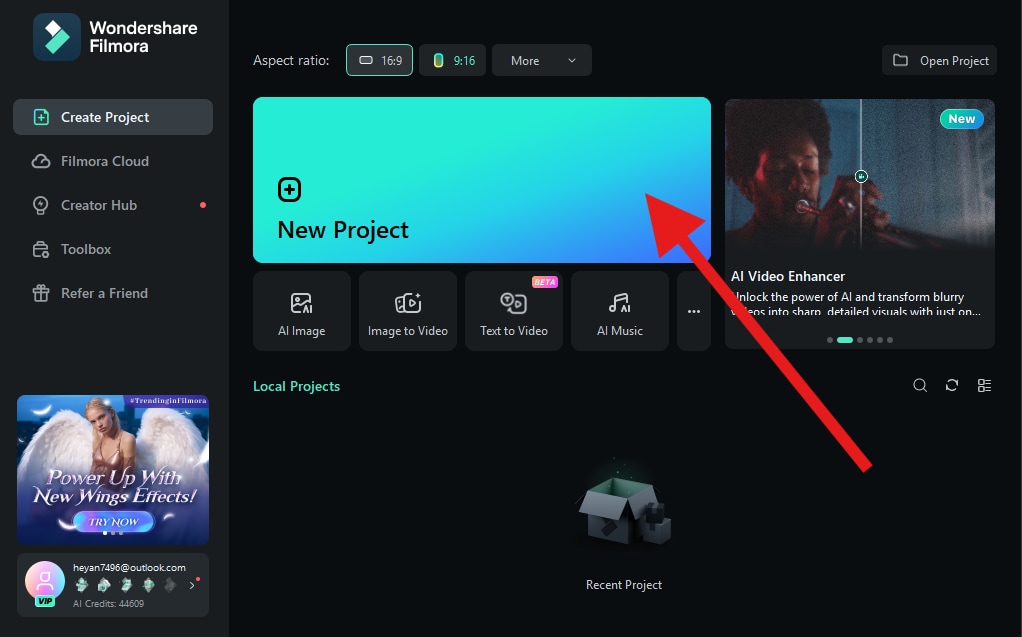
- Create a New Project.
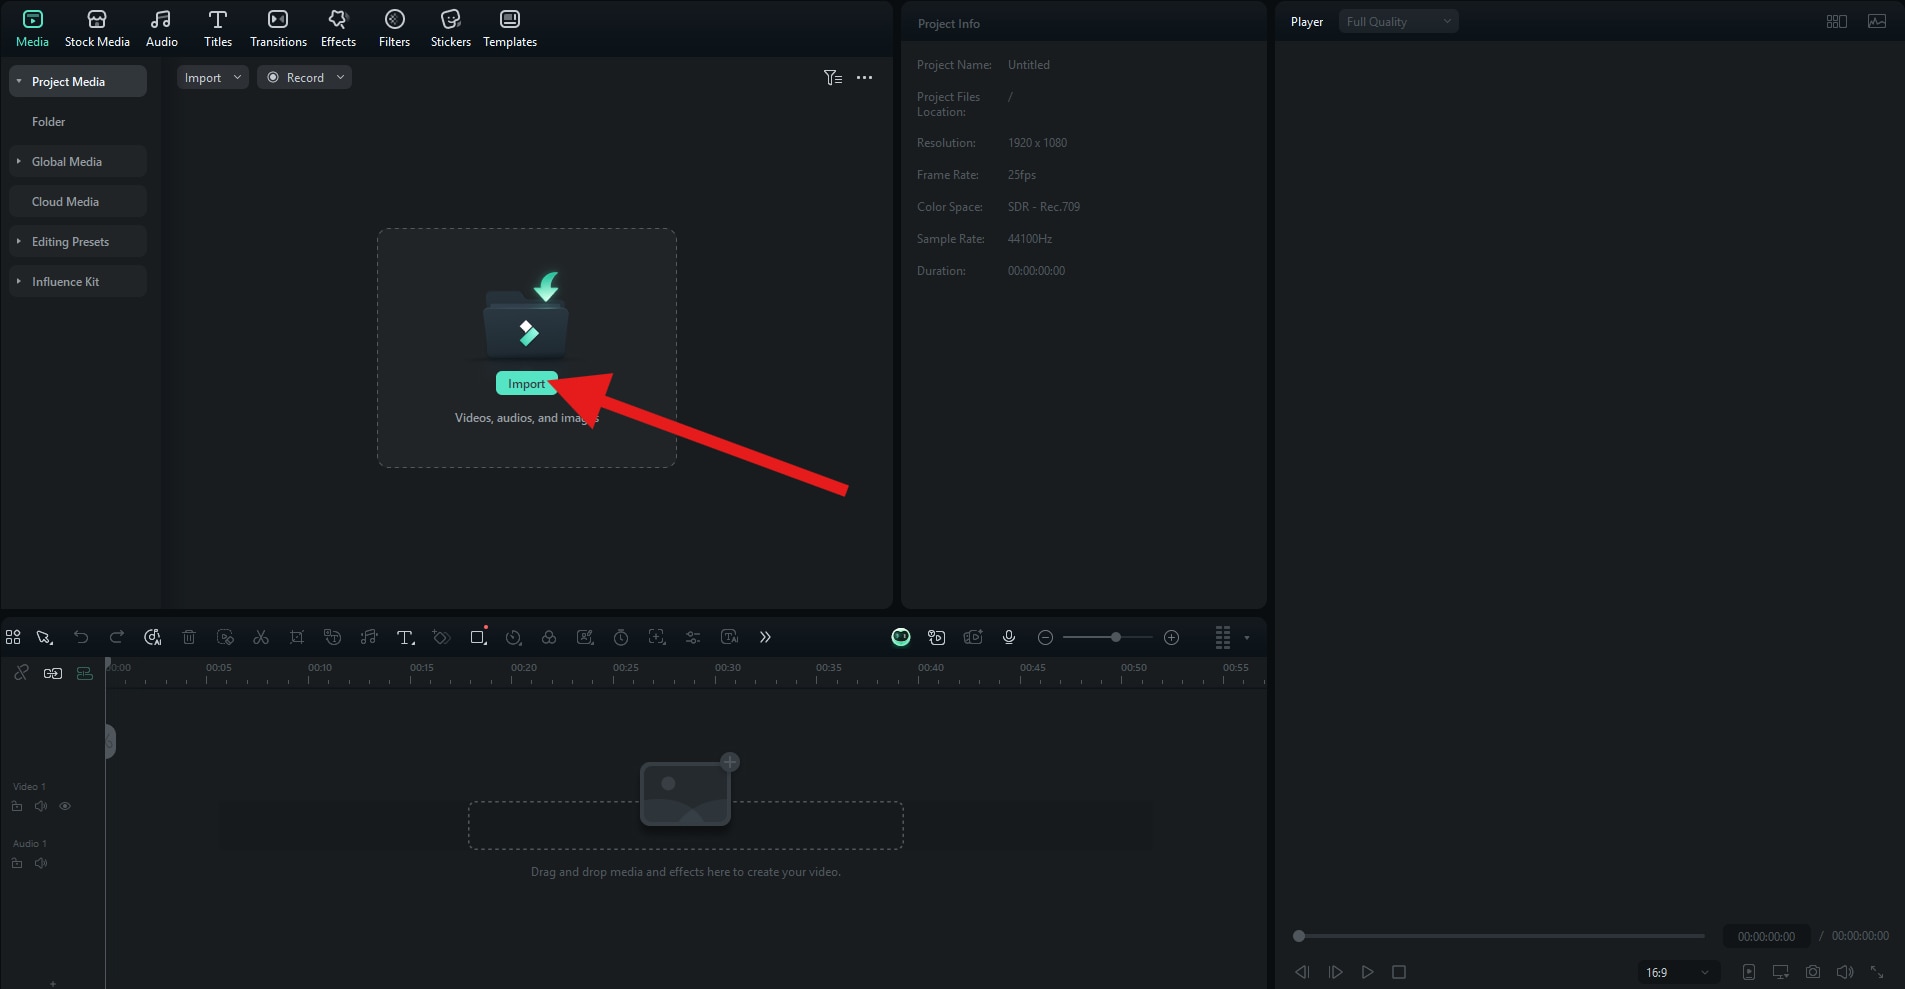
- Click on Import and add your photo and a PNG image of your logo to the project.
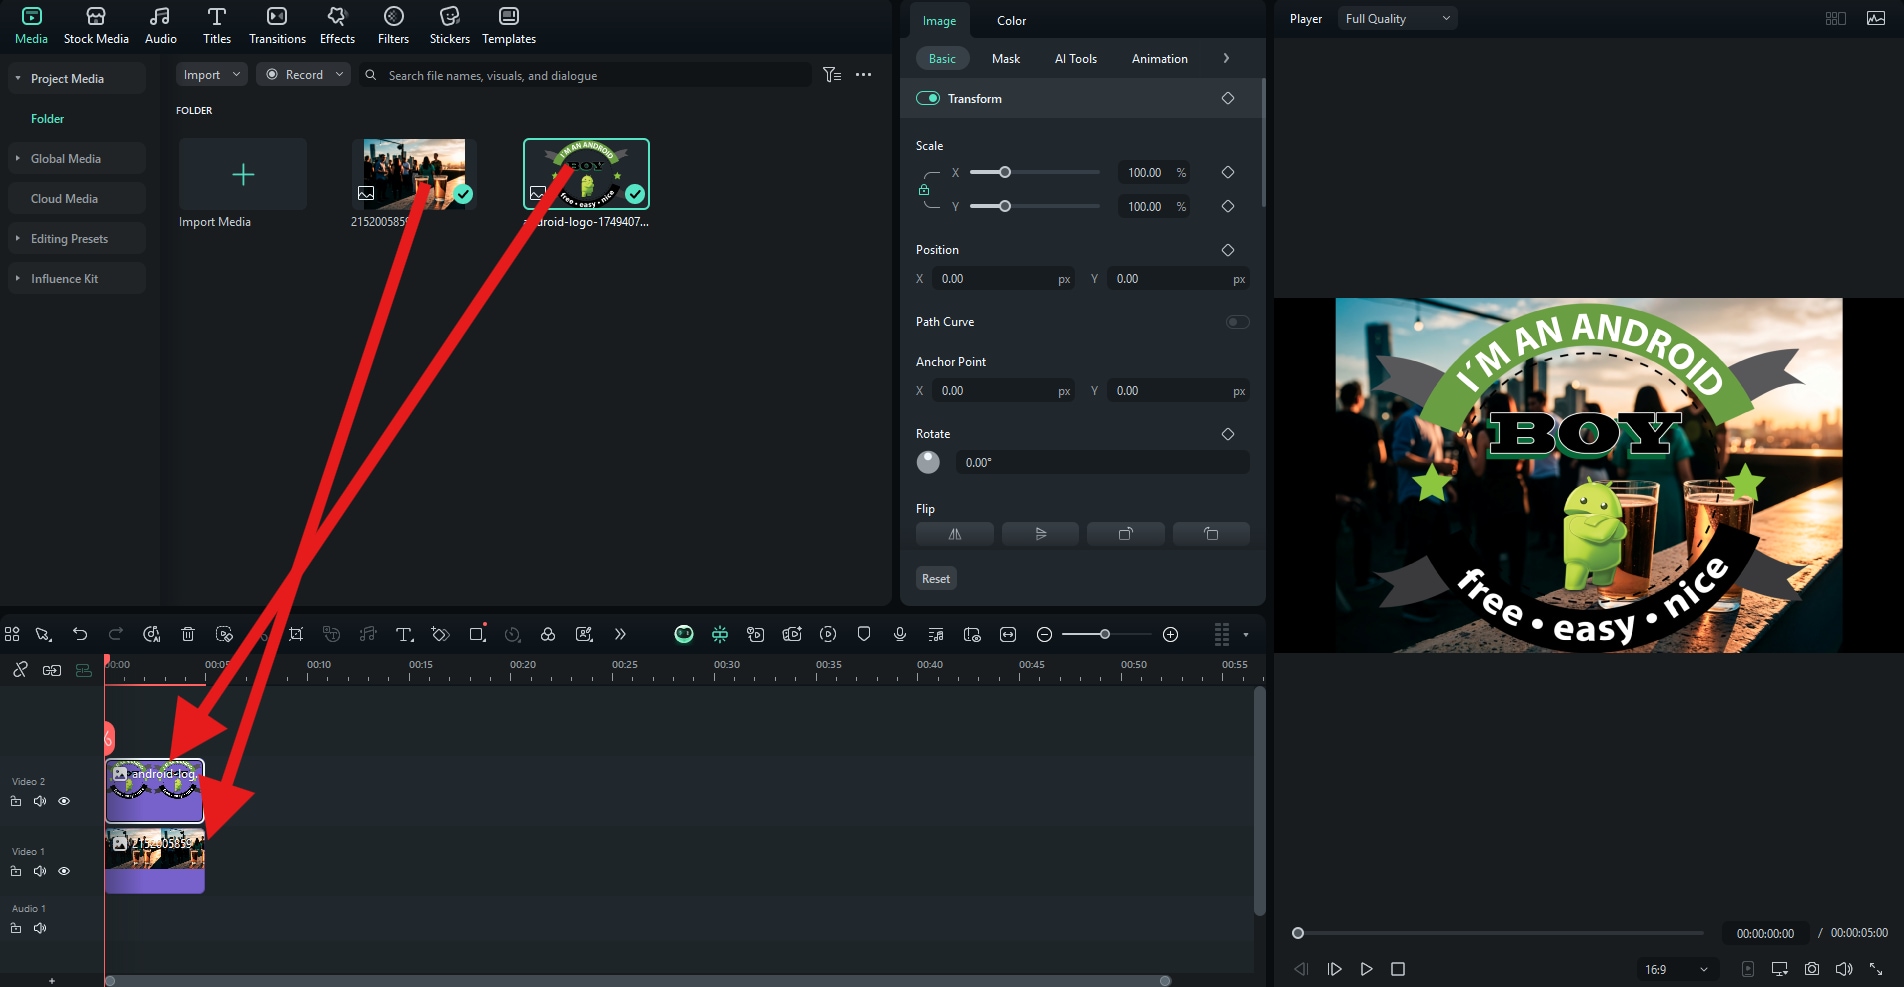
- You can now drag both files to the editing timeline. Make sure to place the logo PNG above the photo.
- Adjust the size and position of the logo in the preview window.
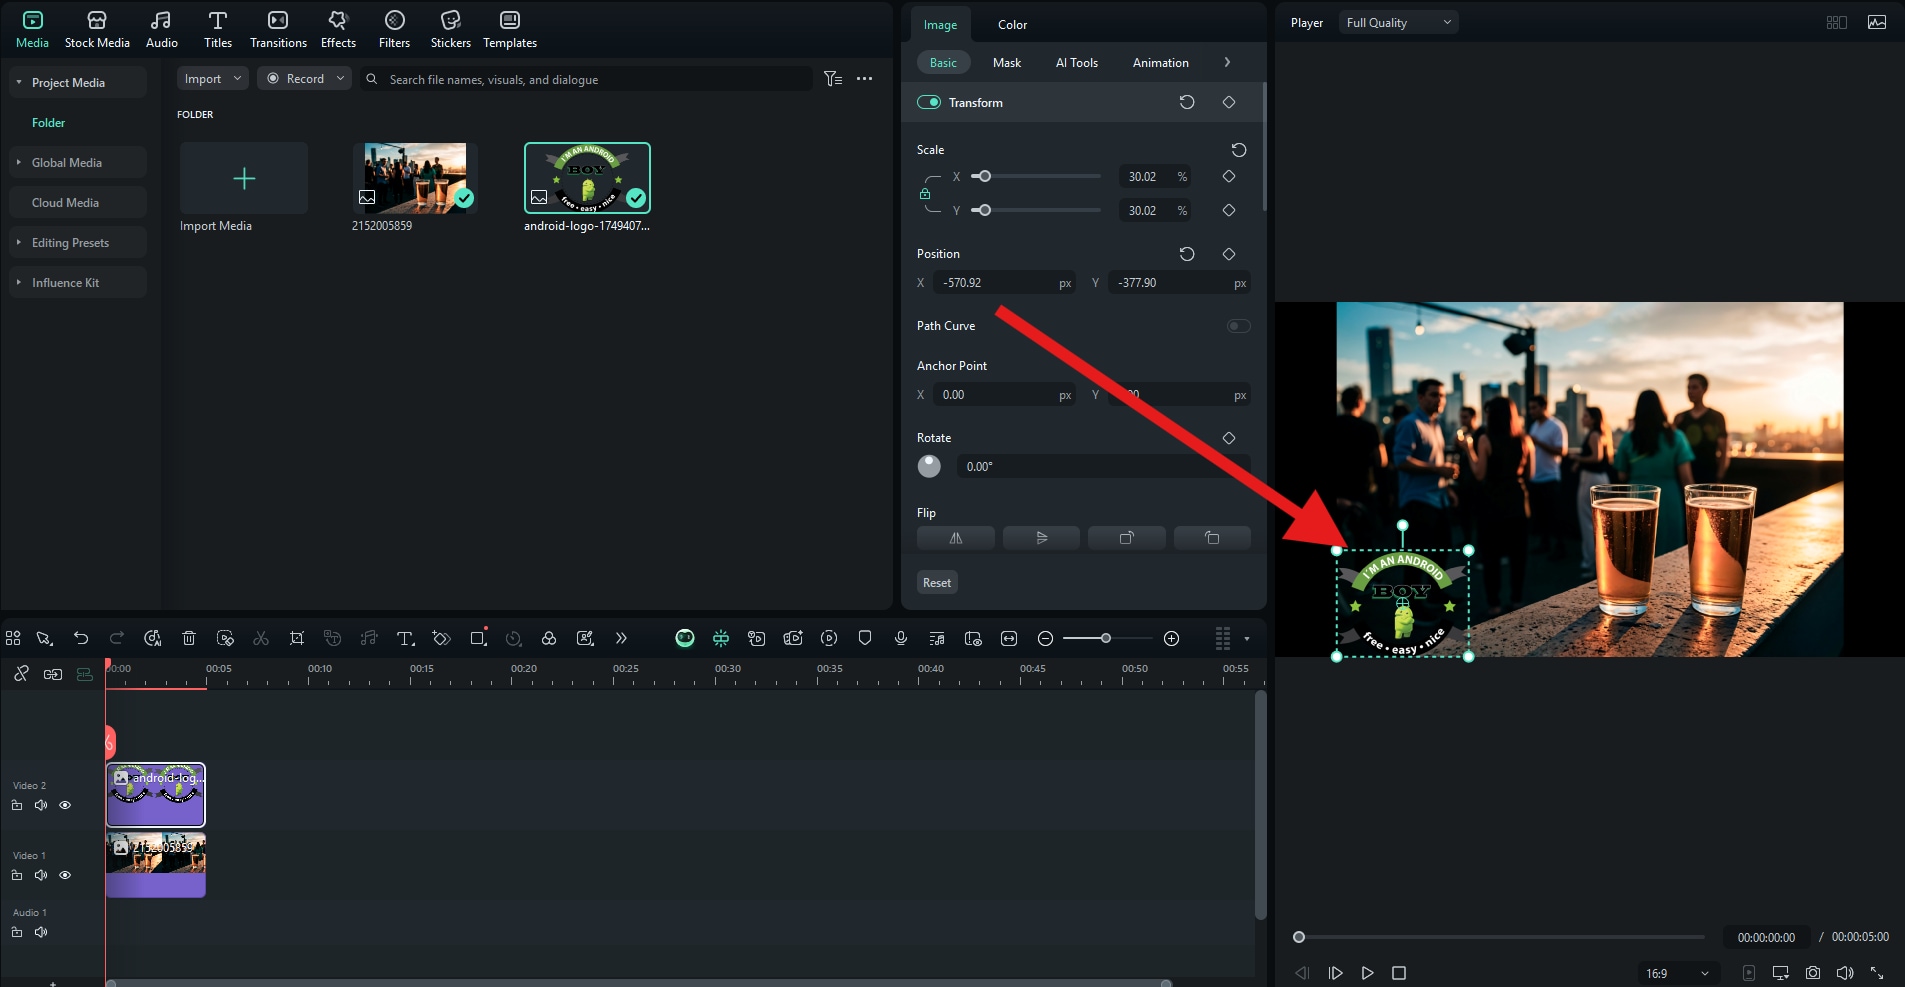
Let's see the result.
Add a Logo to a Photo on a Mobile
If you are looking for an app to add a logo to a photo on your phone, you can also try the Filmora app. You can use its PIP feature to overlay the logo on a photo, or directly use the watermark feature to add your logo to the photos.
secure download Put a Logo on a Picture with PIP
- Open Filmora and tap on New Project, and then proceed to import a photo from your device.
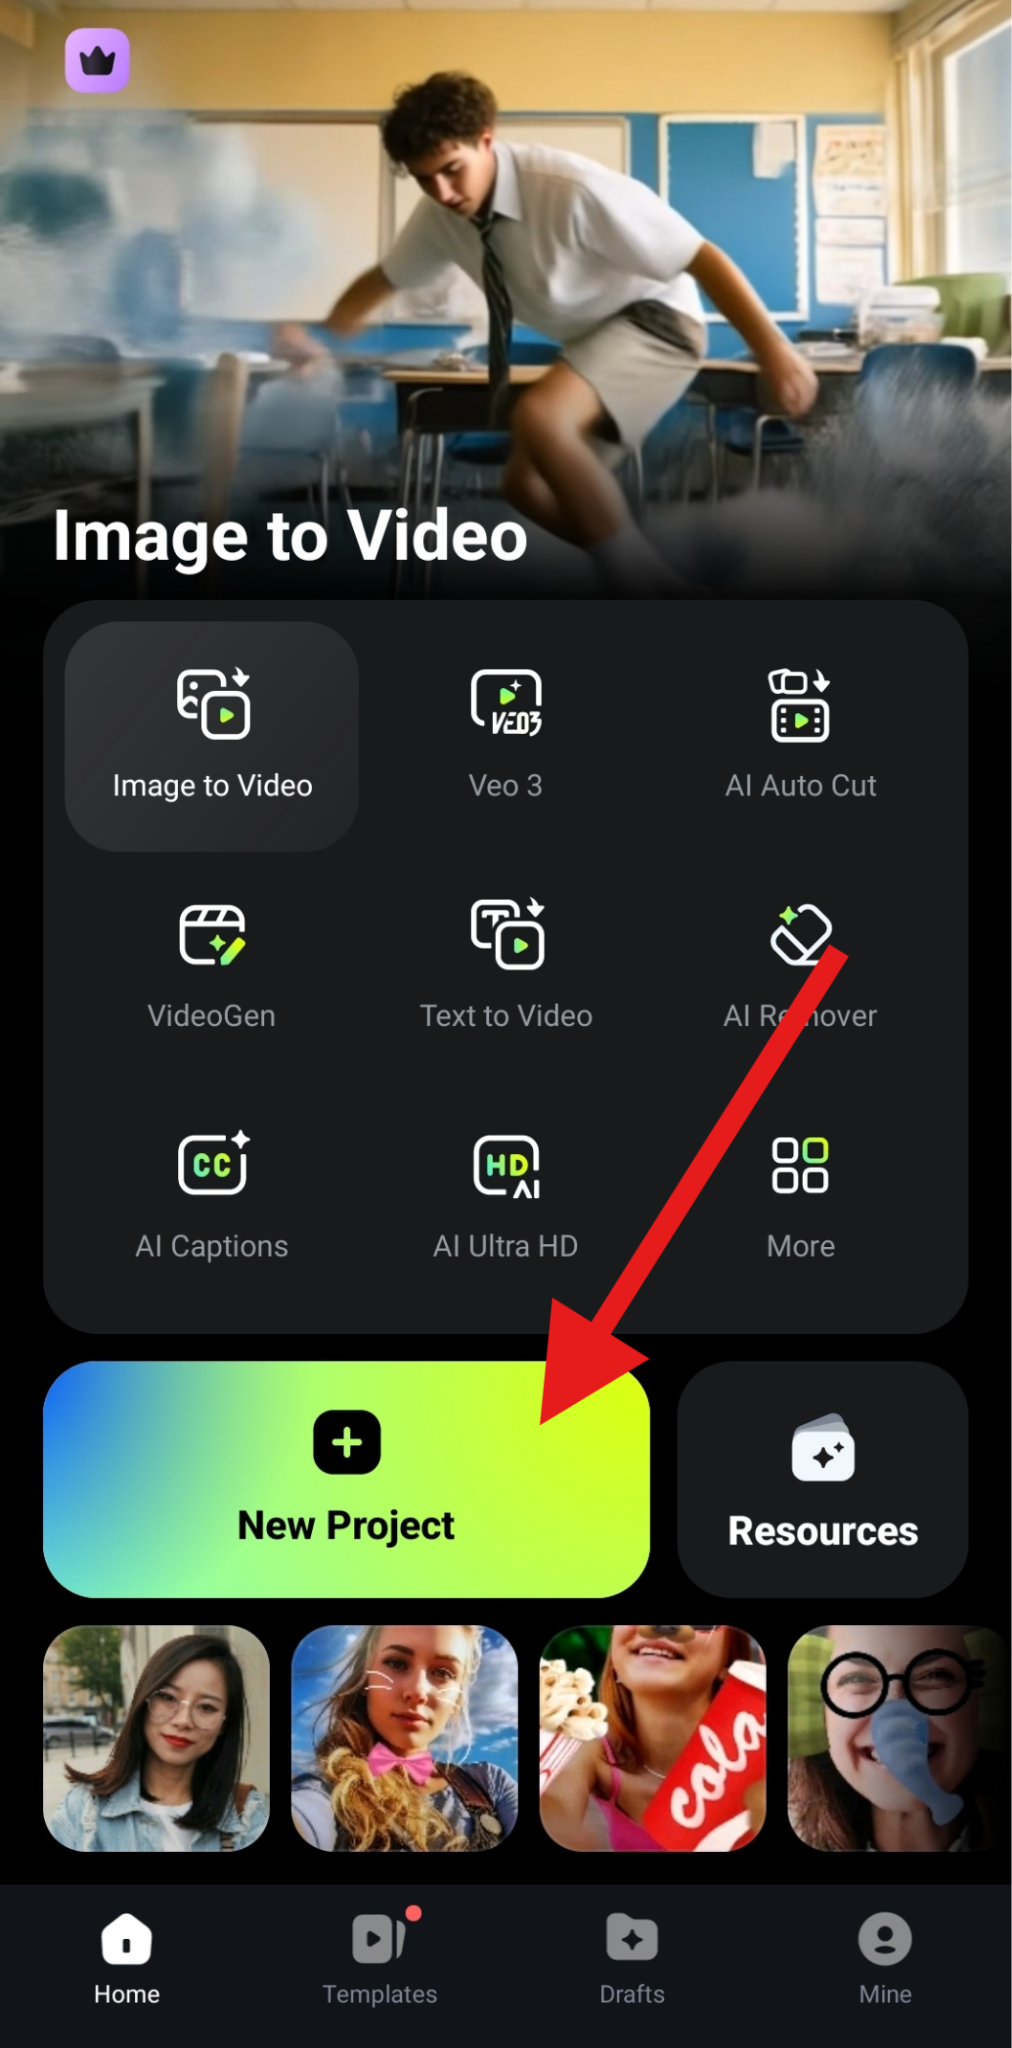
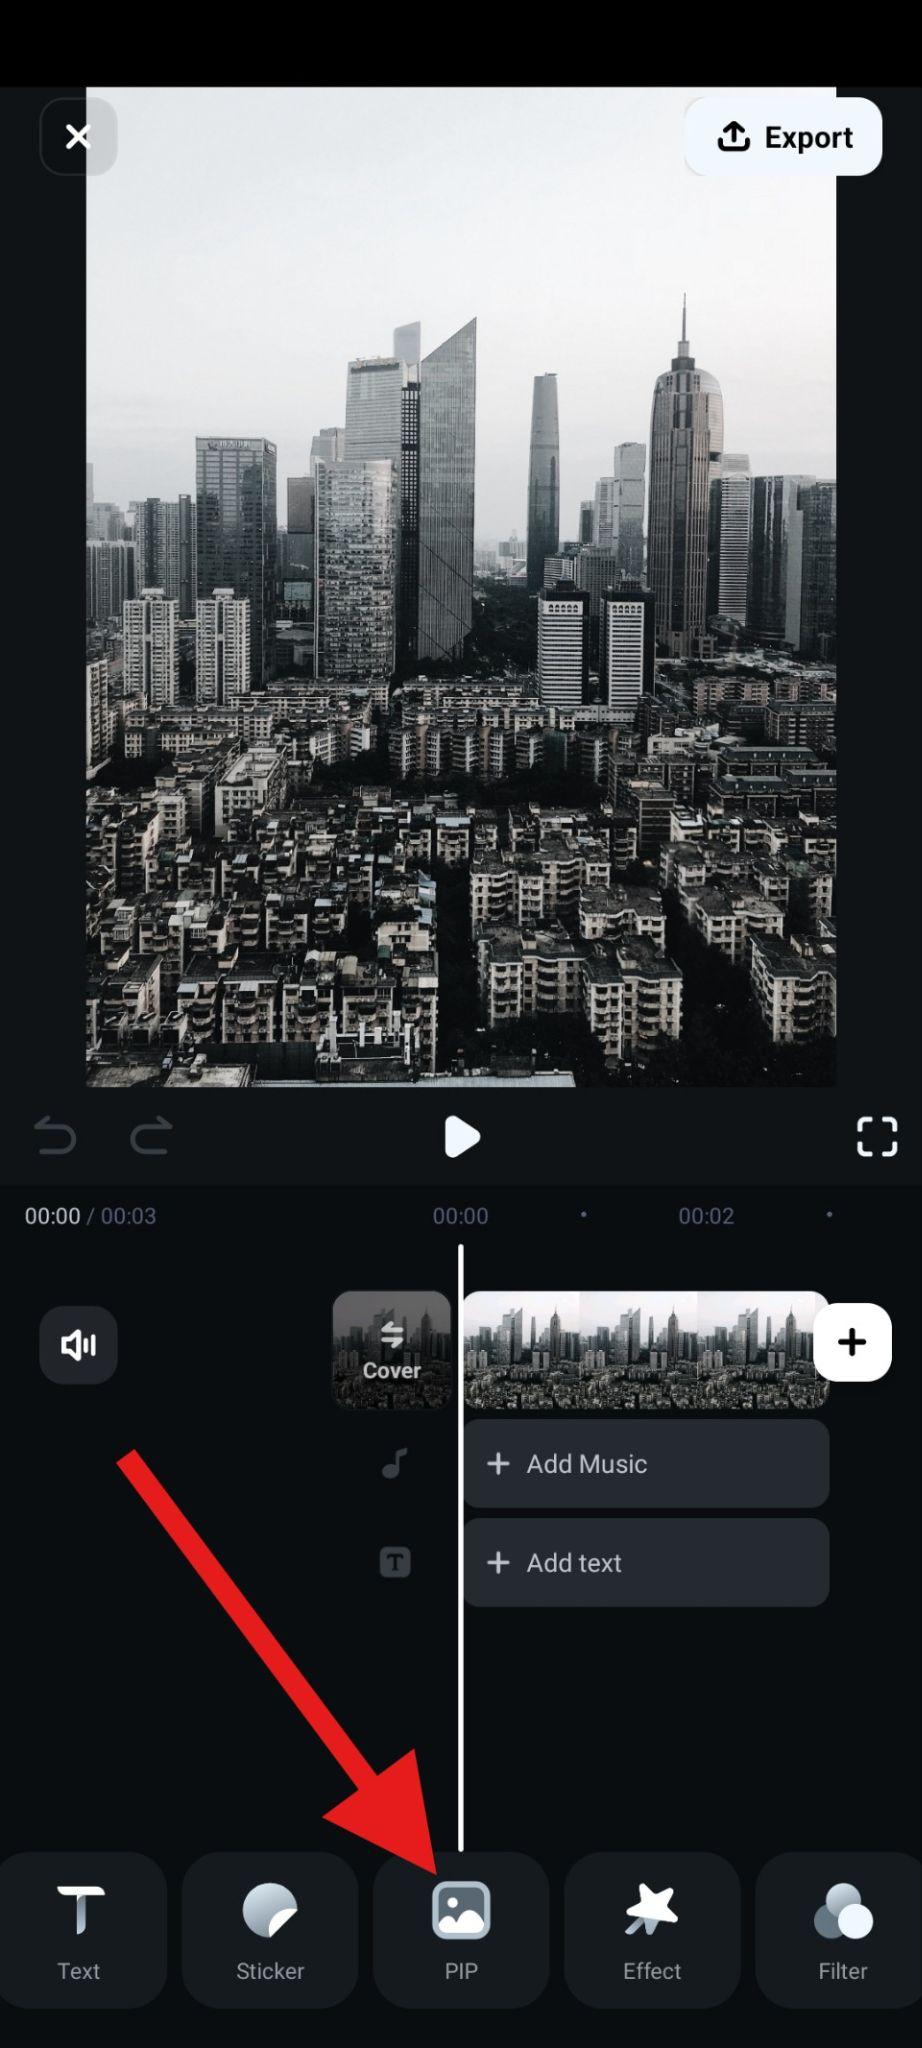
- Find the PIP (picture-in-picture) feature in the bottom menu, tap on it, and add your logo PNG to the project.
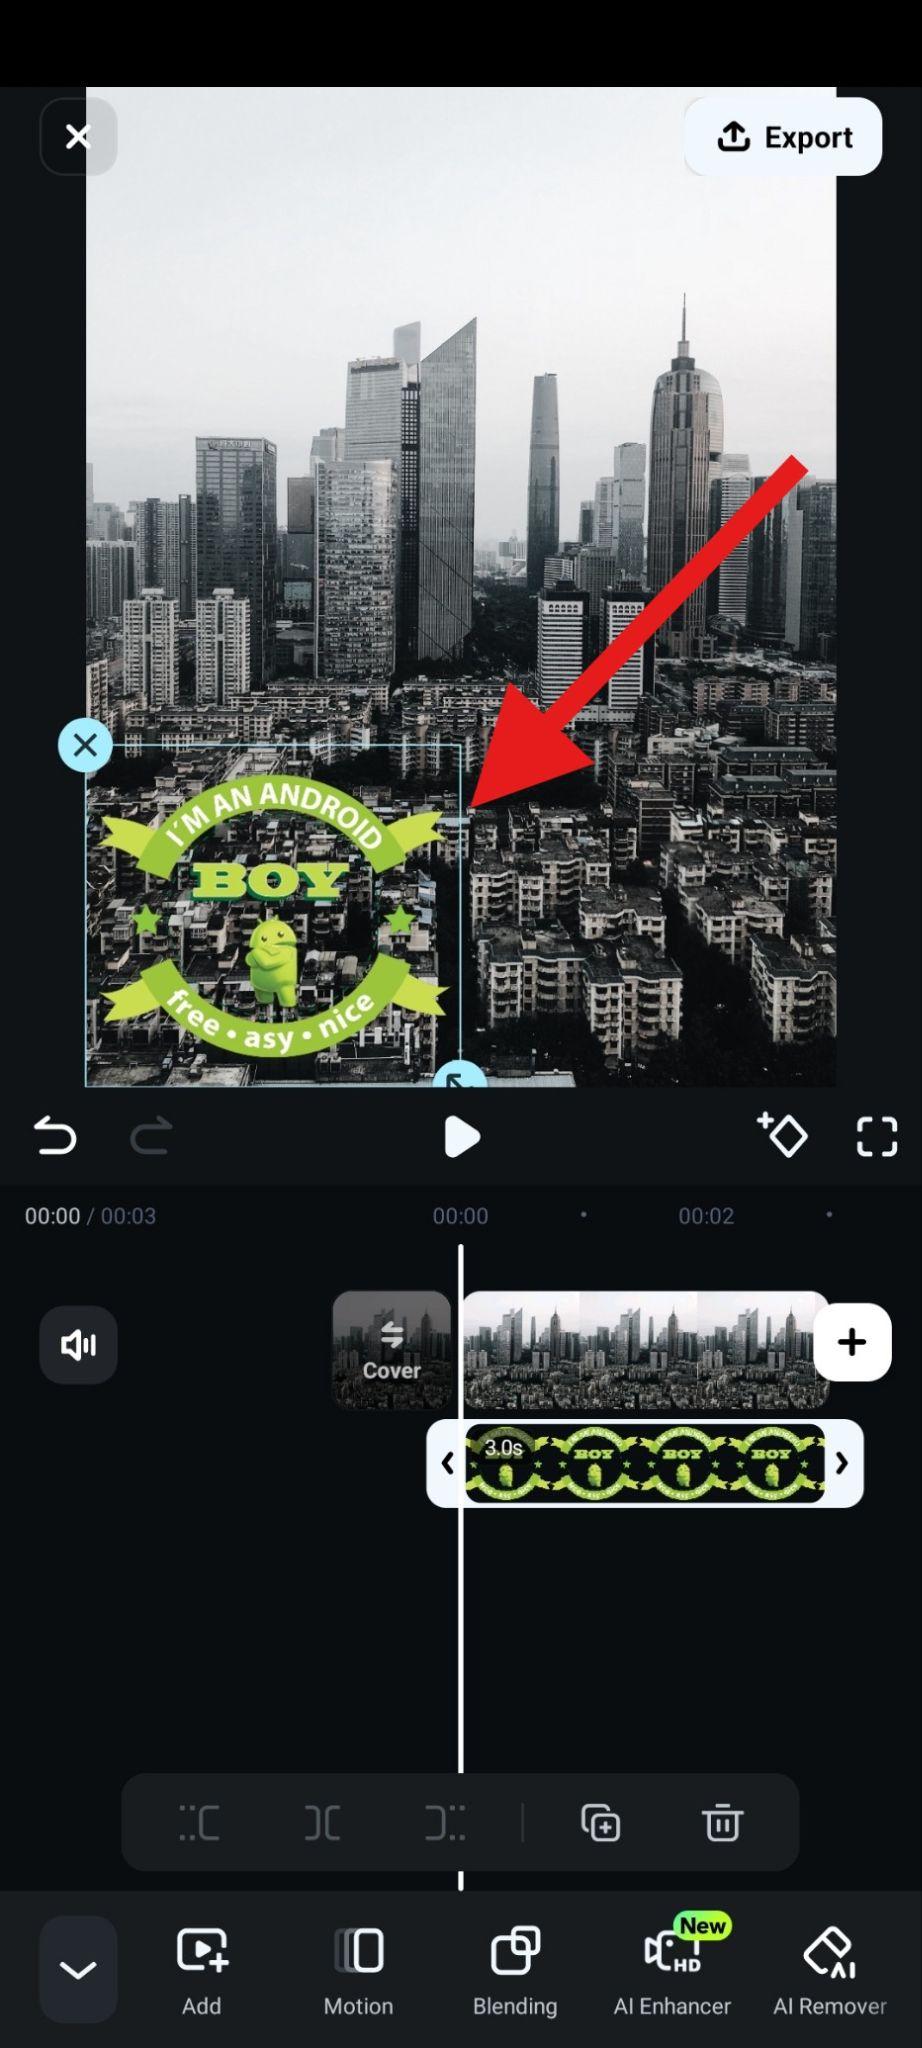
- Finally, adjust the size and position of the logo in the preview section of the interface.
Check out the result.
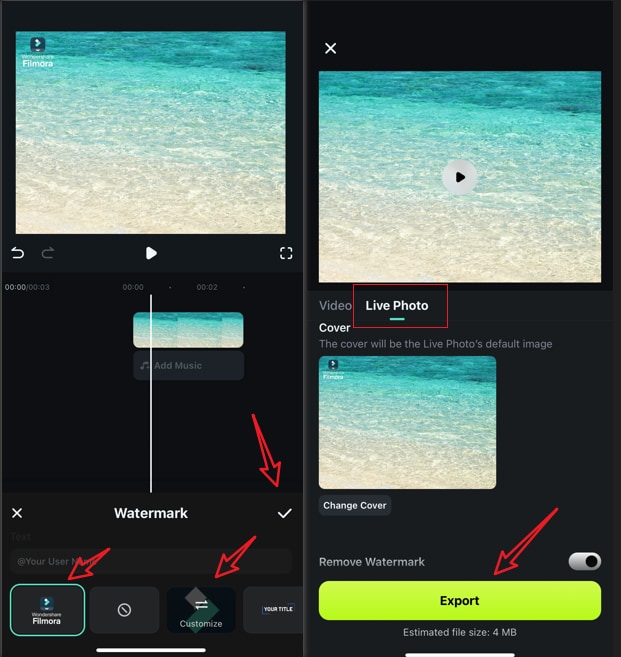
Add a Logo to a Picture with the Watermark Feature
You can also use the watermark feature to put your logo to the photo directly. Here are the steps.
- After downloading the app on your phone, open it and start a new project.
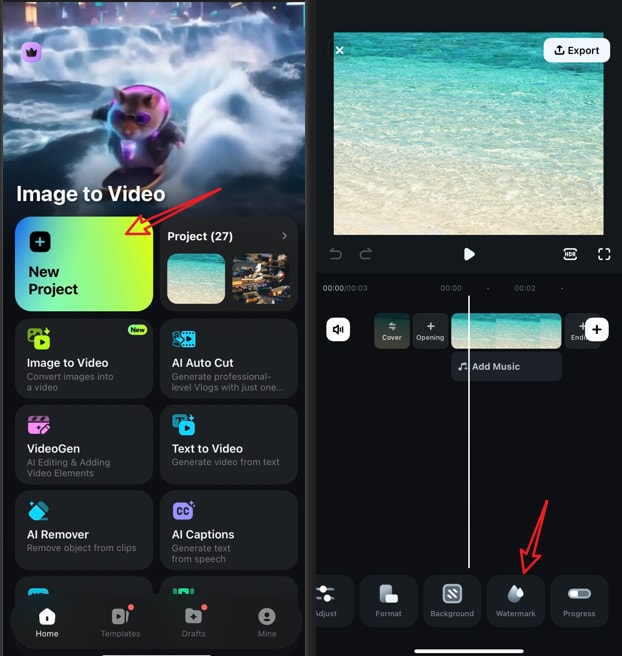
- Import a picture > navigate to the watermark feature > tap on a preset watermark or import your own watermark by tapping the customize feature.
- Accept the changes, take a screenshot or tap on Export to save the photo after adding a logo.
Tips for Creating a Professional Logo Overlay
Now that you are familiar with the process of adding a logo to a photo, you should also consider some professional tips that also work as best practices.
- Use transparent PNGs (or SVGs) for clean edges: If you go with other image formats, you risk some imperfections after using a background remover AI tool. In terms of file formats, SVG scales without blur if you need to add a large logo to a photo.
- Keep it small and subtle: In most cases, you want your logo to be small and non-intrusive. On a photo that is 1080 pixels wide, 120–220 pixels of width is enough for the logo. Viewers should notice the image first and the logo second.
- Choose consistent placement: Pick one corner and stick to it across the entire campaign or image set. This type of consistency drives brand recognition faster than a bigger logo ever will. This is how the pros are doing it.
- Match brand colors to the scene: You should have different versions of your logo. Always have light, dark, and different color variants. If a background is mixed, a logo with one or two pixels featuring a subtle glow effect will remain legible.
- Preview across devices: Always preview your logo on different devices to ensure visibility. What looks perfect on a large monitor can be faint on phones. Test mobile first if that's your primary channel, and scale upward from there.
Conclusion
Adding a logo to your photos shouldn't be a design marathon. With a simple and user-friendly tool like Filmora by your side, you can add your logo to your photo in mere minutes, regardless of your preferred device. You can also refine your logo with AI background removal and color adjustments, generate on-brand badges with AI when needed, and lock everything into presets so that you can edit future images fast.
Download Filmora today and start creating sleek, consistent logo overlays for your photos, even if you are a complete video and image editing beginner.
secure download 