-
Mastering Video Aspect Ratios for Different Platforms
-
Elevate Your Videos: Color Correction Techniques in AVS Video Editor
-
Discovering the Ultimate Power of Premiere Pro Vectorscope
-
Premiere Pro Lumetri Color Guide + Alternative
-
Everything to Know about HSL and Color Grading
-
Guide On How To Add HDR, Color Grading & Sky Glow Using Filmora
Transcript
So, initially, we have to import our videos. For importing videos, we have to click "File," then "Import Media," and inside it, "Import Media Files." The second way to import video is quite easy. Here we’ve to double-click.
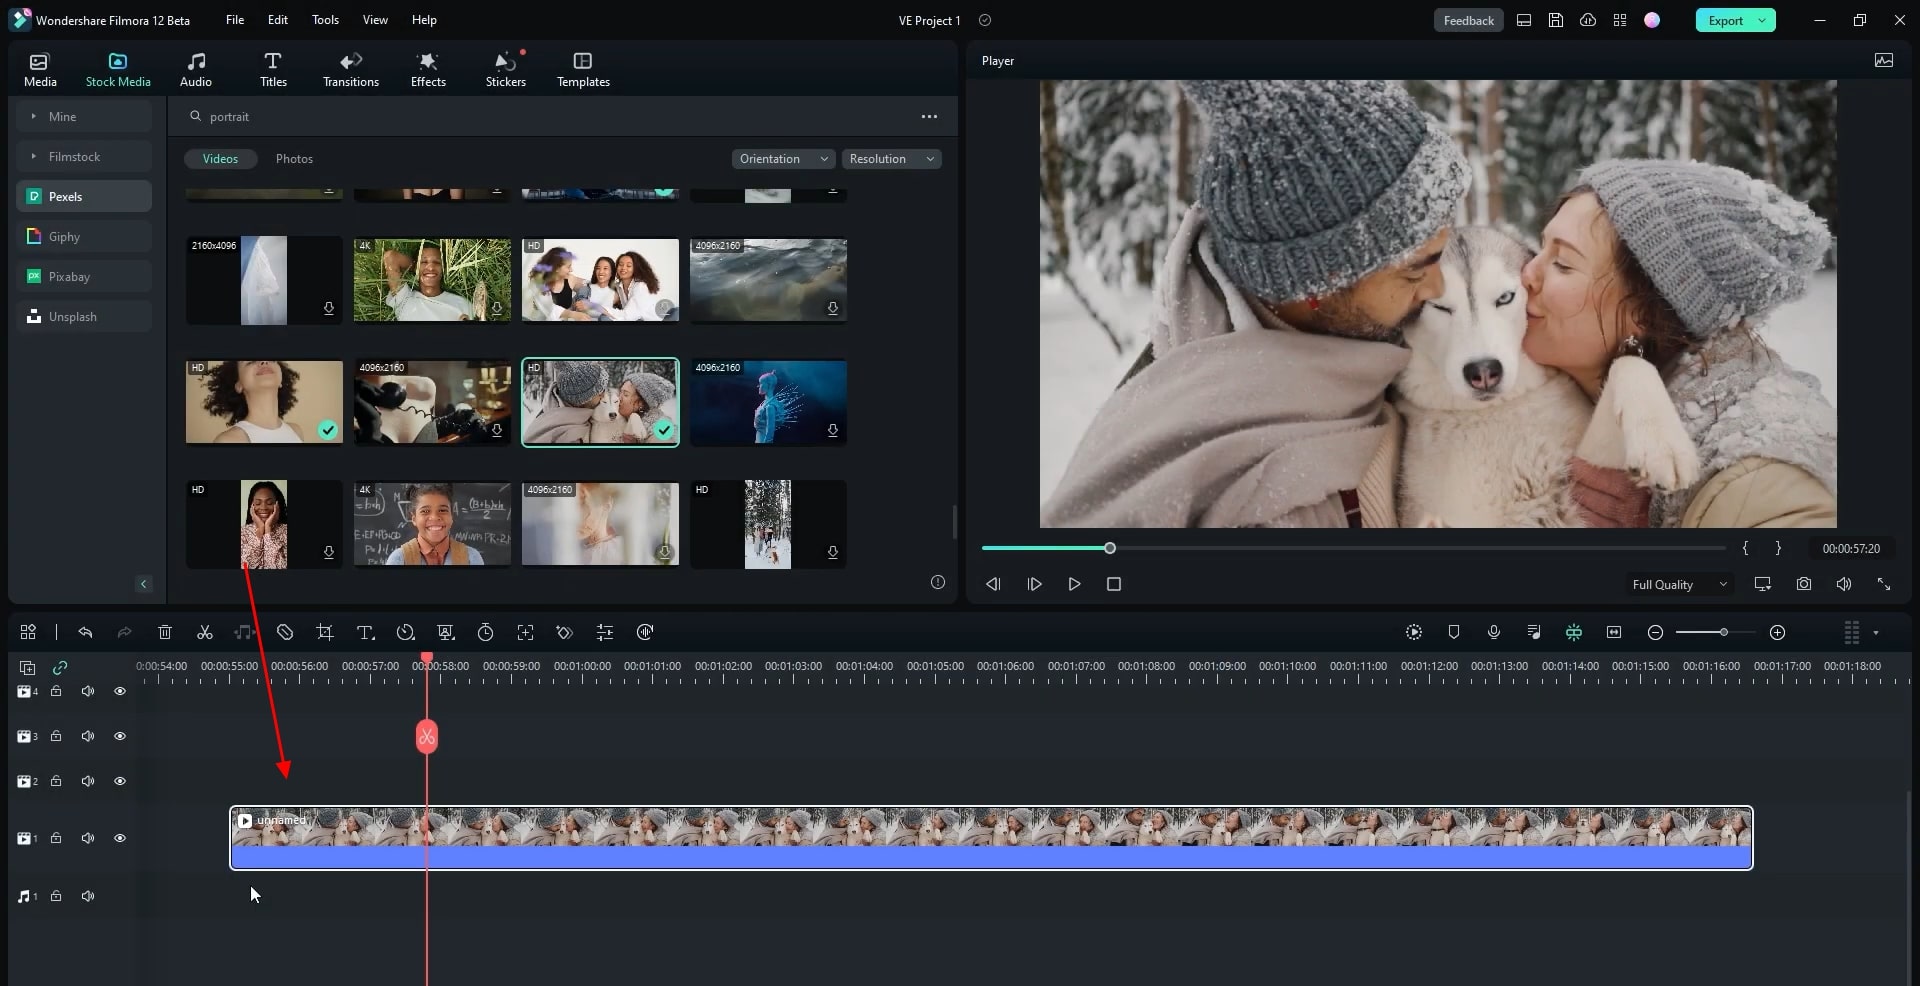
So today, I'm going to use "Stock Media," where you'll get non-copyright videos or photographs. Here we have "Pexels”, “Giphy”, “Pixabay”, and “Unsplash”. You can download any of these videos to use immediately for your project.
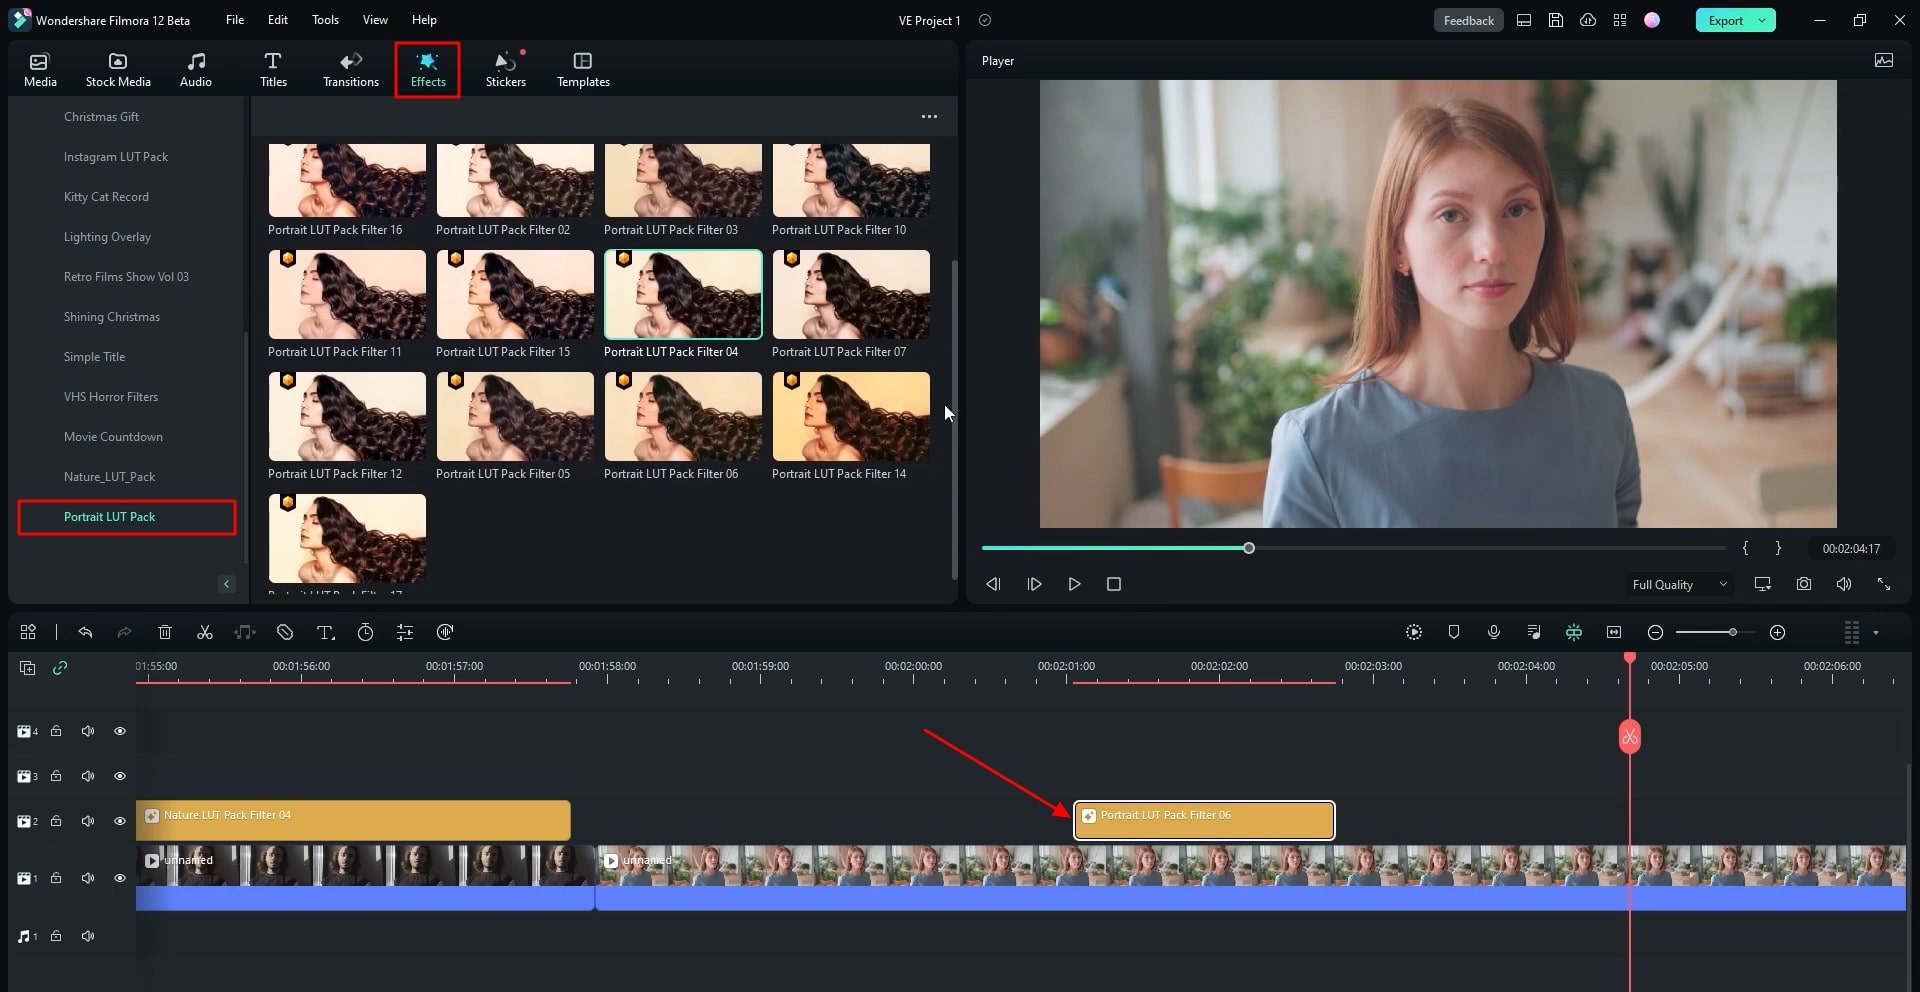
So, from all these, I’m going to import one video onto my timeline. Now, for LUT video import, we will navigate into "Effects." From the effect panel, we have to go into the last folder, which is "Filmstock," and here is our video LUT pack.
So first, we're going to try the "Portrait LUT Pack." Now in Portrait LUT Pack, we'll get several LUT packs which are 17 in total. It's very simple to use a Portrait LUT Pack. We have to drag and drop it onto our main video. So let's see the output of the video first. So this is before, and this is after.
Here, we can use LUT in two ways. The first way is to apply the LUT to the video directly. The second way is to use an adjustment layer for utilizing the LUT video without disturbing our main video.
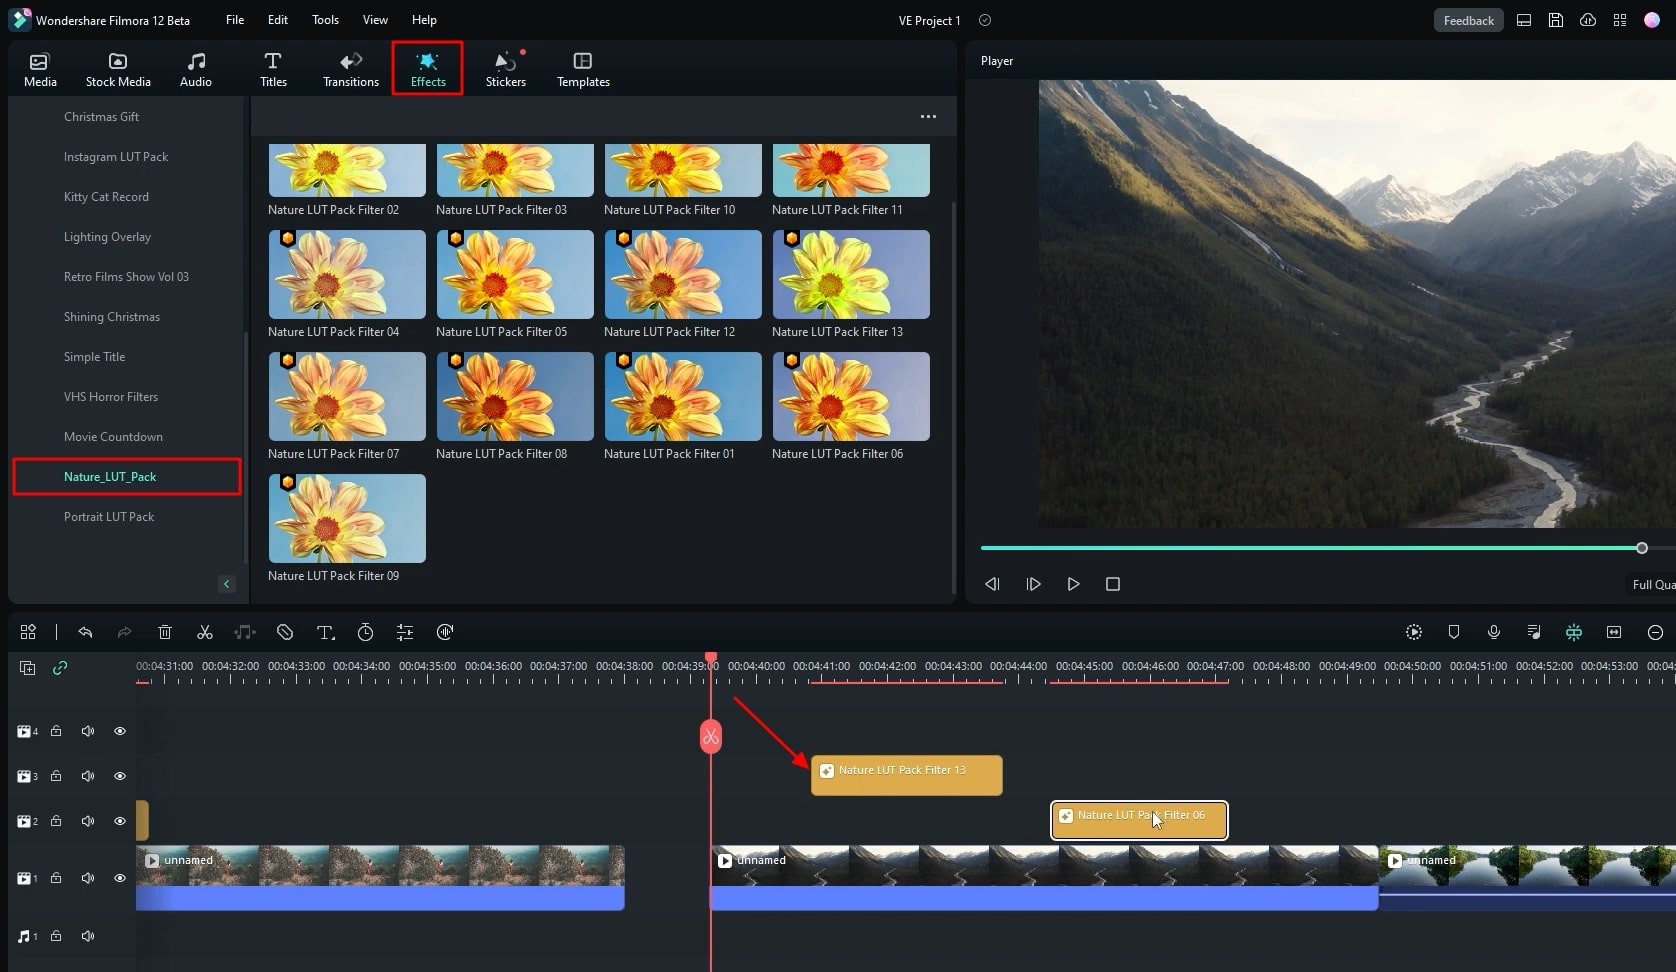
Now we'll see the second LUT, whose name is "Nature LUT Pack." As you can see, here I have applied two different LUT packs on a single video. The output of the first LUT pack is something like this, and the output of the second LUT pack is something like this.
Now let's see the third LUT pack, whose name is "Instagram LUT Pack." Within Instagram LUT Pack, we can see many individual LUT. In this example, I have applied more than one filter on a single video, and its output is here.
Filmora | 3 Best Free LUTs | Cinematic Color Grading
What you need to prepare:
- A computer (Windows or macOS)
- Your video materials.
- Filmora video editor
Import Video for Project
To start your LUT video editing, you've to first import your video to Filmora. For this, you need to click "File" from the top panel bar, then select "Import Media," and then choose "Import Media Files." If you want a ready-made video, navigate into the "Stock Media" tab from the top-left and select your video from the available options.

Move the Video to the Project Timeline
After you’ve imported or selected your video, now drag and drop that video to the project timeline below. You can also click the "Add to Project" icon on the video to move it to the timeline.
Apply LUT Effects as per Choice
Navigate into the "Effects" tab from the top of the screen. Scroll down from the available categories on the left side of your screen, choose "Filmstock," and then press "Portrait LUT Pack" as your first best LUT pack. You'll see many effect categories, and therefore choose a suitable option and then drag it to the timeline.
Now select “Nature LUT Pack” as your second-best LUT pack from the “Filmstock” category. Again choose your desired LUT effect from the given options and then drag it to the timeline below.
Afterward, choose “Instagram LUT Pack” as your third-best LUT pack from the “Filmstock” category. Now, you've again got to select your desired effect from the provided options and then drag it to the timeline. You can apply as many effects as you want in your video.

Play the Final Video to Preview and Export
Click the “Play” icon from under the screen and preview your entire video editing effort by playing the video. Now click the "Export" button from the top of your screen, choose the file name, and set the desired location on your device. Finally, your video with the LUT effect will be exported.

Videos are not only limited to entertainment or professional work; they are also emotionally connected to us because of the memories they store. Thus, applying visual effects can give a quality boost to the video that's important to you. With this tutorial on Filmora, you can easily start video editing to apply color grading with the best LUT effects.