-
Guide On How To Create Dr. Strange Effect In Video Through Filmora
-
Guide On How To Create Audio Visualizer in Filmora
-
Guide On How to Add Smoke Effect in Filmora
-
Tutorial On Smooth Blur Transition in Filmora
-
A Simple Photoslide Tutorial With Slideshow Effects In Filmora
-
Isolate Color Effect Or Selective Color Effect In Wondershare Filmora
-
Guide On How To Add Dr. Strange Effect In Video
-
How To Make Snap Video – Filmora Tutorial
-
Tutorial – How to Make Fast Speed Effect Like The Flash With Filmora
-
Guide On How To Edit Coin Magic Tricks With Filmora
-
How To Get Explosion Effect On Your Video Using Filmora
-
Creating Seamless Typography Animation with Filmora 1202:11
-
A Guide to Creating Looping Text Animation With Wondershare Filmora02:11
-
Filmora Tutorial – Setting Up The New Dynamic Countdown Timers02:11
-
5 Essential Video Editing Tips You Must Know On Wondershare Filmora02:11
-
Performing Next-Level Editing With Ready-Made Templates on Filmora 1202:24
Transcript
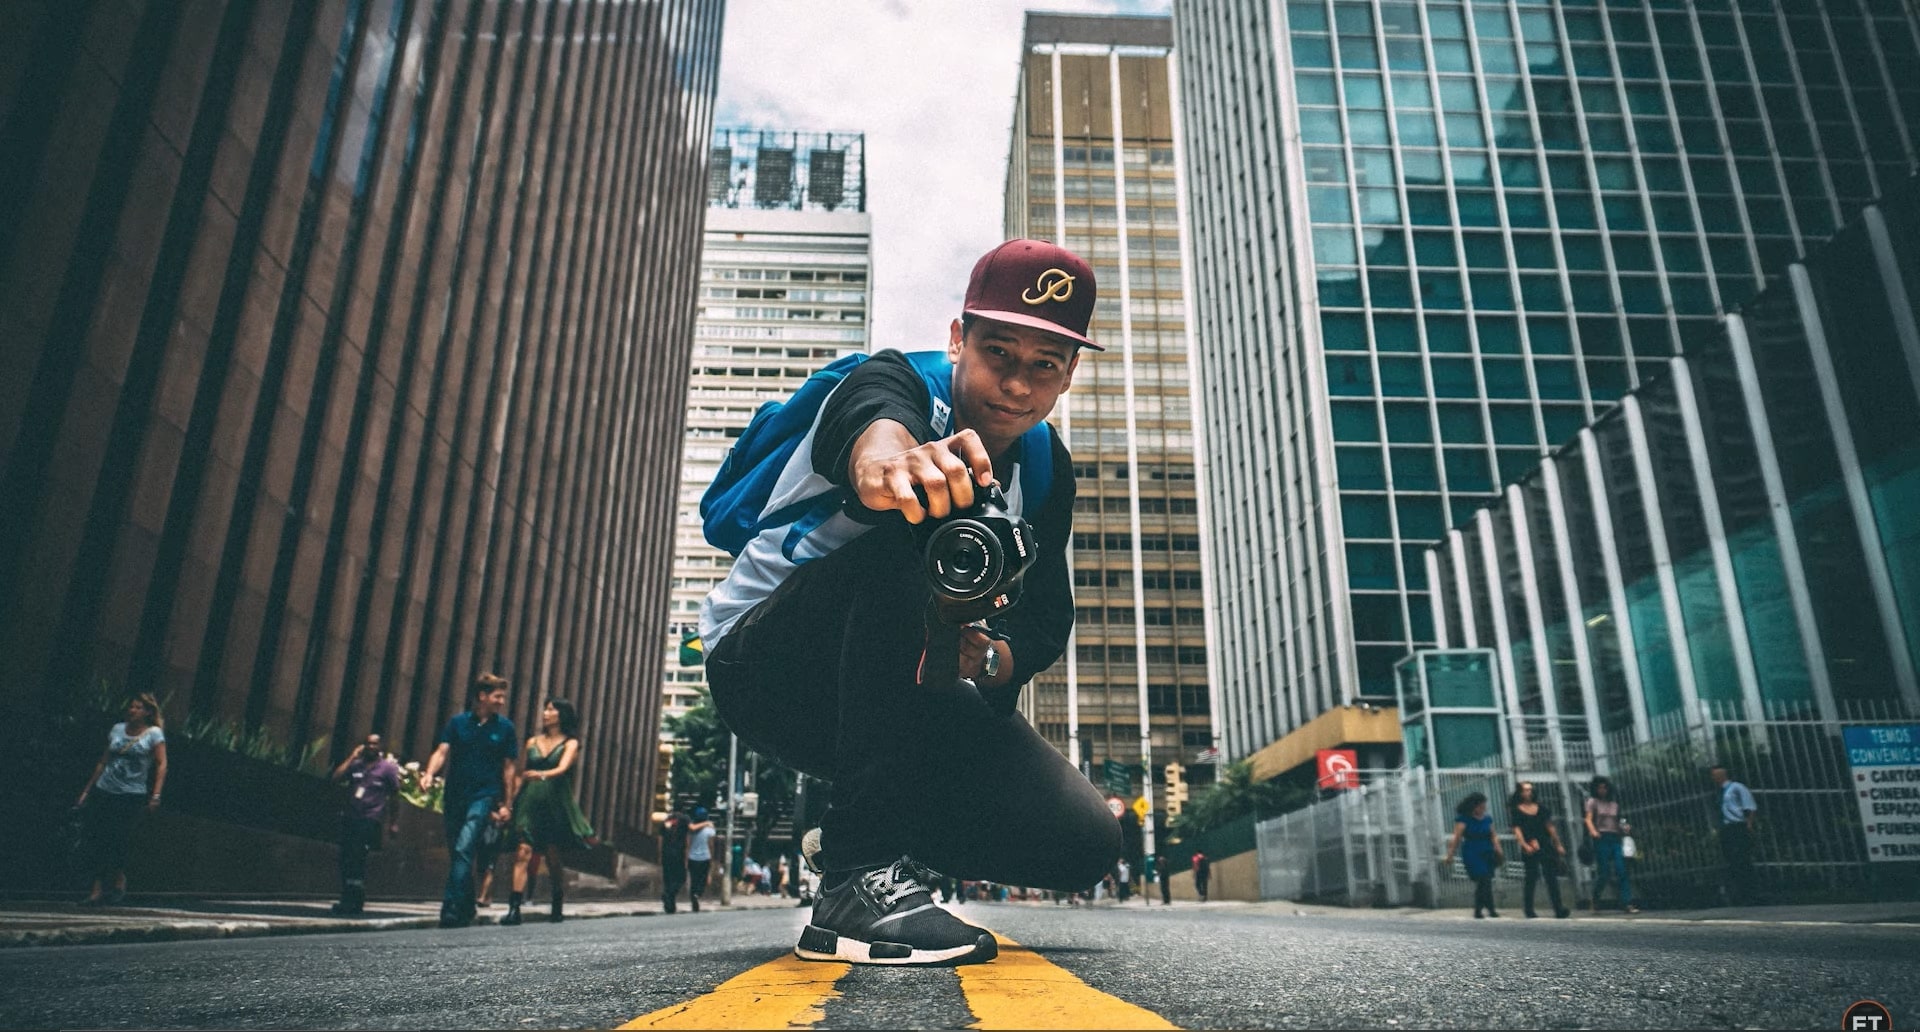
So, first of all, you need to take a photo of yourself. Now the first step is to remove yourself from the photo background, as well as remove the background from your photo. So basically, you have to generate two different photos.
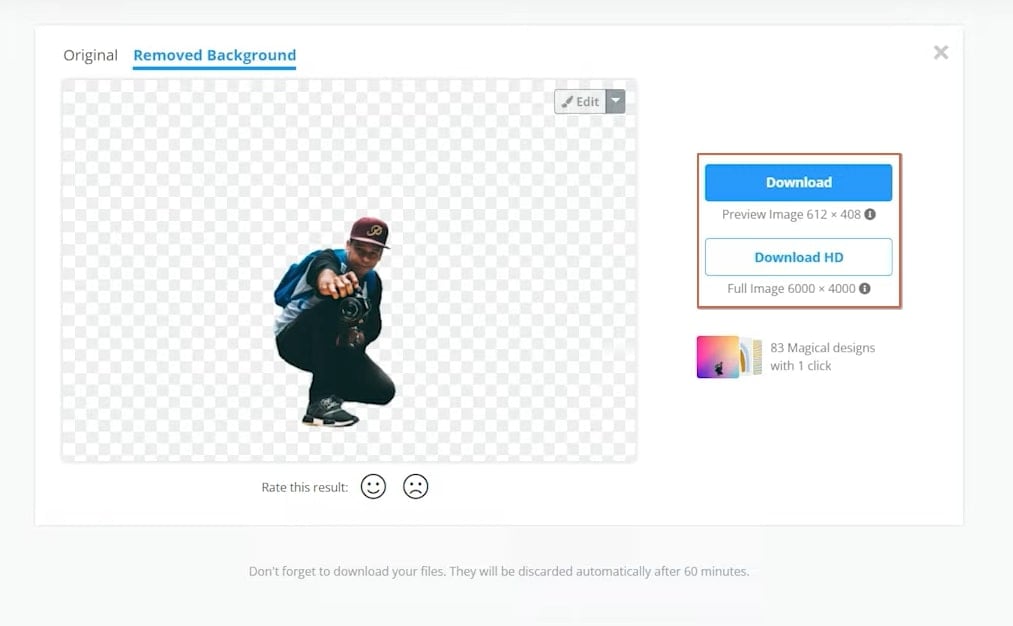
Open up a web browser, and go to “removebg.com.” Click on the "Upload Image” button and choose your photo. It will process the image and will automatically remove the background. Click on the "Download” button to download the image. It's going to be in a low resolution, but it's more than enough for social media.
But if you want a high-resolution image, then you'll have to purchase credits. Next, go to the website “theinpaint.com.” Click on the "Upload Image” button and select your original photo. By default, the marker tool is selected. You can use it to select yourself from the image, or you can also use the lasso tool.
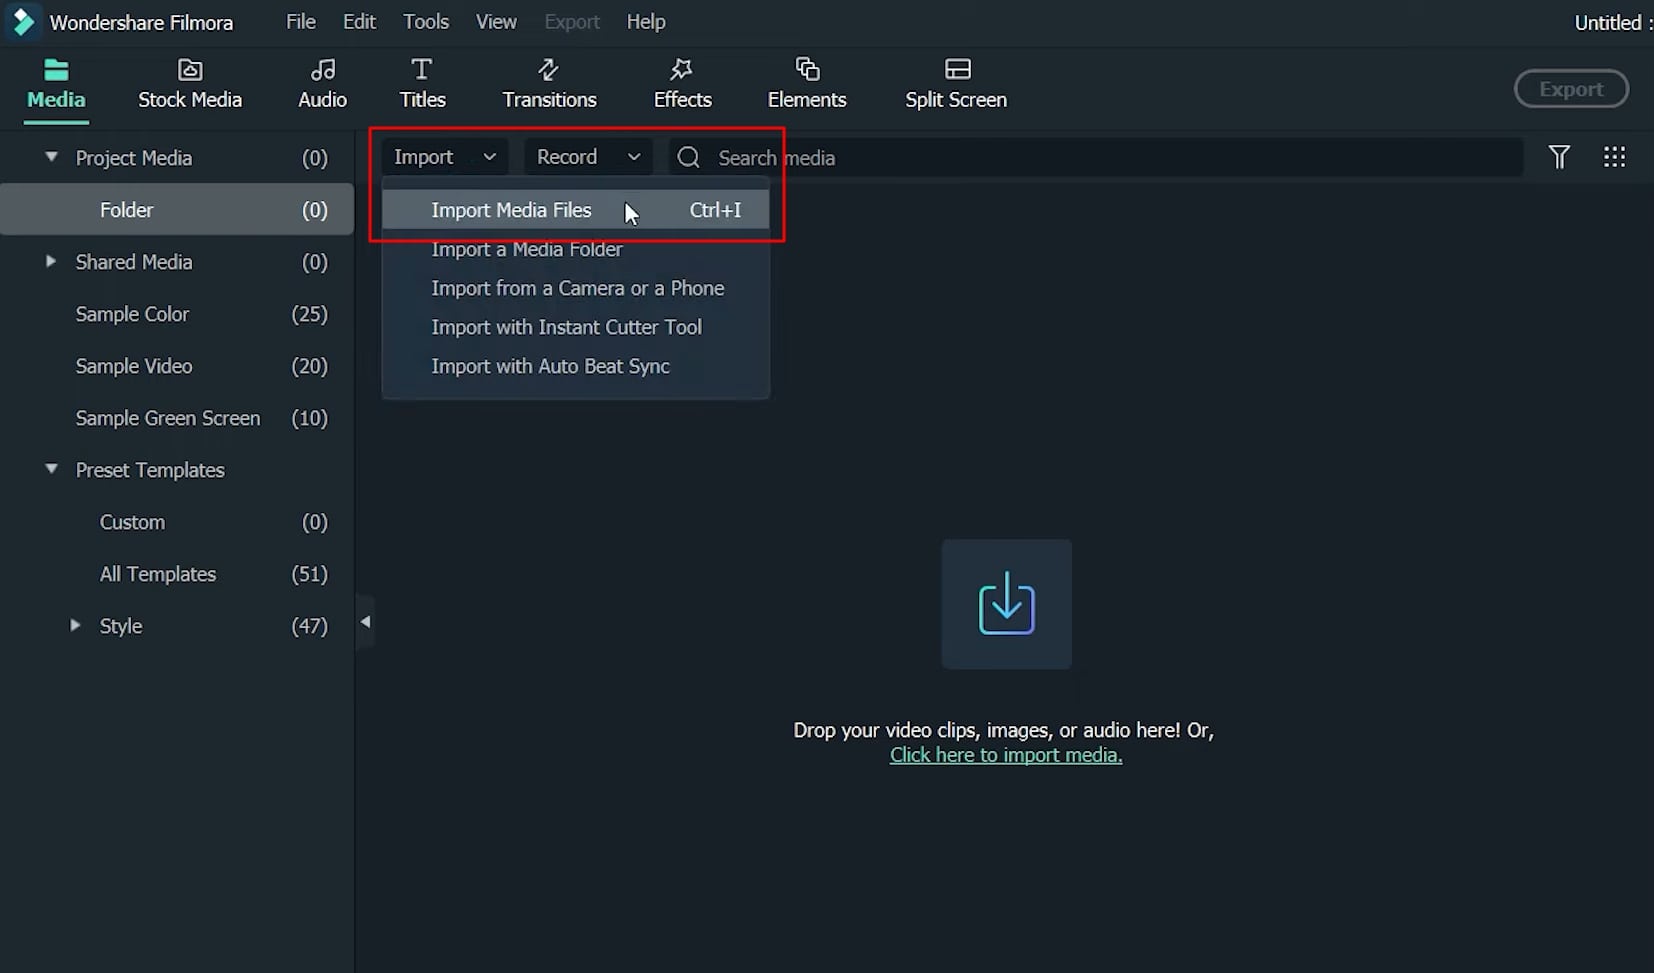
After selection, click on the "Erase” button, and it will remove you from the photo. Now click on “Download” and choose “Download Low Resolution.” The next step is to open up Wondershare Filmora. Click on “Import” and select “Import Media Files.” Select both of the downloaded photos and click “Open.”
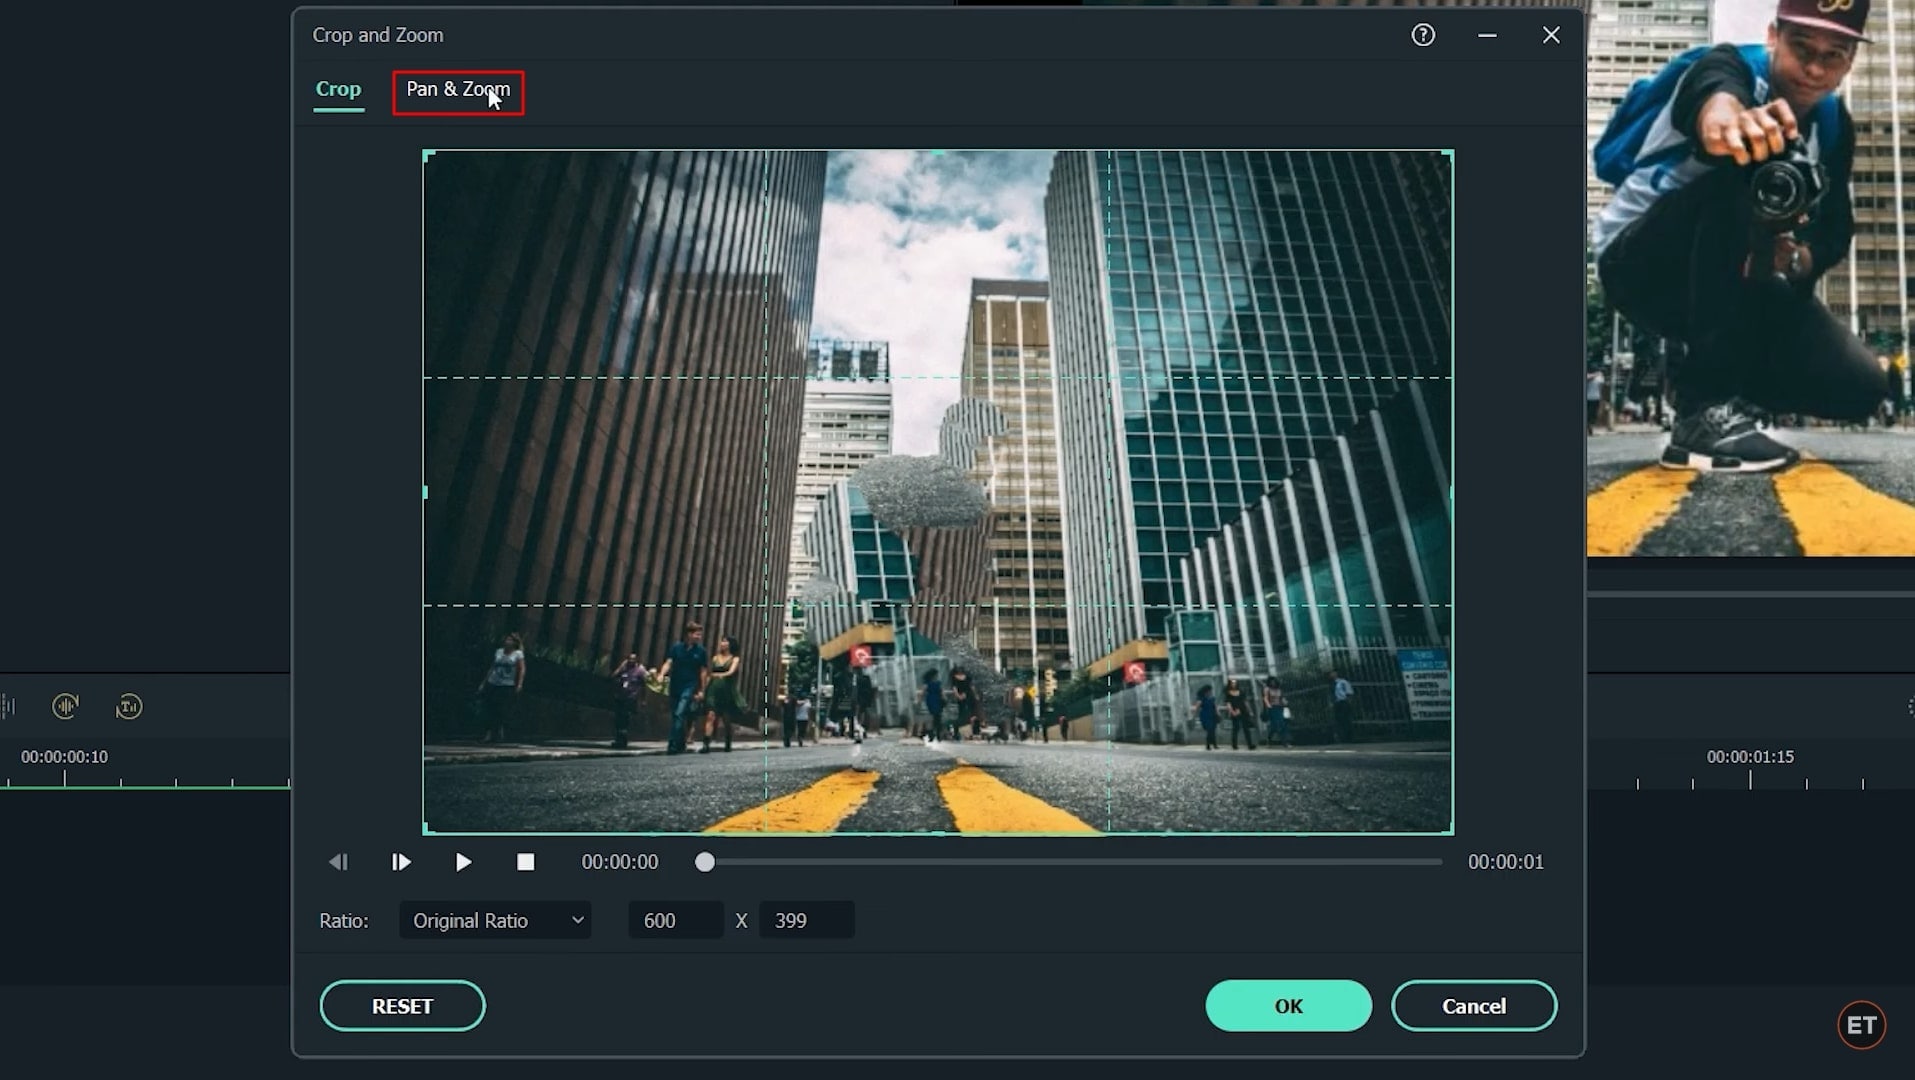
Drag and drop the background image onto the project timeline. Now drag and place your own image on top of it. Adjust the duration of both images by dragging from the right side and making it up to one second. Next, right-click on the background image, select “Crop and Zoom,” and then select “Pan and Zoom.”
Now, leave the start box as it is and click on the end box, which is in red color. Adjust its size and, drag it to the corner, click “OK” to save changes. Now double-click on the second image of yours, go to “Animation," and select Customize.
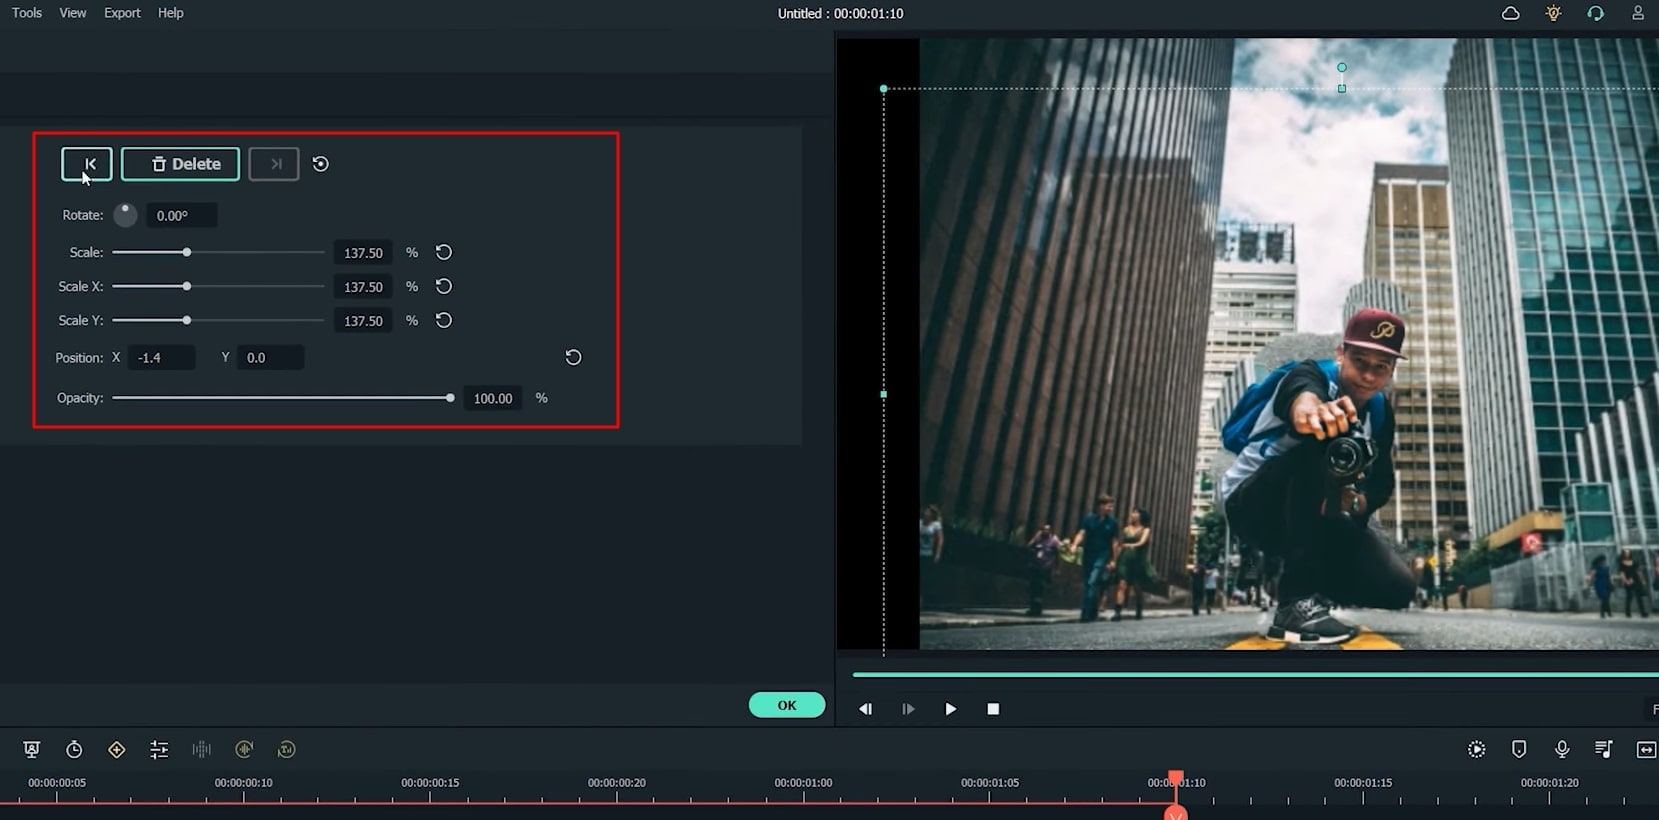
Bring the playhead to the very first frame on the timeline and click on the "Add” button to add an empty keyframe. Now move the playhead to the very last frame. Adjust your position by dragging from the preview window. Also, increase the scale of your image, and once done, click “OK” to save changes.
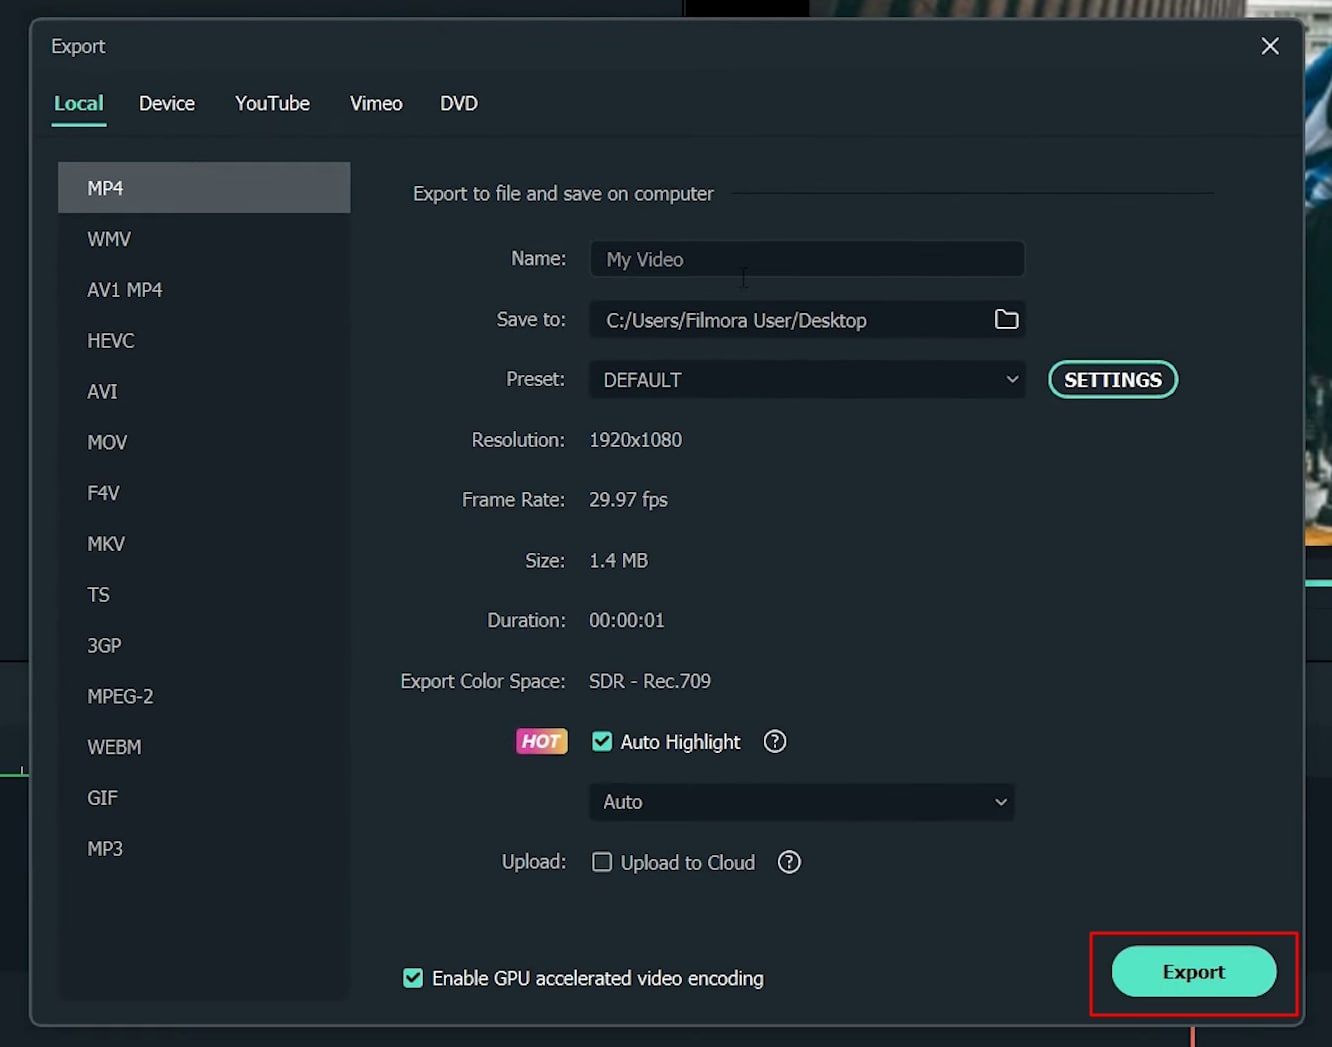
And here it is; your 3D photo effect is ready. To save or export it, simply click on the “Export” button. Put a file name, select the destination folder, and then hit Export.
Tutorial - Create 3D Photo Zoom Effect in Filmora
What you need to prepare:
- A computer (Windows or macOS)
- Your video materials.
- Filmora video editor
Take Your Photo
You’ve to take a photo of yourself. After that, you’re required to remove yourself from the background, as well as remove the background from the photo. To sum up, you need two different photos.
Use an Online Tool to Remove the Background
Launch the web browser and open “removebg.com,” where you’ve to upload your images. Click the "Upload Image" button to add your image files. The tool will remove the background and download the images by clicking the "Download" button. If you've credits, you also have an option for HD download, for which you need to press the “Download HD” button.
Use an Online Tool to Remove Object From the Image
After this, you're required to open “theinpaint.com,” where you've to upload your original image by pressing the button "Upload Image." Moreover, you've to select yourself with the help of the default marker tool. After this, you need to press the "Erase" button to remove yourself from the photo. Finally, download your edited image by pressing the "Download" button.

Import Images on Filmora
After downloading and installing the Wondershare Filmora, press the “Import” button and select “Import Media Files.” Then import both of your downloaded photos to the platform.
Start Editing the Project
After importing the downloaded images, drag and drop the background image to the project timeline. After that, you need to drag and drop your image on top of the background image in the timeline. The duration of both images will be adjusted by dragging from the right side. Right-click the background image, select “Crop and Zoom,” and continue into the “Pan and Zoom” section.
Edit the Box and Induce Animations
Leave the “Start” box and click on the “End” box, which is in red. Adjust its size and drag it to the corner. Finally, click "OK" to save the changes. After this, you have to double-click on your second image, select "Animation," and press "Customize" to adjust the playhead in the project timeline.
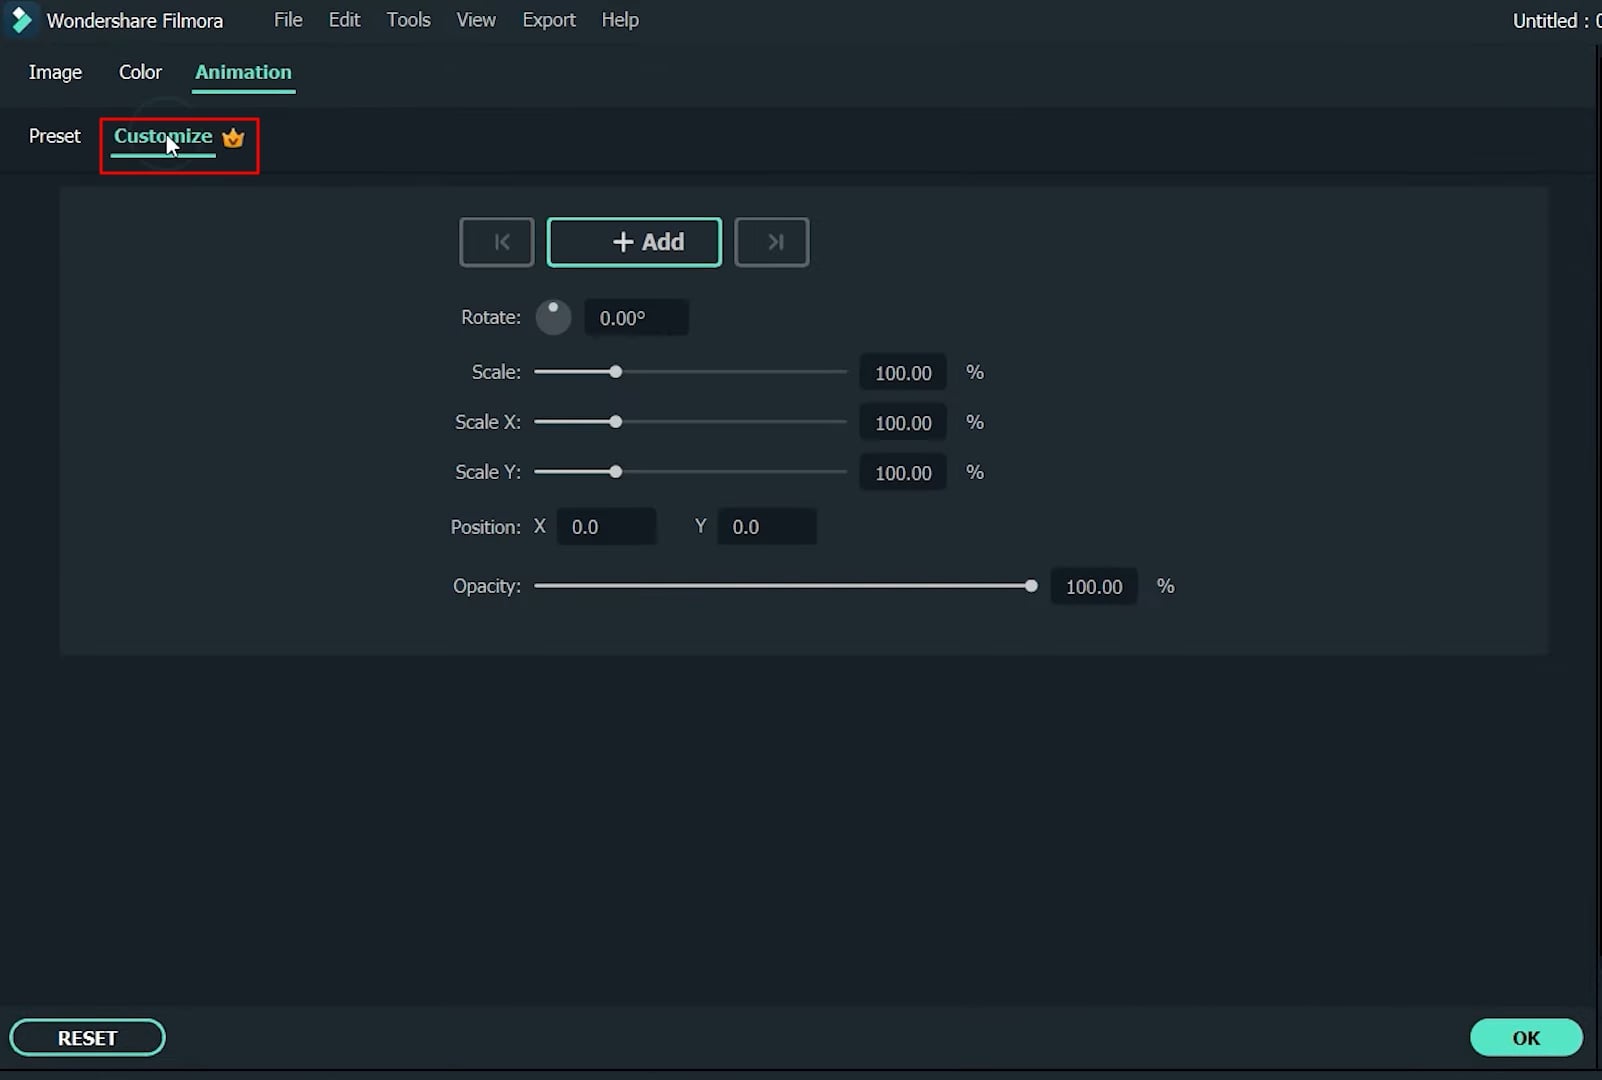
Adjust Frames for Positioning
Bring the playhead to the timeline's very first frame and click on the "+Add" button to add an empty keyframe. Now move the playhead to the very last frame. Adjust your position by dragging from the preview window. Meanwhile, increase your image's scale, and once done, click on the "OK" button to save changes.
Save and Export Your 3D Photo
Your 3D photo zoom effect is ready to use. In order to save it on your device in the desired location, you can export it by simply clicking on the “Export” button.
Creating a 3D photo zoom effect may look like a difficult or unachievable task for any beginner. By following this tutorial, designing this type of image will be an easy task. All you've to do is to follow the provided steps, and you'll conveniently build your 3D photos with zero hassle.