


 100% Security Verified | No Subscription Required | No Malware

Do you wish to cut videos on Linux but need help finding and installing the best software? Linux systems can be challenging for beginners, primarily those switching from Windows or macOS. After all, downloads and installations typically require Terminal commands.
Don’t worry; it’s more straightforward than you may think. We’ll walk you through downloading and installing one of the best software for trimming and cutting videos on Linux and introduce another that throws cropping (among other tools) into the mix.
In this article
Finding Software for Cutting Videos on Linux Can Be Challenging
Finding software for any Linux distribution can take time. For instance, you may spend hours browsing the Snap Store searching for programs compatible with Ubuntu to crop videos, trim their beginning and end, or cut specific sections.
You may find many offering those features, only to discover that some haven’t gotten an update in years, while others have that formidable Unsafe warning. Crypto wallet scams have been plaguing many Snap apps for a while, making Linux users’ favorite GUI desktop app less reliable than it was.
Furthermore, most video editing solutions are exclusive to Windows or macOS (or both). What if you find one perfect for your needs, but it doesn’t natively support Linux? You can still install it, but the process is more time-consuming than on Windows and Mac devices.
The struggle is real. Fortunately, you no longer have to search for Linux video cutters because we’ve done the legwork for you. Here’s the fastest software to try.
Introducing VidCutter for Cutting Videos on Linux
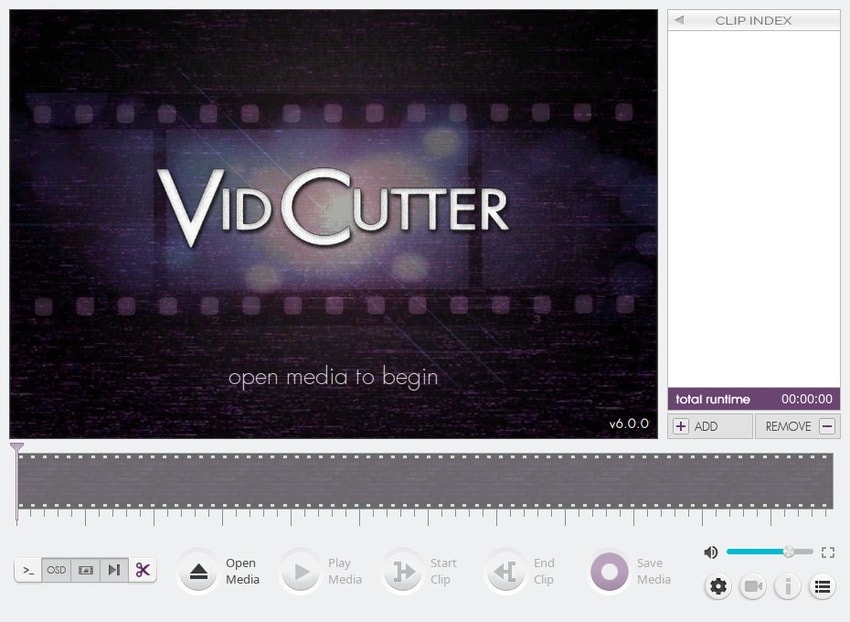
It has a user-friendly interface and only several features, making it ideal for everyday users seeking quick video cuts. It’s fast, lightweight (the download size doesn’t exceed 200 MB, depending on the system and source), and has low CPU usage.
FFmpeg, MediaInfo, libmpv, and Qt5 power this cross-platform video editor’s backend. You can thank Qt5 for its intuitive interface. Here’s what features you can expect.
Primary Features of VidCutter
VidCutter’s most notable features include the following:
- Trimming – trim a video on Linux using the playhead and timeline thumbnails;
- Cutting and merging – make, join, and rearrange multiple cuts without losing quality (thanks to FFmpeg);
- SmartCut technology – enable the frame-accurate mode (off by default) to re-encode start and end portions at valid keyframes;
- Media stream selection – access all audio channels and subtitles to remove unwanted media;
- BlackDetect video filter – create clips via black-frame detection (ideal for auto-cuts according to scene transitions or commercials);
- OpenGL video rendering – enjoy hardware acceleration during rendering and playback (thanks to libmpv);
- Multi-format support – trim, cut, and merge videos in multiple formats (e.g., AVI, FLV, MKV, MOV, MP4, MPEG, WMV, 3GP, etc.).
VidCutter doesn’t let you choose the export format; it retains the one from the source. Still, that’s a negligible drawback, considering all the helpful features. Let’s see how to install and use it.
How to Install VidCutter on Linux
You can install VidCuter on Linux using the Snap Manager, the developer’s PPA repository, or Flatpak. Here are the steps for each method.
Method 1: Use the Snap Manager
The Snap Manager lets you install software packages (snaps) within seconds. It’s available in most Linux distros and has automatic updates.
Here’s how to install VidCutter using the Snap Manager:
- Launch the Terminal and run this command: sudo apt update. That will refresh your repositories and help you avoid compatibility issues when installing new software. Enter your password to continue.

- Run the following command to install the snap daemon, a background service for adding snaps: sudo apt install snapd.

- Finally, run this command: sudo snap install vidcutter.

Method 2: Add a PPA Repository
PPA (Personal Package Archive) repositories are exclusive to Ubuntu. Some users prefer them because they offer the latest software versions directly from developers. They also require less storage space than snaps because they don’t include multiple dependencies.
Here’s how to install VidCutter on Ubuntu by adding the official PPA repository:
- Launch the Terminal and execute this command to install the repository: sudo add-apt-repository ppa:ozmartian/apps.

- Refresh your packages with this command: sudo apt update.

- Run this command to install VidCutter: sudo apt install vidcutter.

Method 3: Use Flatpak
Flatpak packages are available for all Linux distros and Linux kernel-based systems like ChromeOS. They have faster startup times than snaps and don’t limit you to one source (like the Snap Store). Flatpak retrieves most of them from Flathub, but their decentralized design allows third-party repositories.
Here’s how to install VidCutter using Flatpak:
- Launch the Terminal and run the following command: sudo apt install flatpak -y.

- Once you install Flatpak, enable its repository: sudo flatpak remote-add --if-not-exists flathub https://flathub.org/repo/flathub.flatpakrepo.

- Finally, install VidCutter with this command: flatpak install flathub com.ozmartians.VidCutter -y. You don’t need to use elevated privileges (sudo) because Flatpak packages include rootless installations.

How to Trim and Cut Videos on Linux Using VidCutter
We’ll show you how to use VidCutter on Ubuntu to trim a video or cut and merge multiple sections. However, the process and the user interface are identical across Linux distributions. Here’s what to do:
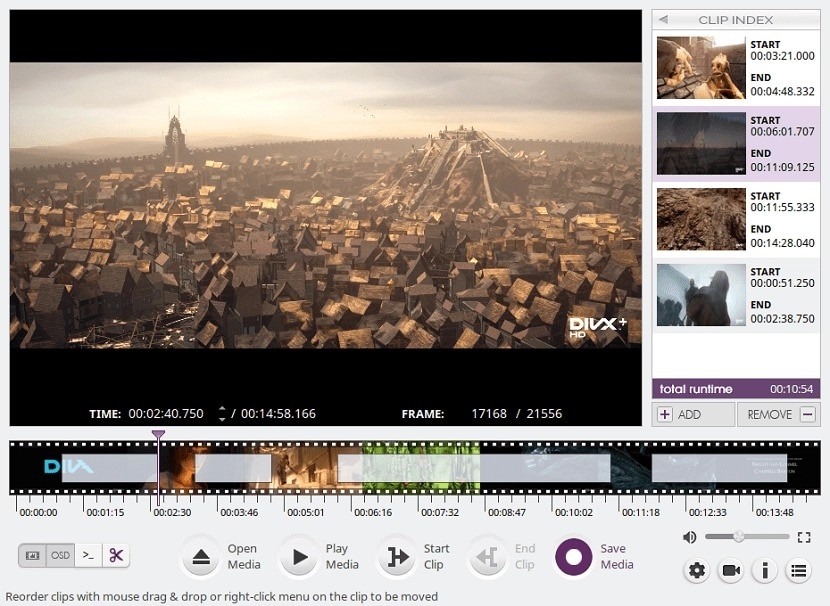
- Launch VidCutter and click Open Media to import a video (you can also use the drag-and-drop functionality). Then, drag the playhead to where you wish the video to begin and click Start Clip.

- Place the playhead to the desired end position and click End Clip. Repeat the steps to make multiple cuts (unless you only want to trim the video) and reorder them in the Clip Index sidebar using drag-and-drop functionality.

- Play the video to check the result and adjust the start and end positions if necessary. Then, click Save Media and choose the output folder and Image name.

- If you’ve made multiple cuts, VidCutter will merge them into one video. Either way, you can continue editing the original file. Once you see a success message, hit Play to open the new video in your default media player and see the results.

Bonus: Best Software for Cutting, Trimming, and Cropping Videos
VidCutter is excellent for quickly cutting, trimming, and merging multiple cuts. It also lets you mute the audio, leaving room for a voiceover or background music (which you can’t add in VidCutter).
However, its features stop there. You can’t crop, zoom, pan, or use other standard editing tools. You can also forget about advanced video editing. That’s why we recommend Wondershare Filmora, a professional video editor for Windows and macOS with abundant tools (many AI-powered) for transforming videos.
Filmora lets you apply masks, add overlays, use speed ramping, create video collages from templates, and add animations, transitions, effects, text, stickers, etc. You can even interpolate frames, reduce background noise, translate and transcribe videos, and make them from scratch with AI.
Can you install Filmora on Linux to cut videos? Sure thing. You only need a compatibility layer like Wine or PlayOnLinux.
If you want Wine, choose a binary package for your Linux distribution from the WineHQ Repository and follow the detailed instructions in the Terminal (they include all commands for installing Wine). Then, check Wine’s user guide to see how to run Windows programs on Linux.
Once you set up everything, download and install Filmora on your computer. Whether you use Linux, Windows, or macOS, follow these steps to cut, trim, and crop videos with Filmora:
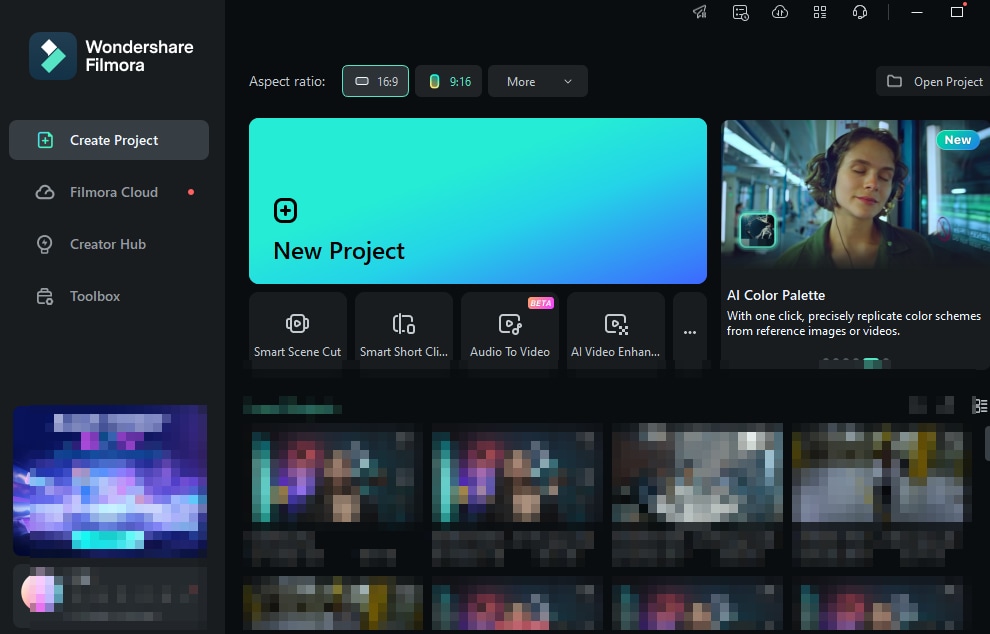
- Launch Filmora and create a New Project.
- Go to File > Import Media > Import Media Files (or use the drag-and-drop functionality) and choose a video.

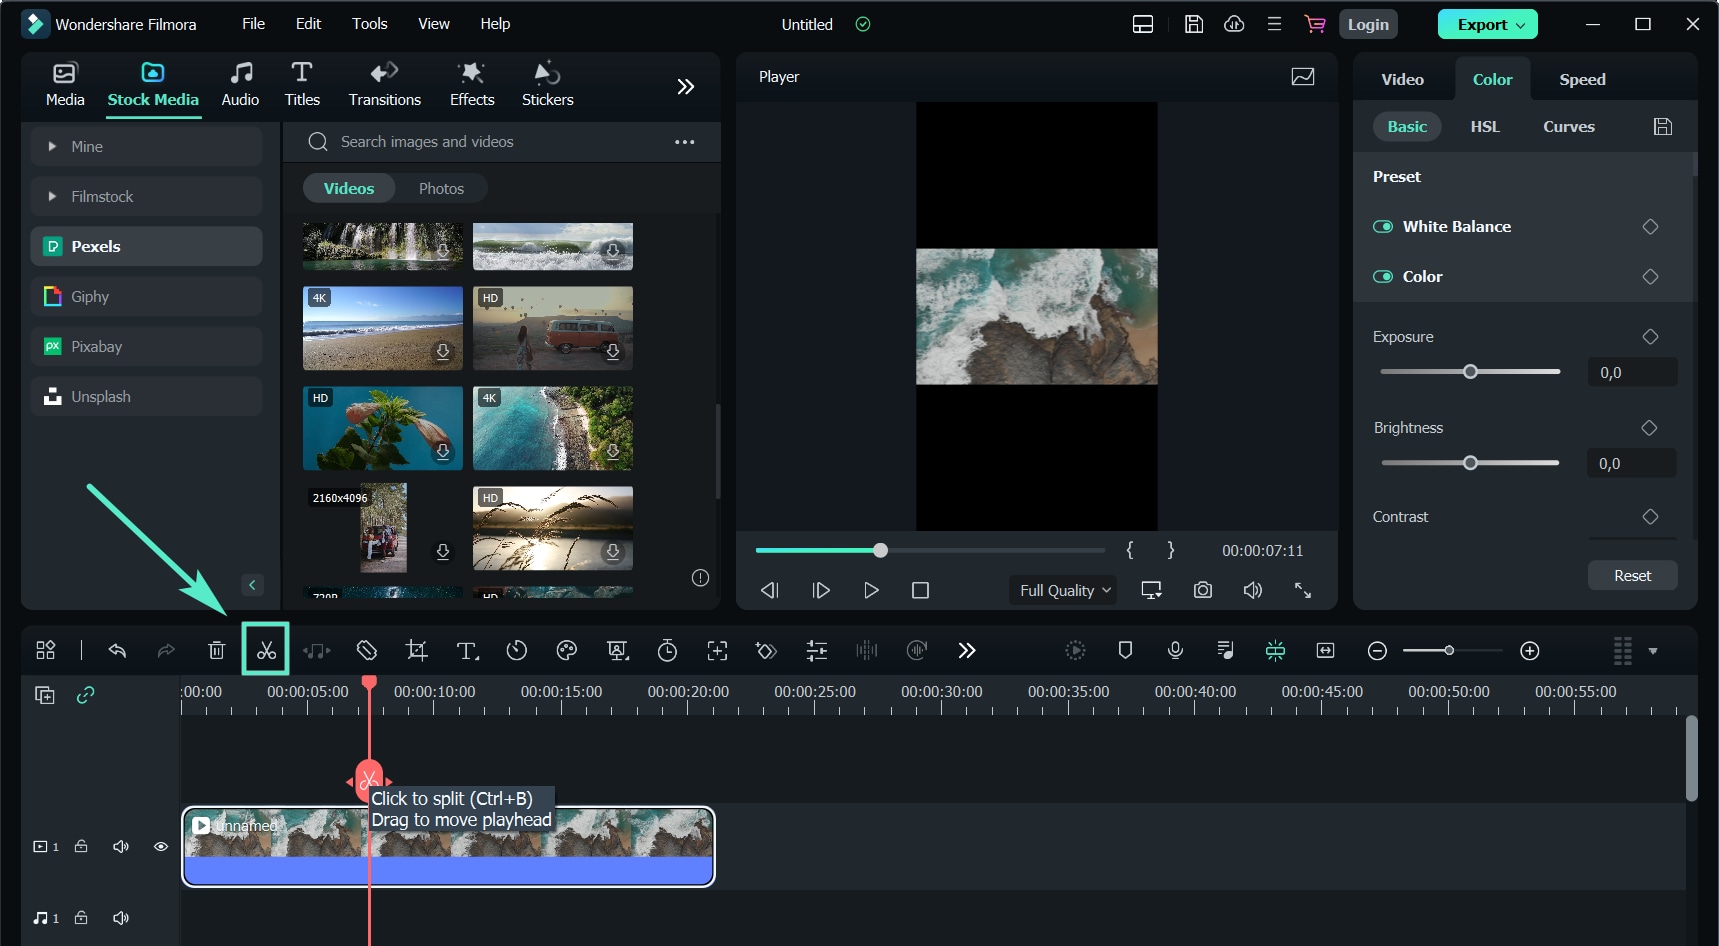
- Drag and drop the video onto the timeline.

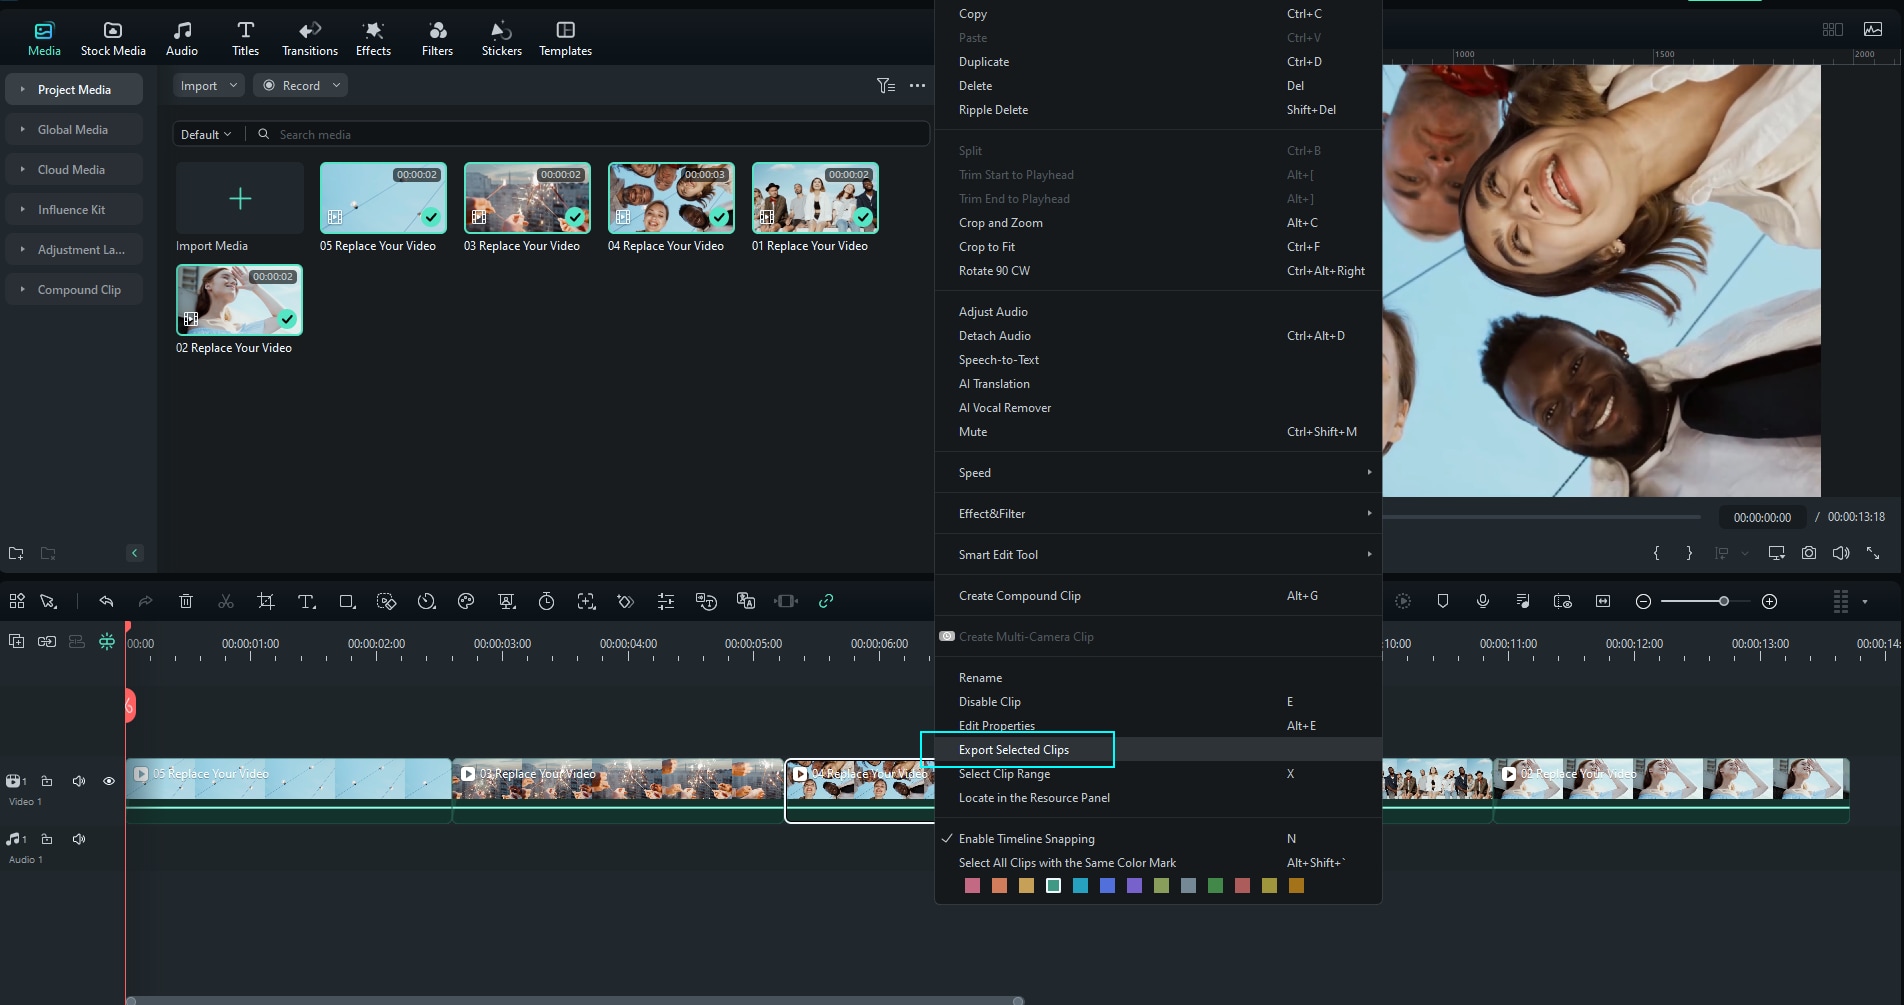
- Click the video on the timeline to select it, drag the playhead to the desired start position, and click the Scissors button to split the video. Repeat the step to specify the end (ultimately making three clips). You can make as many cuts as you want.
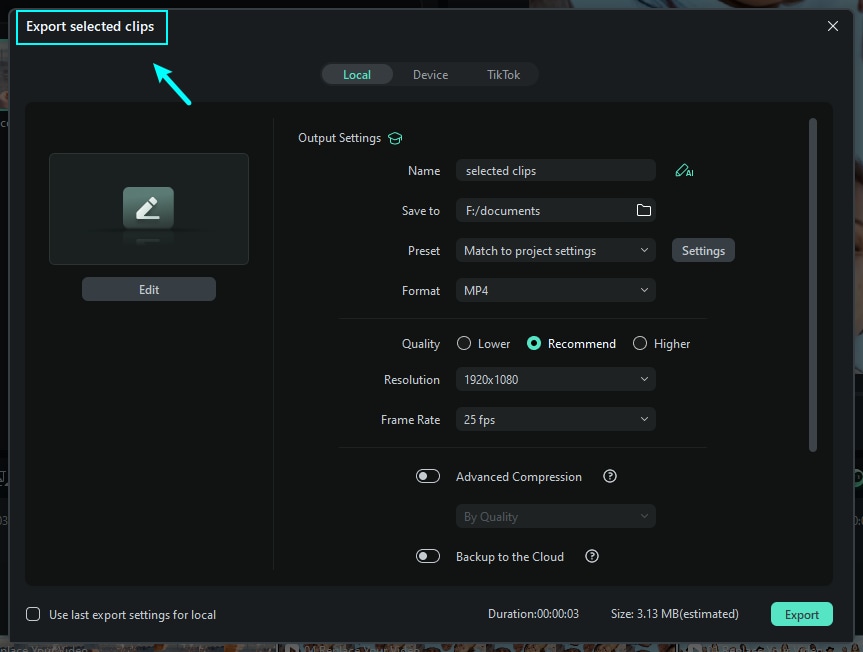
- Right-click the desired clip (you can select multiple) and click Export Selected Clips.
- Specify the output settings and hit Export.
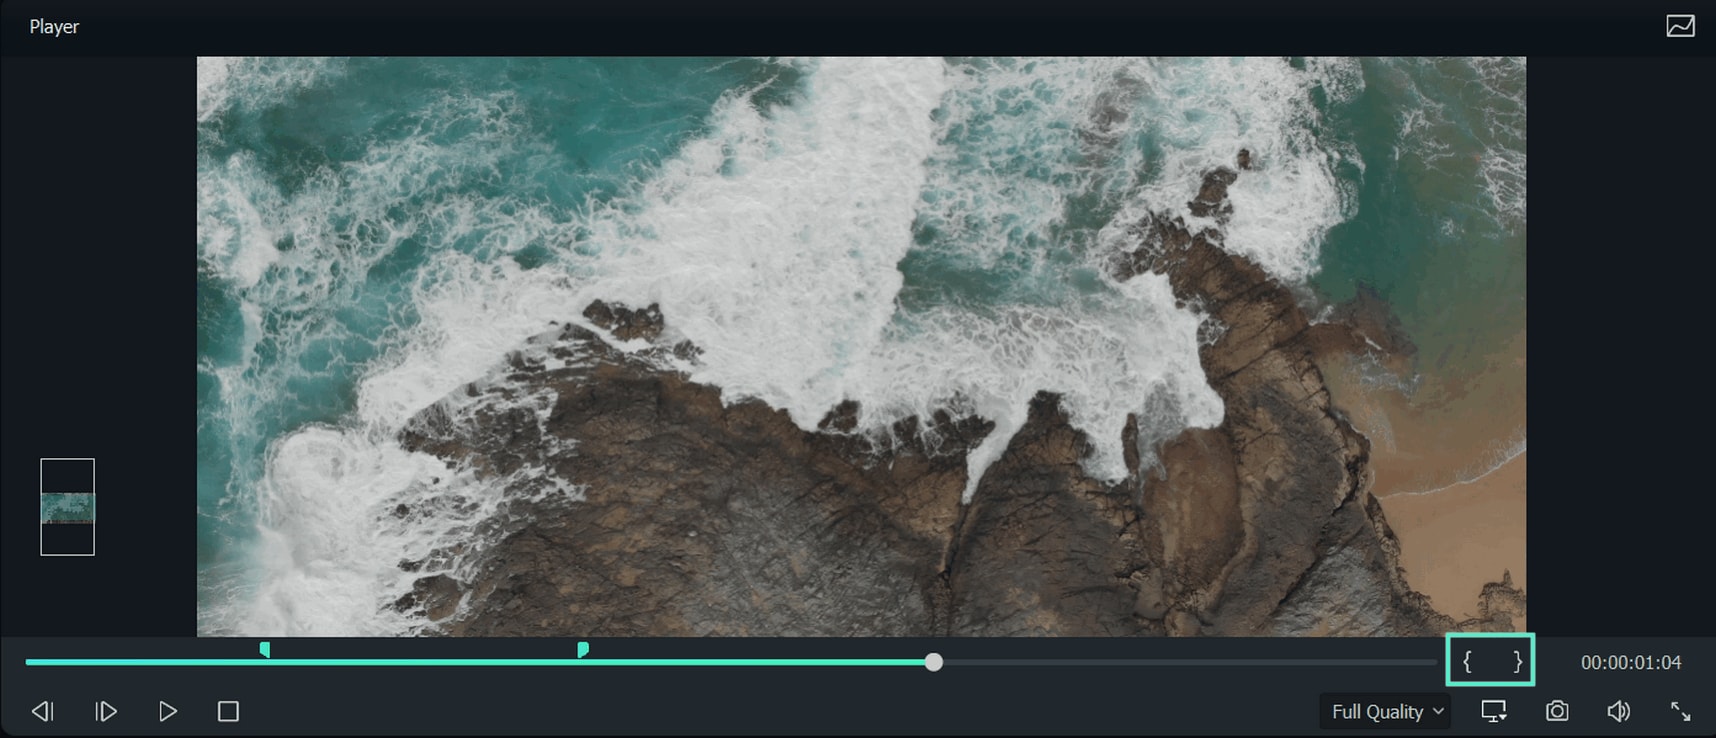
- To trim a video, use playback controls in the Player panel to specify the beginning and hit the Mark In button. Repeat the step to set the end frame and click the Mark Out button. Then, drag and drop the video from the Player panel onto the timeline (only the trimmed part will load) and click Export to save it as a new clip.
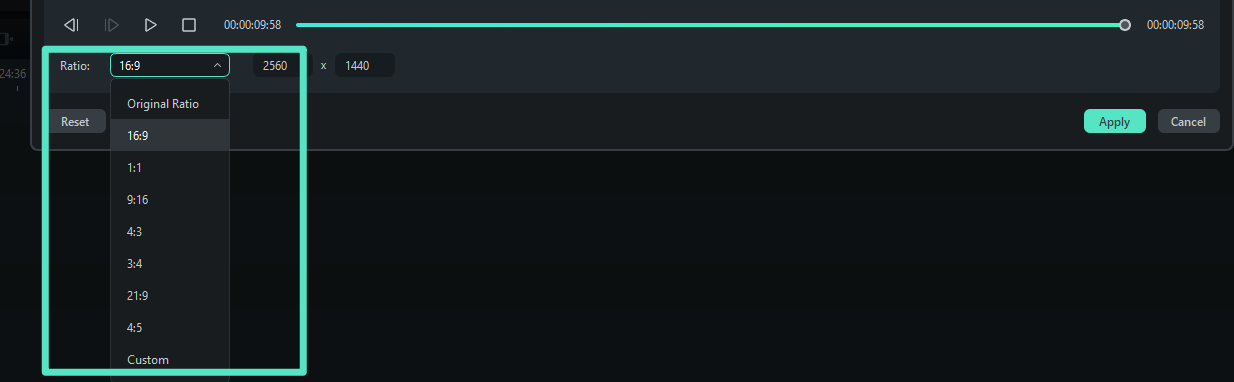
- To crop a video, right-click it on the timeline and select Crop and Zoom (or hit the Crop button in the timeline bar).
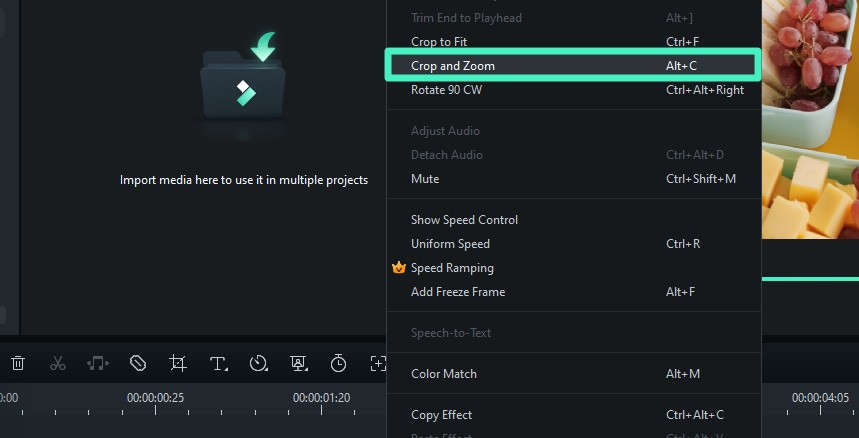
- Choose an aspect ratio if you want a standard size (e.g., 16:9 for YouTube or 9:16 for Instagram) or select Custom.
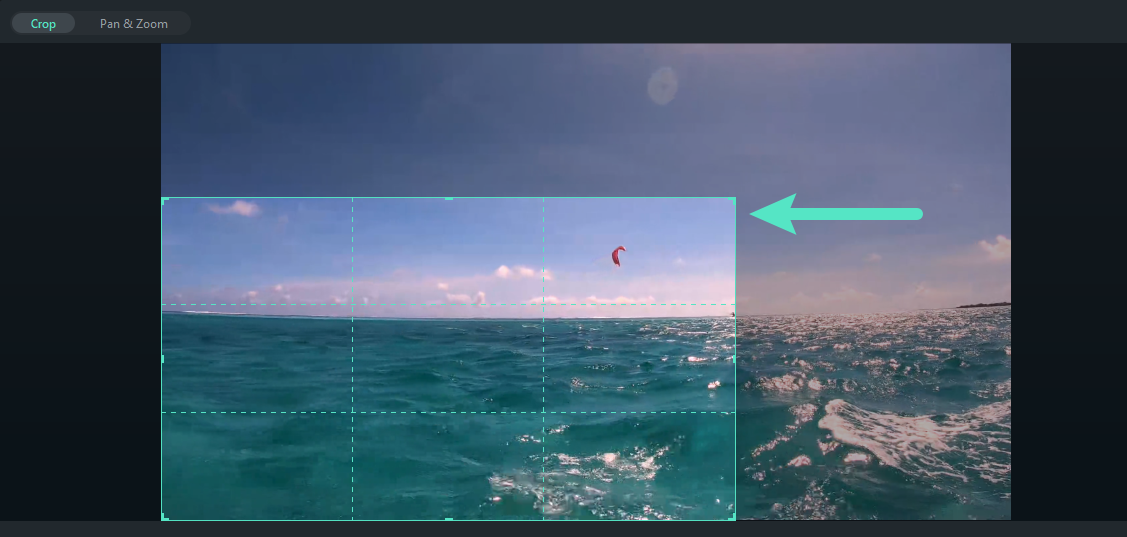
- If you pick the Custom option, click and drag the Height and Width handles to crop your video. Then, hit Apply and export it to your computer.
Conclusion
VidCutter is excellent for making video cuts on Ubuntu, Debian, Mint, Fedora, Arch Linux, Manjaro, and other Linux distros. It’s also perfect for quick trimming, joining clips, and rearranging cuts before merging them.
However, cutting-edge software like Filmora unlocks a vast universe of next-generation video editing. It’s intuitive, feature-rich, highly secure, and gets constant updates. Coming from a developer with decades of experience makes it a no-brainer for anyone looking to step up their video-editing game with revolutionary tools. Try it for free and embrace innovation.
