


 100% Security Verified | No Subscription Required | No Malware


 ChatGPT
 Perplexity
 Gemini
 Claude
 Grok
Grok
Indeed, color grading is a very important step in video editing. It is a creative technique that intends to enhance the visual and functional quality of the output through color modifications. However, this procedure is not a walk in the park. It commonly involves a number of color-setting adjustments that consume too much time and effort. That said, the use of video LUTs has become rampant around the world. Well, why not? It simplifies the long and complex process of color grading. All you have to do is choose a LUT and apply it to your videos.
In this article, we will delve into the highlights and key elements of video LUTs. We will also suggest some of the best video LUTs you can try to use. Lastly, we will provide a short guide on how to apply LUTs using a video editor. Continue reading below to learn more about it.
In this article
How to Apply 3D LUTs Using Wondershare Filmora?
3D LUT is the most common type of LUT that you can use nowadays. Compared to others, this one has a wider color coverage since it handles three dimensions. Don’t worry. Wondershare Filmora supports 3D LUTs very well. You can easily apply your preferred LUT using this video editor with just the snap of a finger. Do you want to try it on your end? If that is so, then read the discussions below to learn more.

Key Features
Wondershare Filmora has a lot to offer. Apart from 3D LUTs, there are other features that you can use to produce stunning outputs. Some of them are listed below. Check the list now.
- 3D LUTs: It allows you to apply video LUTs to your projects and customize them further. By default, Wondershare Filmora has a few selections. You can use any of them if you want to. Meanwhile, you can also import LUTs from external sources and add them to your content.
- Simple and basic video editing: It is equipped with tons of tools that can help you facilitate a variety of video editing techniques in a snap.
- Numerous creative resources: It has a large library of creative assets that you can access and use in your video projects. Among them are stock pictures, video clips, audio bits, effects, filters, and many others.
- Ready-to-use video templates: It offers tons of custom-tailored video templates that you can easily customize if you don’t wish to edit from scratch.
- Artificial intelligence: It provides access to a number of AI-powered tools that you can easily integrate into your creation process. To name a few, these are AI Speech-To-Text, AI Copywriting, AI Video Translation, AI Voice Enhancer, and more.
- Flexible video export options: It allows you to render and export videos in different formats. Among the supported file types are MP4, WMV, AVI, MOV, F4V, MKV, 3GP, MPEG-2, WEBM, GIF, and MP3.
Step-By-Step Guide
Fortunately, Wondershare Filmora is not that complicated to use. Its responsive and intuitive interface can surely help you perform certain operations in a breeze. Do you want to apply video LUTs using Wondershare Filmora? If so, then check out the tutorial below. Read the instructions very well and follow the indicated steps accordingly.
Step 1: Download Wondershare Filmora from its official website. Right after, install it on your computer.
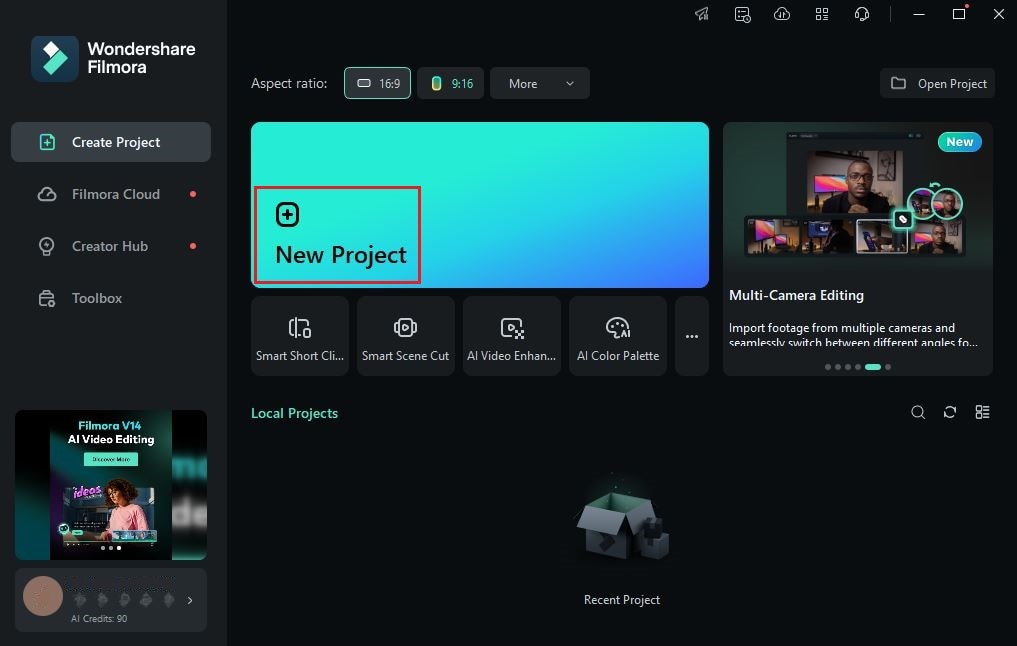
Step 2: Launch the newly installed video editing software on your desktop afterward. Once it fully loads up, head over to the main dashboard and click New Project to start editing. Alternatively, scroll down to the Local Projects section and open an existing session if there is any available.
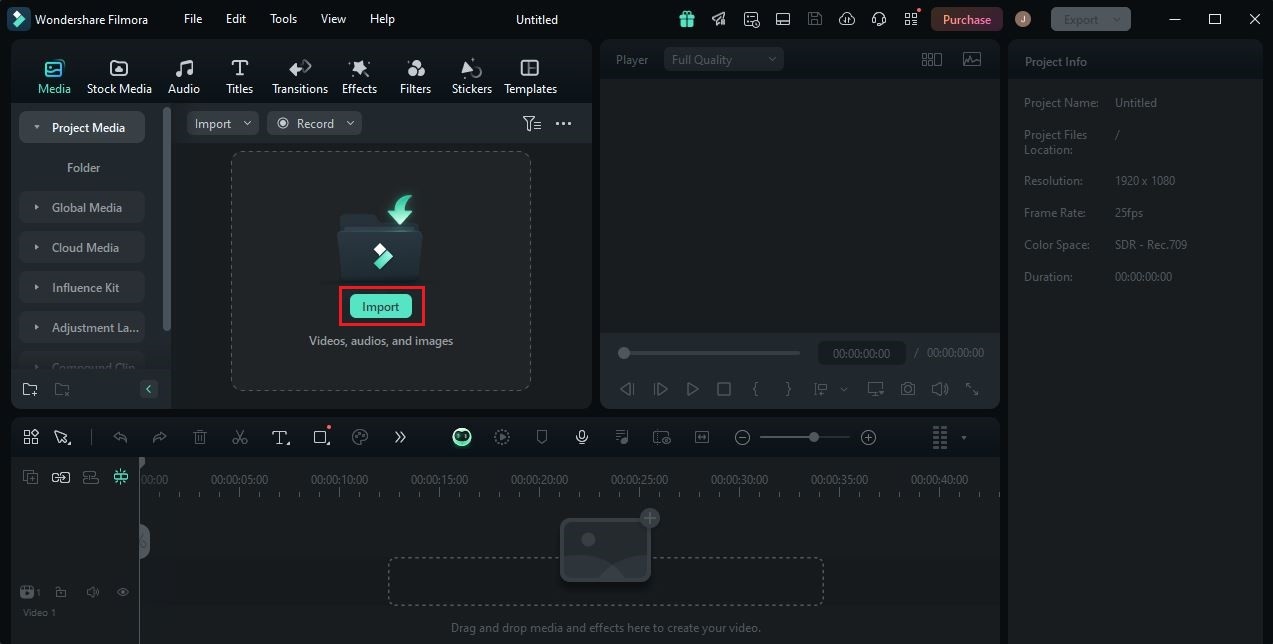
Step 3: Following that, go to the Elements Panel and click Import under the Media tab. Choose the files you are going to use and then upload them to the platform. Once done, grab the files one by one and drag them to the Editor Timeline.
Step 4: At this juncture, you may now begin the actual video editing. Start by finalizing the arrangement of the assets according to your liking. At the same time, make all the necessary adjustments. For instance, you may trim or split the video clips, fix the timing of the sound effects, and the like.
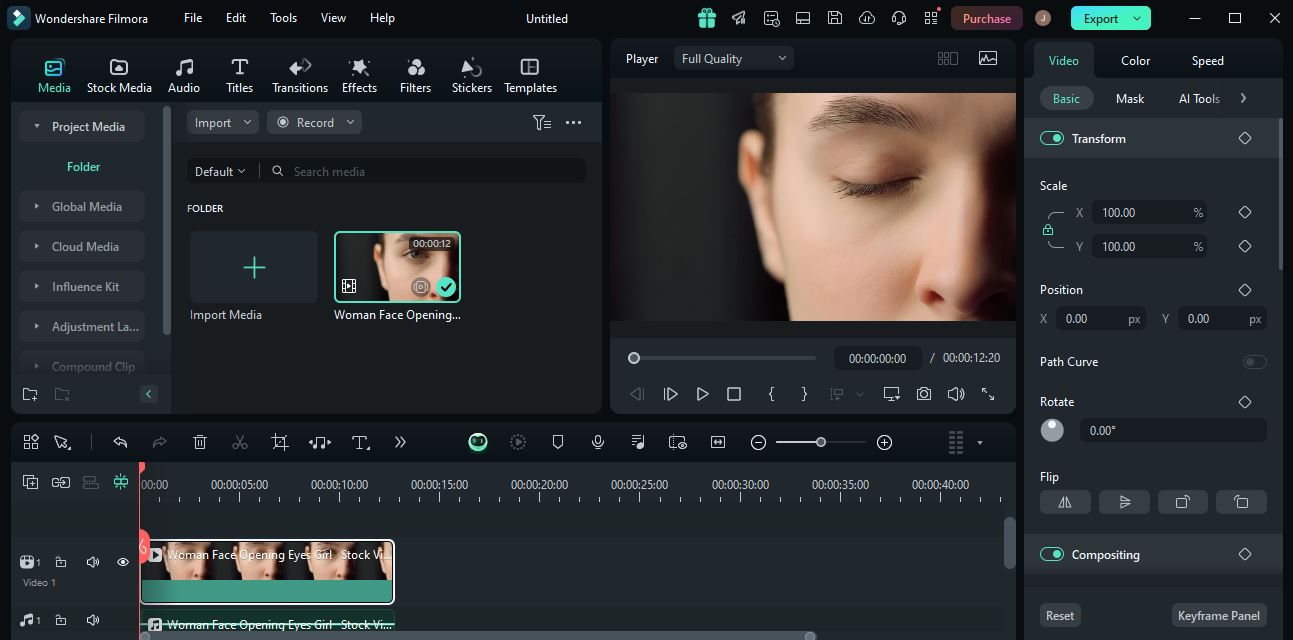
Step 5: Once done, you may now proceed with the configuration of 3D LUTs. Don’t worry. It’s indeed a piece of cake. To get started, simply go back to the Editor Timeline and click a video asset.
Step 6: A new panel will then open on the right-side corner. Access it and head over to the Color tab. Go over the options under the Basic section and then find LUT. Switch on the toggle button next to it to activate this feature. To access and use the default LUT collection of Wondershare Filmora, simply click the LUT Preset menu and then select the option you wish to use. On the one hand, tap the Add button next to it if you wish to import video LUTs from external sources. The effect will be applied as soon as you select or import your preferred video LUTs.
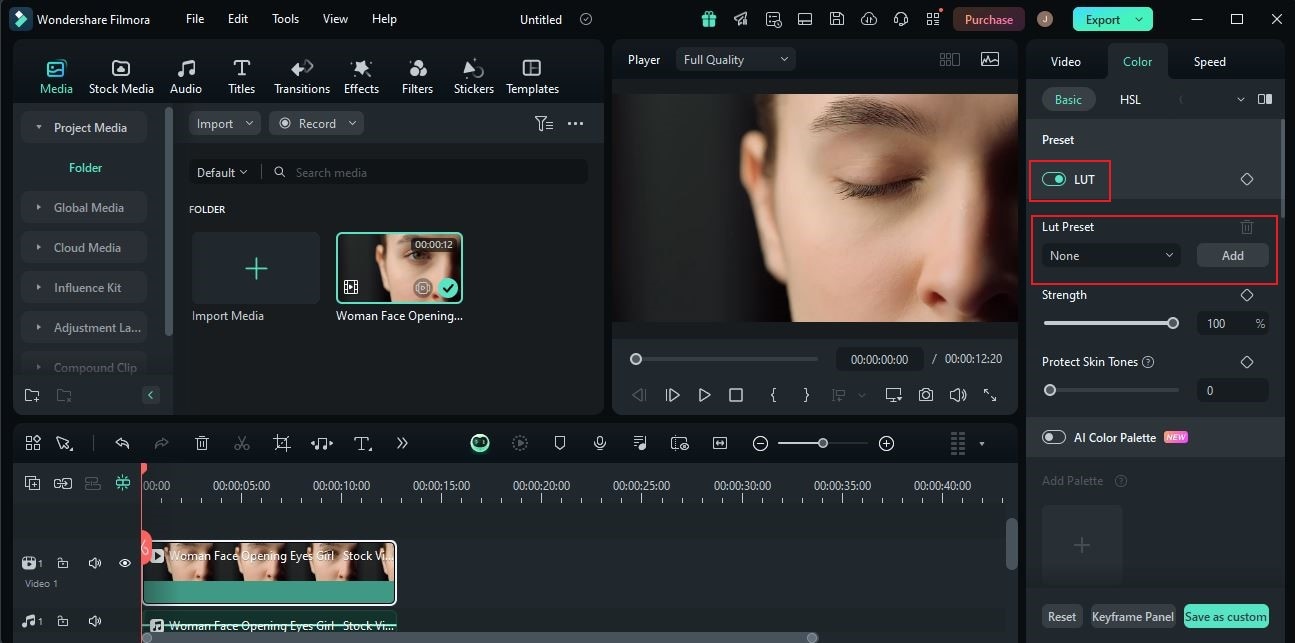
Step 7: Wondershare Filmora offers a couple of options that let you customize your video LUTs. To do that, simply move the Strength and Protect Skin Tones sliders to your desired level or enter a specific percentage into their respective input fields.

Step 8: Finally, play and review the outputs. Check if the video LUTs you have applied suit the style you wish to achieve. If you’re satisfied with the result, click the Export button right above the Preview Panel to render the video and save a copy to your computer. Otherwise, continue making adjustments until you obtain a desirable outcome.
What are Video LUTs?
In simple terms, LUTs are special programs that contain specific configurations to alter the color settings of your videos. It often consists of color values that are individually calibrated to suit a specific style. Many video editors opt for video LUTs primarily because it helps them save time and effort. If you’re going to use one, all you have to do is select your preferred LUT and apply it to your video. Adjustments might be needed along the way. However, you can be sure that such necessary changes will be minimal and minor. That being the case, we can safely say that video LUTs are indeed essential and beneficial in this regard.
There are two common types of video LUTs. One is 1D, while the other is 3D. The former has more limited color values compared to the latter. That is the most prominent difference between the two LUT types. 1D LUT is focused on the brightness and contrast adjustments. It doesn’t consider other video color channels. On the one hand, 3D LUT has more color-grading capabilities since it has access to red, green, and blue channels. Simply put, you can create more variety of visual effects if you use 3D LUTs. That’s why you should consider it, especially if your video project is quite complex.

Salient Elements of Video LUTs
Video LUTs are associated with various video editing elements. They interact with the LUT’s default configuration and somehow affect the end result. That’s why you should familiarize yourself with these elements very well. In case an adjustment is needed, you can perfectly and easily do it in a snap. To help you out in this regard, below is the list of video editing elements you should master very wel. Read the items carefully and keep them in mind for future reference.
- Lighting: The effect of LUTs may vary depending on the lighting condition of the video. For instance, certain colors of the LUT might appear poorly if the video lighting is too dark. On the one hand, the result might be perfect if the video lighting is set otherwise. That’s why you should plan your lighting setup according to the video LUTs you’re planning to use.
- Contrast: We all know that contrast settings determine the depth and detail of video footage. If set too low, the colors might appear pale and bland. Meanwhile, the colors appear richer and clearer when the contrast is set too high. That being the case, you should configure this setting very well before applying the video LUTs. Otherwise, the end result might be affected heavily.
- Curves: Color imbalances might ruin the aesthetic and functional value of your video LUTs. That’s why you should correct the issues first right before you proceed. Don’t worry. The curves give you access to the shadows, mid-tones, and highlights settings that often cause imbalances when set poorly. Familiarize yourself with it and try to make adjustments one step at a time.
- Hue: Last on the list is Hue. Since LUTs are about video color, hue settings play a key role in this respect. Let’s say you wish to change the color register of your videos after applying the LUT. In this case, you can adjust the hue settings a little.
5 Best Video LUTs to Consider
Truly, video LUTs are not that hard to find. They are literally everywhere. If you go online, you can surely find tons of LUT collections that you can download and use afterward. But hold on. In actuality, you don’t have to go any further. As previously indicated, Wondershare Filmora offers several LUT selections. Do you want to check them out and try some? Then so, find the list below of the best video LUTs on the platform. Examine each option and try to pick one that perfectly matches your preferences.
Warm Film
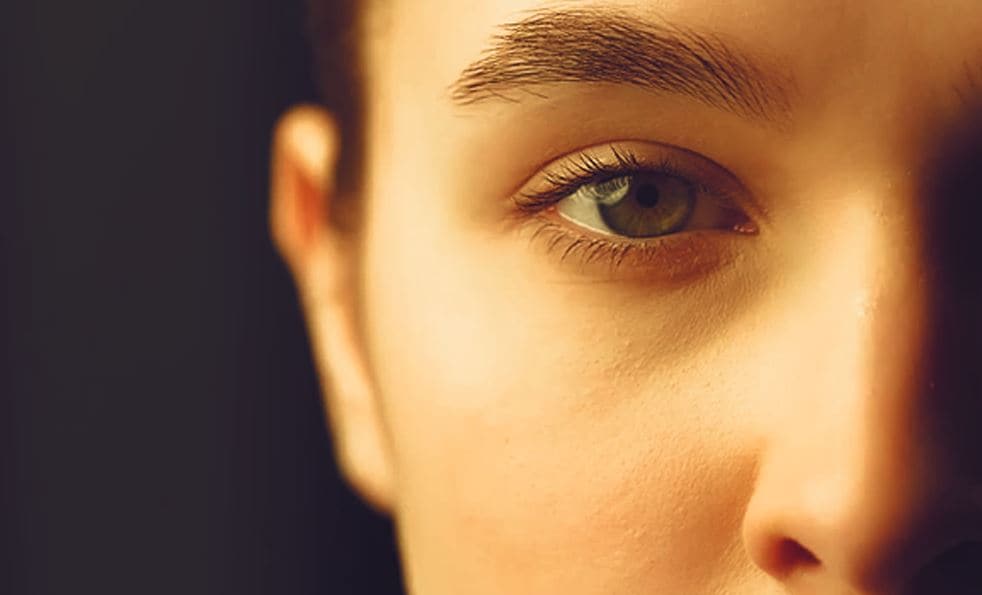
First on the list is Warm Film. As the name suggests, this video LUT is prominently characterized by its creamy reddish color overlay. You can easily tell that it’s temperature and saturation settings are set quite high. Should you consider it over other video LUTs? Well, it’s a great choice if you want to induce a feeling of nostalgia.
VLog 709 Style
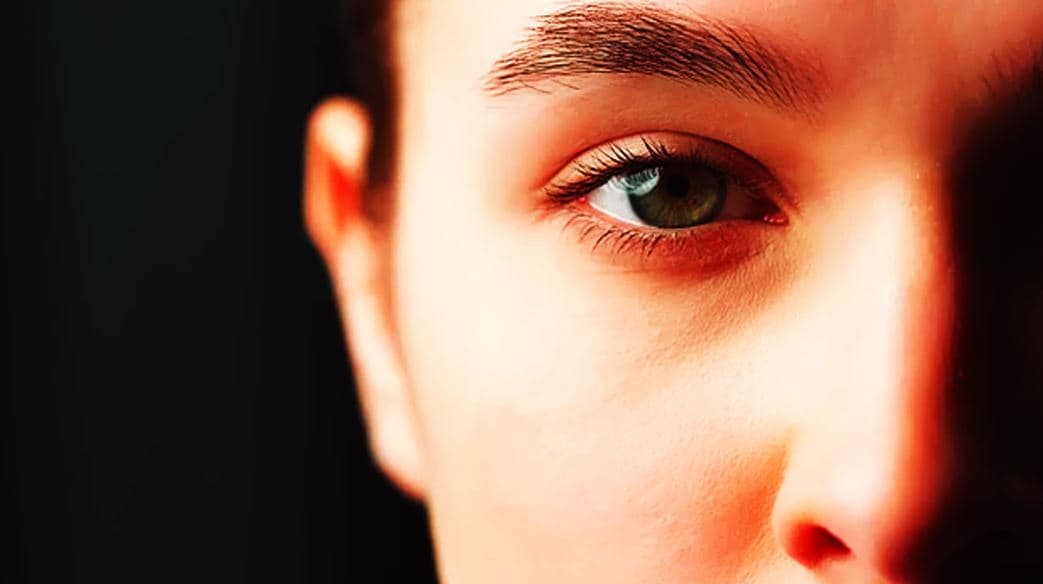
If you want a video LUT that looks warmer than Warm Film, VLog 709 Style is the right choice. In a way, it’s quite similar to Warm Film’s configurations, except that its contrast is set much higher. As a result, the video appears stronger and deeper.
Batman
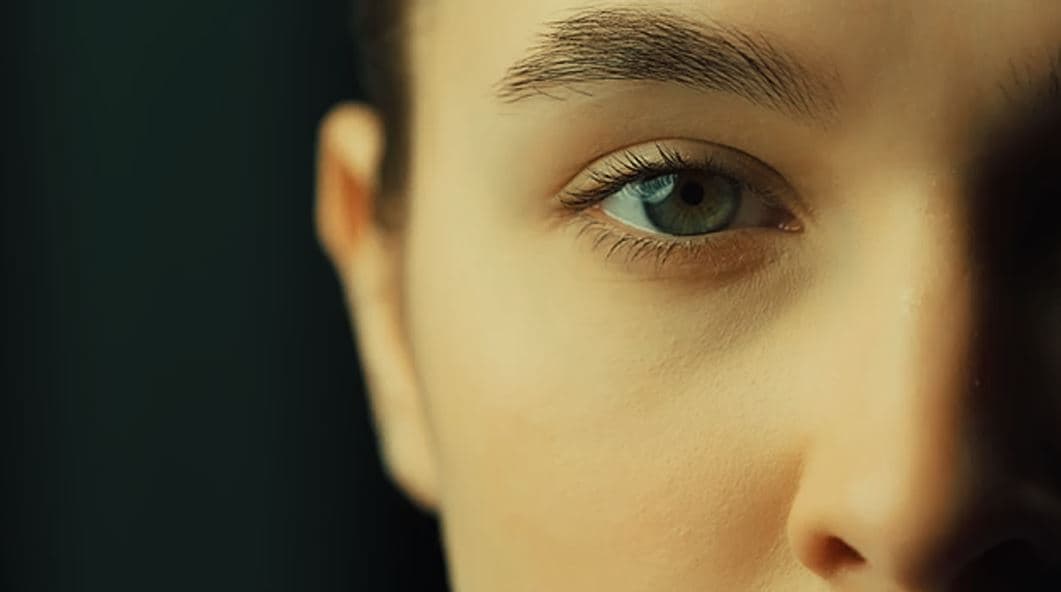
The Batman movie is well-known for its aesthetic cinematography that captures the hearts of millions from all over the world. Do you wish to give this visual effect a try? Then so, the Batman video LUT on Wondershare Filmora is the right option for you. It is characterized by its greenish color tone that generally makes video content look extra dramatic.
GPLog 709 Style
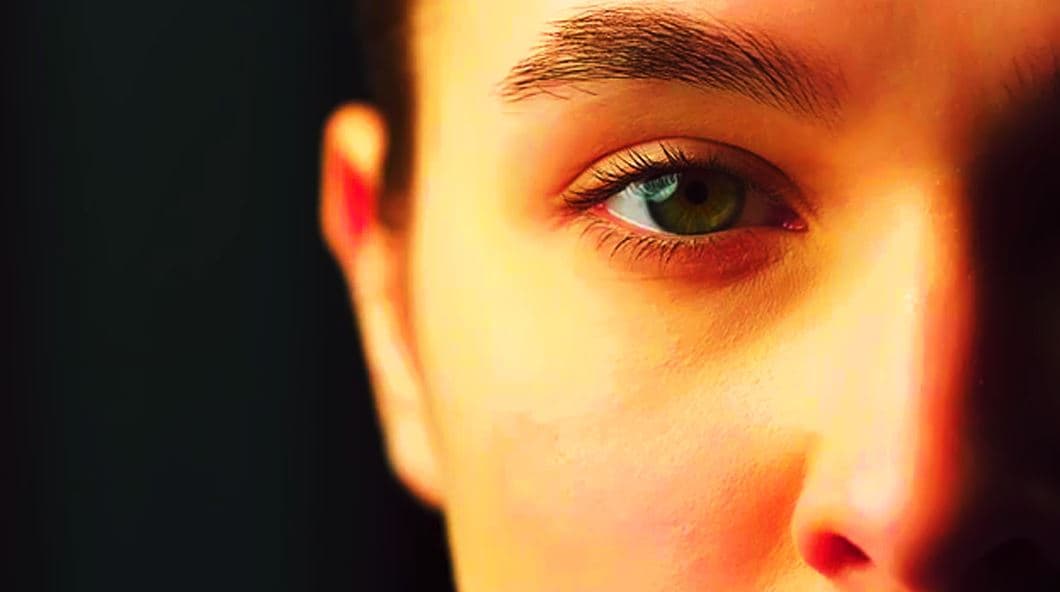
If your preferred video filter has intense contrast and vibrance settings, GPLog 709 Style is a good fit for you. It’s quite similar to VLog 709 Style, except that this one carries more red color tones. You can try to use it once in a while. However, apply it with caution and make a few adjustments to tone down its effects a little.
Star Wars
Last on the list is Star Wars. As for this video LUTs, its beauty lies in its simplistic attributes and characteristics. It generally doesn’t have extravagant design elements. In fact, the video looks pale and bland after applying this LUT. But don’t jump to a conclusion just yet. Star Wars video LUT is designed for video content that involves colorful sci-fi effects. If you’re working on one, then this subtle and light-toned LUT will be a great fit.
Conclusion
Video LUTs are important video editing elements that must be taken into account always. They serve an essential purpose that simplifies our content creation process and makes it a lot easier for everyone. Imagine adding video-colored filters with just a click or two. Indeed, that’s a whole new level of advancement. Therefore, you should understand how 1D and 3D LUTs work in general. Find out how these tools can exactly help you when working on your video projects. To get you started, download Wondershare Filmora on your computer. It’s a powerful video editing software equipped with highly specialized tools and numerous creative resources that include video LUTs. Explore this platform on your end and make the most of its amazing benefits.
