

 TL;DR:
To add vertical text in Canva, you must manually stack letters by creating a new line for each character and adjusting the line spacing, as the platform lacks a direct one-click vertical typography tool.
● Canva is best utilized for quick, static visual projects like posters and Instagram stories, but the manual text formatting process becomes highly time-consuming when working with longer phrases.
● Wondershare Filmora is the recommended alternative for video-first content on TikTok, Instagram Reels, and YouTube Shorts, providing a dedicated one-click vertical orientation feature alongside dynamic transitions and custom animated presets.
● While Canva requires an active internet connection and offers limited animation options for stacked typography, Filmora functions as an offline desktop software equipped with advanced keyframing and flexible positioning controls for professional video editing.
Ask AI for a summary
 ChatGPT
 Perplexity
 Gemini
 Claude
 Grok
Grok
Designing eye-catching Instagram stories often requires bold typography choices. If you're creating vertical product names for a fashion brand, Canva offers a quick and effective way to make your layout stand out.
Vertical text is widely used in modern design—especially in Asian-influenced aesthetics and mobile-first layouts.In this guide, you'll learn how to add vertical text in Canva, along with some alternative tools to help you achieve the same effect.
Part 1. How to Make Vertical Text in Canva
The online graphic design forum, Canva, offers an intuitive interface and is easily accessible for both beginners and professionals. It can arrange texts of social-media stories and posters vertically to make them attractive. Although it does not offer a single-click vertical text option, it provides manual stacked letters to create a vertical layout.
Canva is ideally recognized for its appealing graphics and offers a feature called "Magic Write" to transform your content perfectly. It offers a vast range of library templates for your brands or social media posts.
Step-by-Step Guide to Add Vertical Text in Canva
Adding vertical text to your post improves the style and modernity of your content. A detailed guide is mentioned below on how to add vertical text in Canva step-by-step:
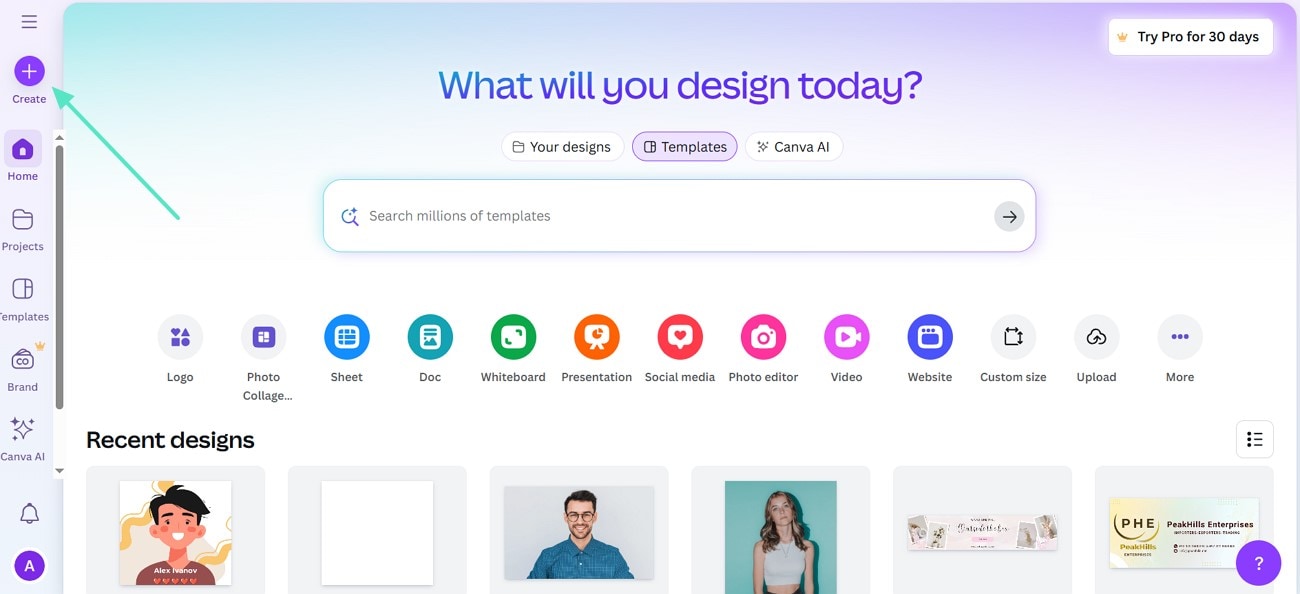
- Open Canva, access the "Create" button and choose any available whiteboard on the "Create New" section.
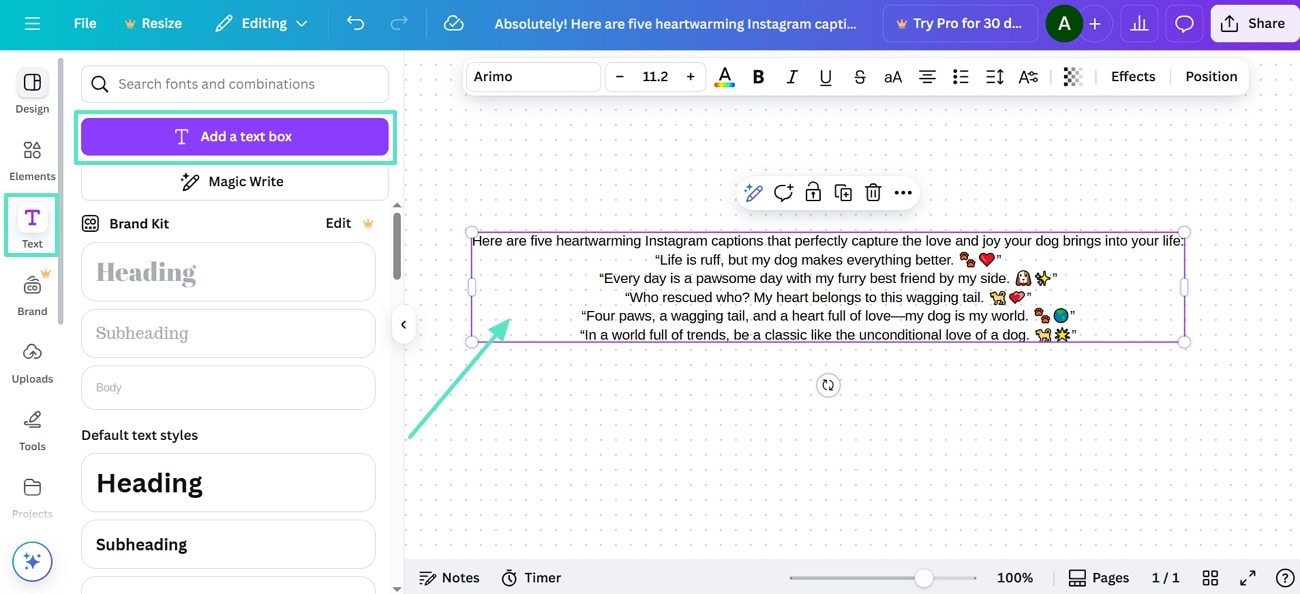
- Now, press the "Text" option to add text or use the "Magic Write" option for your content.
- Next, type your text and press the cursor to adjust letters to a new line for manual stacking.
- You might have to adjust the line spacing and resize the box.
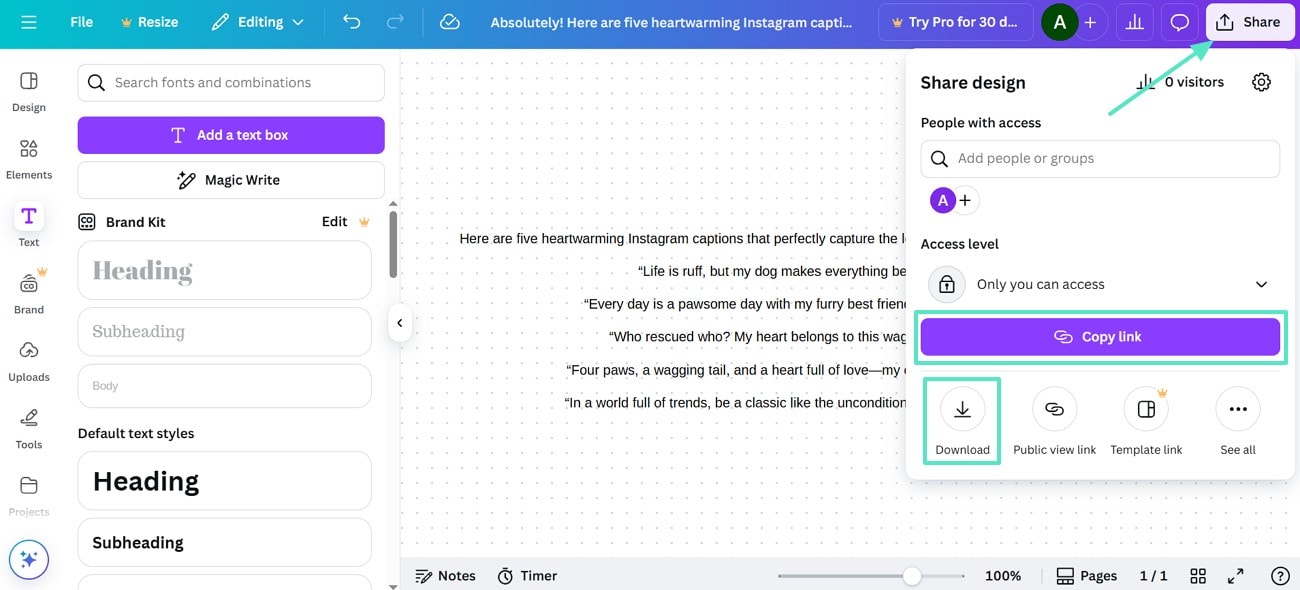
- After all the settings, press the "Share" button and share the file with other users via link.
- Conversely, you can also tap on the "Download" option and export it as a PDF file or image format.
Tips for Aligning and Positioning Content in Canva
For precise alignment and positioning of your content, a few tips are discussed below:
- Adjust word spacing and line spacing to create a balance in your vertical text.
- Add images or generate graphics and drag them to the editing page.
- You can add animation to your vertical text and download or share directly via a link.
- Separate text boxes can be created for multiple vertical words and are positioned separately.
Part 2. Pros & Cons of Canva for Vertical Text
Adding Canva vertical text has both advantages and disadvantages, which are discussed below:
- It allows manual adjustment of line spacing for basic vertical layouts.
- This platform is suitable for quick projects, such as Instagram stories, posters, or other social media graphics.
- The tool provides an extensive library of templates for presentations, brands, and social media posts.
- Print-ready exports, along with direct links for business cards and posters, are available for download.
- The tool does not allow one-click vertical orientation and is, therefore, time-consuming for longer phrases.
- Canva offers limited options for animation for vertical typography.
Pricing Plans
Different pricing plans are available to explore advanced features to add vertical texts in Canva, as mentioned below:
| Plans | Payments |
| Canva Pro | $6.50/month/person |
| Canva Teams | $5/month/person |
Part 3. Create Vertical Text for Video: An Alternative Approach
Creative ideas for your branding are not enough, because the visuals are the real game-changers that can grab the attention of viewers. Nowadays, people have adopted a technique of adding vertical text to their content. Using Wondershare Filmora has made creating vertical text in the content easier with its intuitive interface. This tool offers creative text elements that can be better suited to your projects, including YouTube intros and professional title designs for presentations.
- Flexible text layout: Supports positioning, alignment, and vertical orientation to match diverse design needs.
- Dynamic effects: Enables transitions, animations, and shadow effects to enhance visual appeal and draw attention.
- Customizable styles: Provides presets and styling tools for quick and consistent text personalization.
How to Create Vertical Text in Filmora: A Step-by-Step Guide
If you are interested in adding vertical text to your content, here's a step-by-step guide on how to create vertical text in this Canva alternative:
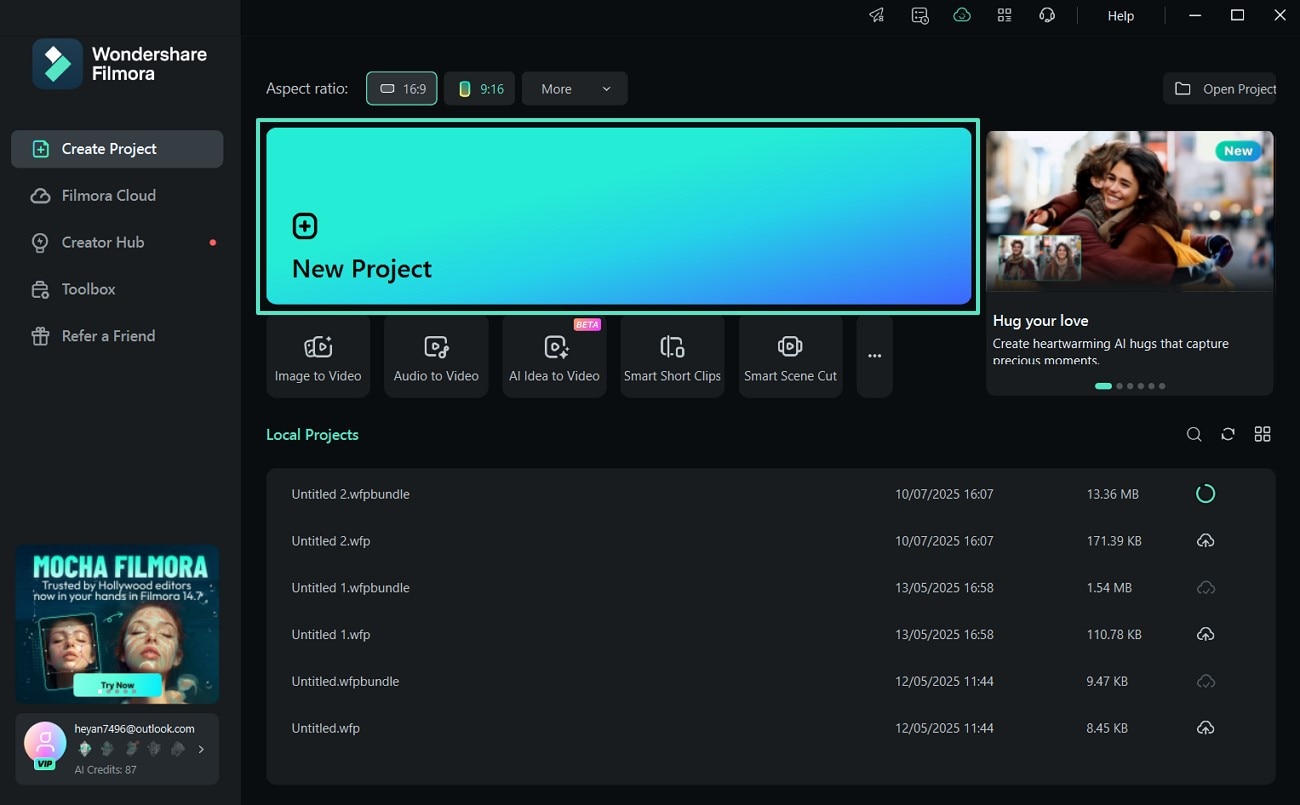
- Press "New Project" and import your content to which you want to add vertical text.
- Tap on the "Titles" panel and choose your desired preset, then drag it to your editing timeline.
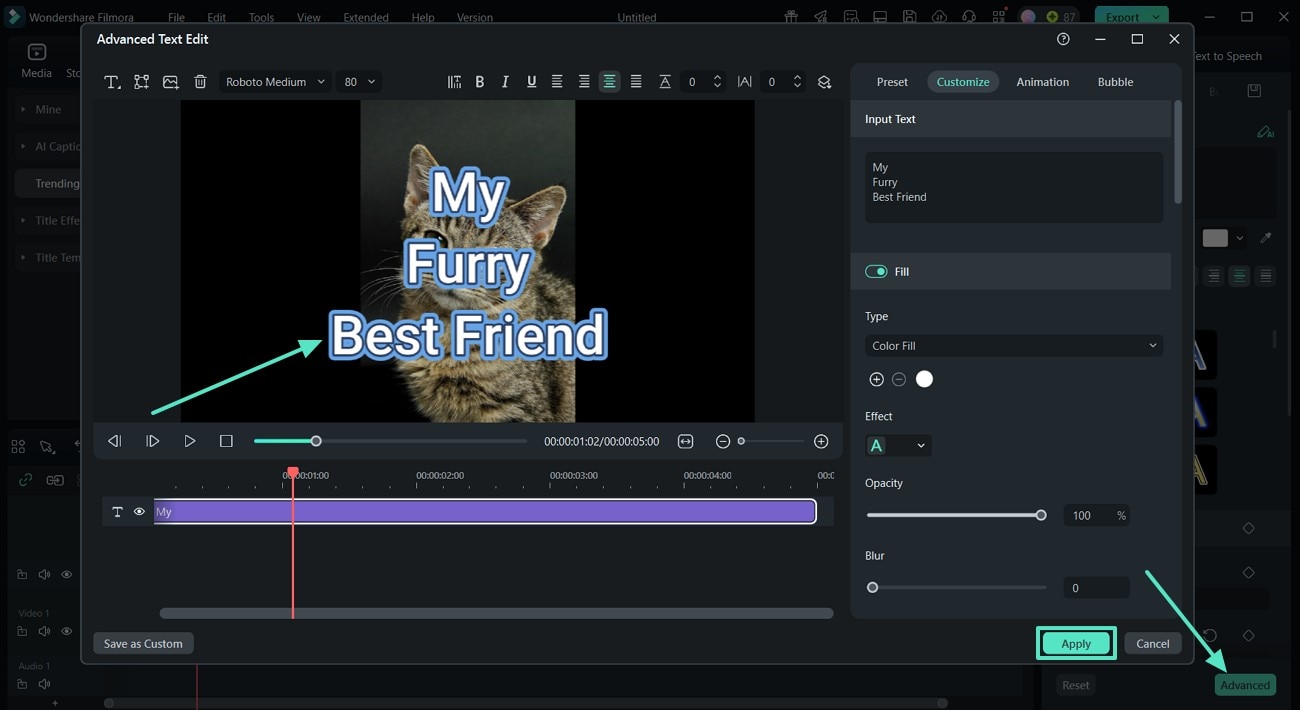
- Next, double click on the text box to add your desired text vertically by hitting "Enter" after each letter.
- You can align, position, or select a preset from the panel on the left.
- Moving on, click on the "Advanced" button to apply further effects and hit "Apply."
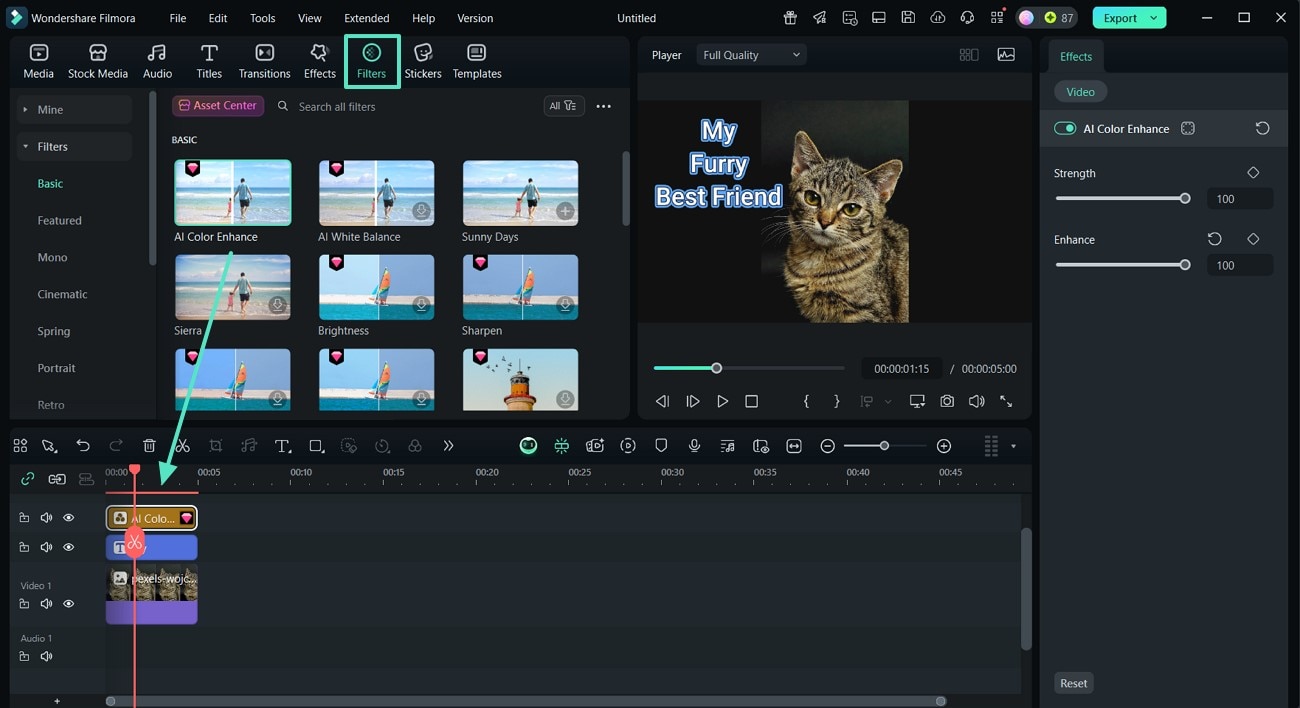
- Go to the "Filters" option from the top left corner, choose your favorite filter and drag it to the timeline.
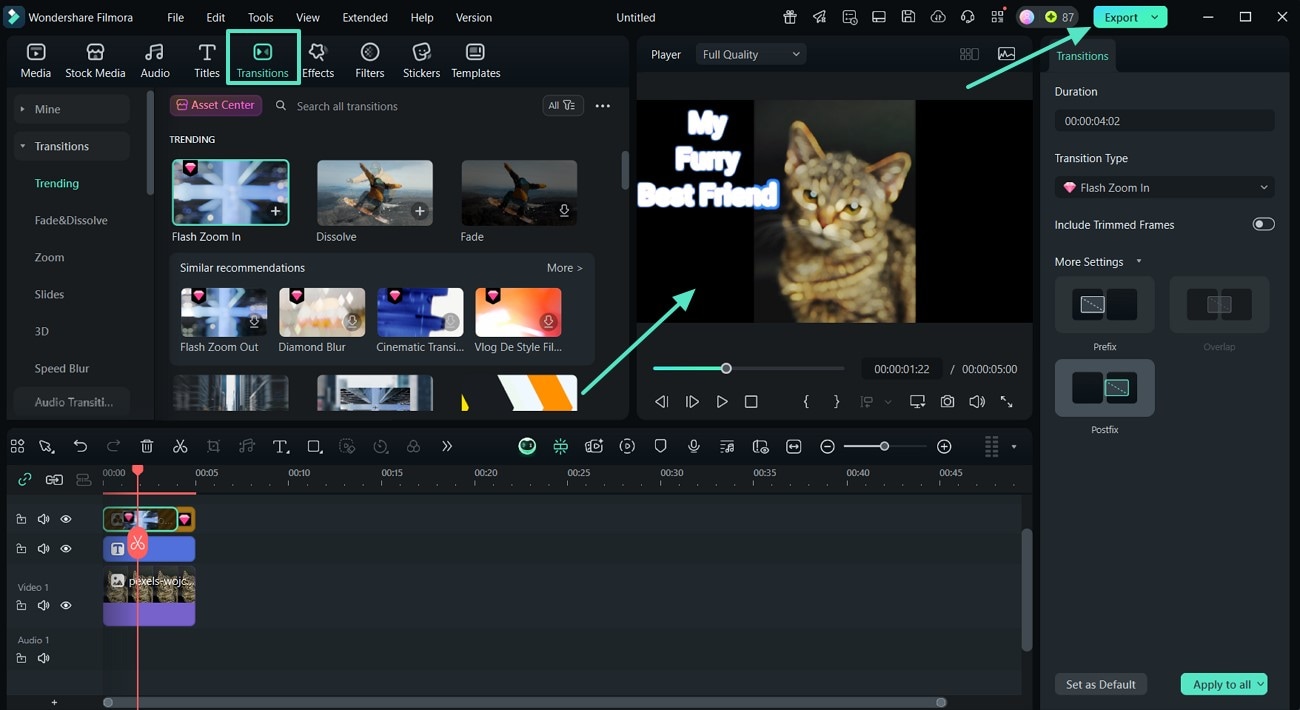
- Opt for "Transitions," choose your desired option, and drag it to your timeline.
- Hit "Preview" to recheck the positioning and adjustment of the text before clicking "Export".
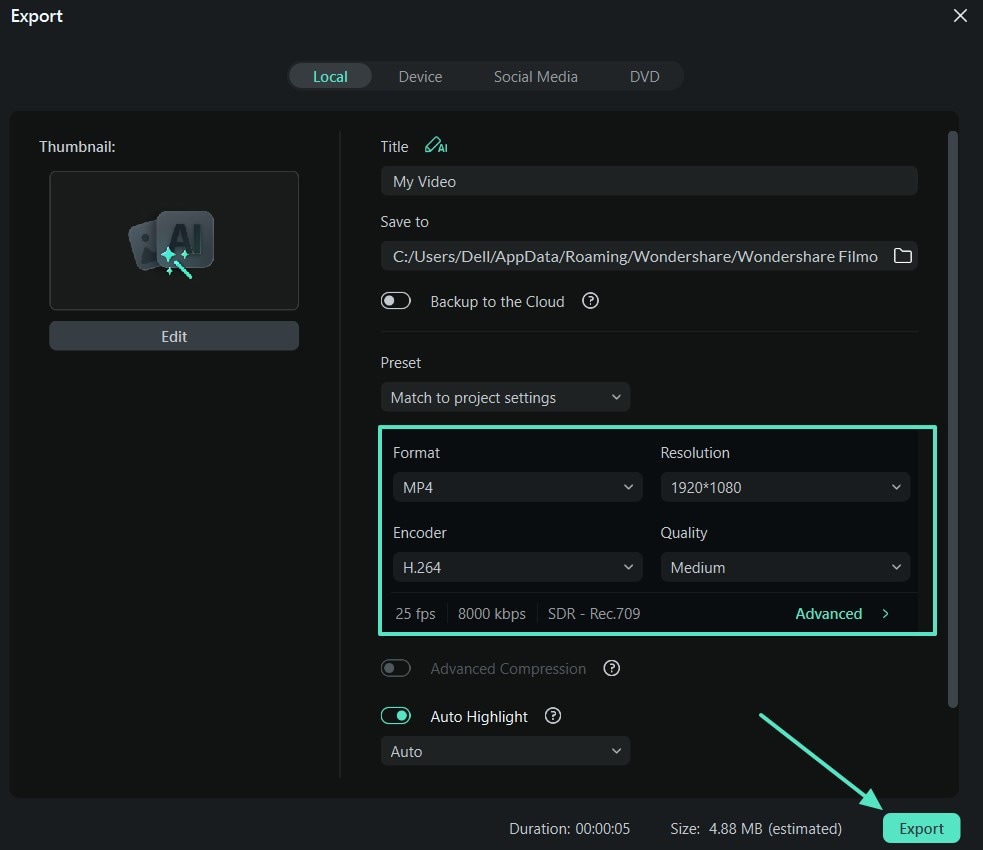
- Choose the desired format and adjust other settings to download your content, and tap on the "Export" button.
Why Is Filmora a Great Option for Vertical Text Design?
When it comes to adding vertical text in creative projects, Filmora offers a range of user-friendly and flexible tools that make the process efficient and visually appealing. Here are some key reasons why Filmora stands out in this area:
- One-click vertical orientation makes it easy to switch between horizontal and vertical layouts without complicated adjustments.
- Users can fine-tune text direction and spacing, offering better control over layout and alignment for different screen formats.
- Filmora supports vertical text animations, helping creators design dynamic intros and outros—especially effective for social media content.
- These tools integrate seamlessly with vertical video formats, making Filmora well-suited for platforms like TikTok, Instagram Reels, and YouTube Shorts.
Beyond basic vertical alignment, Filmora allows creators to design animated vertical titles that add motion and style to any scene. For example, this tutorial demonstrates how to create a dynamic vertical text reveal using motion effects and custom transitions.
Part 4. Canva vs. Filmora: A Tabular Form Battle of Scenarios
A scenario-based comparison table is given below, highlighting eminent features of both Canva and Filmora. This table is a detailed roadmap to help you decide on one of the best tools from the following:
| Scenarios | Feature | Filmora | Canva |
| A content creator is editing a promotional video for a TikTok campaign of a fashion brand. | Animations for vertical text format | Customized animated presets and keyframes | Limited effects and basic animations |
| An online marketer needs to create a vertical ad for their client. | Vertical content for reels and shorts | Optimized text positioning and alignment | Create limited vertical layouts |
| Brand needs professional-grade images and videos to showcase their products. | Graphic text for videos | One-click vertical orientation | Manual stacking of letters |
| Vloggers are trying to add stylized, readable | AI-powered content generation | Users can generate videos and images using advanced AI in Filmora. | Canva offers AI-integrated photo generation. |
| Editing footage during the flight when there is no internet | Offline availability | Yes, it is a desktop software | Yes, but limited functionality |
|
Show more
Show less
|
|||
Conclusion
To conclude, this article provided a complete review on how to add vertical text in Canva using its functionalities. Canva offers accessible and basic tools to add vertical text and requires manual stacking of words. Filmora, in comparison, provides one-click vertical orientation, text presets, and dynamic text animations. With its intuitive and efficient interface, Filmora stands out as the best tool on the market.
