100% Security Verified | No Subscription Required | No Malware


 ChatGPT
 Perplexity
 Gemini
 Claude
 Grok
Grok
We all have a video with an incoherent and dull sky in the background. For cinematic effects in your videos, you need a sky background that matches the tone of the foreground.
With modern technology, we can now enhance the sky in the videos or replace it with a captivating sky image. To help you learn about intricacies, this article focuses on sky change background options.
In this article
Part 1. Sky Change Background Made Easy: Best Mobile Apps for Sky Replacement
Replacing a dull or overexposed sky can instantly transform the mood of your video — and the Filmora App makes it easier than ever. Whether you're an iOS or Android user, Filmora offers precise sky replacement features powered by AI, giving your videos a fresh, cinematic touch with just a few taps.
Want to show the sky changing colors over time? Simply use the speed adjustment tools to create a time-lapse effect with ease. To make your sky edits even more compelling, the Filmora App offers multiple effective methods — perfect for beginners and casual creators alike.
👉 Ready to learn how to apply these features? Keep reading to explore different methods of sky replacement in Filmora and how to make the most out of your mobile video edits.
For Beginners: AI Sky Replacement Made Easy
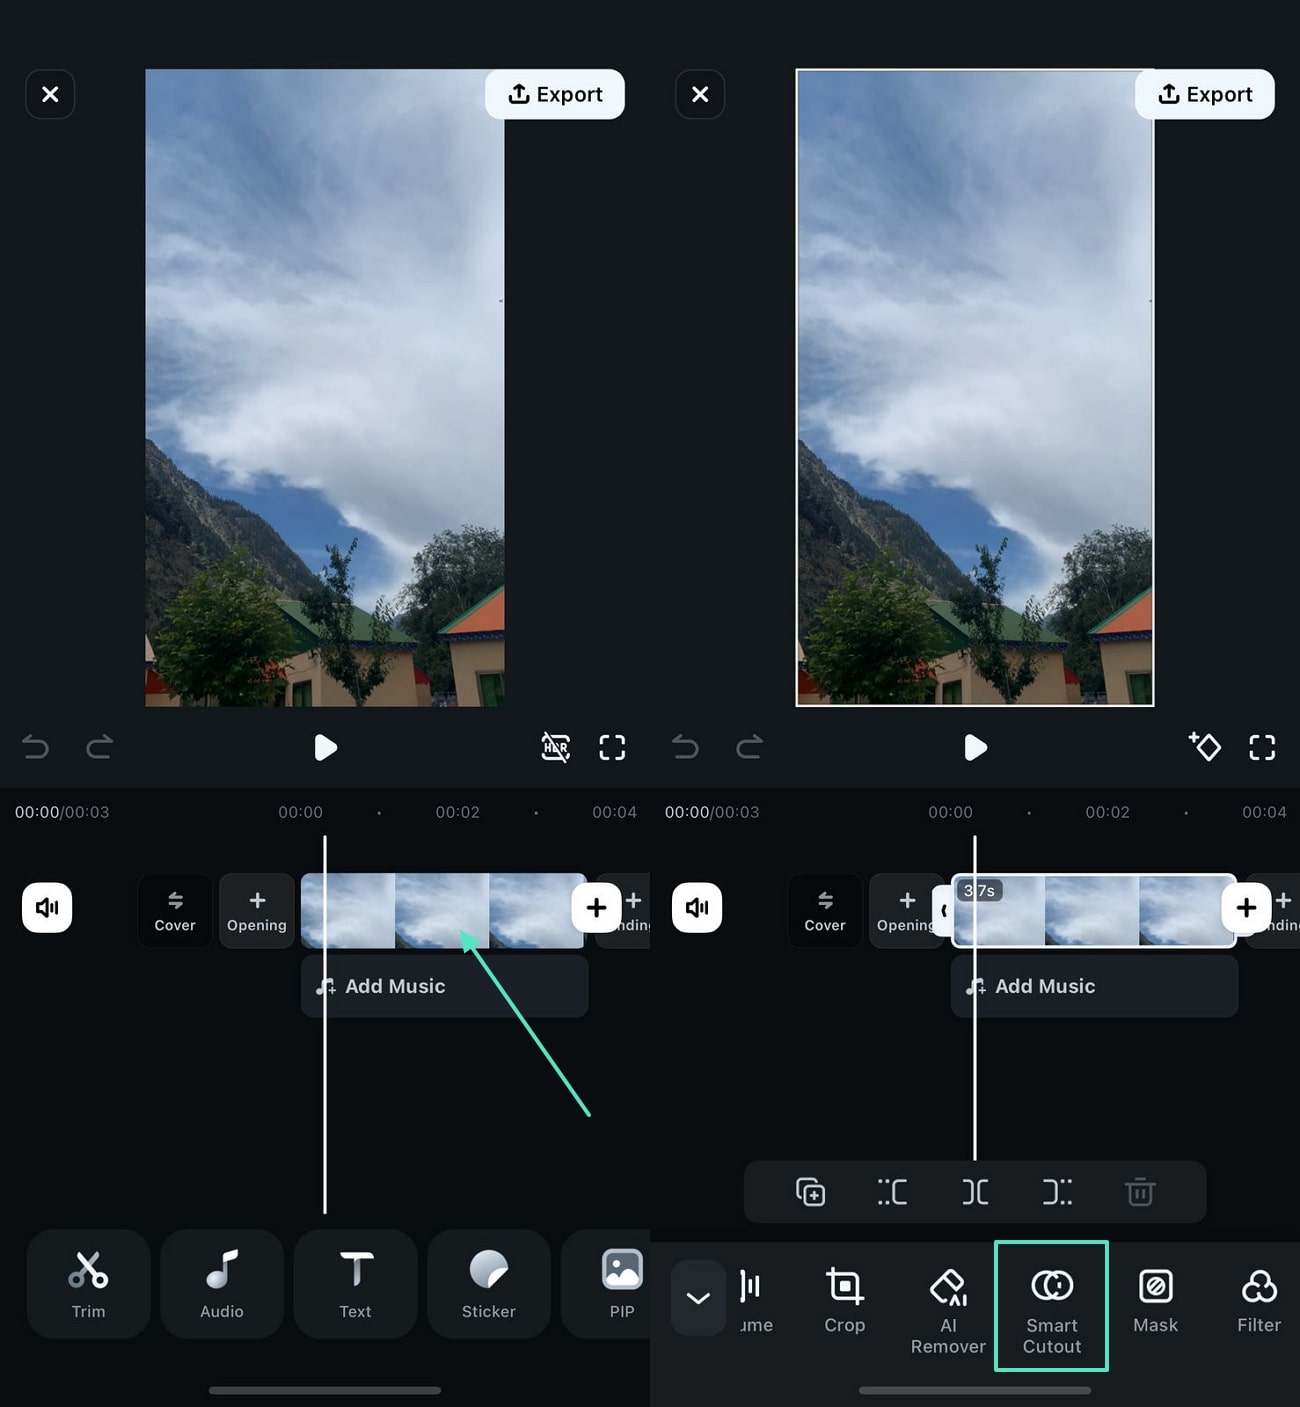
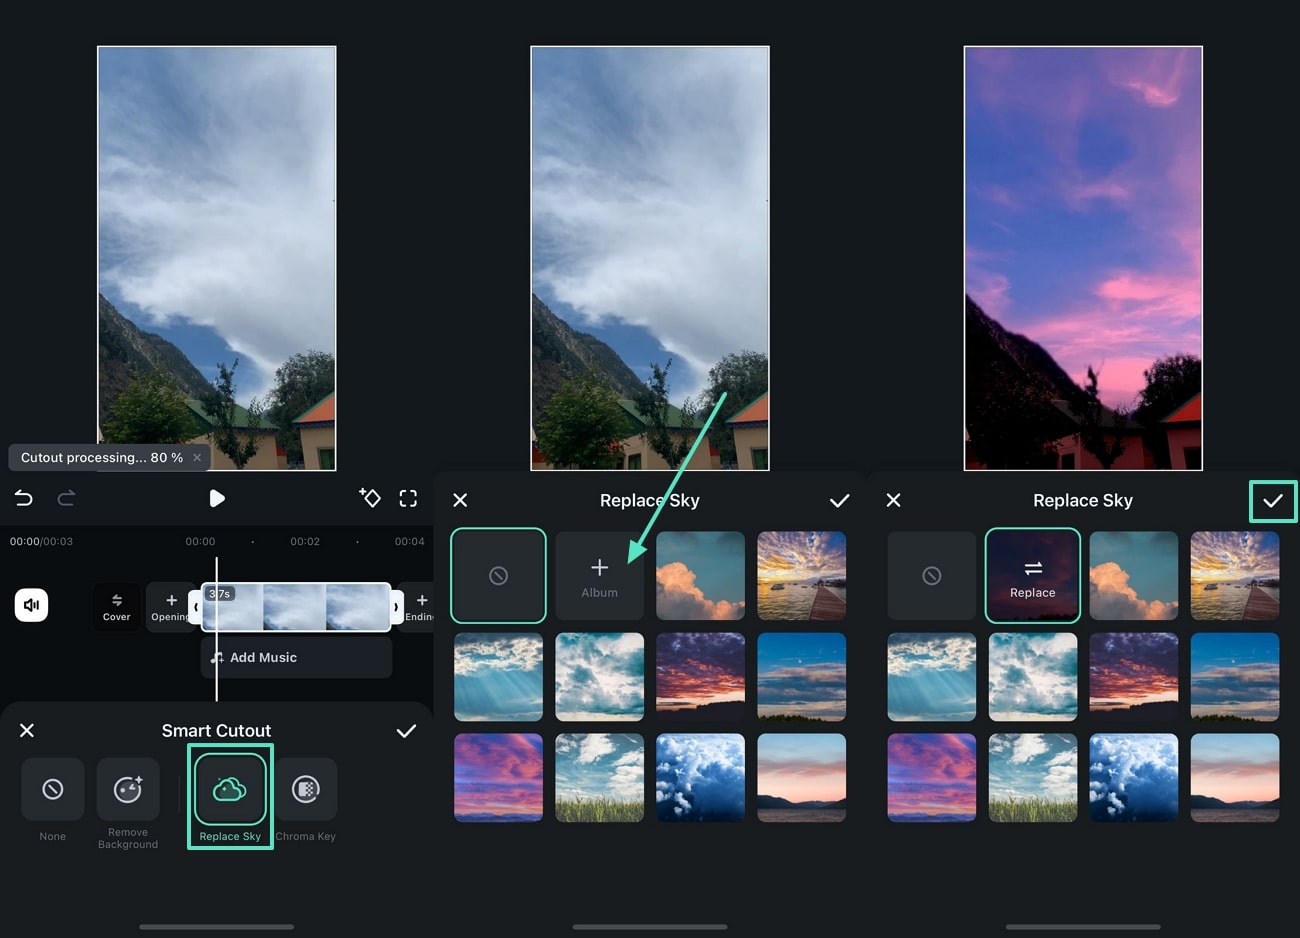
Getting started with sky replacement has never been easier. With Filmora's Smart Cutout Tool, beginners can effortlessly swap out dull or overexposed skies using AI-powered precision. No complex masking or manual editing — just a few taps.
Want more customization? Simply upload your own sky image from your phone to create the exact atmosphere you're looking for.
For Professionals: Manual Sky Masking for Precise Control
For those seeking greater precision and creative control, Filmora offers manual sky masking tools tailored for professional users. Instead of relying solely on automation, this method lets you fine-tune sky selection and replacement frame by frame — ideal for complex scenes or customized visual effects.
If you're ready to take full control of your sky edits, follow along with the video guide below for step-by-step instructions on achieving clean, professional results.
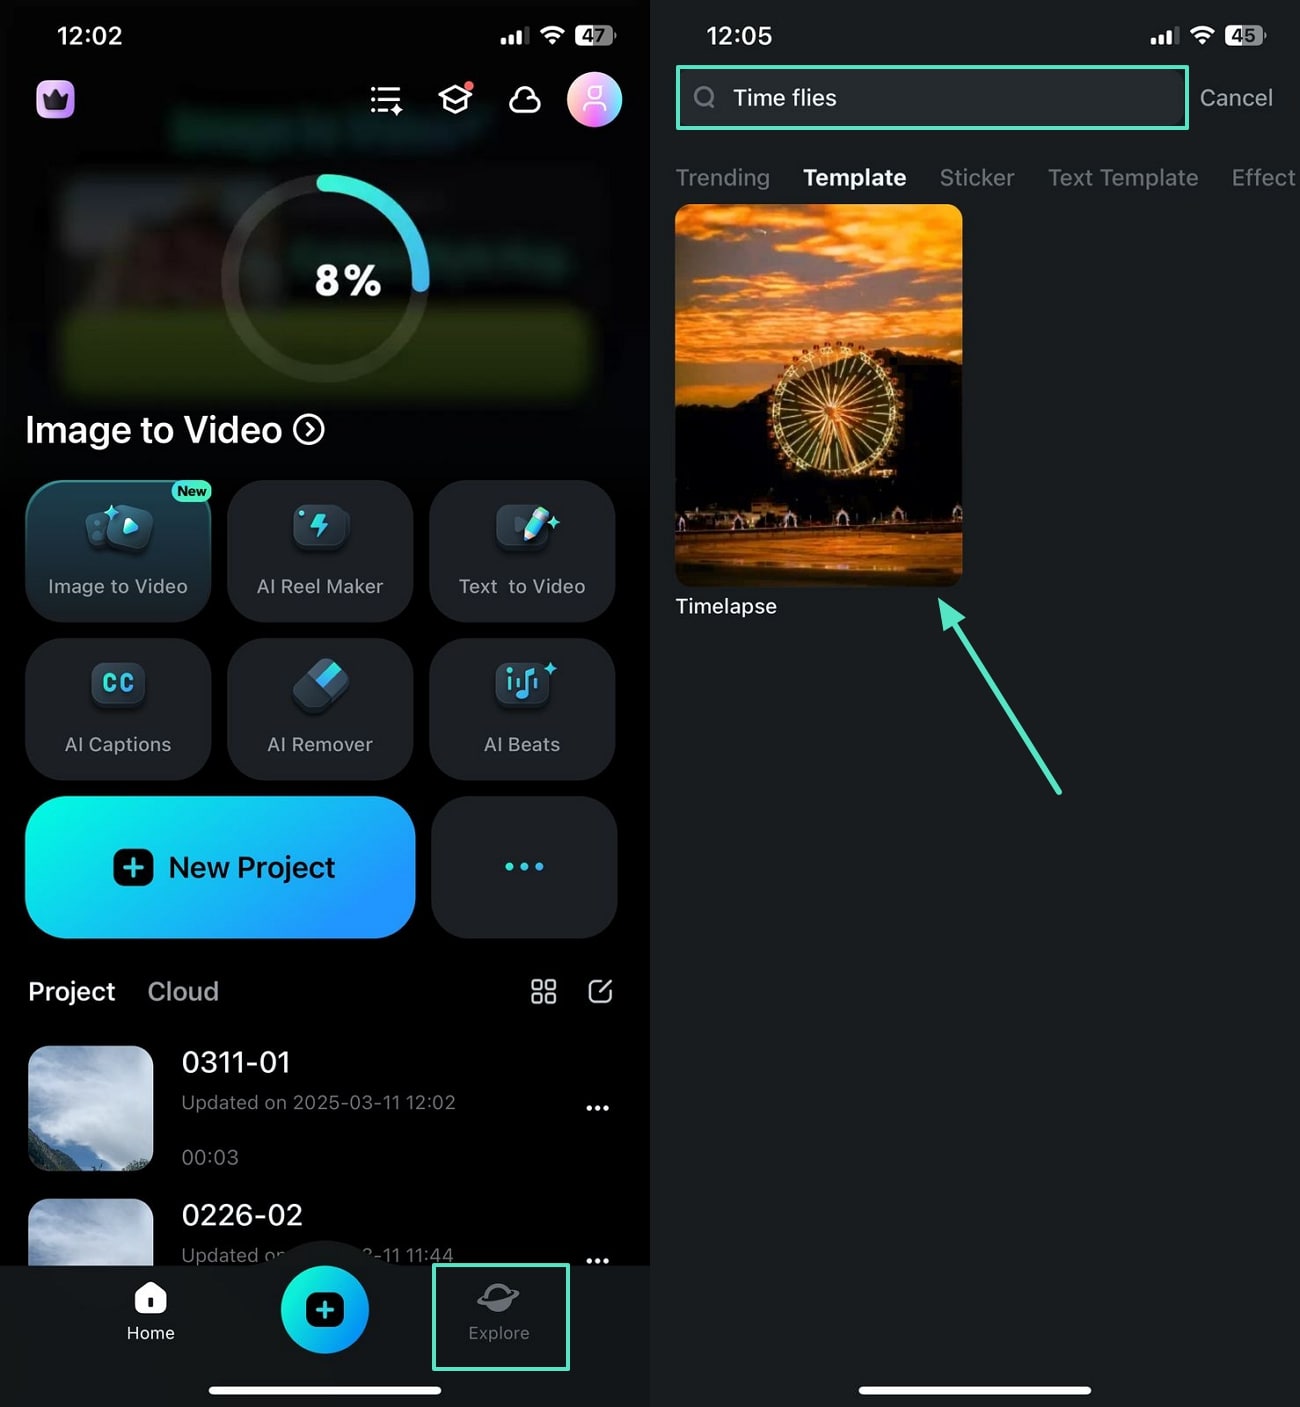
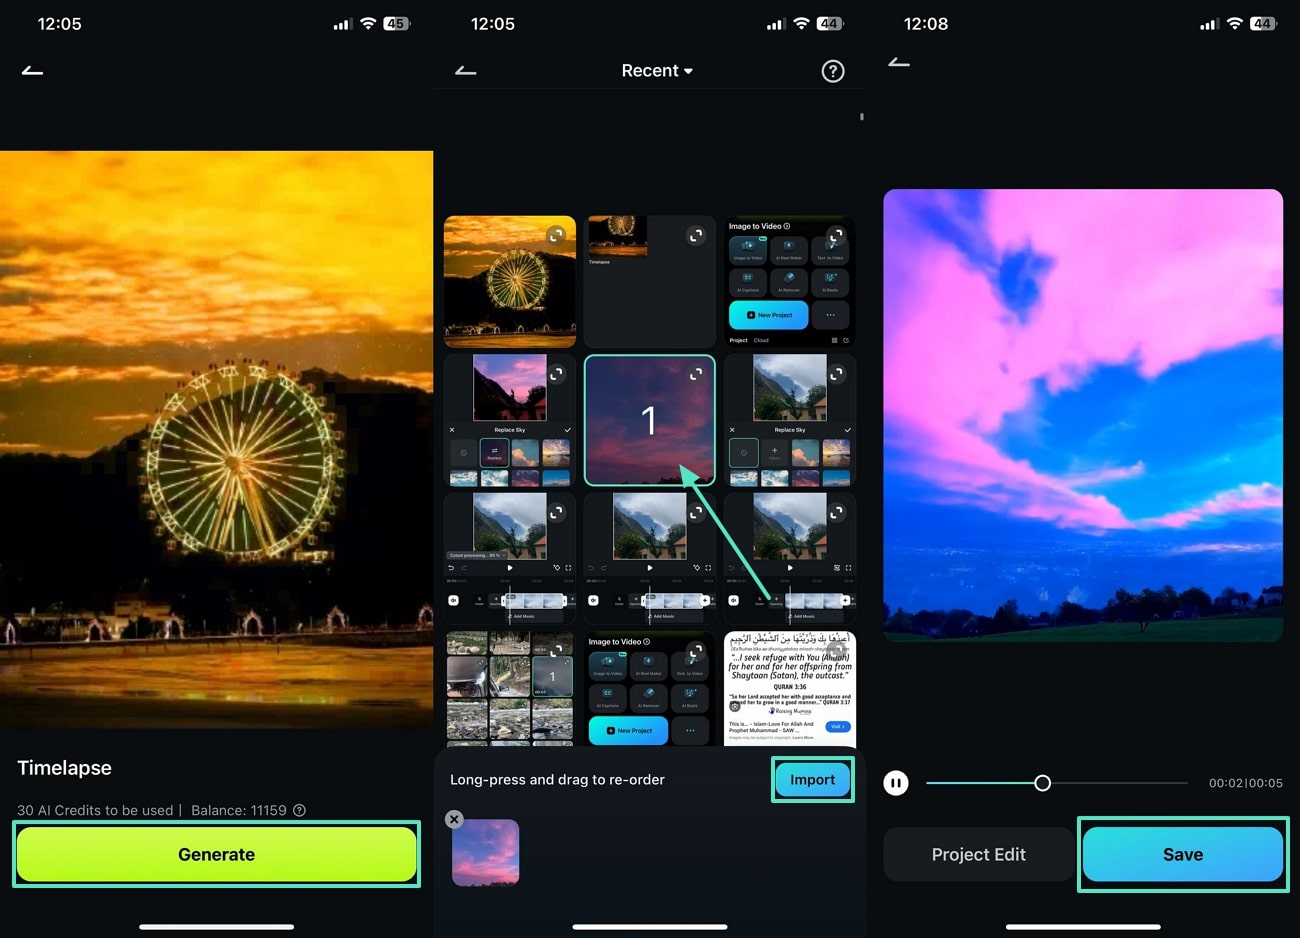
Bonus: Sky Background Templates with Image-to-Video Tool
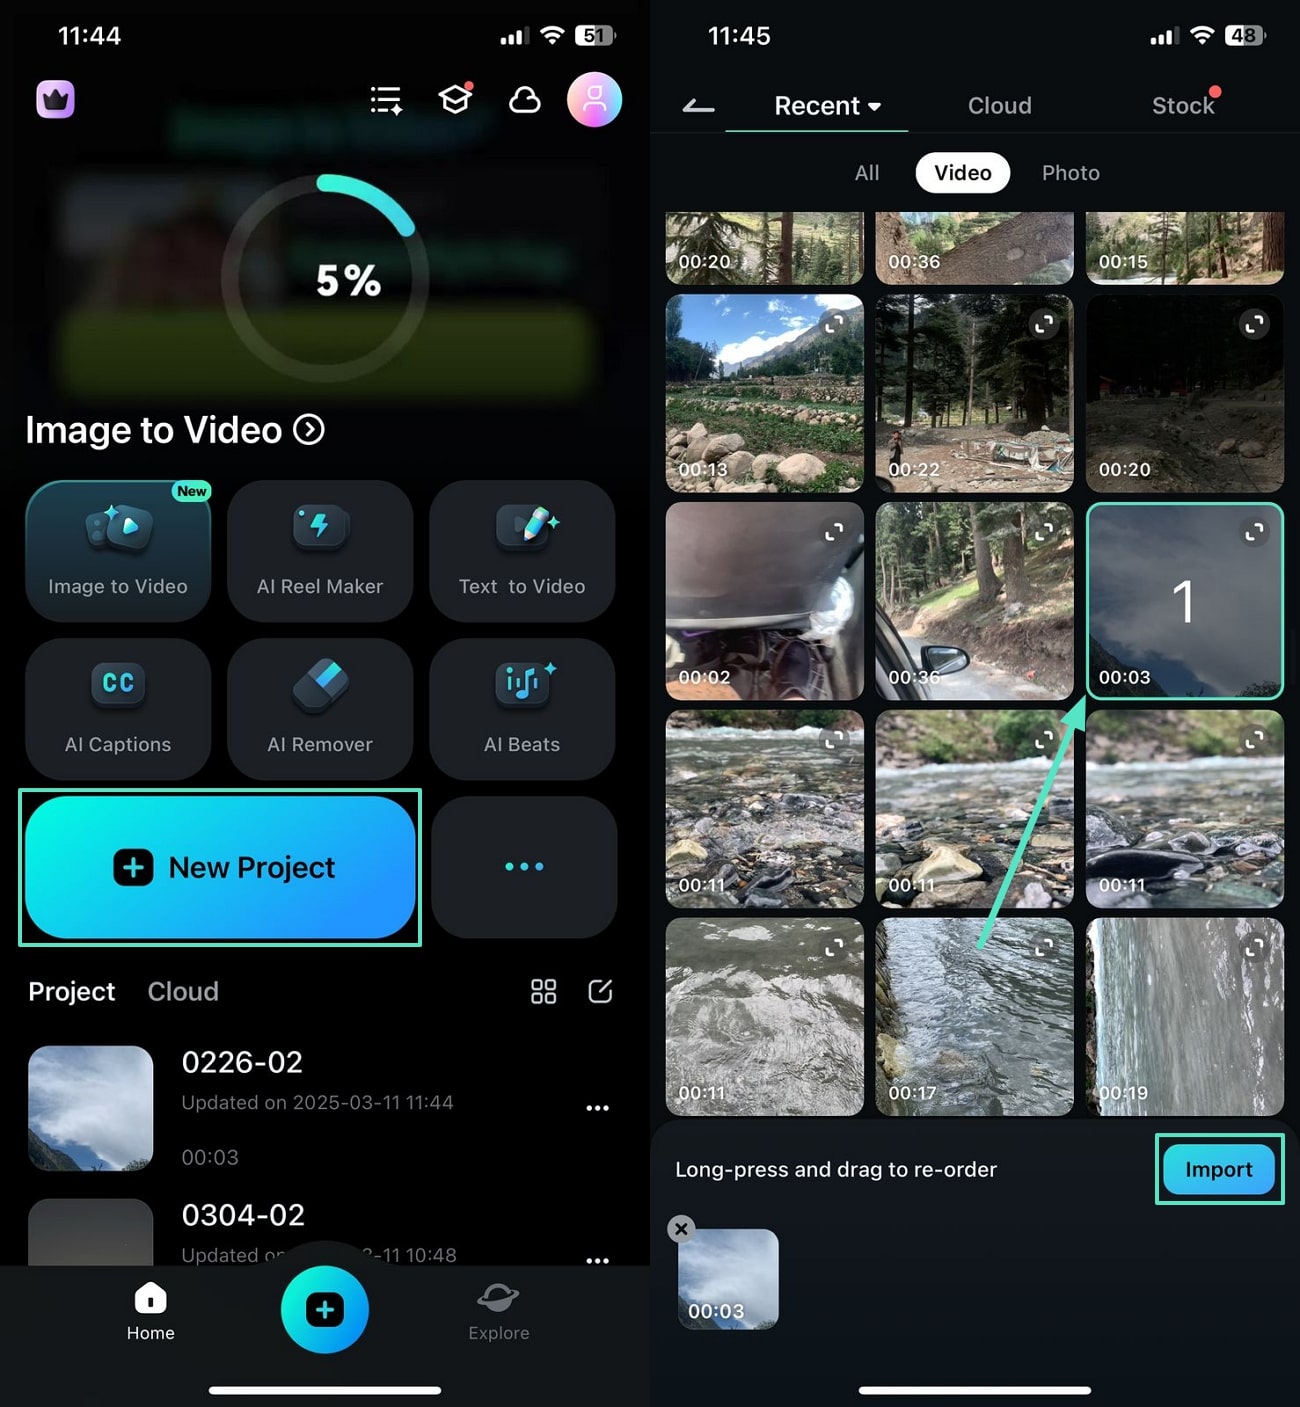
If you do not want to put much effort into the process, use the Image-to-Video feature of the Filmora App. This feature is particularly useful when you need to display the day and night changes in your sky. It helps you achieve a cinematic view by showcasing the changes in the sky smoothly.
Explore the following instructions to learn how to use this video sky change app:
Part 2. Wondershare Filmora: A Perfect Avenue for Replacing Sky Background in Video
While the Filmora App provides effective results, professional users may want to switch to the desktop version. Wondershare Filmora provides all the necessary features, from enhancing the sky to replacing it.
Its functionality goes way beyond simple background replacement as it enters the sky enhancement realm as well. Filmora uses the powers of AI and basic tools for effective video sky replacement.
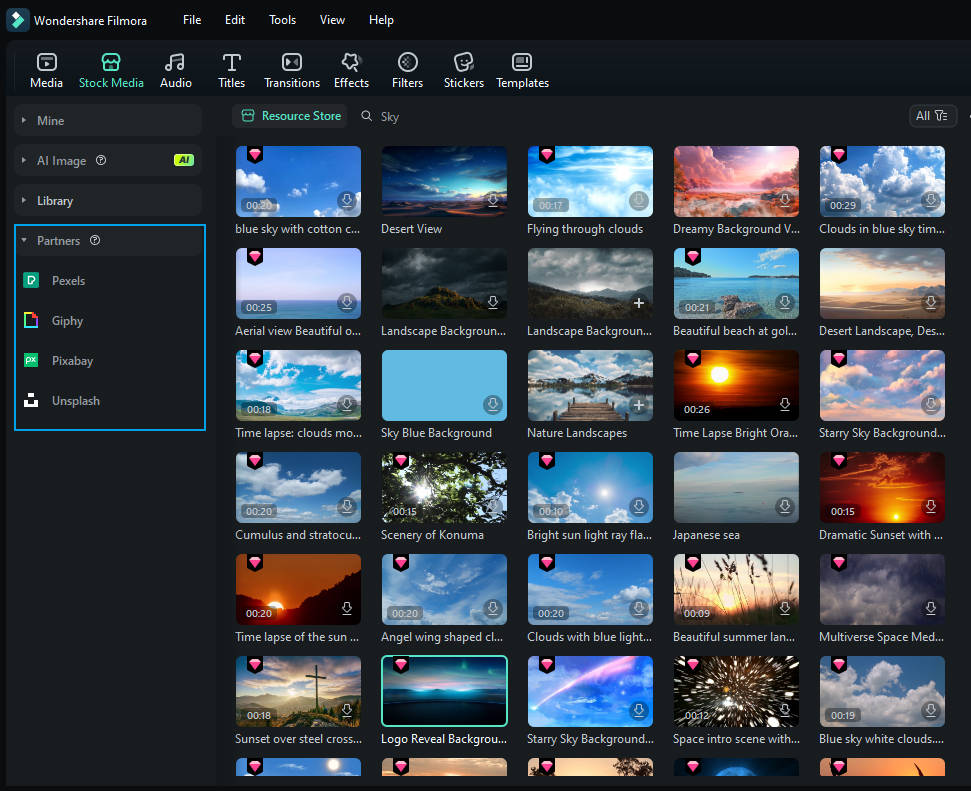
Moreover, Filmora also provides access to a rich library of sky backgrounds, including those developed in collaboration with creative partners.
Using the Remove Video BackgroundAI Background Remover, you can replace the sky background precisely. Following that, the background options can be selected to replace the existing sky background. If you do not want to choose a sky background, avail of the blurring effects to blur out the video backdrop.
Features of Wondershare Filmora
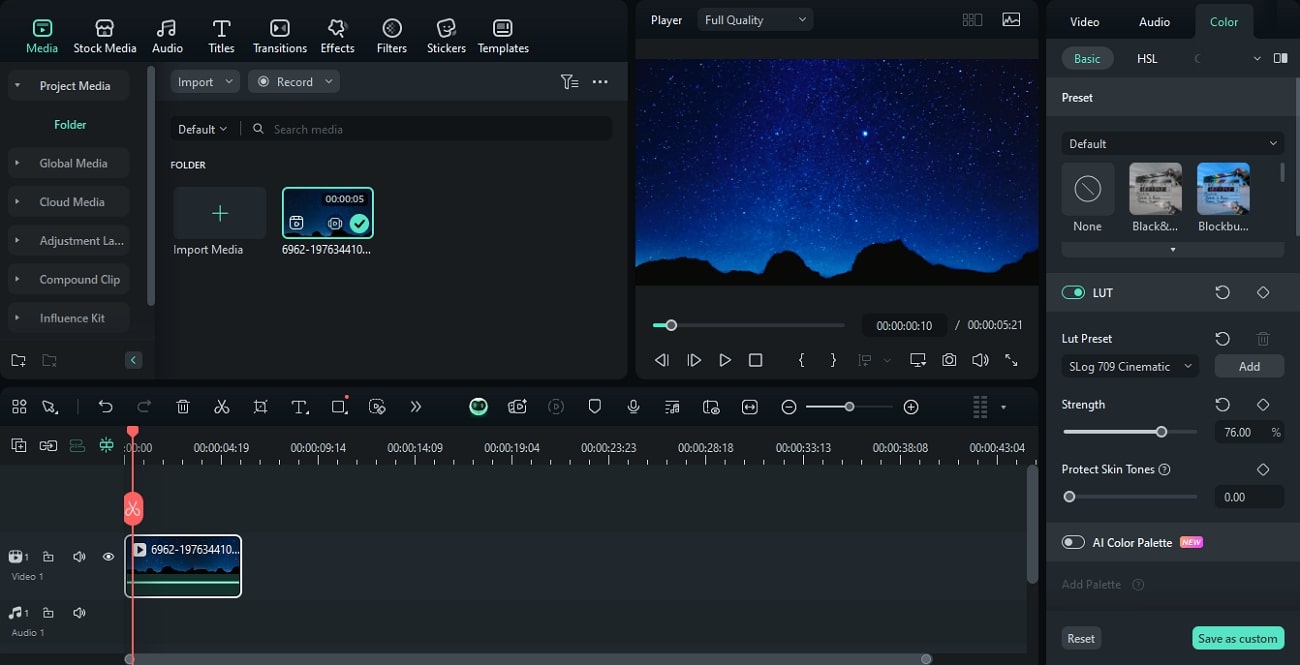
- LUTs: When trying to uplift the look of the sky with a single click, the LUTs are the best option. Besides choosing the built-in LUT template from the "Color" tab, users can adjust their intensity for precise results.
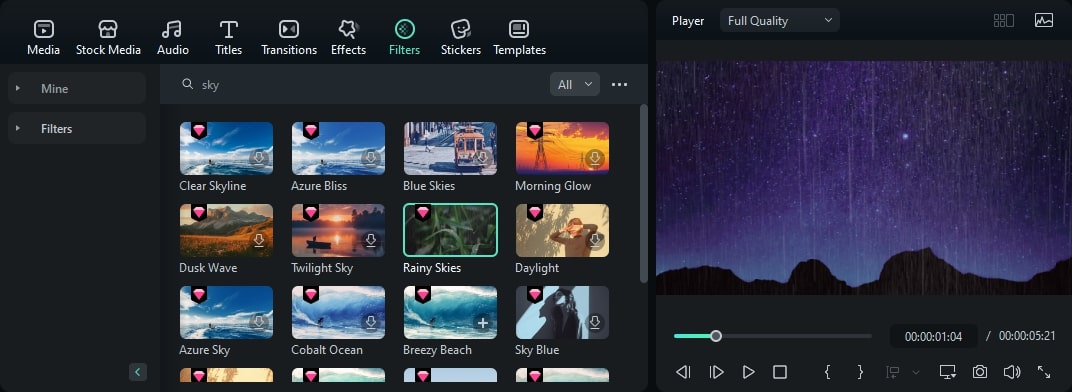
- Sky Filters: If you want to turn the night sky into a day sky or a rainy one, the built-in sky filters that are accessible from the "Filters" library will help. Once applied, users can adjust the strength of the filters to create a natural outlook.
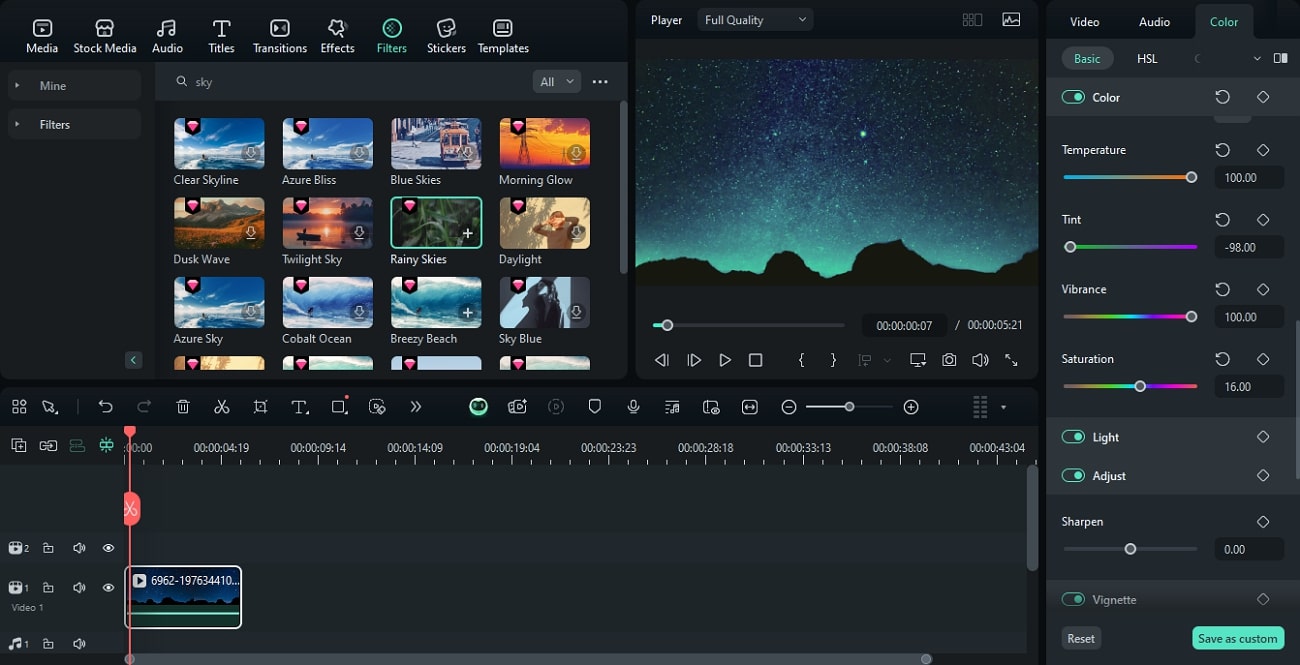
- Color Grading: Using the extensive color options, you can set the temperature, tint, and vibrance of your sky videos. The vignette effects can also be enabled and adjusted to create a dramatic and vintage vibe.
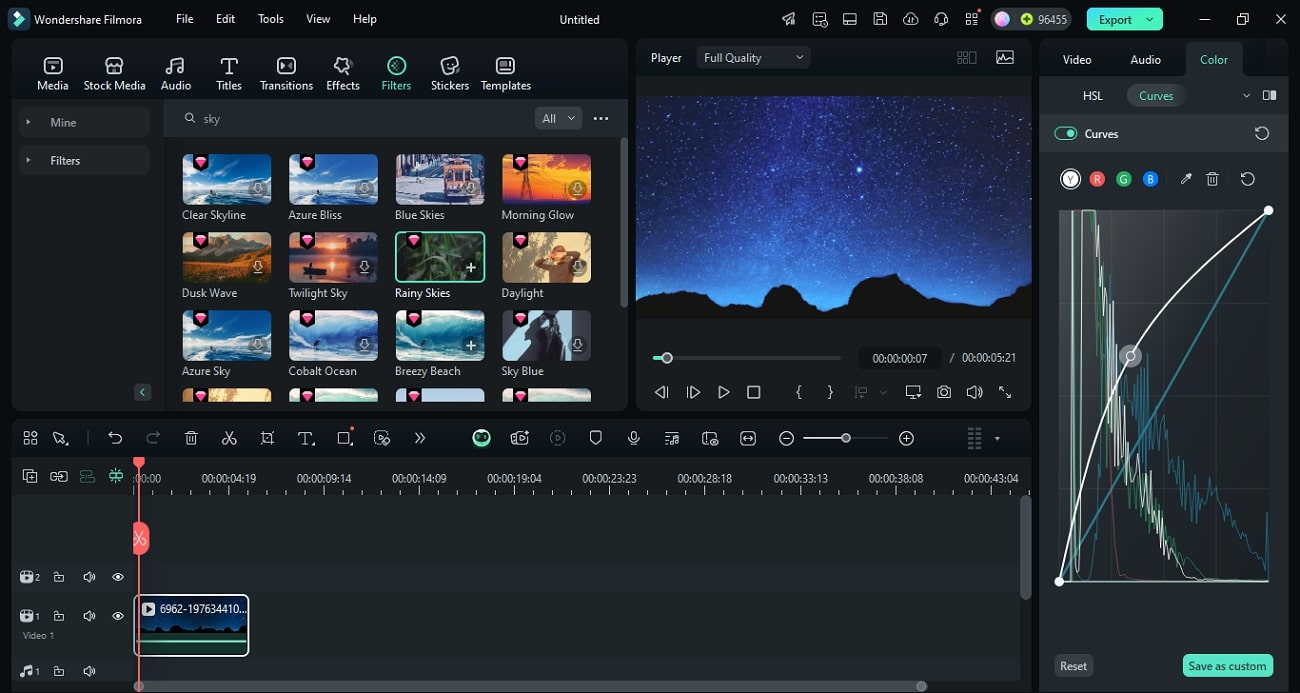
- RGB Curves: The RGB Curve provides a fun and professional method of adjusting the colors of your sky videos. As you move the histogram line from the colors tab, the red, green, and blue hues of the frame can be adjusted beautifully.


Part 3. Explora More Sites to Access Sky Video Templates
Among the various methods to enhance a video background, using a sky video template is a highly effective technique. The following list features some of the most popular platforms that offer captivating sky templates:
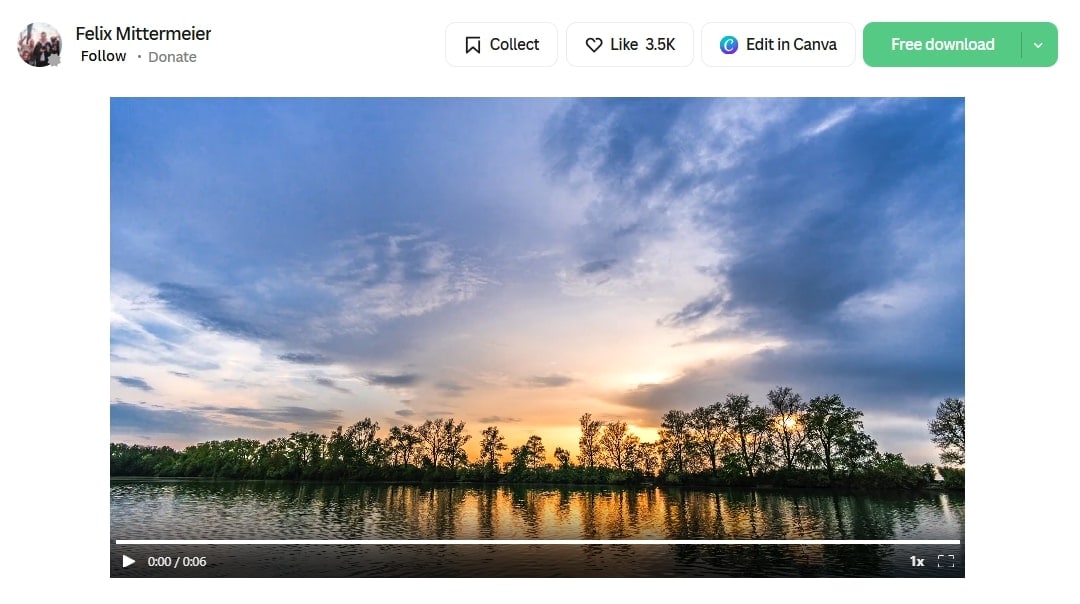
1.Pexels
It provides an extensive template library and allows you to download the asset directly to your device. Besides, users can save their favorite assets for easy navigation.
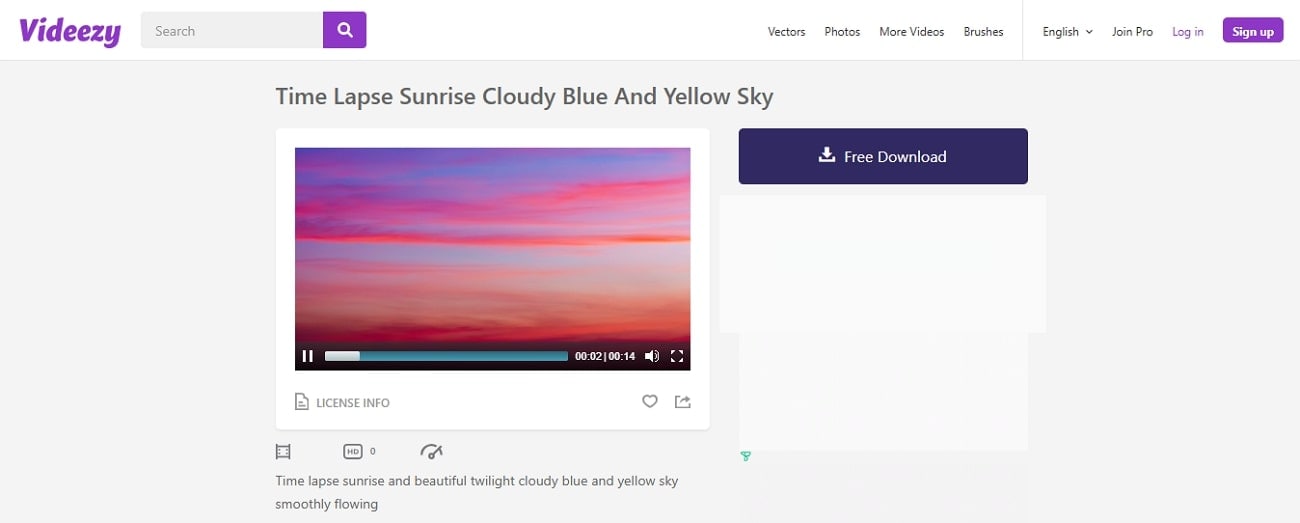
2.Videezy
To access a diverse sky video collection, you can look into Videezy and find over 30 categories of sky change videos alone. Through this site, users can find HD-quality templates and download them for studio-fidelity outputs.
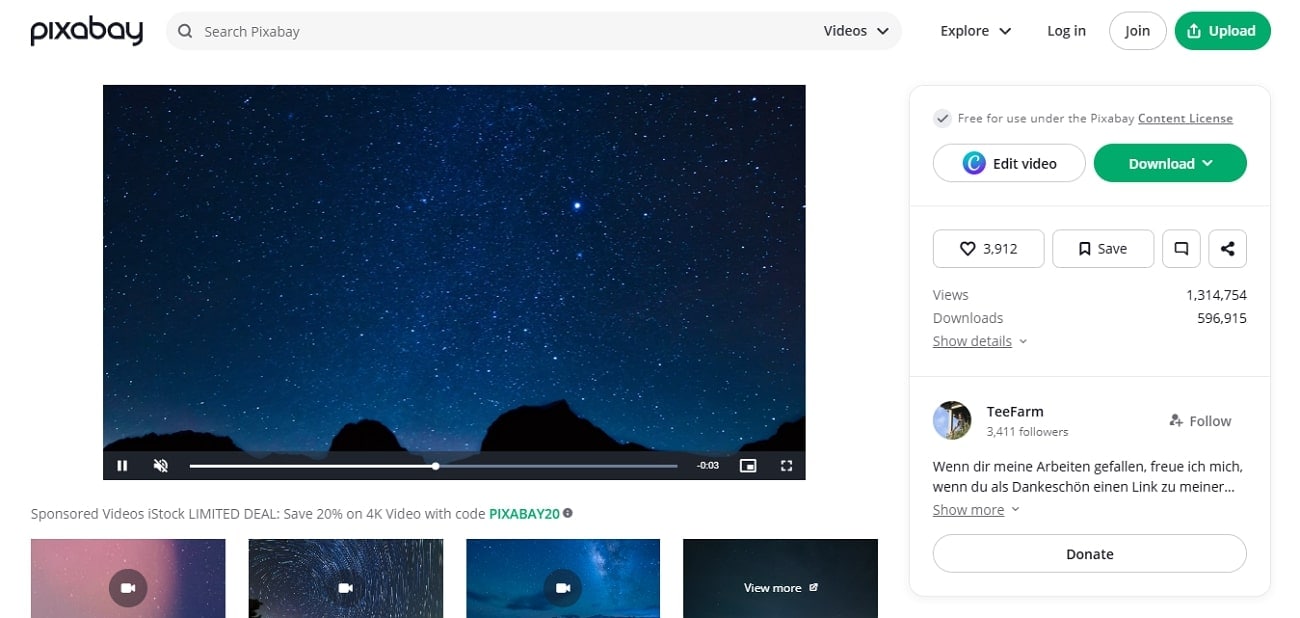
3.Pixabay
This sky template site offers an extensive collection that can be downloaded in 4K quality for professional results. Besides, your favorite assets can be shared across social media as a link and saved within the site.
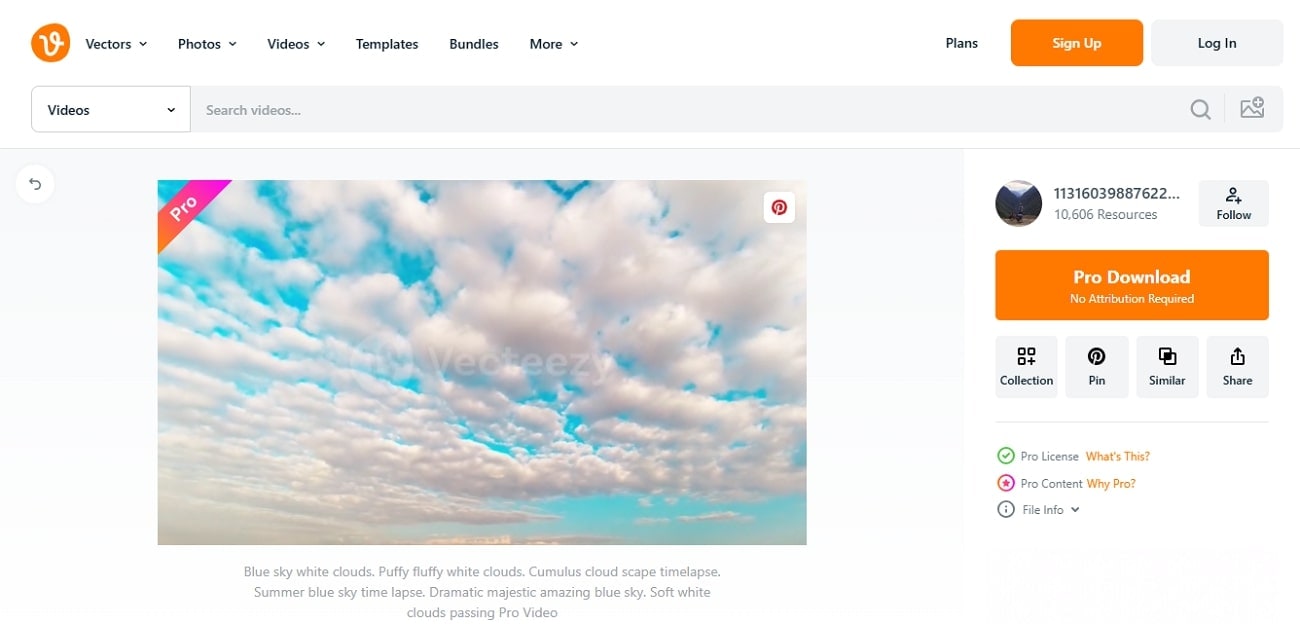
4.Vecteezy
Whether you are looking for graphics or real sky footage, Vecteezy has just the right assets for you. It lets you save your favorite assets to your in-website collection or download it for a background sky change.
Conclusion
In summary, the sky change background is a useful tip to enhance the overall appeal of the video. This article helped you find the top sky video template websites to download captivating sky assets. Once these assets are downloaded, you can use the Filmora App to replace your original sky background with the downloaded assets. For enhancing the pre-existing sky backdrops in your video, look into the desktop version of Wondershare Filmora.