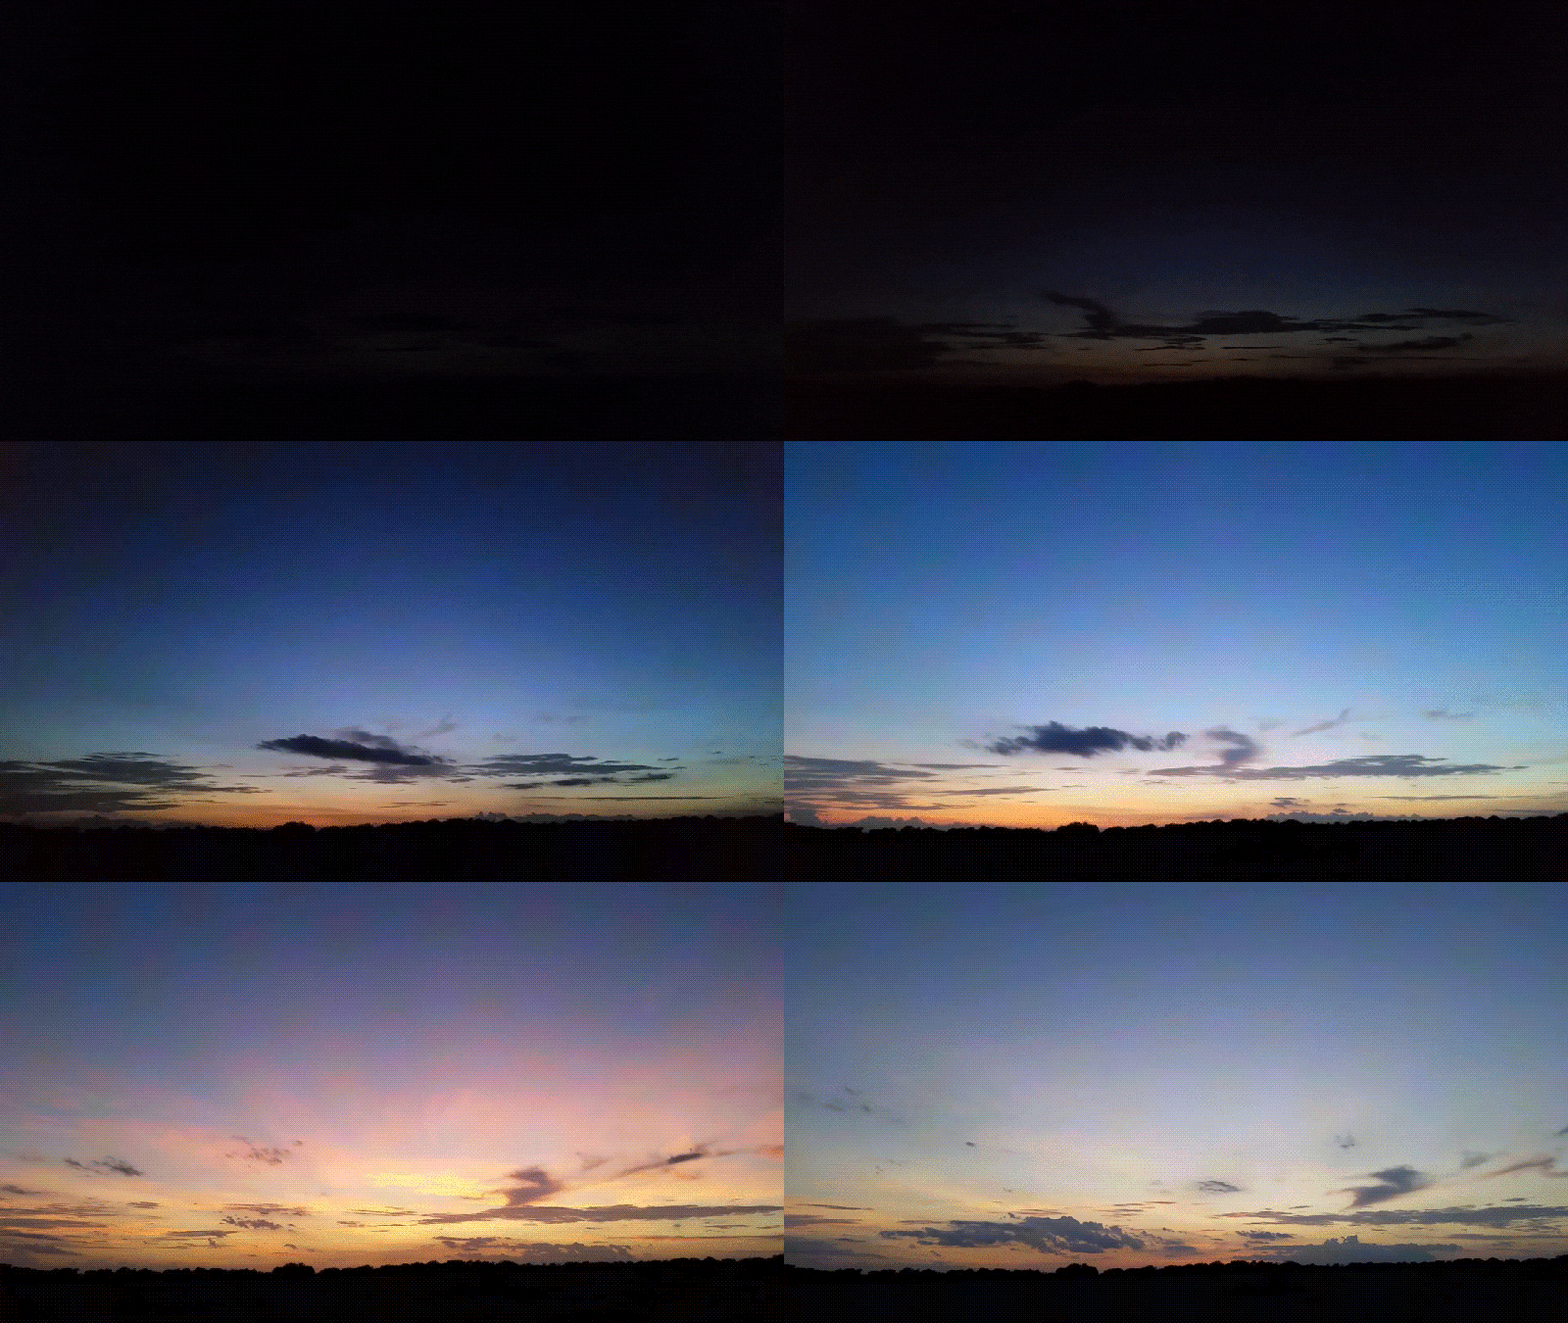
Converting day into night or night into day in your videos doesn’t always mean you need to literally wait around for the perfect lighting conditions to film twice. There are a few editing tricks worth trying to help you transform your footage and set the mood however you like.
We have gathered some of the easiest and most effective ways to create that illusion using AI tools, color grading, and transitions, with just one editing platform. If you like things quick and simple, we’ve also included an option to convert night video to day online.
In this article
Part 1. How to Create Night to Day Video Using AI Generators
To convert night video to day and the other way around, the tool you'll need is Wondershare Filmora. This video editor has everything you need to create videos quickly and easily, thanks to its smart AI features that simplify the editing process. One of the best tools for this specific effect is AI Image to Video.
This feature uses images to generate video clips, and there are a couple of ways to use it for the night-to-day conversion:
- Using AI Image to Video Templates
Filmora provides many ready-made templates in the AI Image to Video section for quick video generation. Some effects, like "Delay 24 Hours," "Time Travel" and "Time-lapse," are perfect for creating a time-of-day shift without needing to film all day.
- Using Start and End Keyframes
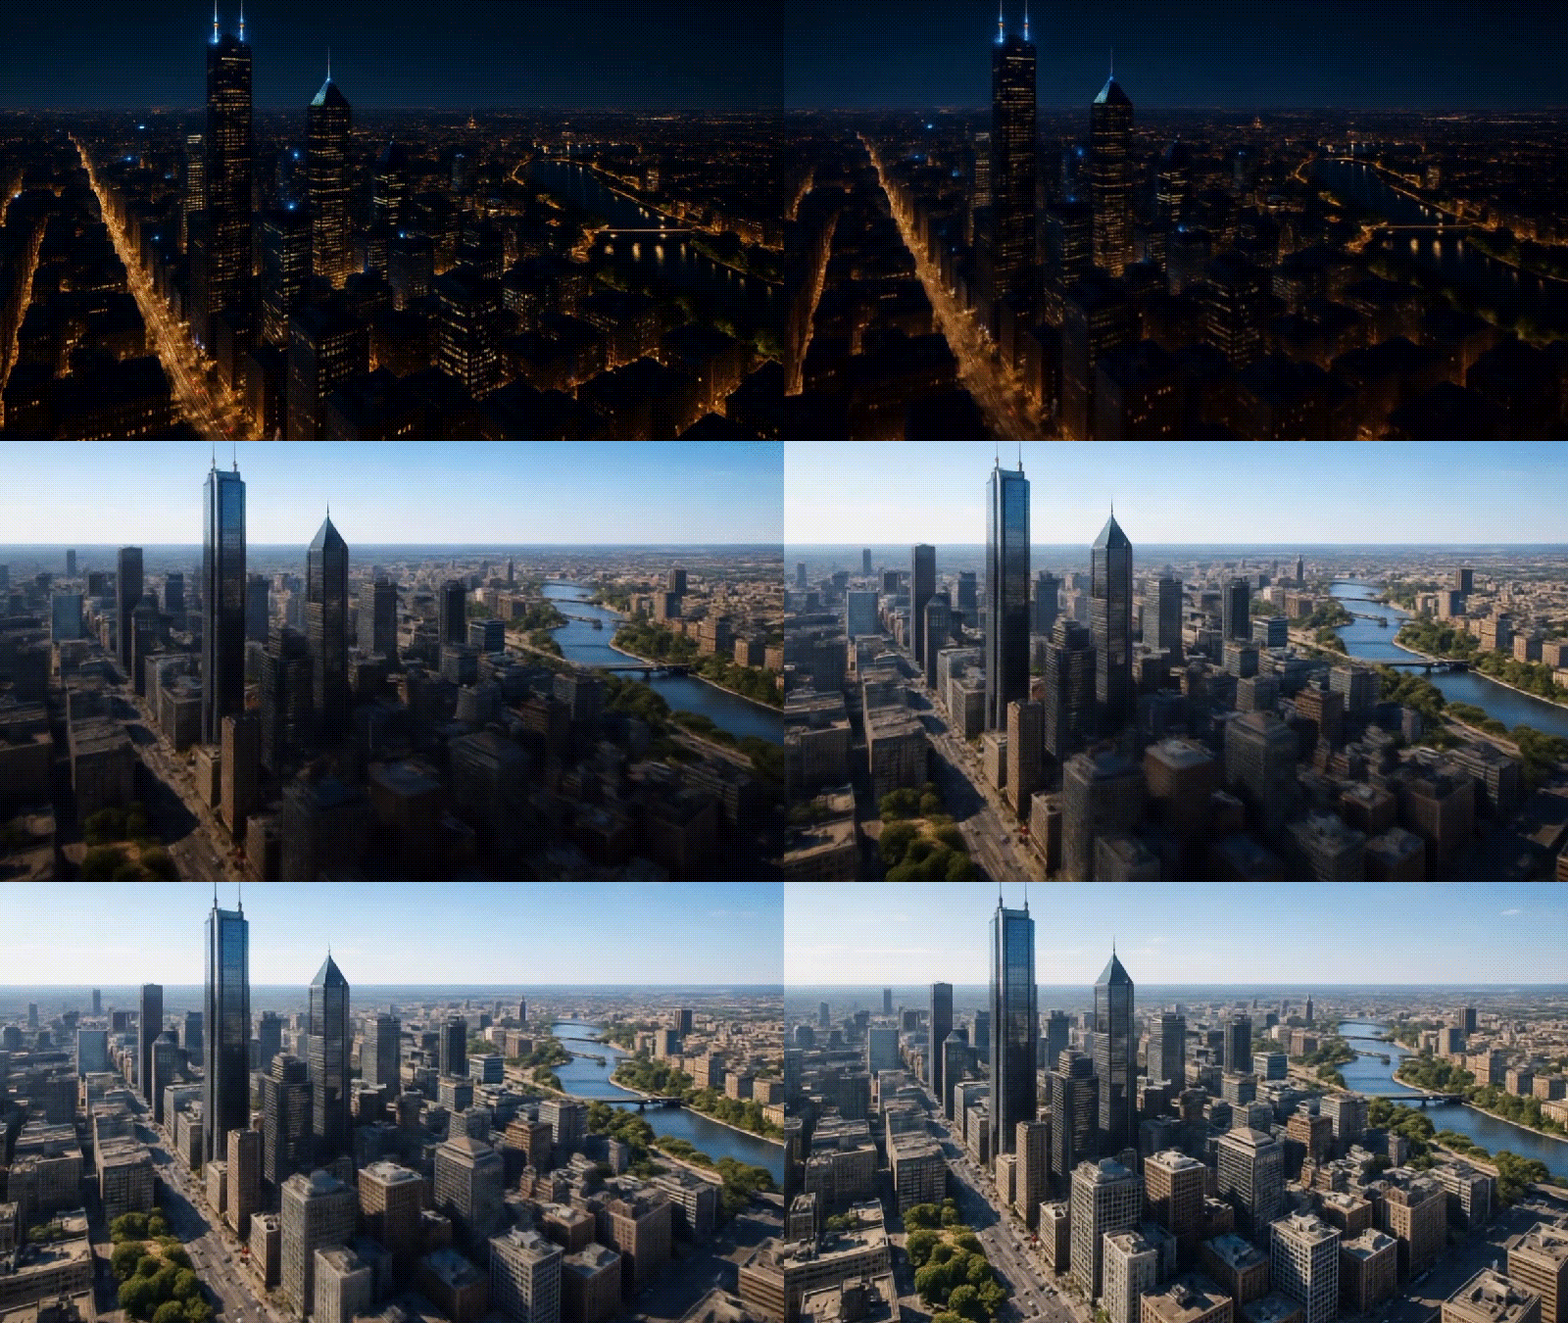
You can also use the custom keyframe option by uploading two images: one as the starting frame (night scene) and the other as the ending frame (day scene). Filmora will generate a smooth animated transition between them.
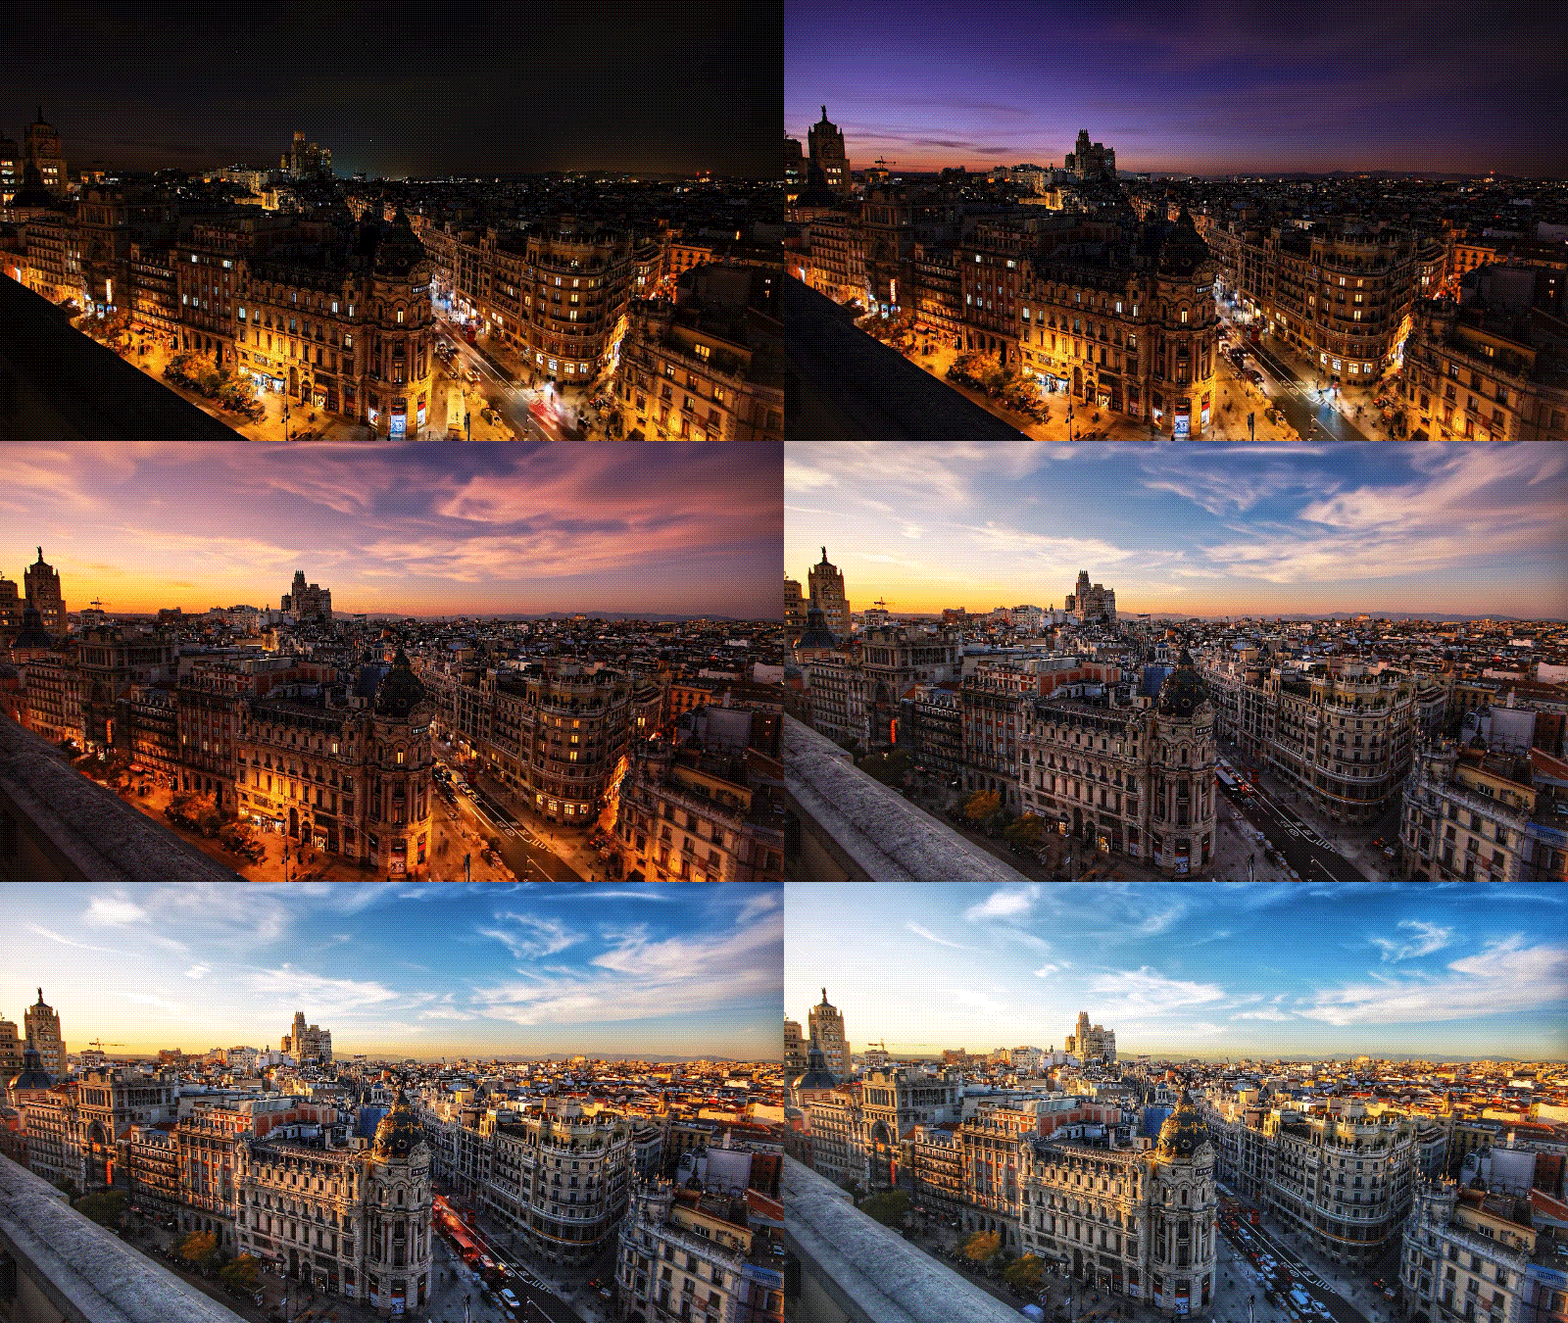
How to Make Night to Day Video Using AI Template
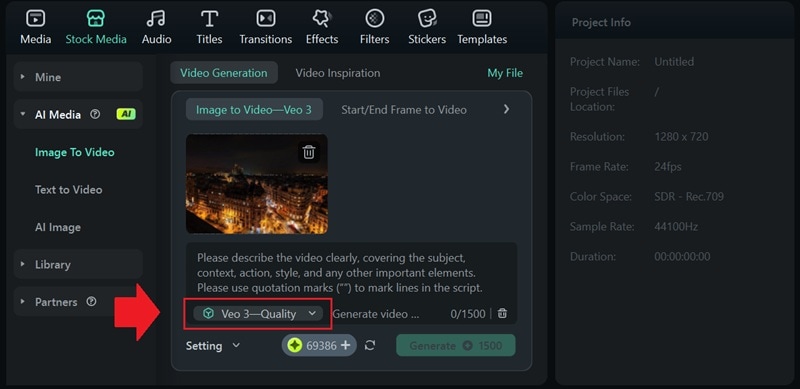
Step 1: Access Image to Video
Download and open Filmora. Head to the Toolbox section and select Image to Video.
Step 2: Choose a Day-to-Night Template
Click "Video Inspiration" to browse the available templates. Search using keywords like "Timelapse" or "Delay 24 Hours". Then, upload your daylight image as the reference.
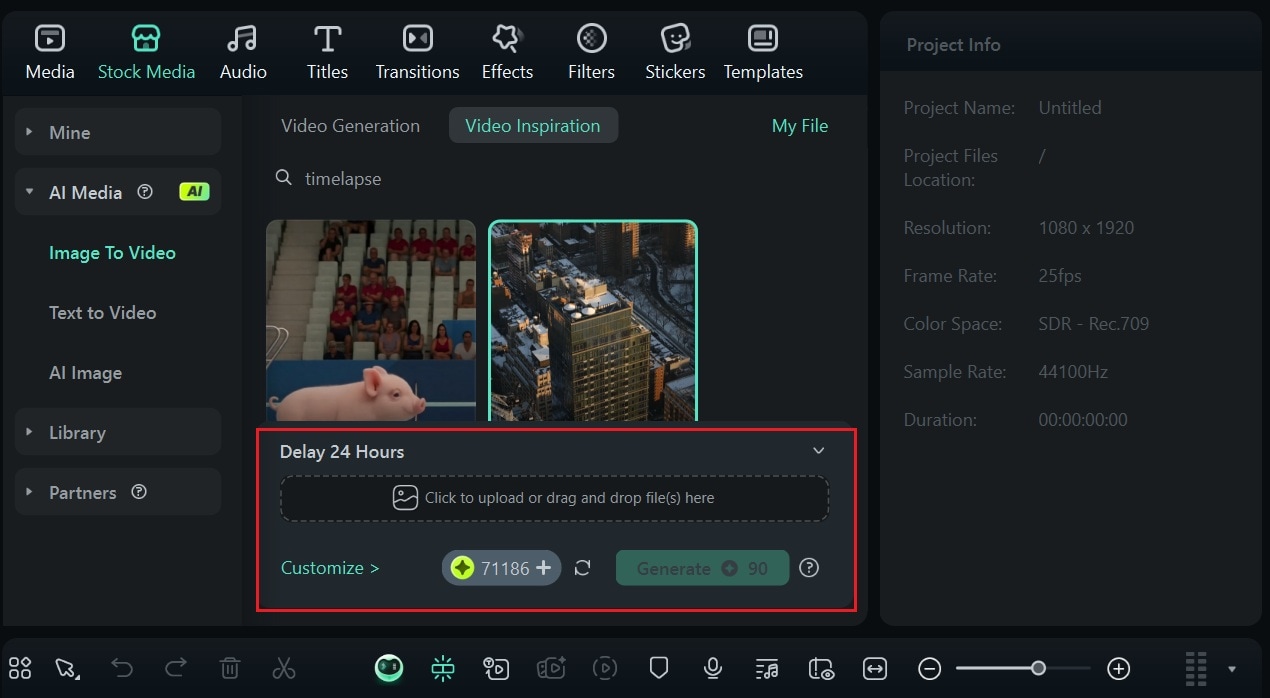
Step 3: Adjust Picture Settings
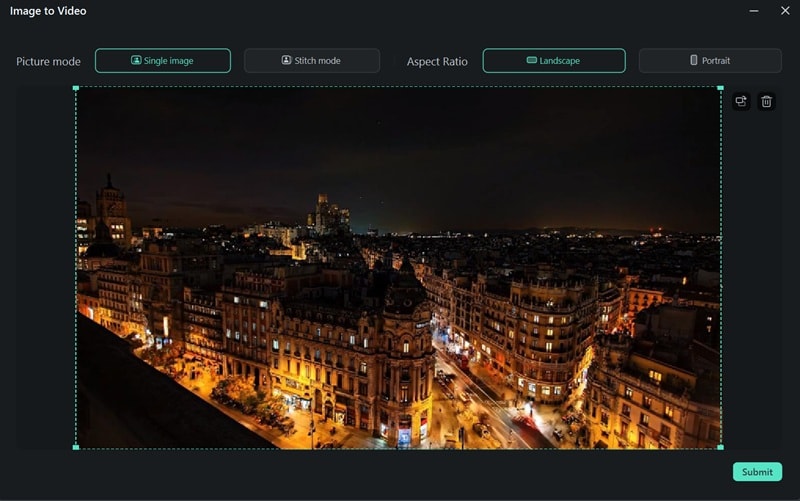
Choose the correct picture mode, landscape or portrait, based on your image. If you're using stitch mode, you can upload two reference images. Crop and position the image as needed.
When everything looks right, click Submit, then tap Generate to begin.
Step 4: Preview and Edit
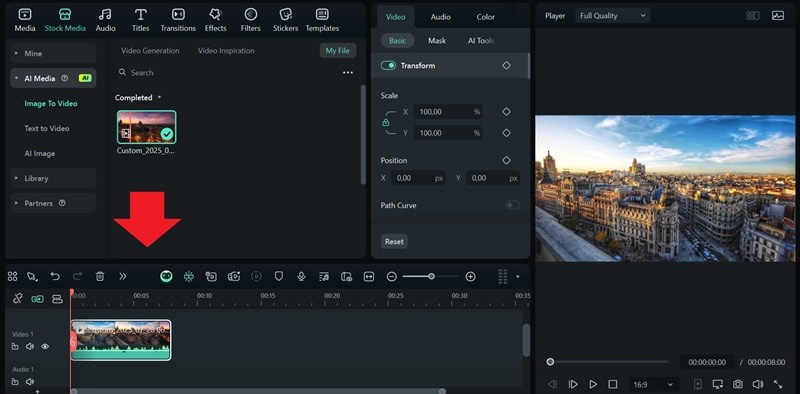
Once the generation is complete, press Play to preview your video. You can continue editing using Filmora's full range of video tools to edit the final look.
How to Make Night to Day Video Using AI Start/End Frame
Step 1: Use Start/End Frame in Filmora's Image to Video
In the Image to Video section, choose Video Generation > Start/End Frame to Video. To create a night-to-day effect, upload your starting frame (night view) and ending frame (day view). Then, describe the type of transition you want.
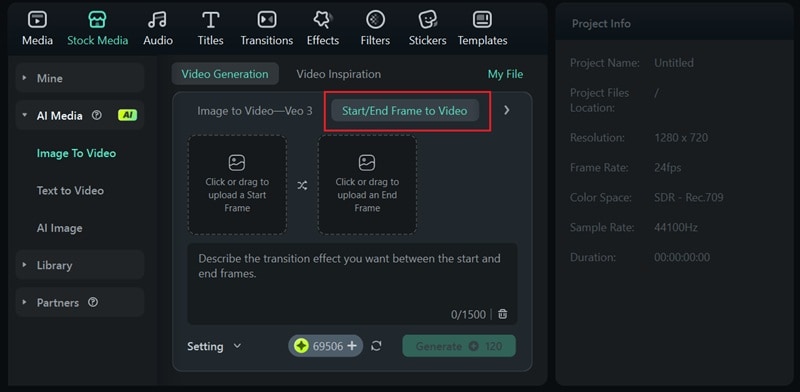
Click Settings to adjust the resolution and duration of your video. Once you're ready, hit Generate to begin the process.
Step 2: Preview and Save the Result
After a short wait, your AI-generated transition video will be ready. Click Play to preview it. If you're happy with the result, go ahead and export the video or continue editing it with Filmora's tools.
Part 2. How to Convert Night Video to Day with Color Grading
Previously, we have guided you on how to make a night-to-day video easily using images. If you're working with a night video that you want to convert into a daytime scene, it's totally possible through the power of color correction and color grading.
Color has a significant impact on setting the tone and atmosphere of any footage. By tweaking brightness, contrast, saturation, and temperature, you can shift the entire feel of your night video and simulate daylight or vice versa.
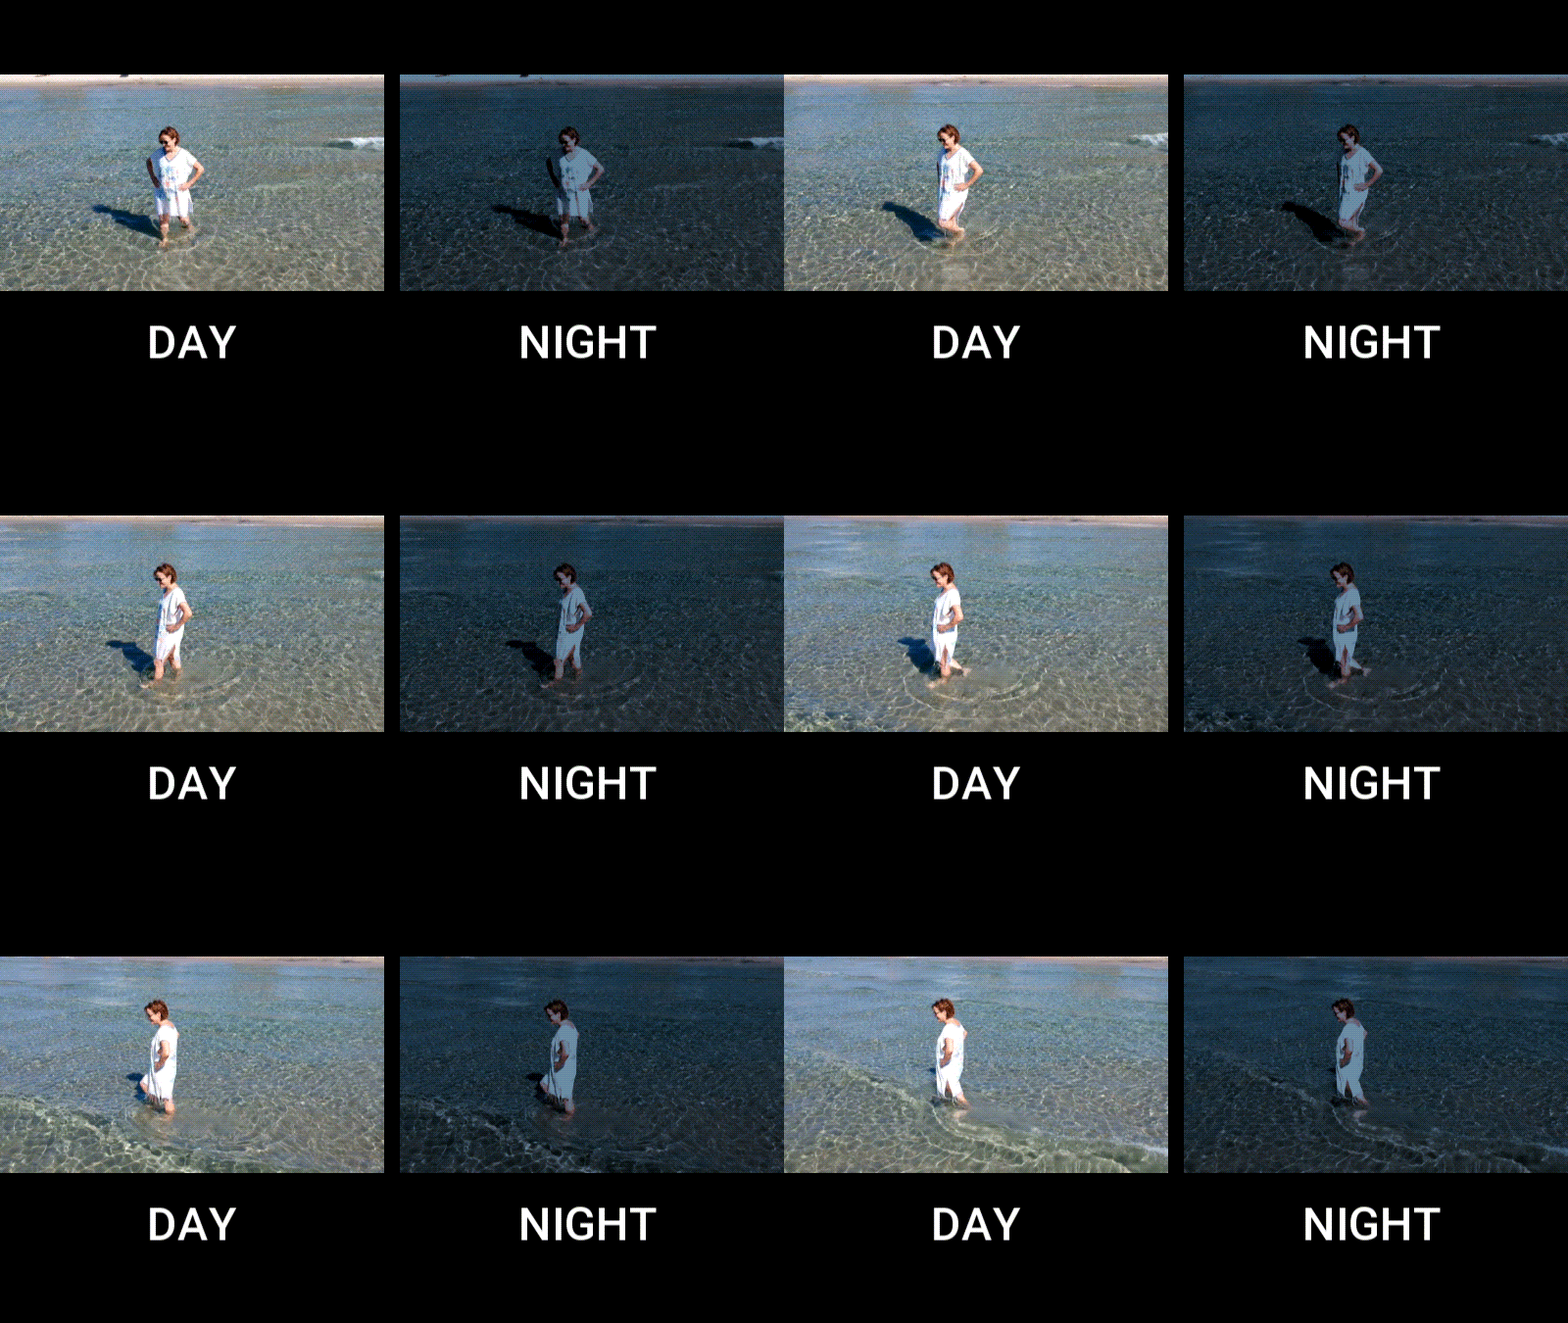
Night video editing is different from day video editing. The differences can be summarized as follows:
| Aspect | Night | Day |
| Color Temperature | Cool tones dominate (blues, purples) | Warm tones dominate (yellows, oranges) |
| Contrast | High contrast with deep shadows | Balanced contrast, more evenly lit |
| Saturation | Often increased to enhance detail | Moderate saturation to avoid oversaturation |
| Exposure | Raised to simulate daylight and reduce dark areas | Sometimes lowered to prevent overexposure |
You can also combine it with available filters in Filmora that can give you a quick fix to brighten your footage and shift the overall vibe. These filters help neutralize the cool tones typical in night shots and add a soft glow that mimics natural sunlight.
How to Make a Day Video into Night
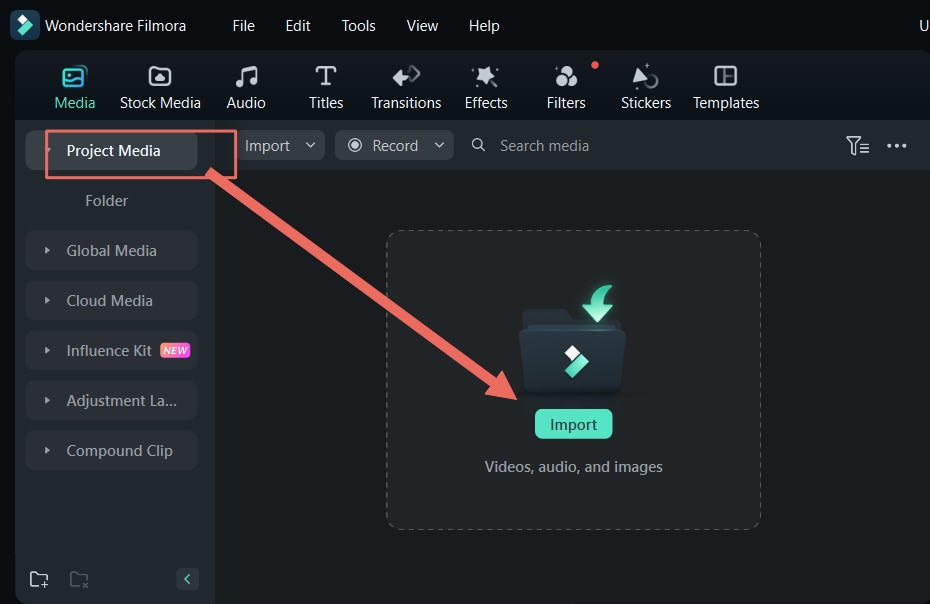
Step 1: Import Your Video into Filmora
Start by importing your video into Filmora. Click the Import button in the Media panel or drag and drop your footage into the interface. Then, drag the video onto the timeline to begin editing.
Step 2: Apply a Night Filter
To convert day video to night, go to the Filter tab and type "night" in the search bar. Browse through the available presets and choose the one that best fits your clip.
Note: If you're doing the opposite and converting night video to day, try searching for "bright" or "sunlight" filters instead.
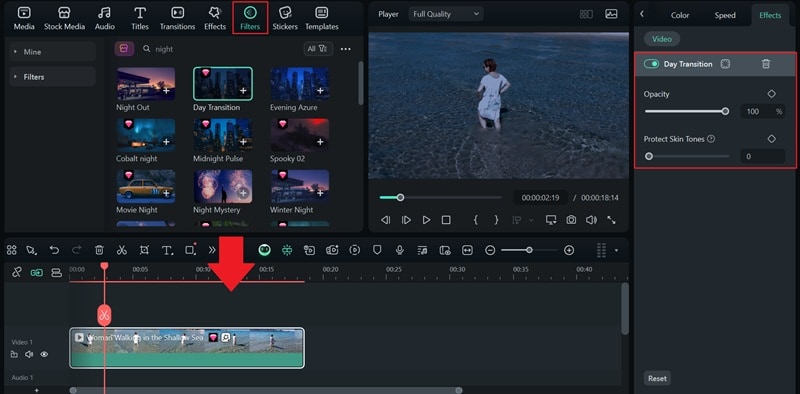
Click on each to preview the effect in real time. Once you've found a suitable filter, drag it directly onto your video clip in the timeline. You can also layer multiple filters to enhance the look further or adjust the filter opacity.
Step 3: Use the Color Correction Tools
For more precise control, select your clip on the timeline and open the Color tab in the property panel. You'll find tools like HSL, LUTs, color wheels, and curves to fine-tune the overall tone.
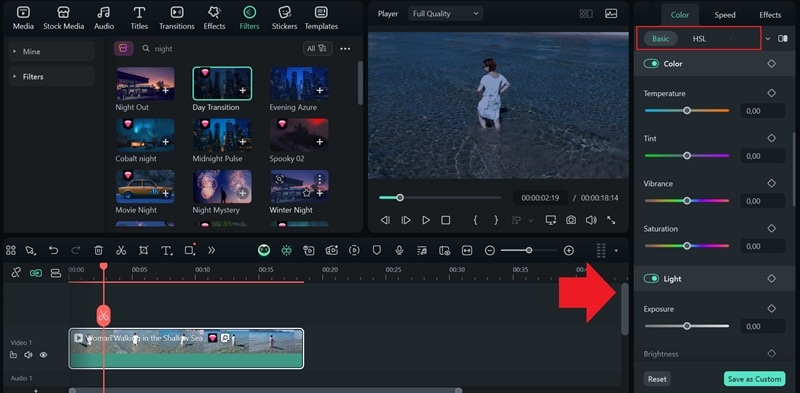
Refer back to the comparison table for guidance. For a night look, consider lowering exposure, increasing contrast, shifting the temperature toward cooler tones, and muting the overall saturation slightly.
Step 4: Add Extra Night Effects
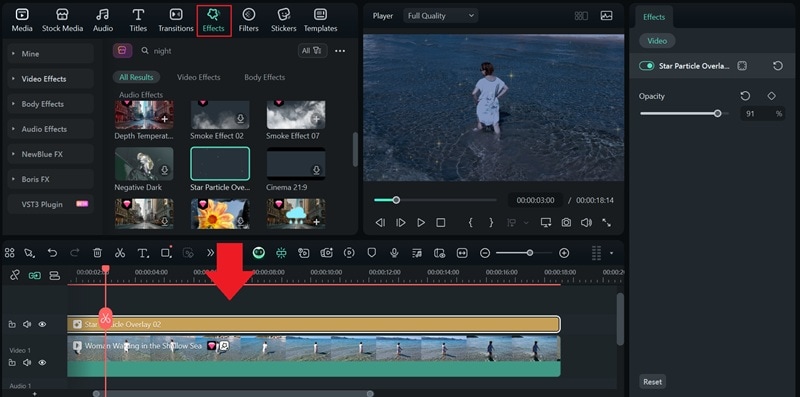
To enhance realism, go to the Effects tab and explore overlays like "Rain," "Moonlight," "Starry Sky," or "Dark Fog." These subtle additions can help reinforce the nighttime atmosphere and make your footage feel more immersive.
Part 3. How to Convert Night Video to Day with Transitions
This next method is a bit more creative and fun. To convert night video to day, we need you to shoot twice for the "day" video and the "night" video. You can do it in your room in the exact same spot, so it looks smooth when we blend them together during the transitions.
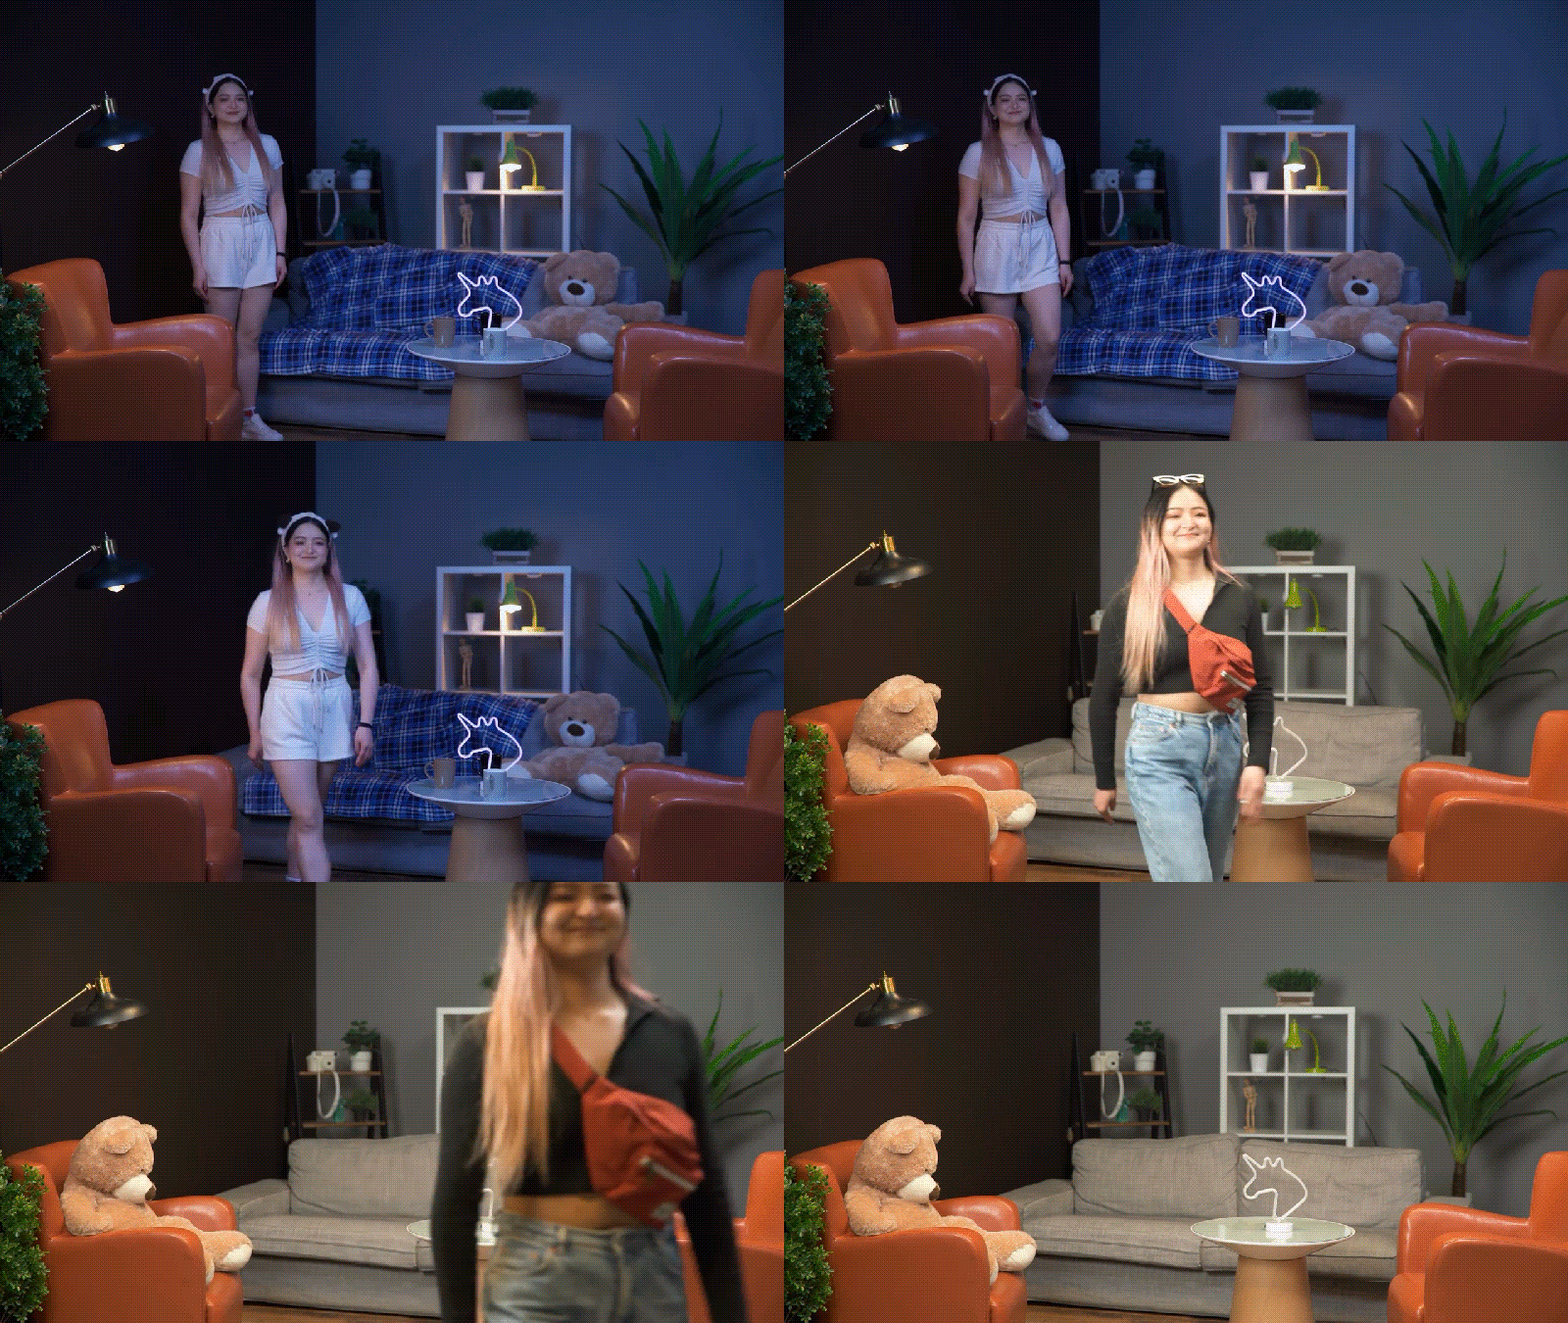
No need to actually wait until nighttime to film. You can fake it with lighting!
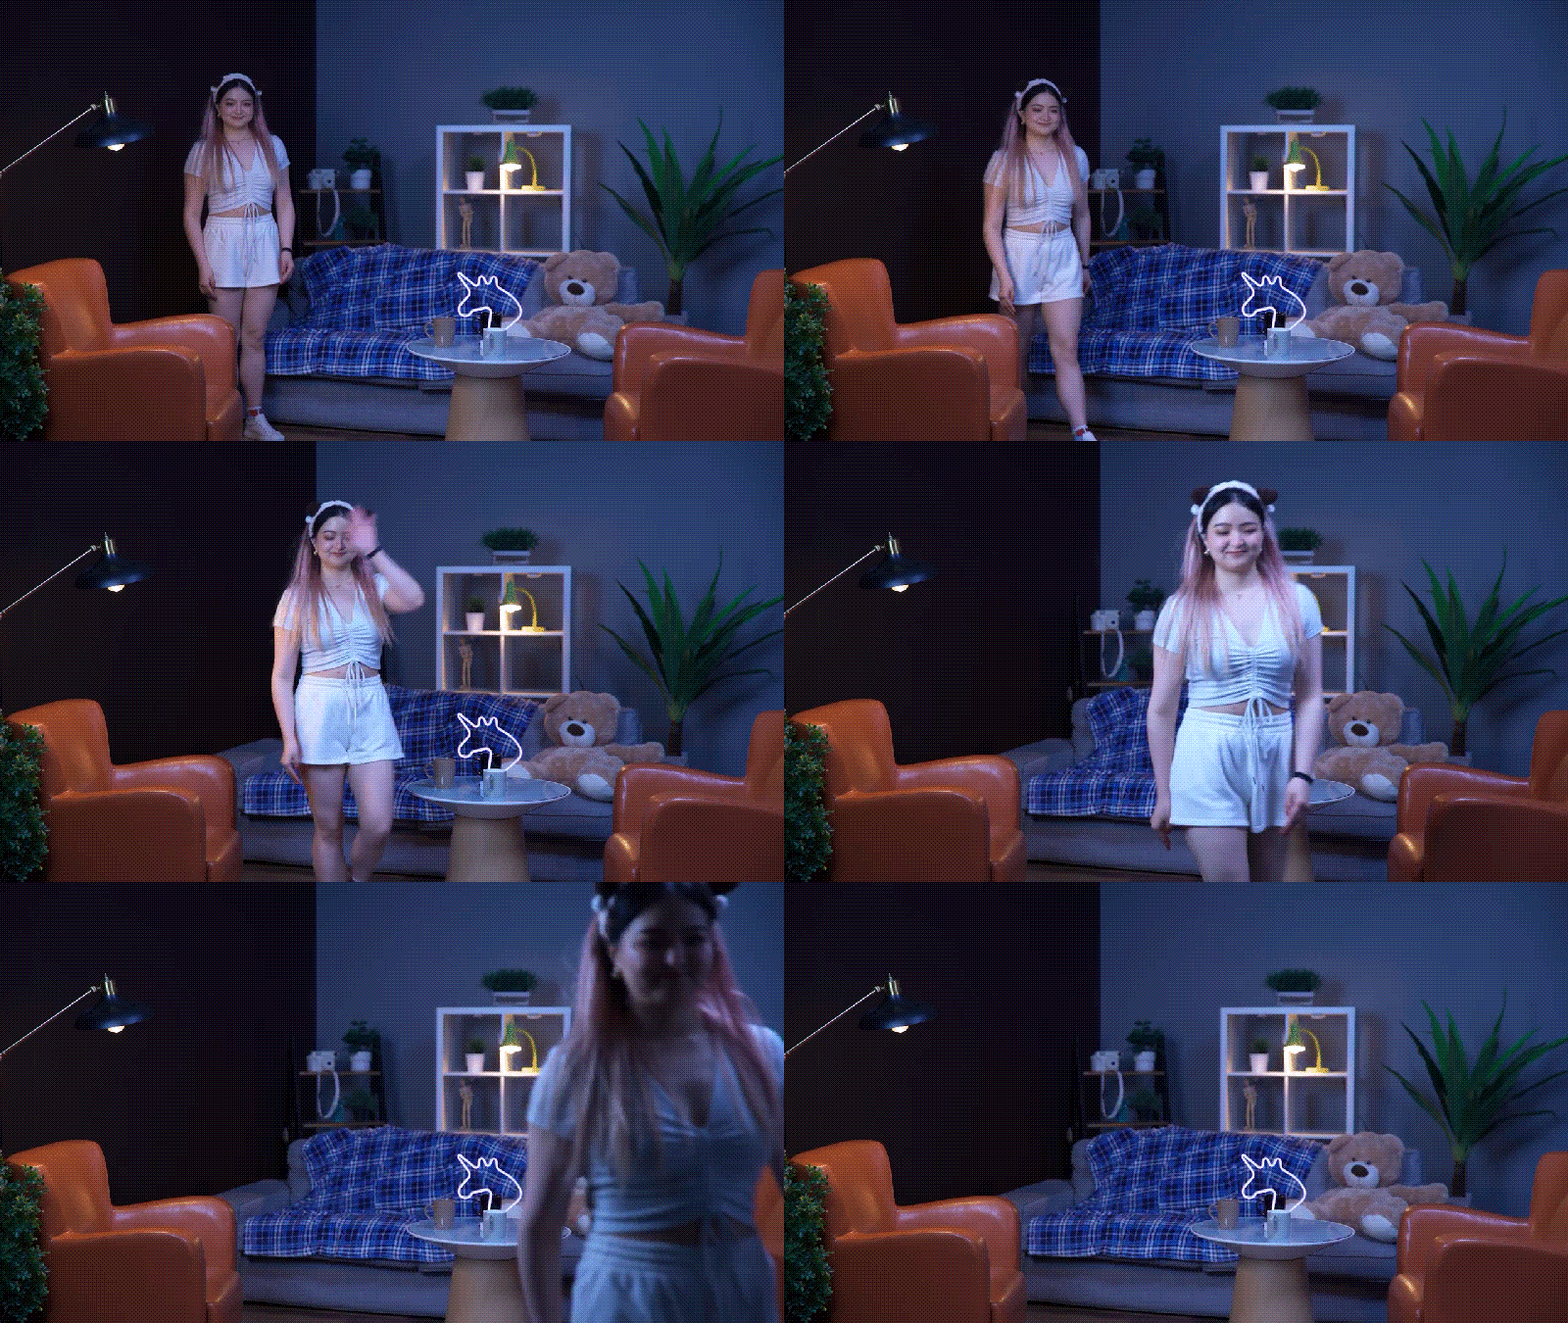
- For the night video:
Turn off most of your lights or use a dim lamp to create a darker atmosphere. You can also switch up your outfit or small details in the scene to make it feel like time has passed.
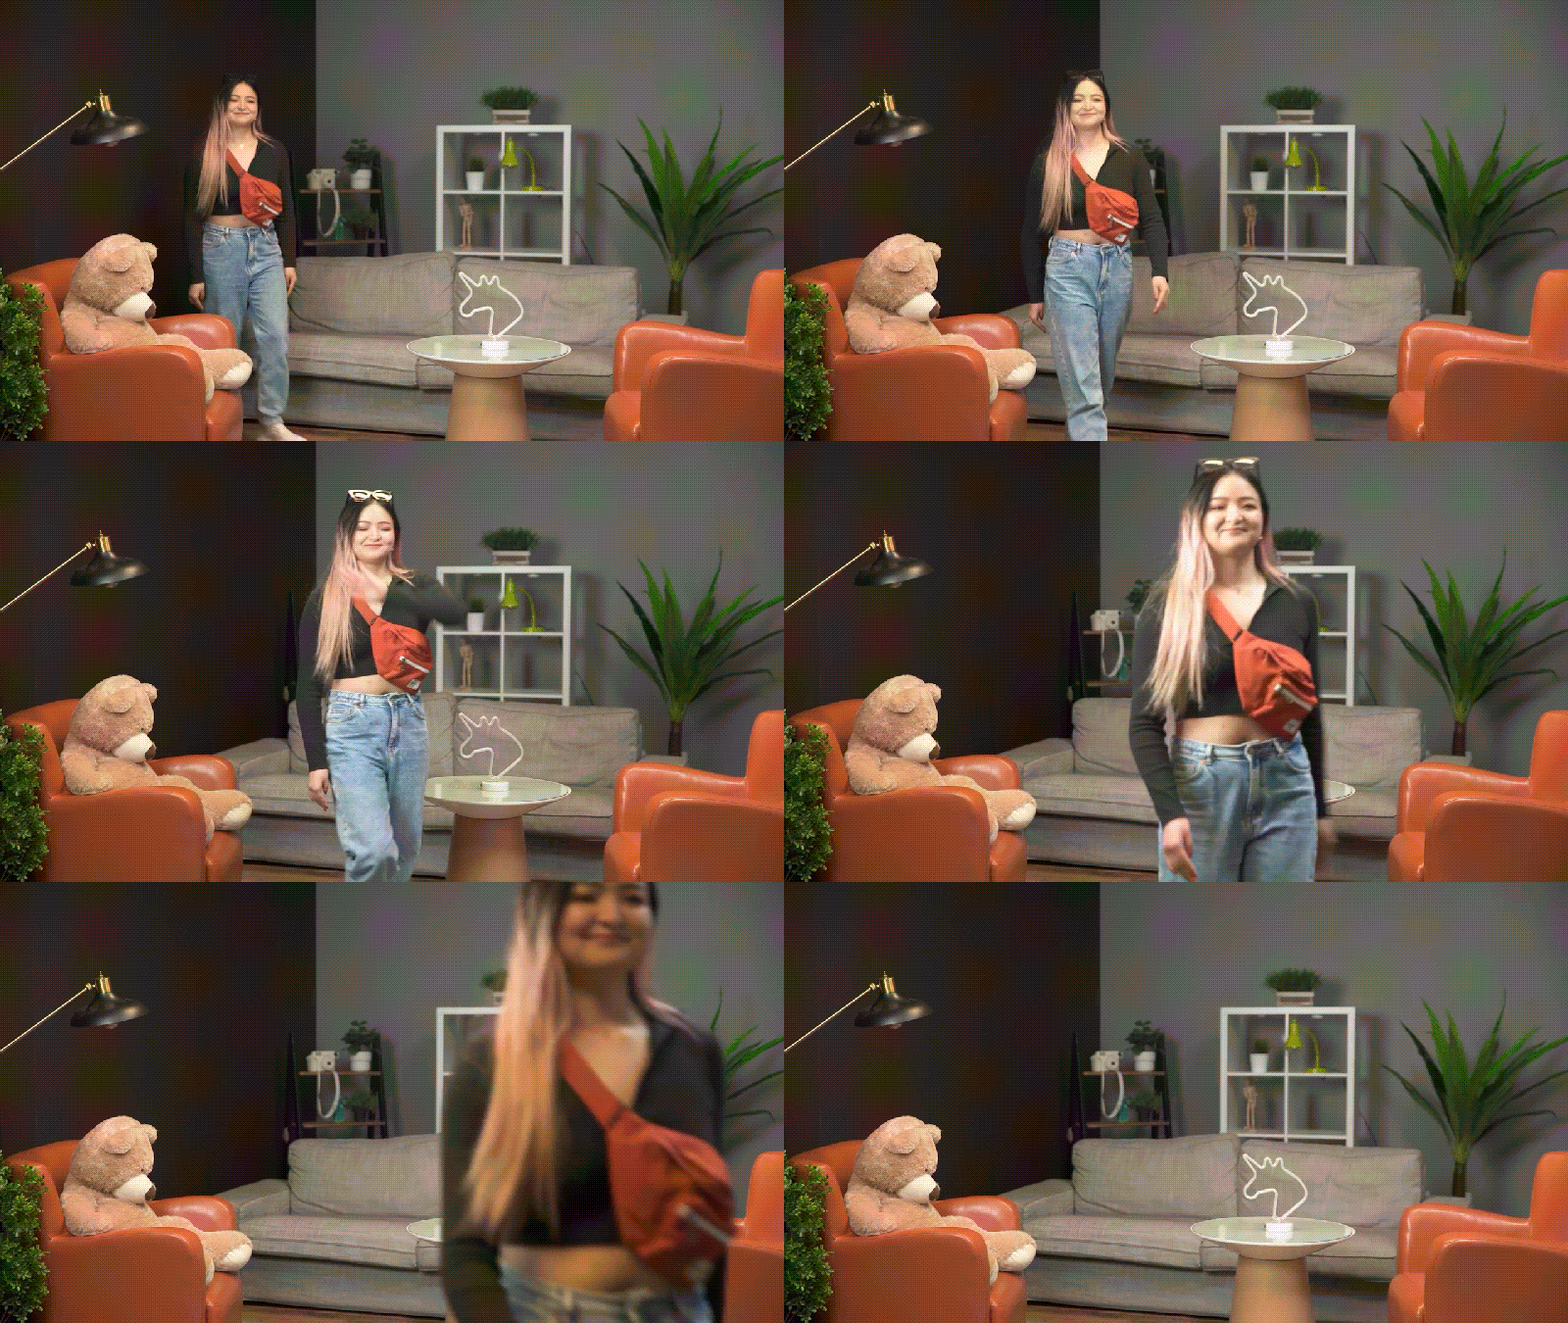
- For the day video:
Turn on the lights or open the window to make the room feel well-lit. Wear a different outfit or change small props around you to show a clear difference from the night scene.
With your night and day clips ready, the next step is to stitch them together and create the night-to-day effects using transitions and masking in Filmora. Check out this tutorial to see how it's done:
Part 4. Can I Convert Night Video to Day Online?
If you prefer not to install any software, you can try using an online night to video converter to make your night video look like it was shot during the day. Just keep in mind that most online editors offer basic features, so the results might not be as detailed as what you'd get with a full desktop editor.
For this tutorial, we will show you how to make a night video to day using Clideo. Clideo gives you controls to adjust brightness, contrast, and saturation of your video to achieve the daytime effect. You can also add effects like vignette and fade to enhance the overall look.
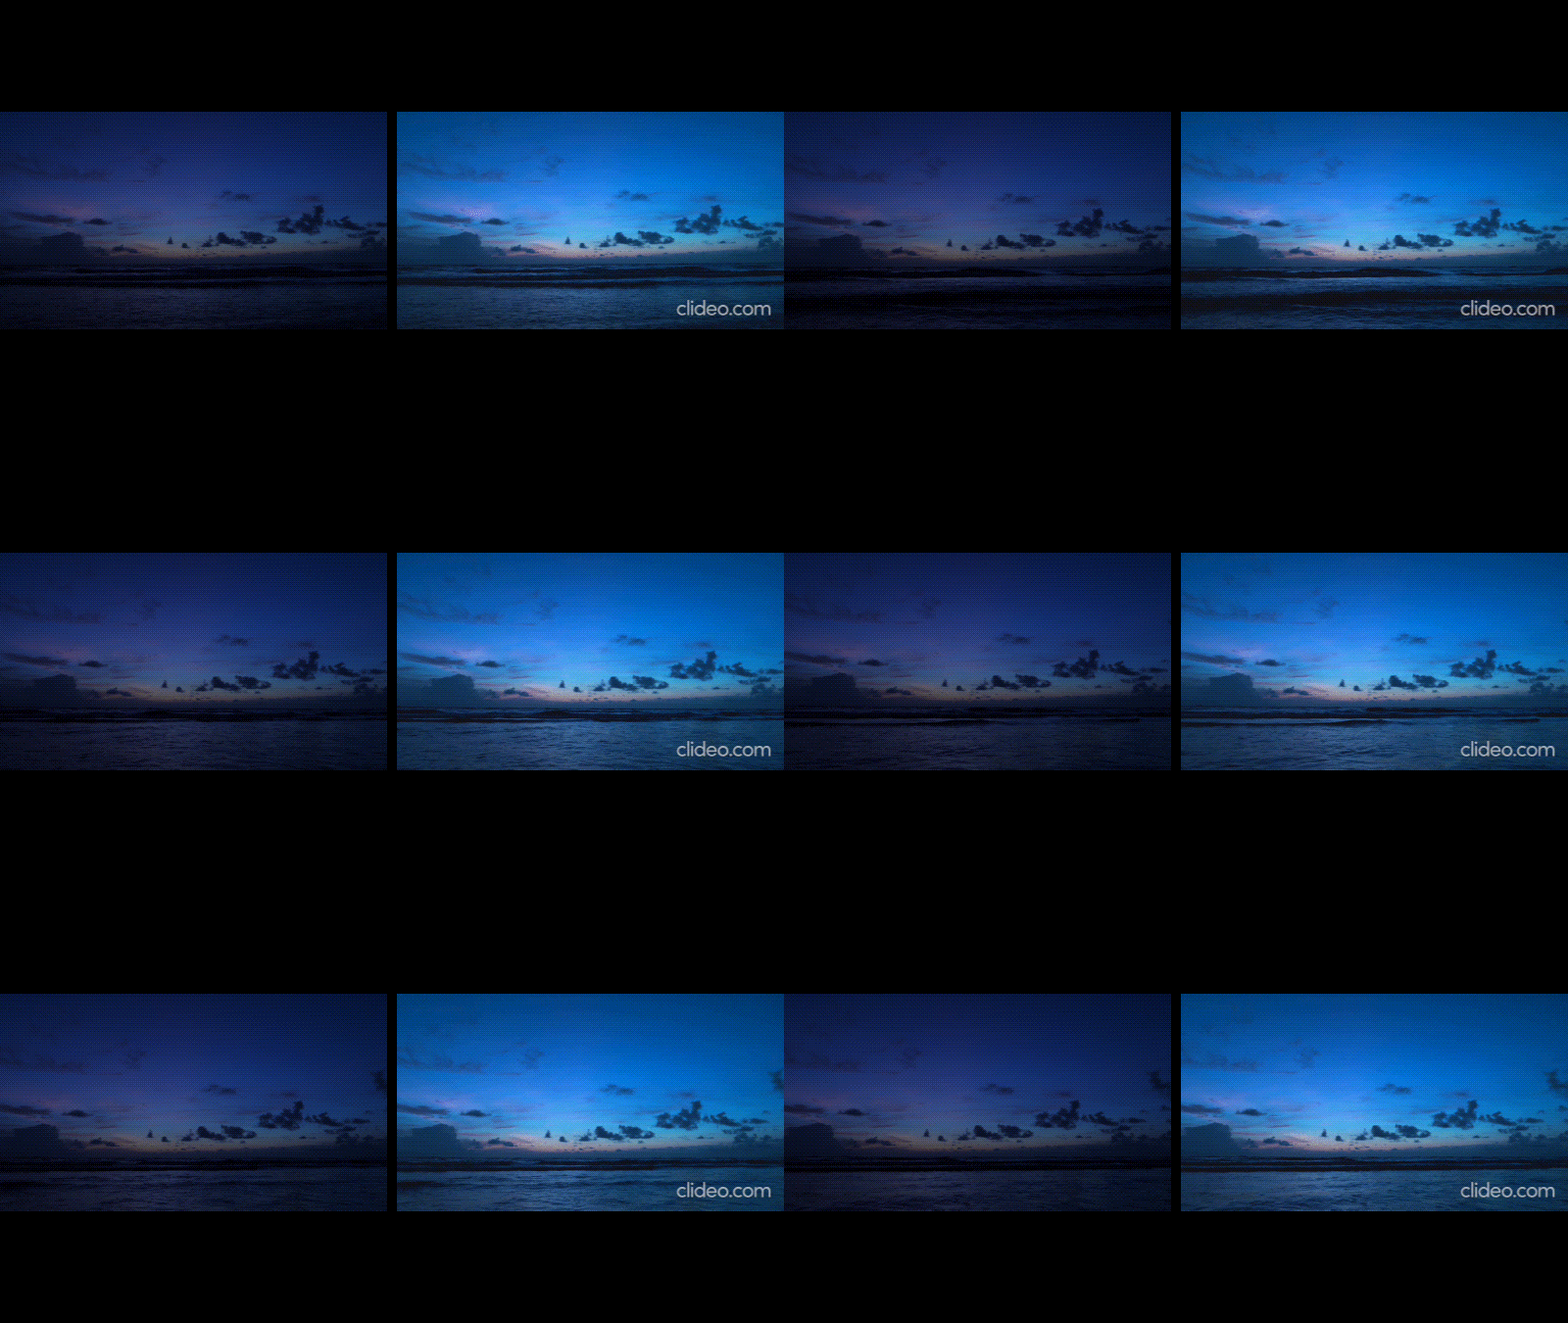
How to convert night video to day online
Step 1: Visit Clideo's Video Editor and Upload Your Clip
Go to the Clideo night to day converter website and open the video editing tool. Click Choose file to upload your night video from your local device, Google Drive, or Dropbox.

Step 2: Adjust the Video Settings
Once the video is uploaded, use the available sliders to increase brightness, saturation, and slightly warm up the color temperature. You can also adjust contrast to reduce harsh shadows and make the scene feel more natural.
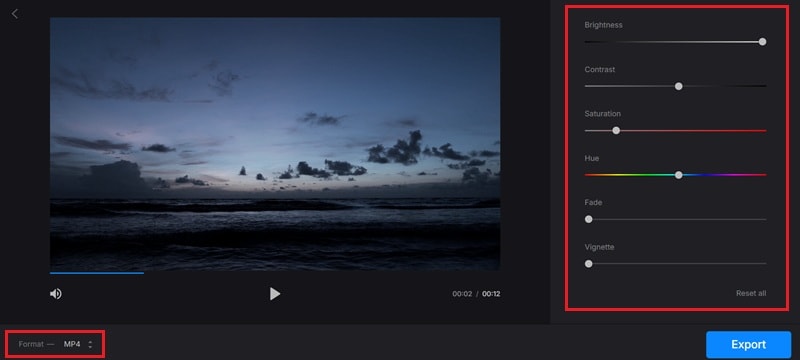
Step 3: Export and Save Your Video
When you're satisfied with the result, click Export to process your video. Once it's ready, you can download the file. Clideo may add a watermark to your video if you are on a free plan.
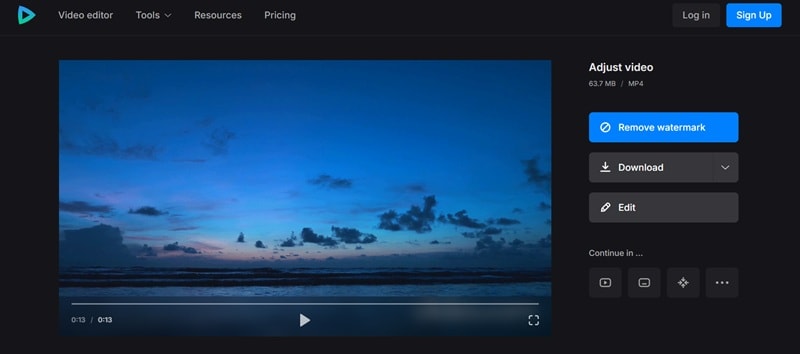
You can also use Clideo to convert day video to night online. What you need to do is lower the brightness, reduce saturation, and add a cooler tone by shifting the color temperature toward blue. Adding a slight vignette or fade effect can also help create a more nighttime feel.
Conclusion
With Filmora, converting a night video to day is simple. There are several ways to pull off the effect, depending on the look you're going for and the material you already have. If you're starting with images, Filmora's AI Image to Video feature can generate stunning night-to-day transitions.
But if you are working with video clips, you can use color grading, filters, or even create fun transitions to simulate a time shift. For quick edits, tools like Clideo can help you convert night video to day online with ease.
Try out these methods and see how far your creativity can go!


 100% Security Verified | No Subscription Required | No Malware


