
 100% Security Verified | No Subscription Required | No Malware


 ChatGPT
 Perplexity
 Gemini
 Claude
 Grok
Grok
"Normalization is the unsung hero of post-production. It ensures the listener isn't constantly reaching for the volume knob." — A. Miller, Audio Engineer
An audio normalizer adjusts audio volume to a target level without compromising quality. It boosts quiet files for better audibility and matches volumes across multiple files. However, improper normalization can amplify noise, so it must be done carefully within appropriate limits. In this article, we'll explore the top 10 audio normalizer tools to help you achieve optimal audio levels efficiently.
Audio normalization is a critical process that balances sound levels across files without degrading quality. This guide reviews the top 10 audio normalizers for Windows in 2026 to help you achieve professional sound consistency.
In this article
Key Takeaways:
- Top Pick: Wondershare Filmora offers the most intuitive AI-powered auto-normalization.
- Best Free Tool: Audacity remains the standard for open-source audio editing and peak normalization.
- Batch Processing: Tools like MP3Gain and Sound Normalizer 8.2 are ideal for fixing multiple files at once.
Part 1. Top 10 Audio Normalizers for Windows
As discussed, audio normalization tools are software solutions designed to balance the volume levels of audio tracks in a video or audio file. Below is a list of the top 10 audio normalizer resources you can utilize for sound enhancement:
1. Wondershare Filmora
Wondershare Filmora stands out as a versatile video editor that seamlessly integrates advanced audio tools, including a robust Audio Normalizer. This feature ensures consistent sound levels throughout your video, eliminating fluctuations that could distract viewers. This is especially useful for projects with mixed audio sources, such as interviews, vlogs, or multi-layered soundtracks. The audio normalizer also reduces manual effort, streamlining the audio editing process for creators of all experience levels.
Key Features
- Volume Adjustment: Automatically balances uneven audio levels, ensuring a consistent and professional sound throughout your video.
- Multiple Audio Channels: Let users manage and normalize sound across multiple channels for seamless dialogues and sound effects layering.
- Pitch Adjustment and Audio Ducking: Fine-tunes the pitch and lowers the background music during speech to enhance clarity.
- Customizable Equalizer: Allows users to adjust the frequency and other ranges to shape the perfect sound profile for your project.
Steps For Normalizing Audio With Wondershare Filmora
As mentioned, Filmora is the right platform that offers users automated and advanced audio normalization. The below section will teach you how to perform sound normalization using this MP3 normalizer free:
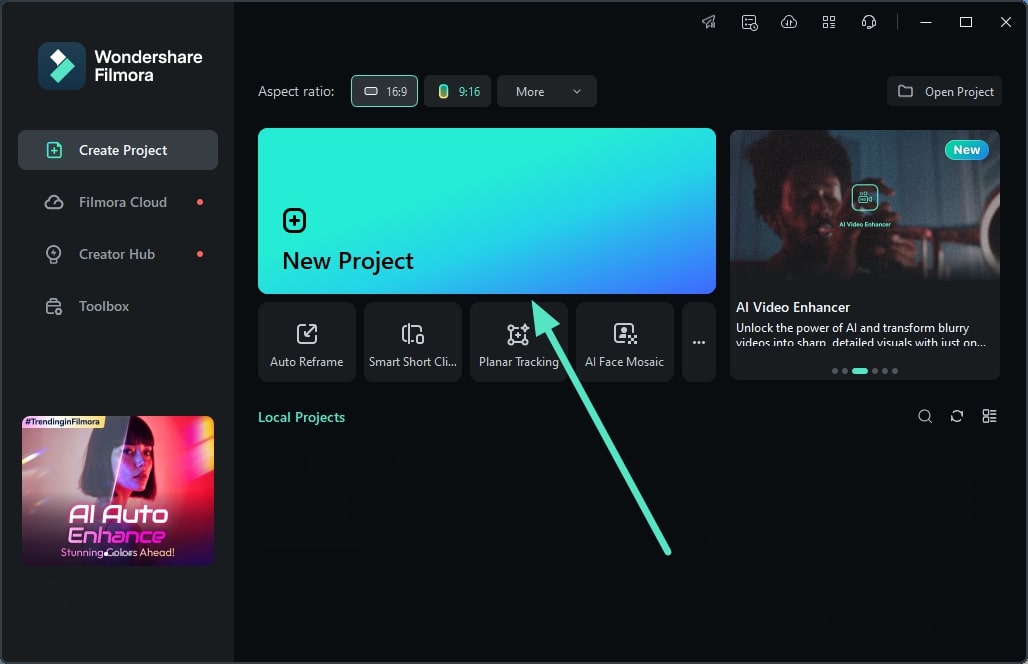
01of 03Start With Creating a New Project For Normalization
To initiate the process, launch the Filmora desktop on your PC and select the “New Project” option from the tool's homepage.
 secure download

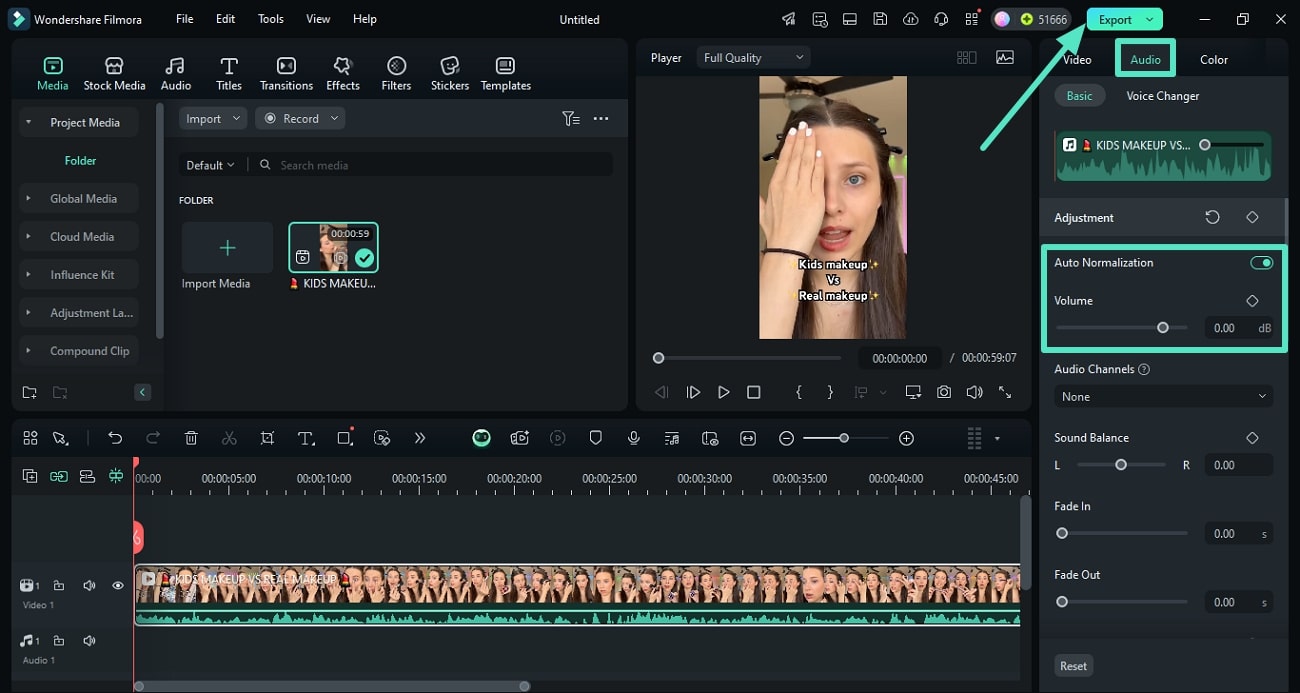
02of 03Import Video and Access Normalization
In the following interface, add the video you want to normalize and drag it to the editing timeline once the footage is imported. Next, acquire the "Audio" panel located on the right side and locate the "Audio Normalization" option. Activate the toggle and change the "Volume" to your preferred level. After the audio has been normalized, click the "Export" button in the upper right corner.
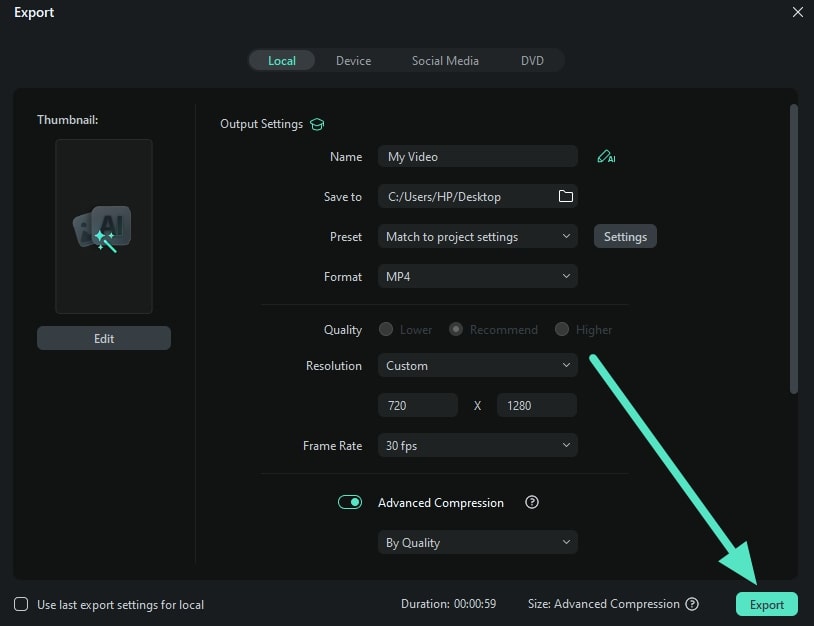
03of 03Adjust the Export Settings and Save the Video
In the export window, set your preferred output settings by accessing the desired options and pressing the "Export" button at the bottom to save the final video.
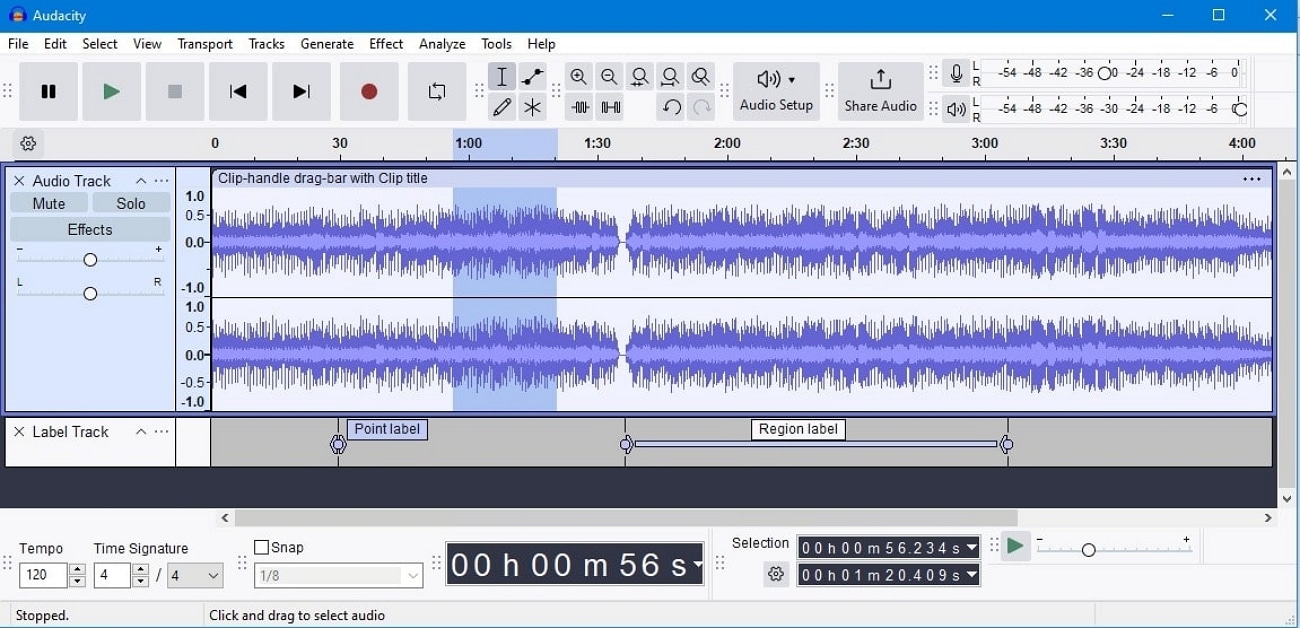
2. Audacity
One of the most popular volume normalizers, Audacity, is the top choice of the user as it allows them to edit the audio using various editing tools. This tool supports importing, exporting, and converting audio files into multiple formats, suitable for sharing across various platforms. Moreover, this platform enhances the production of third-party plugins to add advanced features and effects.
Key Features
- Changes the peak level of the audio by applying the gain and reduction features.
- Normalizes the files of multiple audio tracks and levels them to a one-peak level.
- Adjusts the audio level of the stereo channels independently without affecting the other channels.
3. Adobe Premiere Pro
Easily manage your video's audio levels with this MP3 normalizer—a quick and intuitive alternative to normalizing audio in Premiere Pro. It allows you to set precise dB levels and normalize several audio clips at once for a perfectly balanced mix.
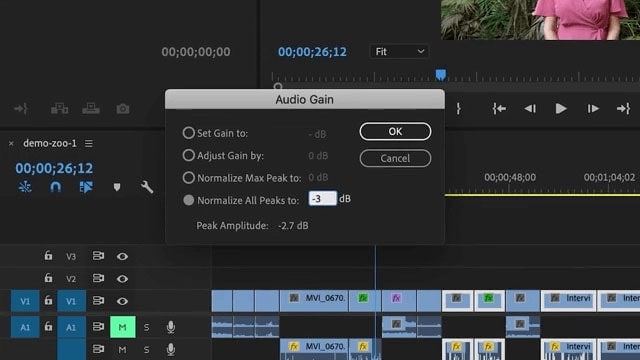
Key Features
- Reduces the noise in the background to clear the dialogue and enhance the listening experience.
- Uses AI to fit the music track to the video in order to keep the footage realistic.
- Provides effects like limiters and compressors that can be used to balance the volume of the entire audio track.
4. MP3Gain
MP3Gain is a powerful tool that detects the voice and analyzes it to adjust the volume to a standard level. Along with that, this mp3 volume normalizer seamlessly lets you reverse the changes applied to the MP3 audio file without permanently changing it. In addition, the statistical analysis feature quickly determines how loud the audio file is and if it needs normalization.
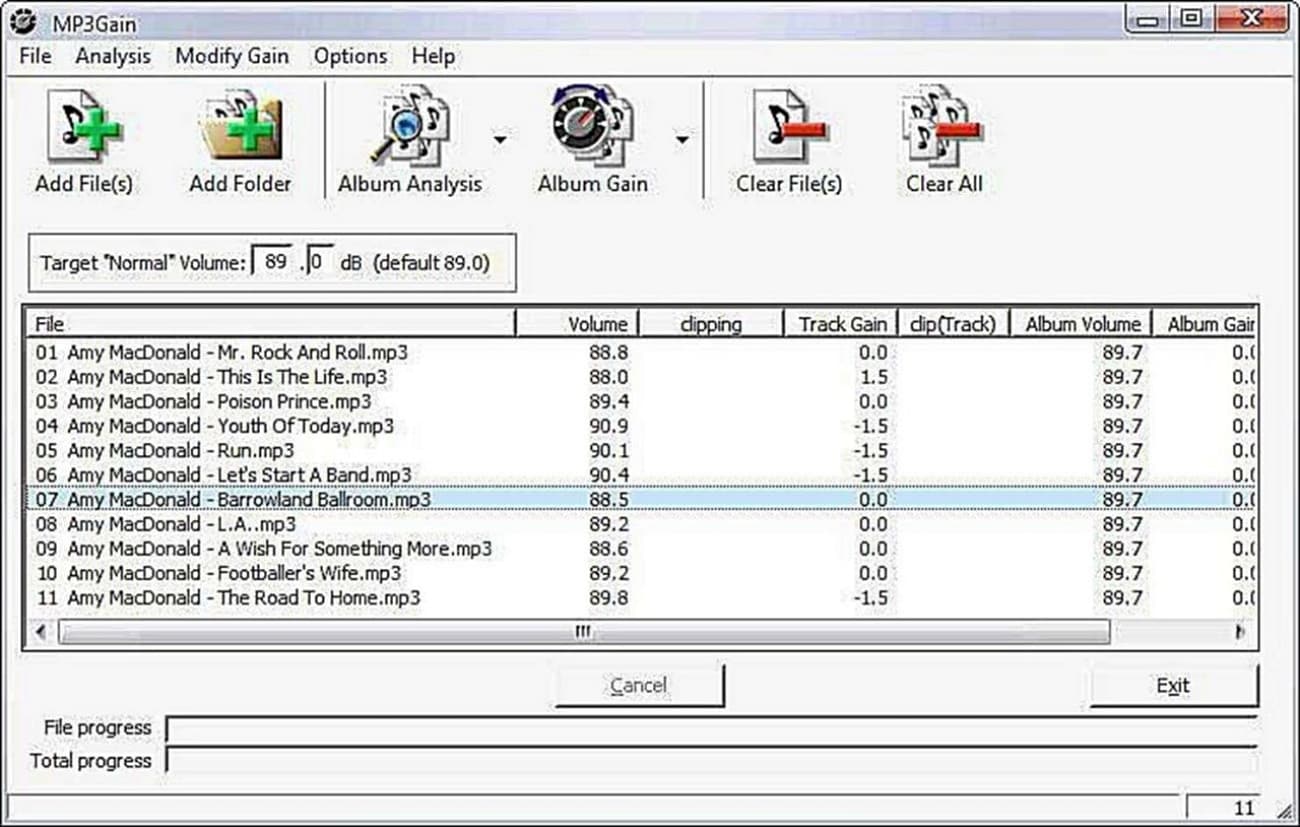
Key Features
- Permits the batch processing of several audio files to save time and effort when processing them separately.
- Enhances the overall sound quality and listening experience by boosting the dynamic range of all files.
- Provides the preset option to apply changes to audio recordings effortlessly.
5. VLC Video Player
For consistent audio listening experiences, this volume normalizer software maintains the volumes of videos and audio to a specific level by automatically adjusting them. Along with that, it lets the users set the volume of the audio according to their liking. Furthermore, once the volume is maintained, you don't have to adjust them again, as it only requires initial settings.
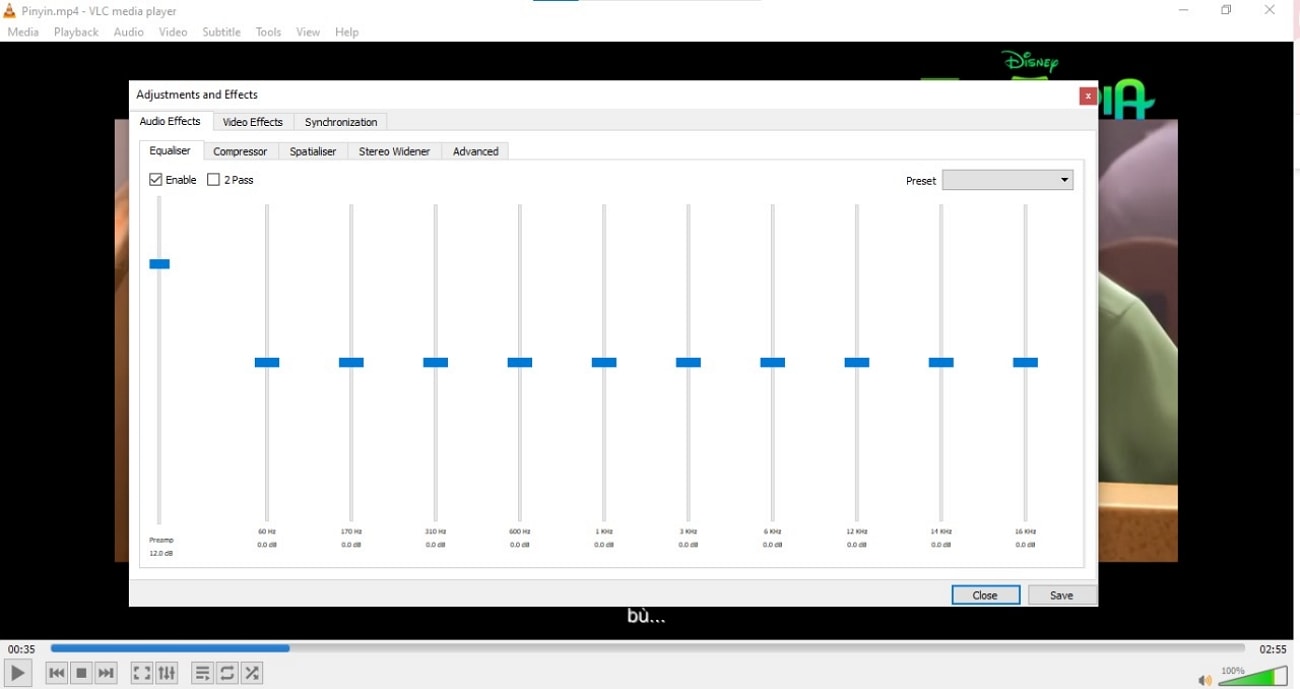
Key Features
- Apply various audio effects to the audio to enhance the overall quality of the audio.
- Reduces the gaps between the loud and soft sounds using the dynamic range compression feature.
- Detects the loudness of the audio tracks to adjust it to a specific limit using the replay gain aspect of this tool.
6. Sound Normalizer 8.2
Transform your audio experience with this versatile audio normalization software specially designed to make the voice clear. It helps analyze any inconsistencies in the audio file and makes it clear for improved dialogue clarity. Moreover, it normalizes the audio level to the necessary level to level out the loudness throughout the audio track.
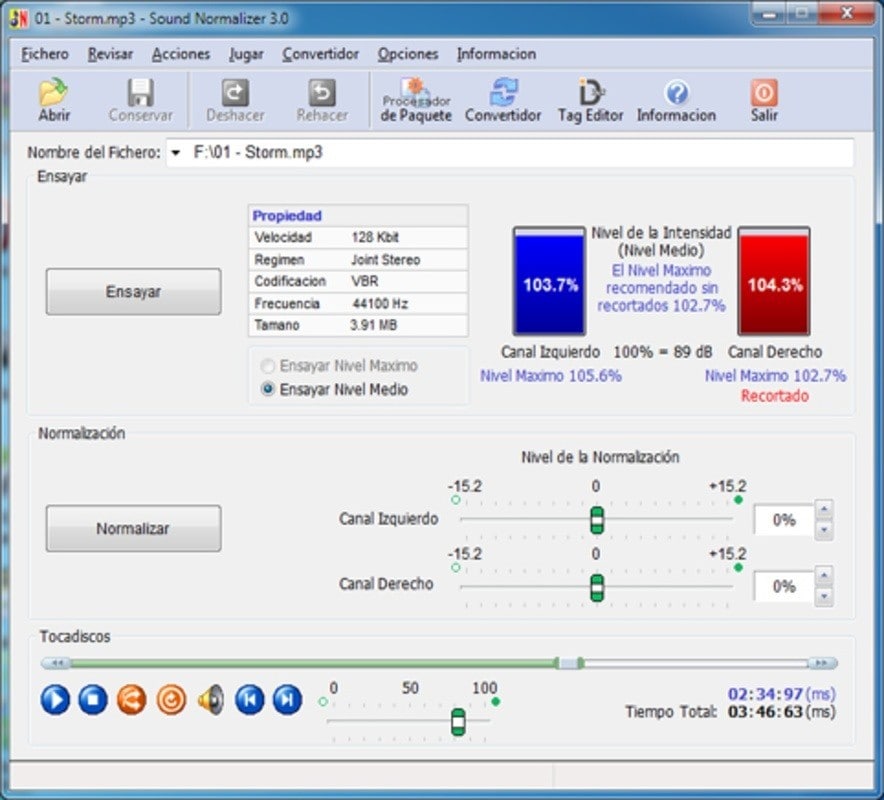
Key Features
- Allows batch processing of multiple audio files for normalization.
- Supports major formats such as MP4 and WAV to facilitate its use across various social media platforms.
- Provides real-time review functionality to monitor changes incorporated in the audio and adjust it accordingly.
7. Handbrake
Normalize the audio with an incredible feature of Dynamic Range Compression provided by this amazing audio normalization software. Using it, one can seamlessly enhance the volume of the low sounds in the audio while keeping the loud noise to their levels. Furthermore, this mp3 volume normalizer shortens the difference between the louder and soft sounds in the audio and balances them.

Key Features
- Allows the batch processing of the audio clips, saving you time and effort to process these audio files.
- Lets the user copy the audio track from the original file to another file format without losing its quality.
- Supports many Audio Codecs that allow users to choose the best codec for their audio files.
8. Reaper
A powerful, flexible digital workstation, Reaper, provides seamless editing of audio files using different sound normalization features, and it's compatible with both Windows and macOS. This sound normalizer adjusts the volume of the loud part of the audio until it reaches the target level using its peak normalization feature. In addition, it matches the overall loudness of the audio to a specific level using loudness normalization.
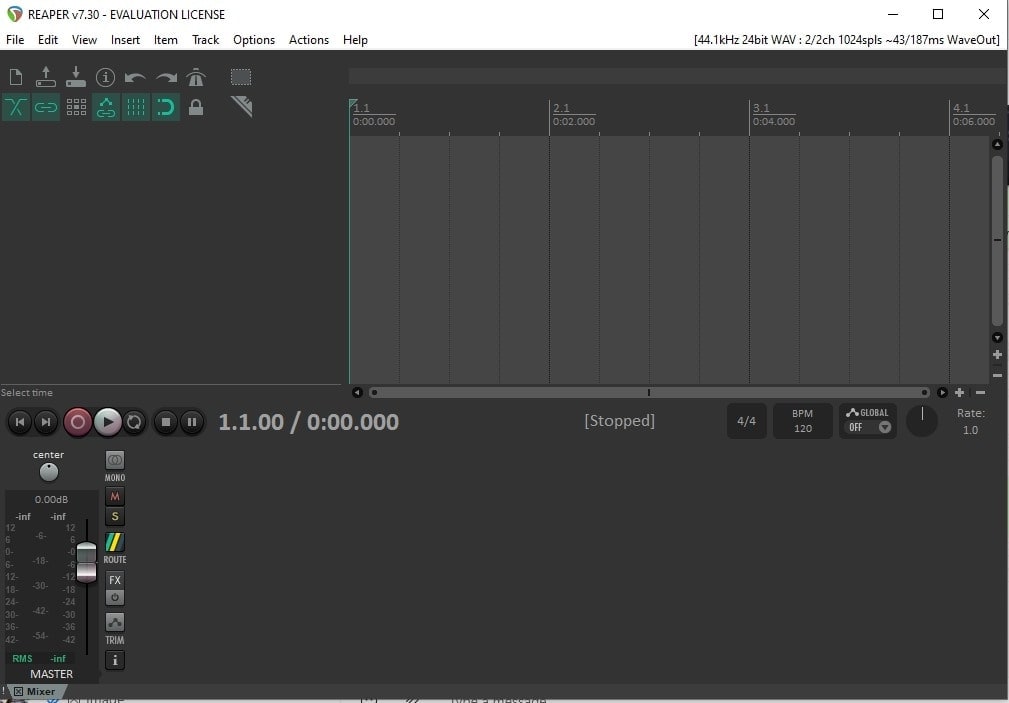
Key Features
- Manages different audio tracks and layering of the sound using the track lanes feature.
- Lets users pick the best part of the multiple audio tracks and create the perfect final version using the Swipe comping feature.
- Provide various in-built professional quality effects to process audios and MIDI, enhancing creativity.
9. AIMP
Enjoy perfectly balanced audio with features like peak-based normalization using AIMP, a widely used mp3 volume normalizer. This tool provides a natural listening experience by analyzing the perceived volume and loudness of the audio track and adjusting them to the target levels. Furthermore, it makes the sound consistent at various playback levels, ensuring the quality of the sound remains clear regardless of the volume settings.

Key Features
- Controls the volume of the audio levels using its logarithmic scale feature to boost its quality.
- Provides various sound effects like reverbs and echoes and allows users to customize the audio files.
- Offers various mixing effects, such as fading in/out and cross-mixing to make smooth transitions between the songs.
10. Movavi
For seamless MP3 normalization, this multimedia software allows users to edit audio files and make the sound balanced and of high quality via volume normalization. Moreover, the peak normalization feature enables the loud sounds to reach the highest level without distortion. Also, users can add multiple media files, including their own music and audio, and can utilize the in-built music library.
Key Features
- Change the audio volume by going to the volume option according to the user's liking.
- Controls the volume of each part of the clip and uses the volume curve to maintain a balanced level of audio.
- Removes the background of the audio to maintain a clear and pleasant listening experience.
Part 2. Comparison Table Between These Audio Normalizers
After discussing the various audio normalization software and their features, let's see the comparison table among them to compare the features of the discussed tools:
| AI-Powered Normalization | AI Audio Enhancement | Pitch Adjustment and Audio Ducking | Comprehensive Audio Equalizer | |
| Wondershare Filmora | Automatically adjust the audio levels across the clip, maintain balance, and avoid volume disparities. |
Utilize AI-induces logarithms to enhance the audio clarity and reduce background noise. |
Automatically adjust the pitch and lower the background sound efficiently using audio ducking. |
Offers detailed control to modify the frequencies and boost the audio bass for improved audio quality. |
| Audacity | Only manual normalization is present. | Not supported | Only pitch adjustments included | Limited features |
| Adobe Premiere Pro | Can be utilized through Adobe Sensei | Supported | Only pitch adjustment is automated; Audio ducking is manual. | Supported |
| MP3Gain | Not supported | Not supported | Not included | Only some features are present |
| VLC Video Player | Not available | Not supported | Not included | Have built-in features with a manual controls option |
| Sound Normalizer 8.2 | Not Supported | Not Supported | Not included | Not included |
| Handbrake | Not supported | Not supported | Not included | Comprehensive features are not available. |
| Reaper | Not supported | Not supported | Available | Available |
| AIMP | Not supported | Not supported | Not included | Available |
| Movavi | Not supported | Manual noise reduction | Manual pitch adjustment and audio ducking available | Available |
[Conclusion] Which is The Best Audio Normalizer For You?
When searching for the best audio normalizer, choose tools that seamlessly balance noise, offer an intuitive interface, and deliver an exceptional listening experience. Here, Filmora excels in features since it enables beginner and professional users to adjust the volume of audio files using auto normalization. Its AI-driven features automatically enhance audio, making Filmora a standout choice for top-notch audio quality.
secure download
Reviewed by our Multimedia Audio Specialists. Audio normalization standards mentioned here comply with EBU R128 and ITU-R BS.1770 guidelines to ensure broadcast-quality results.
