Capturing videos on your iPhone has become second nature. From spontaneous moments to important events, your iPhone makes it easy to record life as it happens. Yet, these recordings often come with a few seconds of unnecessary footage at the beginning or end, like those moments when you accidentally press “Start” a bit too soon or forget to hit “Stop” in time.
That’s why it’s important to cut out part of a video on the iPhone to turn these raw clips into polished, shareable memories.
Fortunately, trimming videos on your iPhone is simple and doesn’t require any extra software. Built-in tools like the Photos app and iMovie allow you to cut out unwanted sections with ease.
In this guide, we’ll cover different methods on how to remove part of a video on an iPhone. You just need a few minutes to follow these steps. So, keep reading to find the best way to perfect your footage.

In this article
Part 1. Cut Out Parts of a Video Using the Built-in Photos App [Fast and Quick Method]
If you want a quick way to trim videos on your iPhone, the built-in Photos app is a simple yet effective tool. You may want to cut out a few seconds at the start or end, or you need to remove a dull part of the video. With Photos, you can easily make these quick adjustments without needing additional apps. Although the Photos app isn’t an advanced editing tool, it’s ideal for fast, straightforward cuts.
Step-by-Step Guide:
Here’s a quick step-by-step guide to help you on how to cut a section of video on iPhone using the Photos app:
Step 1.
Open the Photos app and locate the video you’d like to trim.

Step 2.
Tap on the video, then select Edit in the top-right corner.

Step 3.
Adjust the yellow handles on either side of the timeline to set your desired starting and ending points.

Step 4.
Once you’re satisfied with your selection, tap Done and choose Save Video or Save Video as New Clip.

Pros and Cons:
| Pros | Cons |
| Easy to use for basic editing tasks. | Lacks advanced editing features |
| Allows for quick trims and saves. | Cannot combine multiple clips into a single video. |
| It's a free and built-in app, so no need to download additional apps | Limited control over export settings and formats. |
Part 2. How to Remove Part of a Video on iPhone/iPad Using iMovie (Apple's Video Editor)
While the Photos app on iOS allows basic trimming by setting new start and end points, it doesn’t let you remove sections from the middle of a clip. If you’re looking for ways on how to edit out parts of a video on an iPhone, iMovie for iOS is a better option. This free, user-friendly video editing tool enables you to remove segments like dead time or sensitive information within the video, offering more advanced features to enhance your edits.
Step-by-Step Guide:
Here’s a step-by-step guide on how to cut out parts of a video on an iPhone in iMovie:
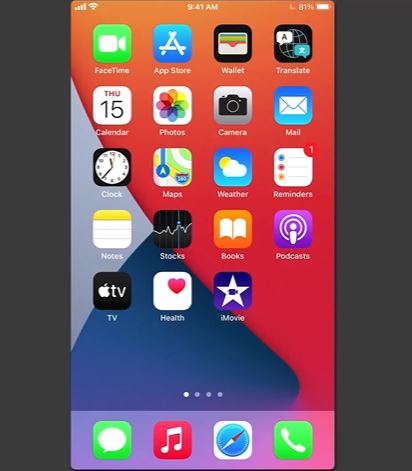
Step 1. Launch iMovie
Open iMovie on your device, tap the Plus icon to create a new project and select Movie to start editing. Choose the video(s) you want to cut, tap the checkmark, and select Create Movie to add the clip to the timeline.

Step 2. Position the playhead
Move the play head to the beginning of the part you want to cut out. Tap the video clip to select it, then tap Split under the Cut tab.

Step 3. Split the End of the Section:
Move the play head to the end of the segment you wish to remove, tap the clip again, and tap Split to separate it from the rest of the footage.

Step 4. Delete the Segment
Select the section you just isolated, and tap Delete to remove it from your timeline.

Step 5. Preview and Save
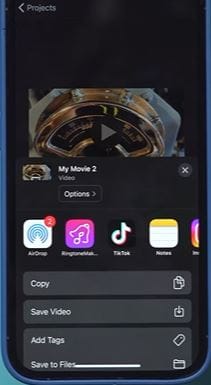
Tap Play to review your edited video. When you’re satisfied, tap Done. To save it, choose Save Video to export it to your preferred resolution.
Why is iMovie Better than the Photos App?
When it comes to cutting out part of a video on the iPhone, iMovie and the Photos app both have these video-editing capabilities, but they serve very different purposes. Here’s why iMovie stands out as the superior choice for those wanting to create more polished, cinematic videos:
- iMovie offers timeline-based editing, transitions, and audio fine-tuning. Photos app only allows basic trims and filters.
- iMovie has multiple resolution options, ensuring high quality across platforms. Photos app has limited export choices, reducing quality.
- iMovie provides more precise control over video, with options for layering clips, text overlays, and speed adjustments. Photos lack in-depth adjustment tools.
- iMovie allows for soundtracks, voiceovers, and volume control for each clip, with smooth fades. Photos app only has limited audio controls.
Part 3. Edit Parts of a Video on iPhone/iPad Using Wondershare Filmora
While the built-in Photos app and iMovie offer basic video trimming, they fall short in advanced editing features. They provide limited options, making it challenging to create engaging, high-quality videos that truly captivate viewers. A more advanced app is essential for versatile editing and professional results. That’s where the Wondershare Filmora mobile app is helpful for you!
Filmora’s mobile app is a versatile tool that allows iPhone and iPad users to edit videos quickly and professionally. With Filmora, you can trim, split, and merge parts of a video-all with one click.
Powerful AI video editor for all creators
If you want to know how to cut parts of a video on an iPhone professionally, here’s the stepwise guide that’s perfect for anyone looking to edit videos on the go.
How to Cut/Trim Parts of a Video in Filmora
Trimming helps remove any unnecessary parts, making your video more concise and engaging. To cut or trim parts of a video in Filmora without altering the original media, follow these steps:
Step 1.
Download and install the Filmora app from the Apple App Store.

Step 2.
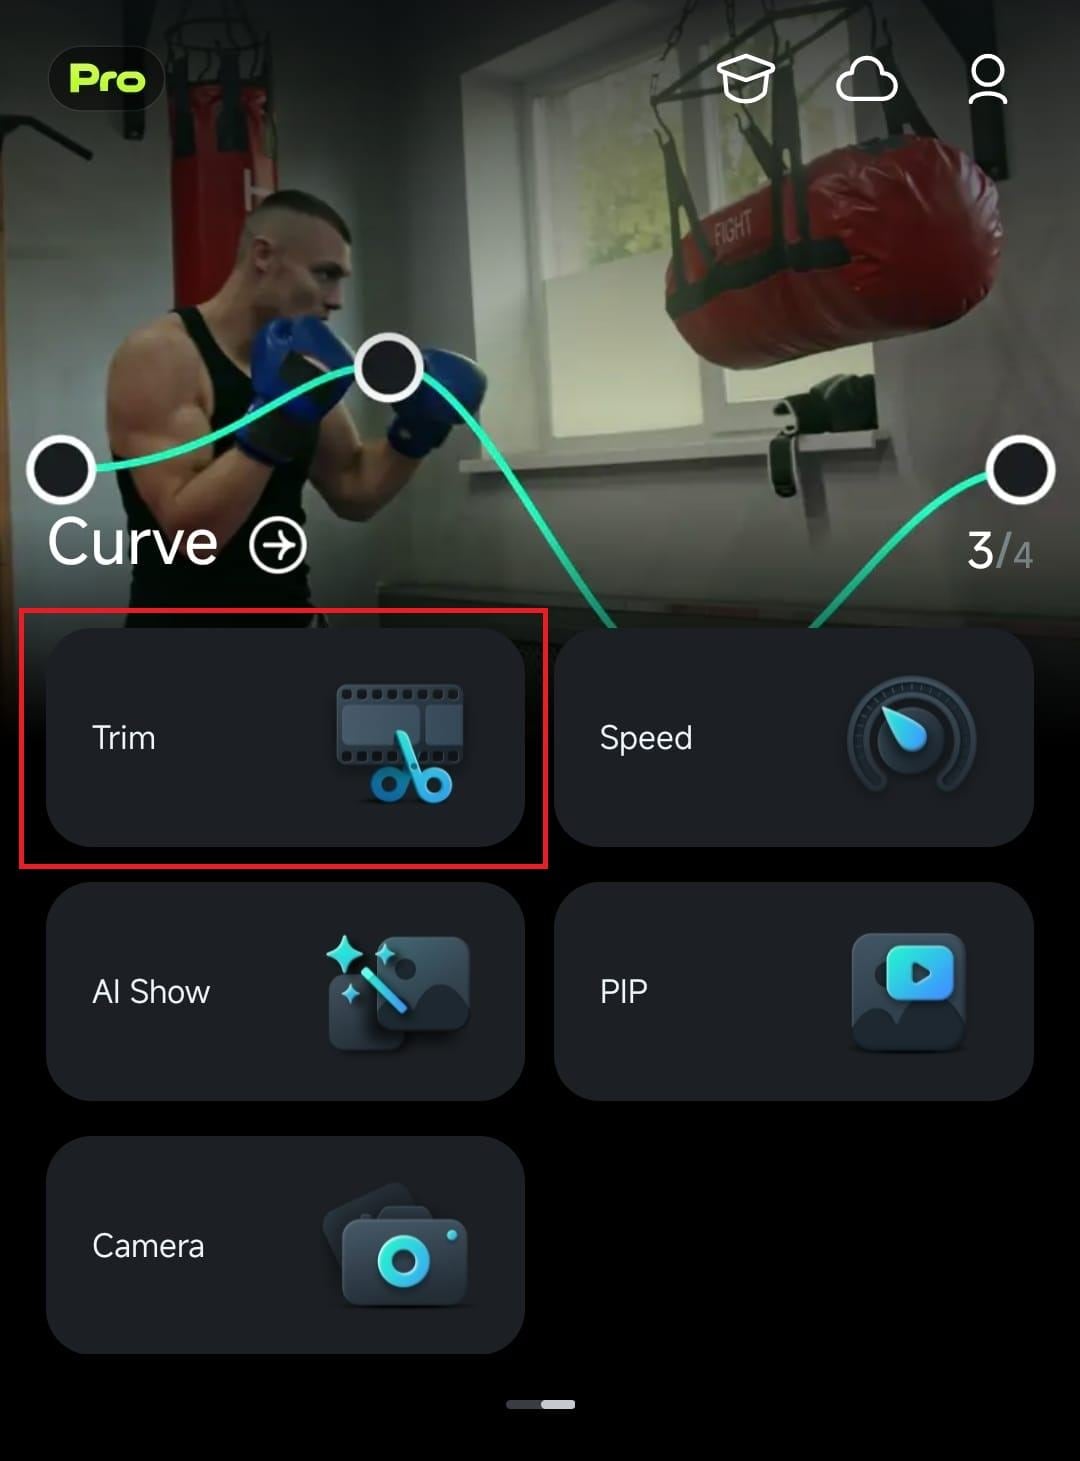
Open the Filmora app and go to the Quick Access panel. Swipe to find the Trim button and tap it. Select the video you want to edit, then tap Import to load it into the editor.
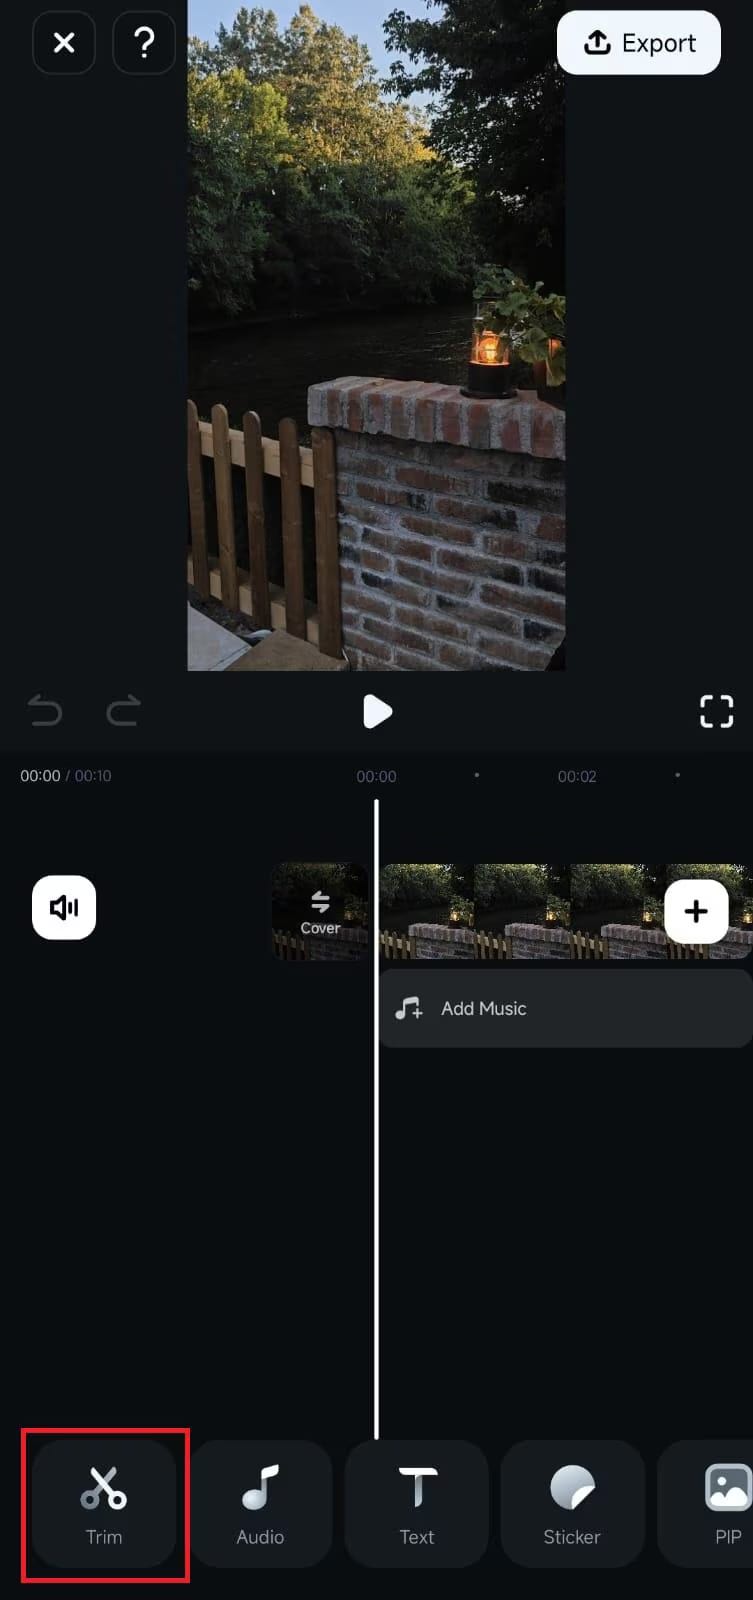
If you’re already editing in the Work Area, tap the Trim icon in the Toolbar at the bottom of the screen to open the trimming options.
Step 3.
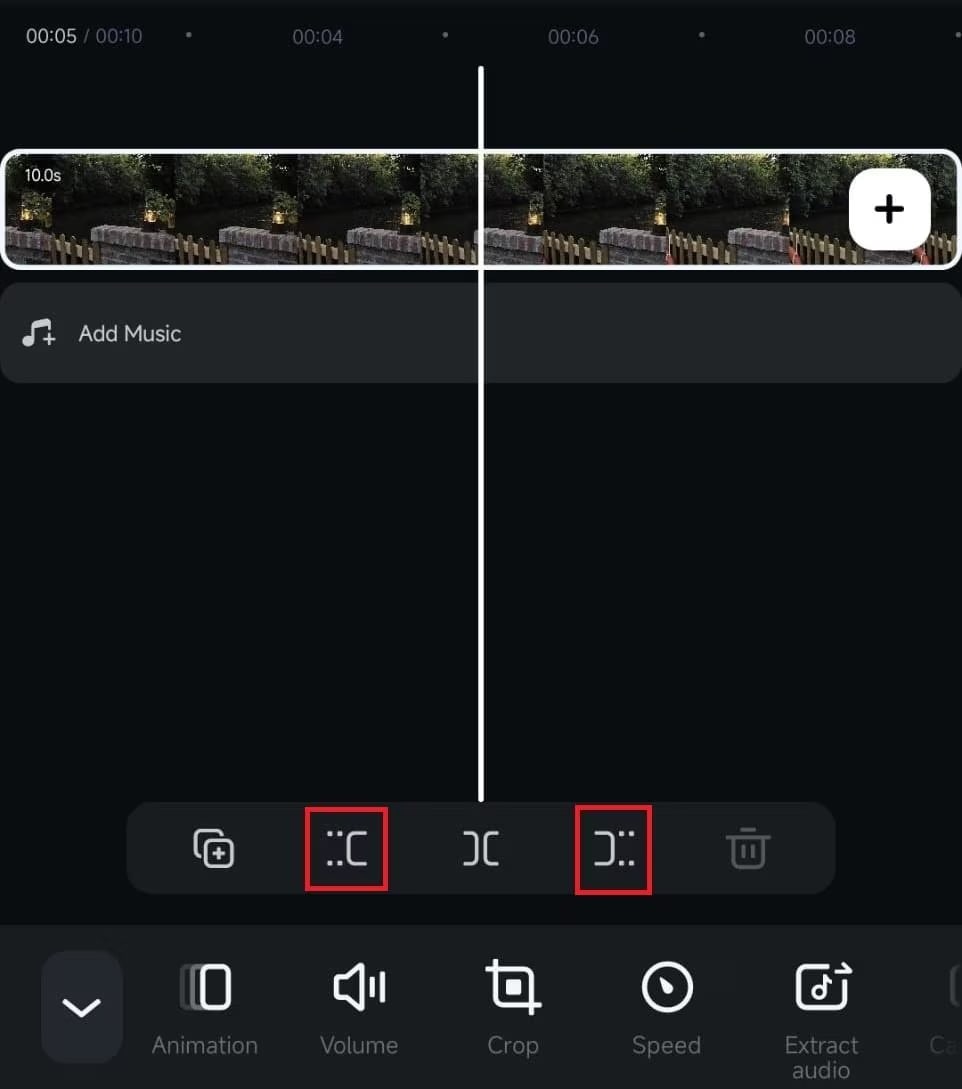
In the Timeline, press and hold the Mark In button on the left side of the clip. Drag it to the right to cut out part of a video on your iPhone from the start.

Step 4.
Press and hold the Mark Out button on the right side of the clip in the Timeline. Drag it to the left to remove extra content at the end.

You can also move the play head to the desired spot and use the Trim buttons above the Toolbar to precisely trim your clip.
Step 5.
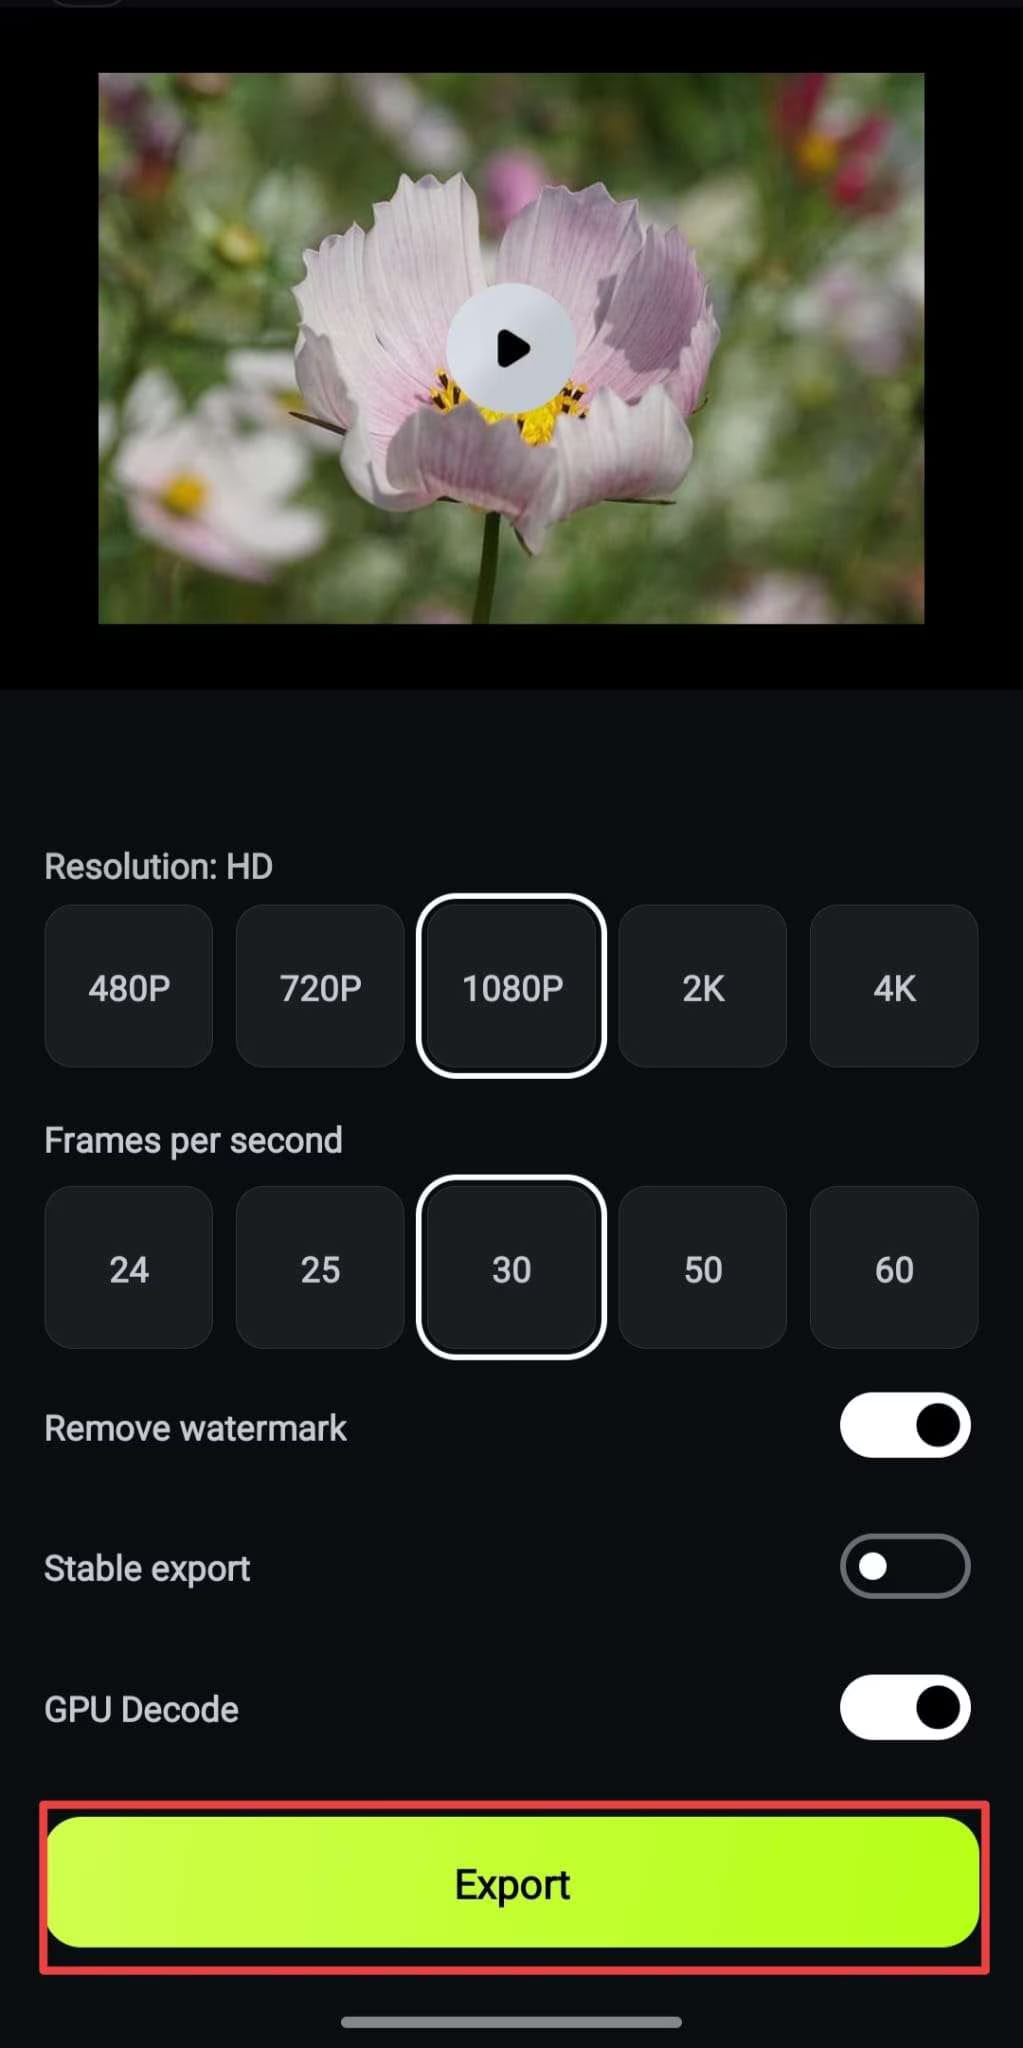
Export the trimmed video to your device or share it directly to social media.
Part 4. Why is Filmora a Recommended Choice for Your Video Editing Needs? Advantages
Now you know how to cut out parts of a video on an iPhone. However, Filmora is not limited to just trimming, splitting, and cutting. It has a wide range of advanced features and purposes apart from basic video editing. Whether you need to cut a part of the video or want to edit your videos directly from your iPhone, here’s why you should prefer it:
- Precise trimming: It allows you precise video trimming and splitting without affecting the quality of your video.
- Advanced tools: Equipped with a variety of advanced AI-powered tools that help you edit videos with just one click
- Customization: You can customize video text and title according to your choice
- Easy audio editing: High-quality audio editing tools, including volume adjustment, AI voiceovers, and AI Music
- Versatile effect: Variety of video effects, filters, and transitions
- Pre-set template: 500+ creative video templates
- Export videos in various formats and resolutions, including 4K
- Professional and high-quality results

Powerful AI video editor for all creators
Part 5. Tips and Troubleshooting for iPhone Video Editing
Common Video Editing Issues and Solutions
- Video Quality Degradation:
Avoid excessive compression during editing and export videos at the highest possible quality settings.
- App Crashes:
Close unnecessary apps to free up memory. Always update your iPhone's operating system and editing apps.
- Export Errors:
Ensure sufficient storage space on your device. Also, check for internet connectivity if cloud-based features are used.
Tips for Sharing Your Edited Videos
- Social Media Platforms: Optimize your videos for different platforms (e.g., TikTok, Instagram, YouTube) by considering aspect ratios and file sizes.
- Email and Messaging Apps: Compress your videos to reduce file size for easier sharing.
- Cloud Storage: Upload your videos to cloud storage services like iCloud or Google Drive for easy access and sharing.
Conclusion
In this guide, we've discussed various ways to cut out part of a video on the iPhone, from the basic trimming options in the Photos app to the advanced tools available in iMovie and Filmora. Whether you're new to video editing or looking to refine your skills, these apps offer a range of features to enhance your videos.
Are you confused about "how do I cut parts of a video on an iPhone" while getting professional-quality results? Then, Filmora is a highly recommended choice for you. Its powerful features make it a top pick for creating professional-quality videos. By applying the tips and techniques shared here, you can unlock the full potential of your iPhone as a video editing powerhouse.
Powerful AI video editor for all creators


