
 100% Security Verified | No Subscription Required | No Malware


 ChatGPT
 Perplexity
 Gemini
 Claude
 Grok
Grok
When you create animations, text reveals, or floating objects in video editing, you’ll often want them to appear over different backgrounds — without any visible black or white frame behind them. This is where transparent videos come in.
In video terms, a transparent background means the file contains alpha channel data — allowing parts of the video to remain see-through. This feature is essential for motion designers, YouTubers, and social media creators who work with layered graphics, overlays, or reusable animations.
In Adobe Premiere Pro (PR), exporting with transparency is a professional-level feature, but many beginners struggle with codec settings, formats, and alpha configurations. In this guide, we explain how Premiere Pro handles transparent exports and show you how to achieve the same results much faster using Filmora V15.
In this article
Transparent Video Export in Premiere Pro
Premiere Pro exports transparent videos primarily using QuickTime format paired with Apple ProRes 4444 or Animation codec — both of which support alpha channels.

Basic Steps:
- Create your animation or graphic on a transparent background.
- Open Export Settings.
- Select QuickTime as the format.
- Choose Apple ProRes 4444 or Animation codec.
- Enable Include Alpha Channel.
- Export your transparent MOV file.
This workflow preserves transparency when importing the video into other editing software or layering it onto new projects.
Advantages & Limitations
Advantages
- Professional-level transparency support.
- Ideal for logo reveals, intros, and motion graphics.
- Integrates well into multi-software pipelines (Ae, Resolve, Final Cut, etc.).
Limitations
- Finding the correct codec and alpha settings can confuse beginners.
- ProRes 4444 and Animation files are extremely large.
- Batch exporting requires additional setup through Media Encoder.
- Adobe’s subscription cost is high for users needing simple transparent export.
Filmora V15 as a Simpler Transparent Export Alternative
 secure download

Filmora V15 dramatically simplifies transparent video exporting. Instead of juggling between codecs, formats, and hidden alpha settings, Filmora detects transparency automatically and guides you through a one-step export workflow.

How It Works:
- Import your animation or overlay into Filmora.
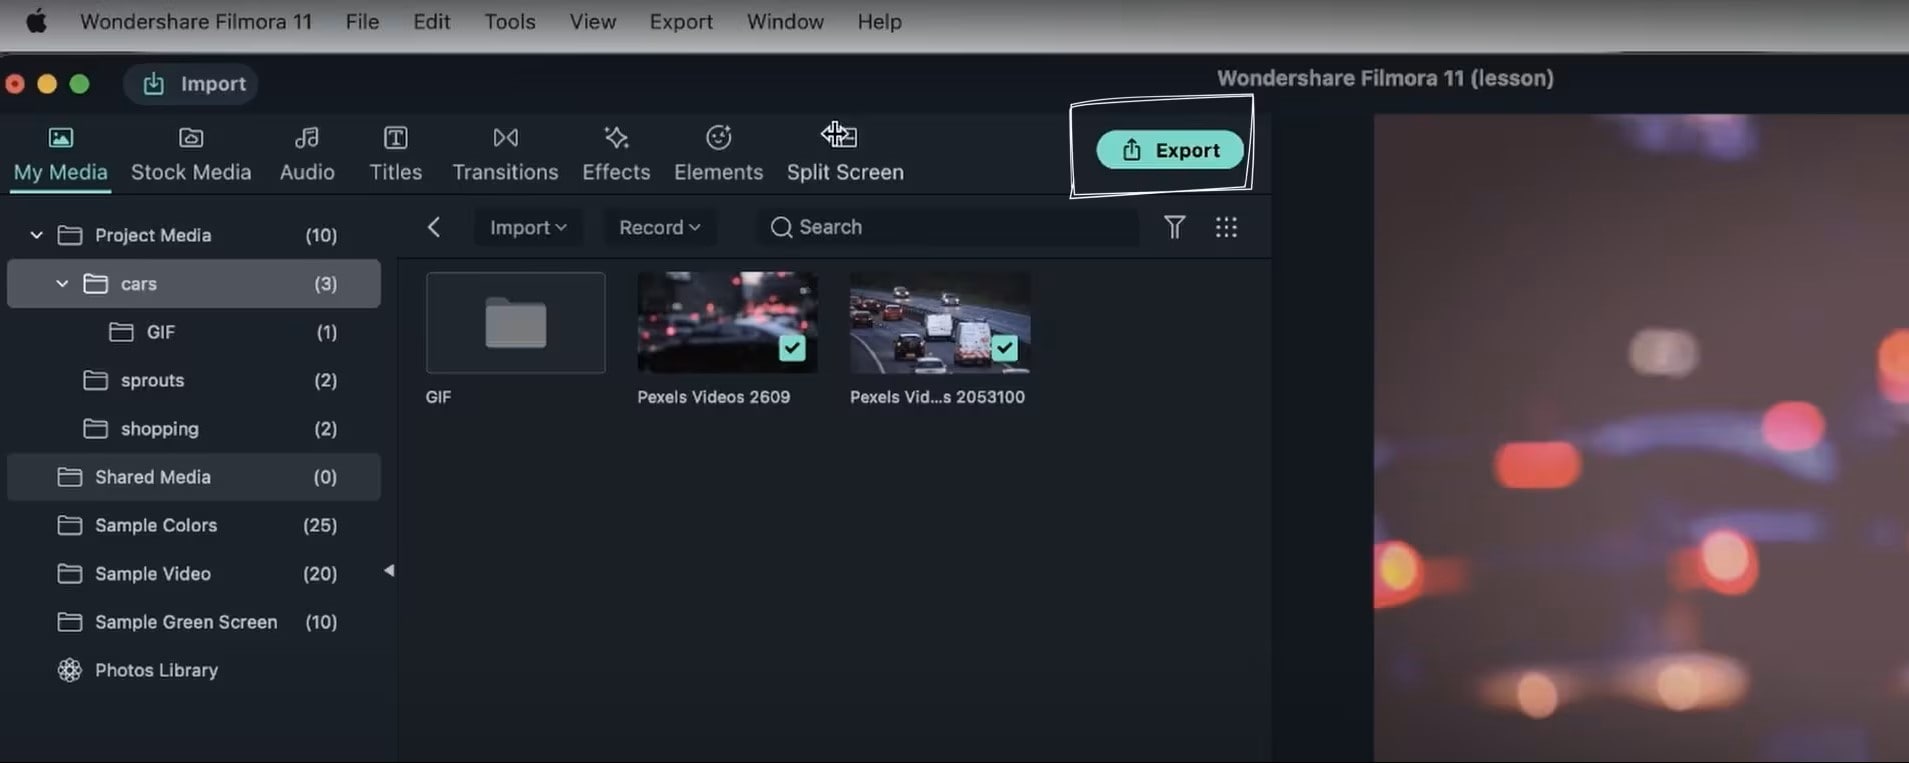
- Click Export once your project is ready.
- Select MOV (ProRes 4444) or WebM for web-optimized transparency.
- Enable Transparent Background (Alpha Channel).
- Export — Filmora auto-optimizes settings for clear, clean, alpha-preserved output.
Filmora ensures consistent results while keeping file sizes manageable, making it ideal for repetitive tasks like branding animations, overlay packs, or social media assets.
Batch Export Advantage
- Queue multiple transparent videos at once.
- Filmora applies consistent alpha settings automatically.
- Benchmarks show up to 40% faster batch transparent exports compared to Premiere + AME.
Additional Workflow-Boosting Features
- Smart codec optimization for smaller yet clean alpha files.
- Real-time transparency preview.
- Custom preset saving for repeated transparent export tasks.
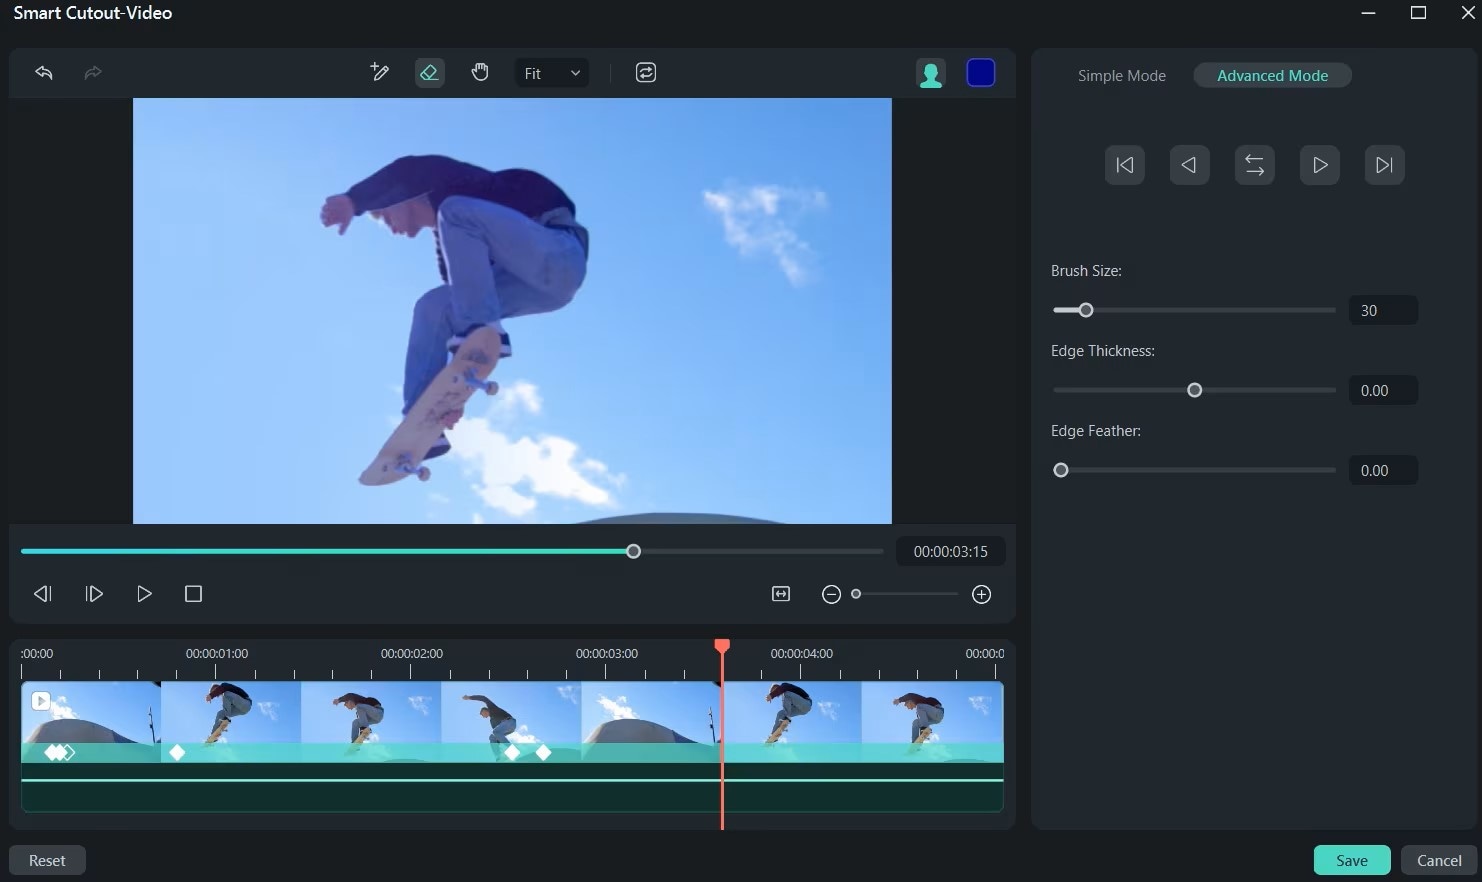
- AI Background Isolation: Automatically removes solid backgrounds.
- Multi-Sequence Alpha Export: Batch export multiple transparent sequences.
- Cloud Asset Sharing: Share alpha assets instantly across teams.
Conclusion
Exporting transparent videos in Premiere Pro works well but requires navigating technical settings and managing large file sizes. For creators needing speed and simplicity, Filmora V15 offers a streamlined alternative with full alpha channel support, batch exporting, and smart automation.
If you want transparent exports without the complexity, try Wondershare Filmora V15 — a faster, more intuitive solution for modern creators.
secure download FAQs
-
Q1. How do I export a transparent video in Premiere Pro?
Select QuickTime format and Apple ProRes 4444 codec, then enable “Include Alpha Channel.” -
Q2. Why is my Premiere Pro export not transparent?
This usually happens when using a codec that doesn’t support alpha channels. Only formats like ProRes 4444 or Animation will preserve transparency. -
Q3. Can Filmora export transparent background videos?
Yes. Filmora supports MOV (ProRes 4444) and WebM formats with full alpha channel transparency. -
Q4. What’s the difference between alpha channel and green screen?
An alpha channel stores transparency directly, while green screen requires manual chroma keying. -
Q5. Does Filmora support batch exporting transparent videos?
Absolutely. Filmora’s Batch Export Manager allows multiple transparent assets to be exported simultaneously with consistent settings.
