
 100% Security Verified | No Subscription Required | No Malware


 ChatGPT
 Perplexity
 Gemini
 Claude
 Grok
Grok
Ever recorded a video, only to realize it's sideways or upside down? Maybe you filmed in portrait mode, but it plays in landscape, or someone sent you a poorly aligned video. Whatever the case, you need a simple way to fix it.
Luckily, you can rotate videos in iMovie with its built-in feature. This tool makes it easy to adjust the orientation. But is it always the quickest and most convenient option? You might want a faster method if you're working on a project or editing multiple clips.
In this guide, we'll show you step by step how to rotate a video in iMovie. Plus, we'll introduce another easy way to rotate videos that could save you time and effort. Keep reading to find out!
In this article
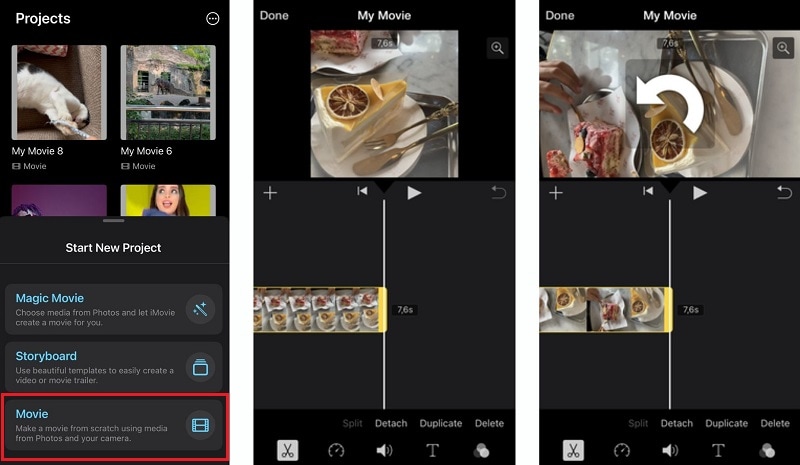
Part 1. How to Rotate a Video and a Photo in iMovie
Sometimes, videos and photos don't turn out the way you expected. You may have recorded a great moment, only to find the video sideways or upside down. Here are a few common reasons why you might need to rotate a video or a photo in iMovie:
- Wrong Orientation: You filmed in portrait mode, but it plays in landscape (or vice versa). This often happens when recording with a smartphone that isn't properly positioned.
- Received a Sideways Clip: Someone sent you a video, but it's upside down or tilted at a strange angle.
- Social Media Formatting: Platforms like Instagram, TikTok, and YouTube Shorts require specific video orientations. Rotating a video ensures it looks great when uploaded.
- Adjusting Still Images: Sometimes, photos don't fit properly into an iMovie project. Adjusting the rotation can help with positioning and aesthetics.
No worries. iMovie makes rotating your videos and photos easy with just a few clicks or taps.
How to Rotate a Video in iMovie on Mac
- Step 1. Open iMovie and create a new project or open an existing one.
- Step 2. Import your video to iMovie. Then, select the video clip in the timeline.
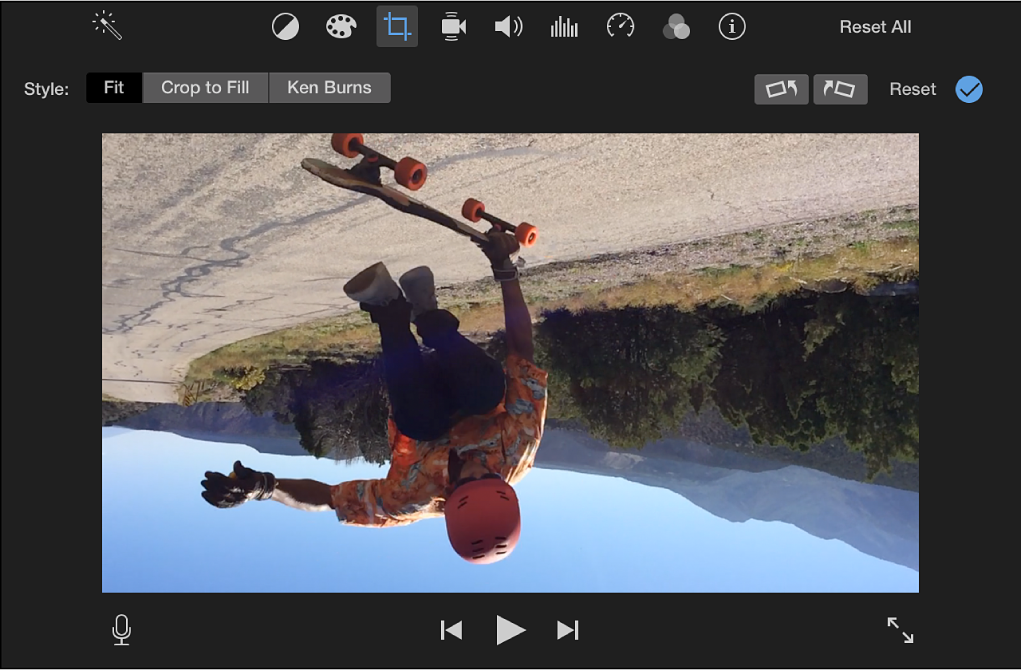
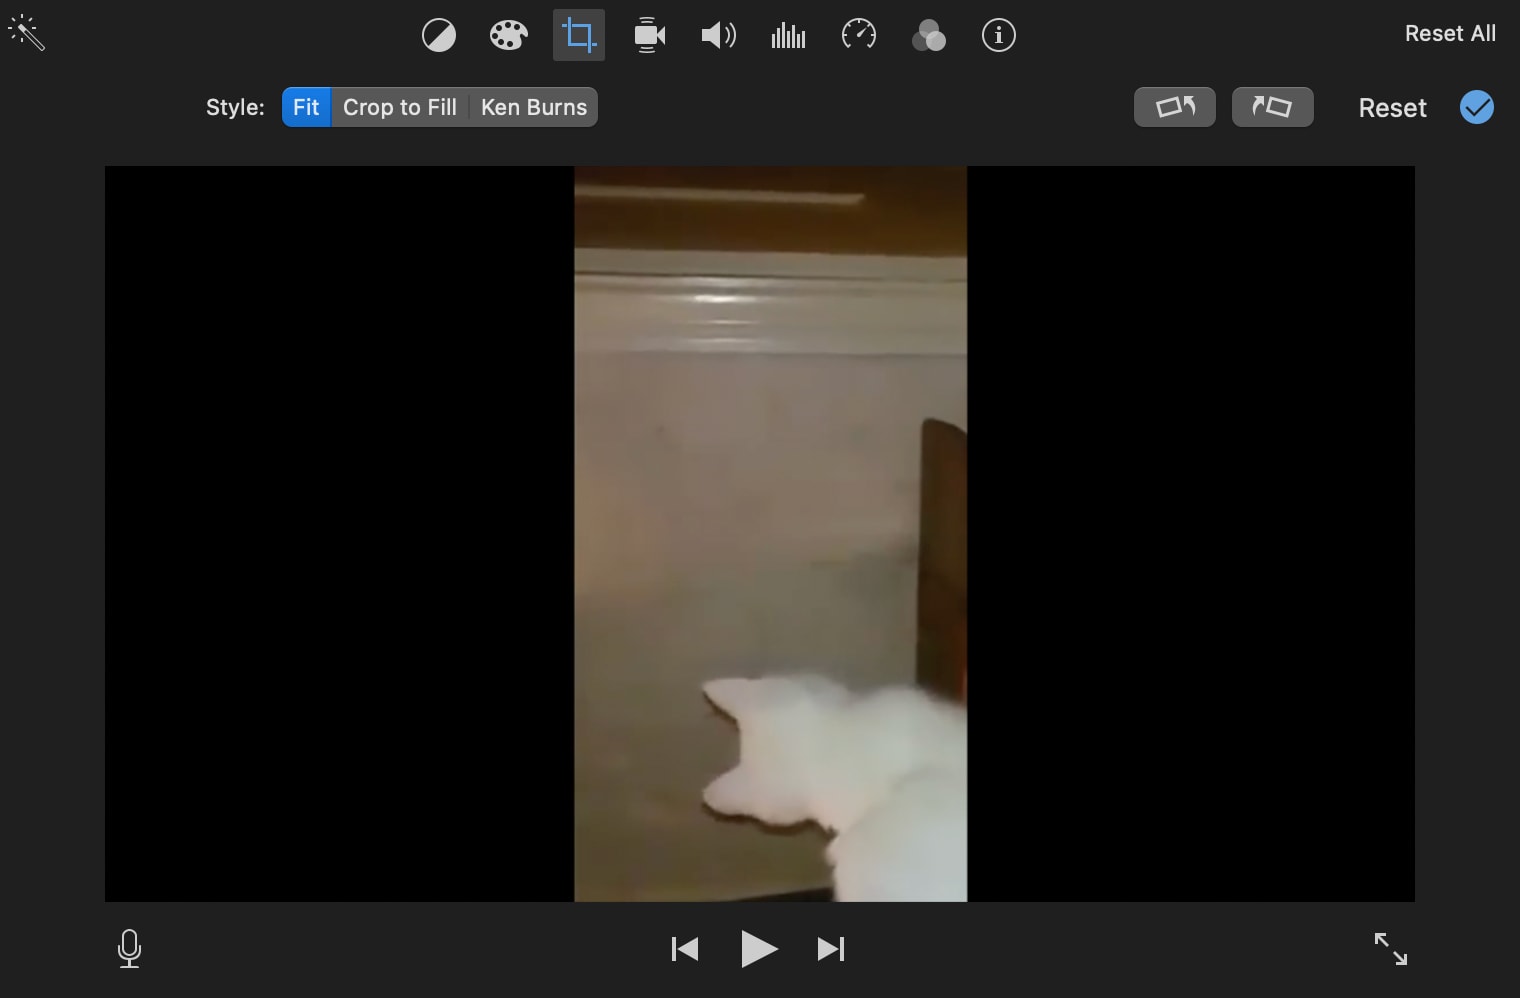
- Step 3. Click the "Crop" button (the square icon with overlapping corners above the preview window).
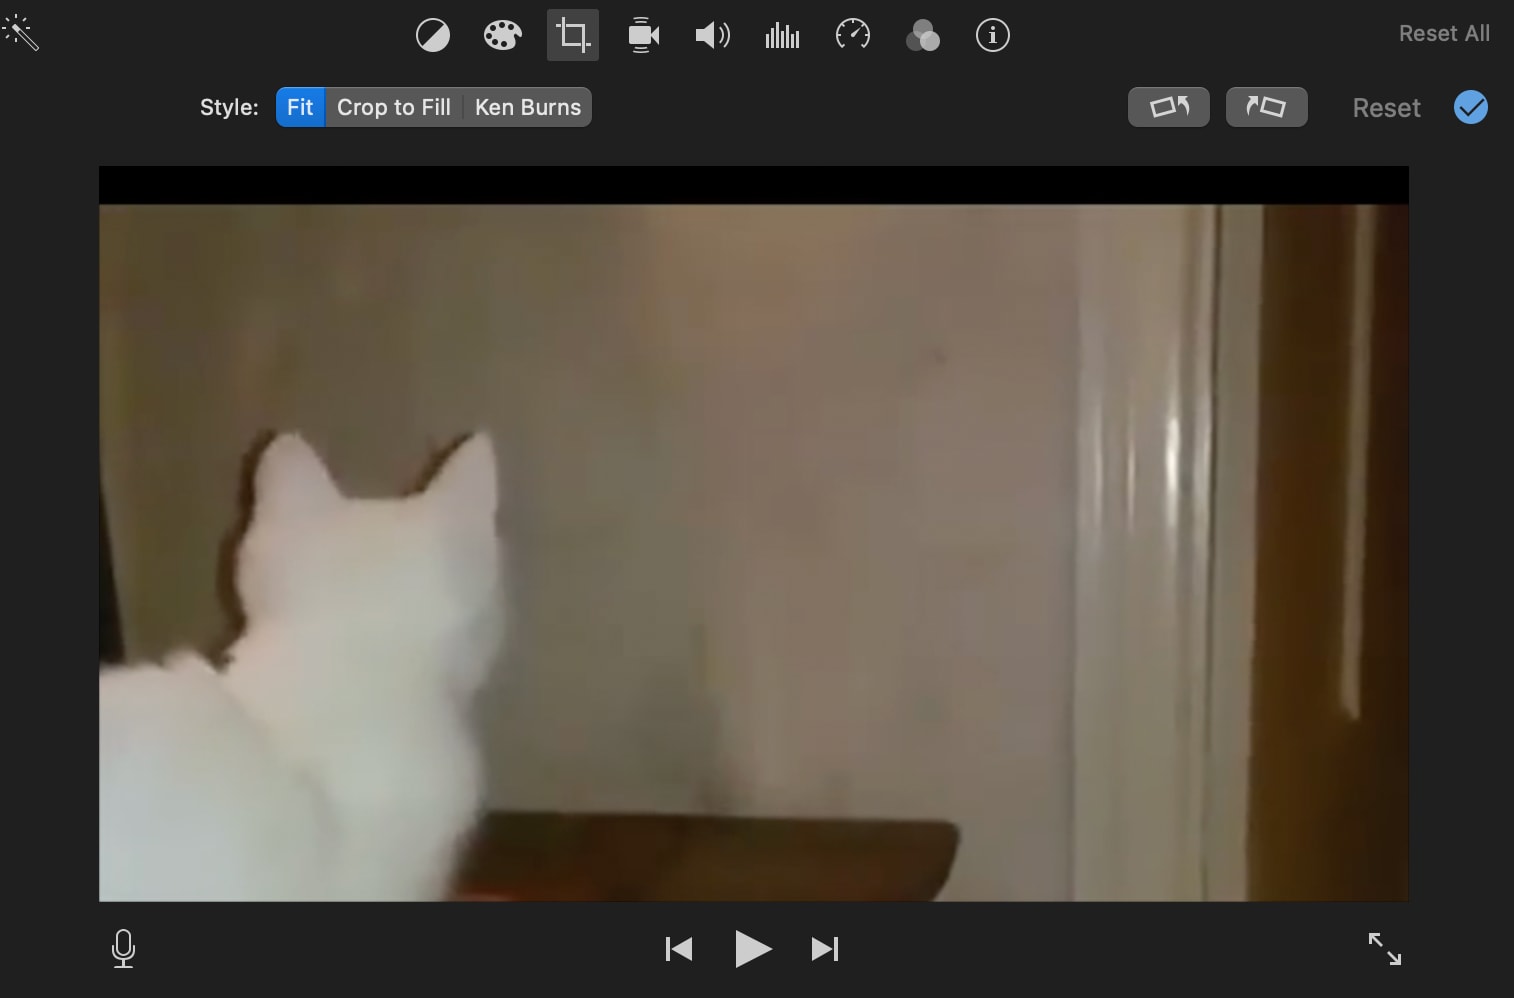
- Step 4. Use the Rotate buttons to turn the video 90 degrees left or right. Click multiple times if you need a 180° or 270° rotation.
- Step 5. Adjust as needed, then preview the clip to ensure it looks right.
- Step 6. Once done, export your video in your preferred format.
How to Rotate a Video in iMovie on iPhone/iPad
- Launch iMovie and create a new movie project. Then, select and add your video to the app.
- Once in the work area, tap on the video clip to select it.
- Use two fingers to rotate the video directly in the preview window. Pinch and twist your fingers in the direction you want the clip to rotate.
- Adjust and preview the rotation. Tap "Done" and save your video.
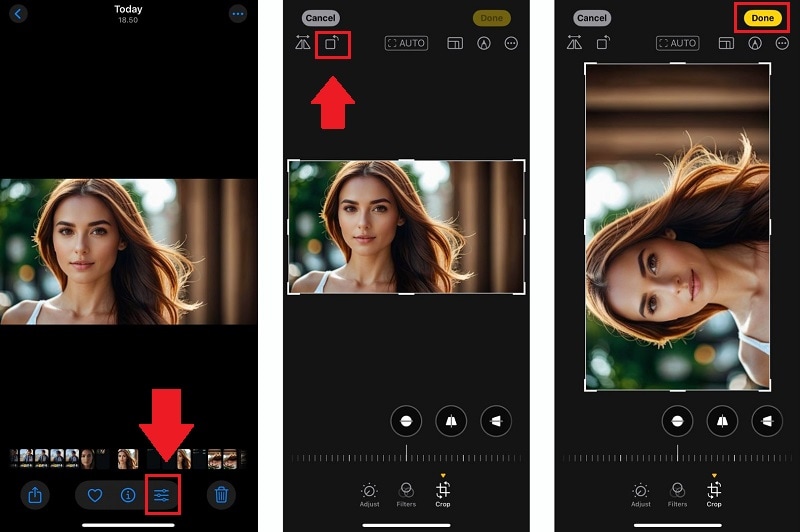
How to Rotate a Photo in iMovie
Unfortunately, you can't rotate a picture in iMovie. If you need to rotate your photo, you can use the built-in editing tools in the Photos app instead. Simply open the photo and tap Edit to open the editing tools. Then, tap Crop and select the Rotate option. Press Done to save it.
Part 2. The Smarter Alternative: Rotating Videos in a Few Taps
iMovie is a solid tool for editing videos, but let's be honest. It sometimes takes too many steps just to rotate a video or photo in iMovie. If you're looking for a faster, easier, and more flexible way, you might want to try an alternative that does the job in just a tap.
That's where Filmora Mobile comes in. Unlike iMovie, which requires navigating through cropping tools and multiple clicks, Filmora lets you rotate videos instantly without extra steps.
Why Use Filmora to Rotate Videos?
- Instant Rotate: No need to dig through menus or adjust cropping settings. Just tap once to rotate.
- Flexible Editing: Quickly adjust aspect ratios to match different platforms like Instagram Reels, TikTok, or YouTube Shorts.
- No Learning Curve: Filmora has a beginner-friendly interface, so you don't have to waste time figuring out where the rotation option is.
Comparing iMovie vs. Filmora for Rotating Videos
| Feature | iMovie | Filmora |
| Rotate Video | Yes | Yes |
| Quick Rotate Shortcut | No | Yes (One tap-rotate) |
| Custom Aspect Ratios | Limited | Full control for different platforms |
| Works on | Mac & iOS | Mac, Windows, iOS, & Android |
If you only use a Mac and are comfortable with extra steps, iMovie works fine for rotating a video clip.
But if you want a faster and more flexible solution or need to adjust the aspect ratio easily, Filmora for Mac is a great alternative.
 secure download

How to Rotate a Video and a Photo on Mac Using Filmora
If you want to rotate a video, you can follow these steps:
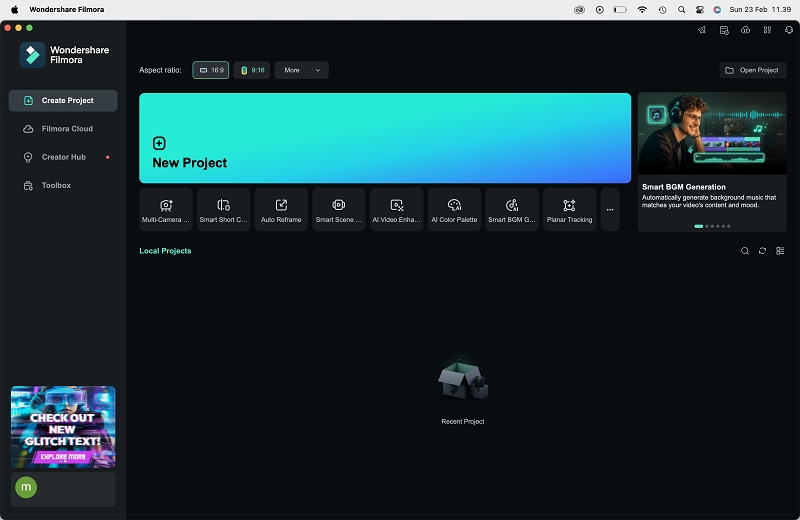
- Step 1. Download Filmora for Mac and install it. Then, open the software and click "New Project" to start.
secure download
- Step 2. Click the Import Media button and select the video you want to rotate. Drag the video into the timeline to begin editing.
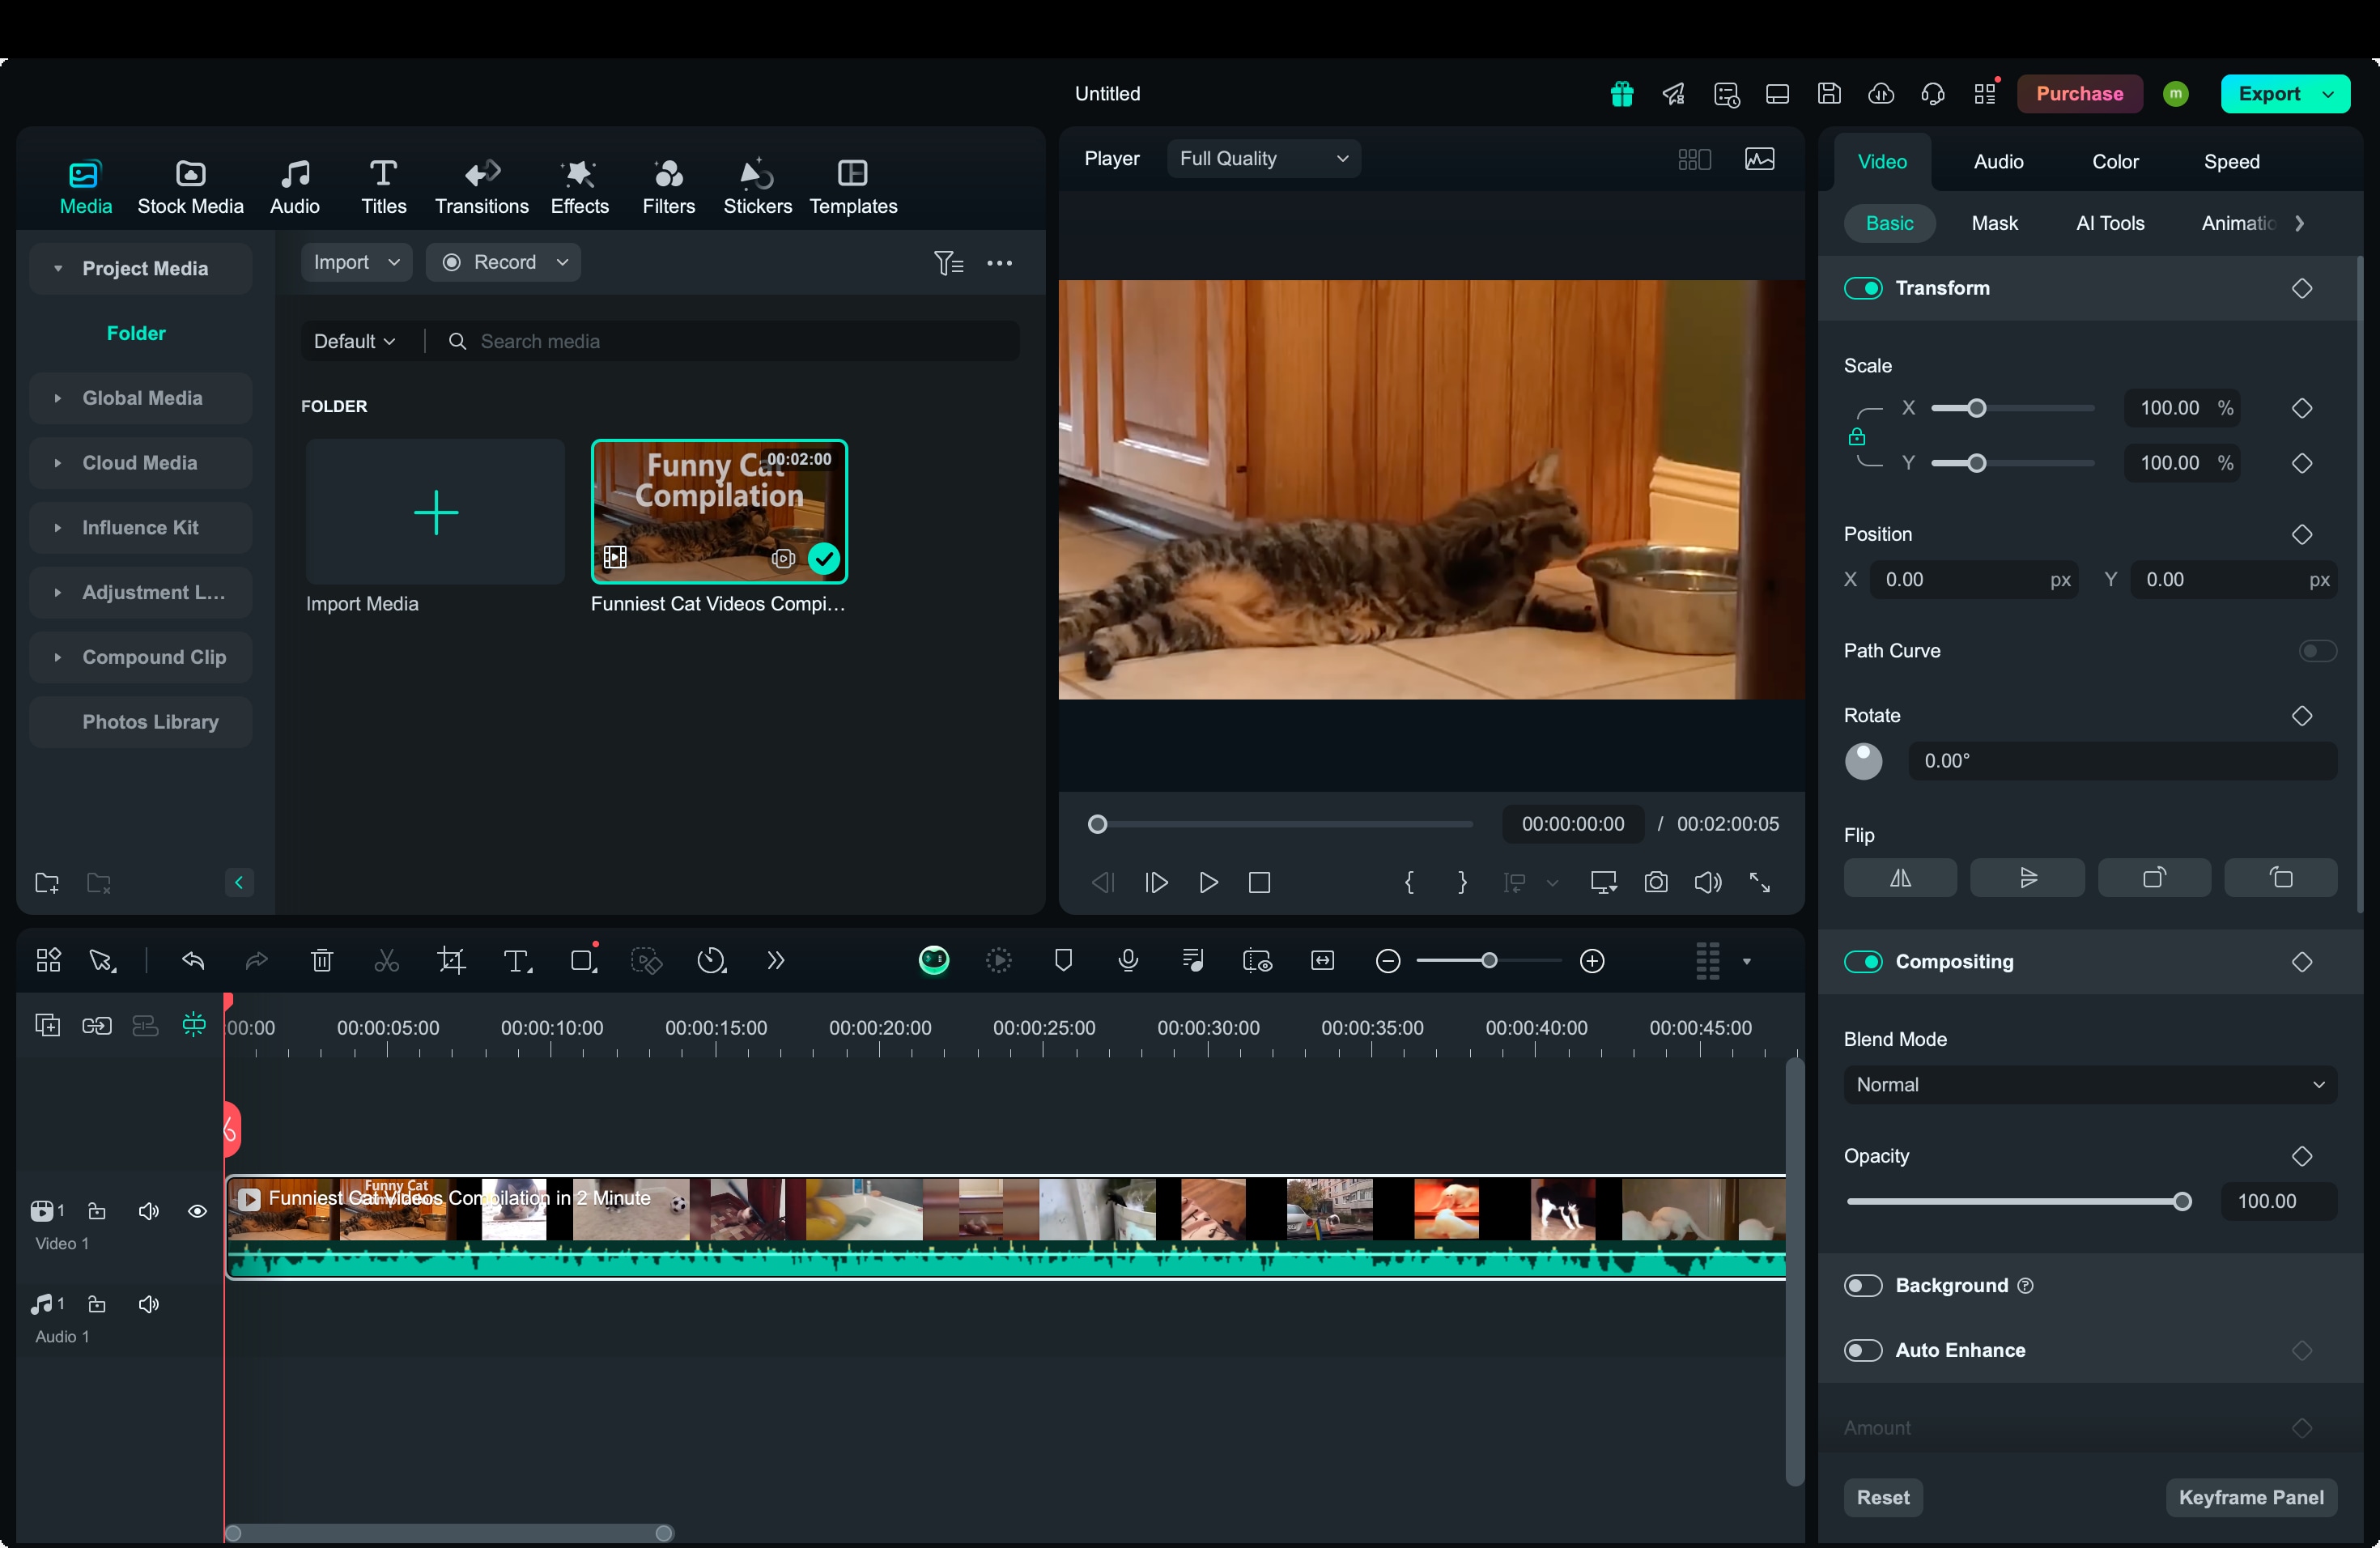
- Step 3. Click on the video clip in the timeline to activate editing options. Select the Transform menu from the Video panel on the right. Find the Rotate slider and drag it to adjust the rotation in 90°, 180°, or 270° increments.
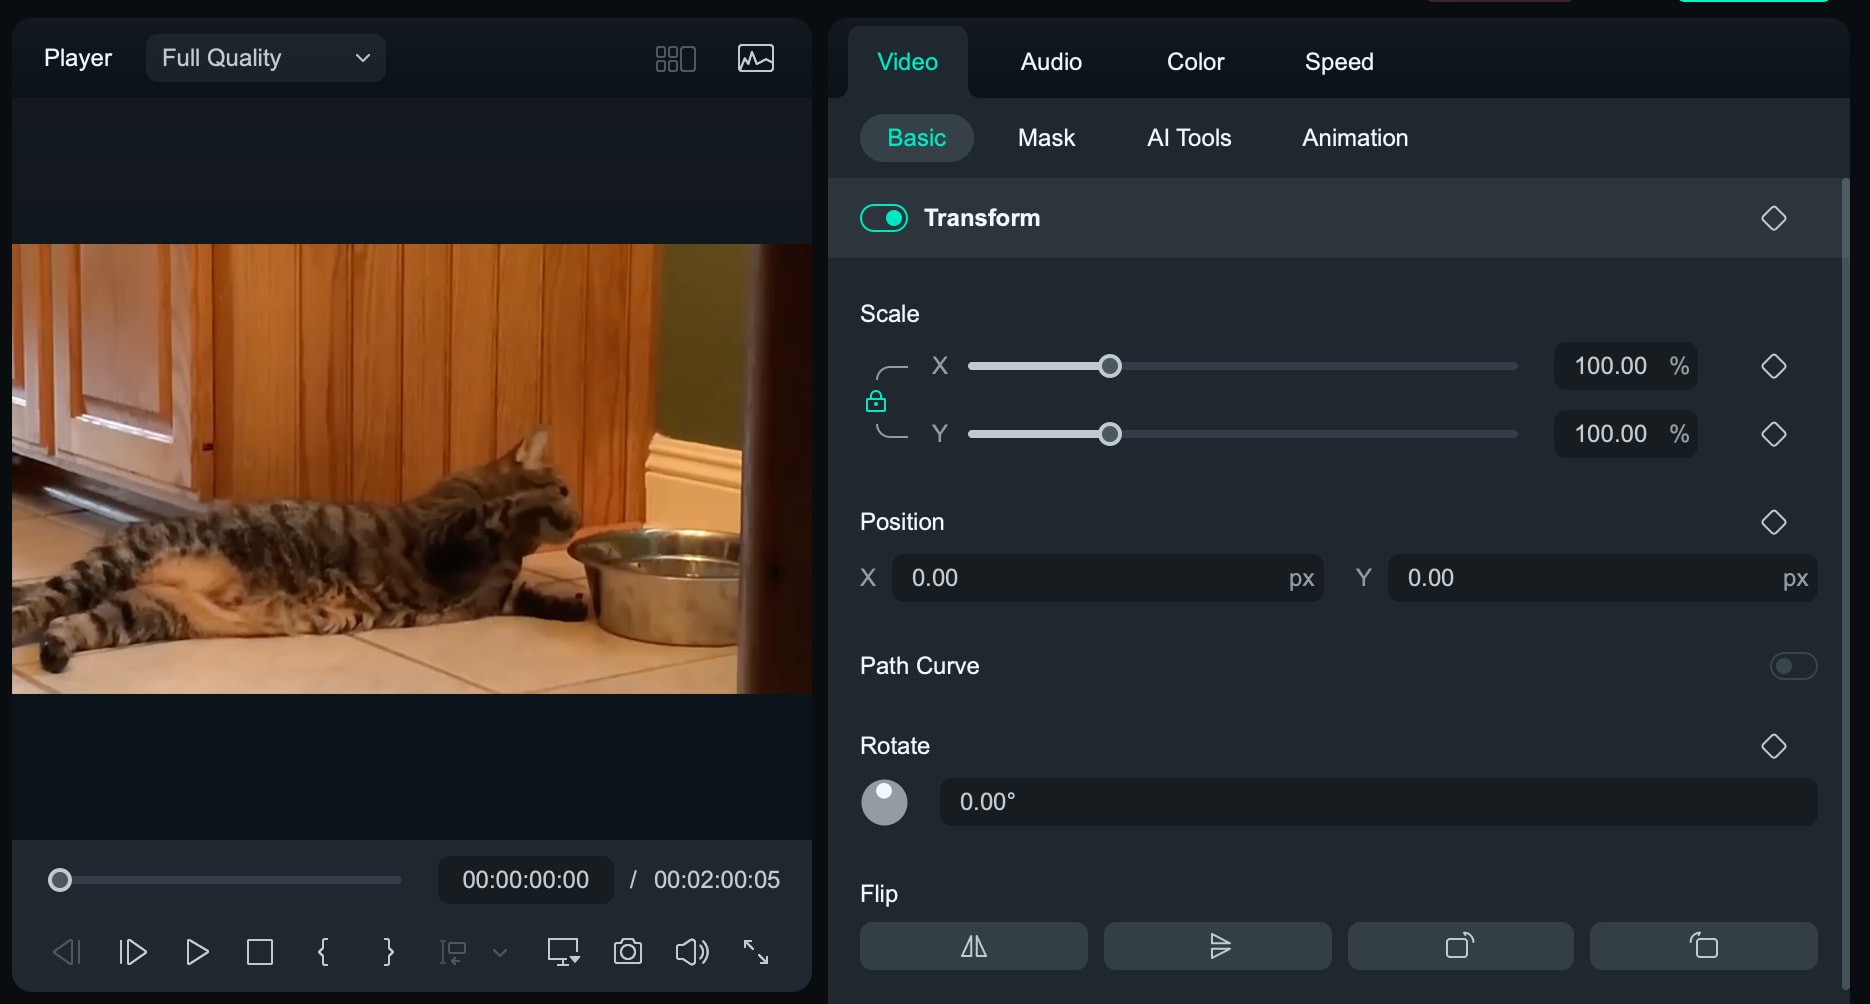
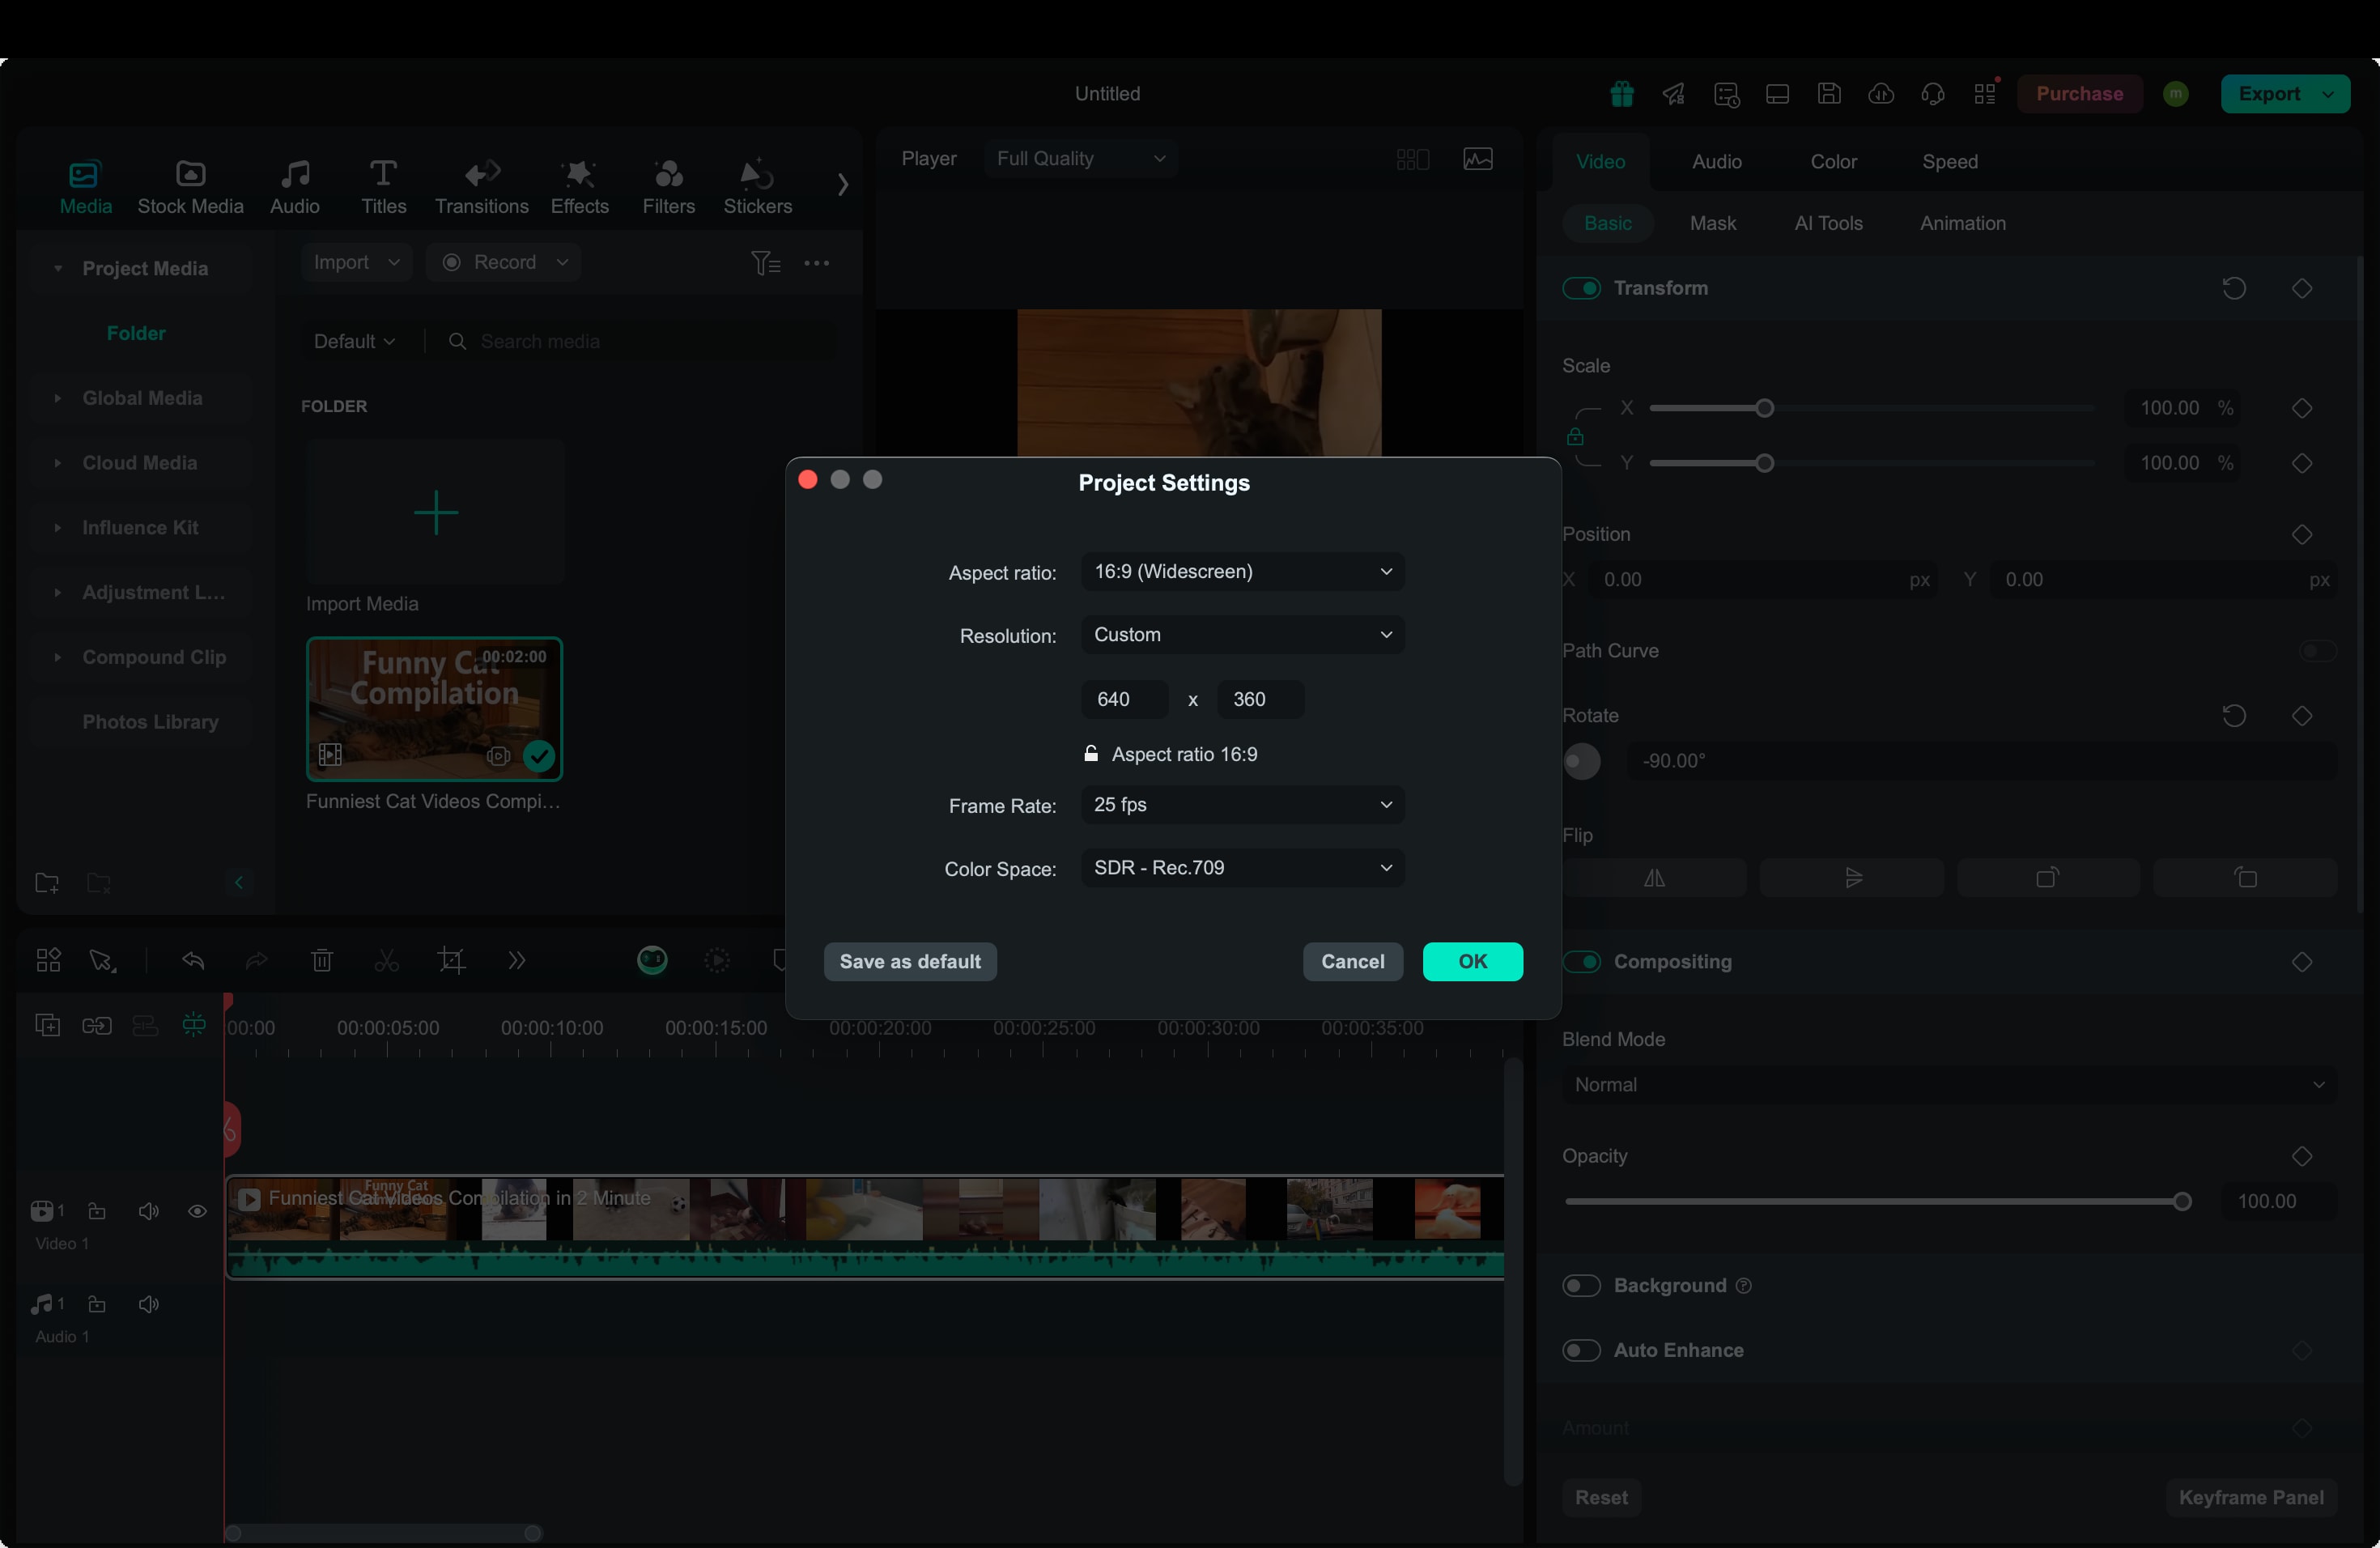
- Step 4. If rotating the video results in unwanted cropping, go to Project Settings and choose the best aspect ratio for your video (e.g., 16:9, 9:16, 1:1).
- Step 5. Click Play to preview your rotated video. When satisfied, click Export, choose your format (MP4, MOV, etc.), and save your video.

Pro Tip: Filmora also allows free-angle rotation, so you're not limited to just 90-degree increments. You can fine-tune the angle using the slider for precise adjustments.
How to Rotate a Photo in Filmora
If you need to rotate a photo in your project, the steps are almost identical to video rotation:
- Import the Photo into Filmora and place it on the timeline.
- Select the Photo, then go to the Transform menu in the right panel.
- Use the Rotate Slider to adjust the image angle as needed.
- Resize and adjust the position to fit the aspect ratio.
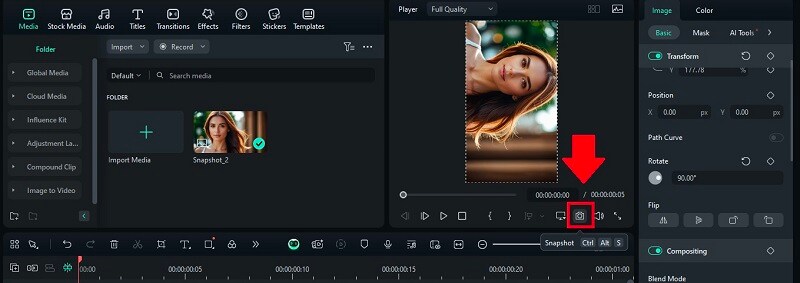
- To save it as a photo, you can tap the Snapshot icon here. Then, you can choose whether to save it as a JPG or PNG format.
How to Rotate a Video on an iPhone Using Filmora for mobile
secure download
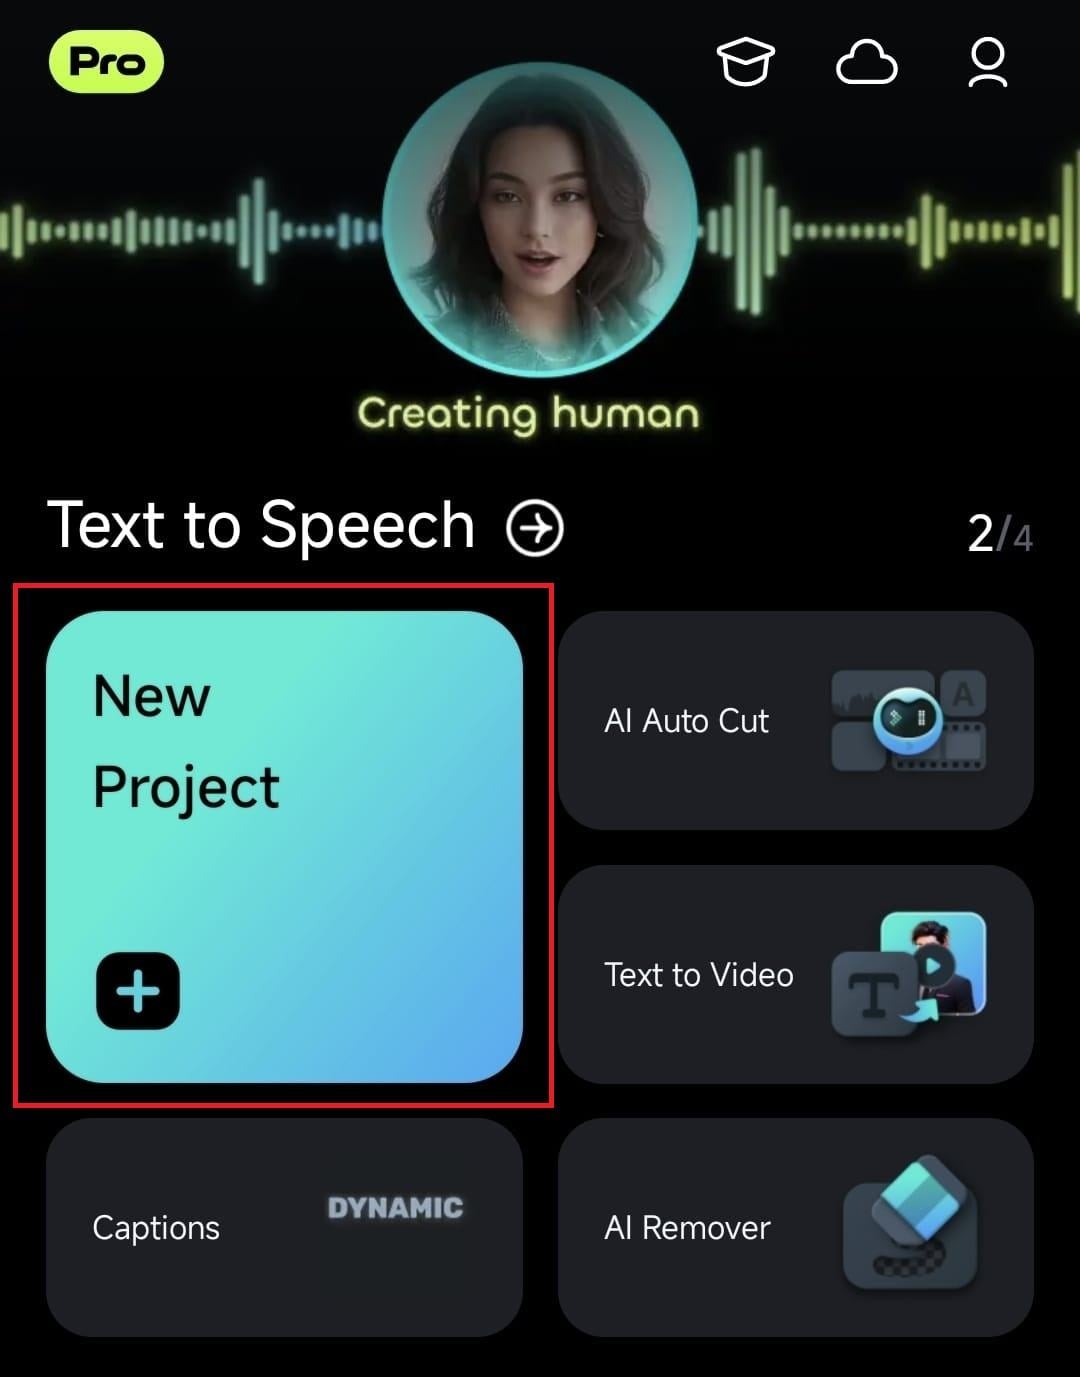
- Step 1. Install Filmora for iOS from the App Store if you haven't already done so. Launch the app and tap "New Project."
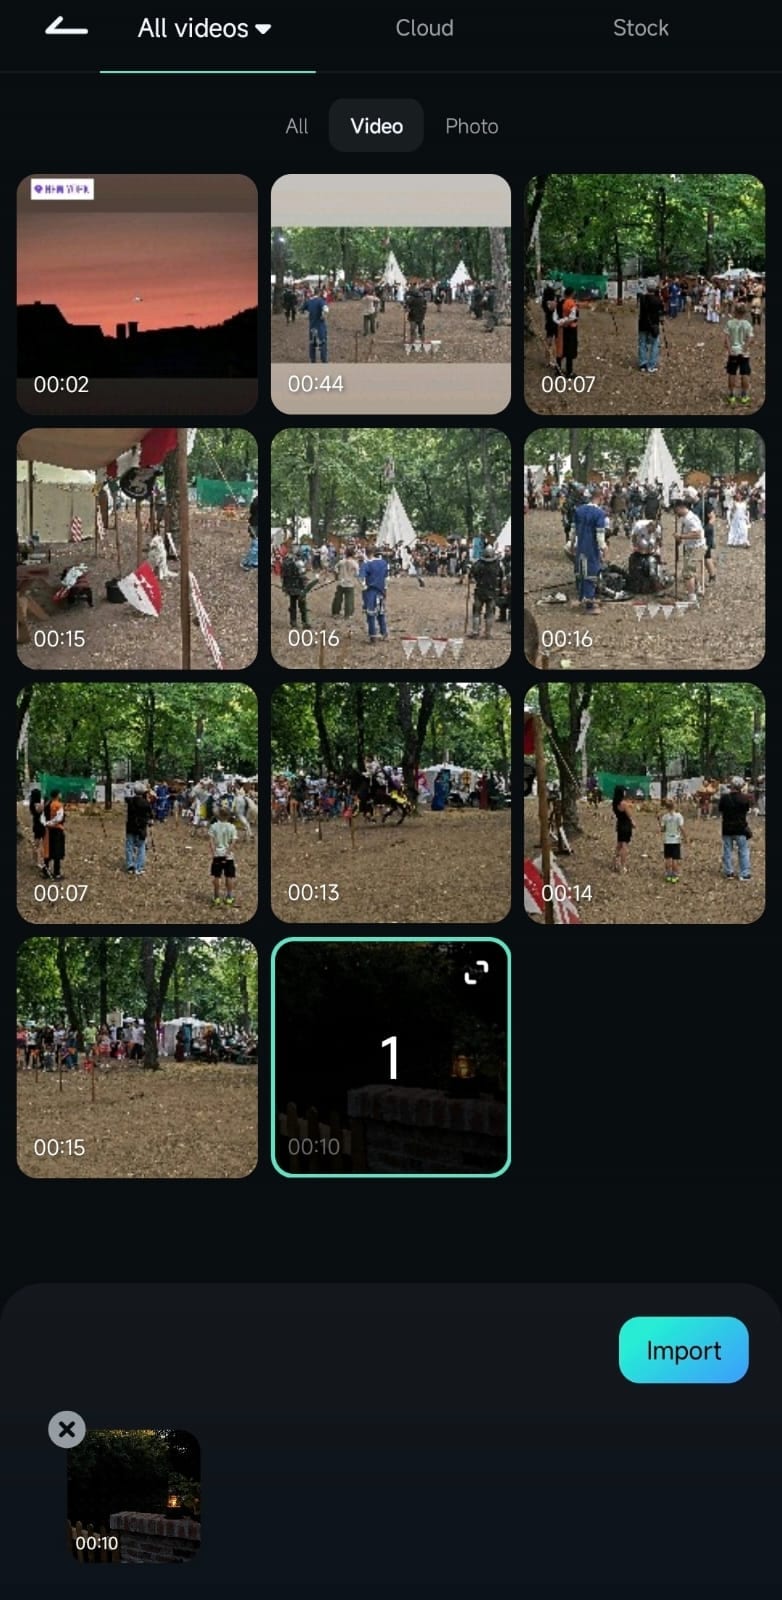
- Step 2. Select the video you want to rotate from your gallery and tap Import.
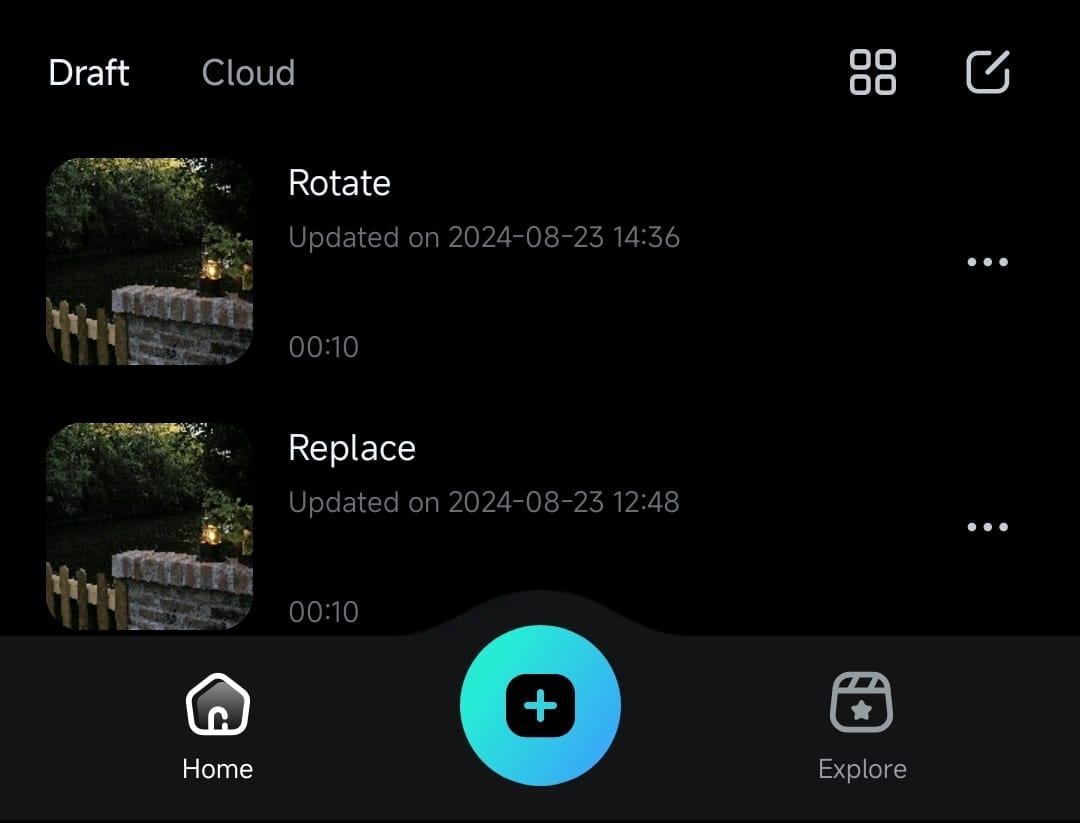
Alternatively, you can open existing projects through the Project Management panel.
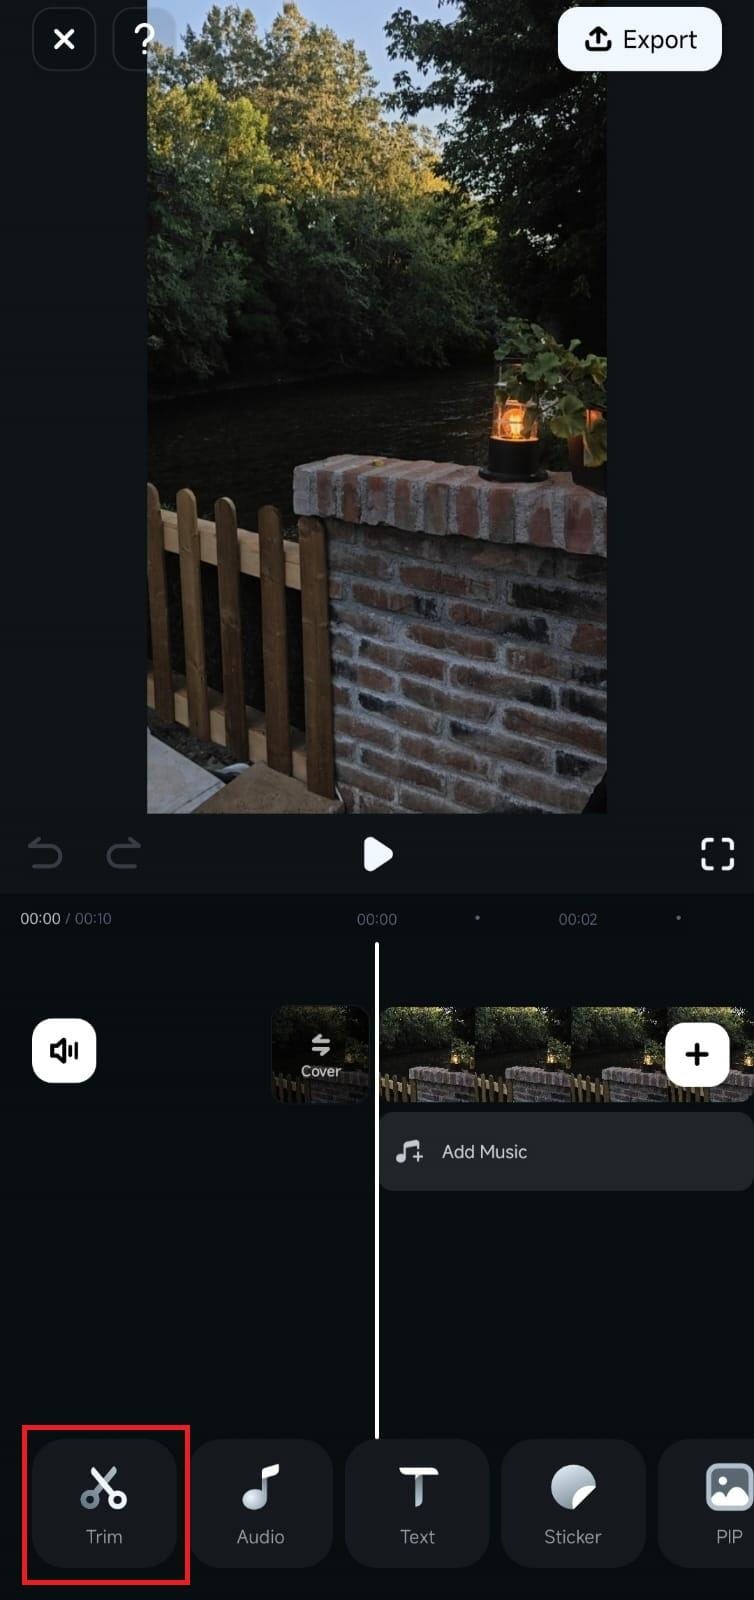
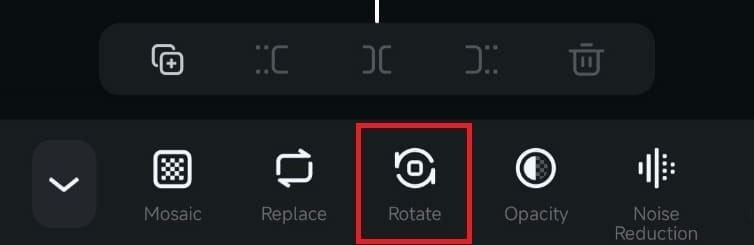
- Step 3. Tap on the video clip in the timeline to bring up editing options. You can choose the Trim menu below the timeline. Then, select the Rotate tool.
- Step 4. Select from the rotation options based on whether you need to rotate the video 90 degrees, flip it horizontally, or turn it upside down for the desired orientation.
- Step 5. Tap the Play button to preview the changes. When satisfied, tap Export, select your resolution, and save the video to your camera roll.
Conclusion
Now you know exactly how to rotate a video in iMovie, whether you're working on a Mac or an iPhone. You can also rotate a picture in iMovie using the same simple steps. iMovie provides a reliable way to get the job done, whether fixing a sideways clip or adjusting a photo's orientation.
However, if you're looking for a faster and more flexible solution, Filmora Mobile offers one-tap rotation without extra steps. So, the next time you wonder, "How do I rotate a video in iMovie?" or need to rotate a video clip in iMovie, you'll have the best tools at your fingertips.
secure download
