
 100% Security Verified | No Subscription Required | No Malware


 ChatGPT
 Perplexity
 Gemini
 Claude
 Grok
Grok
Ever wanted to add a touch of vintage style to your video edits? Applying a film burn transition in Premiere Pro can help you achieve that cinematic look. It simulates the warm, light-leak effect often seen in old movies.
The film burn effect for Premiere Pro is popular in music videos, vlogs, and flashback scenes for its nostalgic mood. In this guide, you’ll see what the effect looks like and how to apply it step by step.
This guide will also cover where to find a free film burn transition for Premiere Pro and share a simpler alternative for faster editing. Let’s get started!
In this article
Part 1. What is a Film Burn Transition?
A film burn transition in Premiere Pro is an effect that recreates the look of old film reels. It often shows sudden light leaks, glowing edges, or bursts of color across the frame. Instead of smooth fades, this style simulates the flare and burn marks that appeared when film was exposed to too much light.
Editors often use the burn transition in Premiere Pro for its nostalgic and dramatic style. It works well in moments such as:
- Shifting into a flashback or memory sequence.
- Showing a mood change in a story.
- Creating a stylized cut in music videos, vlogs, or creative projects.
By default, Adobe Premiere Pro does not include a film burn transition in its stock library. The built-in options are limited to basics, such as Dissolve, Dip to black or white, Wipe, Slide, Push, and Zoom.
To create a film burn effect in Premiere Pro, you’ll need external overlays or transition packs. These are video clips of light leaks or burning film edges that you layer on top of your footage.
These effects are often available in two ways:
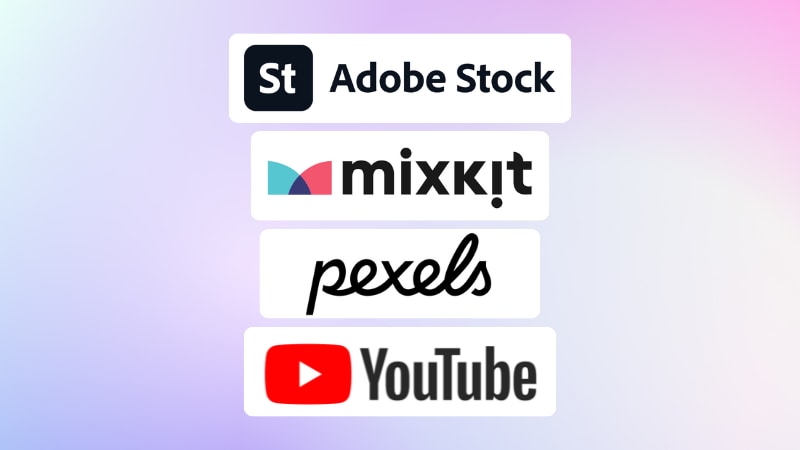
- Free resources: You can get a free Film Burn transition for Premiere Pro from Mixkit, which provides ready-to-use templates. Pexels also offers free film burn overlays as stock clips, and YouTube creators often share downloadable options you can layer on your timeline.
- Paid resources: Adobe Stock and other creative marketplaces provide high-resolution packs with more variety and professional quality.
Part 2. How to Add a Film Burn Transition in Premiere Pro
Creating a Premiere Pro film burn transition requires using pre-made film burn assets. These are short video clips that simulate light leaks and flares. It’s placed above your footage and blended into the timeline to create the transition effect.
Here’s how you can apply them to your clips:
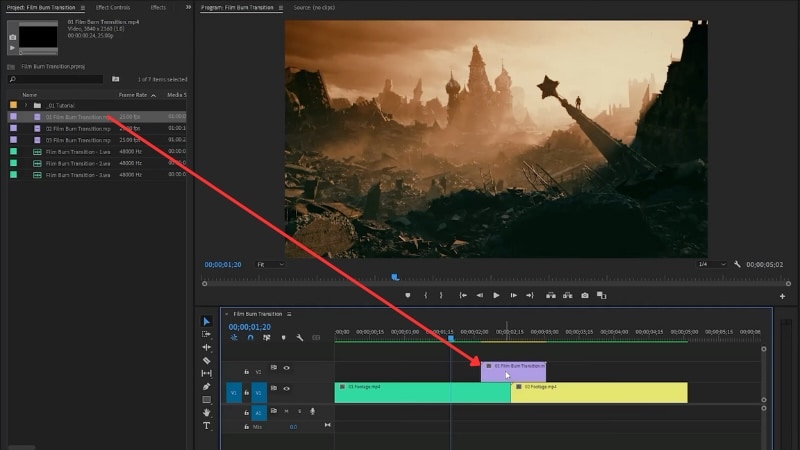
Step 1. Set up the timeline and add the overlay
- Import the two video clips and the film burn transition assets into your project.
- Place the video clips side by side on V1 of the timeline.
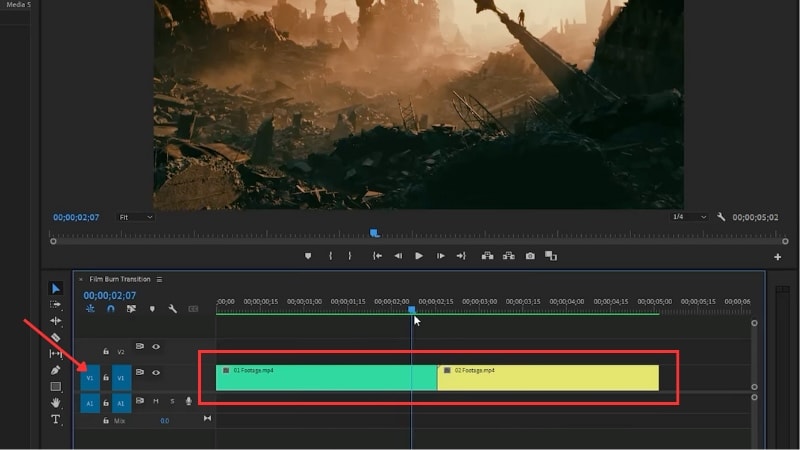
- Drag the film burn overlay onto V2, positioning it directly above the cut between the clips.
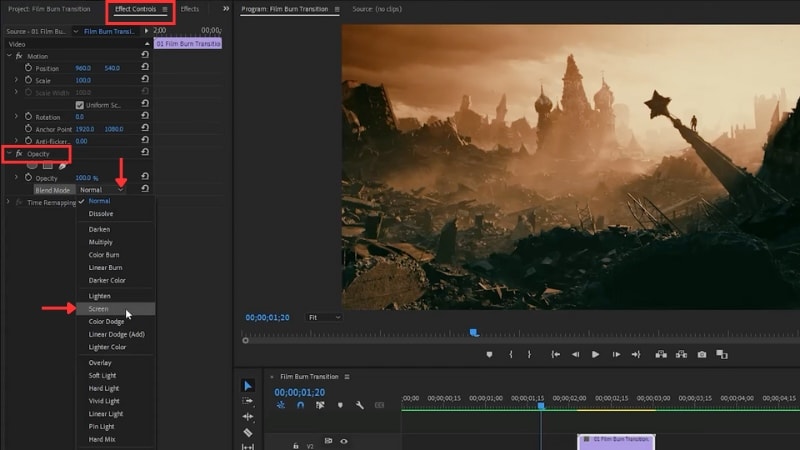
Step 2. Apply the blend mode
- Select the overlay clip on V2.
- Go to the Effect Controls panel > Opacity
- Open the Blend Mode dropdown and choose Screen. This removes the dark areas and keeps the flares visible over your footage.
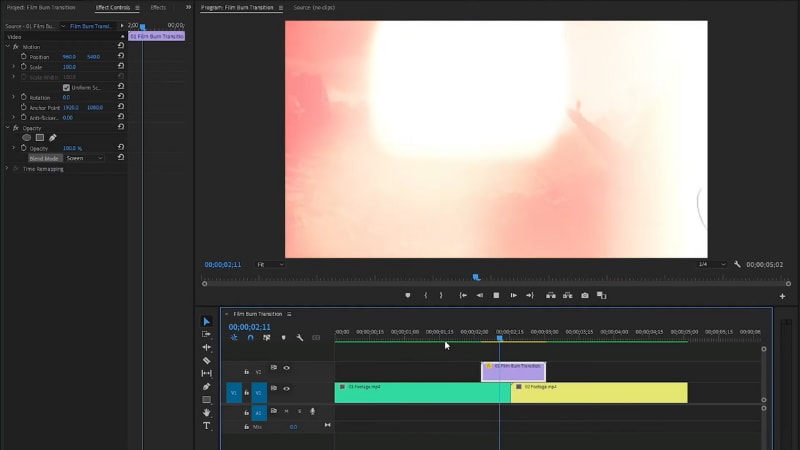
Step 3. Refine the transition
- Trim the overlay so it starts a little before the cut and ends slightly after.
- Play back the timeline to check if the flare aligns with the cut. Adjust the position until the brightest part of the burn matches the transition point.
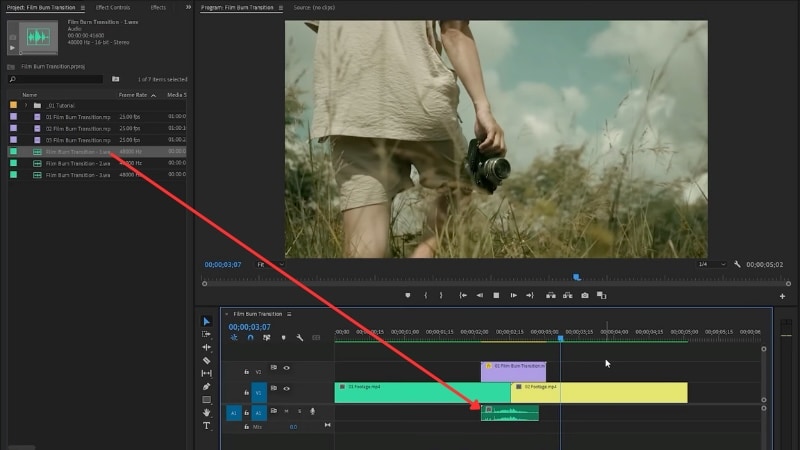
Step 4. Add sound effects (Optional)
- Import a sound effect that matches your video style (such as a whoosh or flare).
- Drag it onto the audio track below your clips so it lines up with the film burn effect in Premiere Pro.
Bonus: Get Film Burn Transitions Instantly with Filmora
Adding a film burn transition in Premiere Pro takes extra steps and relies on external overlays. While it connects with Adobe Stock for creative assets, most packs are paid and require licensing. The free assets from third-party sites exist, but their quality varies, and they still need to be imported and set up manually.
Wondershare Filmora takes a different approach by including built-in creative assets. With a subscription plan, you get access to transitions, effects, filters, stock music, and stickers without relying on outside downloads. This removes the need for extra costs or licenses and keeps the workflow simple.
 secure download

Let’s see how Premiere Pro and Filmora compare when it comes to film burn transitions and ease of use:
|
Feature |
Premiere Pro |
Filmora |
|
Built-in Creative Library |
Limited, requires Adobe Stock or third-party packs. |
Includes library of transitions, effects, music, and more without extra payment. |
|
Film burn transition |
Needs external overlays or templates. |
Available in the built-in library, ready to apply instantly |
|
Ease of use |
Requires manual importing and blending steps. |
One-click application with simple customization options. |
|
Cost |
Subscription-based, plus cost for stock assets. |
One-time license or subscription with creative assets included. |
How to Apply Film Burn Transitions in Filmora
Filmora makes adding film burn transitions straightforward since the assets are already built into the software. You don’t need to import overlays or search for third-party packs. Here’s how you can apply them step by step:
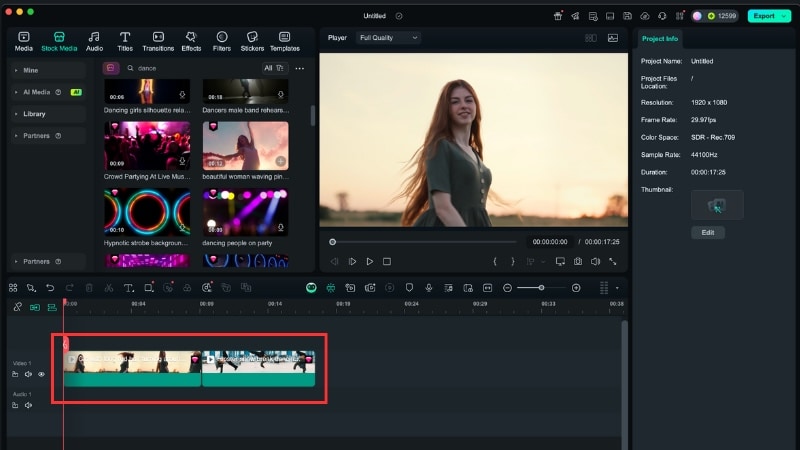
Step 1. Place the clips on the timeline
- Drag your clips onto the timeline, positioning them side by side on the main video track.
- Adjust the order and trim the clips so the cut point is ready for the transition.
 secure download
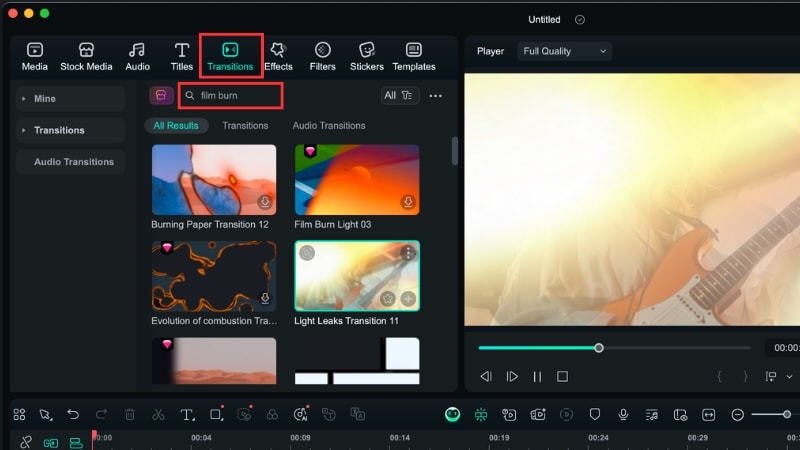
Step 2. Open the Transitions library
- Go to the Transitions tab at the top of the interface.
- Type “Film Burn” into the search bar, or browse the available categories to locate it.
- Filmora includes several burn-style transitions, each with a slightly different color and intensity.
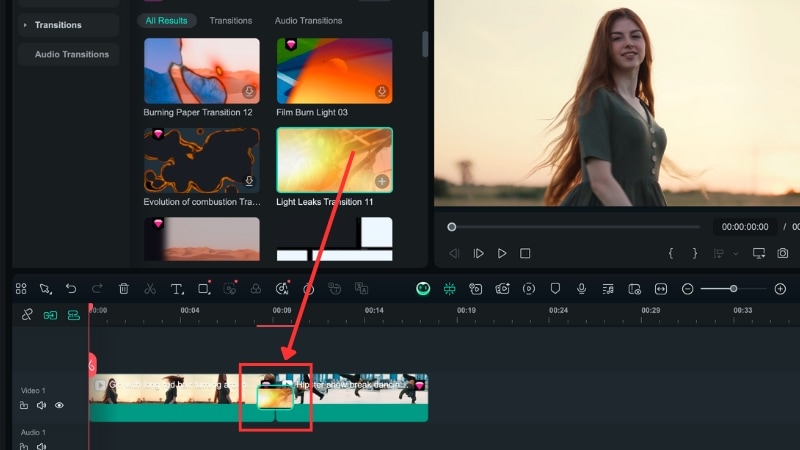
Step 4. Apply the Film Burn transition
- Drag the Film Burn transition you like and place it directly between the two clips on the timeline.
- The transition will automatically snap into position and create the effect between the clips.
Step 5. Adjust the duration and style it
- Click the transition on the timeline to open the Transition settings on the right side of the screen.
- Here, you can adjust the Duration to make the transition shorter or longer.
- On the More Settings option, you can also change the transition mode if needed.

Step 6. Preview and refine
- Play back the timeline to check how the Film Burn transition looks in your sequence.
- If the transition feels too strong, shorten its duration or try a softer variation from the library.
- You can copy and reuse the transition on multiple cuts for consistency.
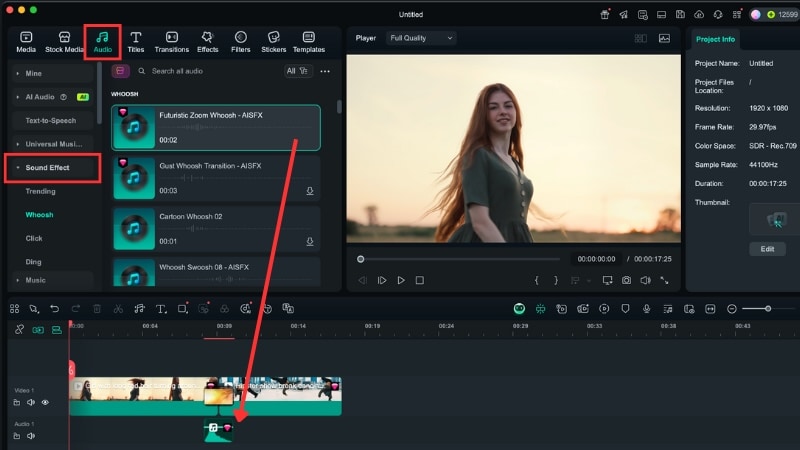
Step 7. Enhance with sound effects (Optional)
- Go to the Audio tab > Sound Effects.
- Search for whooshes or flare sounds, and drag one onto the audio track under the transition track.
- Sync the peak of the sound with the Film Burn transition for a polished result.
Watch this video to learn more about Filmora’s Creative Assets feature:
Conclusion
Adding a film burn transition in Premiere Pro can give your edits a warm vintage style. The process, however, takes extra steps since you need external overlays and manual adjustments.
You can get a free film burn transition for Premiere Pro from sites like Mixkit or Pexels, though quality may differ, and setup is required. For more polished options, Adobe Stock offers paid packs.
If adding a film burn effect in Premiere Pro feels time-consuming, try Filmora. Its built-in transitions and creative tools save time and keep editing simple. Download Filmora today and start editing faster.
