
 100% Security Verified | No Subscription Required | No Malware


 ChatGPT
 Perplexity
 Gemini
 Claude
 Grok
Grok
Many creators love the dreamy shooting star effect but often get stuck when tutorials require advanced tools like After Effects. For amateur YouTubers and TikTok editors, the process feels unnecessarily technical — full of keyframes, layers, and confusing effects panels. Most search results focus on professional workflows, leaving beginners with little room to experiment creatively.
Wondershare Filmora bridges that gap. It delivers the same smooth, glowing trails you'd expect from high-end software, but through a cleaner, more intuitive workflow. With built-in motion effects and flexible keyframing, you can recreate cinematic shooting stars in minutes — no steep learning curve, no plugins required.
In this article

Part 1. Why Choose Filmora for Shooting Star Effects?
You must be wondering why Wondershare Filmora is the most appropriate tool for creating a shooting start effect in videos. The following section breaks down each reason to help you understand the significance:
The Problem with Traditional Methods
- Shooting star After Effects is powerful for motion graphics, yet beginners struggle with its steep learning curve and complex interface.
- Premiere Pro's subscription cost and technical depth often overwhelm casual or budget-conscious users.
- Blender's 3D-focused workflow feels intimidating for short-form creators wanting quick, polished effects.
Filmora's Advantages
- Filmora combines simplicity with professional-level keyframe control, giving creators intuitive command over motion and timing.
- The Pen Tool with Trim Path delivers precise control for creating smooth, cinematic streaks that mimic shooting stars naturally.
- Fast rendering ensures real-time testing, allowing quick adjustments and instant visual feedback for seamless creative flow.


Part 2. How to Make A Shooting Star Effect [Step-by-Step Guide]
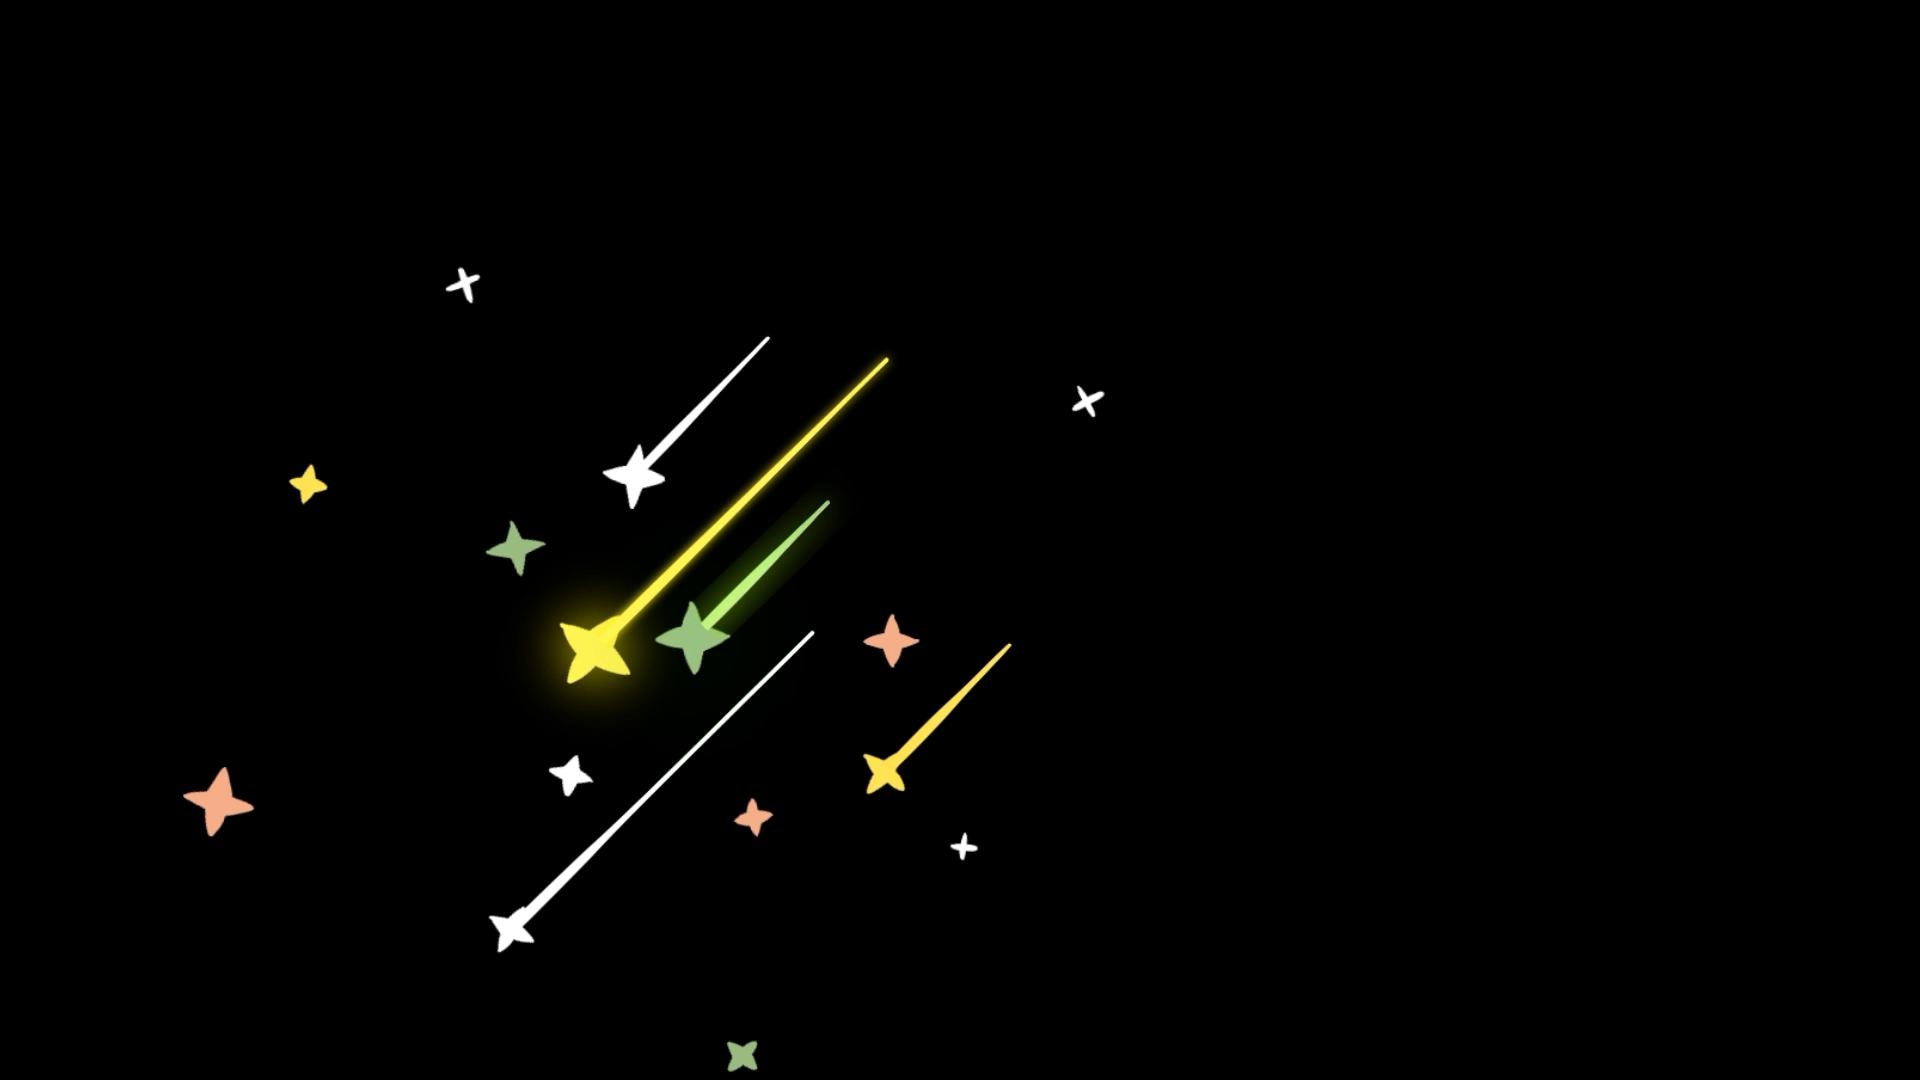
When discussing Filmora as a tool for creating a shooting star effect, accessibility is the first trait to cross mind. With a simple yet professional-grade feature, this platform brings artistic finesse and user-friendliness in a single interface. Its creative pen tool offers customization and creation of any shape of your imagination. Besides this freehand drawing utility, Filmora also offers a set of preset shapes for drawing specific objects.
The shapes drawn can be made attractive using the built-in solid colors. You can also use the color picker to get a matching color with any object in the photo. However, when looking for something unique, use the neon color presets. These colored presets give a starry glow to your objects. From the color to the thickness and blurriness, everything can be customized about the presets.
 secure download
 A Complete Guide to Using Wondershare Filmora for Making a Shooting Star Effect
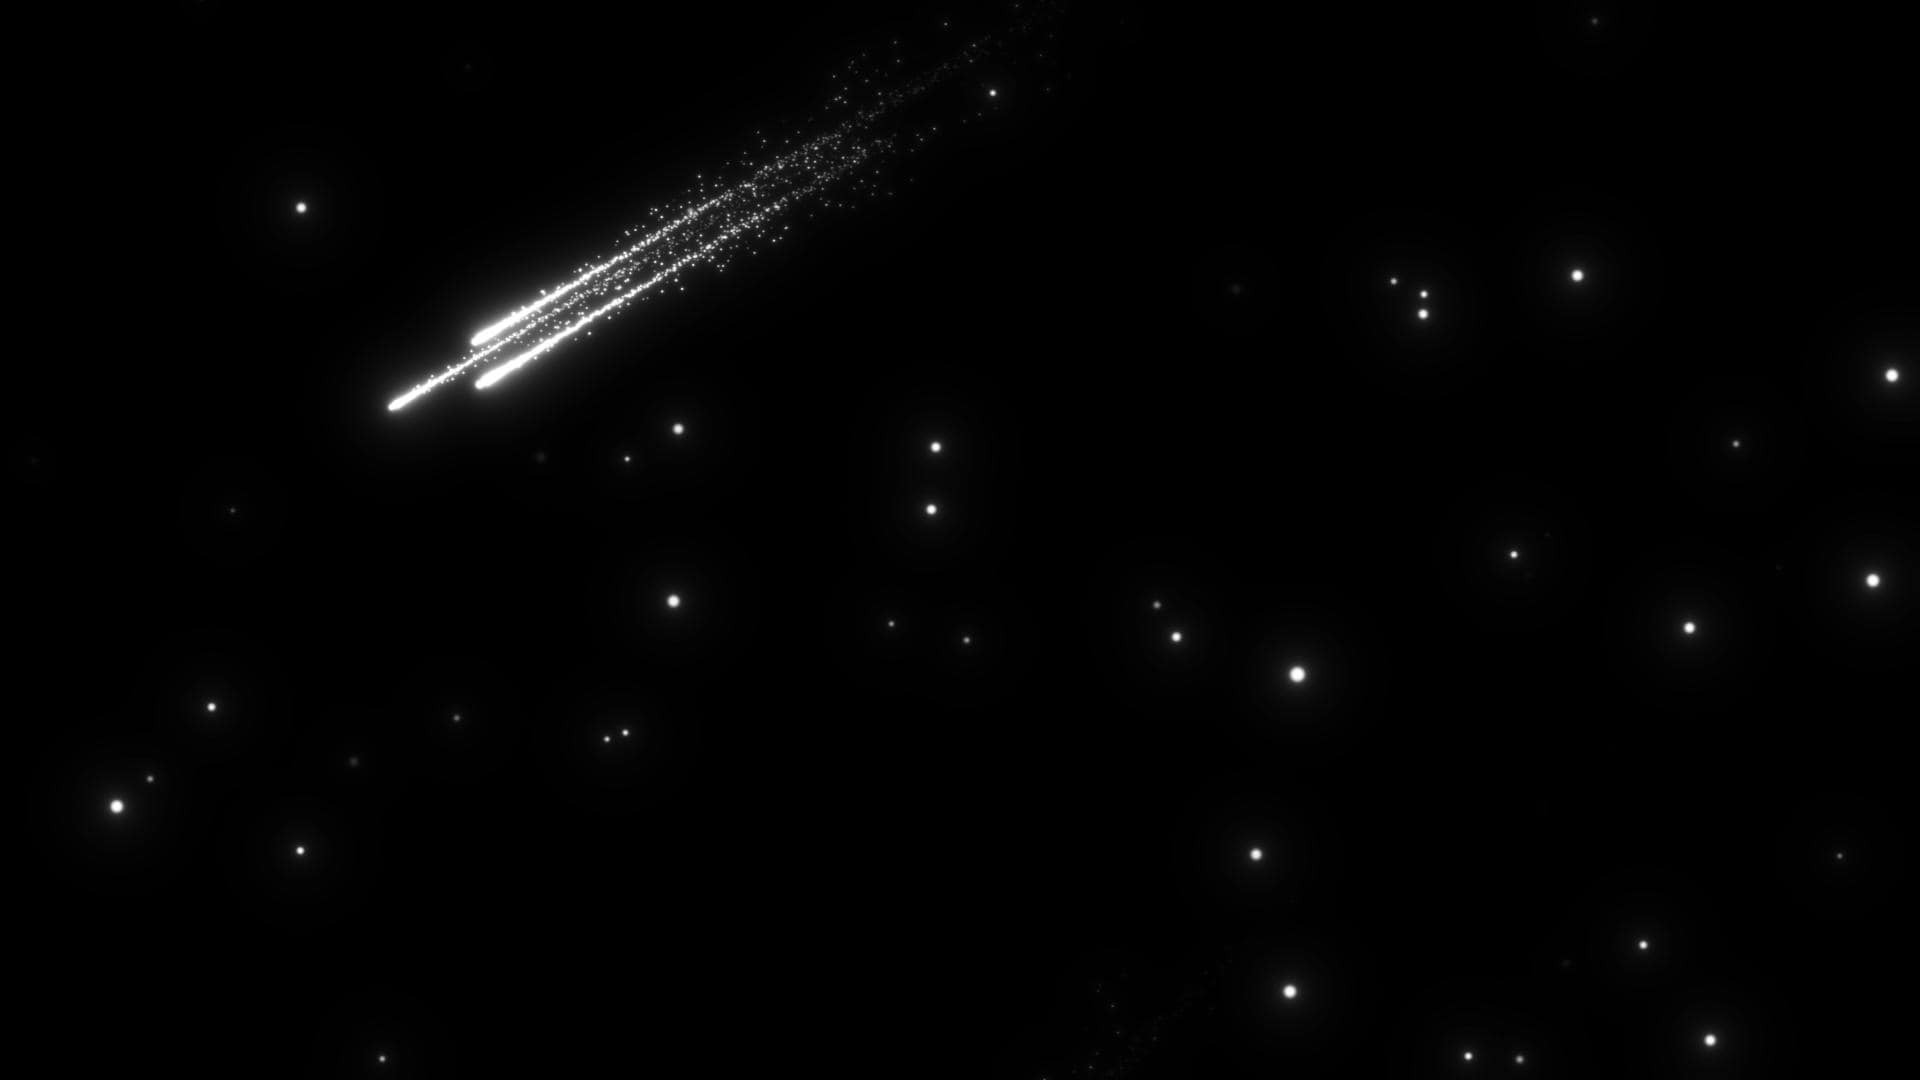
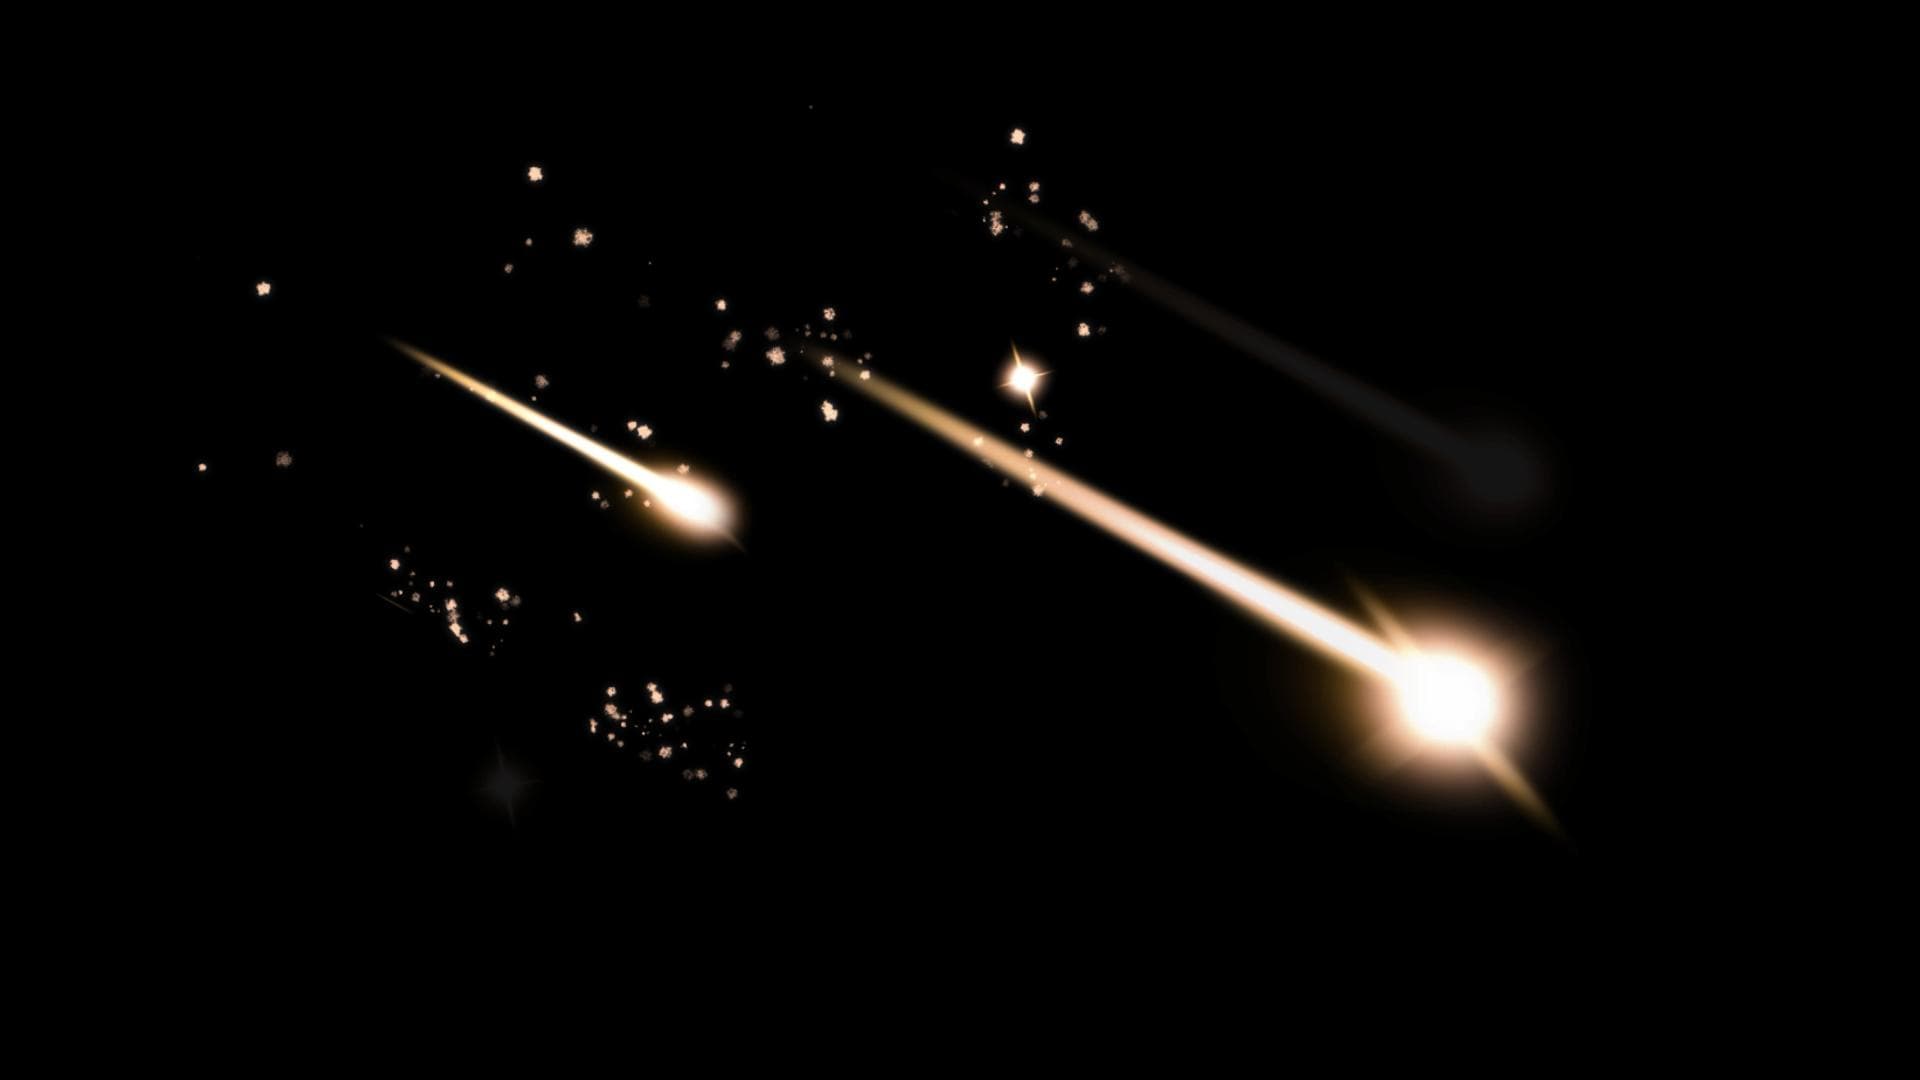
If you'd like to create a similar shooting star effect in your own video, just follow the simple steps below using Filmora.

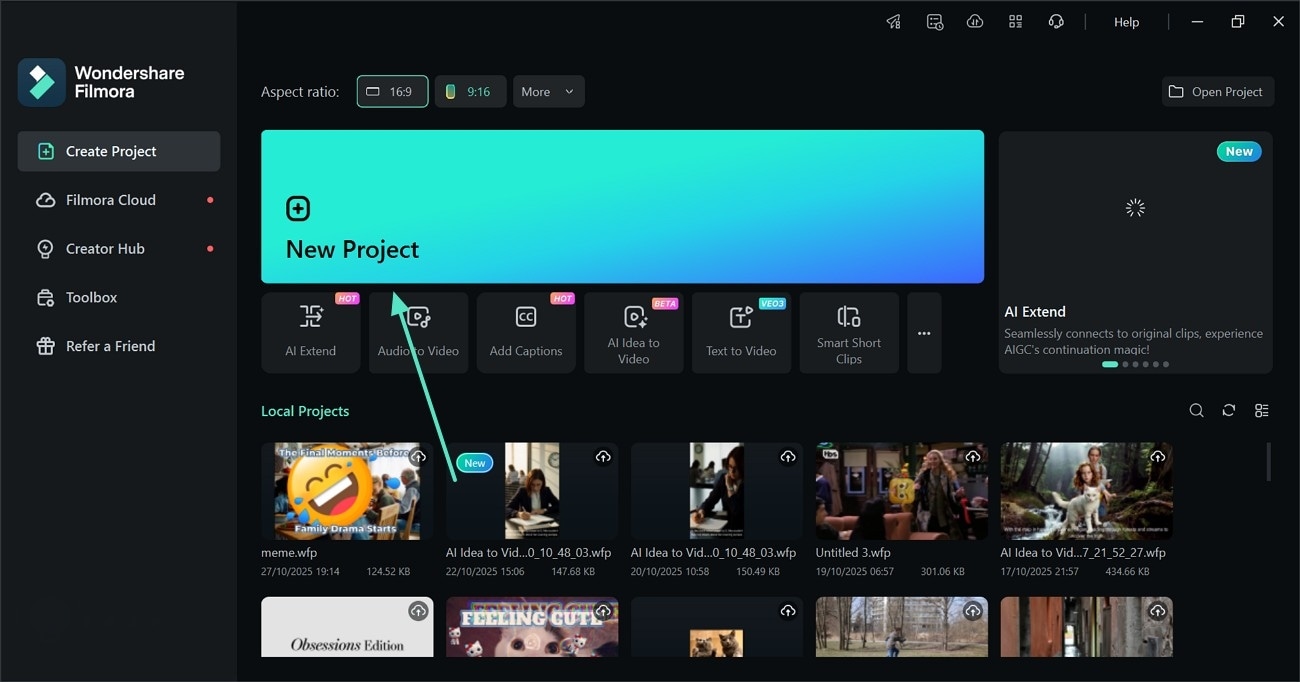
Step 1 Start a New Project First
- Select the "New Project" button.
- Now, import a starry night sky image into the editing interface.
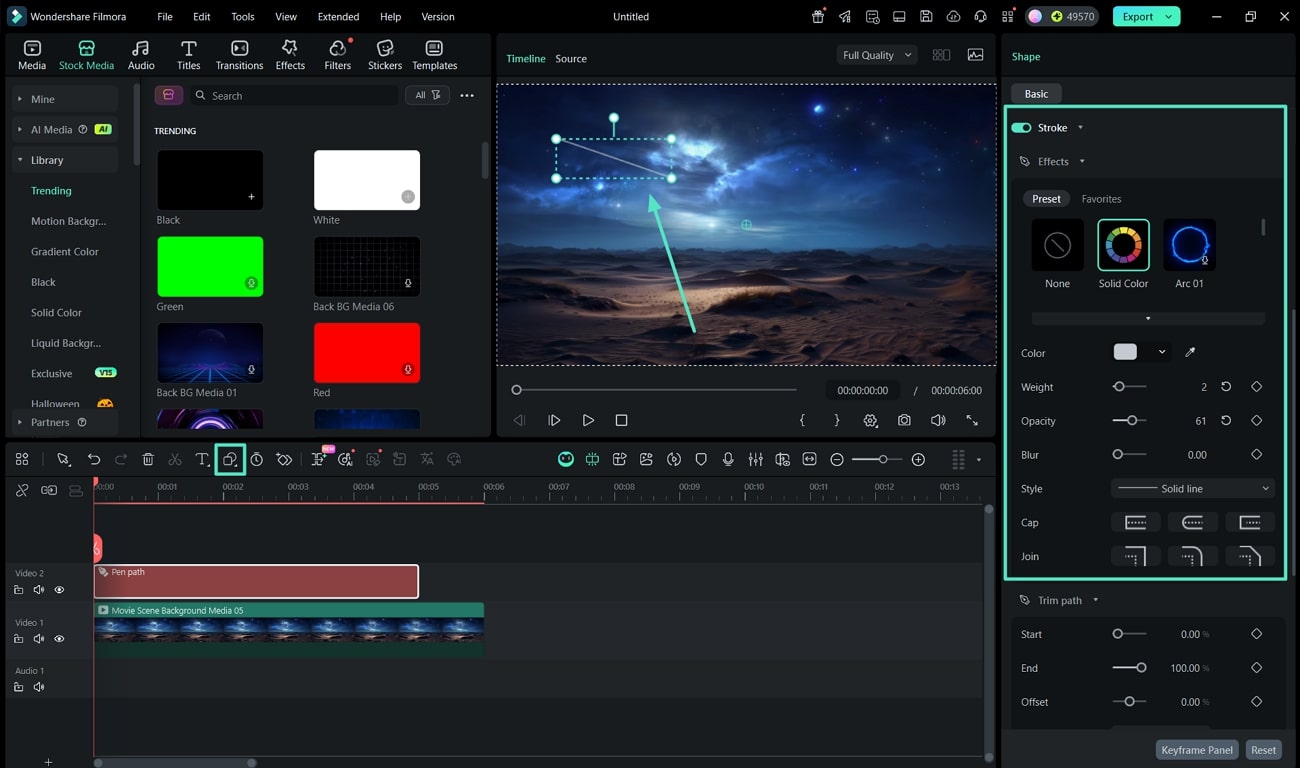
Step 2 Use the Pen Tool to Draw the Path of the Star
- Select the "Pen Tool" option from the "Shapes" drop-down menu above the video timeline.
- Next, draw a line on the preview window to determine the motion path of your star.
- Go to the "Stroke" section and define the "Color," "Weight," and "Opacity."
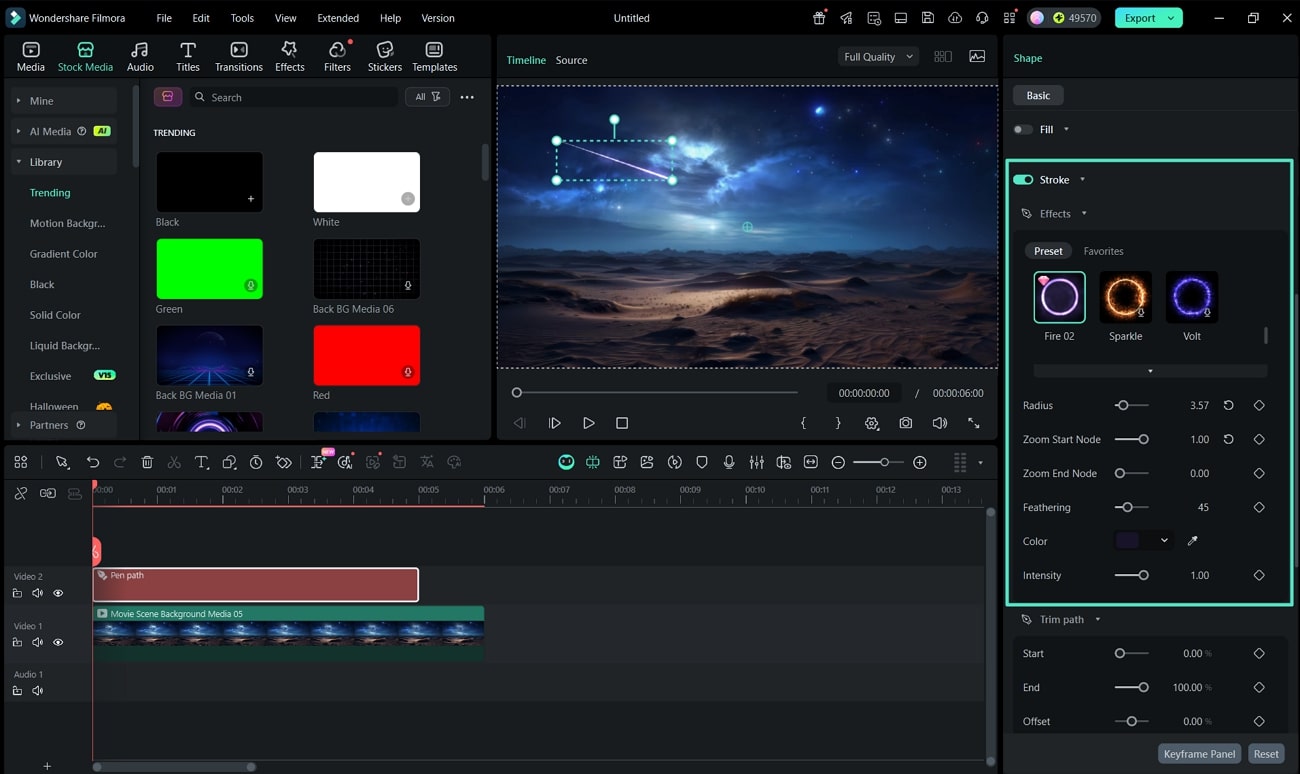
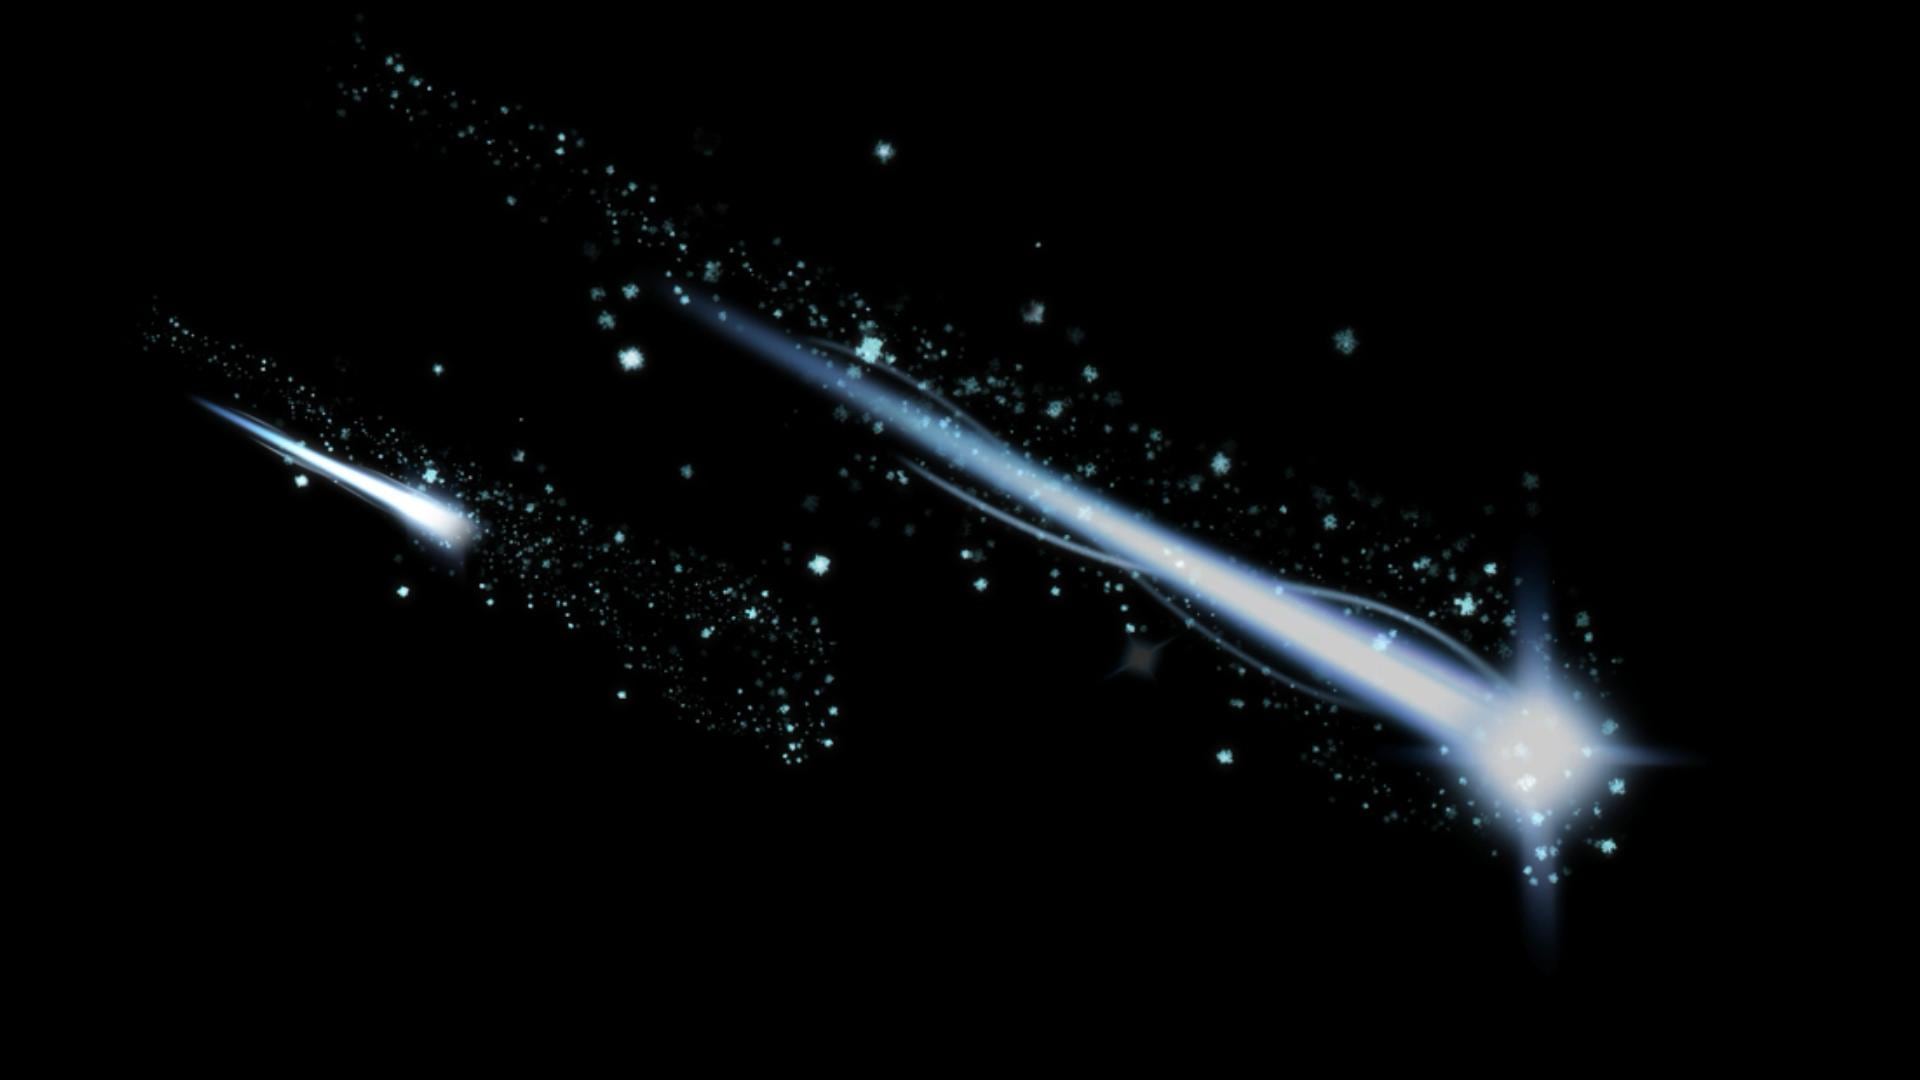
Step 3 Create the Shooting Star Outlook
- Change the preset to an option that matches a shooting star's appearance.
- Adjust parameters like "Radius," "Zoom Start Node," and "Zoom End Node" to vary the thickness, making the tail wider and the tip thinner.
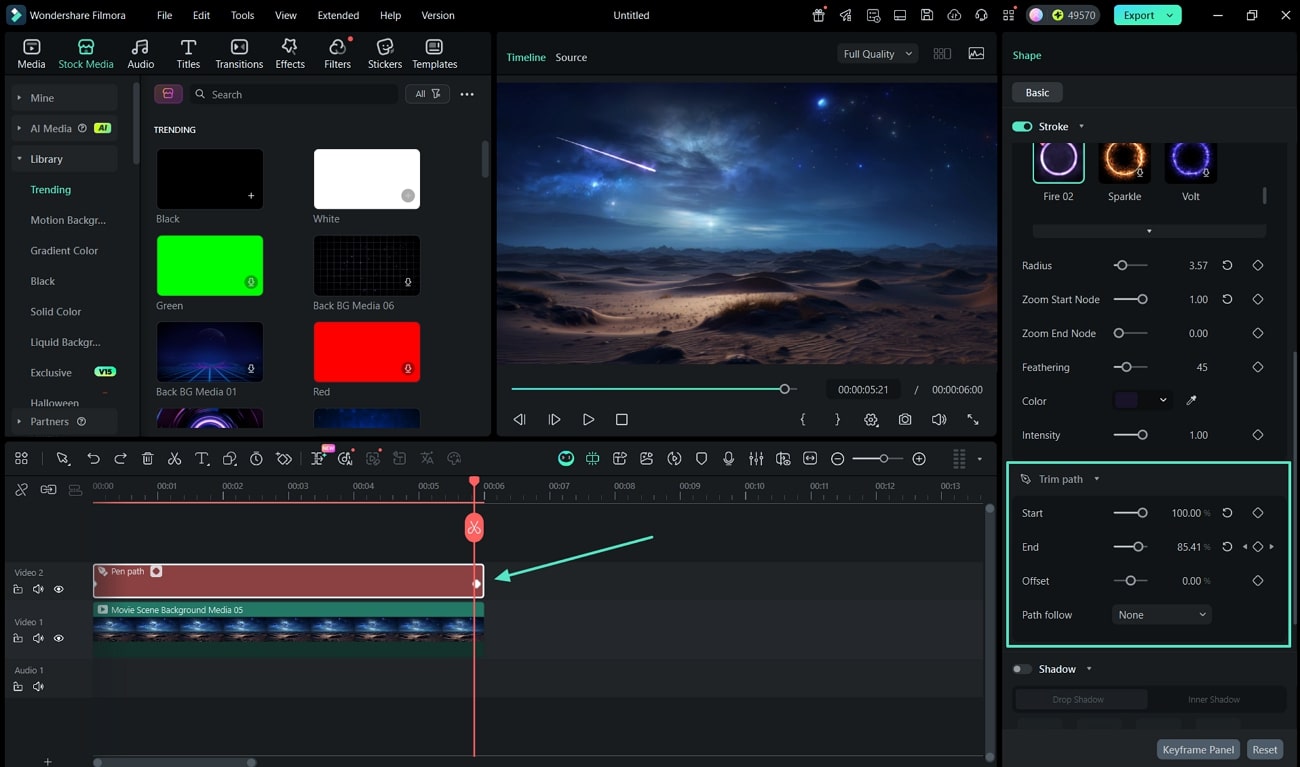
Step 4 Add Trim Path Specifications for Motion
- Place the playback slider at the start, set the "End" value to 0%, and enable the keyframe icon.
- Move the slider to the end of the clip and set the "End" value to 100% to animate the star's trail.
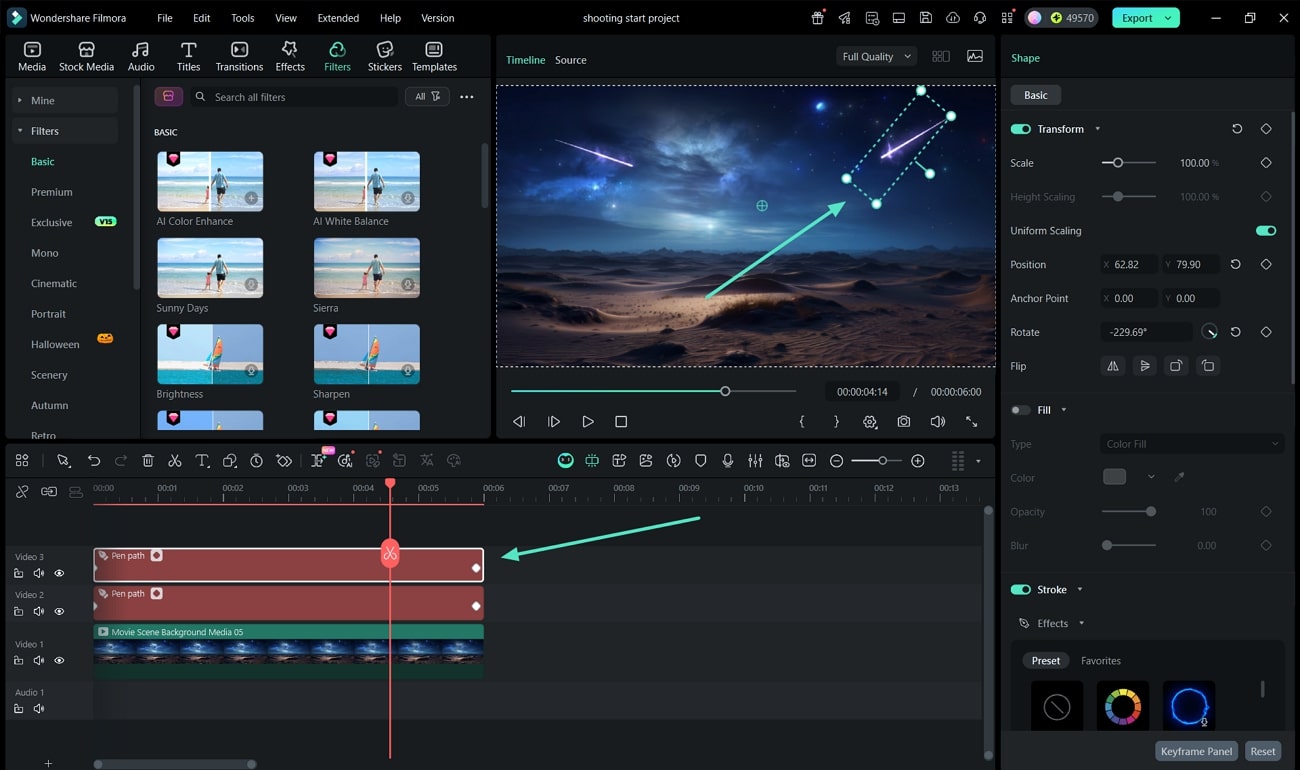
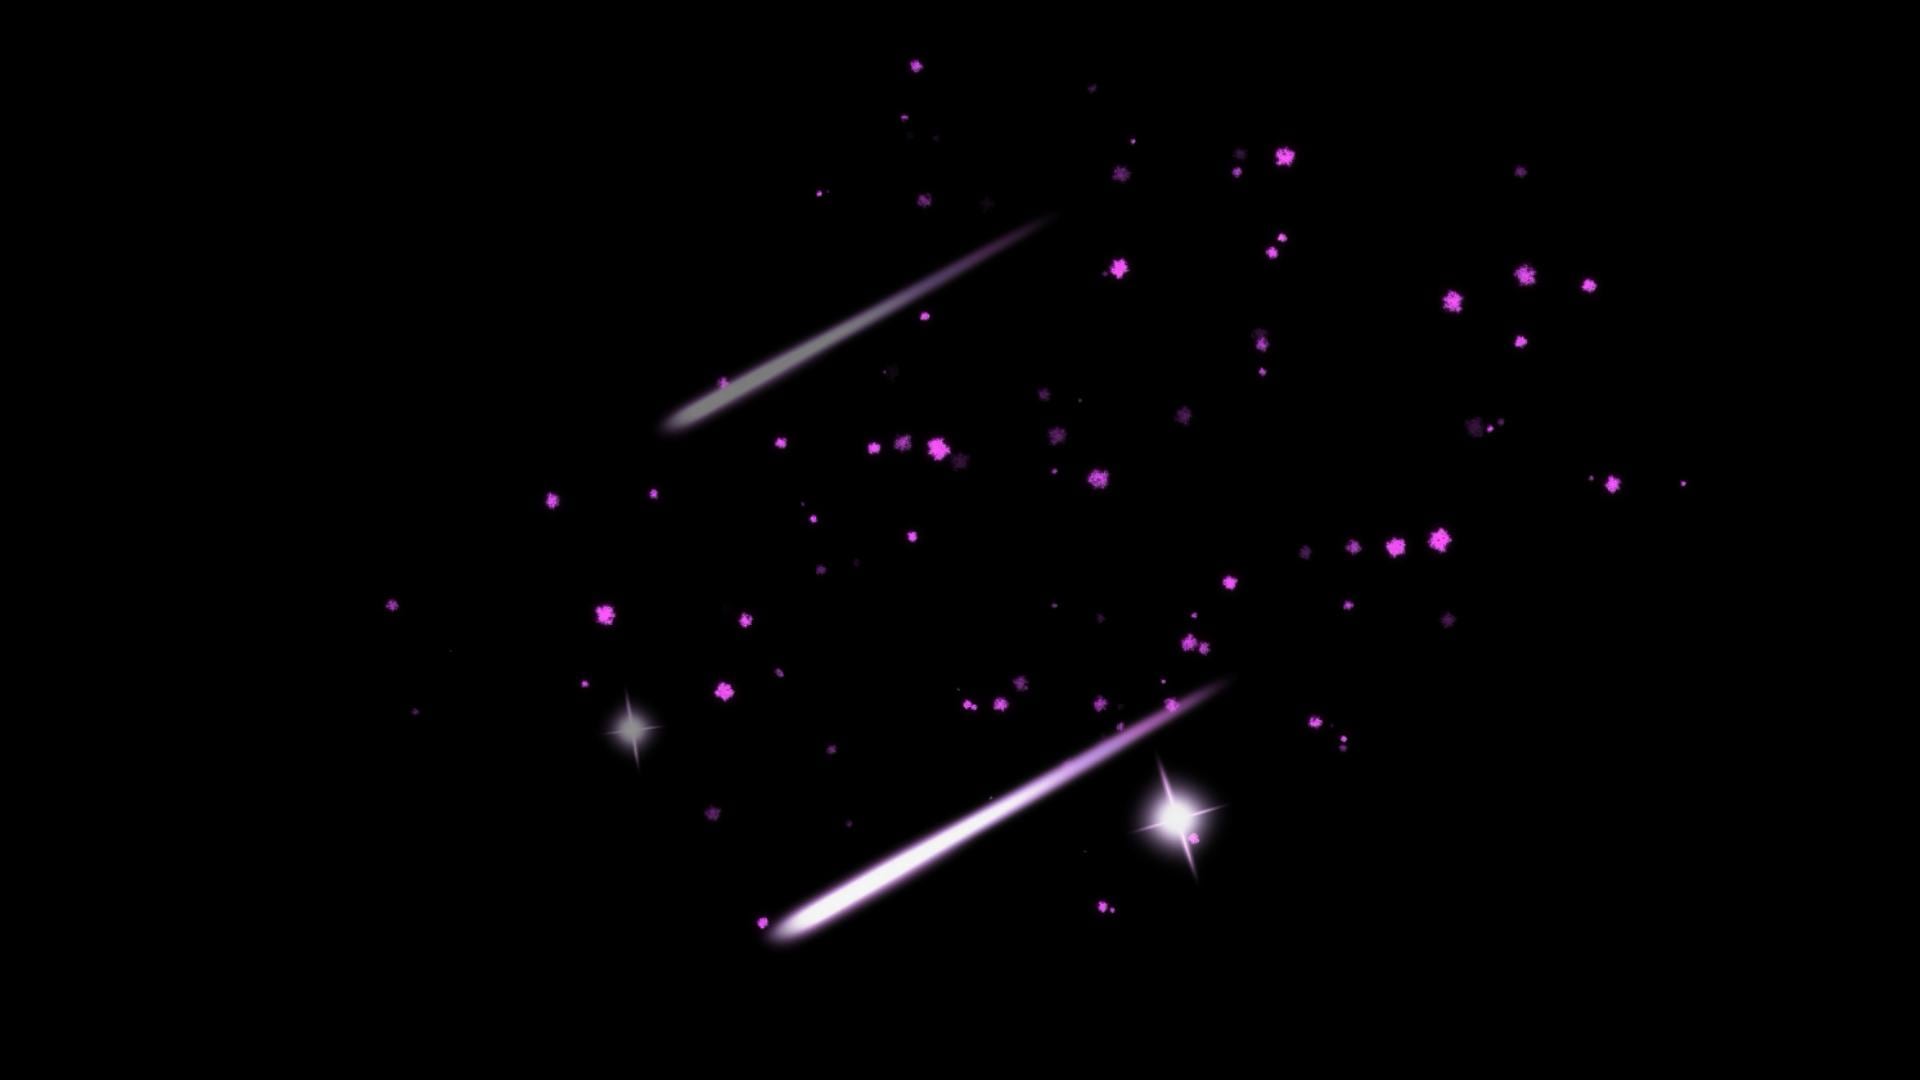
Step 5 Add More Shooting Stars Across the Video
- Copy and paste the "Pen Tool" element within the timeline.
- Reposition and stagger their timing to make multiple shooting stars appear at different angles.
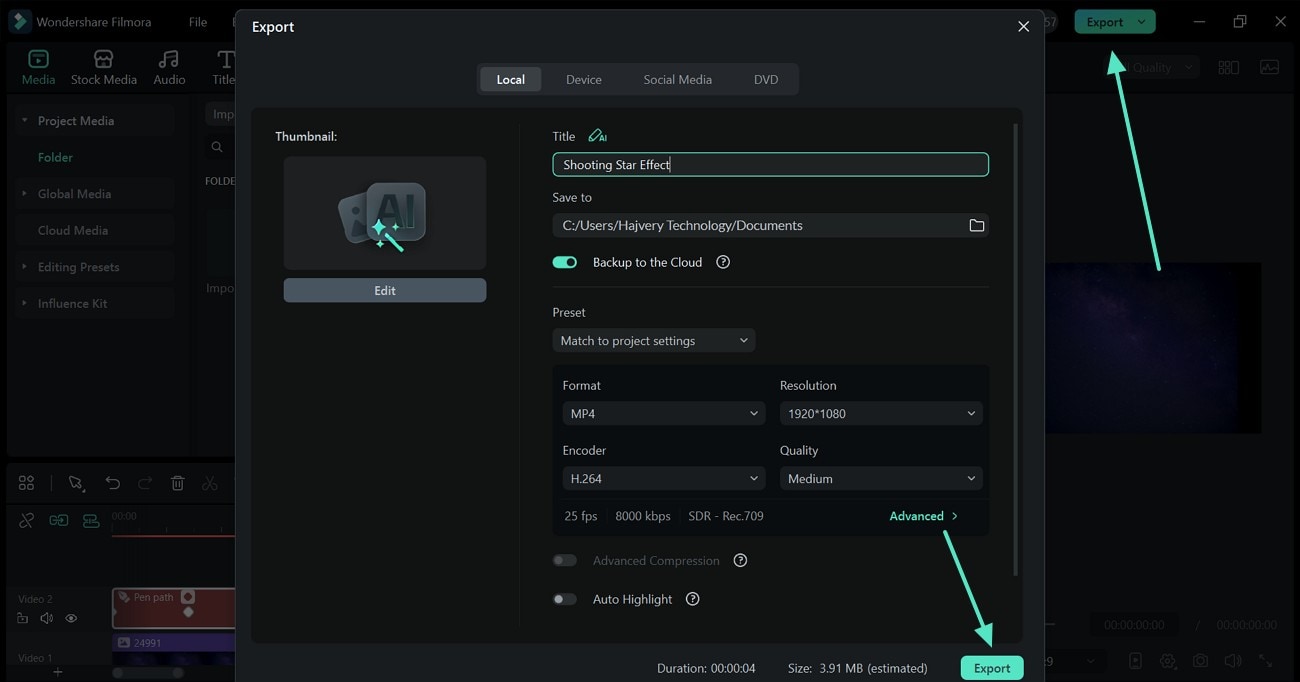
Step 6 Export the Shooting Star Effect Video
- Experiment with different angles and adjust frame intervals to make the motion appear natural.
- Finally, click "Export" to save your shooting star effect video with the desired format and resolution.
Note: If you don't want to draw the shooting star effect yourself, Filmora also offers a variety of ready-made shooting star stickers and animation effects in its media library. You can simply drag and drop them onto your video for a quick and polished result—no manual drawing required.

Part 3. When You Might Need After Effects Instead
Although we have discussed Filmora as the more appropriate choice, let's see how After Effects can help. After Effects can also create a shooting star effect using shape layers and keyframes. It requires manual motion paths, glow adjustments, and compositing steps. The following guide explains how to make a shooting star in After Effects:
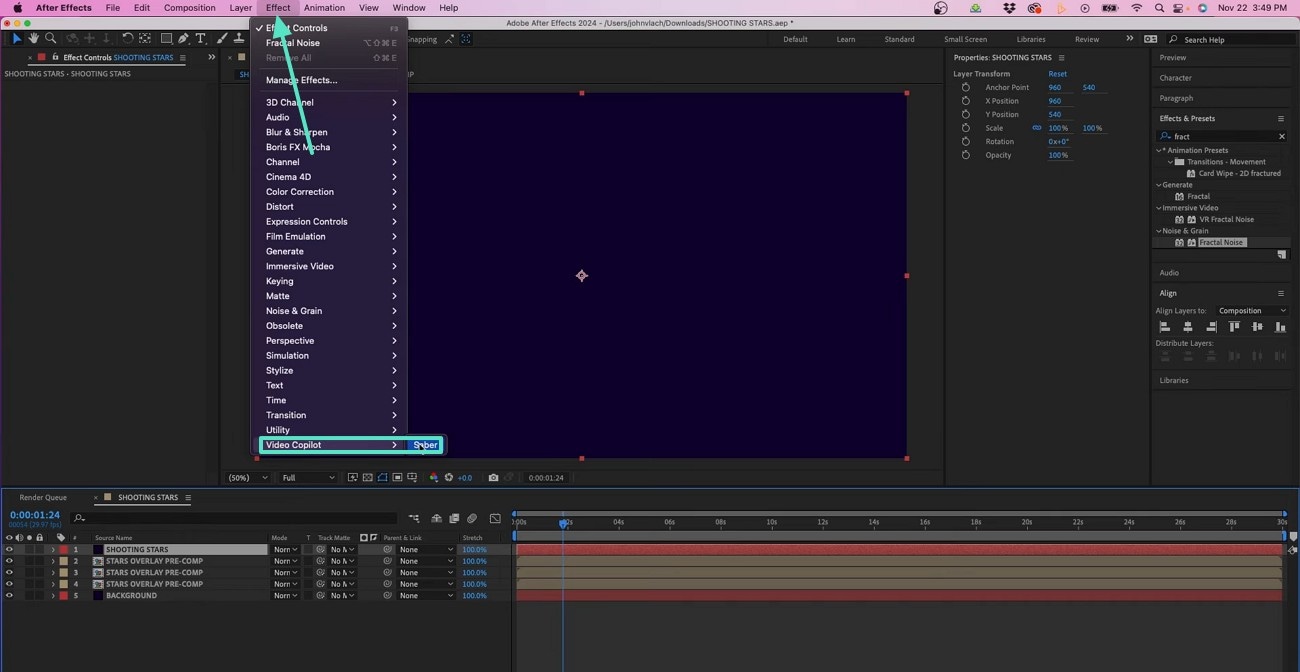
Step 1Use Saber Plug-in
- Enter the "Effect" menu and hover the cursor over "Video Control" to pick the "Saber" plug-in.
- This effect can only be created when you have switched to this plug-in.
Step 2Mask the Effect
- Now, you will see a saber in your preview window.
- Using the toolbar at the top, select the "Pen Tool" and draw a mask to define the motion of the effect.
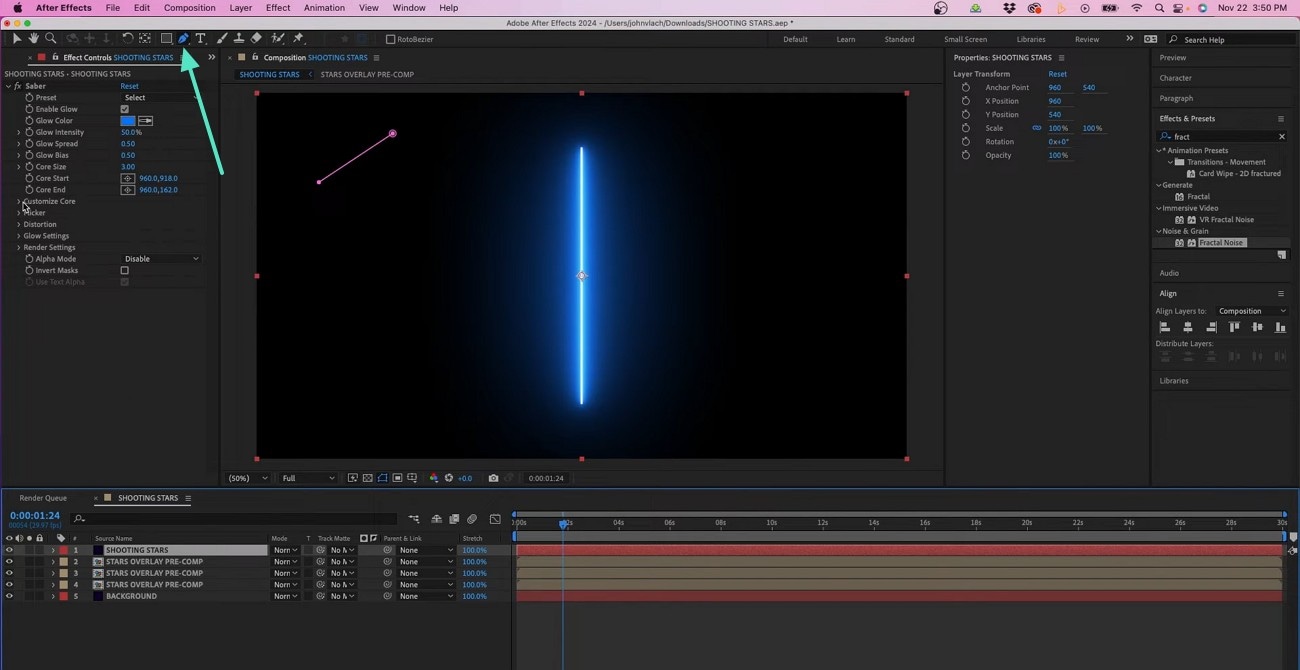
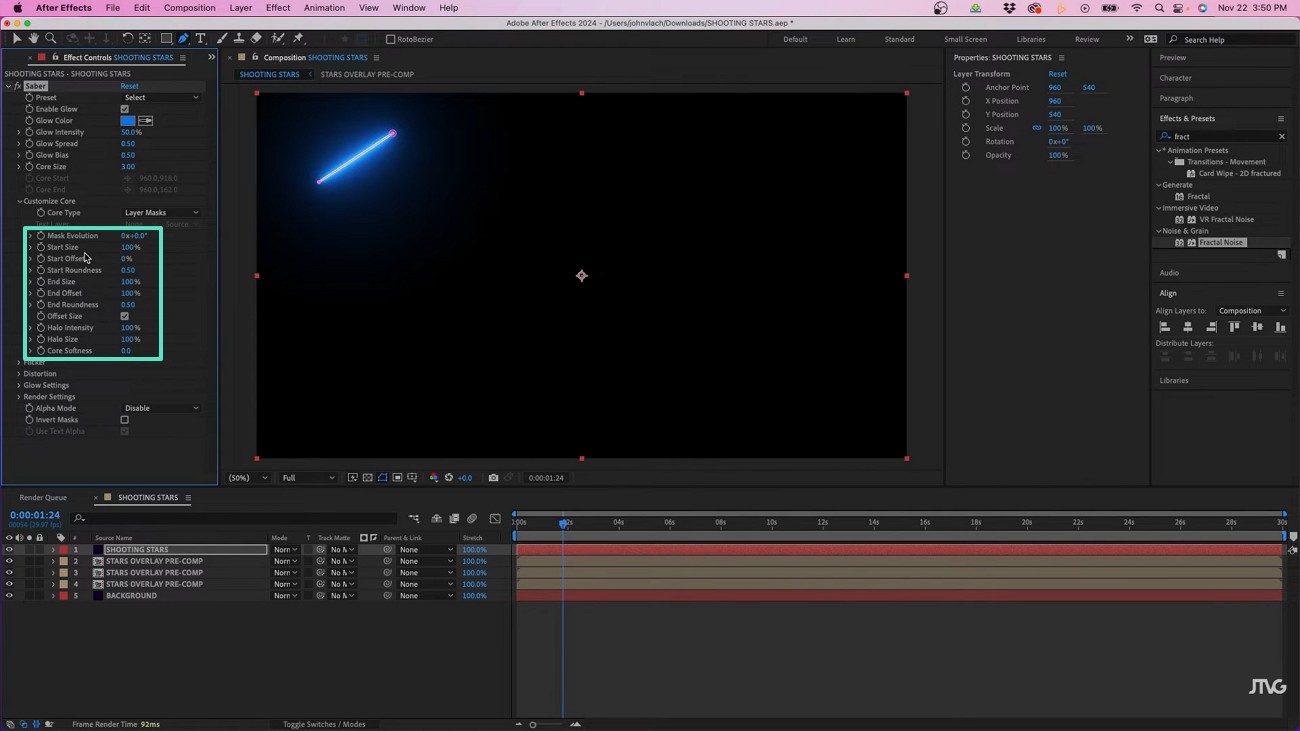
Step 3Adjust Size of Saber for Star Effect
- From the left panel, adjust the size of the saber.
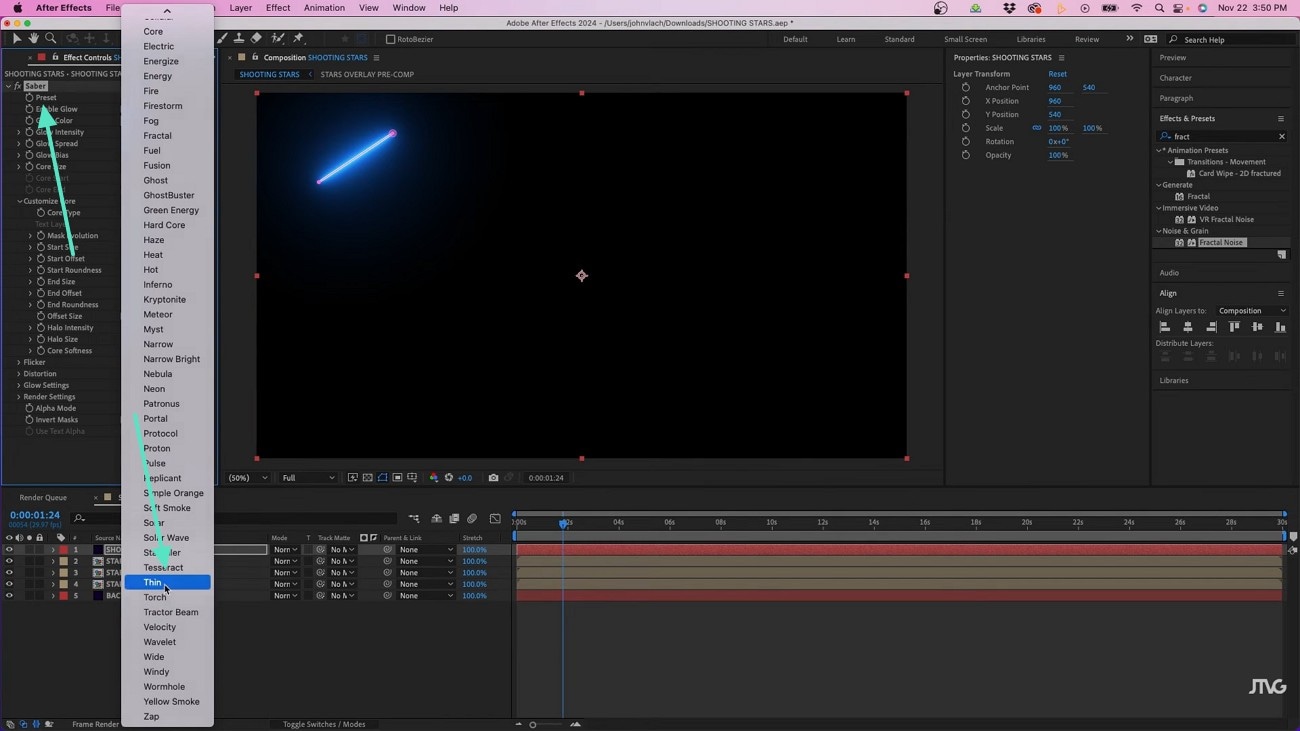
Step 4Set Shooting Star Width
- For one-click size adjustment of the saber, enter the "Preset" and pick "Thin" to decrease the width.
Step 5Manage Star Offset
- Select the "Offset Color" for a more realistic visual.
- Adjust the "Start Offset" and the "End Offset" settings. Make sure that one of them is 0 and the other is 100.

Conclusion
Conclusively, the shooting star effect is a timeless element in videos. Adobe After Effects is usually chosen for creating this visual. Although helpful, it has a complex method and requires a plug-in to function. Filmora is a more practical choice, as it offers easier functionality. It provides a comprehensive interface and steep learning curve.
secure download 