
 100% Security Verified | No Subscription Required | No Malware


 ChatGPT
 Perplexity
 Gemini
 Claude
 Grok
Grok
In this article
Retro aesthetics are back. The VHS effect is trending in music videos, Instagram Reels, and short-form videos. It creates grain, tape distortion, glitch lines, and classic time stamps. This low-fi vibe adds nostalgia and cool flair.
It is easy to apply in Filmora with drag-and-drop tools and presets. Just choose your style, layer it on, and export. Are you ready to learn how to make the VHS video effect on your clips? Master how to add that retro tape look with Filmora now.
Part 1. What Is the VHS Effect and Why Is It Popular Again?
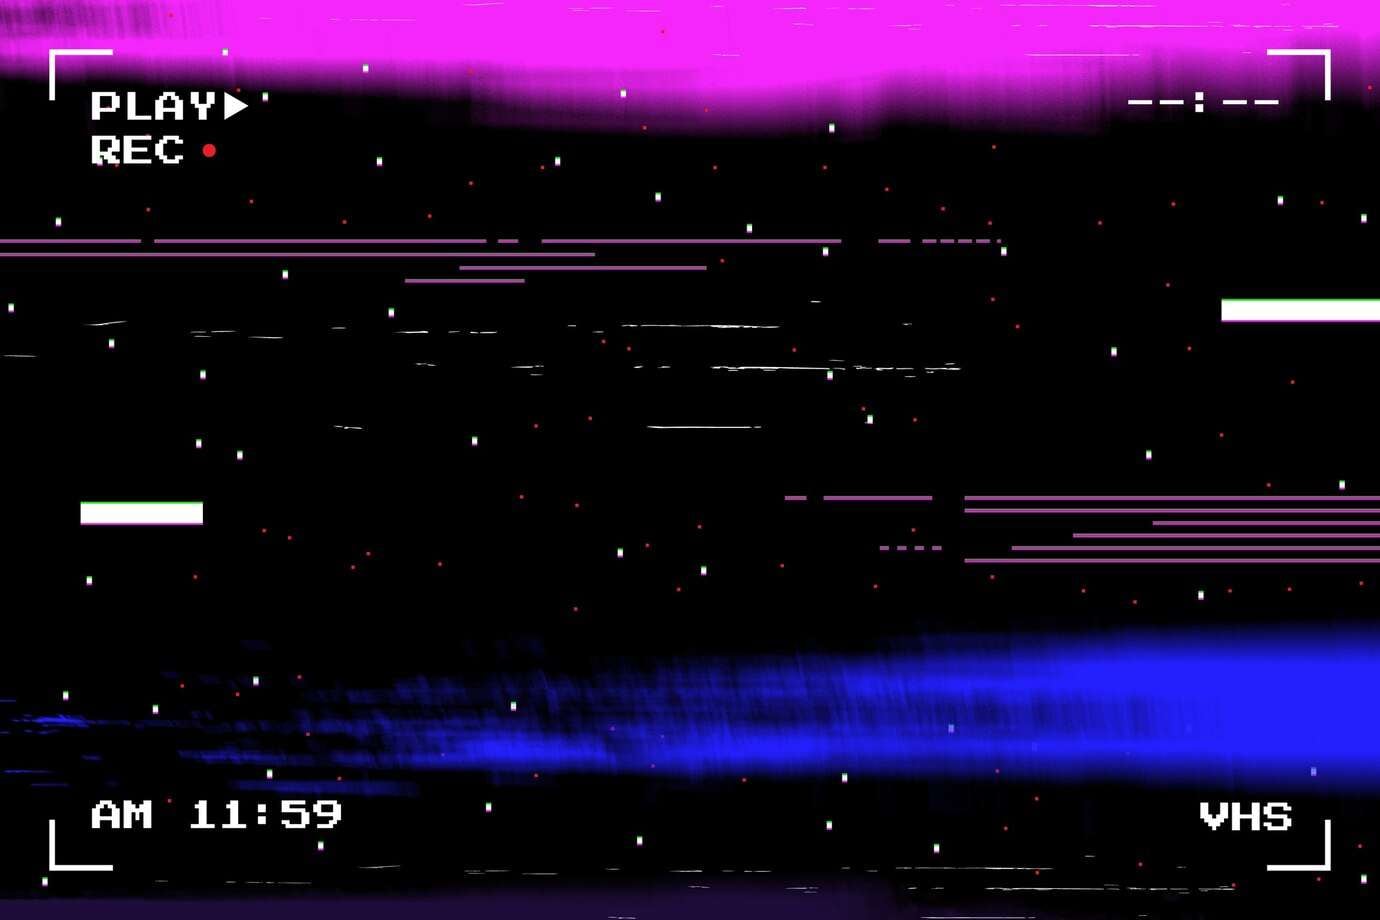
The VHS effect looks like old VHS tapes from the 1980s and 1990s. It adds several key elements:
- Tape distortion that wobbles images slightly
- Analog noise, or dust, and static visual
- Glitch lines and color offsets like red, green, or blue edges
- Timestamp overlays with date and time in pixel fonts
This look gives a nostalgic, retro vibe. It can make new footage feel like a found object in a time capsule. The VHS style is popular on TikTok, YouTube Shorts, and Instagram. Creators use it in music videos, dance videos, tutorials, and comedy clips to catch attention. It brings style and emotion in just a few frames.
Using the VHS effect helps content stand out in crowded feeds. It adds character and identity. Wondershare Filmora makes it easy to apply this look without needing advanced software. Drag the VHS filter, add noise or a timestamp, and your clip transforms fast.
Here’s a smiling girl GIF from Filmora’s stock media with the VHS effect added. The footage includes soft static, chromatic blur, and slight grain. Her cheerful expression mixed with the retro visuals gives it a nostalgic charm, like a candid moment captured from an old camcorder.
Download Filmora today to start using retro VHS styles with no extra work. You can use VHS overlays, glitch filters, noise layers, and timestamp titles inside one app. They bring back old memories and give your videos a bold look.
Part 2. How To Apply VHS Effect in Wondershare Filmora
Making a VHS-type video is easy with Filmora. Follow these steps to get that analog tape vibe:
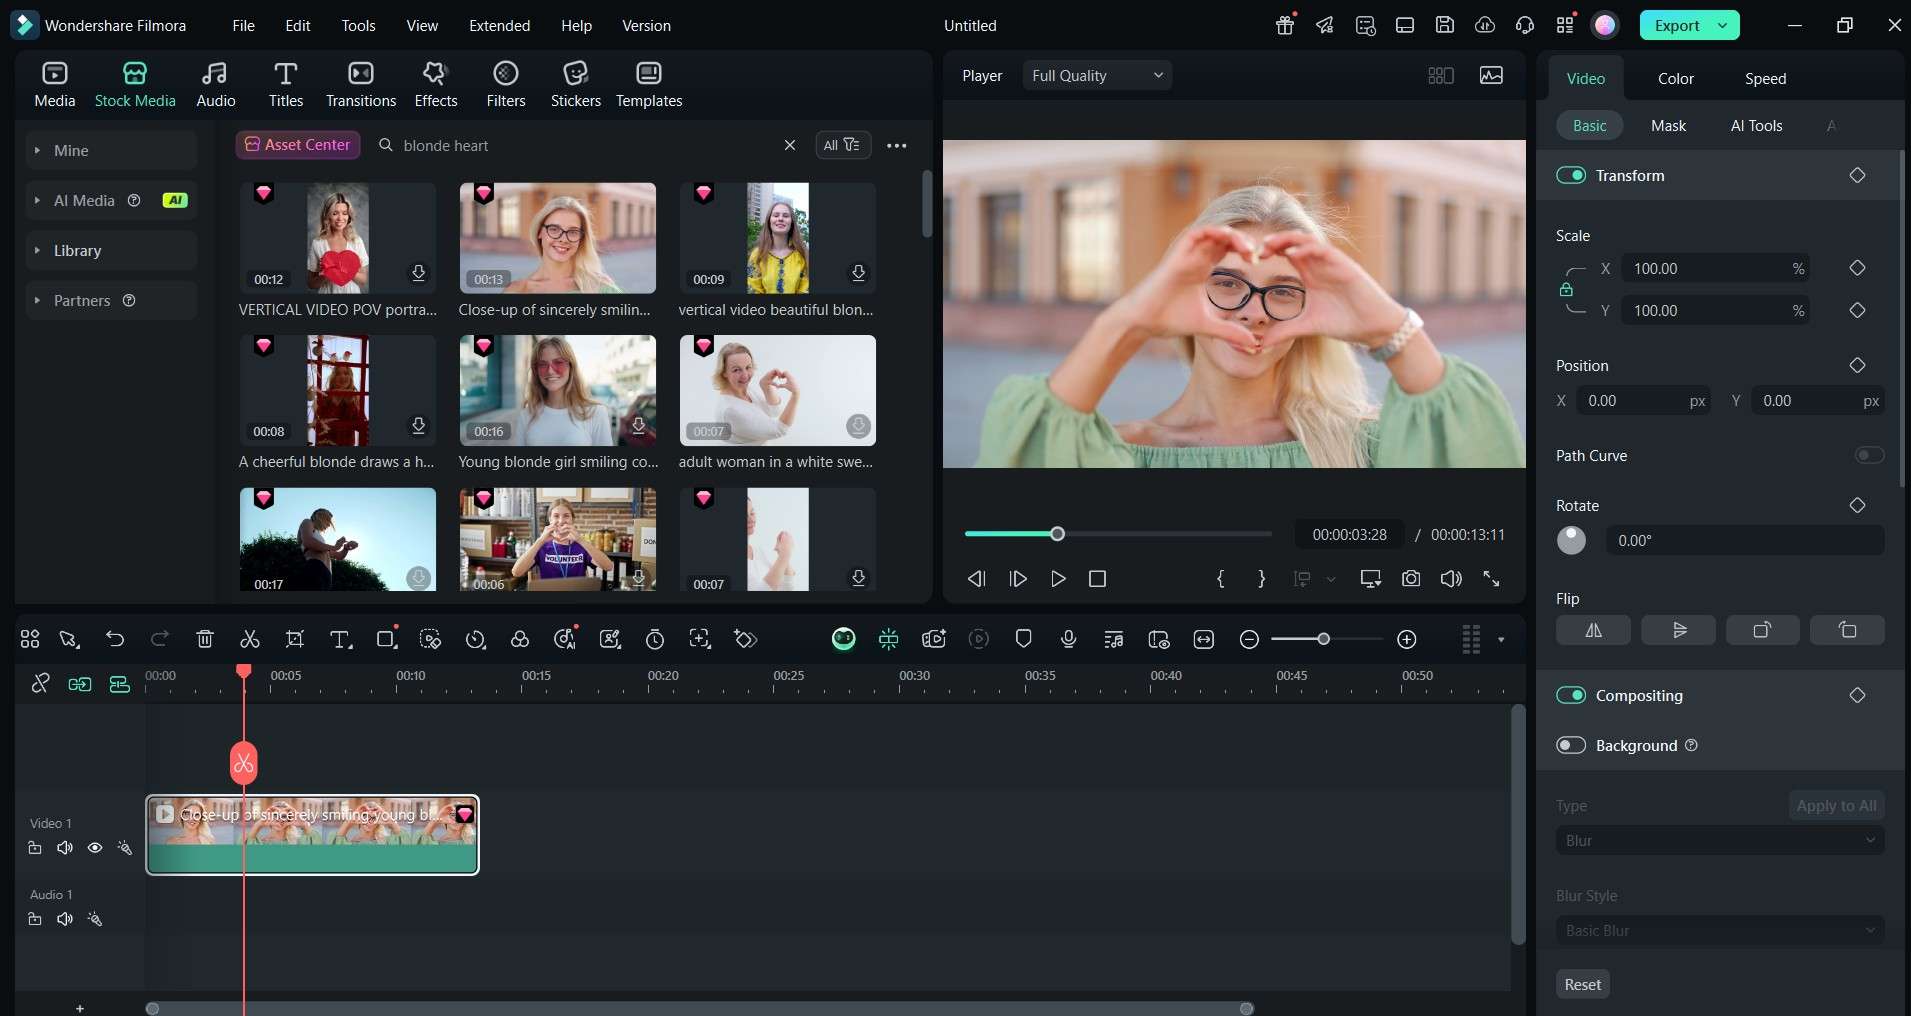
Step 1: Import Your Footage
Download and install Filmora on your computer. Launch the tool. Next, log in or register for a Wondershare account to get started. Create a new project. Drag your video clip into the media library and drop it onto the timeline, or go to Stock Media to use built-in assets with Filmora’s creative tool.
 secure download

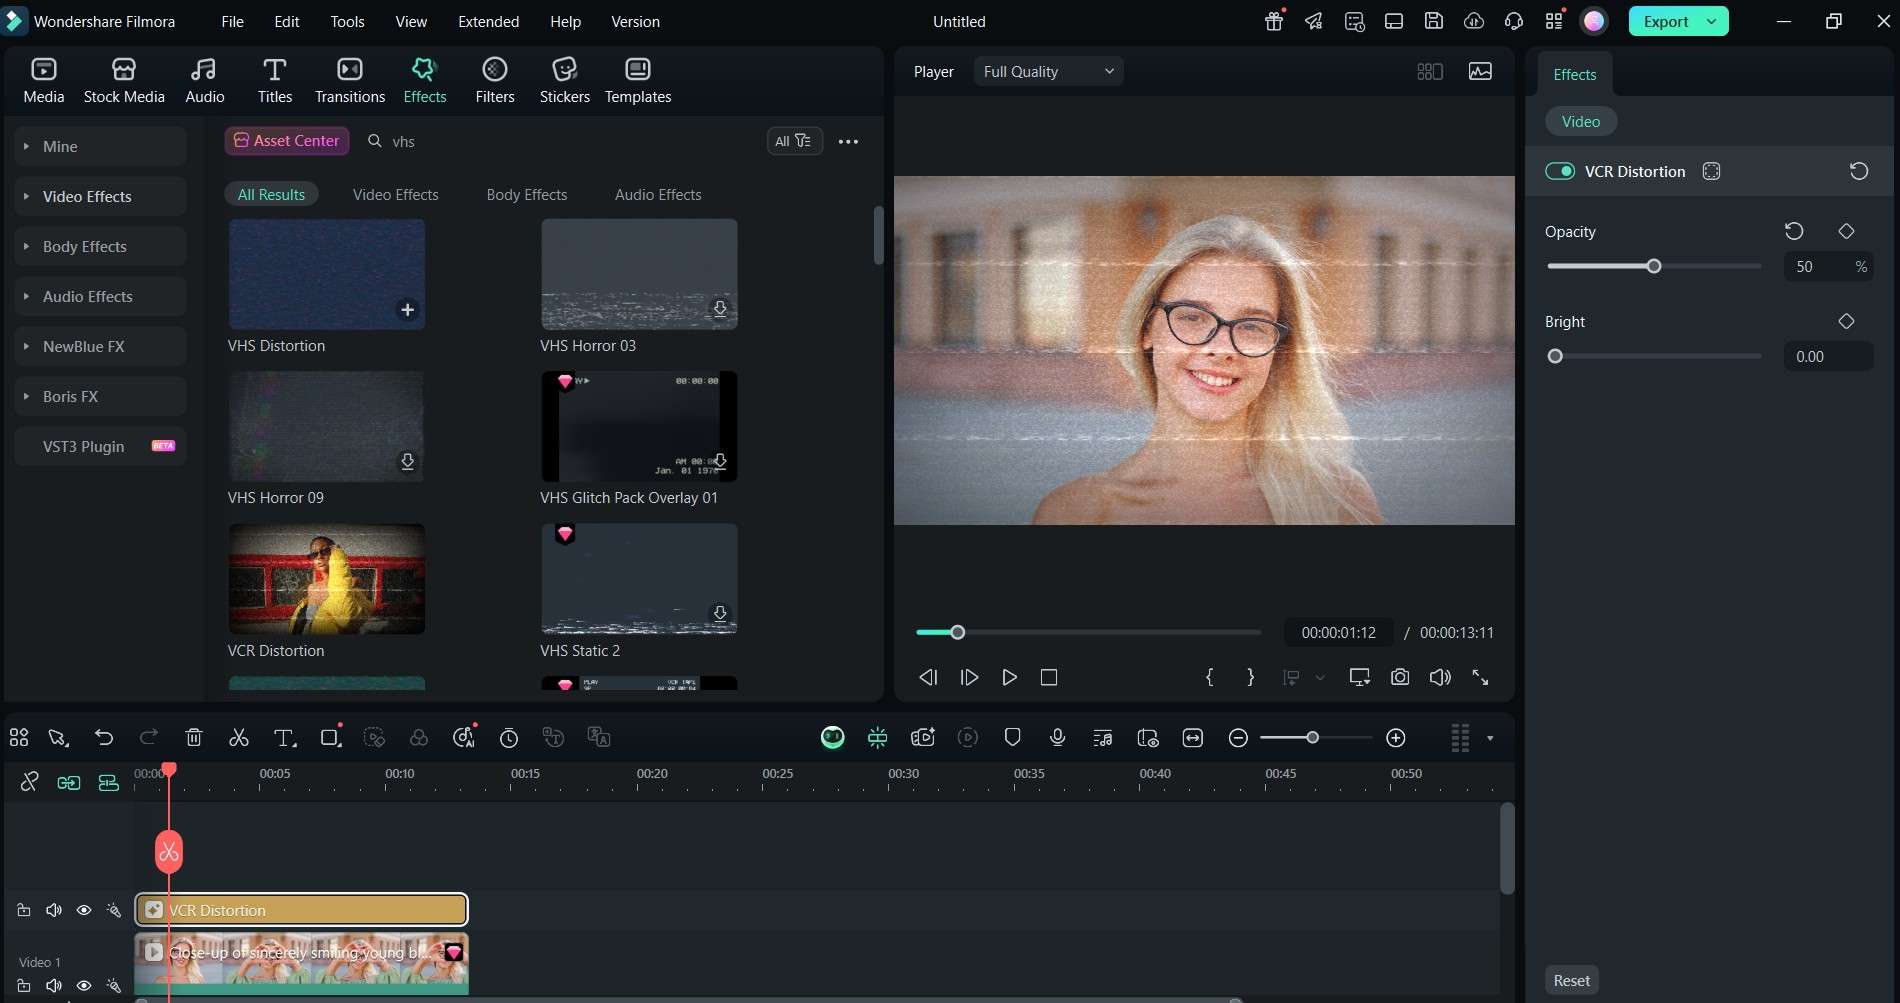
Step 2: Add VHS Filter
Go to the Effects tab and type “VHS” in the search box. Filmora shows filters like “VHS Film” and “VHS Distortion.”
- Drag “VHS Film” above your clip to add grain and static.
- Drag “VHS Distortion” for tape wobble and glitch lines.
Filmora applies effects immediately, so you can preview.
Below is a sample GIF with the VHS effect added to your content:
Step 3: You can layer extra effects for more impact. Search for “Scan Lines” or “Noise.” Drag these over your clip. Adjust sliders to blend styles. Lower the opacity of scan lines so they look subtle.
Step 4: Add Timestamp Overlay
Go to the Titles tab and search “VHS.” Look for VHS-style timestamp presets. Drag one on top of your clip and align it at the top or bottom corner. Edit the date or time if needed.
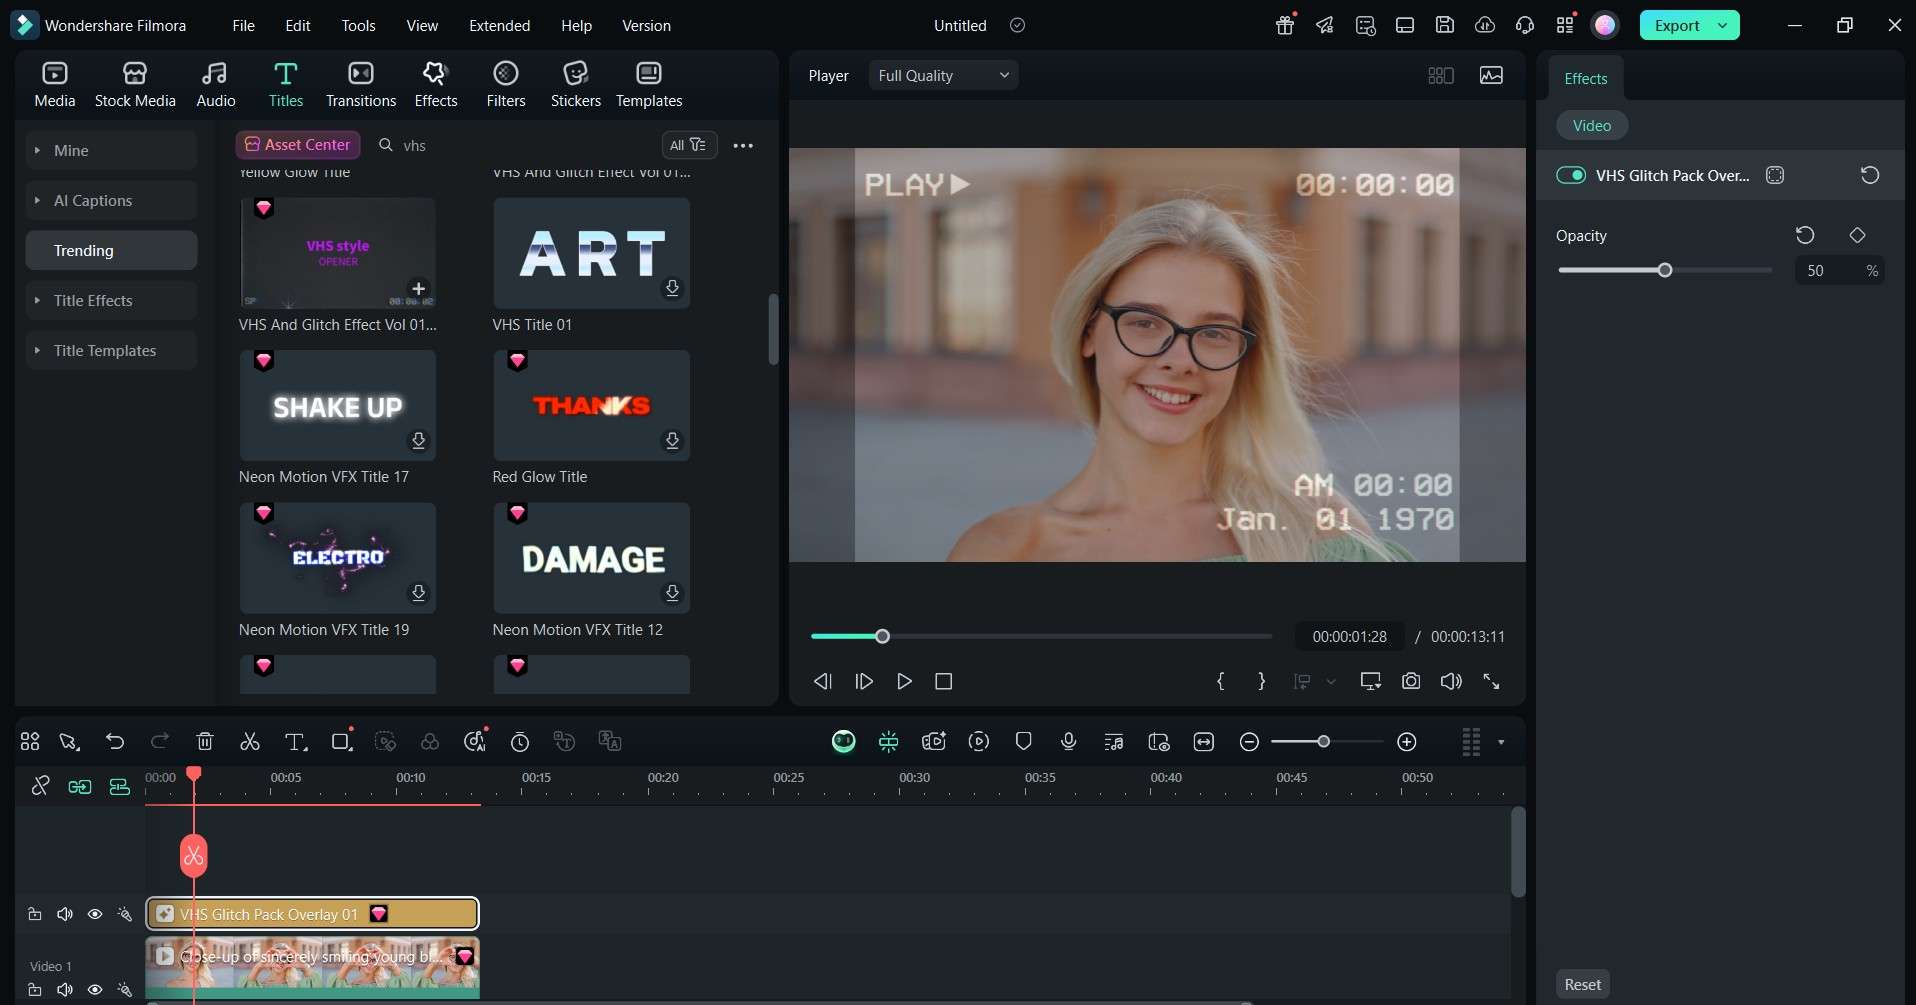
Step 5: Fine-Tune the Look
Select each effect to adjust settings.
- For grain effects, change the strength and opacity.
- Glitch filters have speed and distortion options.
- Timestamp titles let you edit font size, color, and position.
Use keyframes to animate distortion or timestamp fade. Keyframes let you show a tape start or stop effect at the right moment.
Step 6: Preview Before Export
Play the clip fully to make sure all layers look good together. Adjust opacity or timing if needed.
Step 7: Export Your Video
Click Export and choose MP4, MOV, or even GIF format. Select your resolution and save. Your video now looks like it was shot on vintage tape, but with modern quality.
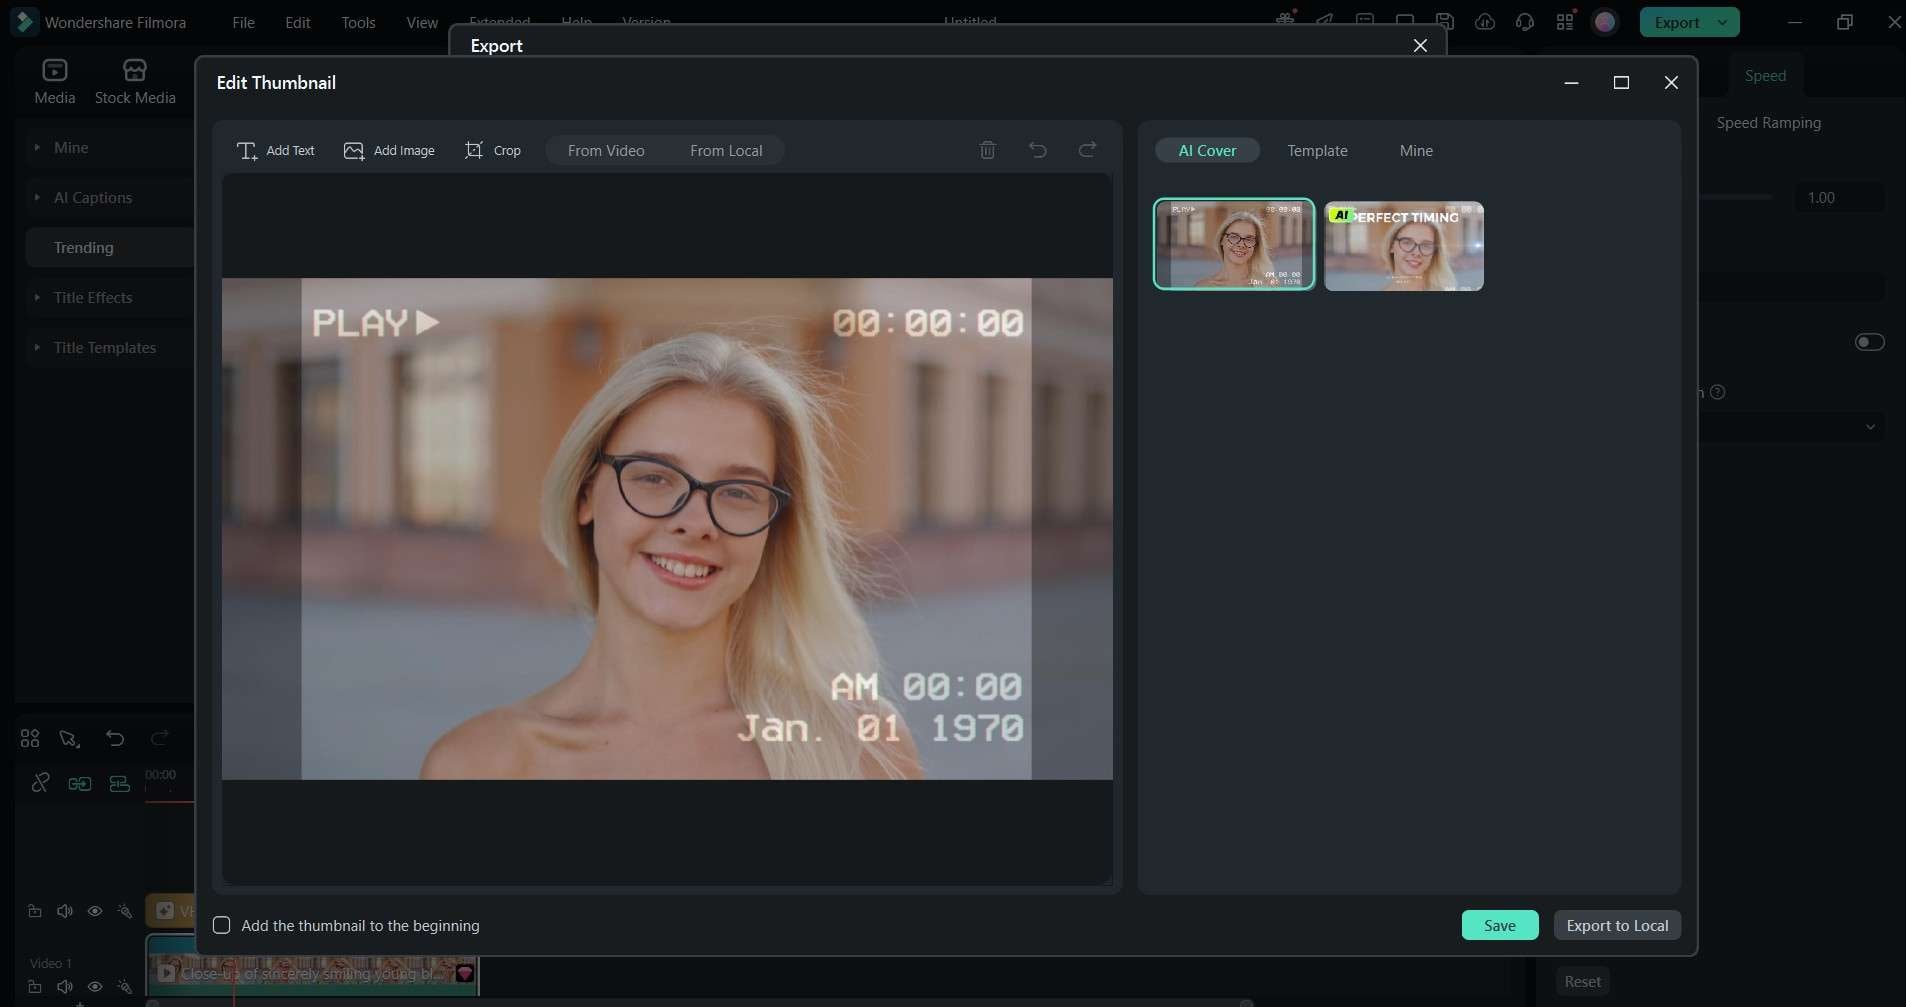
Below is the finished product:
Filmora gives you all the VHS tools in a few clicks. It’s much easier than manual editing in other apps.
Part 3. Best VHS Effect Presets and Templates To Try
Filmora and Filmstock offer creative ways to style your VHS look. Here are the top options to try:
80s Family Camcorder Look
This preset gives standard grain, pale contrast, slight color shift, and scan lines. It recreates the feel of home movies from the '80s. Use it for family content, travel clips, or personal vlogs. Adjust blur and contrast for authenticity.
Horror or Thriller VHS Style
This style adds heavy distortion, quick glitch lines, and jitter. It feels tense and creepy. It suits horror comedy, haunted clips, or thriller transitions. Use glitch speed and noise sliders to customize the mood.
VHS Glitch Transitions
These are preset cuts that mimic tape damage between clips. Use them to jump cuts faster with style. They include static bursts and color split effects. Drop a glitch transition between scenes for action edits.
VHS Title Templates
Find VHS-style title cards under the Titles tab by typing VHS. Choose timestamp titles or retro captions. Easy to insert and edit. Use them to give context before your clip starts.
VHS Template Packs on Filmstock
Filmstock offers packs with filters, overlays, titles, and transitions. You can preview styles using GIFs in Filmstock. Download free trial packs to test before buying.
Customize and adjust effect strength, glitch speed, timestamp font, and overlay opacity. All presets work with the Filmora free trial. No watermark appears in previews.
Related Templates For You to Try


Part 4. VHS Effect Online Tools: Should You Use Them?
Online VHS editors are a quick way to give your videos a retro feel. These tools work right in your browser, so they’re easy to try. However, not all of them offer the same quality or control. Here are three popular online tools, with what they offer and where they fall short.
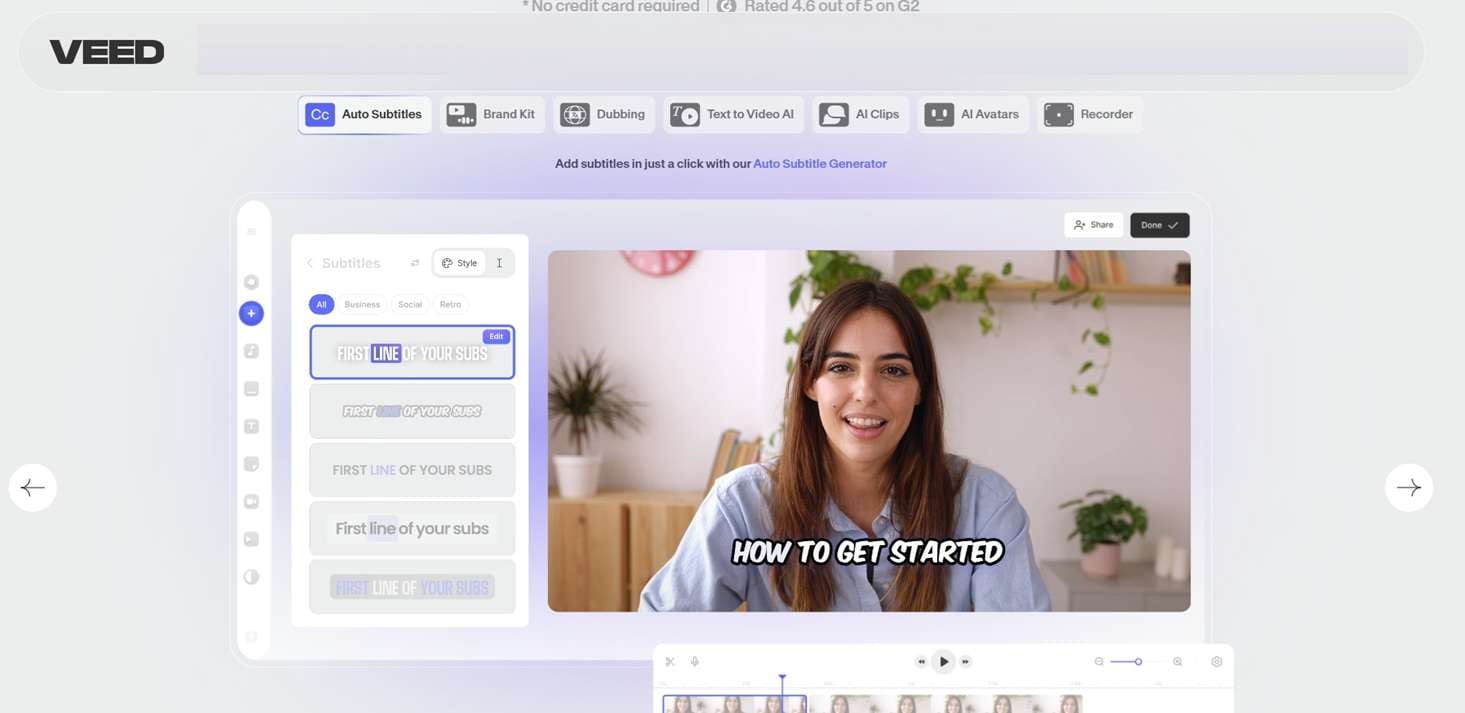
Veed.io
Veed.io is a beginner-friendly video editor with VHS glitch effects. You can upload a clip, apply a retro filter, and export in just a few clicks. It’s useful for short social media videos or previews you want to test fast.
Key Features:
- Built-in VHS and glitch filters
- Easy-to-use drag-and-drop interface
- Direct export to social media formats
Limitations:
- Free exports have watermarks
- Customization is very limited
- Lower resolution unless you upgrade
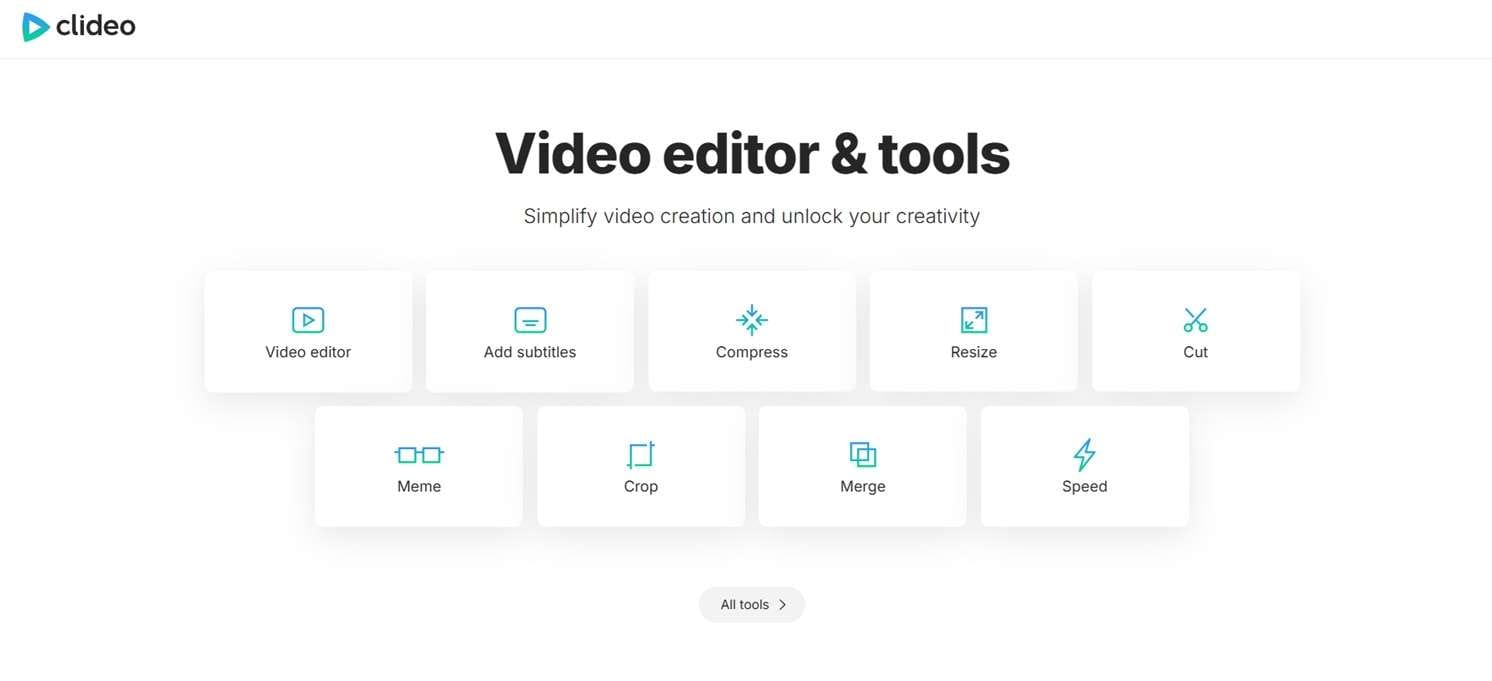
Clideo
Clideo offers fast editing with a few VHS-style effects. You just upload your clip, choose a filter, and download it. It works well for simple edits and basic previews.
Key Features:
- Simple user interface
- No login is needed to get started
- Fast video processing
Limitations:
- Watermarks on all free videos
- Limited control over the VHS look
- Not ideal for longer video clips
Kapwing
Kapwing has more VHS filters and editing tools than most browser editors. You can also use it to add text, stickers, and effects. It works well for social content creators.
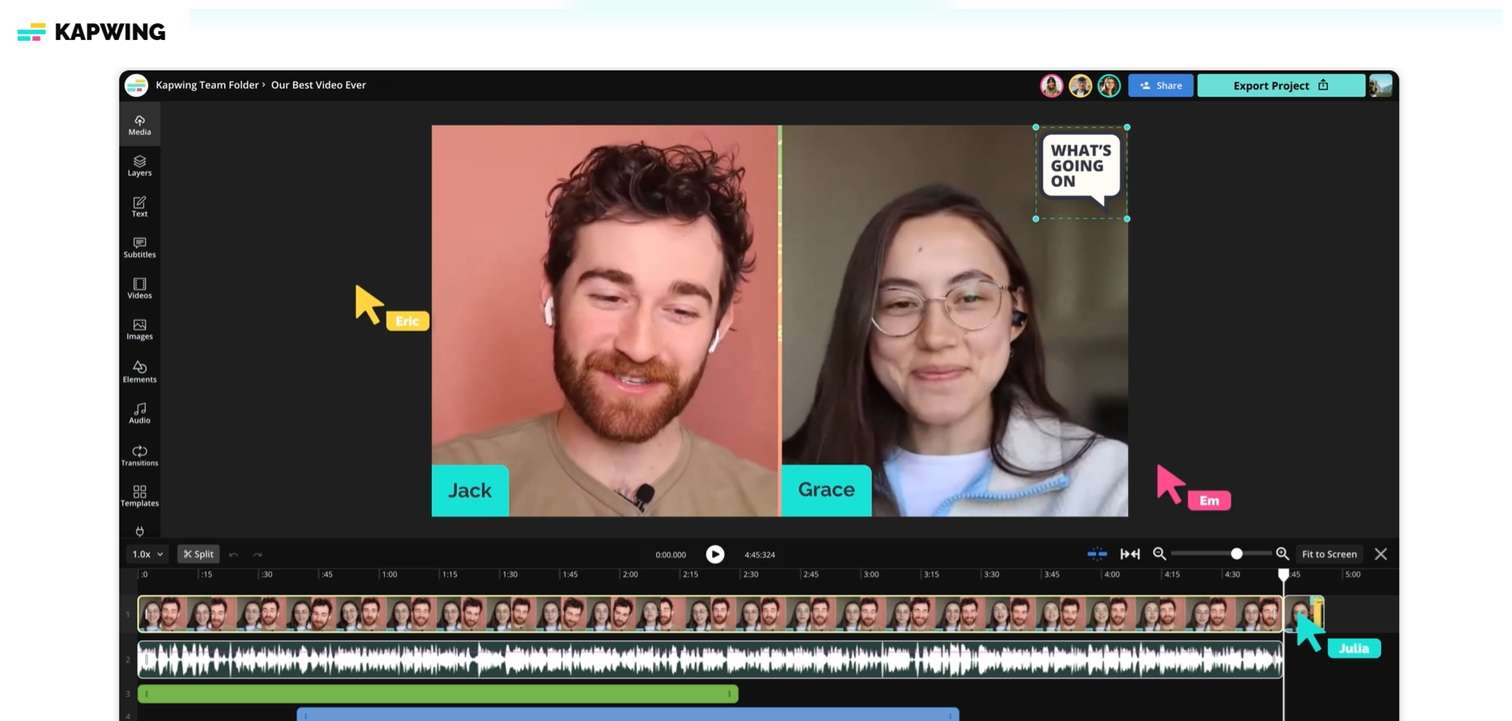
Key Features:
- VHS presets and glitch animations
- Online timeline editor
- Text and sticker templates
Limitations:
- Watermarks on the free plan
- An account is needed for higher quality
- VHS effect strength cannot be adjusted
These online tools are useful for quick edits. But for detailed projects with no watermark and full control, Filmora is still the better option.
Conclusion
Filmora makes it easy to apply a retro VHS effect to your videos. Use grain filters, glitch overlays, scan lines, and timestamp titles. Just drag and drop. No manual editing needed. All presets and effects are beginner-friendly and work with free templates. You can also customize glitch speed and grain depth to match your creative style.
The platform is a powerful yet easy tool to use if you want to know how to make a video look like VHS in seconds. Try it now and bring back old tape style with modern polish!
