


 100% Security Verified | No Subscription Required | No Malware

Tutorial videos are a great way to communicate your skills to an audience worldwide. These skills can be a particular product review or simply a great hand in cooking.
Top-down tutorial videos are a great way to educate the general audience or give a tutorial perspective. To get competent results editing, go with wondershare filmora and sharpen your skills. Scroll below to learn about top-down videos and, after that, get their requirements!
In this article
Part 1. What Are Top Down Videos?
Well, you might have seen those cooking tutorials in which the camera is fixed upon the object as if shot from above. This angle is called top-down; the recorded videos are known as top-down videos.
The video will be on a make-up tutorial or a product review. Most commonly, the top-down angle is used in cooking tutorial videos. The reason behind this is that it allows the viewers to have a crystal clear perspective of the cooking ingredients. Look ahead to see the major things you need to record a top-down video!
Part 2. Prerequisites for Shooting Top-Down Videos
You don't need expensive or professional gear to make a top-down video. Because making edits on Filmora, you'll get proficient results. Check out the requirements below!
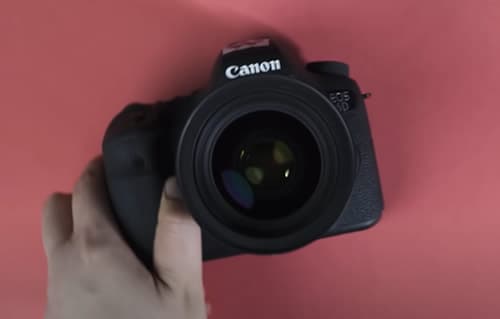
1. A good camera
First, a good camera is an essential requirement for a tutorial video. You can use a Mobile Phone to record a video, but nothing beats a good old DSLR. The better the quality of your video, the better your chances of attracting a general audience.
2. A C-stand
A Top-down video cannot be recorded without a reliable stand. If you are finding ways to record your video without a stand using DIY hacks, you will never achieve a good quality video.
Although it is true that you can use a few hacks and daily items to stabilize your camera to record. But keep in mind the risk of your equipment getting wrecked in the process. To overcome these problems, you should have a C-stand.
3. A counterweight
Using a C-stand is beneficial. But in some cases, you will need a counterweight to balance the Camera's weight on the C-stand for safety purposes. Now, this counterweight is in the form of something you can hang at the longer end.
Note: You can use a bag filled with the everyday item that will act as a weight to counter the camera's weight.
4. A step ladder
If you have a more extensive set of recording your footage, you can use a step ladder. We will need a step ladder because our camera will be mounted higher than our workplace. You require a way to look at the screen of the camera.
It will be the best choice if you have a bluetooth screen or tablet connected to your camera. As this will allow you to watch the recording from anywhere.
Part 3. 5 Effective Tips for Shooting a Top-Down Video
After selecting all the equipment, it's time to make shots for the video. For this, scroll more to get tips on the recording!
Tip 1. Choosing a stand
As explained above, choosing a stand is the most crucial part of shooting a top-down video. And the best option that you can opt for is the C-stand. It is a versatile piece of equipment found in most sets.
Understanding the working and setting of the C-stand can be tricky at first. But once you get the hang of it, it will be an easy piece of work. Let's move ahead to learn how to set up a C-stand.
How to set up a C-stand?
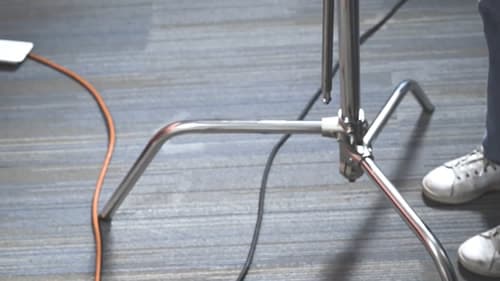
If you are a beginner with stands or need to learn the general working of stands, you might have a hard time with this one. A C-stand consists of multiple legs and stands that you must be careful of before rigging your camera onto the stand. Look below for a beginner guide on how to set up a C-stand.
- First, you must set the larger leg away from you. In this state, the leg faces in front of you. This will give you stability and balance.
- The boom should be on your right hand before you rig anything on the C-stand.
The most important part of understanding the working of a C-stand is to first understand the Right-hand rule.
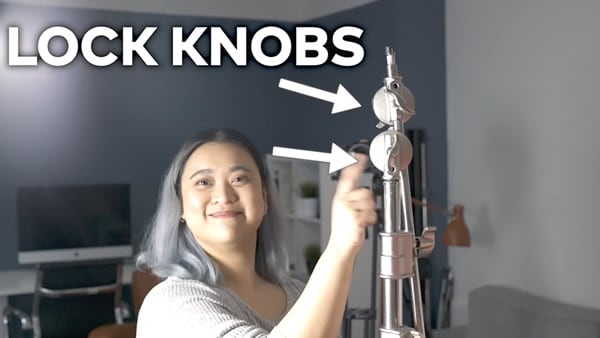
The Right-hand rule
The concept of the Right-hand rule is that whenever you set up a C-stand, you will need to ensure that the lock knobs are on the right side and not the left.
The Right-hand rule is necessary to understand that if the boom unfortunately falls, it will self-tighten. Ultimately reducing the risk of your gear on the ground, all shattered and broken!
Note: If you set the lock knobs on the left side, the boom will loosen, and your gear will fall to the ground. We have to avoid this in every aspect.
After understanding the Right-hand rule, now move on to the remaining setup.
- Move the arm and the locks in a top-down position over the more powerful leg.
Note: Always remember and double-check that the camera or anything that you have hung with the arm of the C-stand is over the larger leg. Otherwise, there is a risk that the stand will topple down.
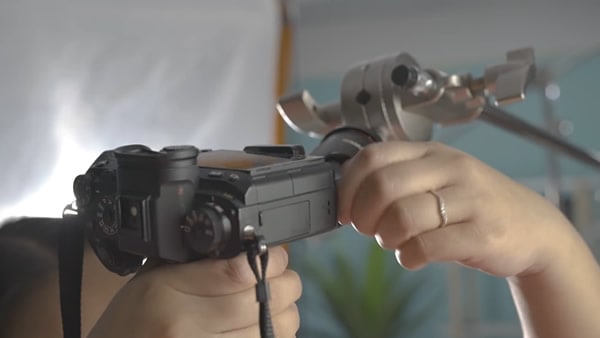
Tip 2. Mount the camera on tripod
You will need a few extra things to mount the camera, such as the Metal Screw Adapter and the Tripod head, as shown below:
Step1Fixing the metal screw adapter
A metal screw adapter will allow your camera to attach itself to the grip head. You can simply just place the screw head into one of the slots on the grip head.
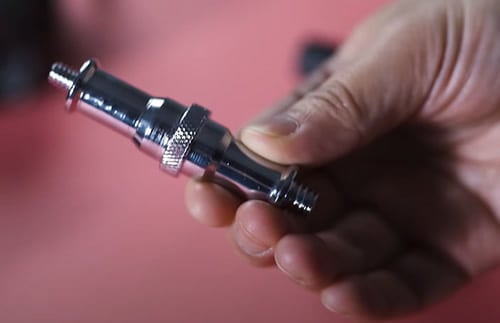
Note: Handle it with care and rotate the knob tightly so that it won't budge and is secured in its place.

After fixing the metal adapter, it's time to check the tripod head. To get this, follow the below-mentioned steps!
Step2Attach the tripod head with metal adapter
A Tripod head is a piece of hardware that you can buy from a camera store in the market, or you can also order it online. A Tripod head allows you to attach your camera to itself so that you mount it on a stand.
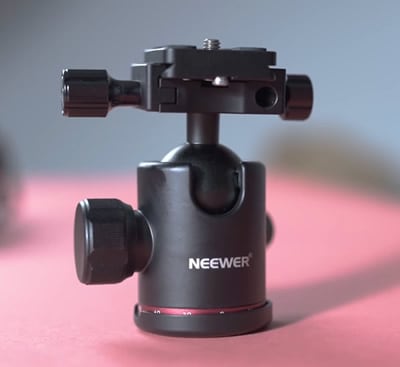
You can simply attach the Tri-pod head to the screw adapter, providing the platform where you can mount your camera.
Step3Removal of the mount head
Remove the mount head from the Tripod head and attach it to the camera. Doing so will provide you with a safe and risk-free environment. This will allow you to attach the Tri-pod head and the camera separately.
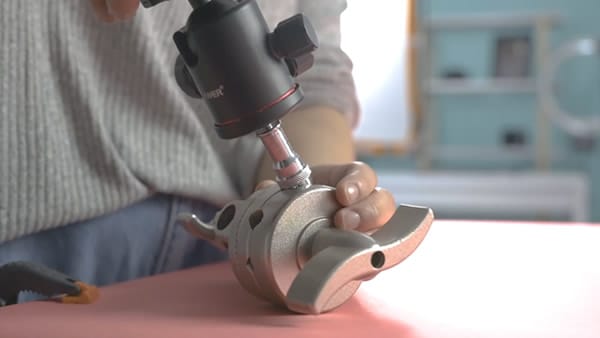
Step4Attachment of points
Attach the remaining part of the Tripod head onto the C-stand arm. Now attach the camera mount head to the Tripod head on the C-stand arm. Then, twist the knob tightly so that the camera is fixed with the Tripod head. You have now successfully mounted the camera to the rig.
Caution: Always make sure that all the knobs are tight and are in place before shooting a video. Prevention is better than treatment!
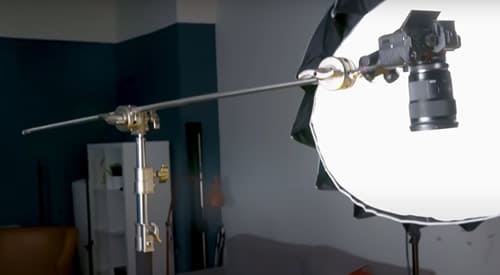
Final Setup
We are now set to move the C-stand into the top-down angle. But before you do that, ensure the camera setting is to your liking. Because once the camera is mounted on the stand, we do not have to disrupt its stability.
After learning to mount the camera on the C-stand, now move on to keep the camera steady to shoot a top-down video.
Tip 3. Keep your camera steady
As you know, no one likes shaky videos because concentrating is hard. If your videos are not in a good mood and are blurry, you will lose your audience.
To have a good top-down video tutorial, you will need to make sure that the camera is steady and stable.
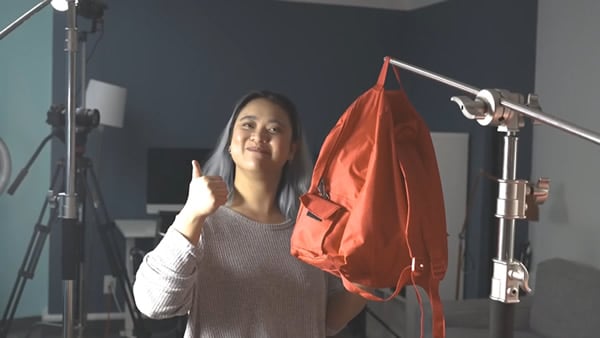
Hack 1. DIY Bag or balance
In movie sets, they use a sandbag, but we will go DIY in this case and will use a bag. This bag can be any carry bag that you have available easily.
The goal of a sandbag is to provide a counterweight on the boom arm of the C-stand. This counterweight needs to be of equal weight to your camera. You can fill the bag with day-to-day items until you reach a weight equal to your camera's.
Hack 2. See your Shots
If you are filming a top-down shot, you can put your object on the ground and film it standing up, but in some cases, it might not be possible.
If you are shooting a video on the kitchen top with your object. Now it is obvious that the camera is mounted on a C-stand and will be higher than the kitchen top. You have no assets to see the screen of the camera.
In this case, getting on the kitchen top with your subject and looking over the C-stand to your camera will be quite dangerous. You can slip and hit your head or take down the rig with yourself. We need to avoid these circumstances.
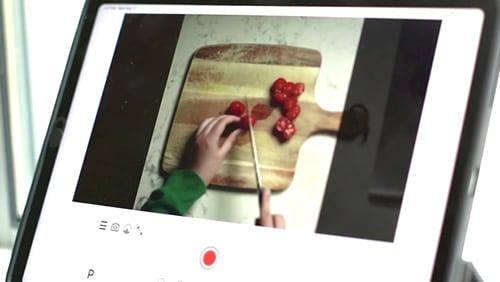
Ways to watch your footage
You can see your footage by the following methods.
Way 1: In many high-end cameras, such as Sony A9, you can connect it to a tablet or a screen. So it allows you to see your video recording live on a portable screen.
Way 2: In a case where your camera does not have a similar feature, you can bring down the camera from the boom arm at intervals to view the footage.
Way 3: If your work area has space, you can always use a Step-ladder. But make sure to be safe with it.
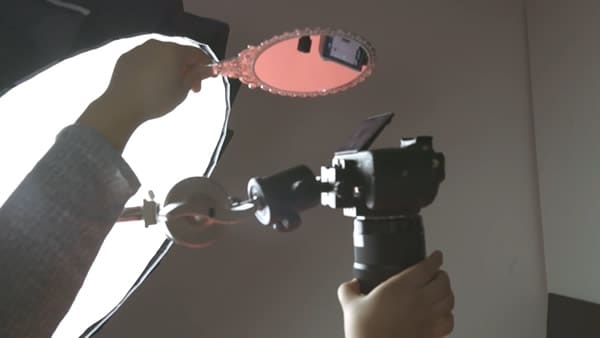
Tip 4. Re-adjusting your camera settings
In some cases, you might end up with unsatisfactory settings for your camera. We do not want to disrupt the camera position and put you at risk of falling. So we have an easy hack for you, as shown below:
- Now place the handle mirror above the screen of the camera. From here, you won't have to look at your screen directly.
- By looking at the mirror, you can adjust your settings, such as the White balance or ISO.
Tip 5. Adding text in videos
As explained above, top-down videos are helpful for a cooking tutorial or a product review.
That's why adding text to your videos might be a good idea here. You can add the text to the video by using Wondershare Filmora in a few clicks. Adding text can be helpful in many cases, such as those mentioned below.
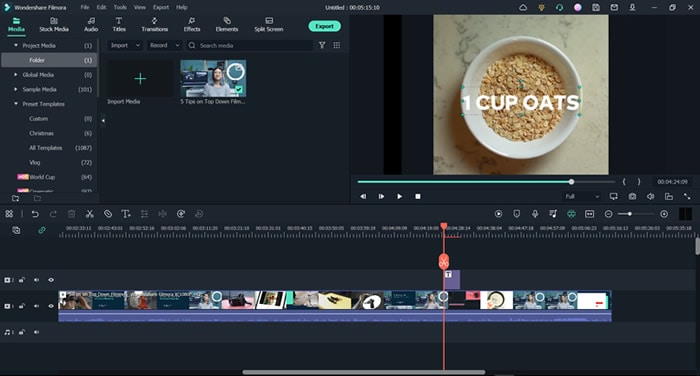
You may have created the video with a voice-over, but it would be of no use if the viewer watched it on mute. When you are creating a cooking tutorial, it might be a great idea to add titles to the ingredients used.
Whenever the person in the video brings up a new ingredient or utility, you can add text to label it. It will allow your video to have indirect audio and give your video personality and vibe. Be creative and innovative.
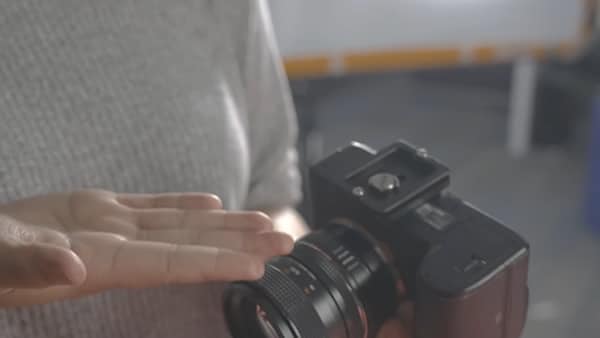
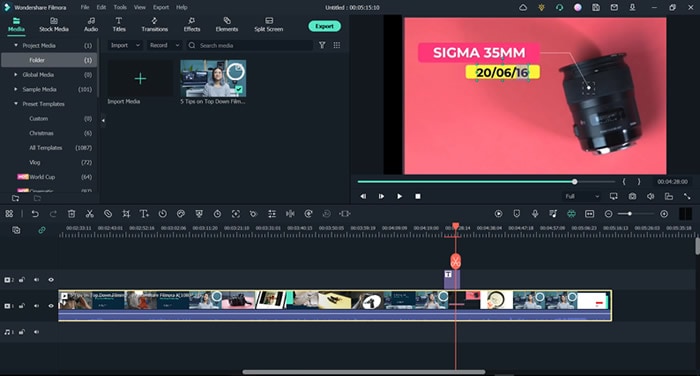
In cases when you are giving a product review, such as a camera. You can add the specs on the part of the camera explained.
- You can add the focal power as a text label on the lens or any other feature. The boundary is your imagination.
Note: Many users also watch videos on small mobile devices such as phones. In order to get attraction, you can increase the size of the text. Ensure to keep the text concise so that it is easier for the viewer to read.
- Every ingredient can be labeled. You can also add the amount of the ingredient as well as a side box that can explain its benefits.
Congratulations! You can now create interactive and cool-looking top-down videos and enjoy the rest.
Safety measures
Make sure to follow the steps mentioned carefully:
- Be cautious while using the C-stand, as it can get messy if your camera or equipment gets damaged or falls.
- Avoid using a Step-ladder if possible at all costs, as it can result in unexpected injuries.
Related Posts:
Conclusion
Creating top-down videos can be a great way to make a tutorial video. Cooking tutorials require clarity and elaboration. Making cooking videos by using the top-down method is a great way to communicate with your audience.
The top-down method combined with the use of text in videos will allow your videos to be among the best tutorial videos available. Following the tips mentioned in this article can create good quality top-down videos.

