
 100% Security Verified | No Subscription Required | No Malware


 ChatGPT
 Perplexity
 Gemini
 Claude
 Grok
Grok
Have you ever looked at a photo and thought it needed just a little something extra? That's when photo borders come in as a timeless solution. They make images look professional and ready for instant sharing. From subtle white frames that give your Instagram feed a modern, minimalistic aesthetic to bold black borders that highlight portraits, this image editing technique elevates even the simplest picture.
In this guide, we'll walk through different types of photo borders, show you how to add borders to photos using the best tool Filmora, and provide tutorials for adding borders on PC and mobile.
In this article
Different Types of Photo Borders
People add borders for many reasons. They might want to make their images stand out in cluttered feeds, create Instagram-ready grids with consistent framing, highlight important details in portraits or product shots, or simply give photos that vintage Polaroid vibe. With so many different purposes and vibes, we have different types of photo frames.
White borders –Clean and minimal, perfect for Instagram grids and professional portfolios.
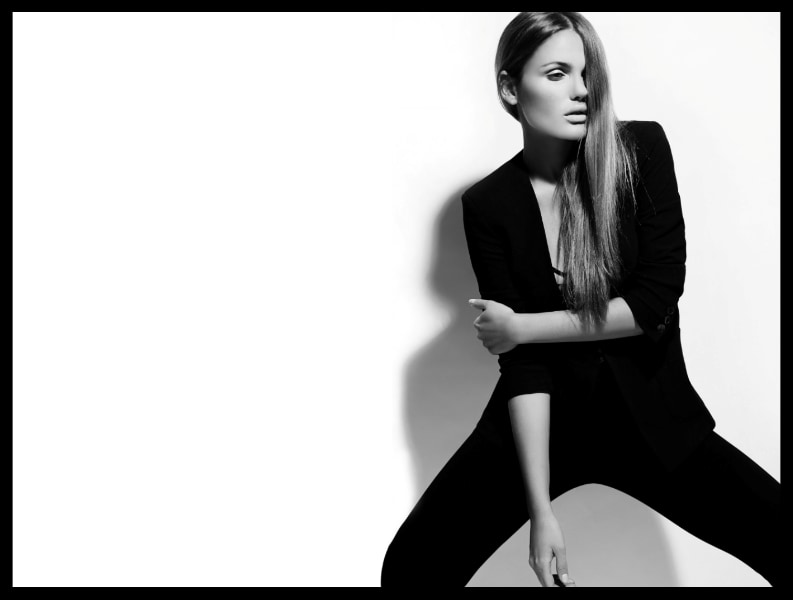
Black borders – Ideal for portraits, event shots, or any image that needs emphasis.
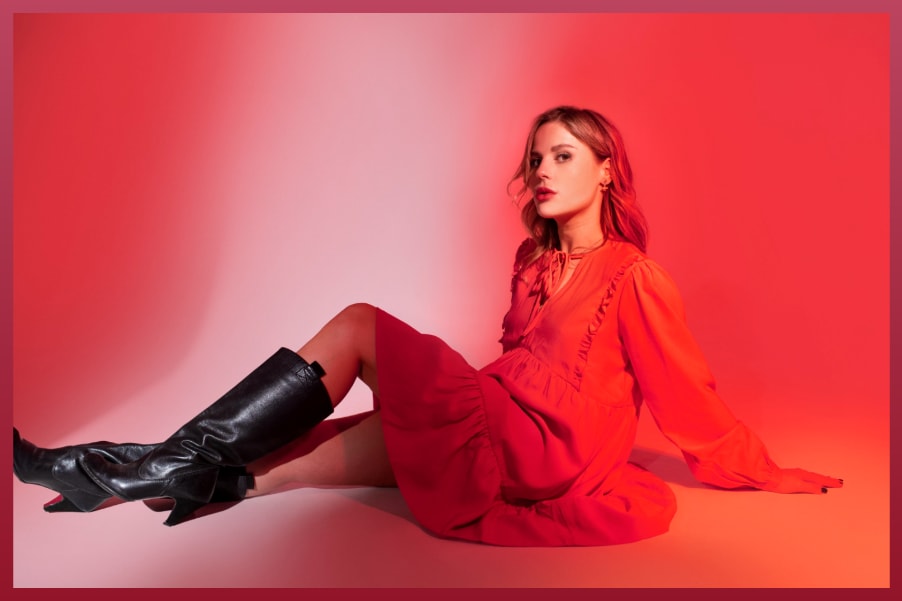
Colored borders – Match the colors in your photo or your brand's palette and experiment with fun tones to stand out on social media.
Patterned borders – Use textures or decorative frames for creative projects. This is a great option for collages, scrapbooks, or themed posts.

Animated borders – Add movement to borders for reels, stories, or video slideshows. This option is excellent for grabbing attention in short-form content.

What is the Best Tool to Add Borders or Frames to Images?
We would like to recommend Wondershare Filmora. Although you may have heard of it for its powerful video editing features, it can also be a great tool to add borders and frames to images and videos.
 secure download

- Preset Borders and Frames Assets - Explore different types of borders and frames and add them to photos with clicks.
- Customizable Borders – Adjust the thickness, color, and opacity, and even add glow effects to create unique frames.
- Animated Borders – Animate borders for stories, reels, and slideshows. Adding movement makes your content more dynamic.
- Cross-platform – Compatible with Android, iOS, Windows, and Mac.
- One-stop tool – Beyond adding borders to photos (and videos), Filmora lets you add texts, logos, animated stickers, filters, and Hollywood-style effects, then export optimized content for social platforms in minutes.
Whether you're prepping Instagram posts, professional product shots, or branded marketing visuals, Filmora provides everything you need in one place.
How Do You Add Frames to Images with Filmora?
Filmora offers multiple ways to add borders, depending on the style and vibe you are aiming for. Here are the top three methods to add borders to your photos and videos using Filmora.
Method 1: Add White Borders to Photos on PC and Mobile with Effects
Let's start with the PC version.
- Download and install Filmora on your desktop or laptop.
secure download
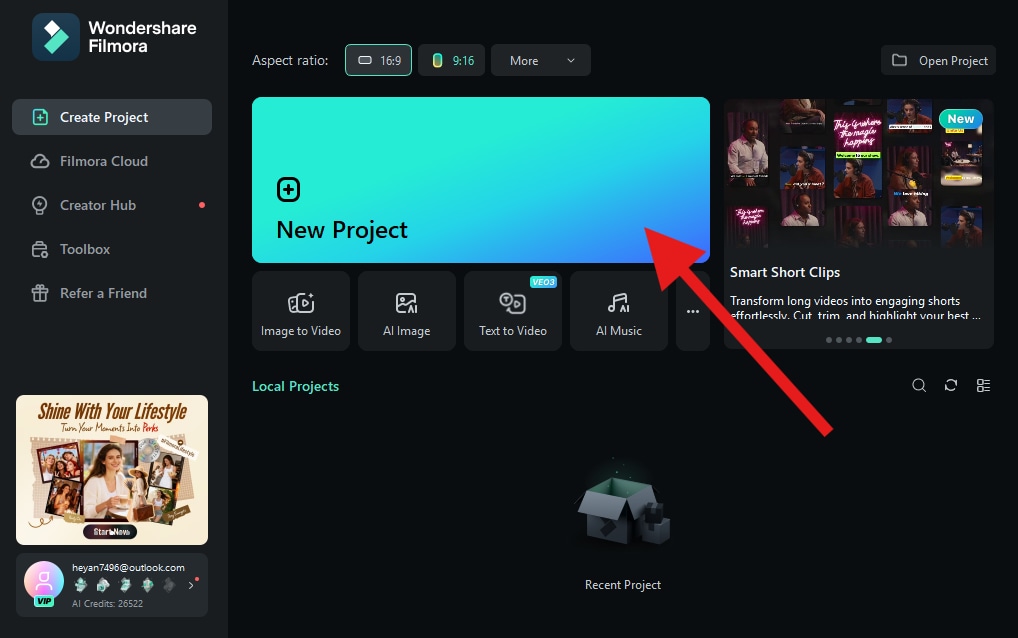
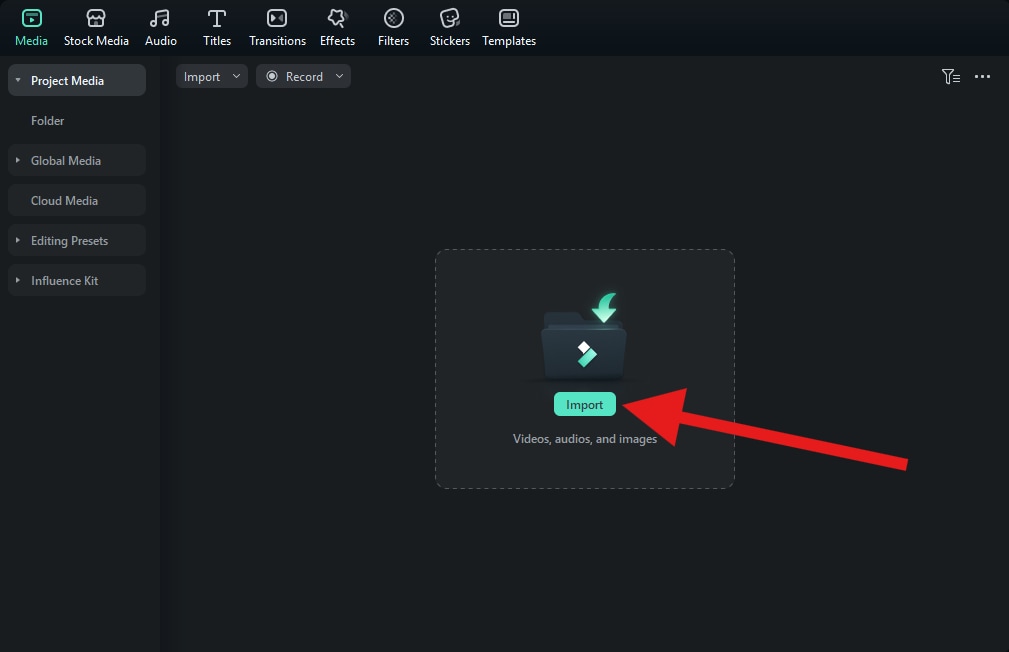
- Run the program and create a New Project.
- Click on Import and add a photo from your device's hard drive.
- Drag the photo to the timeline.
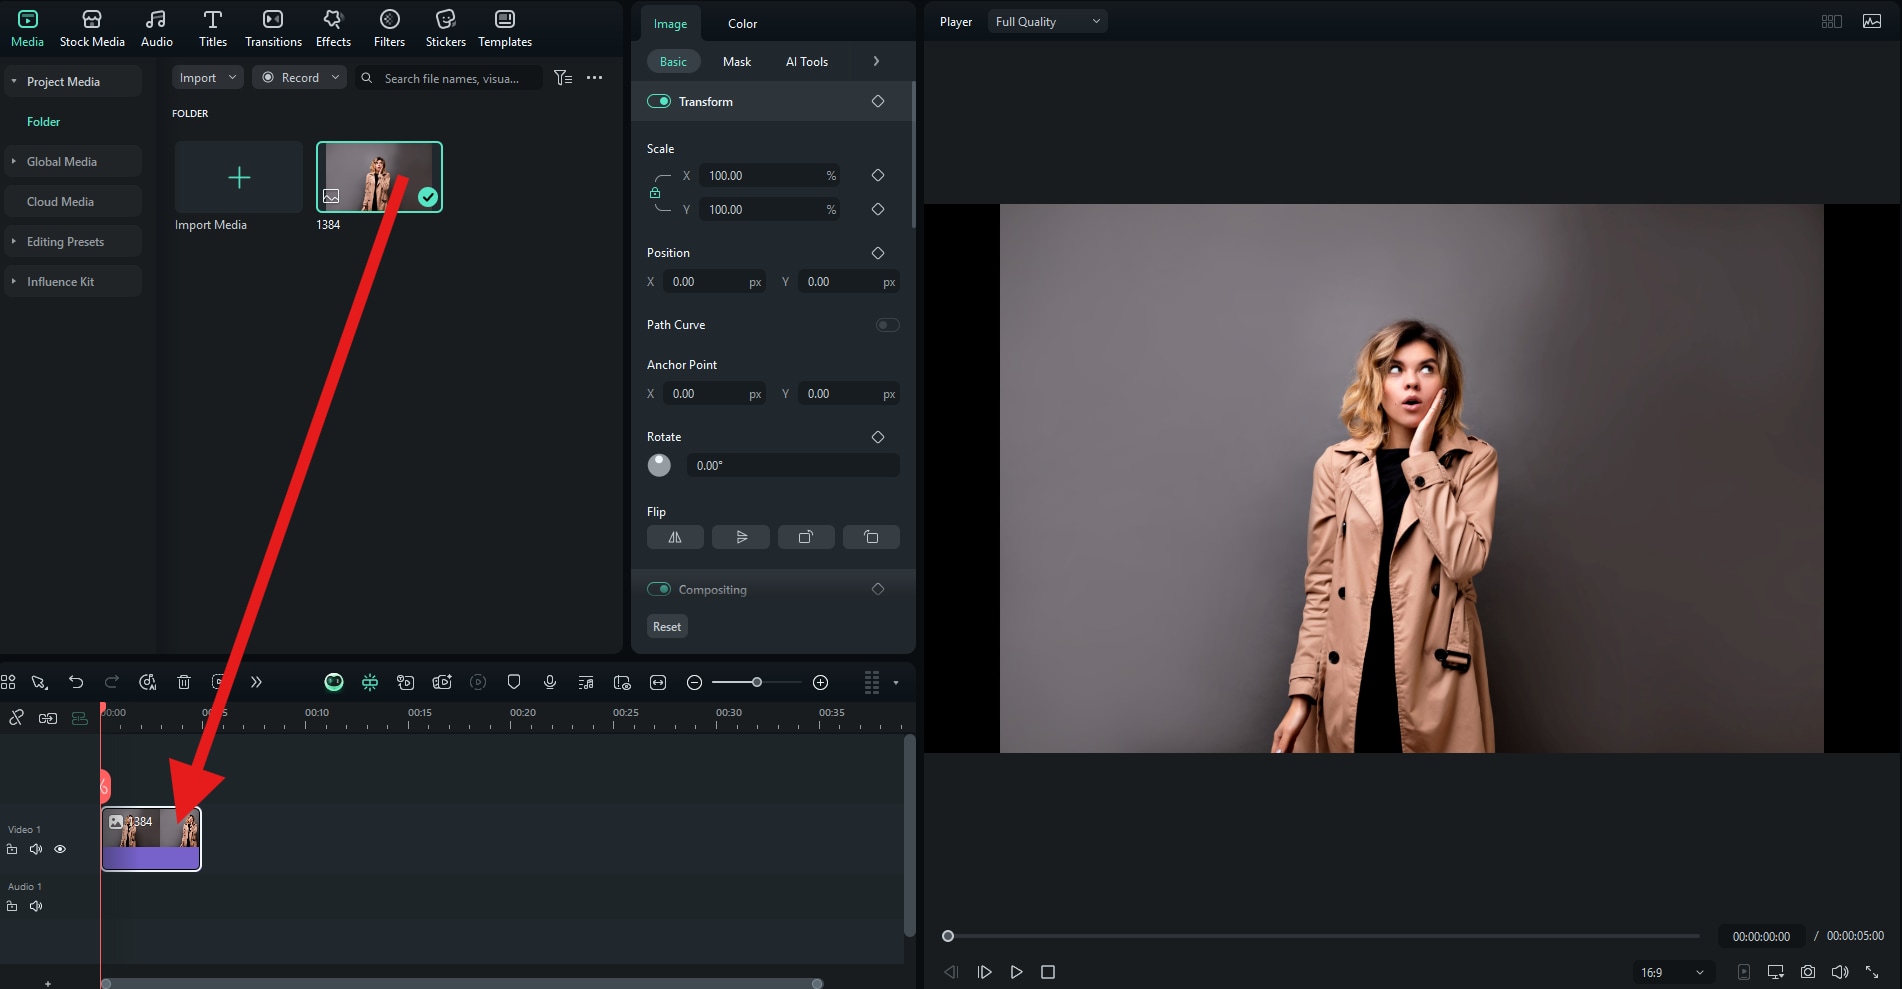
- Go to Effects, and in the search bar, type the word "border." Then, drag the Border Effect to the timeline and place it above the image.

Here's the result.

Now, let's see how to add borders to photos using the app on your Android or iPhone.
- Download and install the Filmora Mobile app on your phone or tablet.
secure download
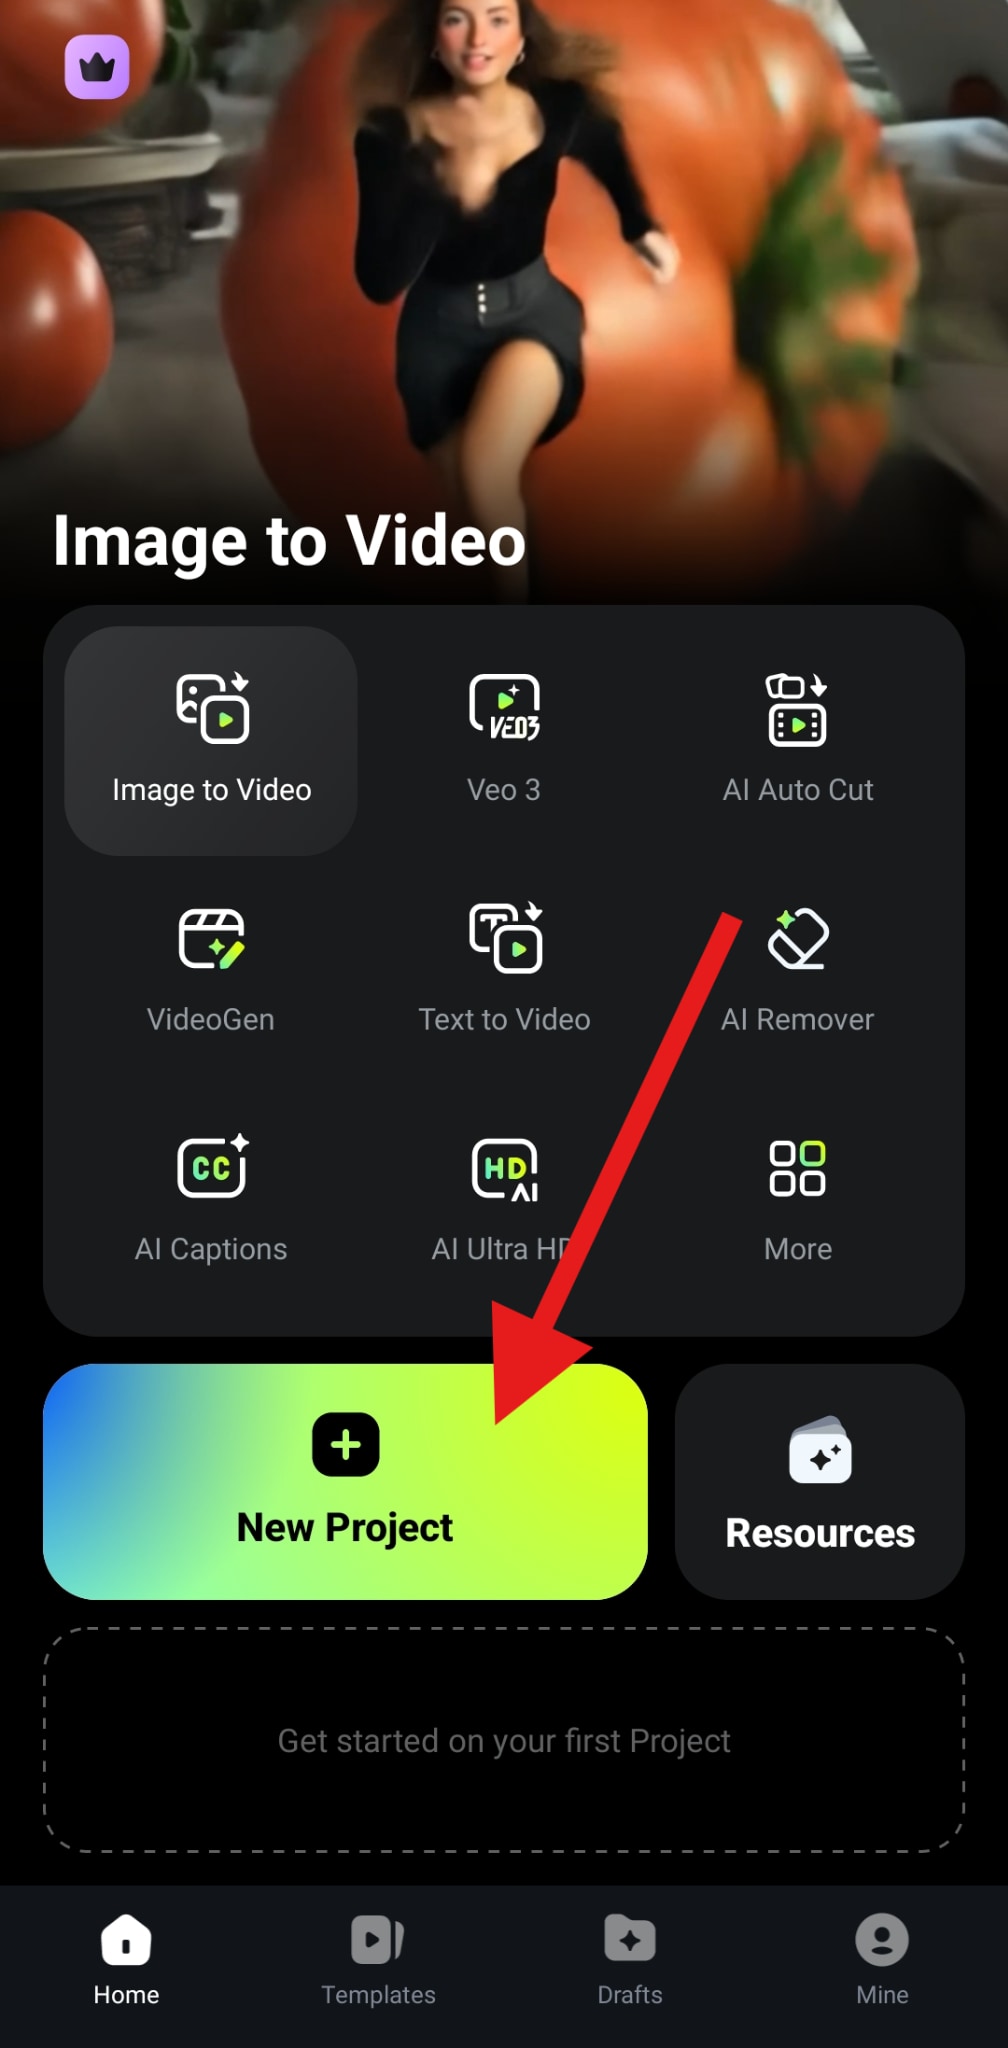
- Open the app and tap on New Project.
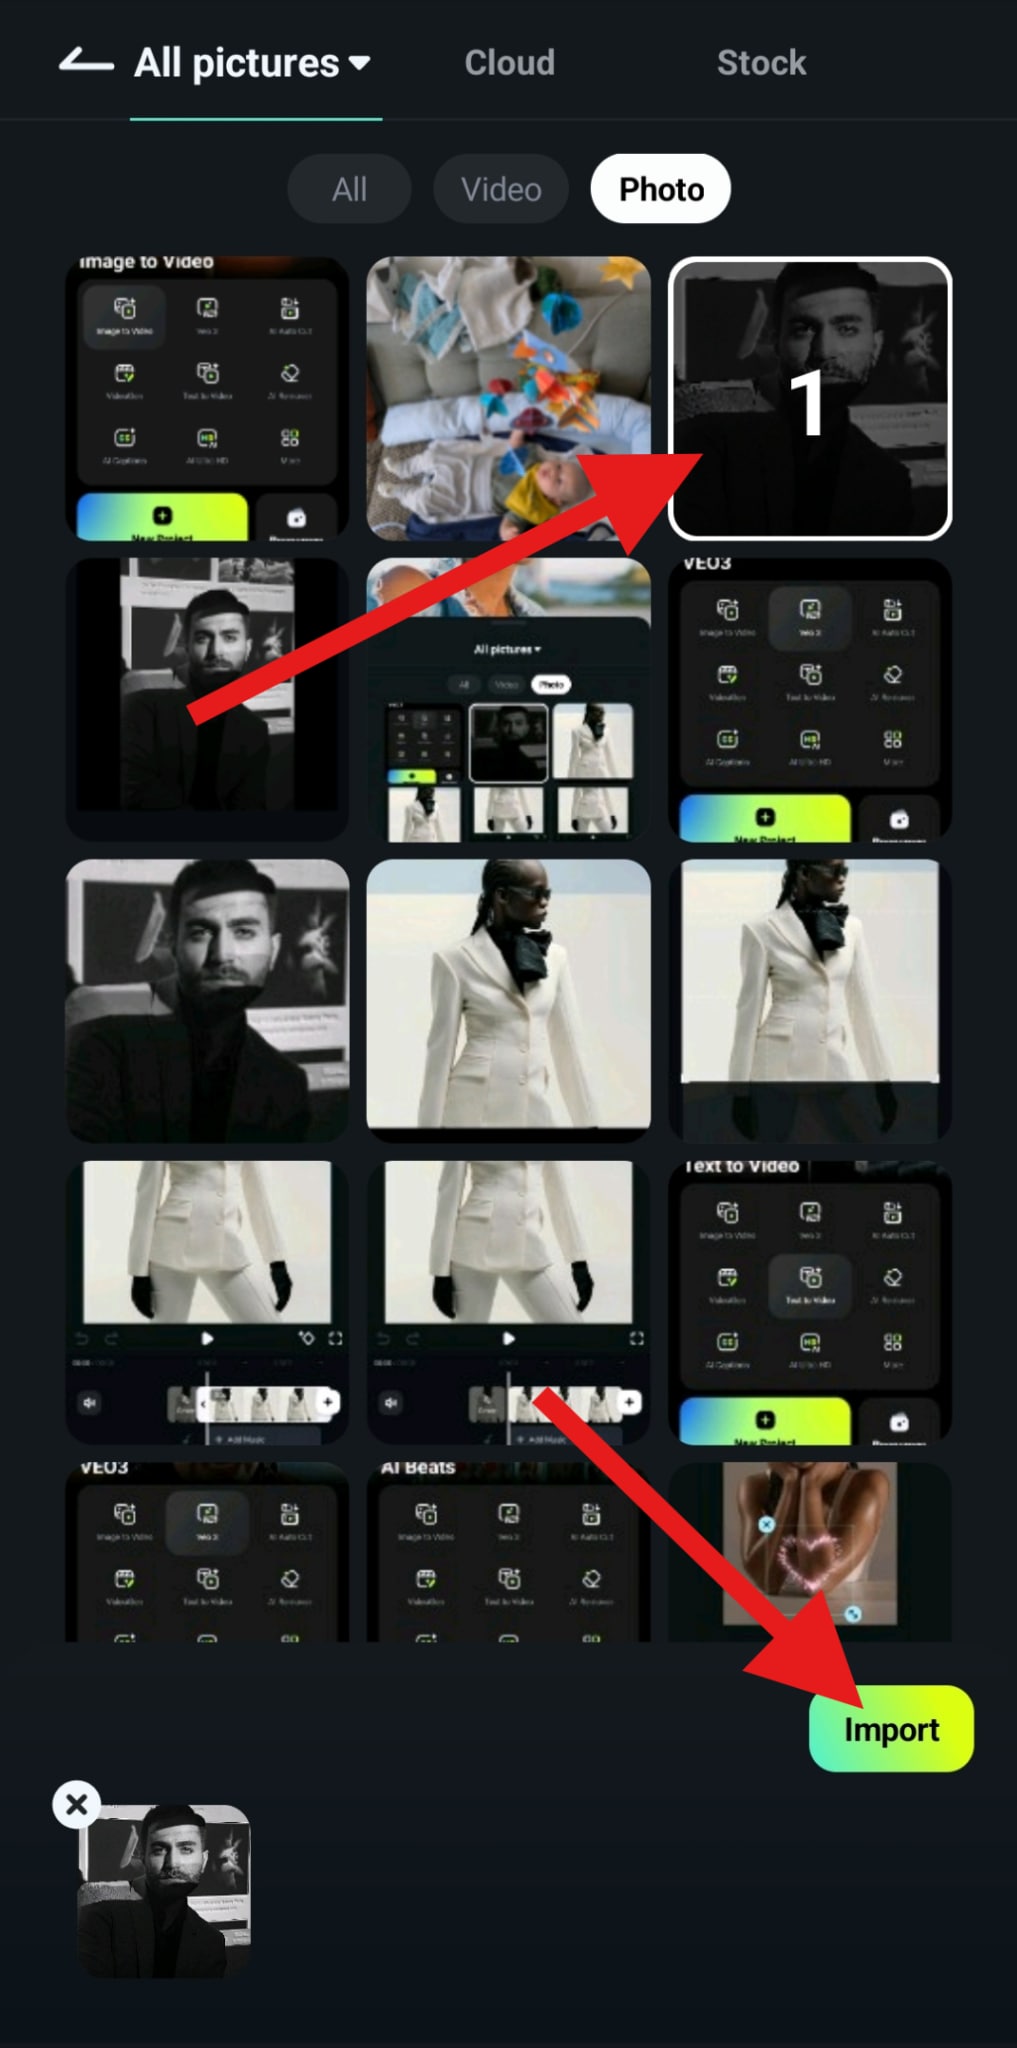
- Select the photo where you would like to add white borders and tap on Import.
- Find the Effect tab in the bottom menu.
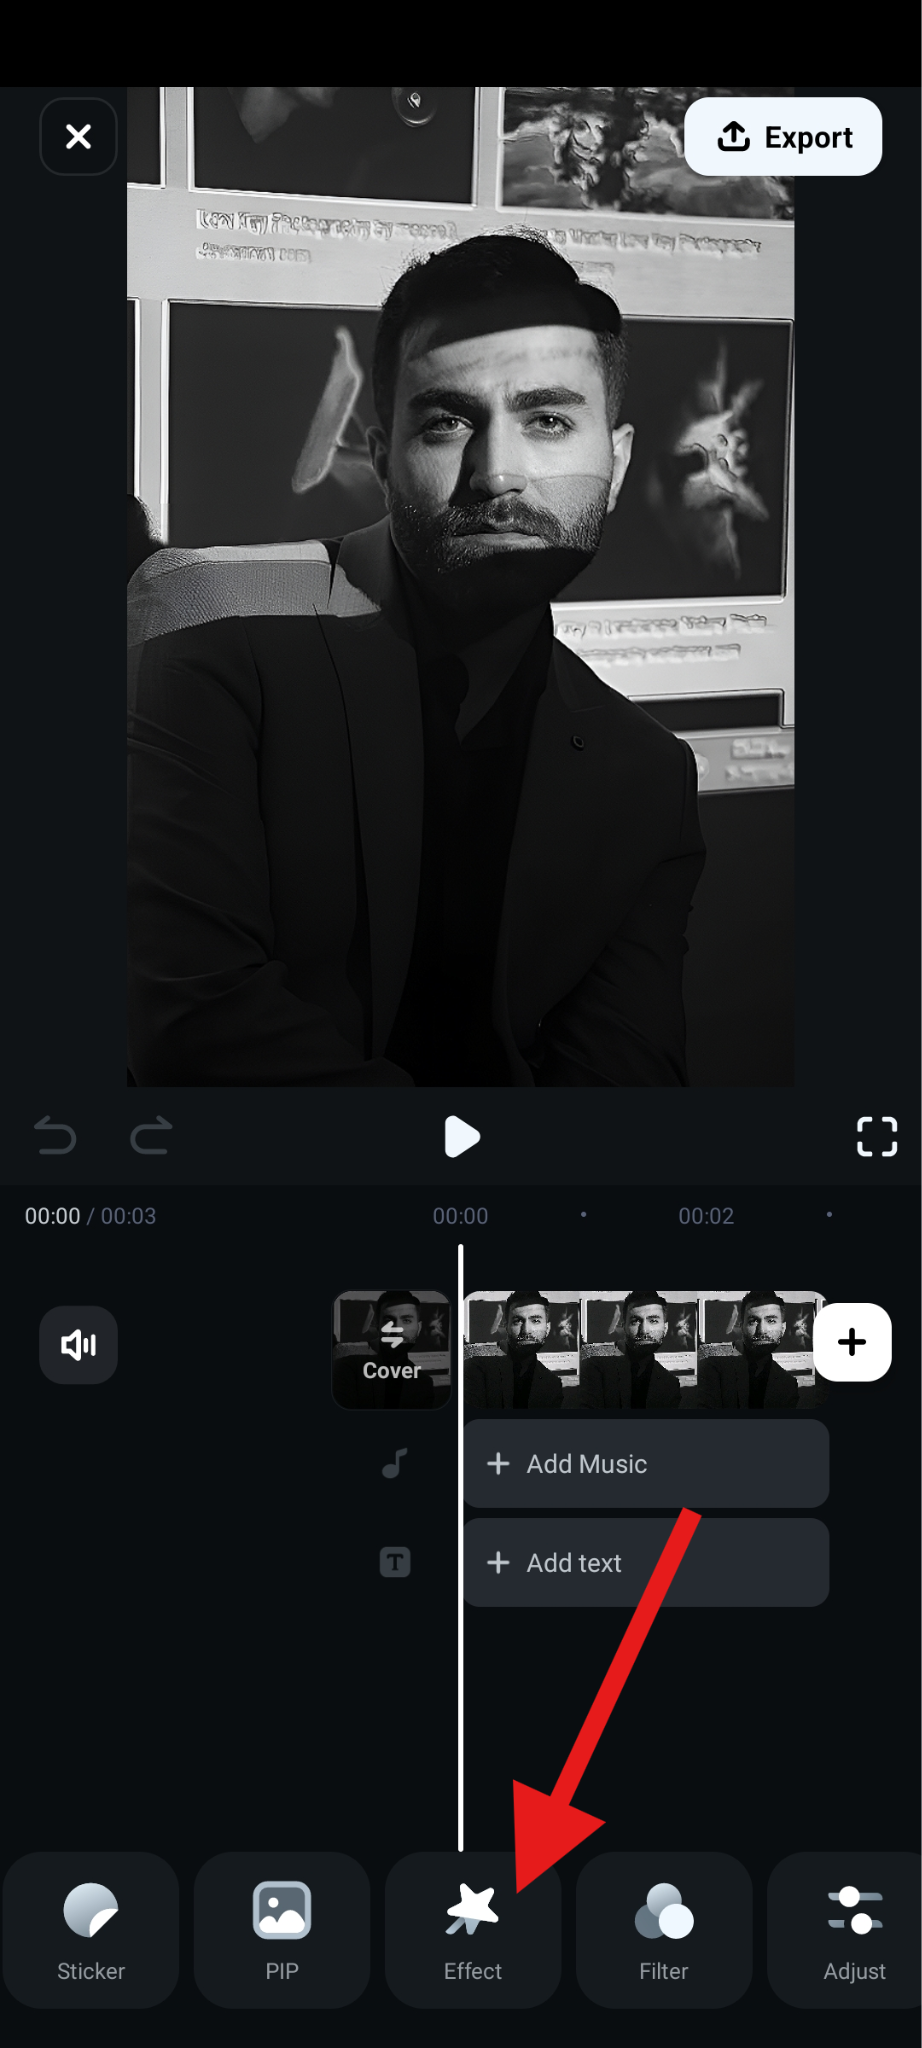
- Search for the word "border" and pick an effect that you like. Then, accept the changes.
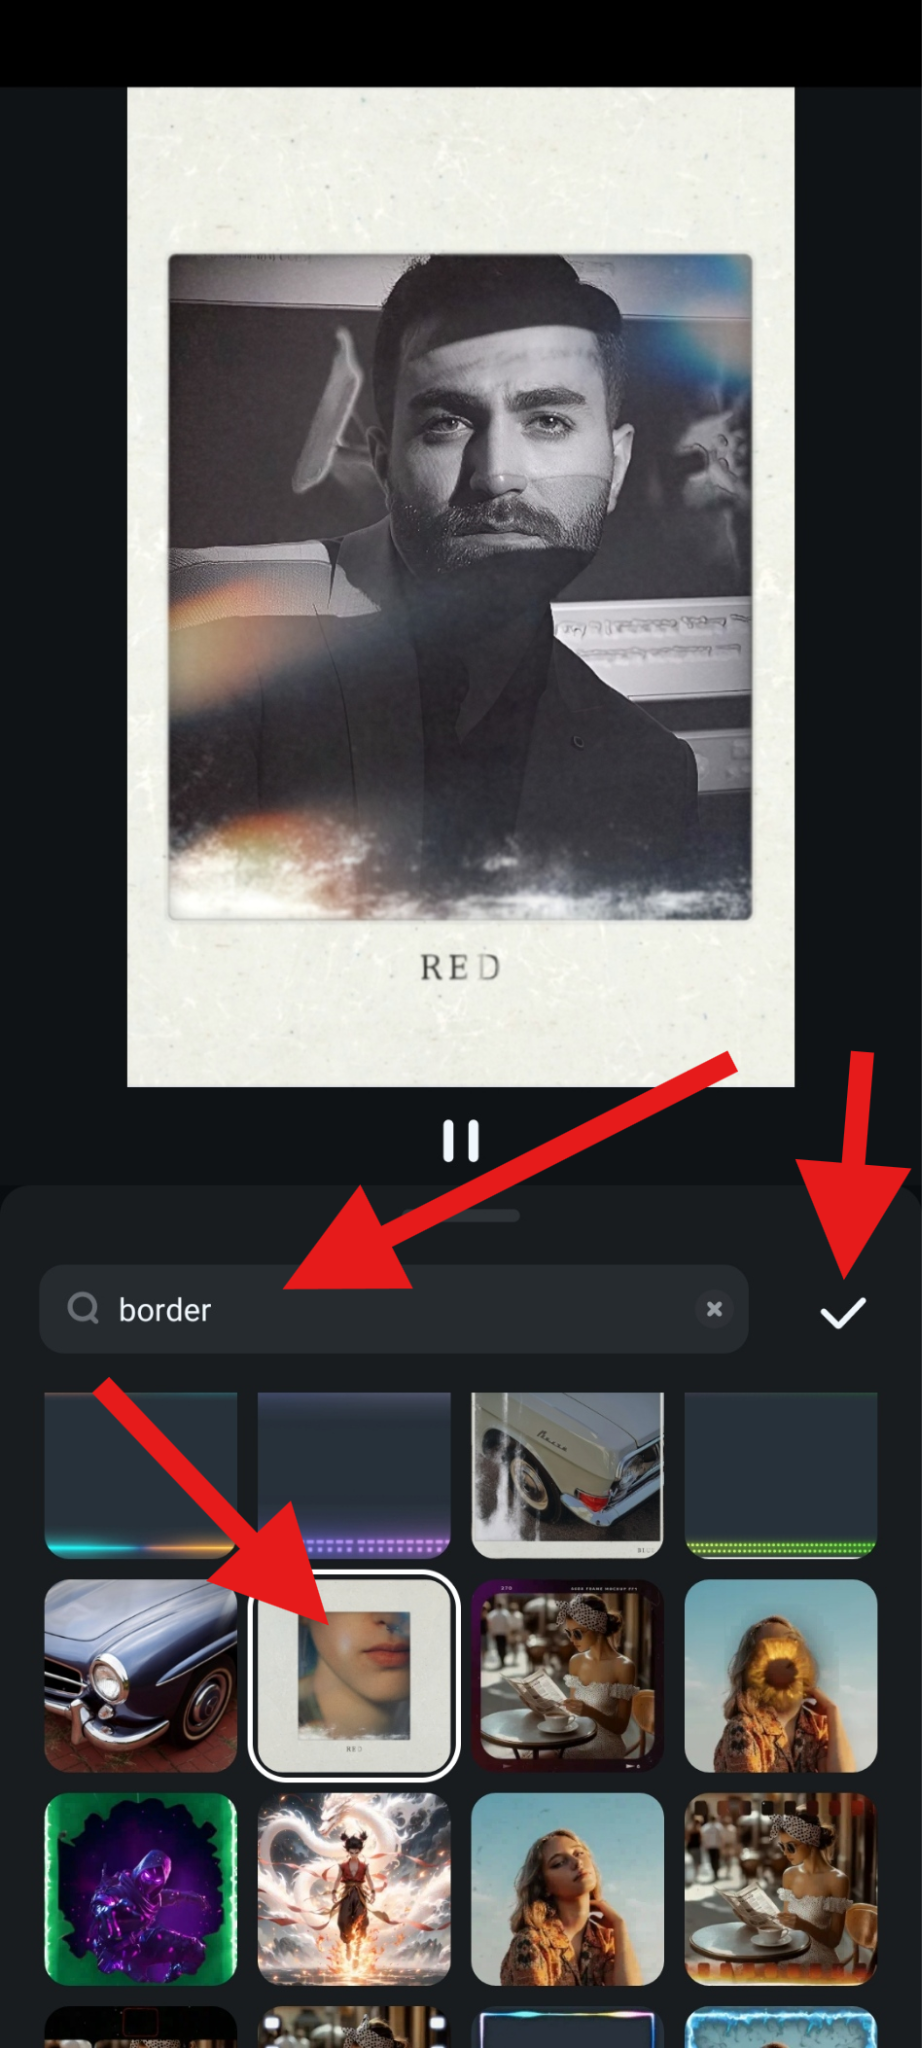
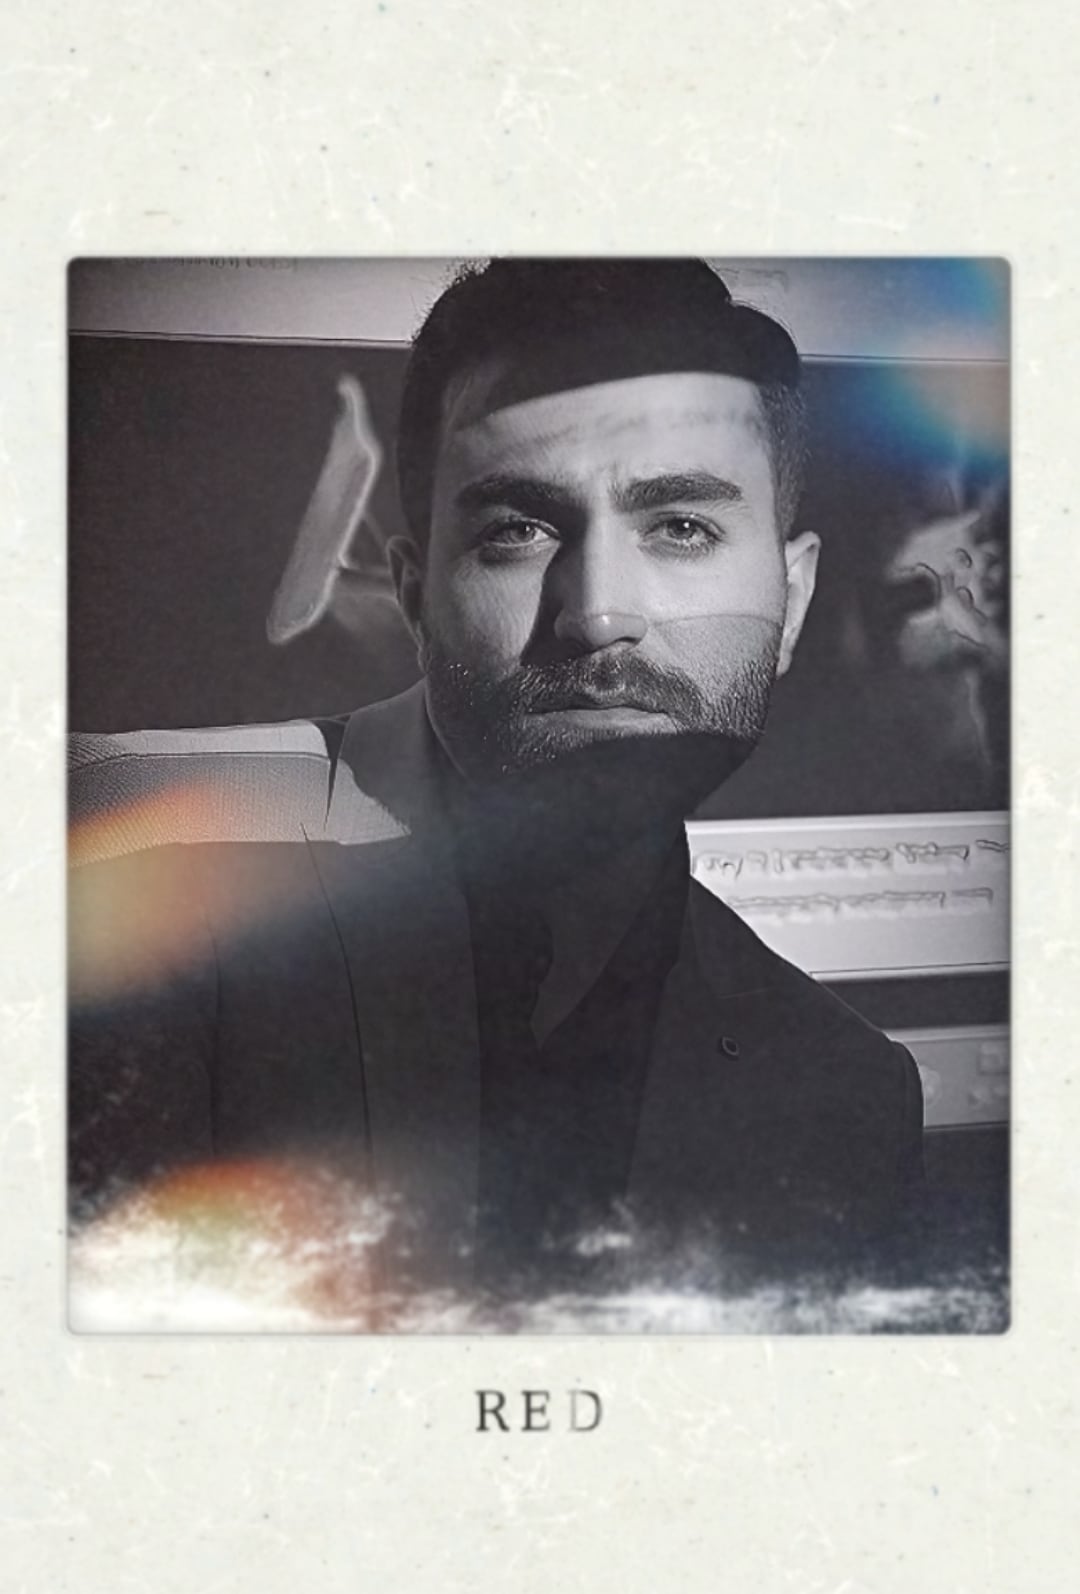
When we used the desktop version, we used simple white borders, but for the mobile version, we used something more stylish that resembles old, retro Polaroid photos with light leaks and cool white borders. Here's the result.
Method 2: Put Borders on Photos with Drawing Tools
Drawing tools are only available in the desktop version of Filmora, and we'll teach you how to use them. They are an excellent option if you want full control over your photo borders.
secure download - When the image is in the editing timeline, click to explore timeline features, select the Drawing Tools feature, and choose to add a Rectangle.
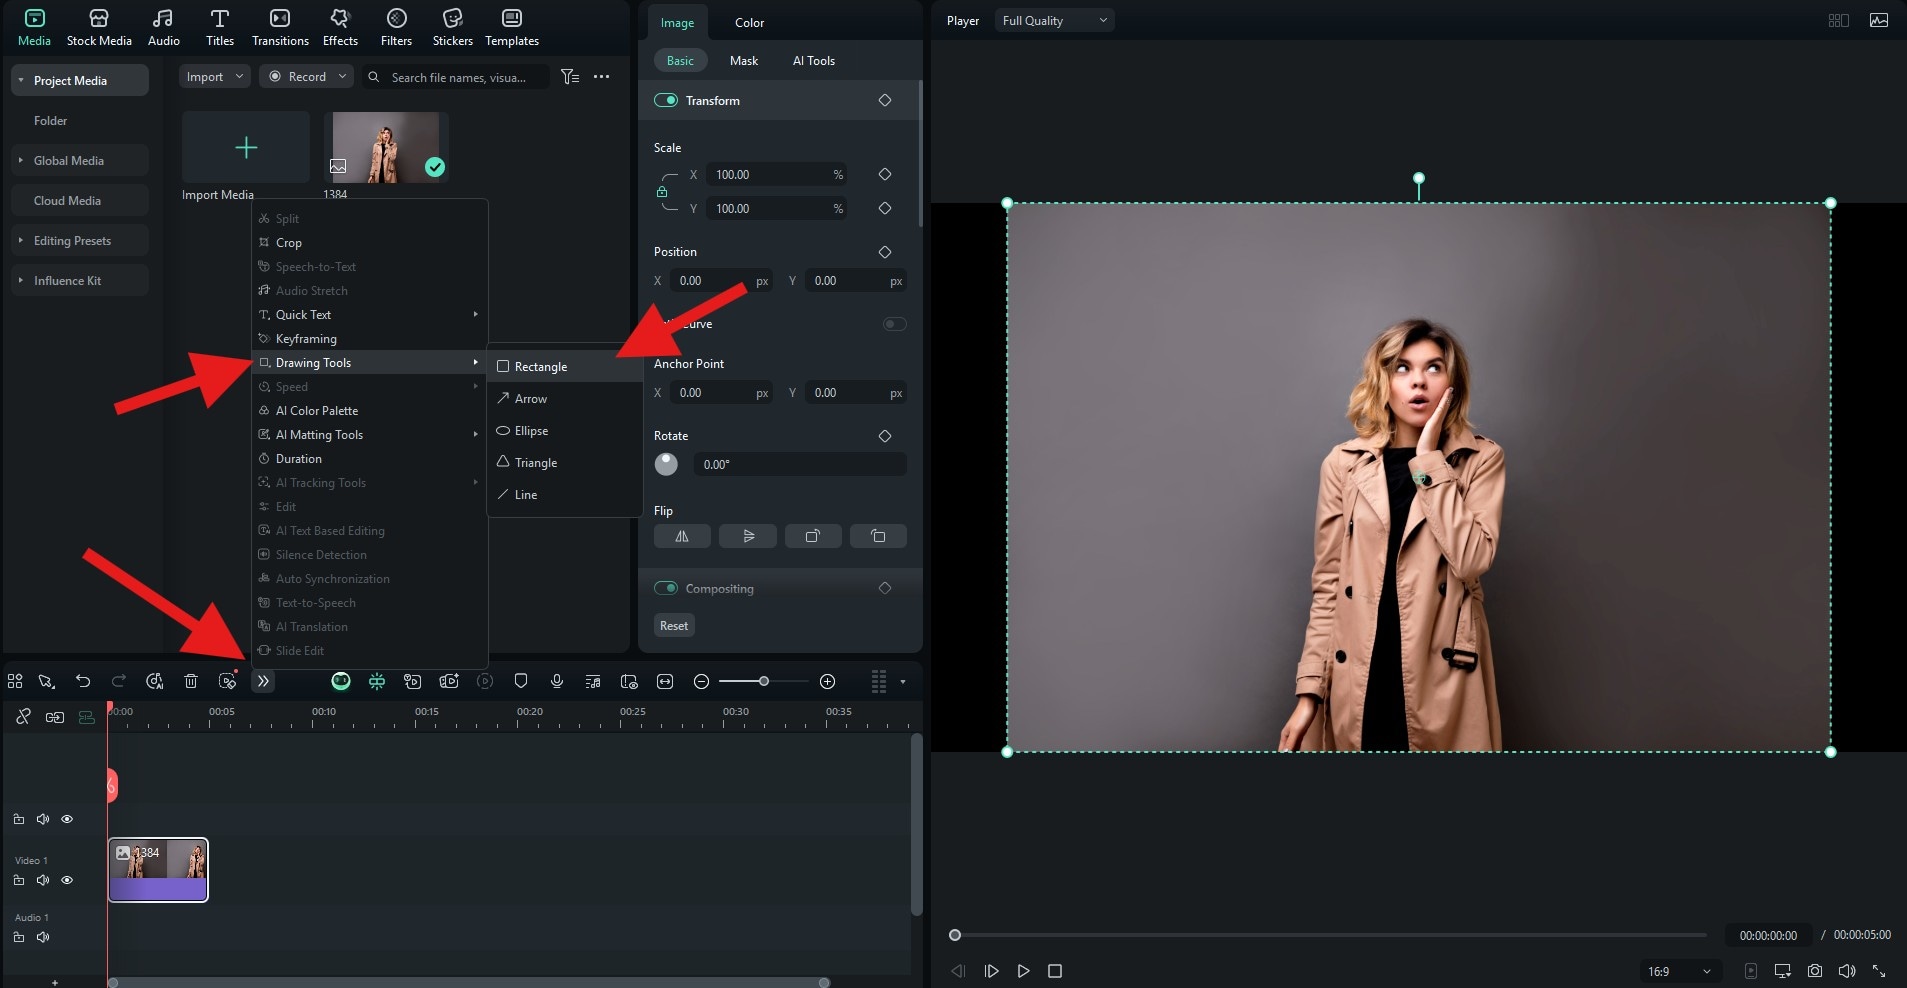
- Adjust the size of the rectangle in the preview window and make it cover the entire image. Then, go to Shape > Basic, deactivate the Fill feature, and adjust the Thickness of the outline. You can also explore customization options.
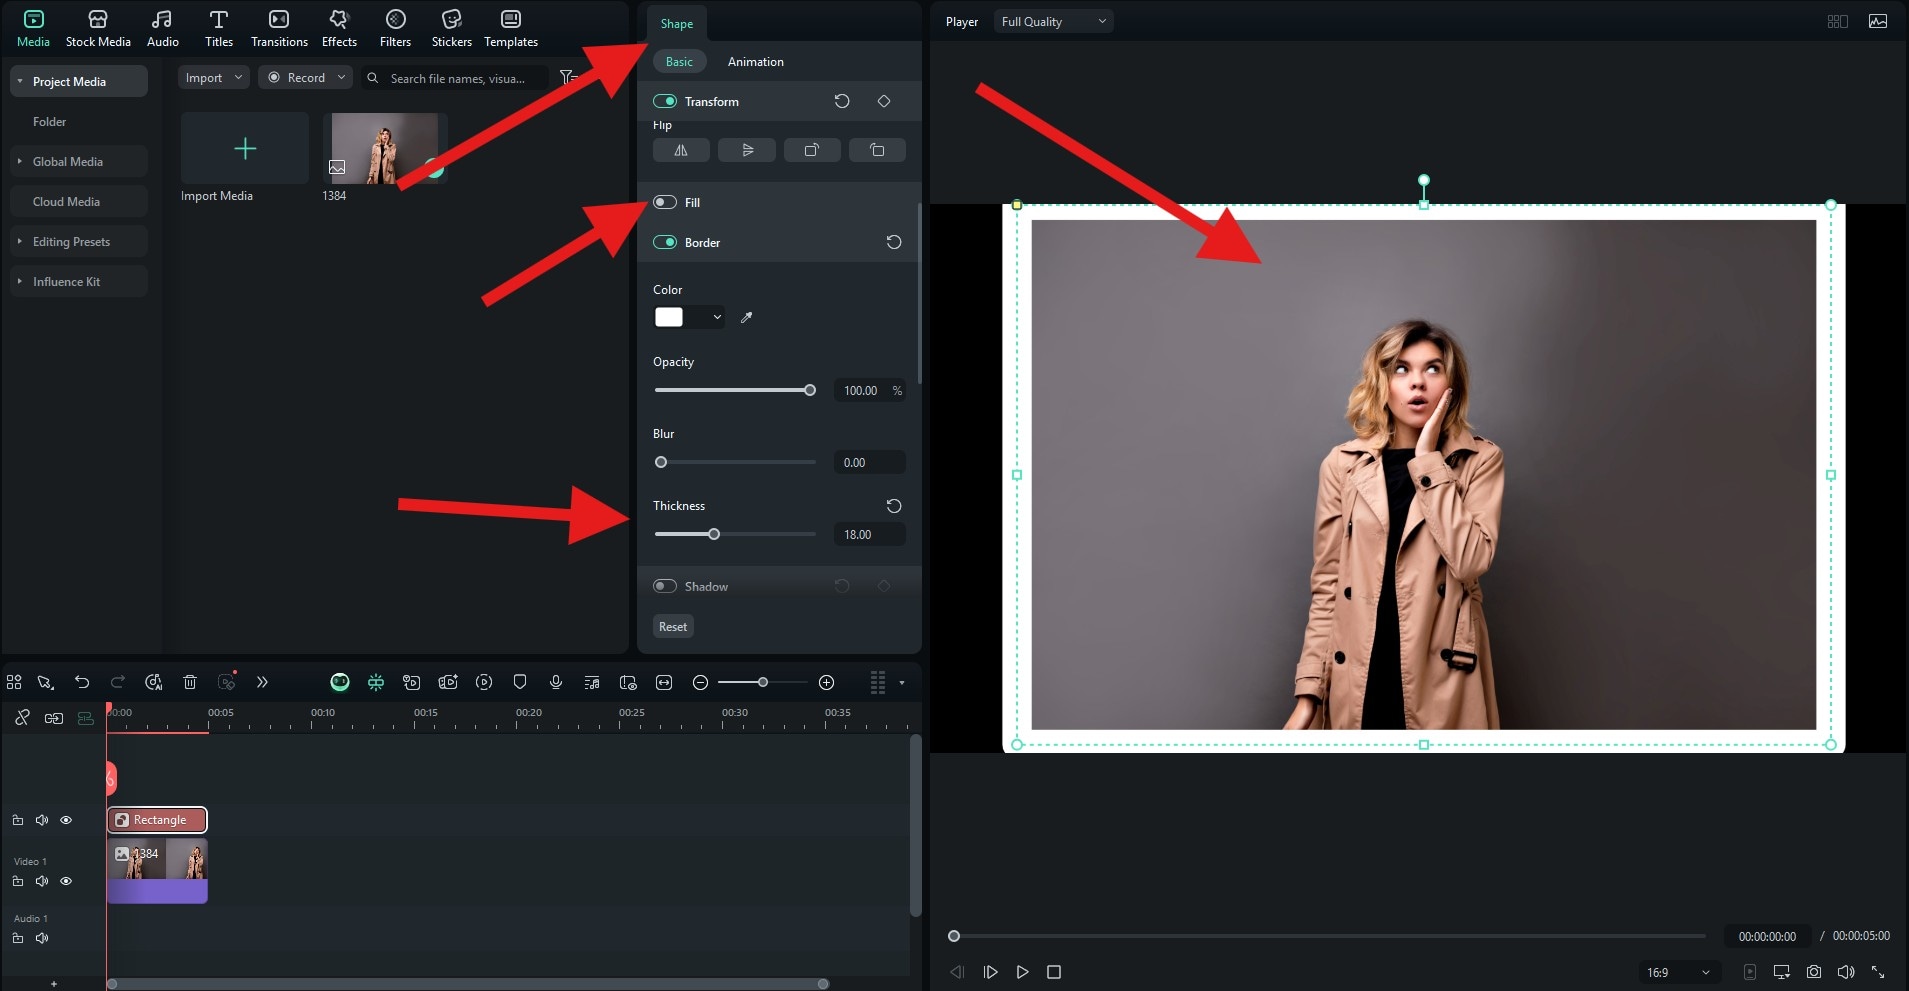
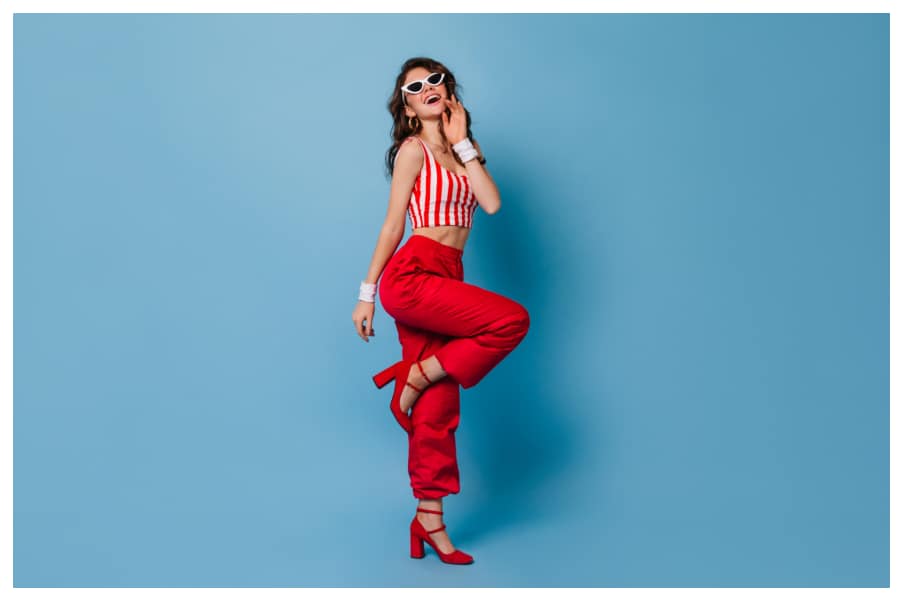
We changed the color to match the woman's outfit.

Method 3: Add Stylish and Animated Borders to Photos
The process of adding animated borders is more or less the same as the first method. Here's how it works.
For the desktop version, repeat the process from Method 1, but instead of choosing a plan border from the Effects tab, click through several options and pick an animated border. Then, just like before, drag it to the timeline. You can also customize the effect by going to Effects > Video.
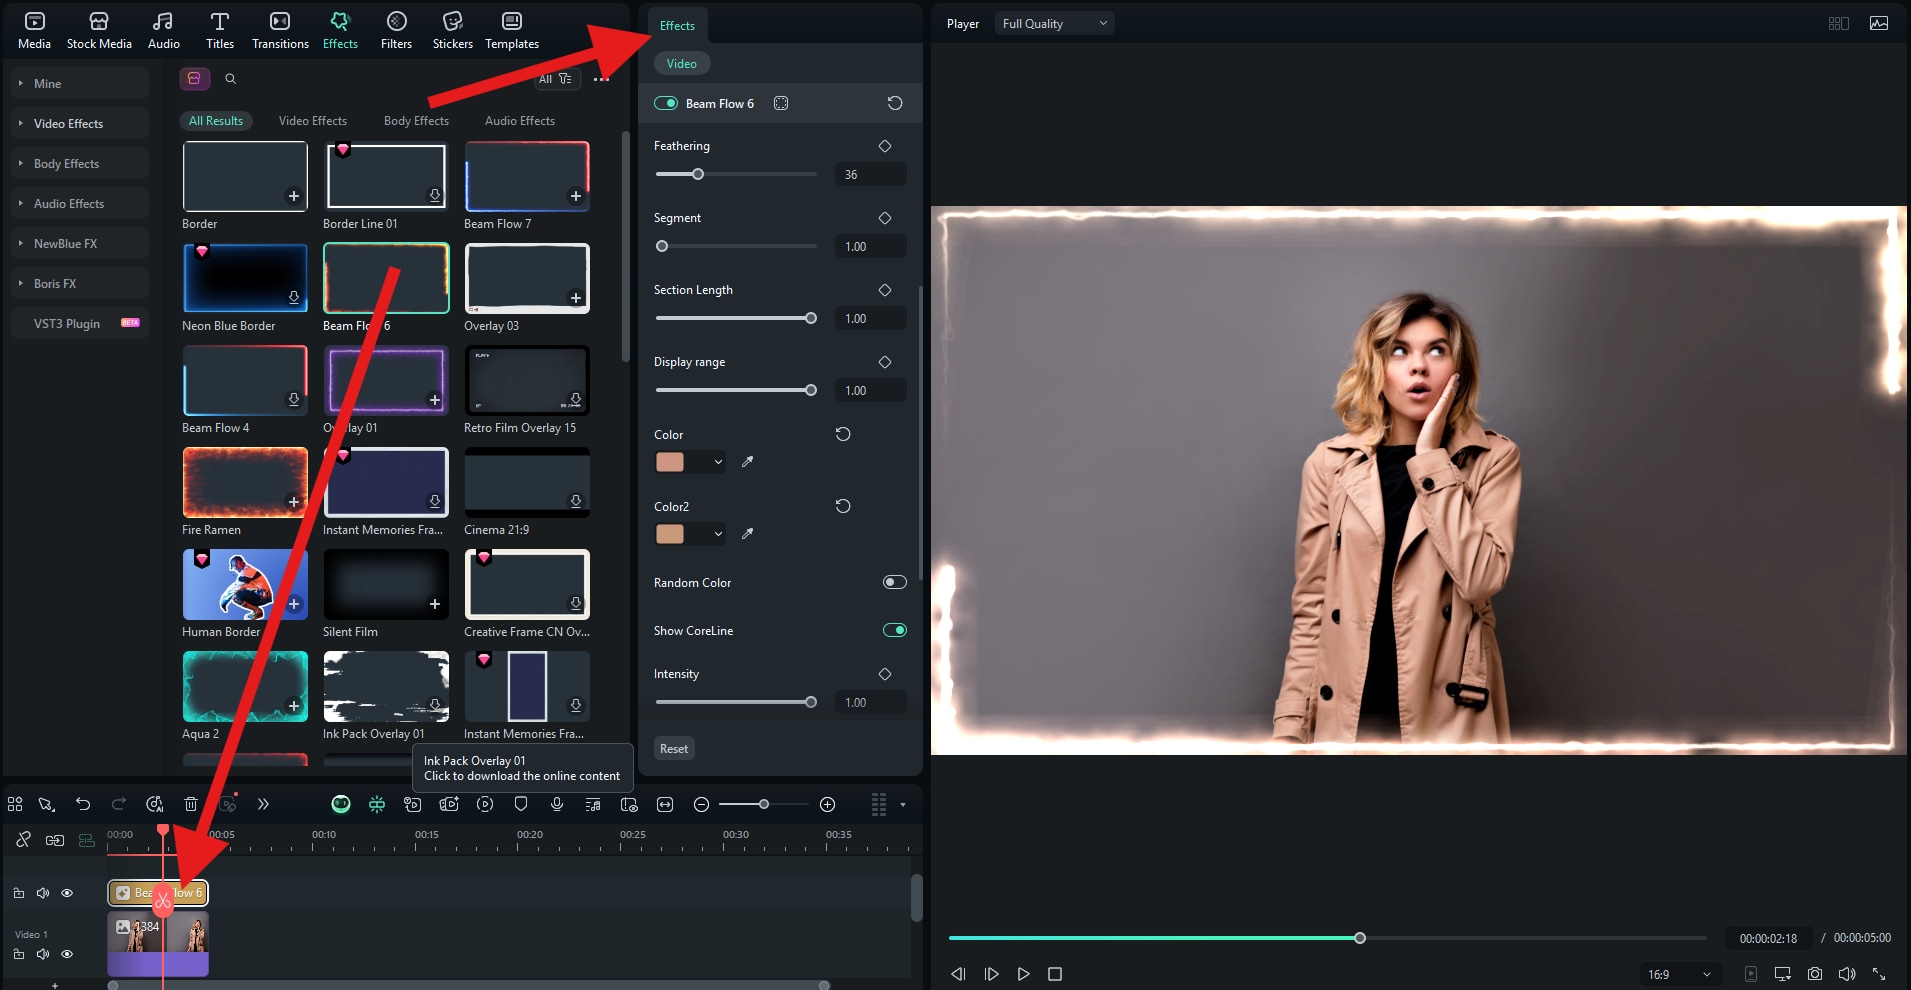
Check out this awesome result. We tried to match the colors of the animation to the model's outfit, but you can let your creativity sparkle in different ways.

The same goes for the mobile version. Instead of picking a static border effect, pick a dynamic one and repeat the process just like before.
Customizing Borders in Filmora: Go Beyond White and Black
As we have learned, borders don't have to be basic. With Filmora, you can add creative flair to your frames. Here are some creative ideas and examples. Check them out.
Use gradient borders for modern designs: Gradient colors give your photo a stylish, trendy feel. Blend multiple shades for Instagram-worthy posts.
Apply drop shadow to borders for depth: Shadows create a 3D look, making your photo stand out against any background. They are perfect for product photography and portfolios.

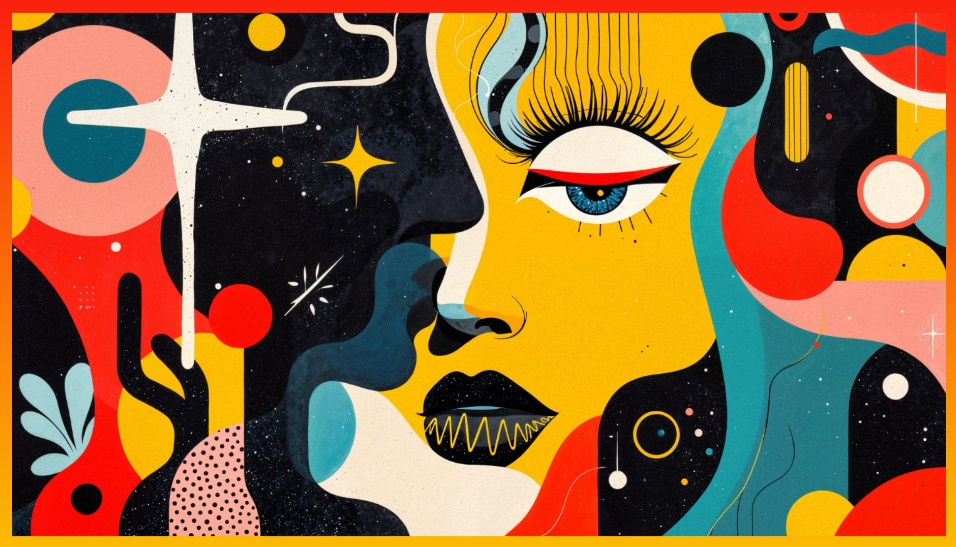
Use animated frames in video slideshows or reels: Add movement with glowing lines, pulsing borders, or flashing effects to catch attention. This is excellent for event recaps or short-form content. You can also add cool retro film borders like this.
Combine borders with text overlays for branded content: Pair borders with your logo, name, or social handle to double as branding. This works especially well for marketing visuals or creator portfolios.
Conclusion
Borders are one of the simplest ways to elevate a photo, turning plain images into polished, branded visuals. White borders create a clean, Instagram-ready look, while black borders emphasize drama and professionalism. Animated and customized borders add energy and branding power, and with Filmora, you can add all these styles on both desktop and mobile quickly and creatively. Instead of juggling multiple apps, Filmora gives you everything in one place.
Download Filmora today and start framing your photos with custom borders in minutes.
secure download 