
 100% Security Verified | No Subscription Required | No Malware


 ChatGPT
 Perplexity
 Gemini
 Claude
 Grok
Grok
Recording Roblox on Mac is popular for many reasons. Some players want to share fun moments with friends, while others need videos for YouTube, TikTok, or tutorials. On the other side, content creators use these recordings to grow their channels or build online communities.
If you play Roblox on a Mac or MacBook Air, you might ask: how to record Roblox on a Mac? We can help you answer that through this guide. It shows you how to record on Roblox using different tools. You will see how built-in options like QuickTime and the Roblox recorder work. You will also learn about third-party apps that give you better video and audio quality.
We will compare each method side by side. At the end, you'll know which one fits your needs best. If you want smooth video and clear sound, you'll also see why Filmora is a great choice.
Part 1. Comparison Table: Best Way to Record Roblox on Mac
If you want to record Roblox on Mac, we will help you compare some options available in the market. Some tools are easy to use but have low quality; others give you better video and sound but may take more time to learn.
The table below shows the main things you need to know. We include the most reliable tools to record Roblox on your Mac or MacBook Air: QuickTime, the Roblox recorder, and Filmora.
| Method | Audio Option | Video Quality | Editing Features | Cost |
| QuickTime | Microphone only | Medium quality | Basic trim only | Free |
| Roblox Recorder | No audio recording | Low resolution and frame rate | None | Free |
| Filmora | Microphone and system audio | High quality up to 4K | Built-in editor with effects | Free with limited features; paid for full version |
 secure download

Part 2. How to Record Roblox Using the Game's Recording Tool
Roblox has a built-in screen recorder. It's already part of the game, so you don't need to download or install anything. It works on Mac and MacBook Air. Many players use it because it's quick and easy.
You can start recording in just a few steps, and the app will save the video to your computer when you're done. This app is useful if you just need a short video. It's perfect for simple clips or fun moments.
This tool is fine for quick use. But if you want to add your voice, include game sound, or make the video look better, you will need another recorder.
How to record Roblox on MacBook Air using the built-in tool:
Step 1. Launch any Roblox game
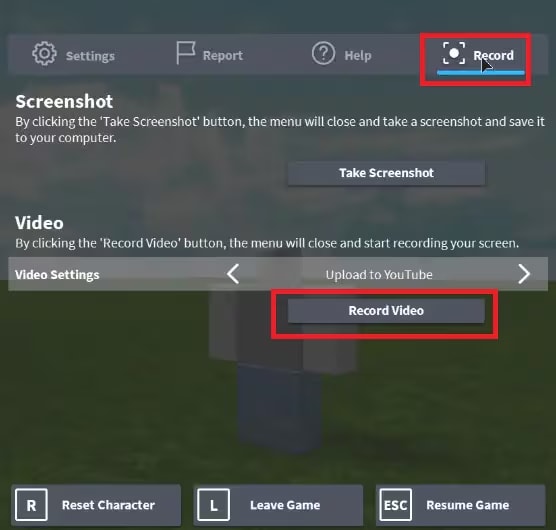
Open Roblox and start the game you want to record. Press the ESC key on your keyboard. The game menu will appear.
Step 2. Click "Record" and choose "Record Video"
On the left side of the menu, click Record. Then select Record Video to start screen recording Roblox on Mac.
Step 3. Play your game
Roblox will record everything you see on the screen.
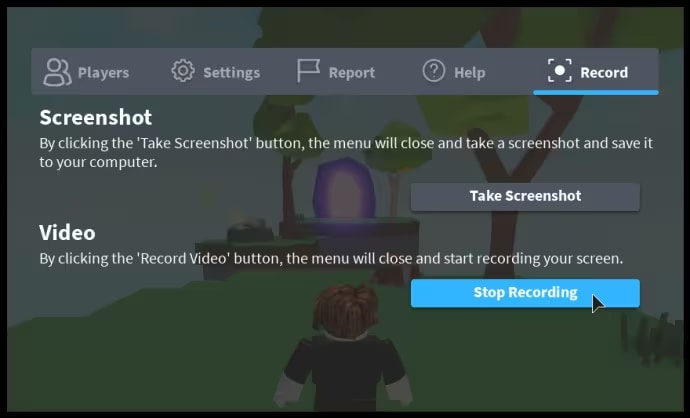
Step 4. Stop recording when you're done
Open the menu again and click Stop Recording. Roblox will save the video to your Videos folder.
If you want better sound and high-quality video, this tool may not be enough. To record Roblox on Mac with clear audio and editing options, you may need to try another screen recorder.
Part 3. How to Record Roblox on Mac with Built-in Editor
If you want more control over your video and sound, Wondershare Filmora is a great choice. It is simple to use and works well for recording Roblox on Mac. You can record your screen, your voice, the game's sound, and even add a webcam if you want.
After recording, you can edit the video right away. This makes Filmora a good tool for players who create game tutorials, make YouTube videos, or want to share gameplay with voiceovers.
secure download How to record Roblox on a Mac using Filmora:
Step 1Open the Filmora Screen Recorder
There are three quick ways to open the screen recorder inside Filmora:
Method 1: From the Main Menu
When you launch Filmora, just click the Screen Recorder tab on the main screen. The recorder window will appear.
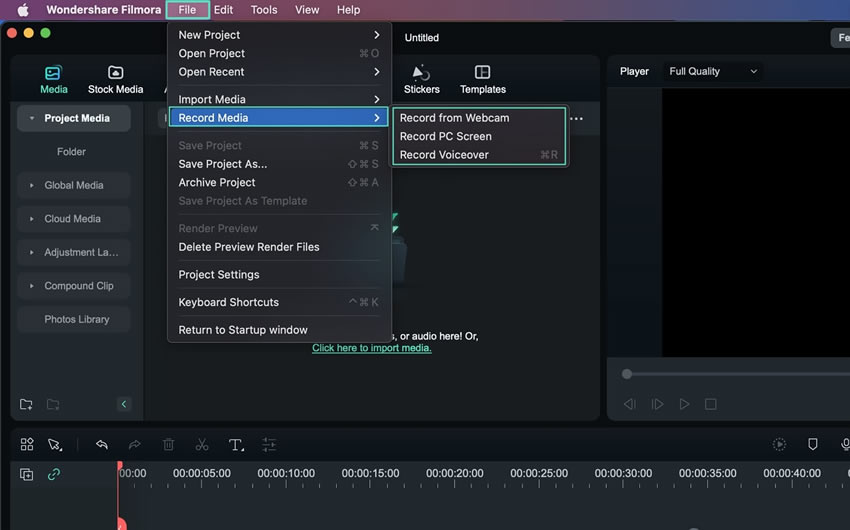
Method 2: From the Top Toolbar
Go to the top and click the File tab. In the dropdown, select Record Media, then pick the screen recorder option.
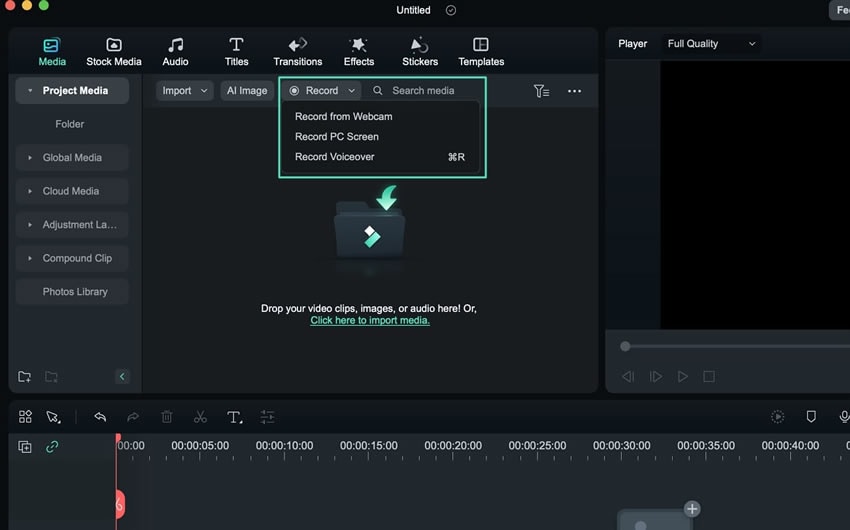
Method 3: From the Search Bar Menu
Look below the toolbar for the Search Bar. Click the little arrow beside Record, and you'll see the options pop out. Just choose the one that fits your setup.
Step 2Choose the Screen Area to Record
Once the recorder is open, you get to choose what part of the screen you want to capture. This is useful if you only want to record the game window and leave out any background apps.
- Click the square icon.
- Pick Full Screen, Custom Size, or Target Window.
- You can also drag and resize the frame manually to get the exact fit.

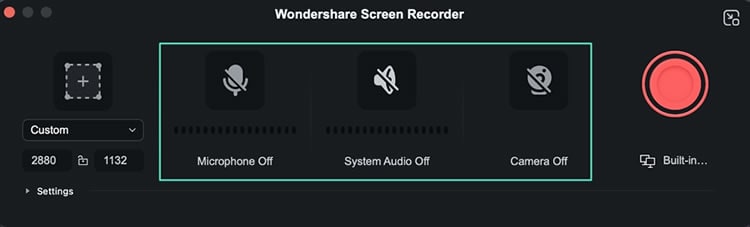
Step 3Select Your Audio and Video Sources
- Turn on the Microphone to capture your voice for commentary, reactions, or instructions.
- Turn on System Audio to grab in-game sounds like music, footsteps, or effects.
- Turn on the Camera if you want to add a webcam overlay to your video (this one's optional, but cool for reactions).
Step 4Adjust the Recording Settings
Want to fine-tune your recording? No problem.
Click Settings in the bottom left corner. Here, you can choose your frame rate, resolution (even up to 4K), file format, hotkeys, and a few other details. It's nice to have that level of control without feeling overwhelmed.
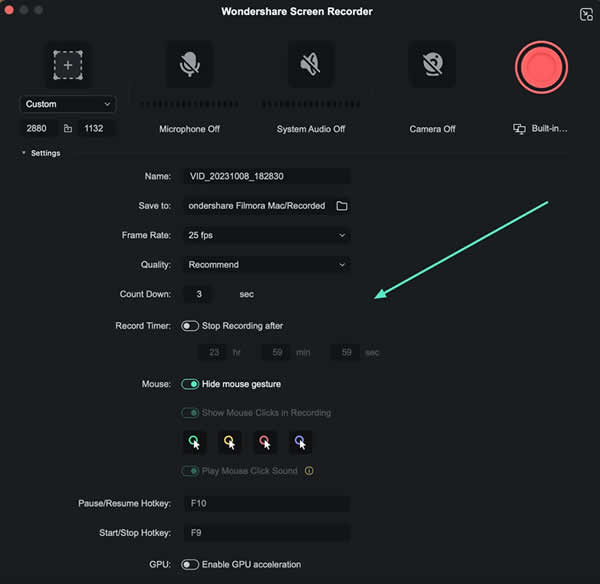
Step 5Start Recording Roblox Gameplay
Now you're ready to go. Hit the big red Record button. You'll get a short countdown, just enough time to switch to your game. If you're in a rush, click Start Directly to skip it.

While recording, you can pause or stop anytime. When you're done, Filmora drops your clip straight into the timeline, ready for editing.
Why Choose Filmora to Record Roblox on Mac
Filmora is your all-in-one Roblox content studio. It's made for creators who want to do more than capture gameplay. If you're making how-to videos, adding commentary, or building your YouTube channel, Filmora has your back.
- Create game tutorials: With Filmora, you can record clean, full-screen video that looks great. You can walk viewers through a game level, explain controls, or show off secret tricks. Everything is smooth and clear, so your message gets across.
- Add voiceovers: You can record your voice during gameplay or after. Either way, you can explain what's happening, share tips, or just talk to your viewers. That personal touch goes a long way.
- Upload to YouTube: Filmora's built-in editor helps you polish your video without jumping to another program. Trim the boring parts, add subtitles, drop in background music, and export it all in the right format for YouTube. Done.
- Easy to use: The interface is simple and clean. You won't waste time figuring out what button does what. It just works, even if this is your first time editing a video.
If you play Roblox and want to make polished videos with good audio and clean edits, Filmora is a smart choice. You get recording, editing, and exporting all in one place. That saves time and makes your workflow a whole lot smoother.
Part 4. Record Roblox Using the Built-in Mac Screen Recording
Another simple way to record Roblox on Mac is by using QuickTime Player. This app is already installed on every Mac. It's free, lightweight, and easy to use.
QuickTime works well if you just want to record what's on your screen. You can also use your microphone to add voice commentary. This is useful if you want to talk during your gameplay or explain something as you play.
However, QuickTime does not record the game's sound unless you use extra tools. Setting that up can be confusing. You also can't change the video resolution or frame rate, and there are no built-in editing features. If you want to cut or edit the video, you'll need to open it in another app.
Still, if you're new to recording or only need a quick video, QuickTime is a good place to start.
How to screen record Roblox on Mac using QuickTime Player
Step 1. Open QuickTime Player
Go to your Applications folder and launch QuickTime Player.
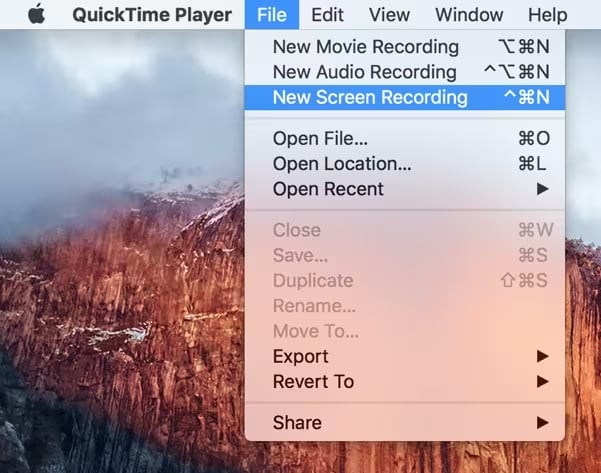
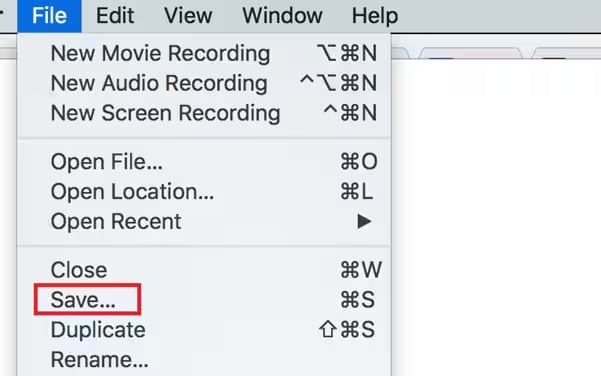
Step 2. Start a new screen recording
In the top menu, click File, then choose New Screen Recording.
Step 3. Select a microphone (optional)
Click the arrow next to the red Record button. Choose your microphone if you want to record your voice.
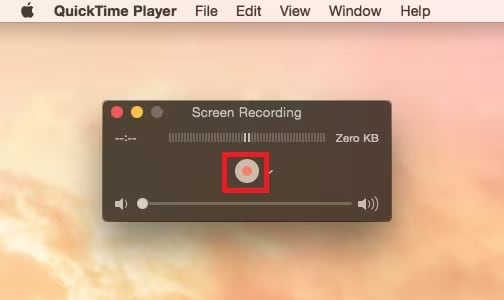
Step 4. Begin recording
Click the red Record button. Then choose to record the entire screen or a selected area.
Step 5. Stop recording
When you're done, press the Stop button in the top menu bar. QuickTime will show your recording right away.
QuickTime is best for beginners who want a fast and easy way to record Roblox on Mac.
Conclusion
Recording Roblox on Mac is simple once you choose the right tool. If you need a quick solution, Roblox's built-in recorder or QuickTime Player can do the job with no setup. But they have limits, especially with sound and video quality.
For players who want more control, better audio, and built-in editing, Filmora is a great option. It lets you record your screen, voice, and game sound all at once. You can also edit your video and export it in high quality, ready for YouTube or social media.
Try different tools and pick the one that fits your style. The best choice depends on what kind of videos you want to create.
secure download 