
 100% Security Verified | No Subscription Required | No Malware


 ChatGPT
 Perplexity
 Gemini
 Claude
 Grok
Grok

To create smooth scene changes, video editors use cross-dissolve transitions. Using the fade effect, it seamlessly blends one scene into another. It is used everywhere, from movies and YouTube clips to ads, making it a favorable choice among video editors when they want to emphasize the passage of time in the narrative.
Knowing how to use the cross-dissolve effect is beneficial for both pros and beginners. For veteran video editors, Adobe Premiere Pro gives greater control over the effect by enabling different customization options to fine-tune it just the way you want it. If you’re new to video editing, stick around until the end, as we have an easier solution for you!
In this article
A Step-by-Step Guide to Add the Cross Dissolve Transition in Premiere Pro
This g uide will walk you through the process of applying the cross-dissolve transition in Premiere Pro. You will discover best practices for making your transitions look professional and seamless, where to find the effect, and how to customize it. By the end of it, you’ll be able to enhance your video projects with polished, cinematic scene changes.
In Adobe Premiere Pro, adding a cross-dissolve transition will make your film seamless, with fluid scene changes. This effect improves the flow of your cuts, whether you are softening a cut or merging two clips. Even though the software may seem tough to handle at first, adding this effect is rather easy. We will guide you through this process step-by-step.
Step 1: Add the videos you’d like to edit to the timeline.
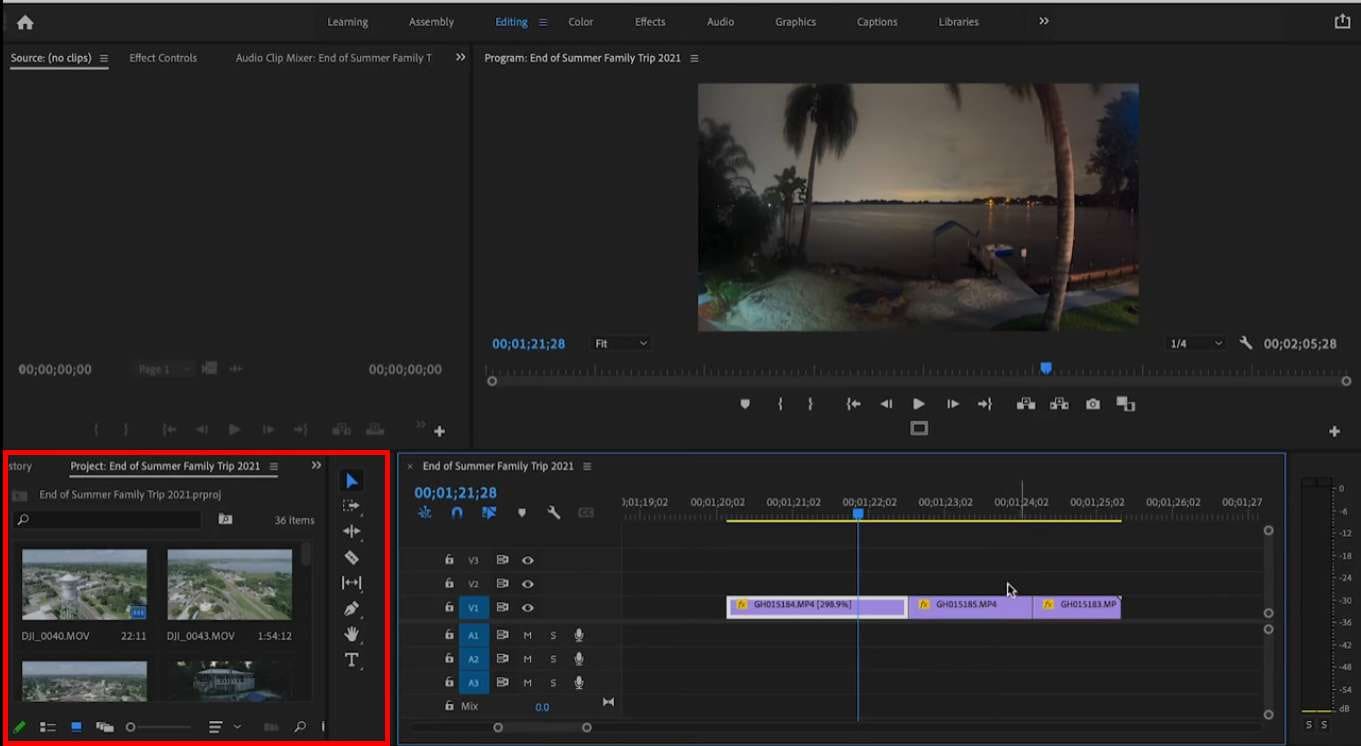
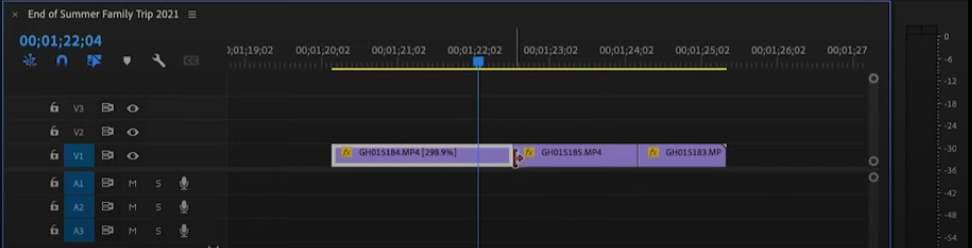
Step 2: Navigate your cursor and place it between the two videos.
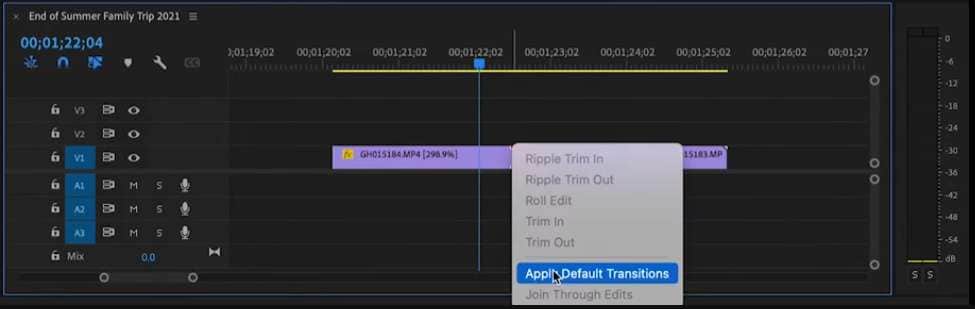
Step 3: Right-click there and click on Apply Default Transitions. Cross Dissolve is the default option for transitions in Premiere Pro.
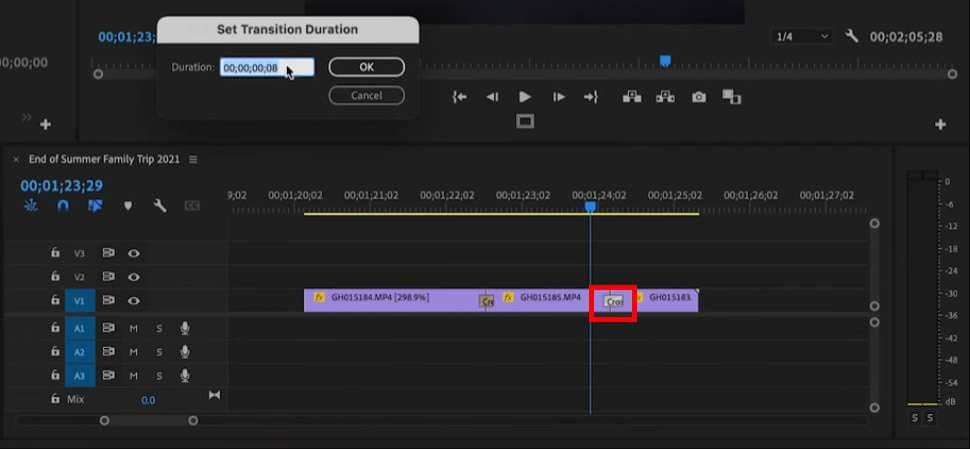
Step 4: To set the duration of the Cross Dissolve effect, right-click on it in the timeline.
And, as we promised, we will give you an easier option for beginners. It is also an excellent option for professionals looking to change their tools and explore other options.
A Step-by-Step Guide to Add the Cross Dissolve Transition in Filmora
As mentioned, both novice and professional editors would find Filmora perfect since it provides a far more user-friendly interface than other editing tools. Filmora lets you easily modify your films with its simple interface and a large array of transitions, effects, text animations, stickers, and more. Adding the cross-dissolve transition is just one of the many ways you can create seamless, professional edits. Apply the cross-dissolve effect by following the easy instructions below.
 secure download

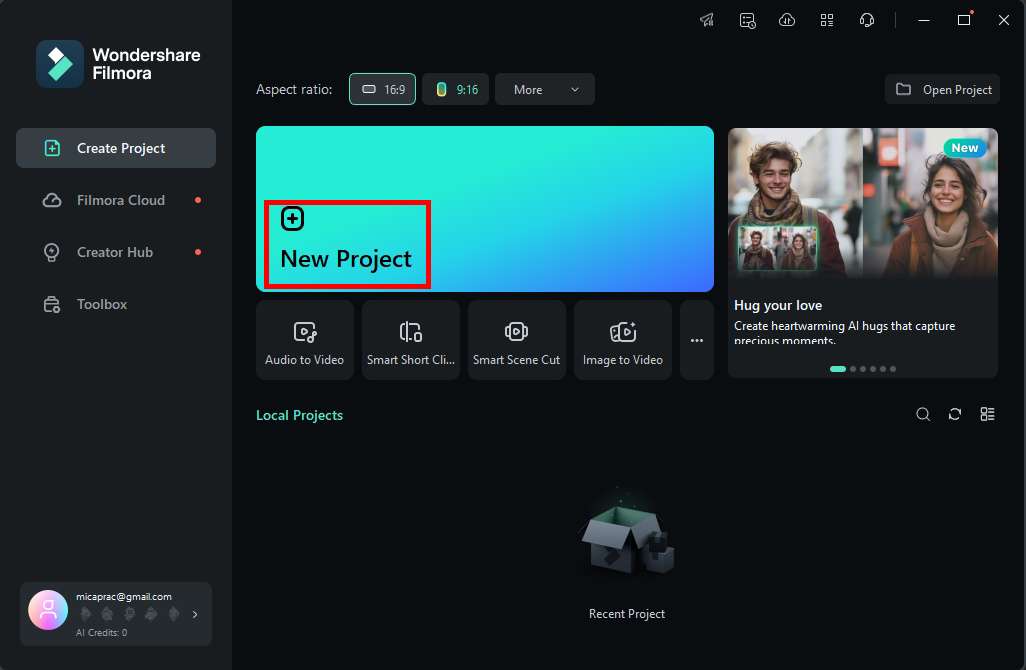
Step 1: Open up your Filmora and start a New Project.
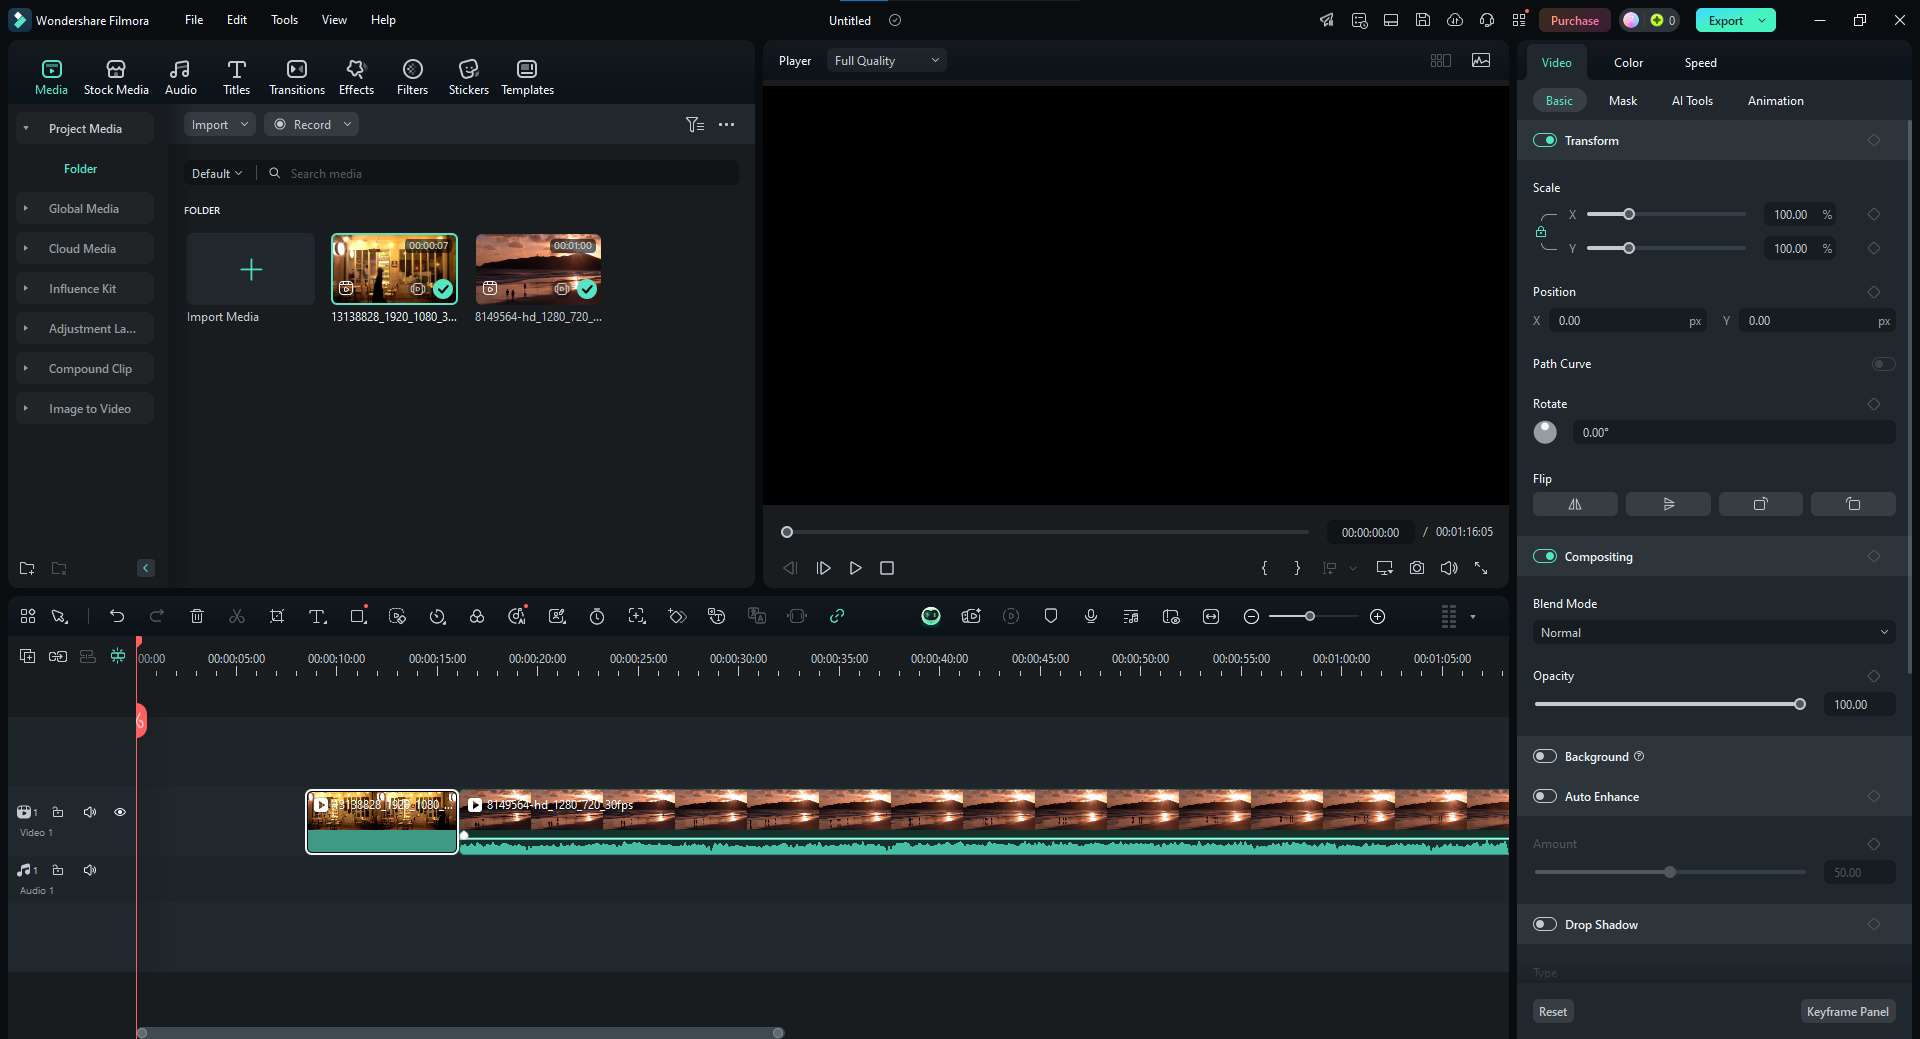
Step 2: Import the videos you’d like to edit.

Step 3: Drag and drop them to the timeline.
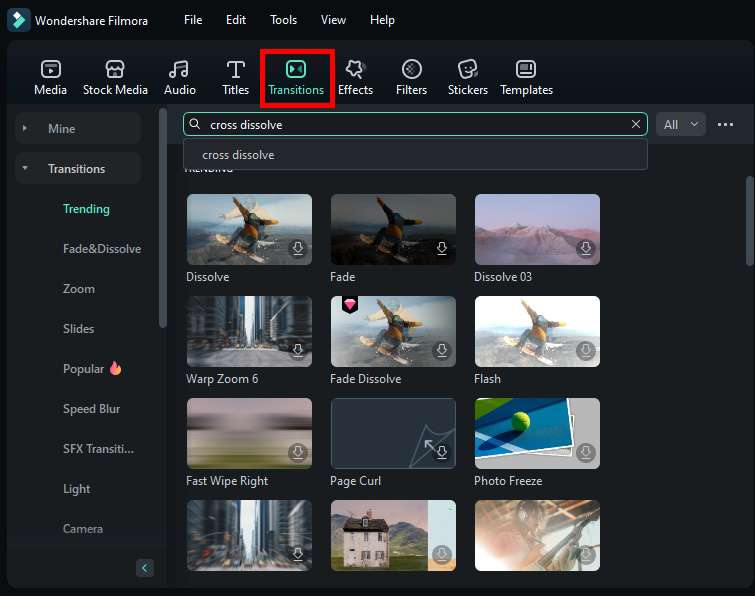
Step 4: In the header, you will find the Transitions option. Click on it and search for Cross Dissolve.
Step 5: Filmora will offer several effects that you can choose from and download. Once you have your pick, you can drag and drop it where you want it.
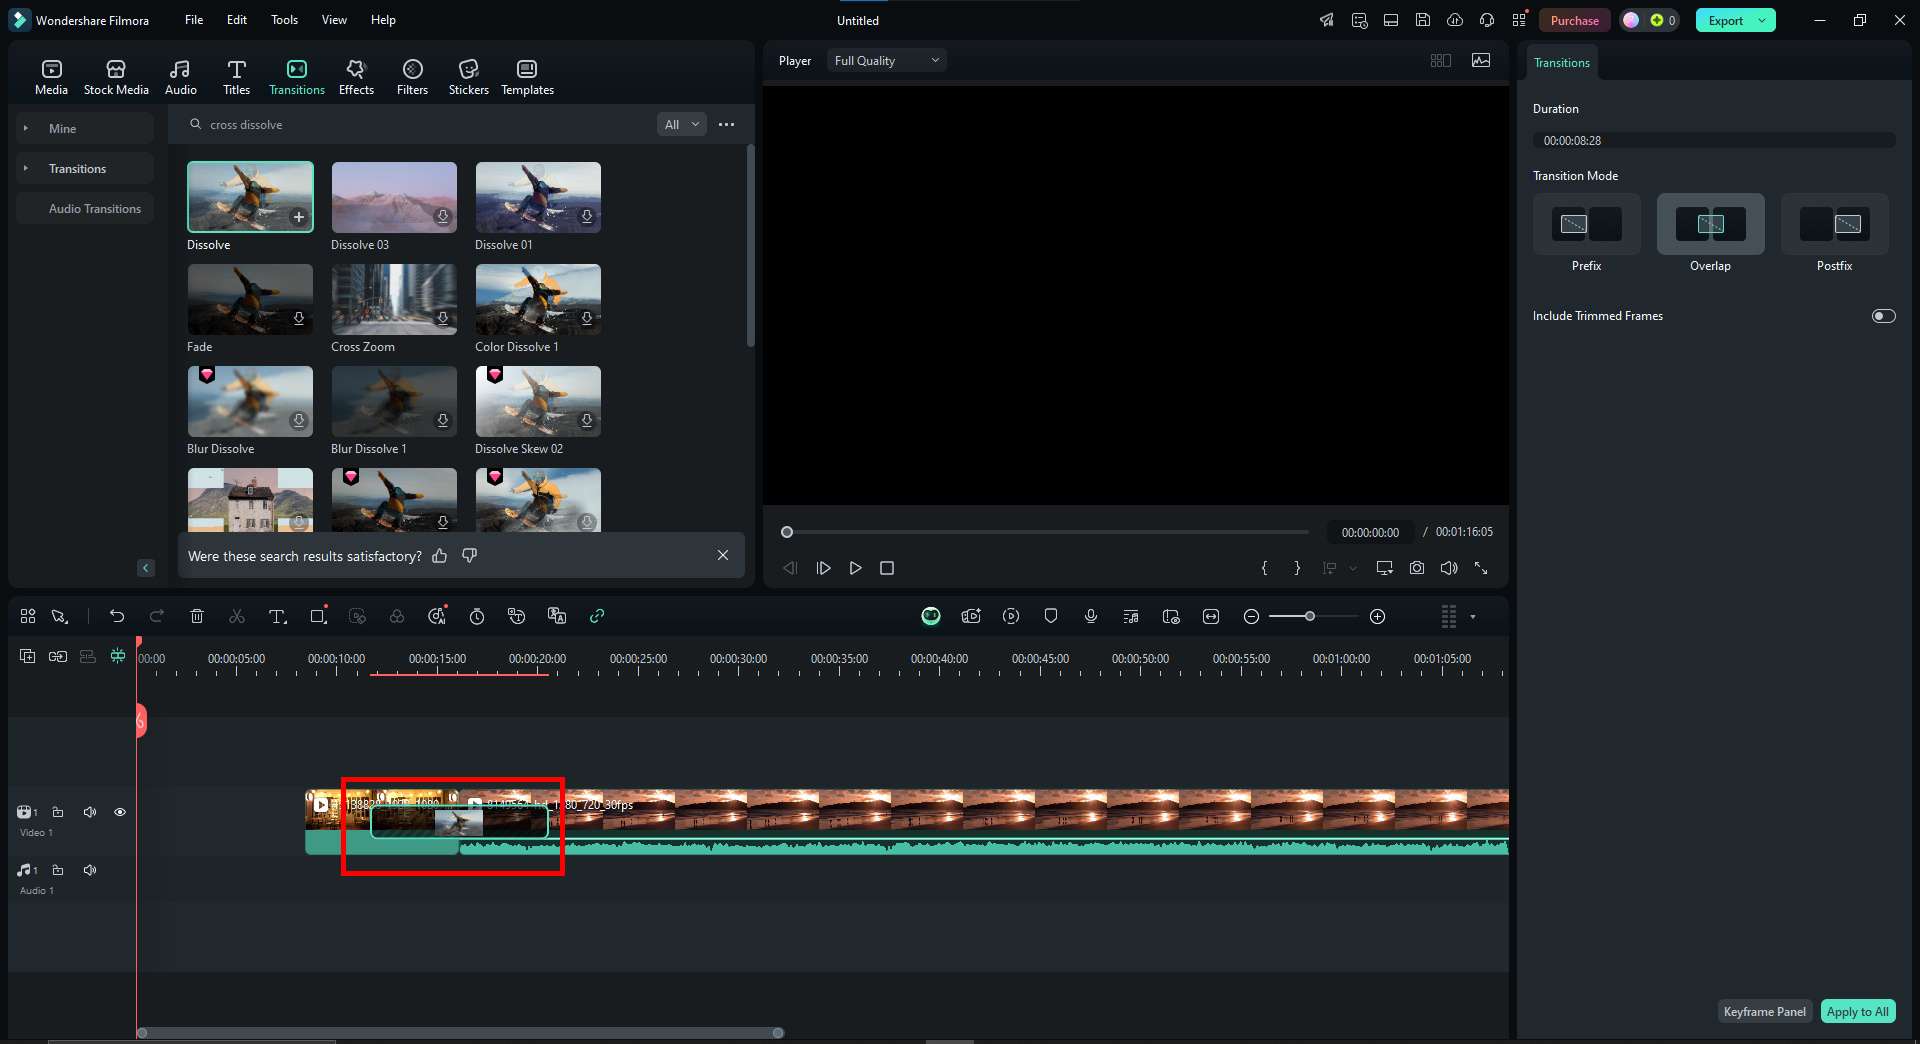
Step 6: Adjust the duration by clicking on the edge of the effect and dragging the edges.

Continue Editing Your Video with Filmora
Strong editing options in Filmora make it easy to apply professional edits. Whether you’re adding artistic details or editing your video, its easy features enable you to produce amazing results without a steep learning curve.
We will go over the steps for improving your video by using effects, stickers, titles, and filters to make it more interesting and aesthetically pleasing. Now that you’re familiar with setting up your new project and adding the videos to the timeline, we can jump straight into the editing process.
secure download
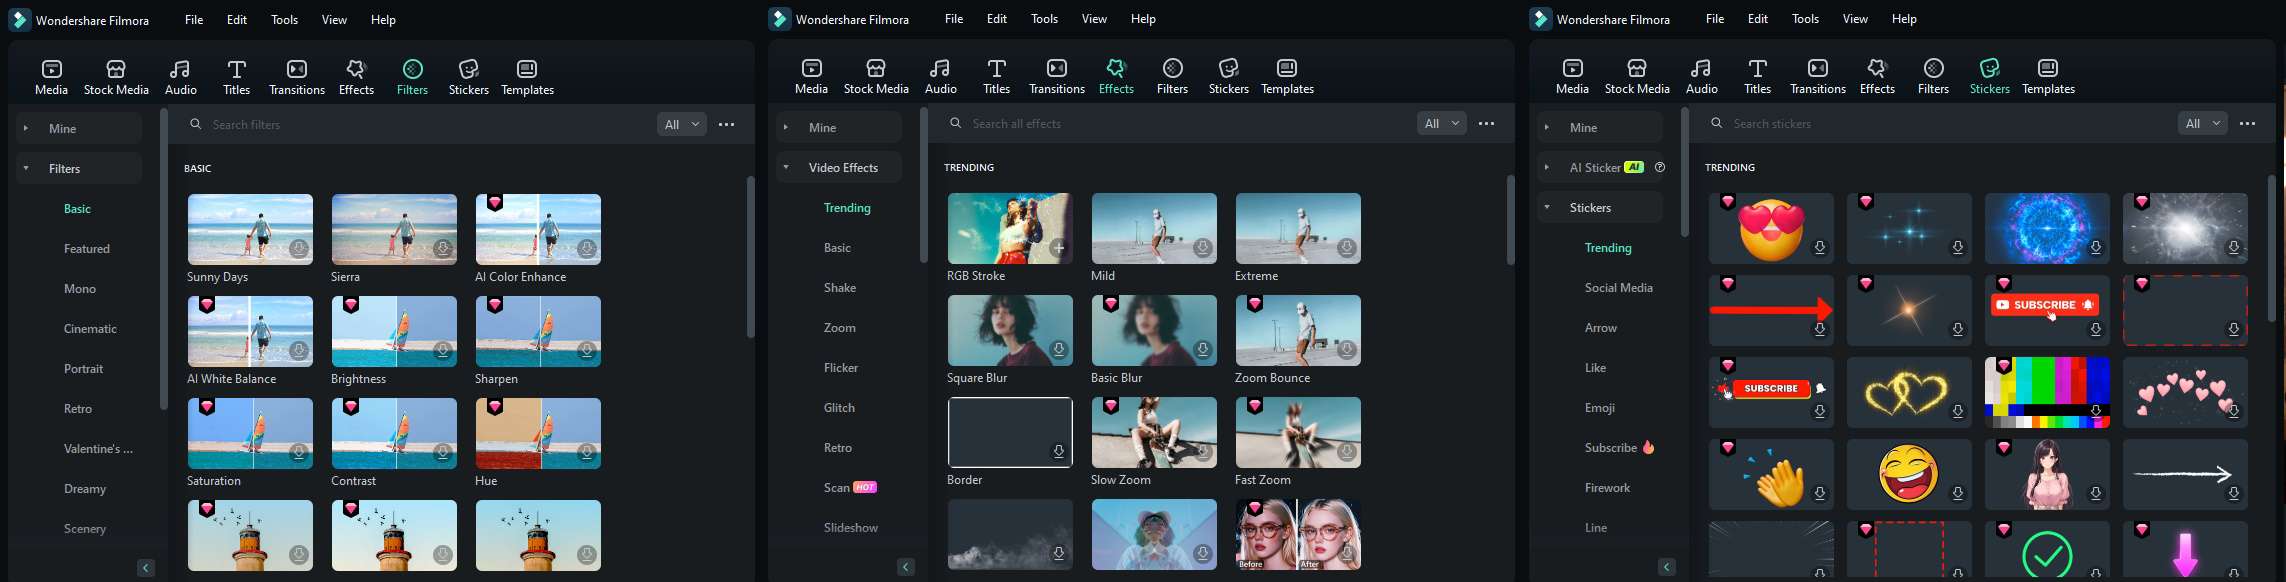
Step 1: In the header, you will find options to add Effects, Filters, and Stickers.
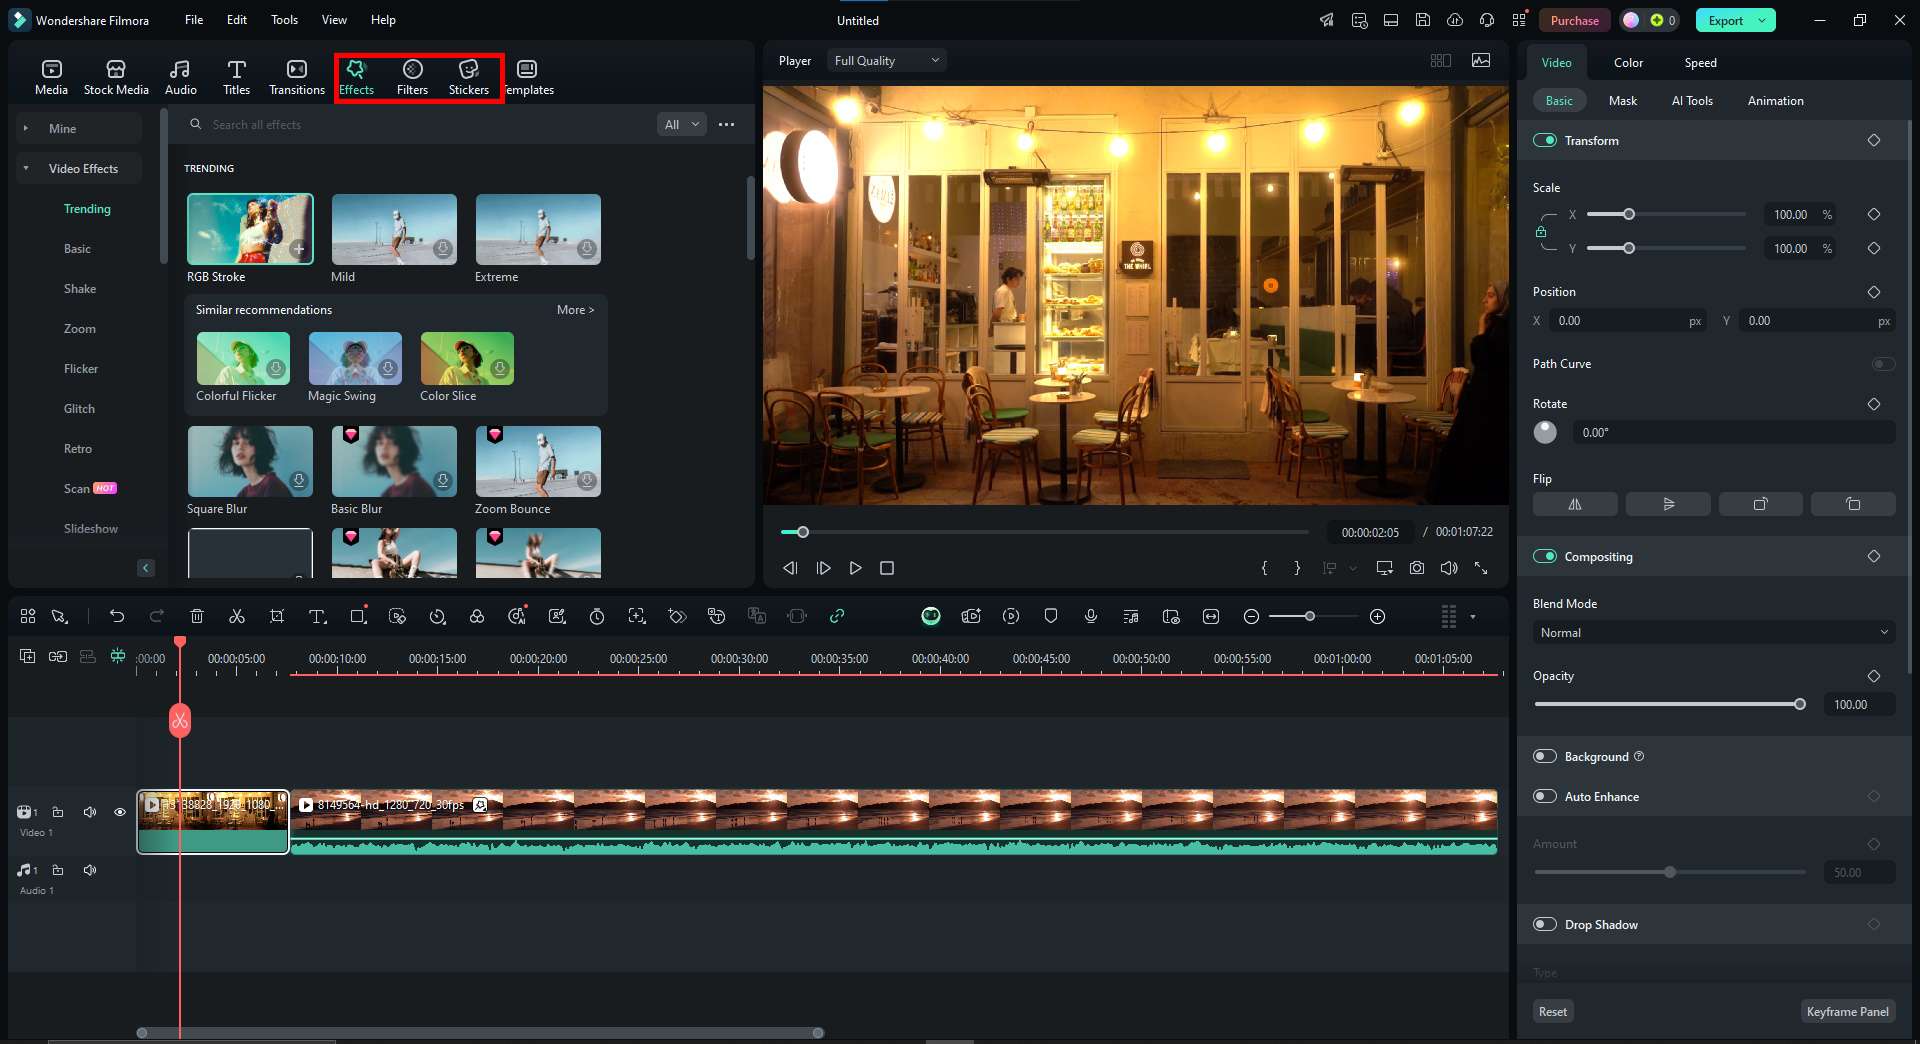
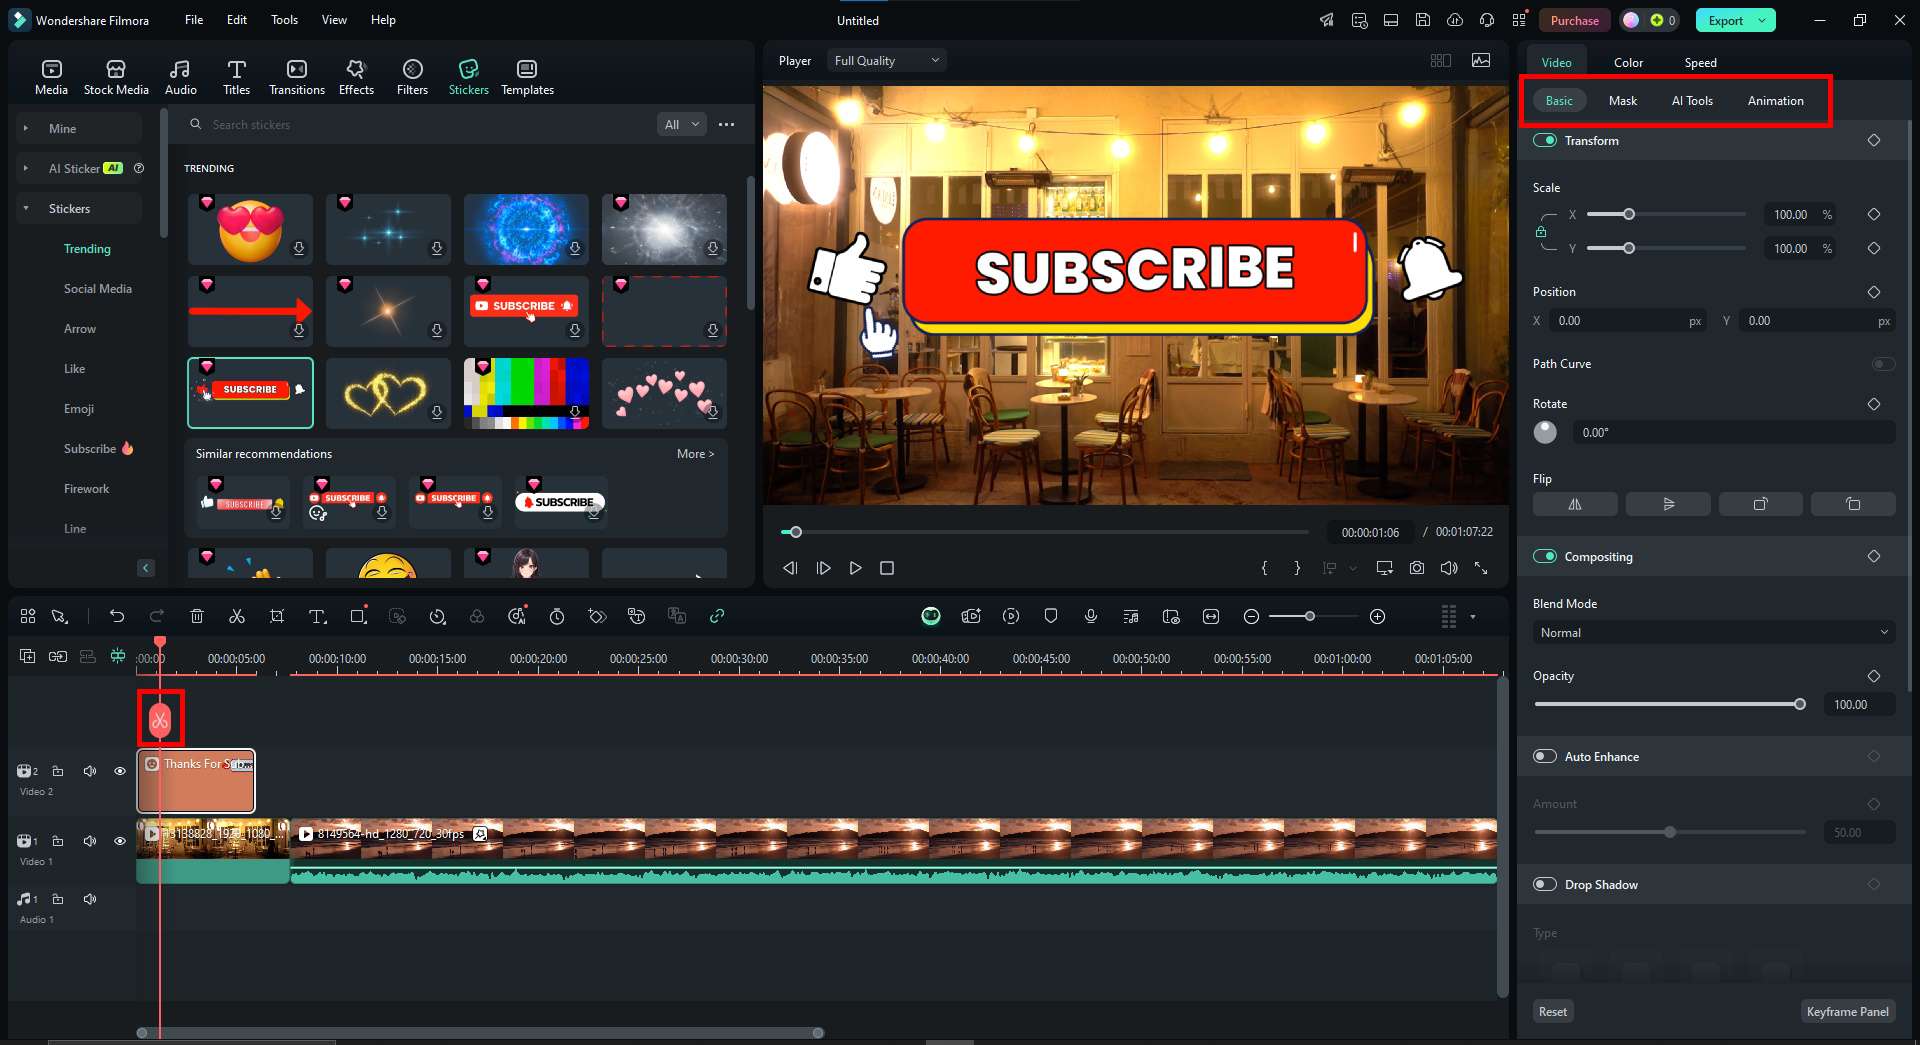
Step 2: Choose from a wide array of options and pick your favorite one.
Step 3: Drag and drop something you like to the timeline, where you can further customize it. By clicking on the scissors, you can cut it to make it shorter. By navigating to the Video options menu to the right, you can further customize the effect, filter, or sticker you selected.
Improve Your Video Even More with Filmora’s AI Features
Filmora’s AI-driven tools let you easily improve transitions and refine your edits. Combining the cross-dissolve impact with AI-powered elements like AI Portrait, Auto Reframe, and AI Audio Denoise will ensure clean audio, preserve correct framing, and create natural scene changes.
These tools help you achieve a polished, professional look with minimal manual adjustments. Let’s look into them a bit deeper.
AI Portrait
Without the need for a green screen, Filmora’s AI Portrait tool helps you eliminate the background from your recordings. Combining this with the cross-dissolve transition will enable dynamic scene transitions whereby subjects naturally merge into the new surroundings. This effect is especially useful for vlogs, creative storytelling, and professional-looking edits without complex masking.
Auto Reframe
Using artificial intelligence, Auto Reframe finds the main subject in your video and automatically modulates the framing. This function guarantees that important elements remain in focus when switching between clips, therefore improving the look and appeal of cross-dissolves. It’s particularly helpful when editing videos for multiple aspect ratios, such as social media platforms.
AI Audio Denoise
AI Audio Denoise eliminates background noise so your transitions sound as polished as they look. Since cross-dissolve transitions blend both video and audio, unwanted noise can sometimes be noticeable. Using AI Audio Denoise before using the transition effect will provide a cleaner and more professional result.
Conclusion
Although Adobe Premiere Pro boasts strong editing features, its learning curve is somewhat steep. Filmora is a perfect substitute if you want a quicker, more user-friendly approach to include ink transitions and other effects in your videos. Just a few clicks will let you produce professionally-quality edits using its simple UI and AI-powered tools. Filmora is accessible on Android, iOS, and desktop devices, so editing videos anywhere, at any time is quick and easy.
