You must have watched videos where certain parts have different speeds. Have you ever wondered why video creators change the speed of the video? The slow-motion video has some eye-pleasing effects. But the video creator's intention could be to draw attention to the detail. Similarly, they speed up the video to go through boring parts faster than usual.
Apart from that, the speeding up of a video clip may make it look funny. Sometimes, speeding up a video is necessary to limit its duration. You will need a feature-rich video editor to speed up your video. Lightworks is a powerful video editor that can speed up or slow down your video. We will illustrate how to change video speed in Lightworks.
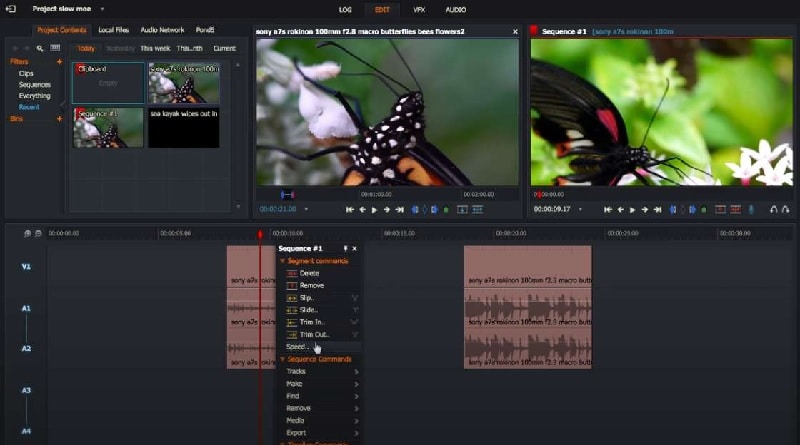
In this article
Part I. How to Speed Up Video in Lightworks
If you are making short-duration videos, you may need to speed up your video. You will come across many shorts and reels where sped-up videos look so funny. You can also speed up certain parts in your video where detail to attention is not required. Here are the steps for Lightworks to speed up a video.
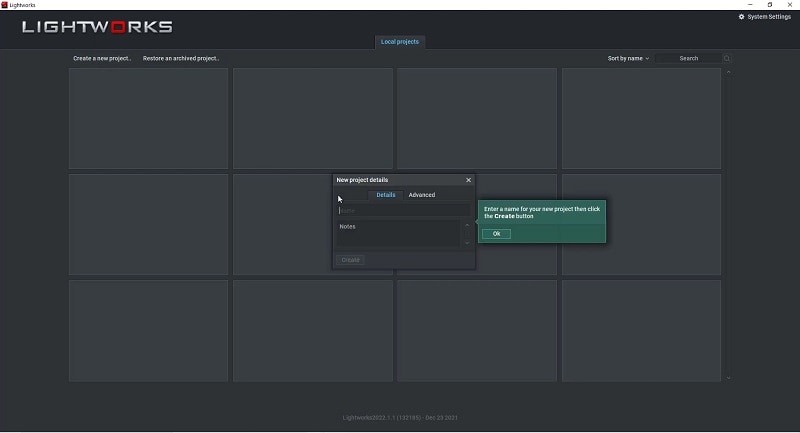
Step1 Launch Lightworks and click the New A New Project option. Enter a name for your video project and click Create button.
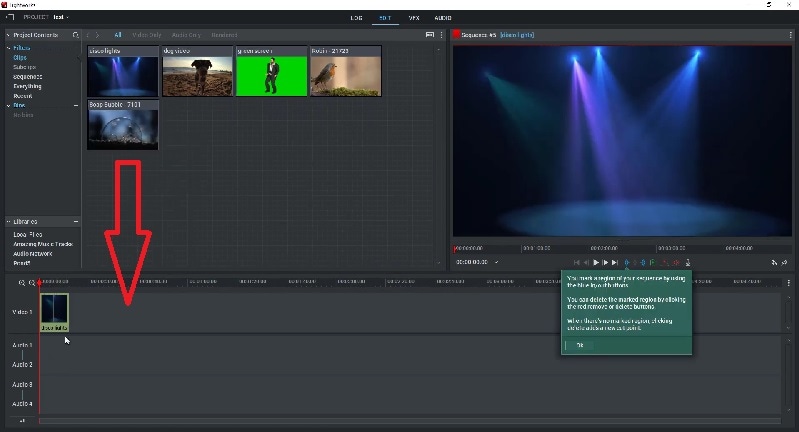
Step2 Drag and drop your video clip to the video editor under the Edit tab. Drag and drop the video clip from the Edit tab to the timeline.
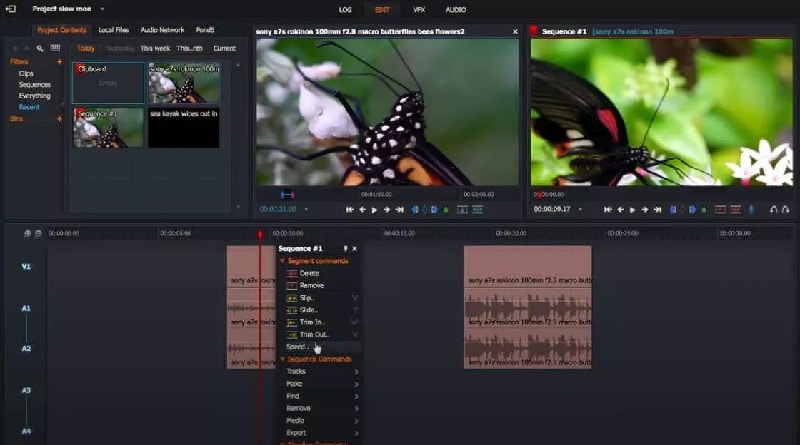
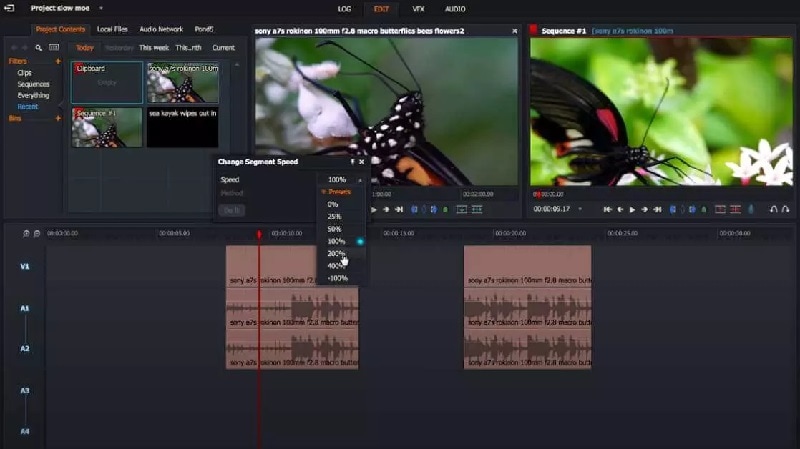
Step3 Right-click the video clip on the timeline. Click the Speed option from the menu.
Step4 You can select from any preset. To speed up, you need to select options above 100%. Click the Do It button to save the changes you have made.
Part II. How to Slow Down Video in Lightworks
More often than not, you will want to slow down your video speed. This is because slow-motion video is in trend. You may want to slow down your video so that the viewers pay attention to the detail. Besides, slowing down certain motions looks extremely eye-catching. Here are the steps to slow down video in Lightworks.
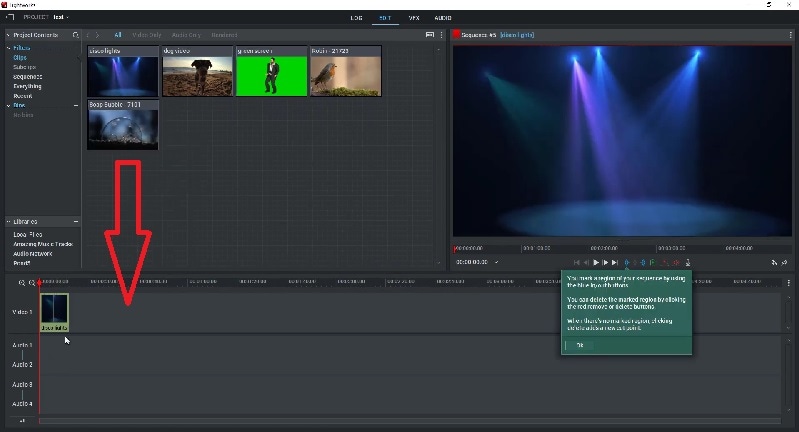
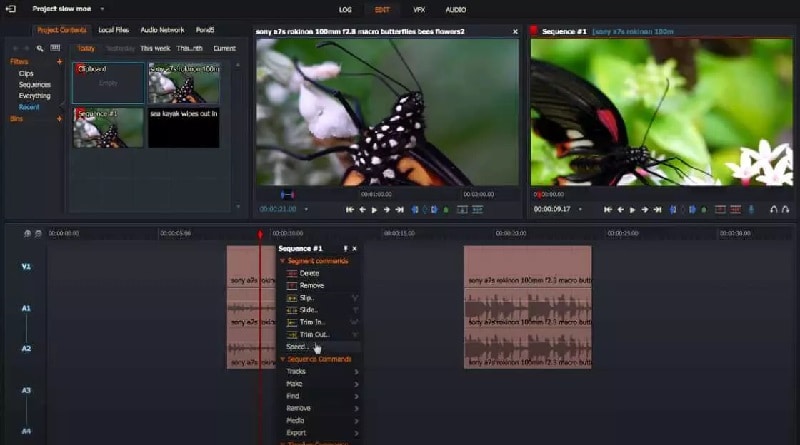
Step1 If you have dragged and dropped your video clip onto the timeline, right-click on the video clip.
Step2 Select the Speed option from the menu. You need to select a speed preset, but it has to be below 100% so that your video slows down.
Step3 Finally, click the Do It button and play the video to check out the outcome.
Part III. Bonus Tips for Changing Video Speed in Lightworks
Now that you know how to speed up video Lightworks, here are some important tips to pay attention to. These tips will help you edit your video better, especially when you are tweaking the speed factor.
Lightworks speed up part of a video - If you want to speed up only a certain part of your video, you need to split the video. All you need to do is reposition the playhead and click the "C" icon to split the video. Thereafter, you can select any split portion of the video and follow the steps to change the speed.
Audio Video Syncing - You can alter the speed of the video as well as the audio on Lightworks. When you are performing speed-up video in Lightworks, you should ideally change the speed of the audio. This will make the video and the audio stay in sync so that it does not sound awkward.
Work with Frame Rate - If you know beforehand that you will change the speed of a certain scene, you should set the frame rate accordingly. If you want to slow down a video, you should shoot it at a higher frame rate. Similarly, if you want to speed up your video, you should shoot it at a lower frame rate. This is because, after the change of speed in Lightworks, the frame rate will be usual rather than abnormal. The video will be soothing to the eyes of the viewers.
Part IV. Is There an Easier Way to Change Video Speed?
There is no doubt that most users find Lightworks difficult to operate. This is because the user interface is not tailor-made for beginners. It is more for advanced video creators who have experience in video editing. If you are looking for an easier way to change video speed, we recommend Wondershare Filmora.
Filmora is a professional video editor like Lightworks. However, Filmora has wider popularity because of its intuitive user interface. Anyone can use the video editor without prior experience, and they can easily locate the required options. In fact, Filmora has a better collection of stock footage, video effects, and video transitions. You can also save the edited video file in different file formats as per your requirements.
As a matter of fact, Filmora offers more options than Lightworks on how to speed up the video. You can choose from presets, customize speed uniformly as well as vary the speed through the video through curvy graphs. We will illustrate all the different ways to change the speed of your video on Wondershare Filmora.
Methods to Change Video Speed in Filmora in Simple Steps
We have already stated that there are different ways to change video speed in Filmora. Now, we will illustrate the steps for every method. You can choose any of them to change the speed of the video as per your requirements.
You can watch the video to understand these methods in detail.
Method 1. Change The Speed of Video From Presets
We have stated how to speed up a video in Lightworks from presets. The same method is available on Filmora as well. You can choose from the different preset speed options. This is the easiest way to speed up or slow down your video. In comparison to Lightworks, Filmora has more preset options. Here are the steps to speed up video by choosing a preset in Filmora.
Step1 Install Filmora on your computer. It is available for Windows and macOS. Launch Filmora and select Create New Project option.

Step2 You need to import the desired video file in Filmora. Go to File> Import Media and select the Import Media Files option. You can browse your computer to select the video file whose speed you want to change. The chosen video file will be included in the Project Media folder. You can even drag and drop the target video file from your computer to the Project Media folder.

Step3 Drop the video file onto the timeline. Click on the video clip on the timeline to select it. Click on the Speed icon located at the top of the timeline.

Step4 Go to Fast or Slow and select a speed preset as per your requirements. If you are satisfied with the video, click on the Export button.

Method 2. Customize The Change of Speed in Wondershare Filmora
You may want to set a speed that is not available on the preset list. Filmora has come up with the Uniform Speed option to let you customize the speed of the video as per your requirements. You can choose from 0.01X to 100X speed, and the chosen speed will be applied to the video uniformly. Here are the steps to follow.
Step1 Drag and drop the video file from the Project Media folder onto the timeline. Click on the Speed icon located at the top of the timeline.
Step2 From the menu, select the Uniform Speed option. You will see the Uniform Speed tab above the timeline.

Step3 You need to move the speed slider to set the desired speed for your video. You can play the video to see how the video speed changes.

Step4 If satisfied with the result, click on the Ok button. Thereafter, you can export the video file in any file format.
Method 3. Use Speed Ramping to Customize Your Video
Speed ramping is a unique way to change video speed. It is useful for advanced video editors that want to vary the speed differently for different sections of the video. You can set the graph with nodes as per your requirements. According to the graph you have designed, your video speed will vary. Here is how to use speed ramping to change the speed of your video.
Step1 Drag and drop the video file onto the timeline and click the Speed icon.
Step2 Click Speed Ramping option from the menu. You will see Speed Ramping tab above the timeline.

Step3 You can choose any preset available. If you want to customize the graph, select the Customize option and edit the nodes.
Step4 Play the video as you make the changes. Click the Ok button if the output is as per your expectation. Finally, click the Export button to save the video file.
Conclusion
We have illustrated how to speed up a video in Lightworks. However, you can only choose from the fixed presets available in Lightworks. If you want to customize the speed of your video, Wondershare Filmora is a better alternative to Lightworks. Several methods are available to change your video's speed in Filmora. Therefore, you can get the desired video output in simpler steps.


 100% Security Verified | No Subscription Required | No Malware

