

You know that moment when your edit feels done? Music is synced, cuts are clean, color looks decent… then you press play, and your video starts blinking like it's trying to send Morse code.
One second, the scene looks normal. The next thing you know, it gets brighter, then darker, and back to acting up again. That's called flicker, and it's possible to fix and remove it in Premiere Pro.
Still, flicker removal in Premiere Pro can feel confusing at first because different flicker problems need different fixes. So, we'll guide you through how to remove flicker from video in Premiere Pro step-by-step, starting with the quickest built-in options and moving up to stronger solutions when the easy fix doesn't cut it.
Part 1. The Quickest Way to Remove Flicker in Premiere Pro Using Built-In Tools
Premiere Pro actually includes built-in options that can help with flicker removal, even though they are not always obvious at first glance. Let's break them down!
Method 1: Automatic Deflicker in Premiere Pro Using a Filter
The first option is called the anti-flicker filter in Premiere Pro. If the flicker in your clip is minor, this is the fastest fix to try. You can do it in just a few clicks:
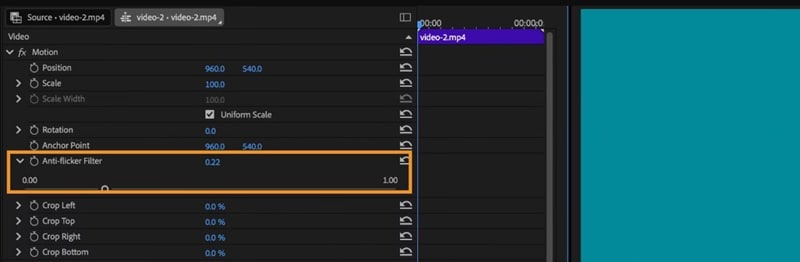
That is all you need for a quick fix, and the anti-flicker Premiere Pro option works well for small flicker issues. It is not the only built-in method for Premiere Pro flicker removal, though. If you want more control, there are manual fixes you can try too.
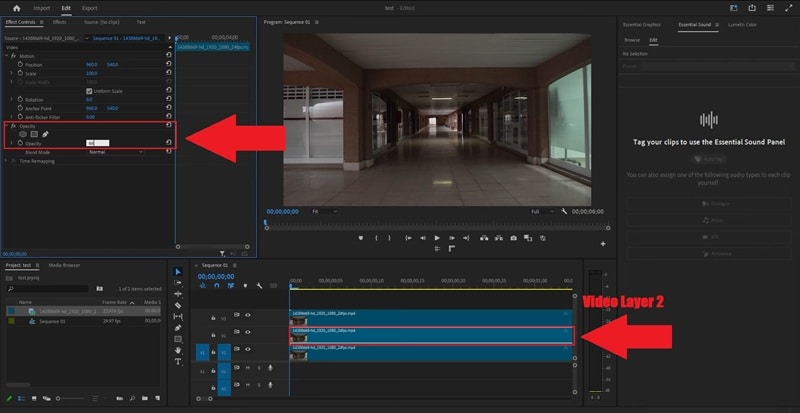
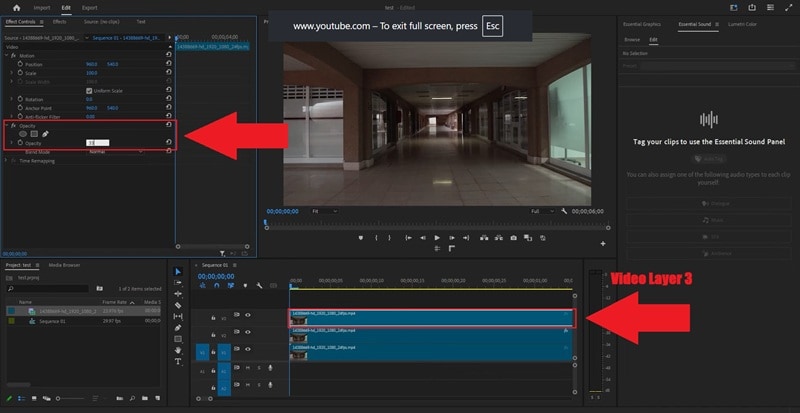
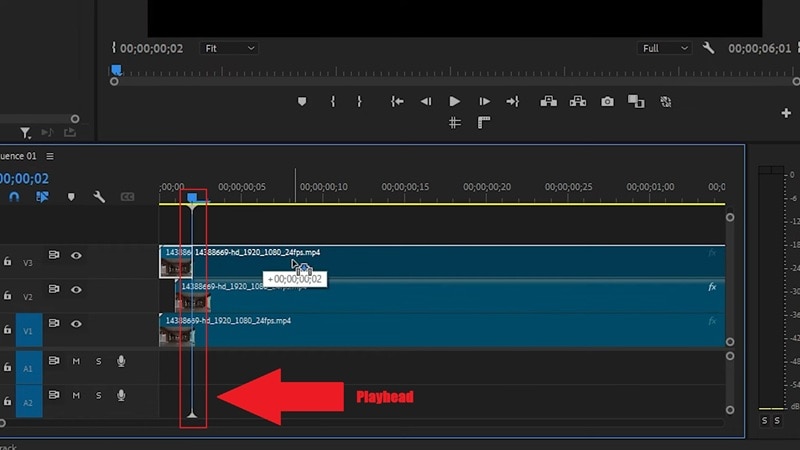
Method 2: Manual Deflicker in Premiere Pro Using Opacity and Frame Offsets
There is a helpful video by Adobe Made Simple on YouTube that shows how to remove light flicker in Premiere Pro in a clear and simple way. Follow the steps below, and you can see the difference right away.

When Built-in Options Make Sense
The two methods above are meant for smaller flicker problems, not the kind that completely breaks a shot.

This approach works well when the flicker looks like:
- Light brightness changes: Like an interview shot where the image slowly gets a bit brighter and darker while the subject stays still.
- Flicker on fine details: Clothes with patterns, window blinds, or textured walls that seem to shimmer when the video plays.
- Unstable indoor or LED lighting: Footage filmed in a room with LED bulbs where the lights look steady to your eyes but pulse slightly on camera.
If your clip fits into one of these situations, this approach for deflicker in Premiere Pro is usually enough.
Part 2. Stronger Flicker Removal in Premiere Pro Using Plugins
If the built-in Premiere Pro anti-flicker method does not work for your footage, do not panic. Some types of flicker are simply too complex for native tools alone. In that case, you can use a third-party plugin.
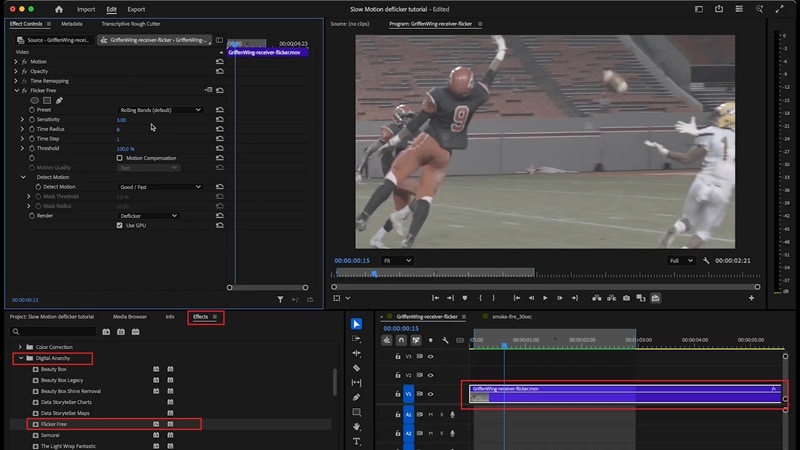
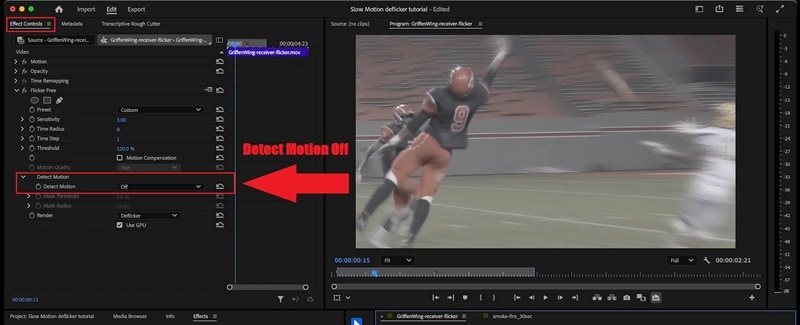
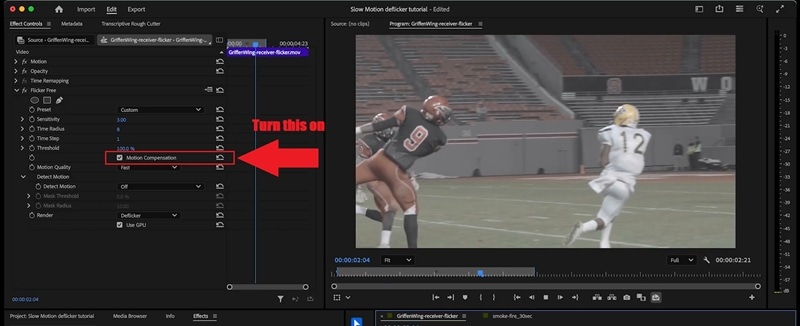
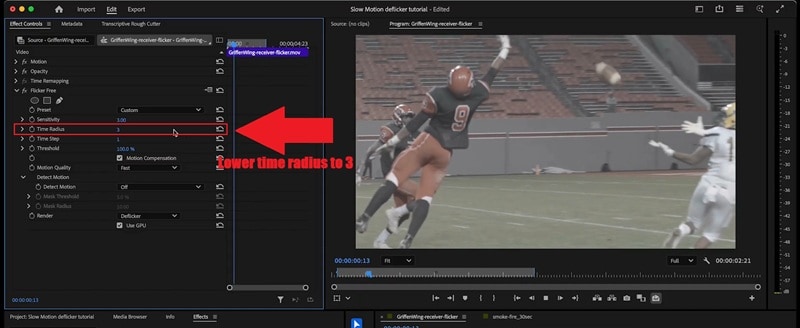
There are dedicated deflicker Premiere Pro plugins designed specifically to analyze brightness changes frame-by-frame. One popular option many editors rely on is Flicker Free by Digital Anarchy.

This plug-in is commonly used because it looks at brightness changes across frames and smooths them out in a more controlled way. As a result, you get more consistent results compared to using Premiere's anti-flicker filters.
How to Reduce Flicker in Premiere Pro using Plugins
Figuring out how to reduce flicker in Premiere Pro with plugins can take a little more effort than the quick fixes, but the results are usually worth it. Digital Anarchy has a clear YouTube guide that walks through the process in a way that is easy to follow.
When a Plugin Makes More Sense
Sometimes, a flicker is not just a small glitch you can smooth out. It is baked into the clip and keeps showing up no matter what you try. That is usually the point where a plugin makes flicker removal in Premiere Pro much easier and more reliable.

Plugins help more in situations like these:
- Time lapse footage: For example, a sunset time-lapse where the sky keeps getting brighter and darker every few frames as the camera adjusts exposure.
- Slow motion clips: Footage slowed down from 60 fps where flicker suddenly appears between frames even though it looked fine at normal speed.
- Fast movement with detail: Sports footage where players move quickly and you still need the image to stay sharp while fixing the flicker.
If your clip looks like any of these examples, a plugin is usually the cleanest way to reduce flicker in Premiere Pro without spending hours testing small tweaks.
Part 3. A Smarter Way to Reduce Flicker Without the Premiere Pro Headache
While Premiere Pro provides multiple options for removing light flicker from video, the process often requires careful tweaking and patience. Built-in filters and plugins may work well in some cases, but results can vary depending on the type of flicker, frame rate, and lighting setup.
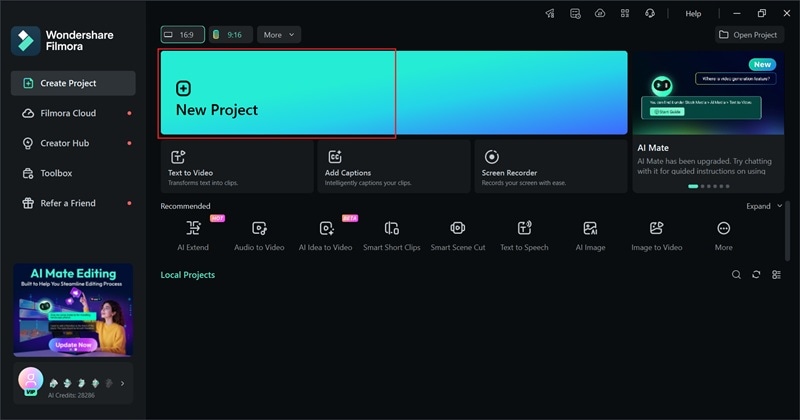
For creators who want to remove flicker from video more efficiently, exploring a simpler alternative can save time and frustration. Wondershare Filmora offers an AI-based flicker removal solution designed to deliver consistent results without the need for constant adjustments.

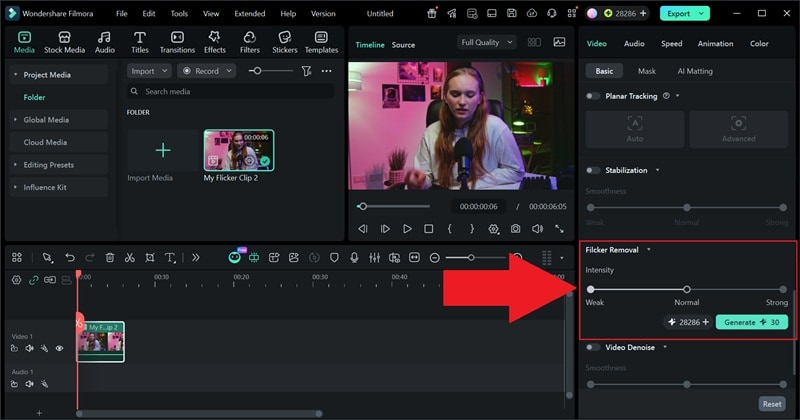
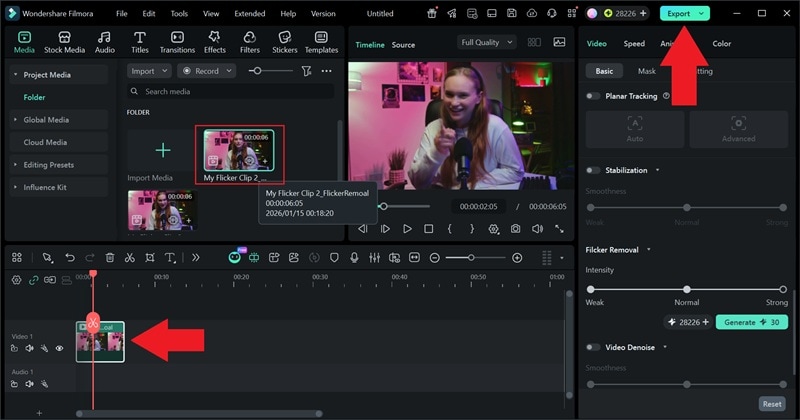
In its latest version, Filmora features an AI Flicker Removal tool that simplifies the entire process. By analyzing the clip in the cloud, the AI automatically detects common flicker issues and corrects them in one pass, helping creators remove flicker from video without constant tweaking or trial and error.
Why Choose Filmora for Flicker Removal
- One-Click Smart Processing: No complex sliders or confusing parameters. You upload the clip, click Generate, and the AI handles the deflicker process for you.
- Multi-Scenario Coverage: Works well for night shots, indoor lighting, LED-heavy scenes, and other environments where flicker often shows up.
- Strong Material Compatibility: Supports video clips, proxy files, and clips with overlay effects, while clearly noting limitations like no support for audio or compound clips.
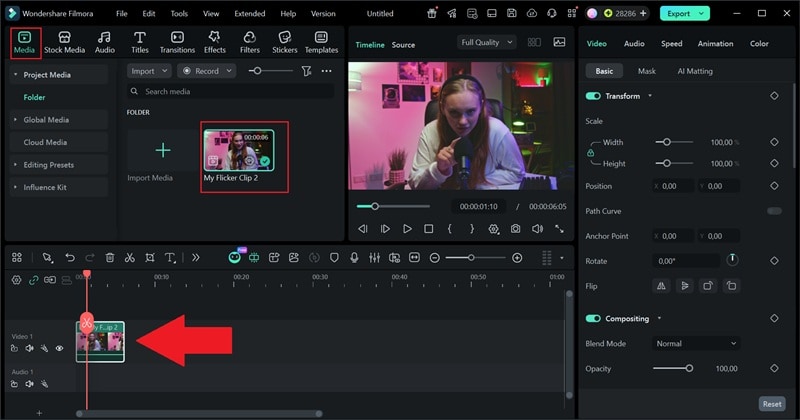
Tutorial: How to Remove Flicker Using Filmora's AI Tool
As you can see, the whole process feels much simpler, especially when you compare it to trying to remove flicker in Premiere Pro. The difference is easy to spot, too. Just look at the before-and-after result, and you can see how much cleaner the footage becomes.

After removing flicker, you might also explore Filmora's other handy features to refine your clip. You can:
- Apply visual effects or motion elements to highlight key moments.
- Use color grading tools to unify the look of multiple clips.
- Add captions, voiceovers, or background music directly from Filmora's library.
By combining flicker removal with these additional editing tools, you can finish your project faster without jumping between multiple apps.
Part 4. Why Flicker Happens in the First Place (So You Can Avoid It Next Time)
Compared to the usual deflicker Premiere Pro methods, Filmora AI makes flicker removal feel much less stressful, so you do not have to worry too much when it happens. Still, preventing flicker is always better than fixing it later. And once you understand what causes it, a lot of these problems become easier to spot and prevent.

Some of the most common reasons flicker shows up, and what is actually happening behind the scenes are:
- LED and Fluorescent Lighting: These lights flicker faster than our eyes can see, but cameras catch it easily. That is why a room that looks normal in person can pulse on video.
- Shutter Speed Does Not Match Power Frequency: When shutter speed does not line up with local power frequency, like 50Hz or 60Hz, the camera records uneven light. That mismatch turns into a visible flicker during playback.
- Filming Screens and Displays: Monitors and TVs refresh constantly. When a camera records that refresh, it often creates moving brightness bands or flashing areas.
- Mixed Frame Rates in One Timeline: Combining clips with different frame rates forces the editor to blend frames. That blending can cause brightness changes that look like flickering.
- Slow Motion without Optical Flow: Heavy slow motion repeats or blends frames. Without Optical Flow, those repeats can cause flicker that was not there at normal speed.
Conclusion
Removing flicker in Premiere Pro is possible using built-in filters, manual adjustments, or third-party plugins. However, these methods often require trial and error, especially when flicker varies across different clips.
For a faster and more consistent solution, Filmora offers an AI Flicker Removal feature that automatically detects and smooths flicker under various lighting conditions. It reduces manual tweaking and simplifies the workflow, making it a practical option for creators who want reliable flicker removal with less effort.
