
 100% Security Verified | No Subscription Required | No Malware


 ChatGPT
 Perplexity
 Gemini
 Claude
 Grok
Grok
"How to convert 2D images into 3D animations?" Whether you want to turn old images alive, enhance realism, provide multiple view angles, or do a creative project, You can achieve that with a 2D image to 3D animation converter.
If you are curious about how to use such a converter to turn images into 3D animations, you've come to the right place. Let's dive in.
In this article
What Is the Best 2D Image to 3D Animation Converter?
If you have heard about Filmora, you must know it is a powerful video editing software. But do you know it also offers various ways to turn still 2D images into 3D animations?
With 2.9M+ visual assets provided, Filmora allows you to turn photos into 3D animations by applying basic 3D animation and zoom effects.
As a renowned AI-powered video editing software, its AI image-to-video can convert 2D photos into animations from various preset templates, or you can customize the prompts.
If you just started using Filmora, you are lucky because this product offers intuitive features and a comprehensive AI toolset that will help you achieve your video editing goals. Let's explore its methods.
 secure download

3 Distinct Ways to Turn Images into 3D Animations
Method 1: Apply the 3D Effect to Put Your Photo into 3D Space

- Download and install Filmora on your computer.
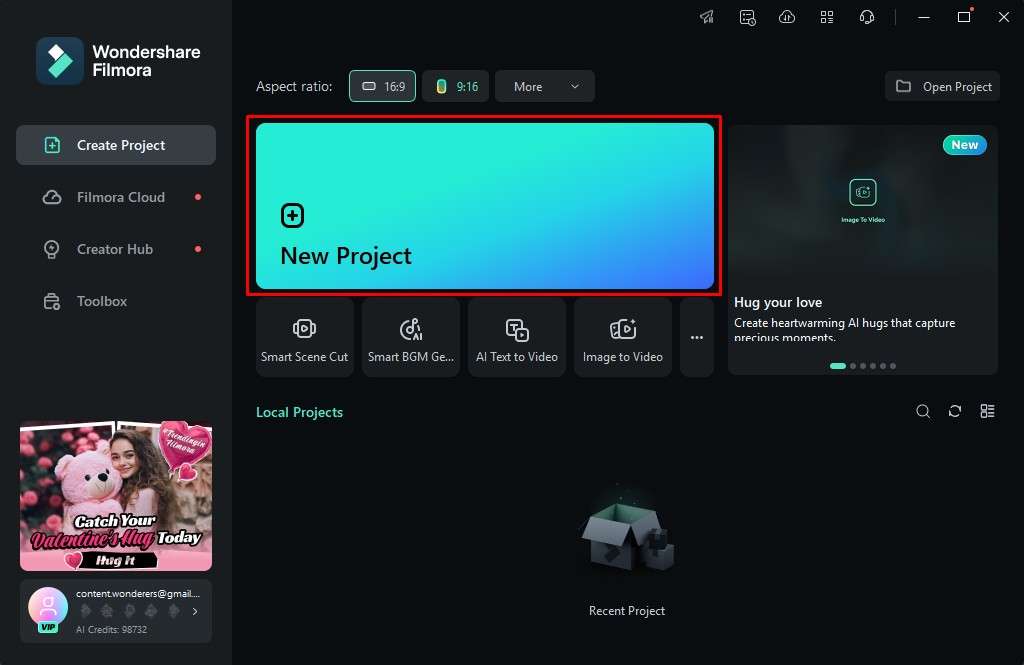
- Open Filmora and create a New Project.
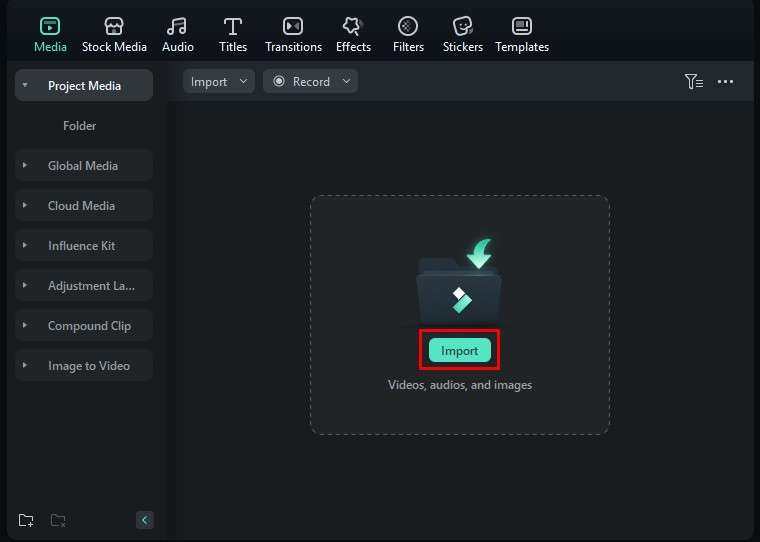
- Click the Import button and upload your image (or images).
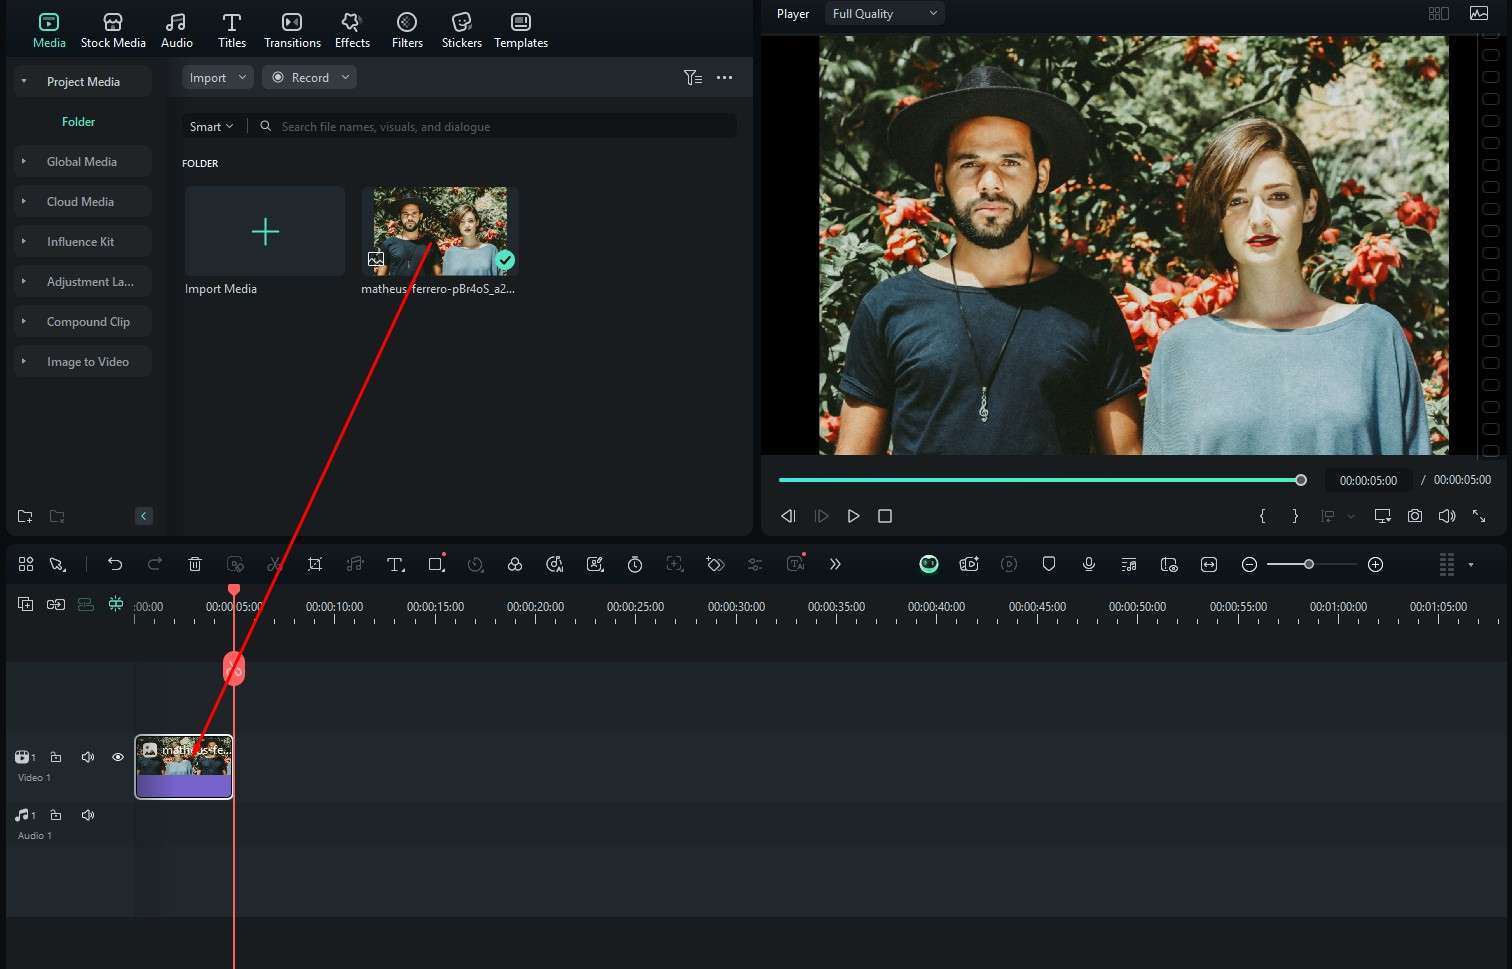
- Drag the image (or images) to the timeline.
- Click on Effects and search for 3D in the search bar.
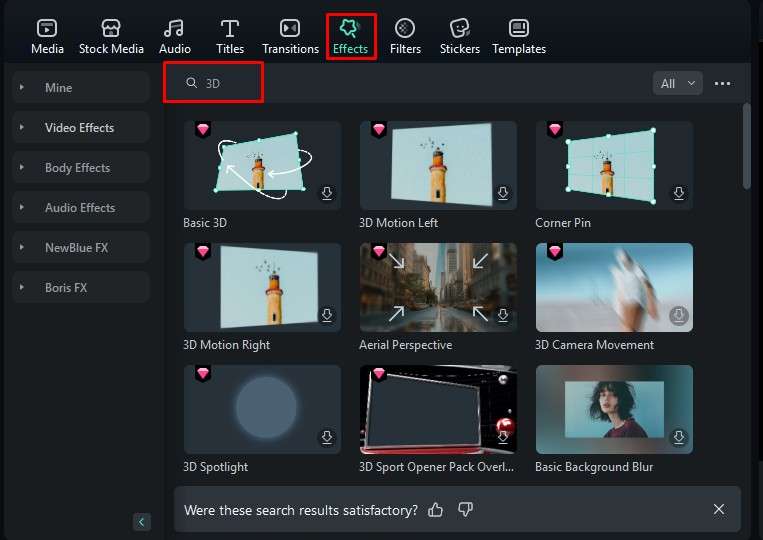
- Drag the effect to the timeline.
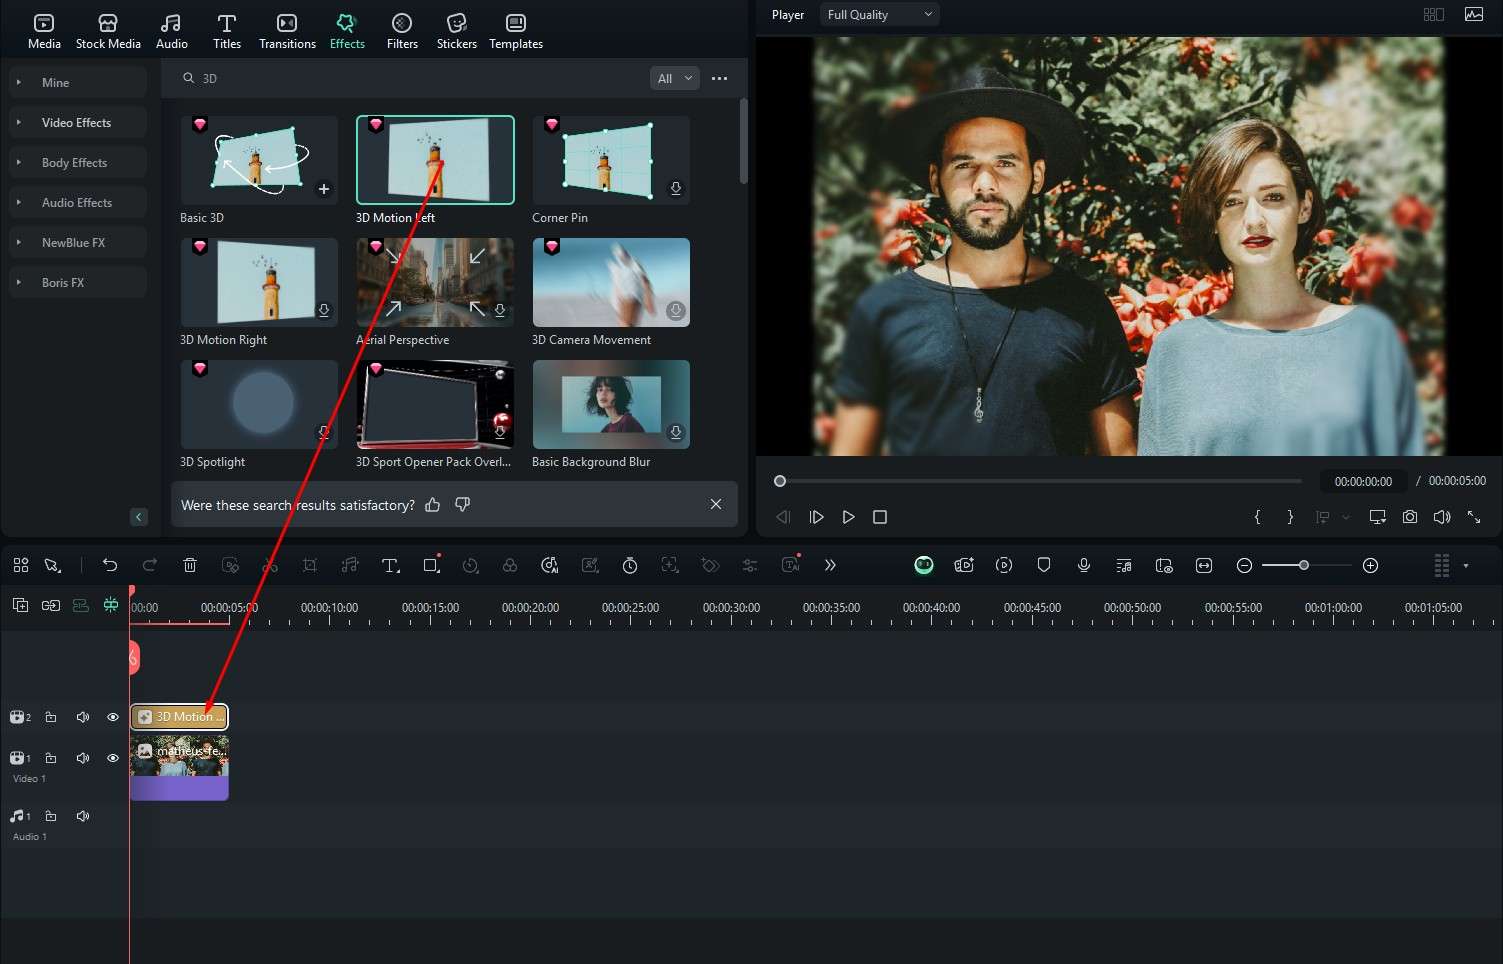
- Preview the results in the player.
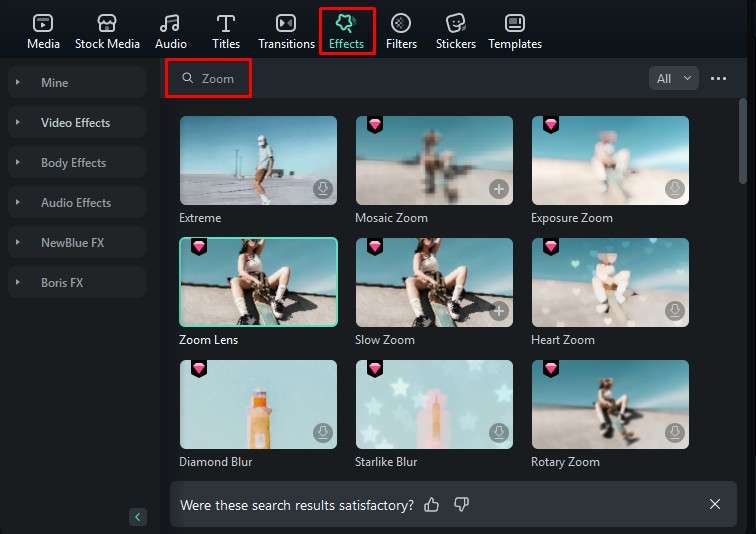
Method 2: Use the Zoom Lens Effect to Add a 2D to 3D Effect
secure download - Search for Zoom under Effects.
- Drag it to the timeline.
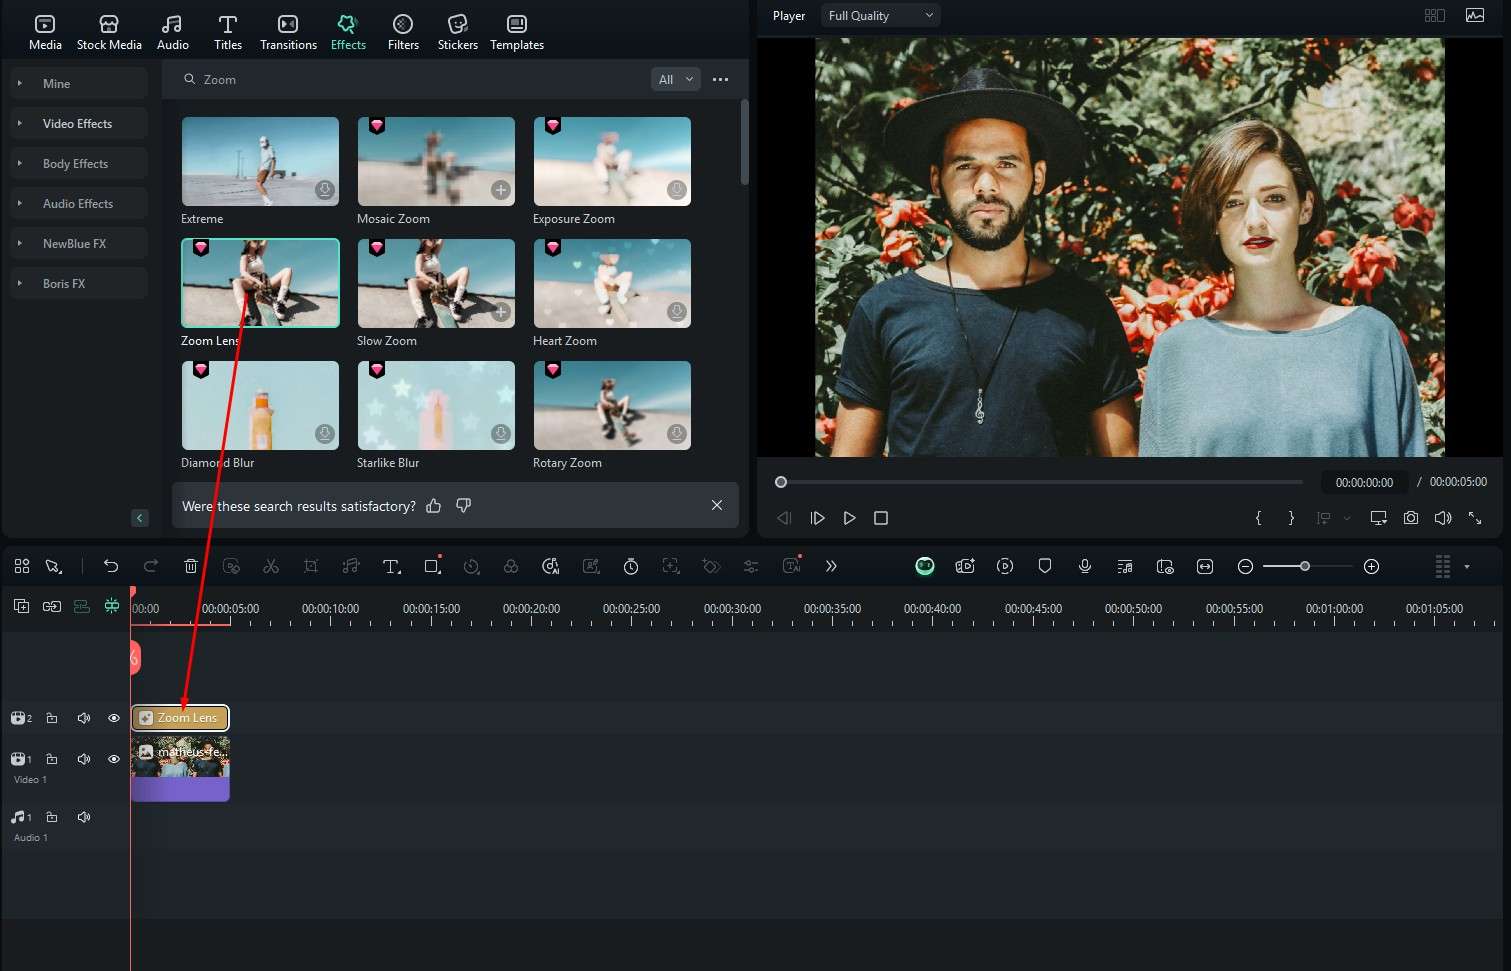
- Preview your result in the player.

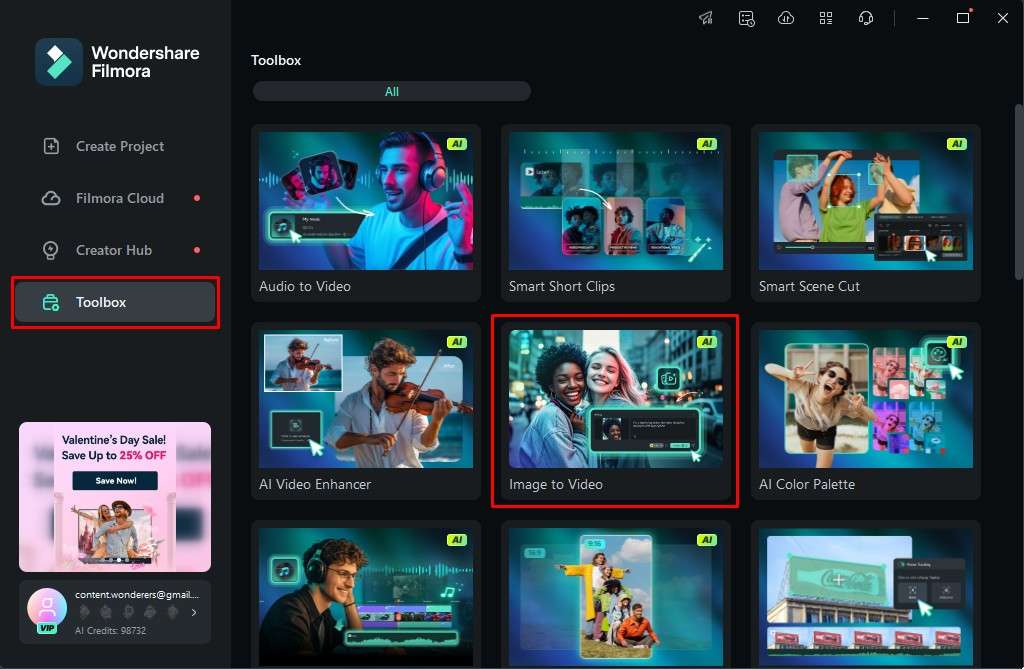
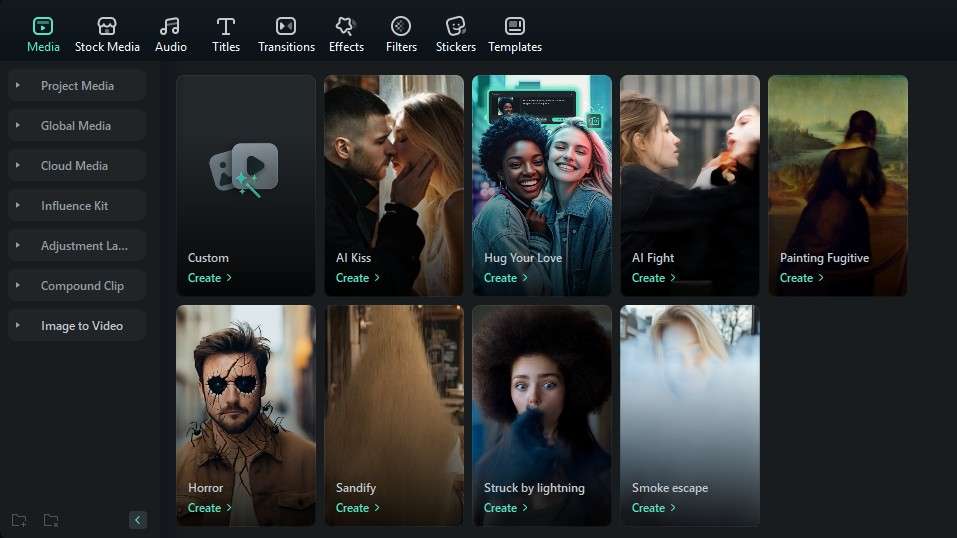
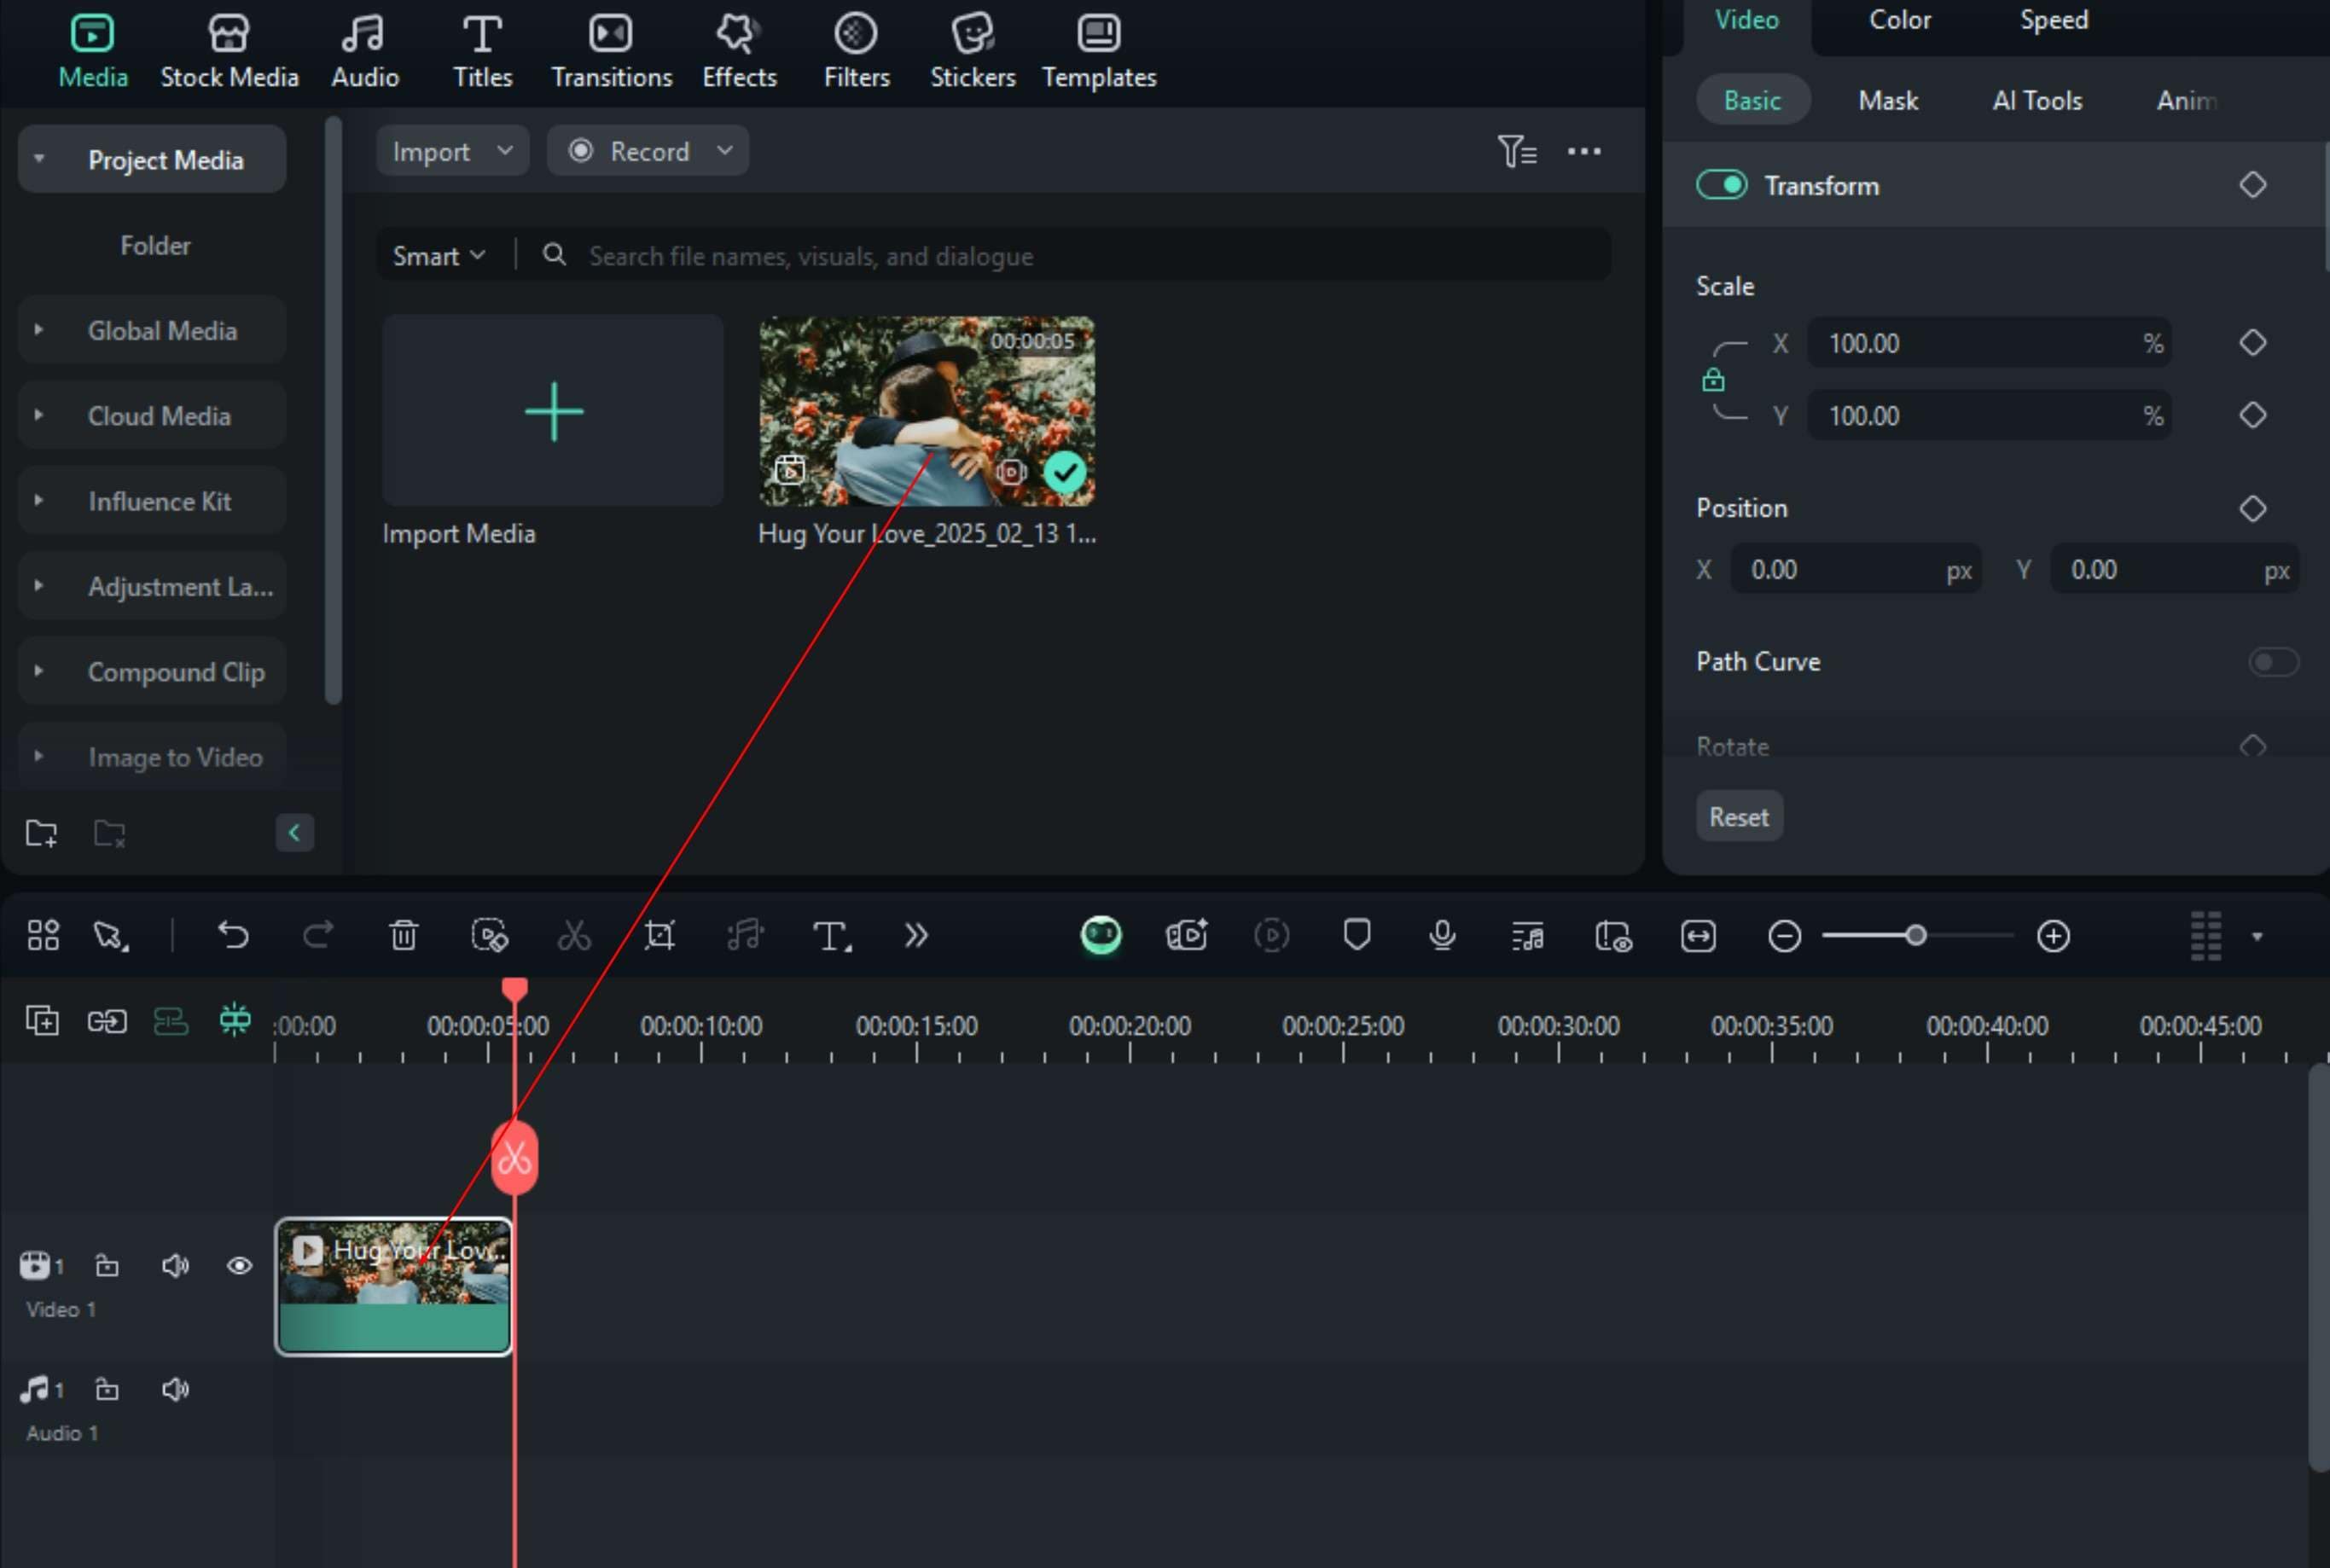
Method 3: Use the Image-to-Video AI Feature

- From the Filmora welcome screen, click on Toolbox, and then click on Image to Video.
- Select one of the provided templates, or choose a custom prompt. We will go with the Hug Your Love option.
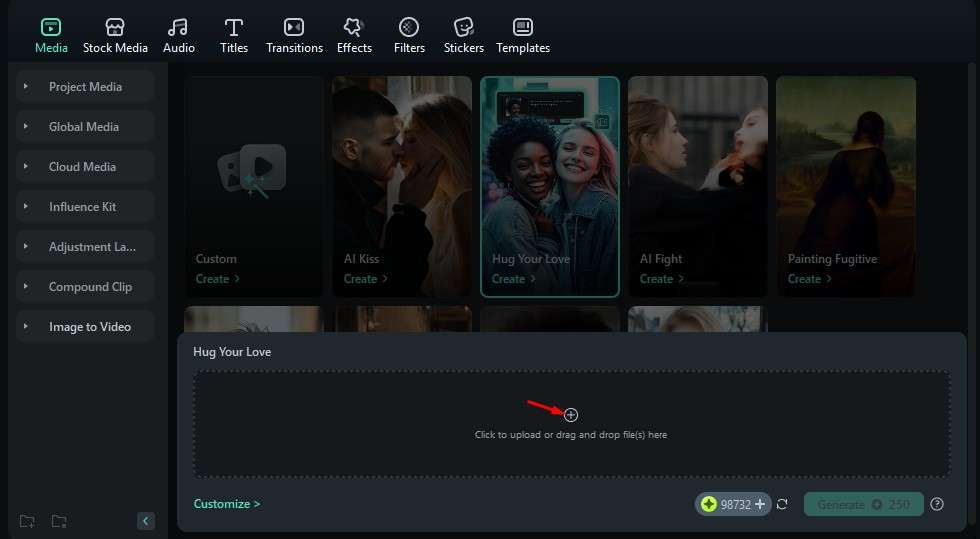
- Upload your image.
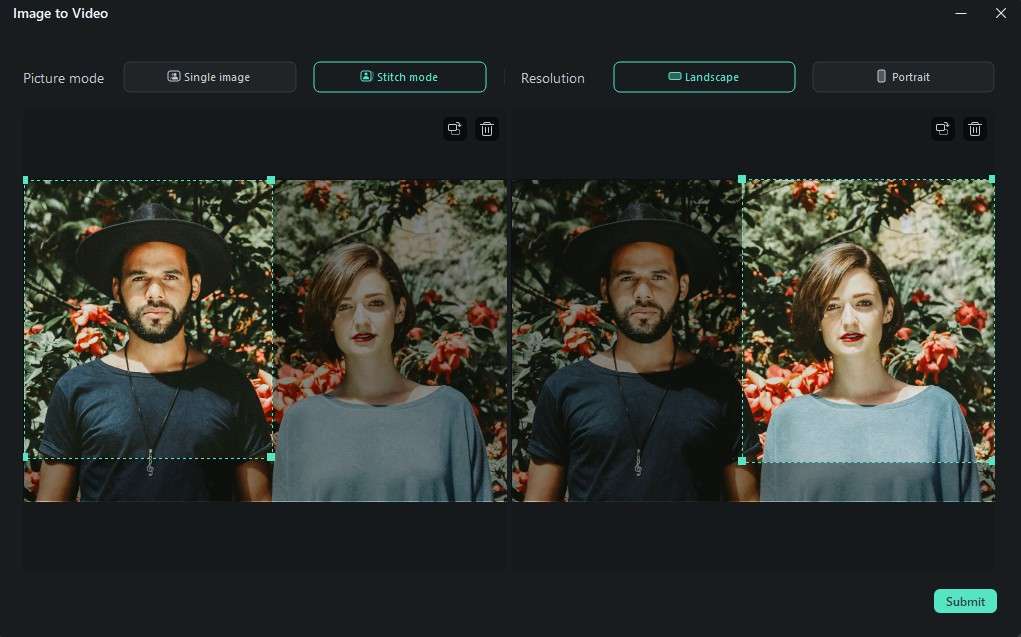
- Set up the images as instructed and click on Submit.
- Click on Generate.
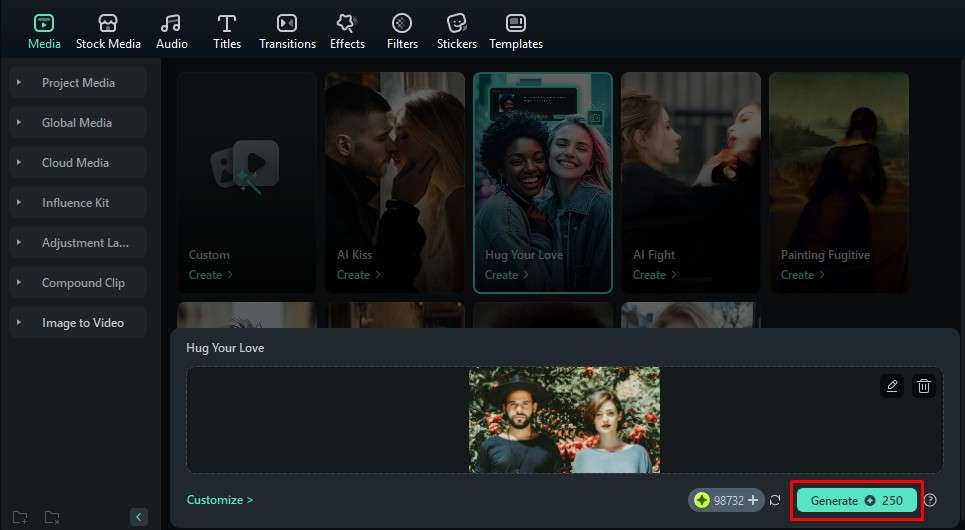
- Preview your results in the video player.
This is, of course, not the endpoint in your video editing journey. Filmora offers many more cool features that will help you further improve your newly created 2D to 3D animation.
Enrich Your New 3D Animation Materials
Listing all the features that will help you enrich your newly created video animation in Filmora would be impossible, as there are so many. However, we have selected a few good ones to get you started.
secure download Extract Whatever You Want with AI Smart Masking
- Let's drag our newly created AI hug video to the timeline.
- Find Mask, and then click on the AI Smart Masking tool. Then, proceed to highlight the person or object you want to extract from the video.
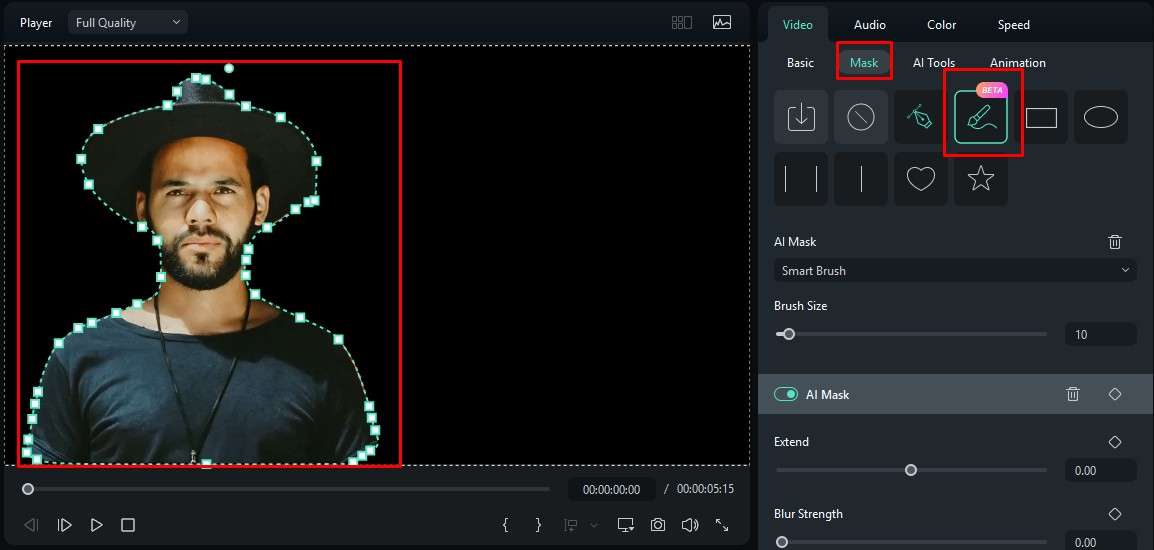
You can then use the newly cut out image and use it as you wish.
Add Dynamic 3D Stickers and Text to Make the Video More Interesting

- Find the Stickers tab and browse through the offered selection. Find something you like and drag it to the timeline.

- Then, find the Titles section, search for 3D, find something that you like, and drag it to the timeline. Then, in the preview video, double-click on the text to write what you want.
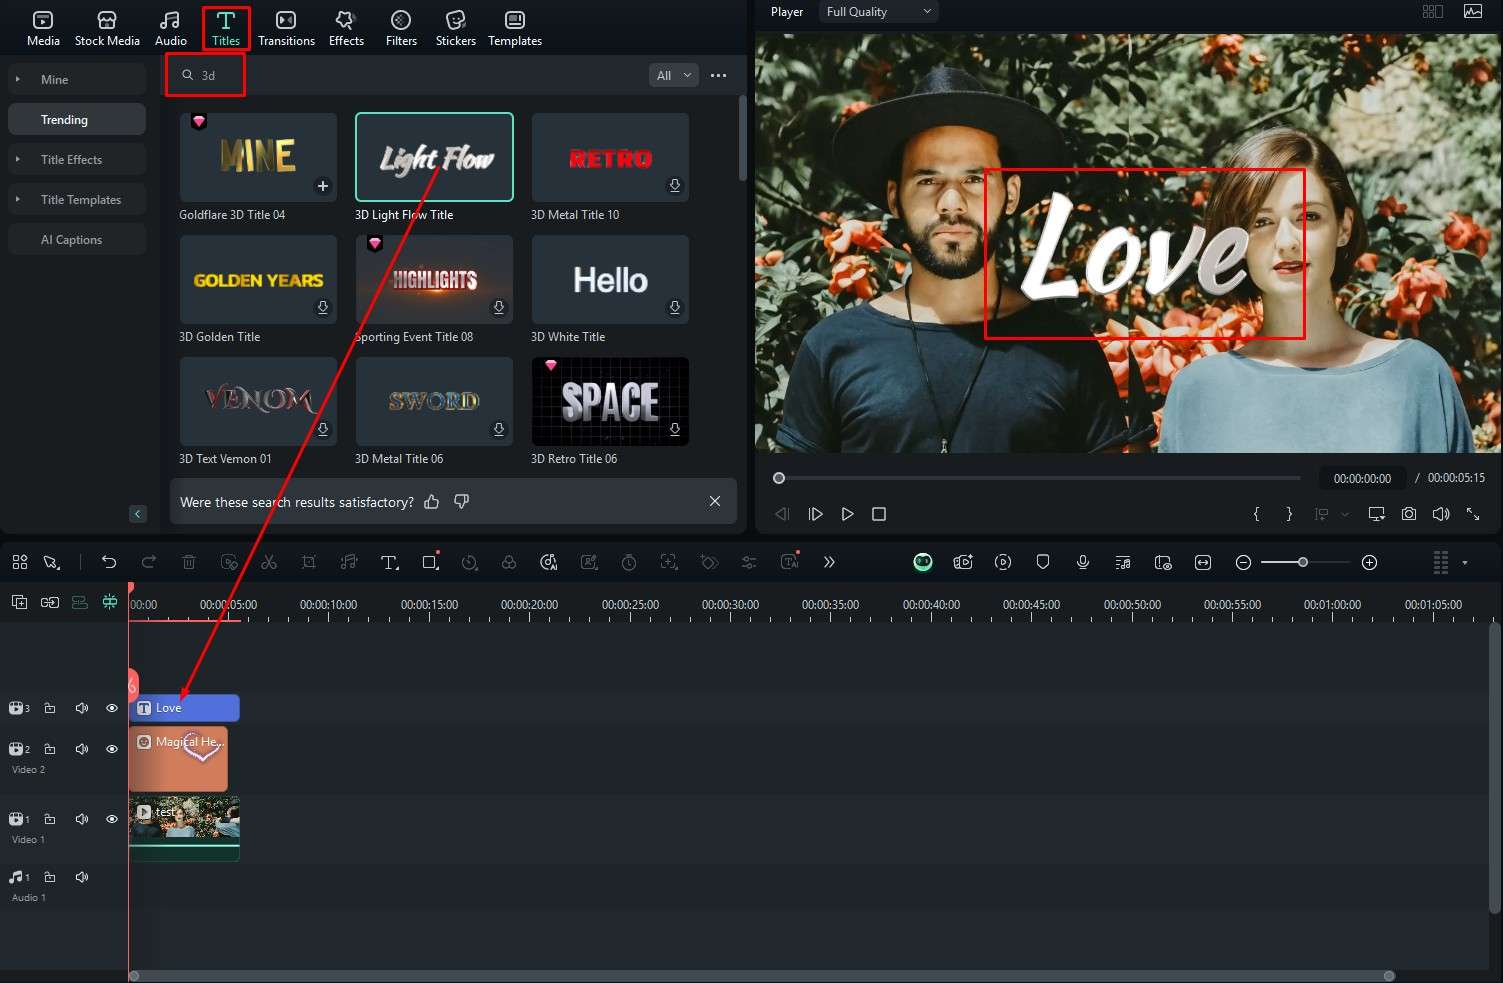
- Preview your result in the video player.
As you can see, the team at Wondershare really did some wonders when they made Filmora.
🤩 Post You Might Be Interested In:
- 4 Effective Ways to Convert Video to Image Sequence [Full Guide]
- The Best AI Image Style Transfer Tool
- Best AI Image to Image Generator: Instantly Turn Photos into Stunning Artwork
Conclusion
With all these tips and tricks at your disposal, converting a 2D image into a 3D animation will be easy. The best thing about Filmora is that the interface is so intuitive. If you play around a bit and explore and experiment with the provided features, you will get a lot of video editing experience. Being a video editor in this day and age is a lucrative career path, and you should certainly consider it.
secure download 