
 100% Security Verified | No Subscription Required | No Malware


 ChatGPT
 Perplexity
 Gemini
 Claude
 Grok
Grok
Lighting is one of the most powerful tools for shaping the look and feel of AI-generated images. In Stable diffusion lighting, the right choice of words can significantly alter the mood, add realistic depth, and create a style that aligns with your vision. A single prompt tweak can turn a flat, lifeless render into something cinematic, dreamy, or dramatic.
How you describe lighting in Stable Diffusion is not just about brightening or darkening a scene. It directs how the AI interprets shadows, highlights, and atmosphere. In this guide, you'll learn how to write clear and effective Stable diffusion lighting prompts, explore practical examples for different effects, and understand why certain descriptions work better than others.
In this article
Part 1. Understanding Lighting Prompts in Stable Diffusion
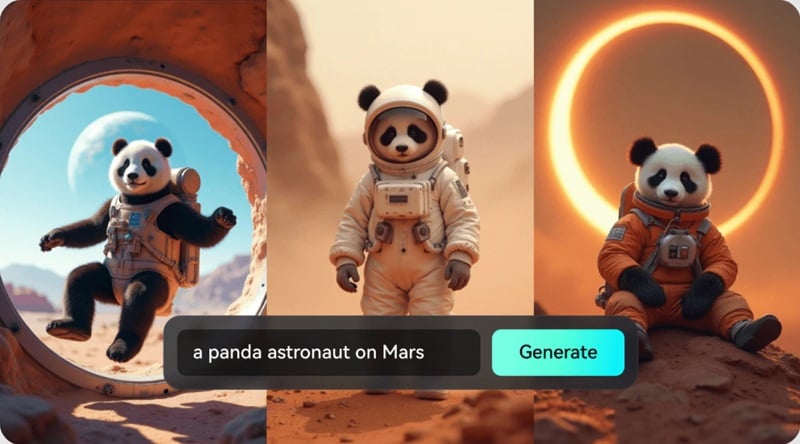
Stable Diffusion is one of the most popular AI models for creating images with highly customizable lighting, letting you control brightness, mood, atmosphere, and overall style. In stable diffusion lighting, prompts guide the AI on the light source, intensity, color, and how it interacts with the subject and background.
By learning how to write effective stable diffusion lighting prompts with clear and detailed descriptions, you can guide the AI to produce consistent, realistic, and visually engaging results that match your creative goals.
Part 2. How Lighting Prompts Work and How to Write Them
What are Lighting Prompts?
Lighting prompts in Stable Diffusion are short descriptions that tell the AI how to shape lighting in an image. Different lighting keywords can completely change the look, from soft and dreamy to dramatic and high contrast.
Prompt structure
To write an effective prompt, start with a clear structure:
Subject → Environment → Lighting style → Quality descriptors.
For example, you can set the mood by combining the right environment and lighting style, then enhance it with detail or quality terms.
Techniques to improve results
- Use prompt weights to control which elements get more emphasis.
- Combine multiple lighting styles for richer and more unique effects.
- Add negative prompts to avoid unwanted shadows, reflections, or artifacts.
- Try advanced methods like regional prompting or ControlNet to control the direction and focus of the light.
Part 3. 5 Examples Lighting Prompts for AI-Generated Images
Here are five stable diffusion lighting styles you can use, each with guidelines on when to apply them, useful keywords, and complete prompt examples:
1. Low-Key Cinematic Lighting
When to use: For dramatic, moody shots with deep shadows and selective highlights.
Keywords: low-key lighting, cinematic shadows, chiaroscuro, dramatic contrast.
Example Prompt:
A lone detective in a dimly lit alley at night, wearing a trench coat, low-key cinematic lighting, deep shadows, chiaroscuro, moody atmosphere, 8k resolution, ultra-detailed, realistic textures.

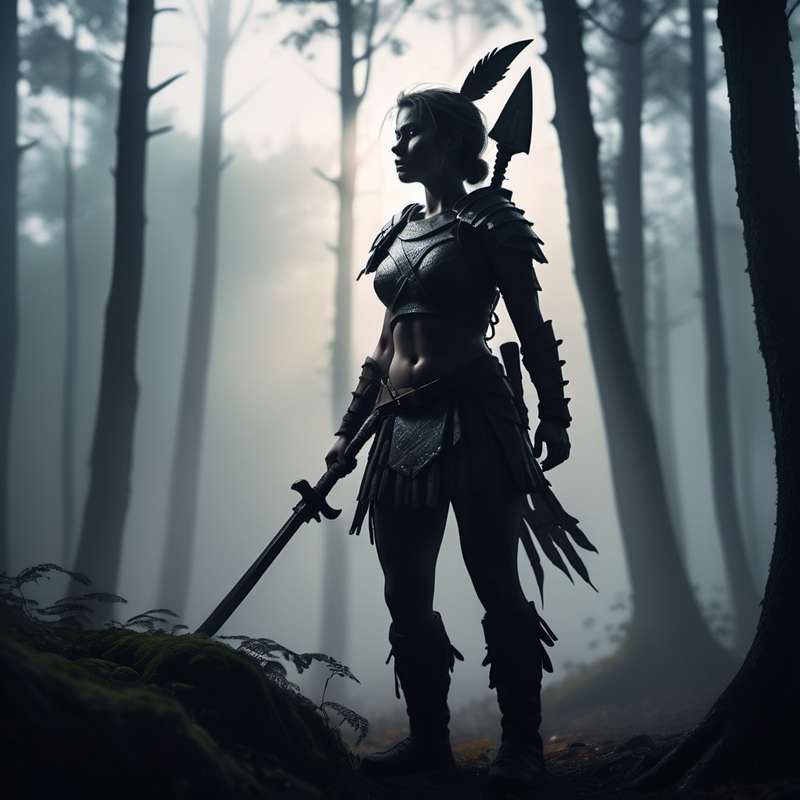
2. Rim Lighting with Volumetric Effects
When to use: To separate the subject from the background and add a glowing edge.
Keywords: rim lighting, backlight, volumetric fog, atmospheric glow.
Example Prompt:
A female warrior stands in a misty forest, rim lighting highlights her silhouette, volumetric fog, soft backlight, cinematic atmosphere, high resolution, hyper-realistic details.
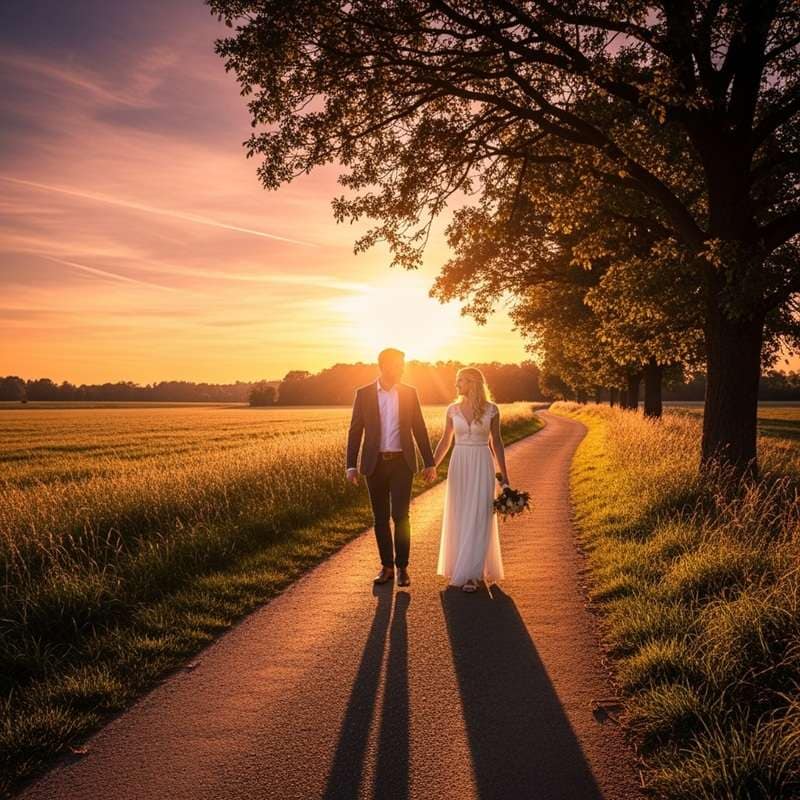
3. Golden Hour Ambient Glow
When to use: For warm, soft, and romantic scenes with enchanting light.
Keywords: golden hour, warm sunlight, soft shadows, glowing sky.
Example Prompt:
A couple walking on a countryside path during golden hour, warm sunlight, soft shadows, glowing sky, dreamy atmosphere, ultra-realistic, 8k details.
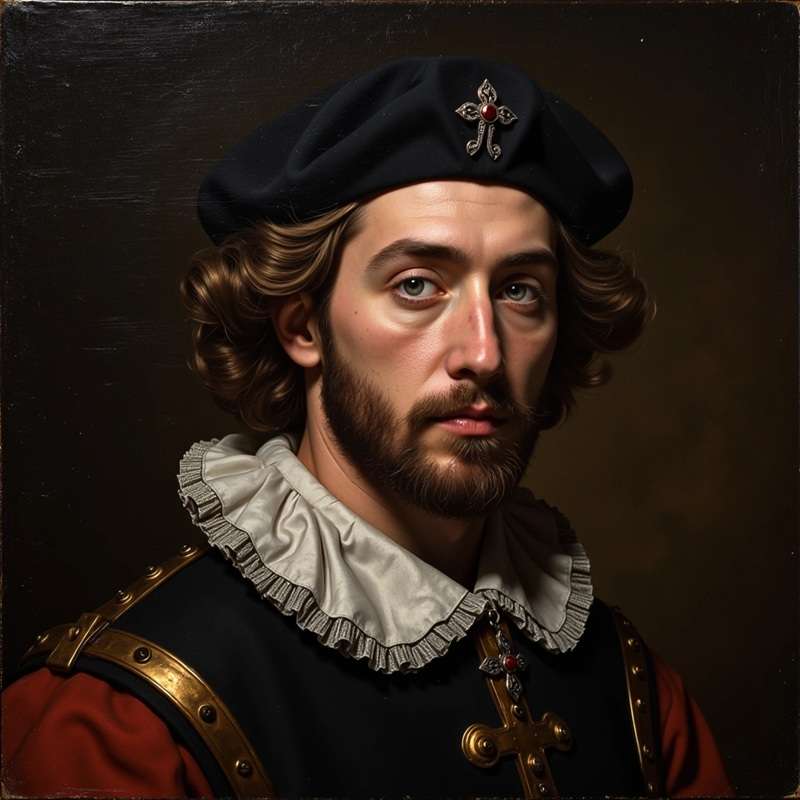
4. Rembrandt Portrait Lighting
When to use: For classic portraits with balanced light and shadow.
Keywords: Rembrandt lighting, triangle of light, dramatic portrait, fine art style.
Example Prompt:
A 17th-century nobleman's portrait, Rembrandt lighting, triangle of light on the cheek, fine art oil painting style, rich textures, detailed shadows, museum-quality.
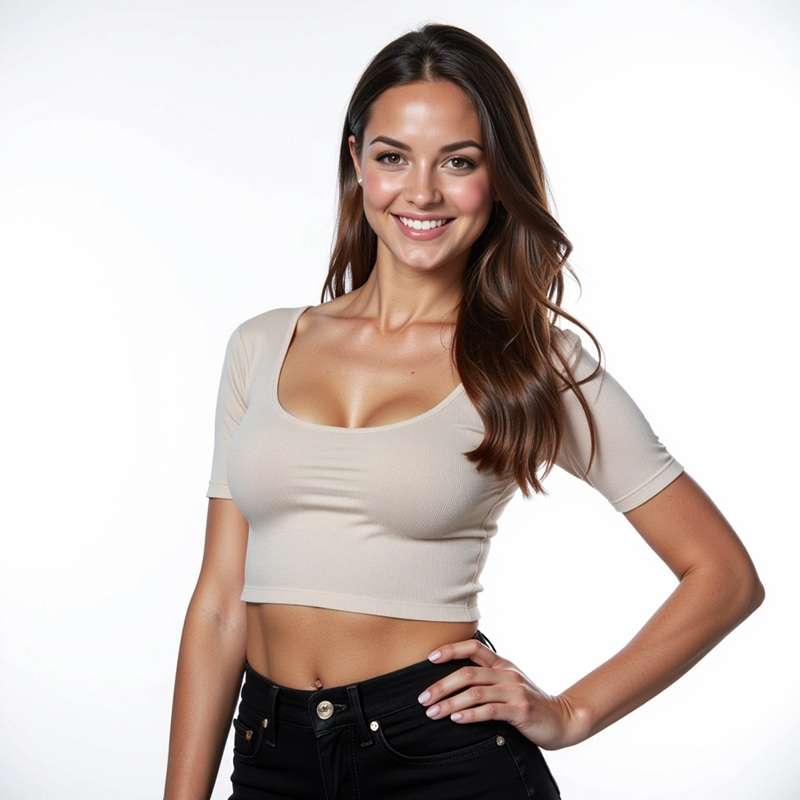
5. High-Key Studio Lighting
When to use: For clean, bright, and commercial-style photography.
Keywords: high-key lighting, soft diffused light, bright background, studio photography.
Example Prompt:
A smiling model wearing modern fashion, high-key studio lighting, soft diffused shadows, pure white background, commercial photography style, sharp details, 8k resolution.
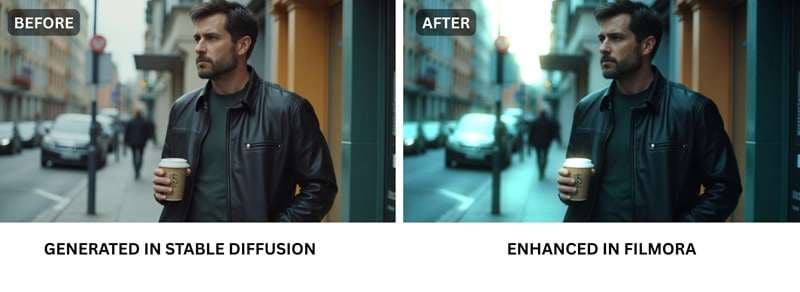
Part 4. Fine-tune and Enhance Lighting Effects
To get the best stable diffusion lighting results, you can optimize your images in both Stable Diffusion and Wondershare Filmora.
In Stable Diffusion, start by generating multiple variations of your prompt to see which lighting effect works best. Use img2img to adjust details or improve composition, and add atmospheric elements like fog, bloom, or reflections to give more depth and mood.
 secure download

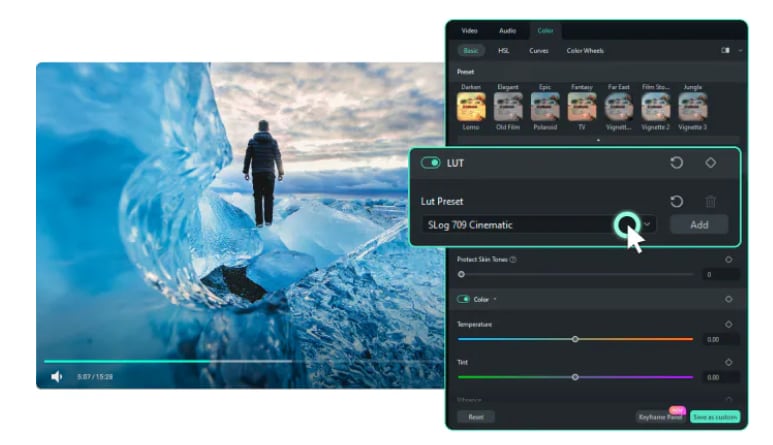
Before exporting your AI-generated image, upscale it for higher resolution and make basic adjustments to colors and contrast so it's ready for further editing. Once in Filmora, you can transform the look entirely, such as:
- Apply color gradingorLUTs to create a consistent mood across all frames
- Add glow, light leaks, or lens flare for a finishing touch to your image.
- Use masking and local adjustments to brighten or darken specific areas
- Create dynamic lighting effects so highlights and shadows shift naturally
- Experiment with blend modes and transparency to layer in creative light overlays
Quick steps:
- Generate images using Stable Diffusion lighting prompts on img2img or any preferred tool. You can add details like effects like fog, bloom, or reflections for depth.
- Bring the results into Filmora, refine the colors and contrast for a clean starting point, then apply color grading or LUTs, adjust highlights and shadows, and complete the look with creative lighting effects.
Bonus Technique – Turn Stable Diffusion Images into Dynamic Video
You can make your Stable Diffusion images even more impressive by turning them into short, dynamic videos with Filmora's AI Image to Video feature.
This tool adds smooth pans, zooms, and camera movements, bringing static images to life and making them perfect for video projects, social media, or creative storytelling.
Quick step-by-step:
- Go to Filmora AI Tools and select AI Image to Video.
- Import your Stable Diffusion image.
- Enter the prompt based on the generated video as you wish.
- Drag to the timeline, then enhance with color grading, glow, or light leaks.
- Export in 1080p or 4K.
Conclusion
Understanding stable diffusion lighting is all about how light shapes the mood, depth, and storytelling in your images. In this article, we've highlighted the top 5 stable diffusion lighting prompts for you to try out. By combining thoughtful prompts with creative enhancements in tools like Filmora, you can transform a simple AI render into a polished, cinematic masterpiece.
Experiment with different lighting styles, refine your results using img2img or variations, and don't hesitate to mix techniques for unique effects. From aiming for soft, dreamy tones to bold, dramatic contrasts, the right lighting can make your work stand out.
secure download 