


 100% Security Verified | No Subscription Required | No Malware


 ChatGPT
 Perplexity
 Gemini
 Claude
 Grok
Grok
Have you ever wondered how to make stop motion on an iPhone? It's a fun and creative way to tell a story using a series of photos that play like a movie. This technique makes objects appear to move on their own, and the good news is that you don't need expensive gear to get started.
Your iPhone is more than capable of shooting smooth and engaging stop-motion videos. In this guide, you will learn how to do it step by step using the tools you already have.

Part 1. Get to Know the Basics of Stop Motion
So, how does stop motion work? It’s a creative process where you take a series of still photos, each showing slight movements, and then play them back in sequence. This creates the illusion that objects are moving on themselves, similar to how a flipbook works.
If you’re wondering how to do stop motion on iPhone, the good news is you already have everything you need. Your iPhone is a great tool for this. It has a high-quality camera, plenty of easy-to-use apps, and built-in editing features. No need for expensive equipment or complex software.
Here are a few fun types of stop motion you can try using your iPhone
- Toys: Make action figures, dolls, or LEGO characters act out a scene
Stop Motion Video by OptimusTimelord
- Clays: Create and reshape clay figures to animate them
Stop Motion Video by John Larigakis
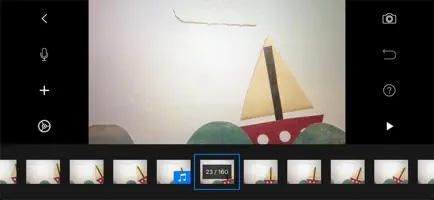
- Paper: You can animate cutouts, drawings, or even sticky notes for simple storytelling

Stop Motion Video by Ollanski _
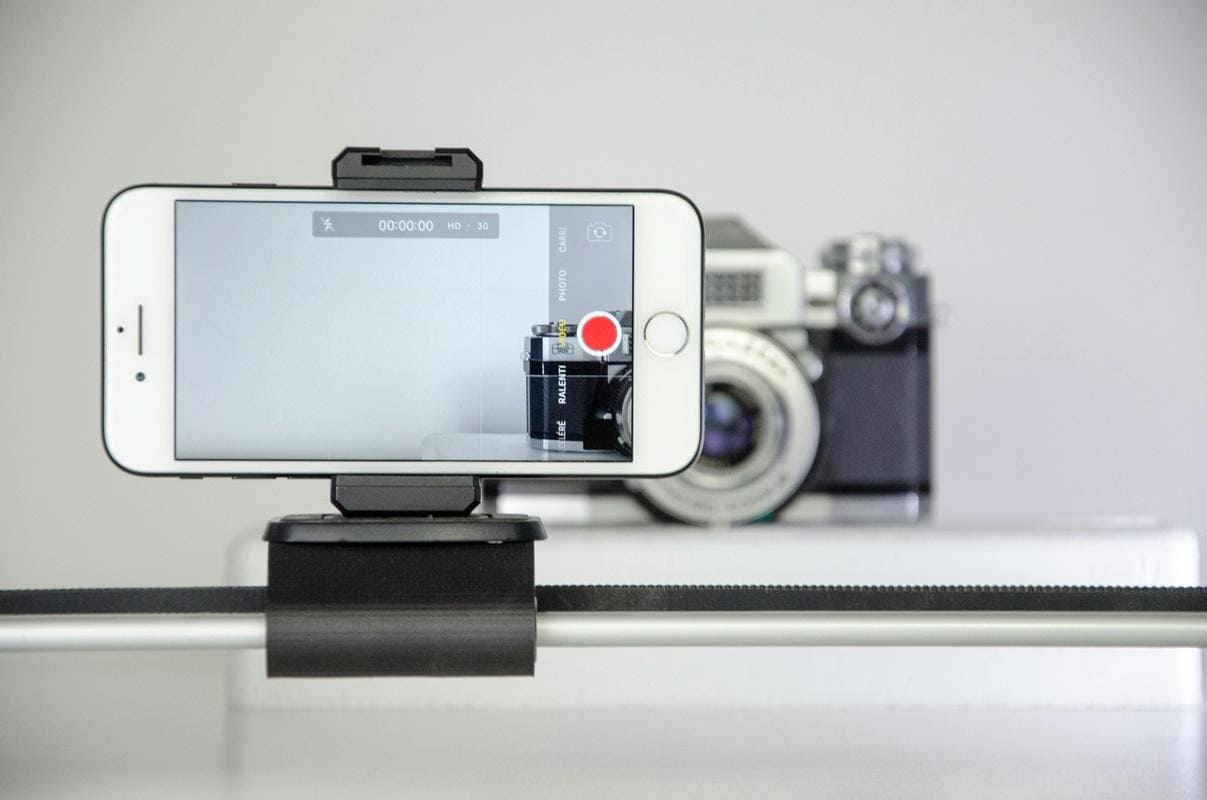
Part 2. Essential Equipment for Making Stop Motion on iPhone
Before you start snapping photos, it's worth setting up a few essentials that will help your stop motion video look clean and professional without needing a studio setup.
Here are some essential items to prepare:
- Tripod - Keeps your phone steady so your frames don’t shift from shot to shot.
- Lighting - Consistent lighting prevents flickering and helps your video look clean
- Workspace - A clutter-free surface helps you stay organized while animating
- Objects - Choose figures, clay, or paper elements depending on the type of animation you want to create
Don’t own a tripod?
No worries! You can get creative with things you have at home. Stack books, use a phone stand, or make a DIY stand using household items. The key is to keep your iPhone still while shooting each frame. Even a small shake can make your animations look jumpy, so finding a stable setup is important.
Part 3. Plan Your Stop Motion Scene Before You Shoot
If you're learning how to make a stop motion video on iPhone, one of the most helpful things you can do is plan your scene first. Stop motion is all about telling a story through a series of carefully captured images. A little preparation will make the process smoother and your video much more enjoyable to create.

- Write a simple story or script.
It doesn’t need to be complicated. Think of a short idea with a beginning, middle, and end. For example, a toy dog might find a bone, chase it across the table, and curl up next to it.
- Decide on props and background setup
Use objects that are easy to move and won’t slide around. A clean, uncluttered surface works best so your characters or objects stand out clearly.
- Break down actions into small movements
If your character walks across the scene, plan out each movement, one foot at a time. The smaller the steps between each photo, the smoother the animation will look.
Part 4. Shooting and Editing Your Stop Motion on iPhone
Once your scene is ready, it's time to bring it to life through photos. This part is where your story begins, one frame at a time.
Shoot Your Stop-Motion Photos
- Set up your phone in a fixed position
When making a stop-motion video, stability is key. Whether using a tripod or a homemade stand, ensure your iPhone doesn't move during the shoot. Even a slight shift can ruin the entire animation.
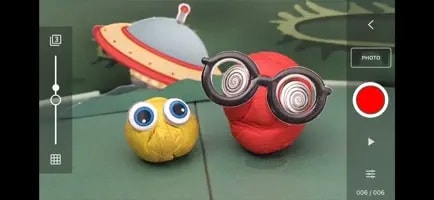
- Open your app or use the built-in camera
Apps like Stop Motion Studio offer helpful features, but you can also use a regular camera app if you want to keep it simple.
- Capture one frame at a time with slight changes
Move your object just a little, take a photo, then repeat. The more pictures you take with smaller movements, the smoother your final animation will look.
Edit Your Stop-Motion Video on iPhone
After you’ve captured all your frames, it’s time to edit. One of the easiest and most beginner-friendly tools for editing on iPhone is Filmora. It offers powerful yet simple video editing features that give your stop-motion video a professional touch.
Once you import your photos or clips into Filmora, you can:
- Adjust frame speed (FPS)
- Add background music or sound effects
- Trim or rearrange clips
- Insert text or titles
Part 5. Share Your Stop-Motion Animation
Now that you’ve finished editing, it’s time to show off your hard work. Sharing your stop motion video is one of the most exciting parts of the process. From a fun clip to a mini-story, you’ll want it to look its best when others see it.
Here are a few tips before you post:
- Choose the right format: Export your video in a high-quality resolution so it stays sharp across multiple platforms.
- Pick a strong thumbnail: A good first frame can grab attention and make people want to watch.
- Add a short caption or title: Tell viewers what your animation is about or what inspired it.
You can share your stop motion animation in many creative spaces:
- Instagram or TikTok for short and fun clips
- YouTube for longer or more detailed animations
- Facebook is used to show friends and family
- Online animation forums or communities to get feedback and connect with other creators
Pro Tips for Creating a High-Quality Stop Motion Video
Once you’ve learned how to make a stop motion video on iPhone, a few simple tricks can help take your animation to the next level. These tips will help you create smoother and more polished results using just your phone.
- Keep lighting consistent
Try to use the same light source throughout your shoot. Avoid natural light if possible, since it can change over time and cause flickering between frames.
- Use small and steady movements
The smaller the movement between each frame, the smoother your animation will look. Don’t rush the process; take your time with each shot.
- Watch out for shadows
Make sure your hand or phone doesn't cast a shadow on the scene while you adjust objects.
- Use onion skinning if your app allows it
This feature lets you see a ghost image of the previous frame, making it easier to align things and keep motion consistent.
- Practice patience and have fun
Stop motion can be time-consuming, but the results are always worth it. Enjoy the process, and don’t be afraid to experiment.
Conclusion
Creating stop motion may seem detailed at first, but with the right steps and a bit of patience, it becomes a fun and rewarding way to tell stories. From planning your scene to shooting and editing right on your phone, learning how to make a stop motion video on iPhone is easier than you might think.
With tools like Filmora and a few creative ideas, you can turn simple objects into lively animations. For sharing on social media or just creating for fun, each frame is a chance to turn your ideas into something visual and engaging.
FAQ
-
How many photos do I need for a short stop motion video?
For every second of video, you’ll need about 10 to 15 photos. So, for a 10-second video, plan to take around 100 to 150 pictures. -
Can I make a stop motion video on iMovie on iPhone?
Yes, you can. Just add your photos, set each one to show for a short time, and add music or text if you want. It’s not made for stop motion, but it works for simple edits. -
How do I reverse or loop my stop motion animation?
Some apps like Filmora let you reverse clips easily. To loop your video, just copy the frames and place them again after the first part.
