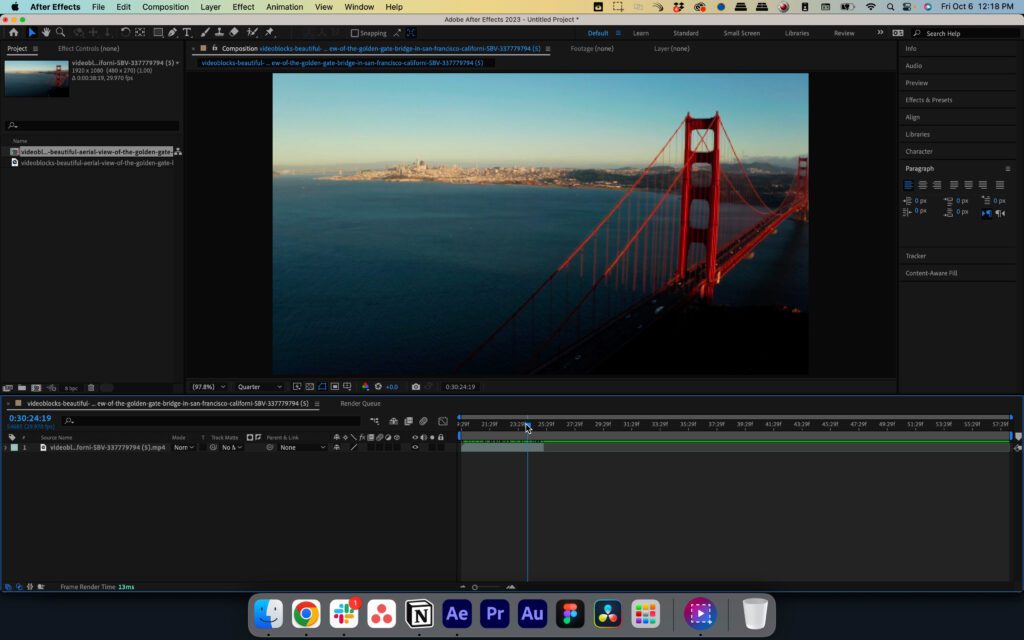
Adobe After Effects is a powerful tool primarily used to add special visual effects to your video footage and create immersive motion graphics for projects of all sizes and shapes.
Its extensive range of features and tools and astounding editing capabilities make it an irreplaceable asset in the arsenal of every professional designer and video editor looking to create visually striking, top-grade, shareable online content. After Effects trims and splits clips, allowing you to extract and edit specific segments of the original video separately. Let's delve deeper into the best ways to cut a video in After Effects.
In this article
Different Methods for Cutting Clips in After Effects
After Effects offers different methods for cutting videos that can come in handy when you wish to remove unwanted segments of your footage or clip the length of the original video. Since Adobe Effects doesn't have a traditional Cut feature, you can cut videos by splitting layers, duplicating layers, trimming video segments, and more.
Thanks to that, you can edit each layer, adjust pacing and timing, apply different effects to specific footage segments, and more. Below, we've listed the top 5 options to cut a clip in After Effects.
Method 1: Using the Split Layer
Split Layer is a feature in After Effects that allows you to transform your video into two separate clips, each conveniently placed in an editable layer.
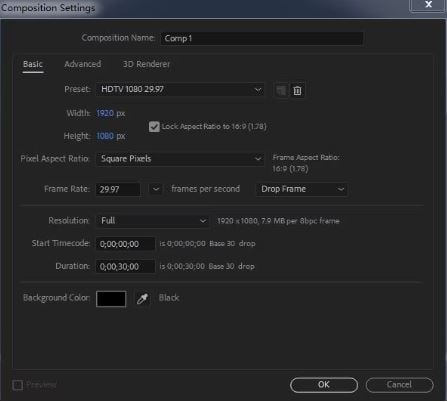
Step 1: Launch After Effects and select New Composition from the menu to open a new project. Navigate to the Composition Settings window, name your project, adjust width/height, select aspect ratio, pick your frame rate, and click OK to create a new project.
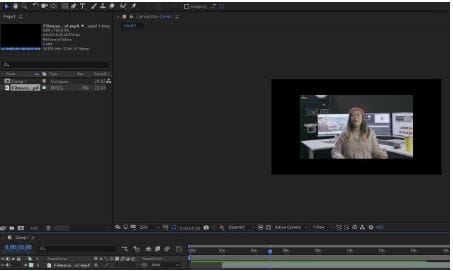
Step 2: Navigate to File - Import - File and upload your video. Drag it to the timeline and zoom in on the timeline to make your clip easier to edit.
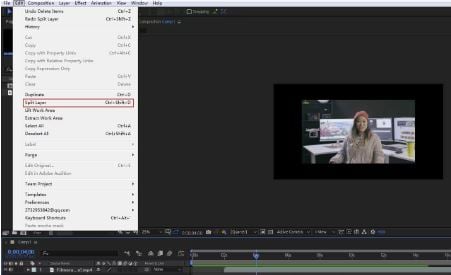
Step 3: Select the clip in the timeline, position the timeline indicator where you wish to cut the video, and navigate to Edit - Split Layer to cut the clip.
Step 4: Now, you have two clips in separate editable tracks on the timeline. You can edit both tracks separately and add transitions, effects, etc.

Method 2: Using the Duplicate Layer
Step 1: Position the timeline indicator to where you want to cut your imported clip.
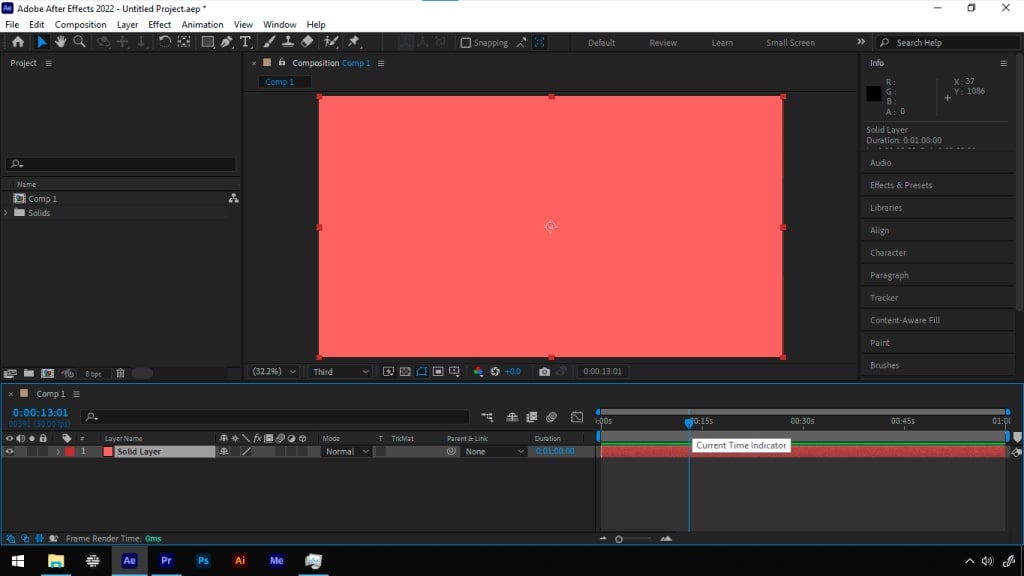
Step 2: Navigate to Edit - Duplicate
After that, hover over the start or end of the clip to access the Trim icon. Drag your clip to the frame you want to cut down to.

Additionally, you can position your timeline indicator to the exact scene where you want to cut your video and hold Shift while trimming the layer to move to the position of the timeline indicator automatically. Delete unwanted parts and export your footage.
Method 3: Using Shortcuts
After Effects allows you to cut videos faster using keyboard shortcuts. Below, we'll list the shortcuts you can use to trim, split, and cut your videos in After Effects on Windows and Mac:
- Duplicate the clip: Command+D (Mac) / Ctrl+D (Windows).
- Create a Split Layer: Command+Shift+D (Mac) / Ctrl+Shift+D (Windows).
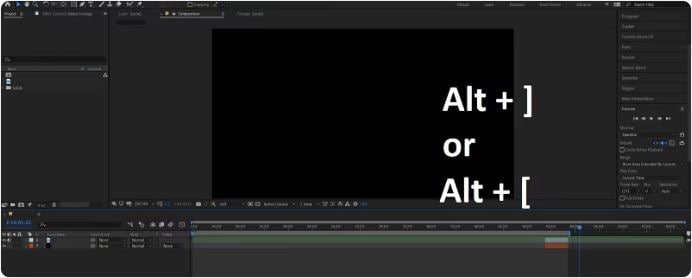
- Trim the clip: Option+[ (Mac) / Alt+[ (Windows) to trim the start; use Option+] (Mac) / Alt+] (Windows) to trim the end.
Step 1: Position the playhead to the exact position where you wish to cut the video and click the clip to select it.
Step 2: Press Option + [ on Mac or Alt + [ on Windows to automatically trim the selected clip from the beginning. Change the open brackets to closed brackets to do the same from the end of the clip. After Effects will instantly cut your original video to a shorter clip.
Method 4: Using In and Out Points
In and Out points is a function in After Effects that allows you to swiftly trim your video duration and shorten a long clip according to your specific needs. These points instruct After Effects to only play the clip between the specified points in the timeline, also called In and Out points. You can access them using B (In Point) and N (Out Point) keys on your keyboard.
Step 1: Position the timeline indicator where you want to set your In Point and hit the B key to establish the starting point.
Step 2: Move the indicator to the endpoint and hit the N key to set the Out Point. Afterward, you can place your clip into the render queue to export and save it on your computer.


Method 5: Using Trim Comp to Work Area
The Trim Comp to Work Area function in After Effects allows you to trim multiple clips simultaneously. Instead of editing each layer separately, you can trim all video tracks in a batch.
Step 1: Launch After Effects and import your video clip. Drag the clip to the Project panel to create a new composition.
Step 2: Drag the indicators to the positions of the Start and End of Work Area where you want to make changes.

Step 3: Navigate to Composition - Trim Comp to Work Area to cut the composition to the starting and ending points of the specified Work Area. Preview your changes and export your clip.
3 Simple Steps to Split a Clip in Filmora
After Effects is a powerful animation software toolkit that empowers users to enhance, modify, and adjust their footage according to their preferences. However, it's far from the best option for swift editing and video cutting.
Wondershare Filmora is a professional AI-powered audio and video editing studio you can tap into to cut, trim, and split clips quickly and easily. It provides multiple clip-cutting modes, such as the Quick Split Mode, which allows you to split large videos into multiple shorter clips for faster and easier editing. You can trim the beginning and end of each video clip to remove unwanted parts and change the clip's duration for sharing on online streaming and social media platforms. More importantly, splitting or trimming your video in Filmora won't affect or alter the source media in any way. It won't lower the original video quality, either.
- Superb video stabilization with low distortion.
- Vast video/audio effects and creative assets.
- Powerful AI for effortless content creation.
- Intuitive, professional yet beginner-friendly.
- Works on Mac, Windows, iOS, and Android.

Download and install Filmora on your Mac or Windows computer, then follow the steps below to split and trim your video.
Step 1: Launch Filmora and find the Split button
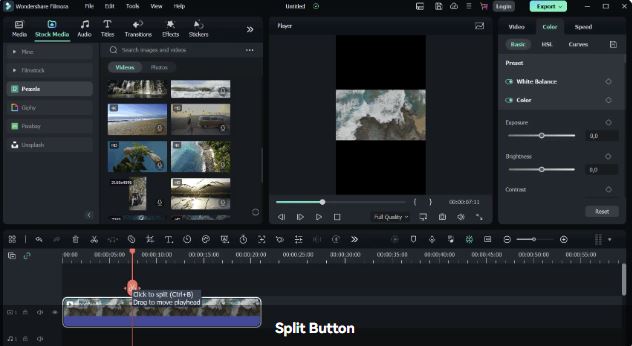
Launch Filmora, navigate to the main menu, and select Create Project - New Project. Upload your video and drag it to the timeline. Click to select the clip in the timeline and drag the playhead to where you want to split the video into two separate clips. Click the Split button to create the split.
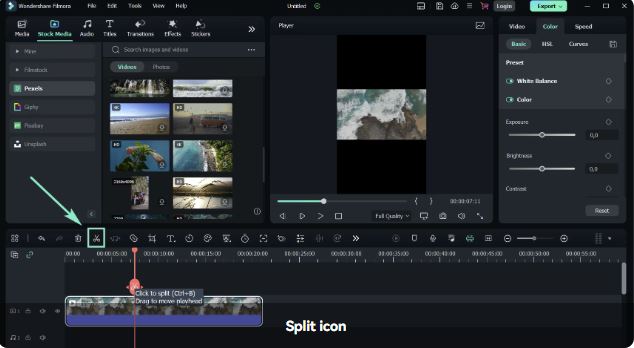
Alternatively, you can do the same by selecting the Scissors icon just above the timeline.
Step 2: Remove the unwanted clips
Remove the unwanted segments at the beginning or end of your clip using the Trim feature. Click the video in the timeline to select it, and hover your mouse over the edges of the clip to access the Trim tool. Click and drag either edge of the clip forward or backward to remove the unwanted part of the video.
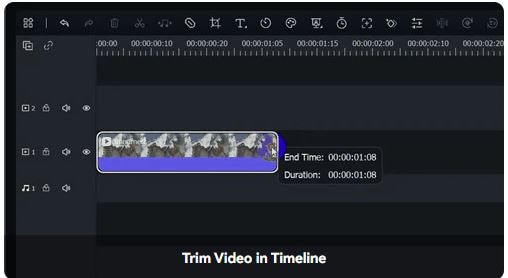
Step 3: Once you've cut and trimmed your video, click Export to save the edited clip on your computer in a preferred format, video quality, and resolution.
Revitalize Your Cutting Workflow With Filmora Advanced Editing Features

Filmora offers an extensive range of advanced audio and video editing features, including AI-powered tools, which you can use to streamline your cutting and editing workflow. We'll share them to help you speed up the cutting and splitting process.
Quick Split Mode
The Quick Split Mode is a practical Filmora video editing feature you can tap into to boost your editing efficiency by cutting multiple video clips. The mode sets a new editing track for each clip in the timeline, allowing you to separate the splits from the original media source. You get multiple clips in different editable tracks, allowing you to create a seamless editing workflow for executing more precise video-splitting operations.
Here's how to activate the Quick Split Mode in Filmora:
Step 1: Launch Filmora, upload your video, and drag it to the timeline. Enable Quick Split Mode and click the video in the timeline to select it.

Step 2: Choose the specific portions of your video you wish to split and click to split a long video into shorter clips.
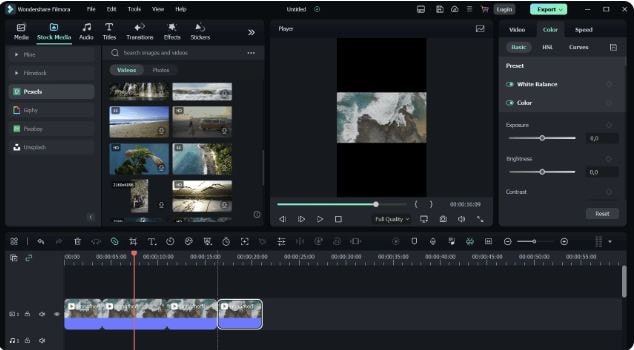
Scene Detection
Automatic Scene Detection is an advanced video editing tool that can split a long, large video into smaller, shorter, editable, and exportable scenes. The feature automatically detects the transitions between shots in your footage and extracts basic temporal segments. Instead of wasting your time and effort on frame-by-frame editing, you can swiftly break down a large video into shorter clips, making it easier and faster to edit your footage.
Step 1: Launch Filmora and import your video into the timeline. Click the clip in the timeline and select Scene Detection.
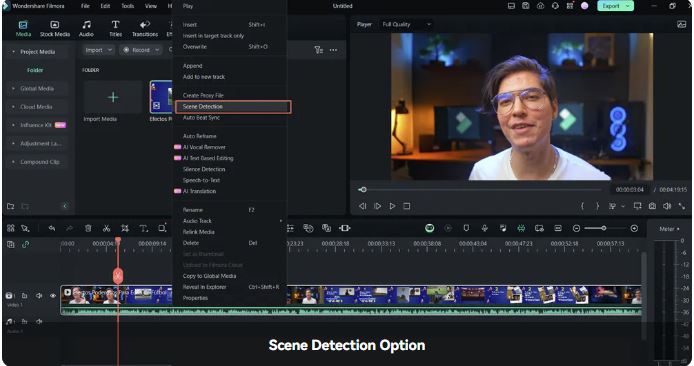
Step 2: In the Scene Detect ion window, click Detect to break down the original video into smaller clips (scenes). Double-click the clip to preview it. If the separated scene meets your expectations, select Add to timeline to move the clip to the timeline.

Smart Short Clips
Smart Short Clips is an AI-powered video editing feature in Filmora that can swiftly turn long video footage into editable, downloadable, and shareable clips for social media and streaming platforms. Filmora uses AI algorithms to automatically detect highlights in your video content and turn them into visually stunning, shareable shorts.
Once it transforms long-form footage into shorter clips, you can edit your shorts, experiment with different layouts and templates, extract highlights, adjust aspect ratio, add background music, insert AI-generated captions, and enhance your clips with visual effects, transitions, stickers, etc.
Step 1: Launch Filmora and select Create Project. Click Smart Short Clips just under New Project.

Step 2: Import your video in Filmora, select the desired duration, and pick the theme.

Step 3: Click Advanced to adjust the aspect ratio of your video. You can also enable the Smart BGM Generation option to add some background music to your footage.

Step 4: Allow Filmora to upload and process your video footage. Once the process is complete, Filmora will generate several short clips. Select the one or several that meet your requirements and click Edit to enhance your content using available editing features.

Step 5: Once you've edited your content, click Export and select what you wish to do next. Click Social Media to share your clip directly to YouTube, Vimeo, or TikTok. You can further customize your clip by selecting the matching title, description, category, tags, resolution, frame rate, etc. Click Export to complete the process.

Conclusion
This article aims to help you overcome these obstacles by learning the most effective methods to split clips quickly and effectively. With a few clicks, you can easily break down large videos into smaller and shorter clips to incorporate them into your projects.
If you still find After Effects overly complex for your video editing skills, consider using alternative software like Wondershare Filmora. Thanks to its streamlined navigation and advanced audio/video editing tools, you can trim and split videos, make smooth clip cuts on the frames, join multiple clips into a single video, detect and extract highlight scenes from long-form footage, and more.


 100% Security Verified | No Subscription Required | No Malware

